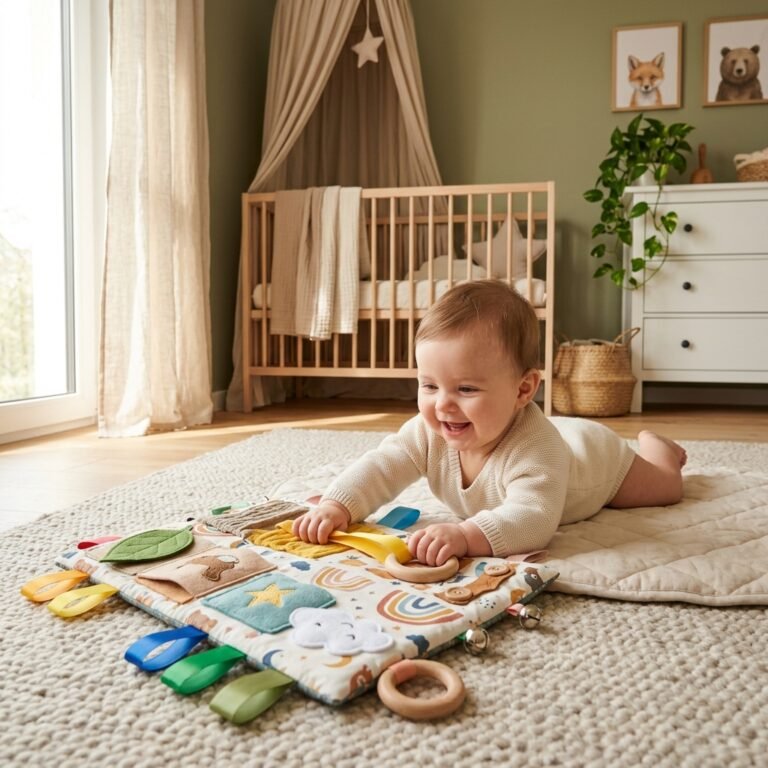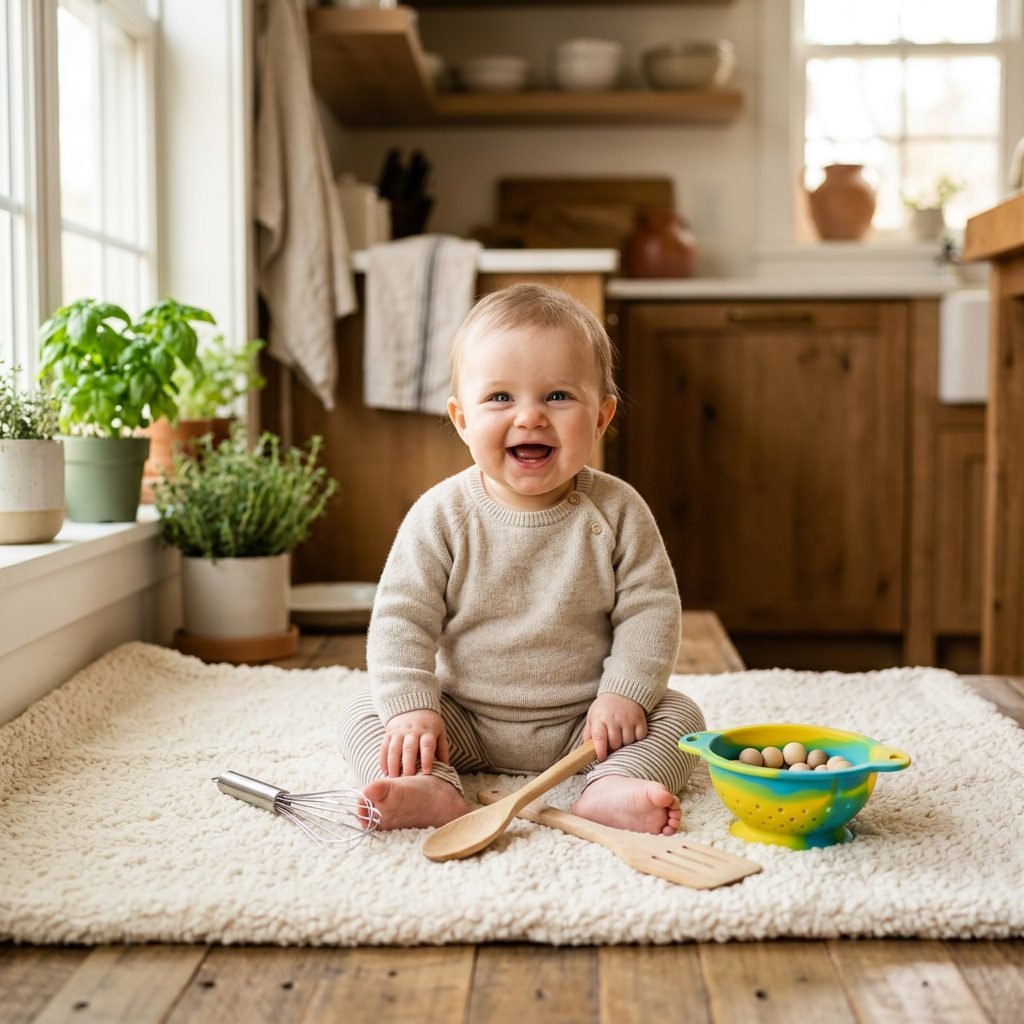
Stop Buying Toys: 10 Everyday Kitchen Items That Make the Best Baby Sensory Play
The Secret Playground Hiding in Your Cabinets
Mama, I see you. You’ve spent hours scrolling through curated registries and high-end toy catalogs, wondering if that $100 wooden activity cube is the key to your baby’s genius. But then, you bring it home, and what does your little love do? They spend forty-five minutes fascinated by the crinkle of the wrapping paper or trying to crawl toward the dishwasher. As a doula and a mom who has been in the trenches of postpartum recovery, I’m here to give you the best news you’ll hear all day: Your kitchen is actually the most sophisticated developmental lab in your home.
We call this ‘Heuristic Play’—a fancy term for letting babies explore real-world objects. While store-bought toys often have one ‘correct’ way to be played with (press a button, hear a sound), kitchen items are ‘open-ended.’ They don’t tell the baby what to do; they invite the baby to discover. Today, we’re going to stop the toy-buying cycle and look at 10 everyday items that will ignite your baby’s senses, build their fine motor skills, and keep them safely occupied while you finally finish that cup of coffee (or at least get the dishwasher loaded).
Remember, sweet mama: To your baby, the whole world is brand new. A simple metal spoon is just as magical as a gold-plated rattle.
The Science of Why ‘Real’ Objects Win Every Time
Why Babies Crave Your Spatula Over Their Teether
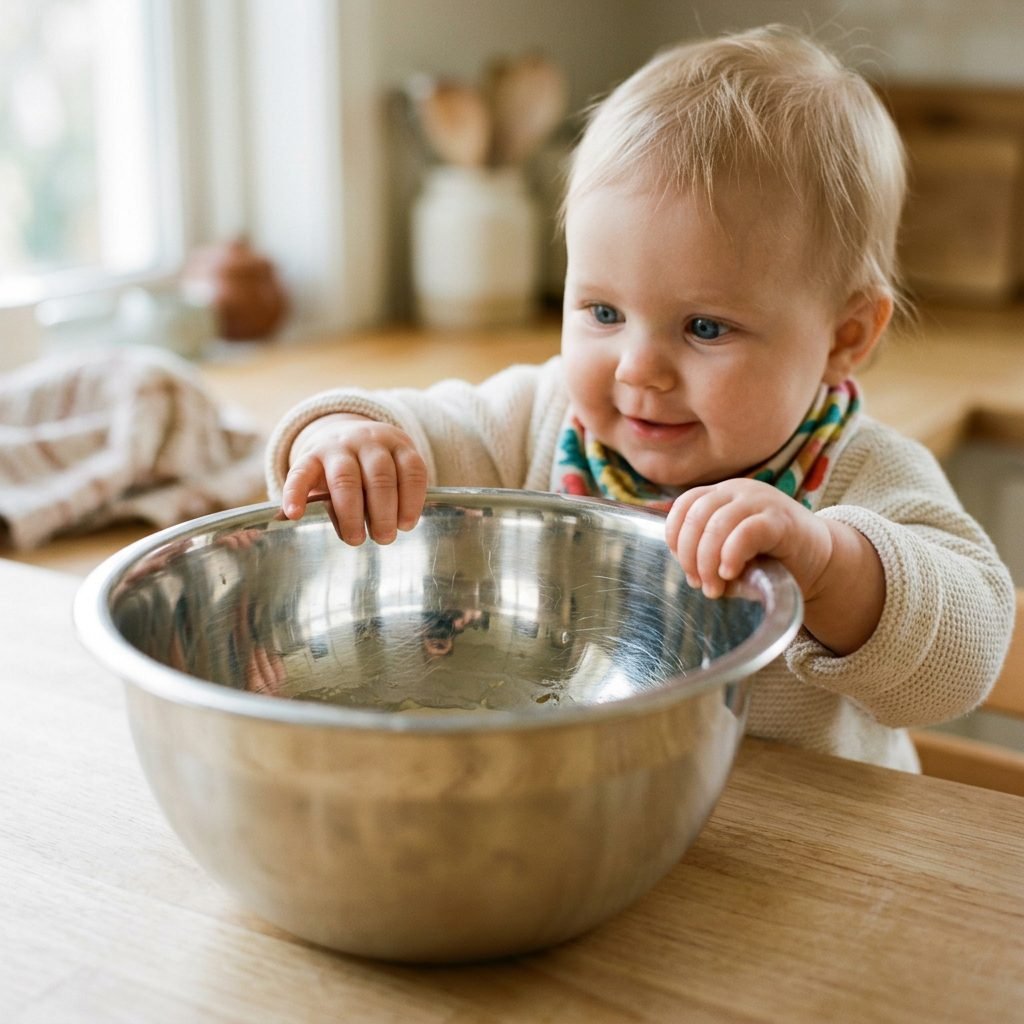
Have you noticed how your baby’s eyes light up when you reach for a mixing bowl? It’s not just because they want to be like you (though they do!). It’s because real household objects offer a richer sensory profile than plastic toys. Plastic all feels the same—smooth, room temperature, and lightweight. In contrast, a stainless steel whisk is cool to the touch, heavy in the hand, and makes a beautiful ringing sound when tapped against the floor.
When a baby explores these items, they are performing tiny scientific experiments. They are learning about:
- Weight and Gravity: Why does the heavy pot make a loud ‘thud’ while the plastic lid makes a soft ‘clack’?
- Reflections: Seeing their own distorted face in a shiny metal bowl builds self-awareness.
- Cause and Effect: If I drop this wooden spoon, it bounces. If I drop this silicone muffin liner, it flutters.
By providing these items, you are supporting their cognitive mapping and proprioceptive input (understanding where their body is in space). Plus, it’s a wonderful way to involve them in your daily rhythm without needing a separate ‘playtime’ that feels like another chore on your list.
Safety First: The Kitchen Play Manifesto
Creating a Safe Sensory Haven
Before we dive into our top 10 list, we have to talk about the ‘Doula’s Safety Check.’ Not everything in your kitchen is a toy, and we want to ensure this experience is stress-free for you and safe for your little one. Use this checklist before handing over any kitchen item:
| Checkpoint | What to Look For |
|---|---|
| Material Integrity | No rust, no chipping paint, and no splintering wood. |
| Size Matters | Nothing smaller than a cardboard toilet paper roll (to prevent choking). |
| Edges & Points | Check for sharp metal burrs on cans or pointy ends on skewers. |
| Chemical Safety | Ensure items are BPA-free and haven’t been cleaned with harsh undiluted bleach. |
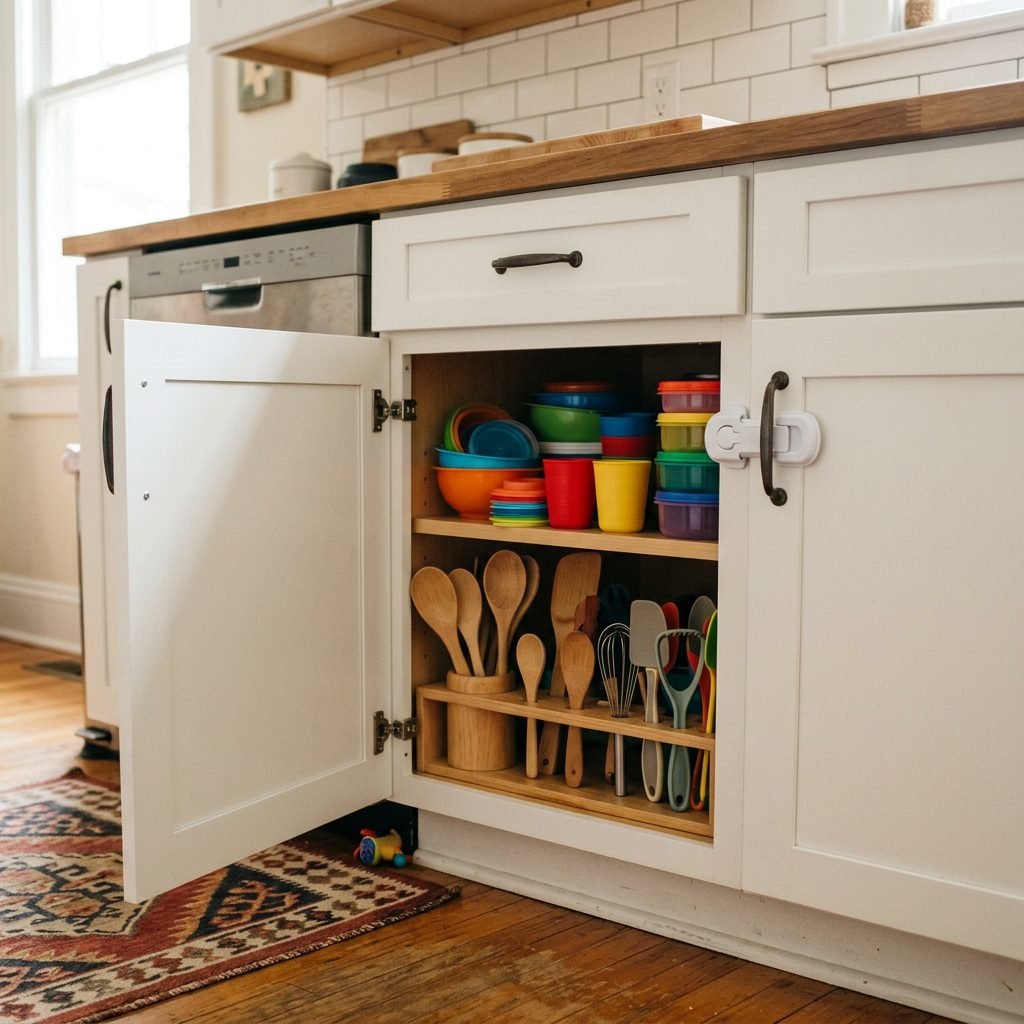
Pro Tip: Designate one ‘Baby Drawer’ or ‘Lower Cabinet’ in your kitchen. Fill it with these safe items so that while you are cooking, your baby can ‘work’ alongside you. This creates a sense of belonging and prevents them from trying to climb into the ‘forbidden’ cabinets where the cleaning supplies or glass Pyrex live.
The Top 10 Kitchen Items for Sensory Success
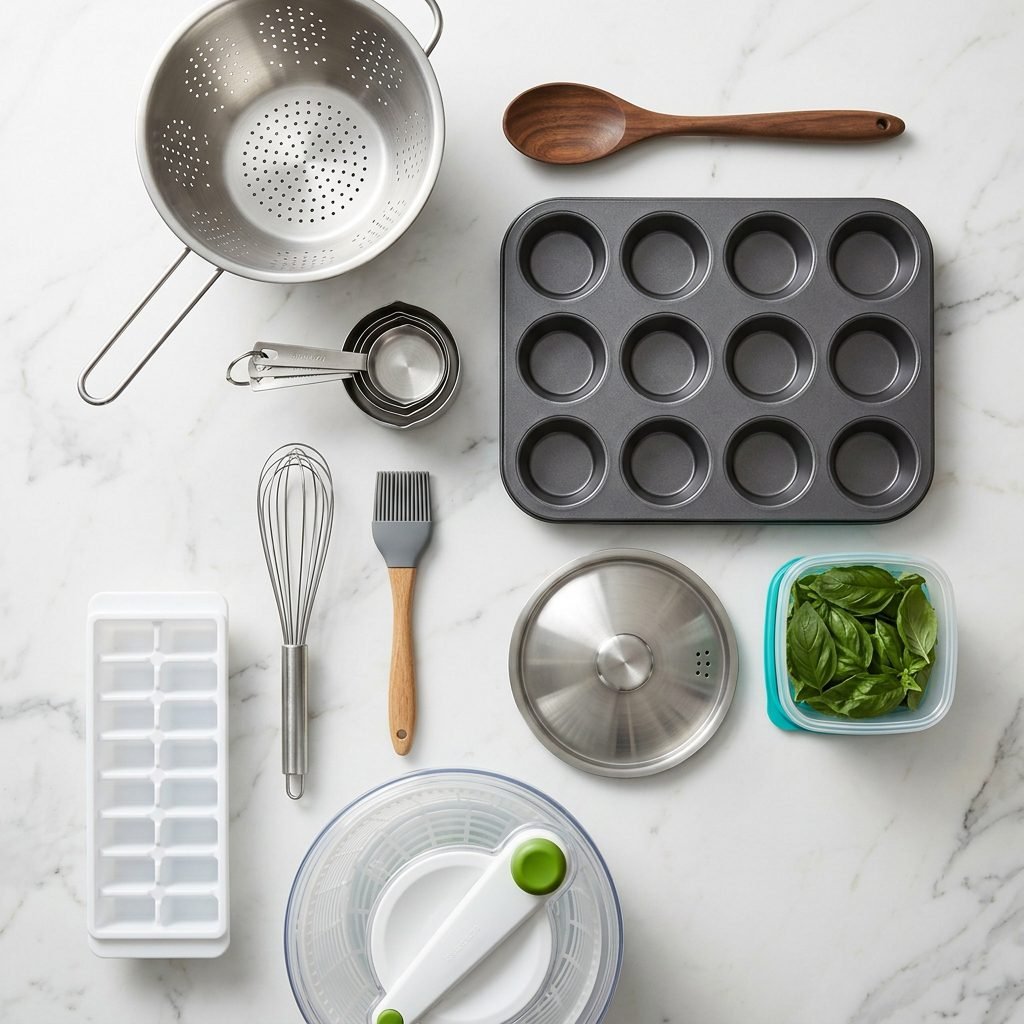
Your New Toy Box: 10 Items You Already Own
Here are the 10 best items to pull from your cupboards today. Each one targets a specific developmental milestone!
- The Stainless Steel Whisk: Perfect for ‘pincer grasp’ practice. You can stuff large pom-poms or fabric scraps inside and let your baby try to pull them out.
- The Colander: A masterpiece of light and shadow. Hold it up to a window or a lamp to show the patterns, or use it in a water bin to create ‘rain.’
- Wooden Spoons: The ultimate auditory tool. They are easier to grip than many rattles and provide a satisfying, muffled sound.
- Measuring Cups: These teach nesting and volume. Babies love the ‘clacking’ sound of them hitting each other.
- Silicone Muffin Tins: These are amazing for color sorting (once they are older) or as a ‘treasure tray’ where you place a different textured object in each hole.
- Metal Lids (from pots): These are wonderful for ‘tummy time’ mirrors. Propping a shiny lid up allows the baby to see themselves as they push up.
- The Salad Spinner: This is a cause-and-effect miracle. Show them how pushing the pump makes the inside spin. It’s better than any battery-operated toy!
- Plastic Tupperware: Use these for stacking towers. They are lightweight and won’t hurt when the tower inevitably gets knocked down.
- A Pastry Brush: The soft bristles provide a unique tactile sensation. Gently brush it against their palms or feet to stimulate nerve endings.
- Ice Cube Trays: These are perfect for small-scale sensory bins. You can put a different ‘taste-safe’ puree or a few blueberries in each slot for a snack-time sensory experience.
3 Easy Sensory Setups (The ‘How-To’ Guide)
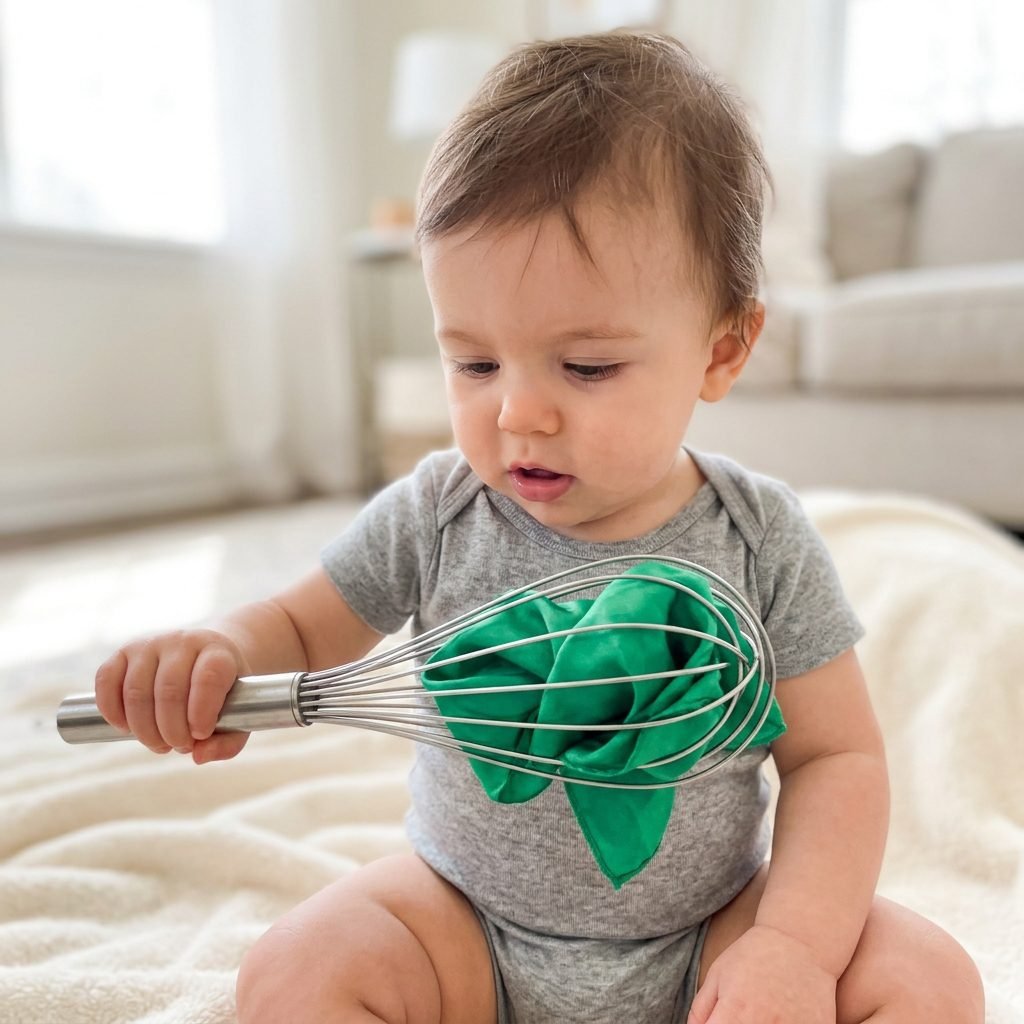
Transforming Items into Activities
Now that you have your items, here is how to use them to keep your baby engaged for more than five minutes!
1. The ‘Whisk Rescue’ (Fine Motor)
Take your stainless steel whisk and stuff it with colorful, clean socks or large felt balls. Hand it to your baby. They will spend ages figuring out how to use their fingers to pinch and pull the items through the wire loops. This builds the hand strength they’ll need later for self-feeding and writing.
2. The ‘Colander Rain’ (Water Play)
If you’re having a long afternoon, head to the bathtub or a shallow plastic bin. Give your baby the colander and a measuring cup. Show them how to pour water into the colander and watch it ‘rain’ out the bottom. Warning: This will result in giggles and a wet floor, so keep a towel handy!
3. The ‘Kitchen Drum Circle’ (Auditory)
Flip over a few plastic Tupperware containers and a metal pot. Give your baby a wooden spoon and a silicone spatula. Show them how the different materials make different sounds. This is great for babies who are sitting up independently and looking for ways to exert their influence on the world.
| Activity | Age Range | Main Benefit |
|---|---|---|
| Whisk Rescue | 6-12 Months | Fine Motor / Pincer Grasp |
| Colander Rain | 8-18 Months | Cause and Effect / Sensory |
| Drum Circle | 6-15 Months | Auditory Processing |
The Budget Breakdown: Kitchen vs. Store-Bought
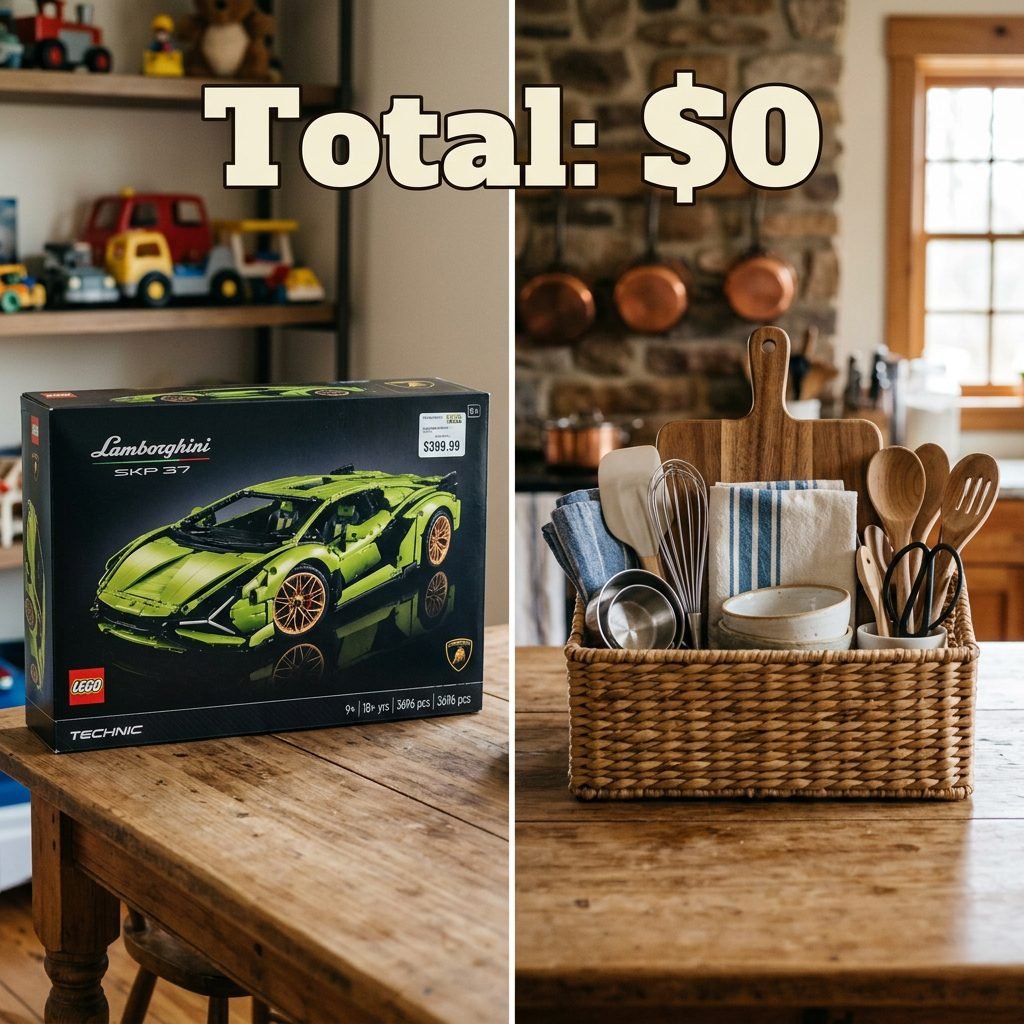
Saving Your Money for the College Fund
It is so easy to feel ‘mom guilt’ if you aren’t buying the latest Montessori subscription box. But let’s look at the numbers. When you use what you have, you aren’t just being ‘frugal’—you’re being an environmentally conscious, resourceful mama.
| Developmental Toy | Store Price (Avg) | Kitchen Alternative | Kitchen Cost |
|---|---|---|---|
| Object Permanence Box | $35.00 | Shoebox with a hole & Tupperware | $0.00 |
| Stacking Cups | $15.00 | Measuring Cups | $0.00 |
| Musical Instrument Set | $45.00 | Pots, Pans, & Wooden Spoons | $0.00 |
| Texture Balls | $20.00 | Whisk with socks / Pastry brush | $0.00 |
| Total Investment | $115.00 | Total Investment | $0.00 |
That $115 savings could go toward a postpartum massage for you, a high-quality organic crib mattress, or simply stay in your savings account for a rainy day. Your baby doesn’t know the price tag; they only know the quality of the interaction they have with you.
Post-Play Clean Up & Organization
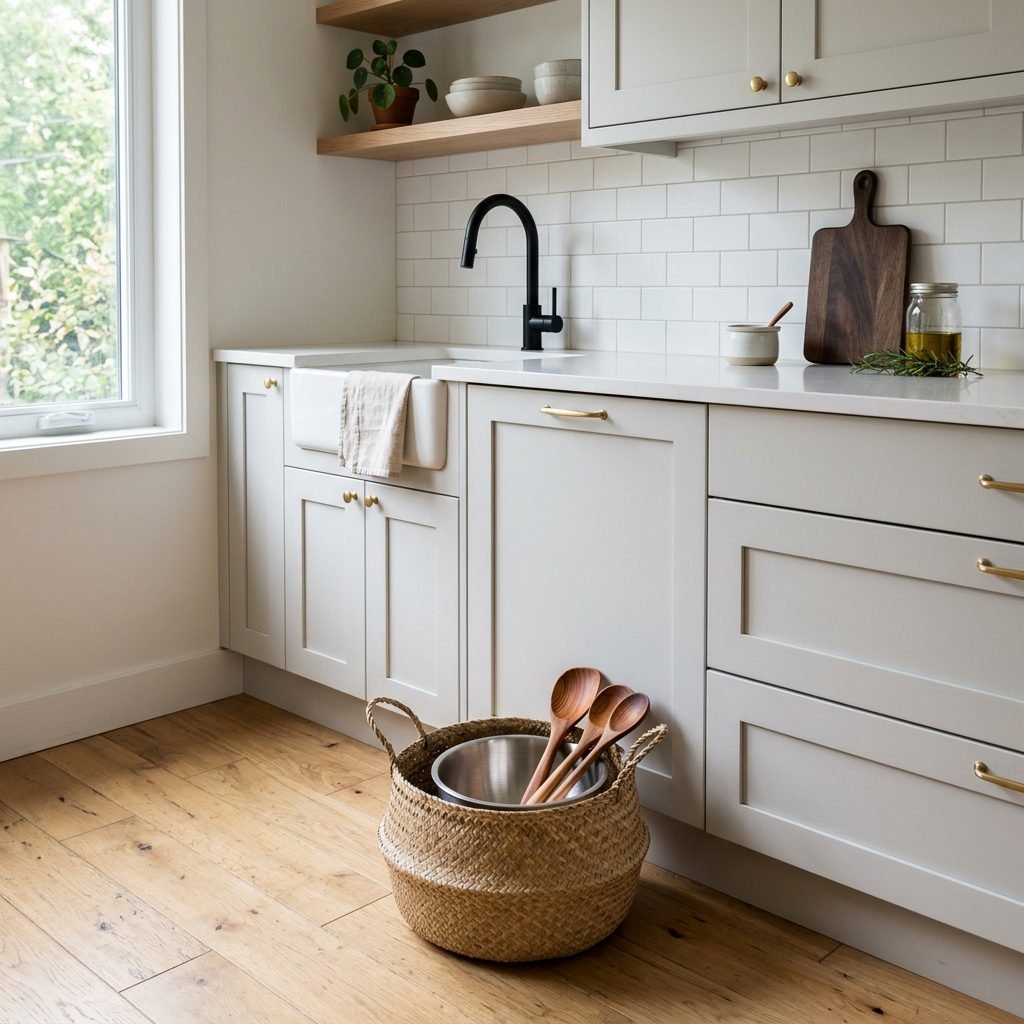
Keeping the Chaos at Bay
I know what you’re thinking: ‘If I let my baby play with the kitchen items, my house will be a disaster.’ As an interior organizer and mom, I promise it doesn’t have to be. The key is containment.
- The ‘Play Basket’: Keep a beautiful seagrass or cotton rope basket in the corner of your kitchen. When play is over, everything goes in the basket. It looks like decor, but it’s actually a toy box.
- Rotation is Key: Don’t give them all 10 items at once. Give them two items today. When they get bored (usually in 3-4 days), swap them for two new ones. This keeps the ‘novelty’ high without the clutter.
- Dishwasher Safe: The best part? When the ‘toys’ get covered in baby drool or floor dust, you just toss them in the dishwasher. No more scrubbing plastic crevices with a toothbrush!
You are doing an incredible job, mama. Play doesn’t have to be expensive, and it doesn’t have to be perfect. It just has to be present.
Conclusion
Simple Play, Big Brains
At the end of the day, your baby doesn’t need a room full of flashing lights and battery-operated noise-makers to thrive. They need you, and they need the freedom to explore the real world around them. By turning your kitchen into a sensory playground, you are teaching them that the world is a place of wonder, that they are capable of discovery, and that ‘toys’ are everywhere if you have the imagination to see them.
So, the next time you feel that itch to ‘add to cart,’ take a breath, walk into your kitchen, and grab a whisk. You’ve already got everything you need to be the world’s best teacher. Go enjoy those giggles and that ‘clacking’ sound of progress!