The Budget-Friendly Ikea Sniglar Changing Table Organization Hack Every Parent Needs
Welcome to Your Stress-Free Nursery Sanctuary
Oh, mama, I see you. You’re navigating the beautiful, whirlwind journey of preparing for your little one, and the ‘to-do’ list feels like it’s growing faster than your baby bump. Between the midnight cravings and the deep-dives into car seat safety ratings, the cost of nursery furniture can feel overwhelming. I’ve been there—as a doula and as a mother—and I’m here to tell you a secret: you do not need a thousand-dollar dresser to create a functional, safe, and stunning diaper station.
Enter the IKEA Sniglar Changing Table. At its core, it is a humble, $35 to $45 piece of solid beech wood. To some, it looks basic. To us? It’s a blank canvas waiting to be transformed into an organizational powerhouse. In this guide, we aren’t just talking about putting furniture together; we are talking about a total ‘glow-up’ that prioritizes your posture, your budget, and those 3:00 AM diaper changes when efficiency is your best friend. Let’s roll up our sleeves and create the nursery of your dreams without breaking the bank.
The Anatomy of a Budget Hero: Why the Sniglar Wins Every Time
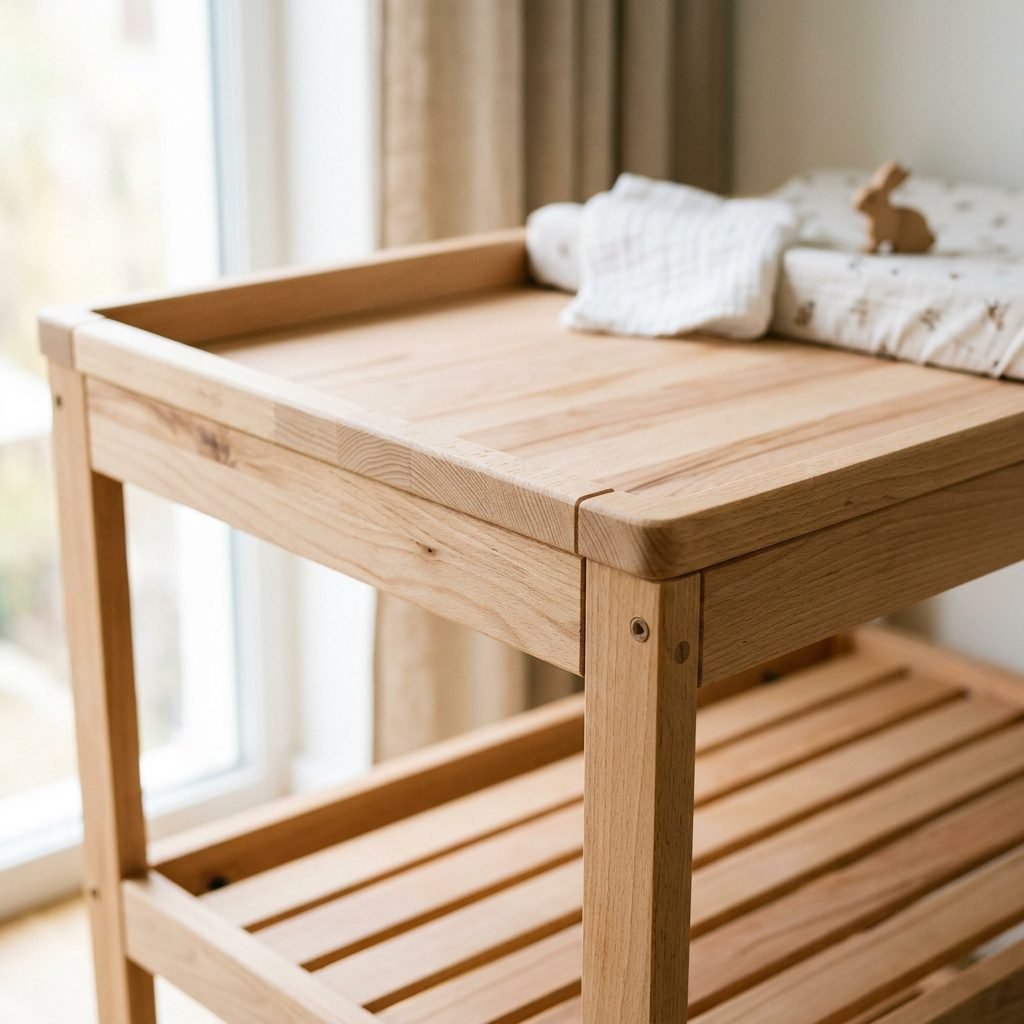
When we look at nursery gear through the lens of a postpartum recovery nurse, we look for three things: safety, height, and accessibility. The Sniglar hits all three marks with surprising grace. Unlike composite materials that can off-gas, the Sniglar is made of solid beech, making it a sturdy and eco-conscious choice for your baby’s air quality.
But the real magic lies in its minimalist footprint. Whether you are living in a cozy apartment or a spacious suburban home, the Sniglar fits into those tight corners that bulky dressers simply can’t. Here is why this table is the ultimate doula-approved pick:
- Sustainable Material: Solid wood is durable and easy to sand, paint, or stain.
- Perfect Height: It stands at approximately 34.25 inches, which is the ergonomic ‘sweet spot’ for most parents to prevent lower back strain during changes.
- Open Air Design: The open shelving allows you to see exactly what you’re reaching for without fumbling with sticky dresser drawers while holding a wiggly baby.
Remember, mama: Your baby won’t know if their diapers came from a designer gold-leafed table or a smartly hacked IKEA shelf. They will only know the warmth of your hands and the love in your eyes.
Step 1: The Aesthetic Glow-Up (Sanding, Staining, and Sealing)
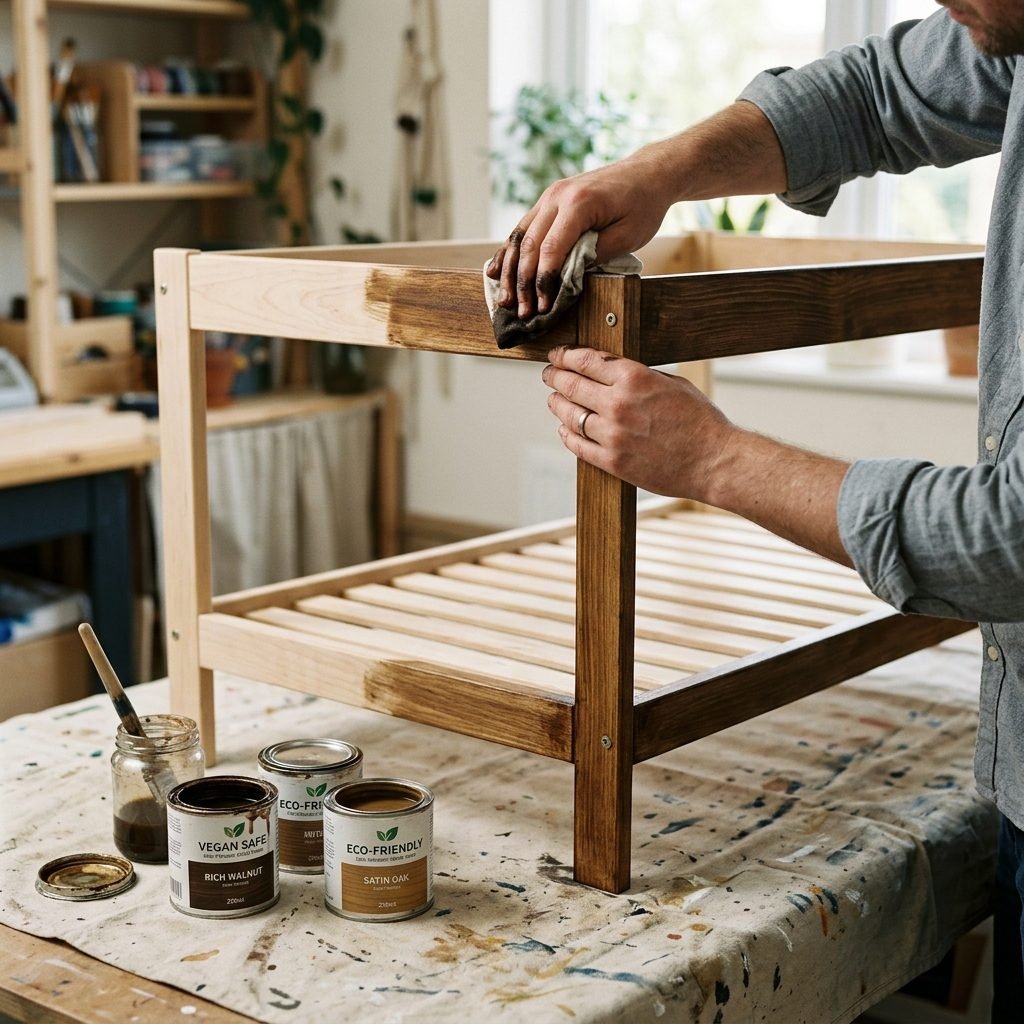
The raw wood of the Sniglar is lovely, but it can look a bit ‘unfinished’ next to other nursery furniture. A simple afternoon of DIY can make this piece look like a $400 boutique find. Before you start, ensure you are in a well-ventilated area, or better yet, delegate the heavy lifting to a partner or friend while you supervise with a mocktail in hand!
The Non-Toxic Refinishing Process
- Light Sanding: Use a 220-grit sandpaper to smooth out any rough factory edges. This ensures no tiny splinters for your curious toddler later on.
- The Stain/Paint: Choose a water-based, low-VOC or zero-VOC stain. Popular choices include ‘Weathered Oak’ for a coastal vibe or a classic ‘Walnut’ for a mid-century modern look. If painting, a soft sage green or creamy terracotta can add a beautiful pop of color.
- The Sealant: Protect the wood from the inevitable ‘diaper mishaps’ with a food-safe wax or a water-based polycrylic. You want a surface that you can wipe down in seconds.
Safety Tip: Always allow at least 48 to 72 hours for the finish to cure completely before bringing the table into the nursery to ensure all odors have dissipated.
The Master Organization Hack: Maximizing the Lower Shelf
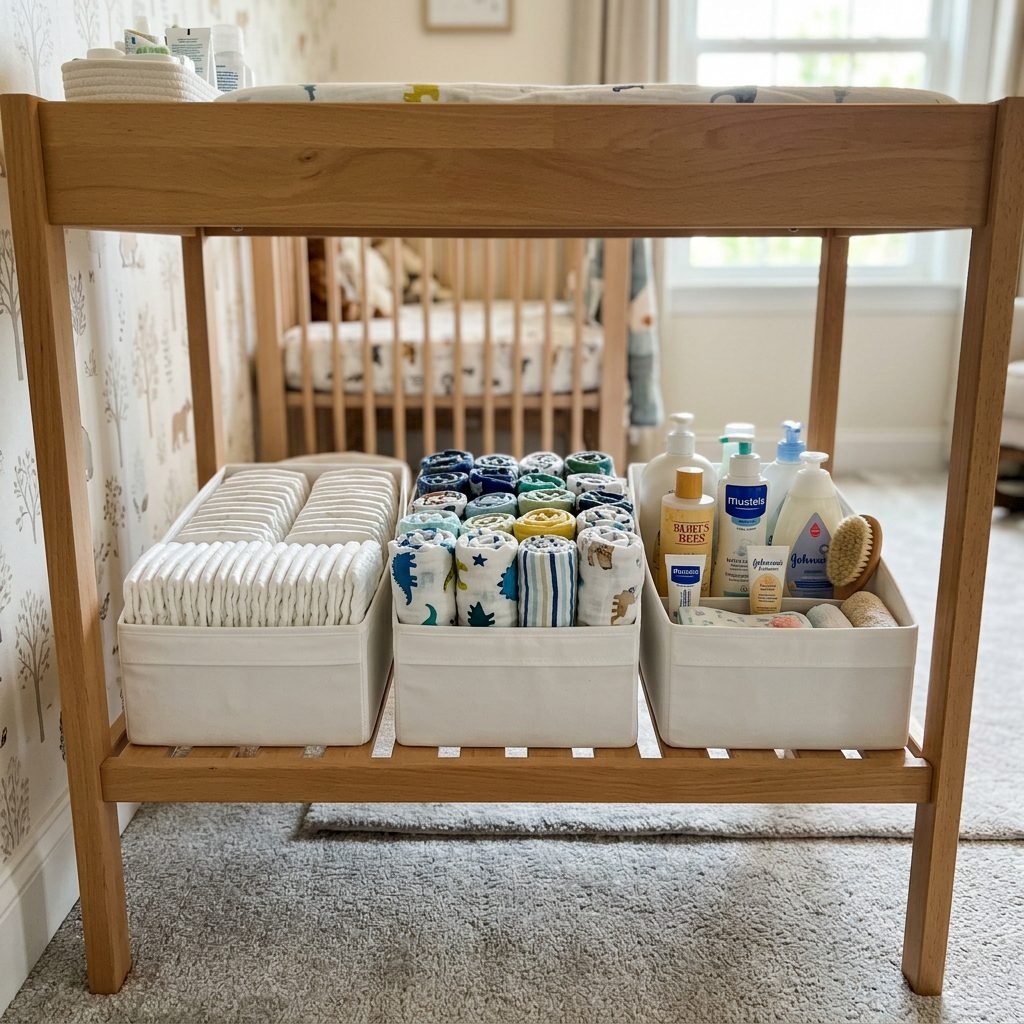
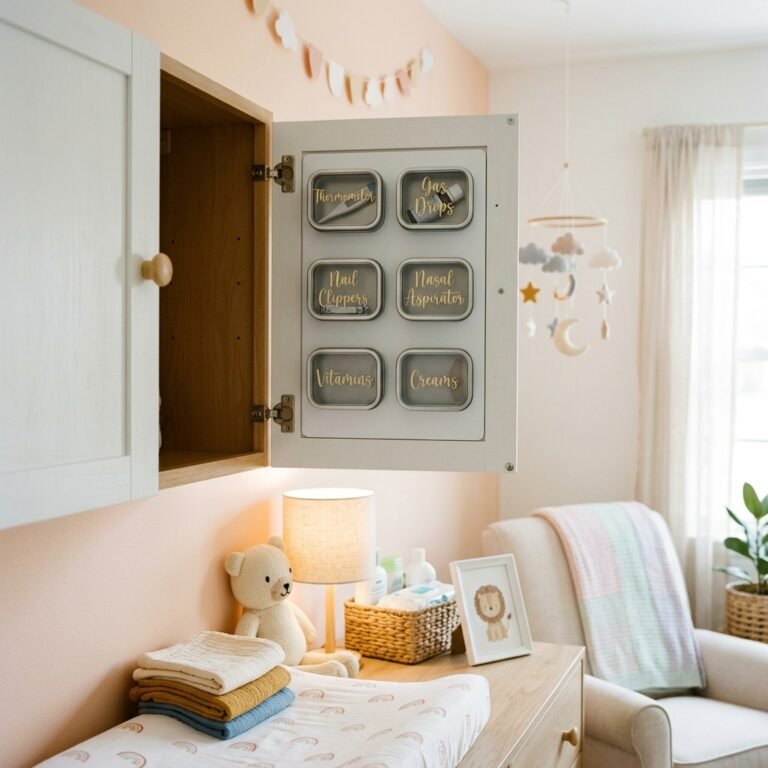
The biggest complaint about the Sniglar is the single open shelf at the bottom. Without a plan, it becomes a ‘catch-all’ for random blankets and half-empty wipe packs. To hack this, we need to create zones. By using specific IKEA storage accessories, we can triple the storage capacity.
| Storage Accessory | Best Used For | Why It Works |
|---|---|---|
| SKUBB Boxes | Diapers, Wipes, Onsies | They fit the depth perfectly and keep items upright. |
| KVARNVIK Baskets | Heavy Blankets, Sleep Sacks | Rigid sides and a woven look add texture and strength. |
| PUDDA Felt Bins | Lotions, Balms, Thermometers | Soft texture prevents ‘clanking’ noises during quiet night changes. |
My favorite doula hack? Use tension rods across the bottom shelf. If you place two tension rods about 4 inches apart, you can create a ‘filing system’ for swaddles. Roll your swaddles tightly and stand them up between the rods. You’ll be able to see every pattern at a glance without digging through a pile!
The ‘Side-Car’ Strategy: Utilizing the Outer Rails
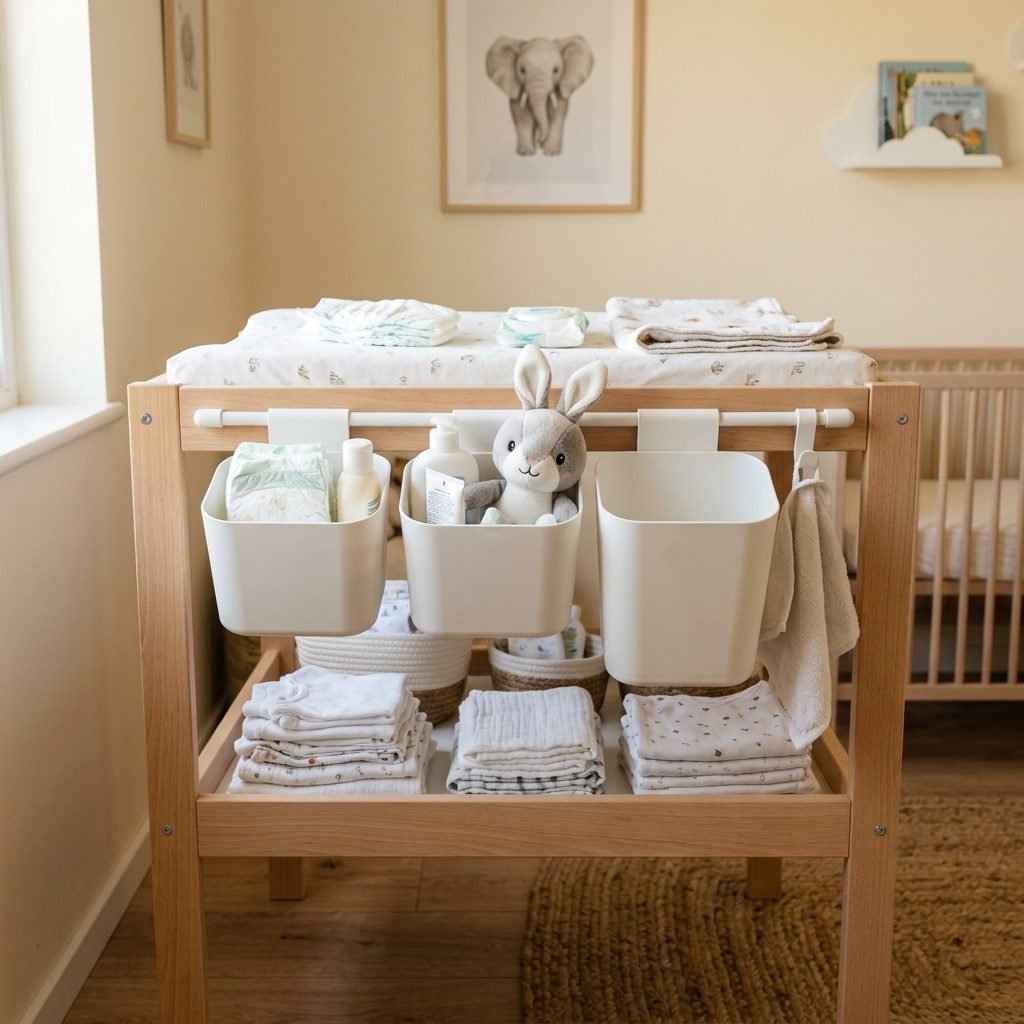
In the world of infant care, the ‘One Hand Rule’ is law. You should never, ever take both hands off your baby while they are on an elevated surface. This means everything you need must be within arm’s reach. The Sniglar’s side rails are perfect for ‘side-car’ storage.
Essential Add-ons for the Rails:
- IKEA ÖNSKLIG Containers: These are literally designed for this table. They hook onto the side and hold everything from dirty diaper bags to your diaper cream spatula.
- HULTARP Rail and Hooks: Screw a small rail into the side of the Sniglar frame. Use it to hang a damp-dry bag for cloth diapers or a small basket for frequently used pacifiers.
- Magnetic Strips: A small magnetic strip on the side can hold metal diaper cream tubes or even a small, dimmable ‘touch light’ for those midnight changes.
By moving the ‘bulk’ to the sides, you keep the top surface clear for the most important thing: your baby. Make sure to place the most-used items on your dominant-hand side for maximum efficiency.
Ergonomics and Safety: The Doula’s Setup Guide
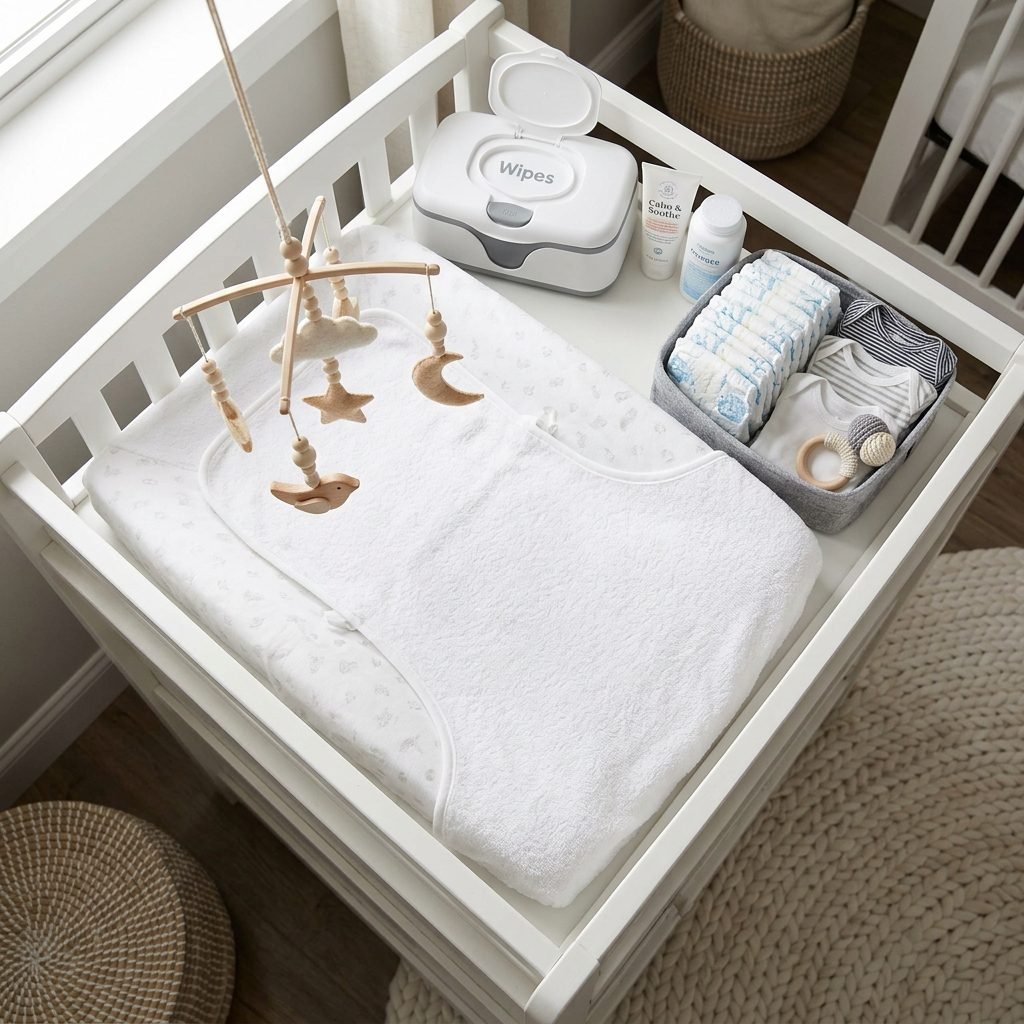
As a doula, I see many moms suffering from ‘nursery neck’—that strain from constantly looking down and reaching awkwardly. Let’s optimize your physical space. First, the Changing Pad. The Sniglar fits a standard 30-inch pad, but I recommend a contoured foam pad with a safety strap.
The ‘Golden Triangle’ of Diapering
Arrange your station so that your body moves in a natural rhythm. Your diaper pail should be immediately to the left or right of the table (near your feet). Your wipes should be centered at the top of the table. Your distraction items (a mobile or a small toy) should be at the baby’s eye level.
Affirmation for the Hard Nights: “I am providing everything my baby needs. This space is a place of healing, care, and connection.”
Pro-Tip: If you are on the taller side, you can add furniture risers or heavy-duty casters to the legs of the Sniglar. Not only does this save your back, but casters allow you to wheel the station into the bathroom for easy cleanup or into your bedroom for those first few weeks of rooming-in.
The Budget Breakdown: High-End Look vs. Sniglar Hack
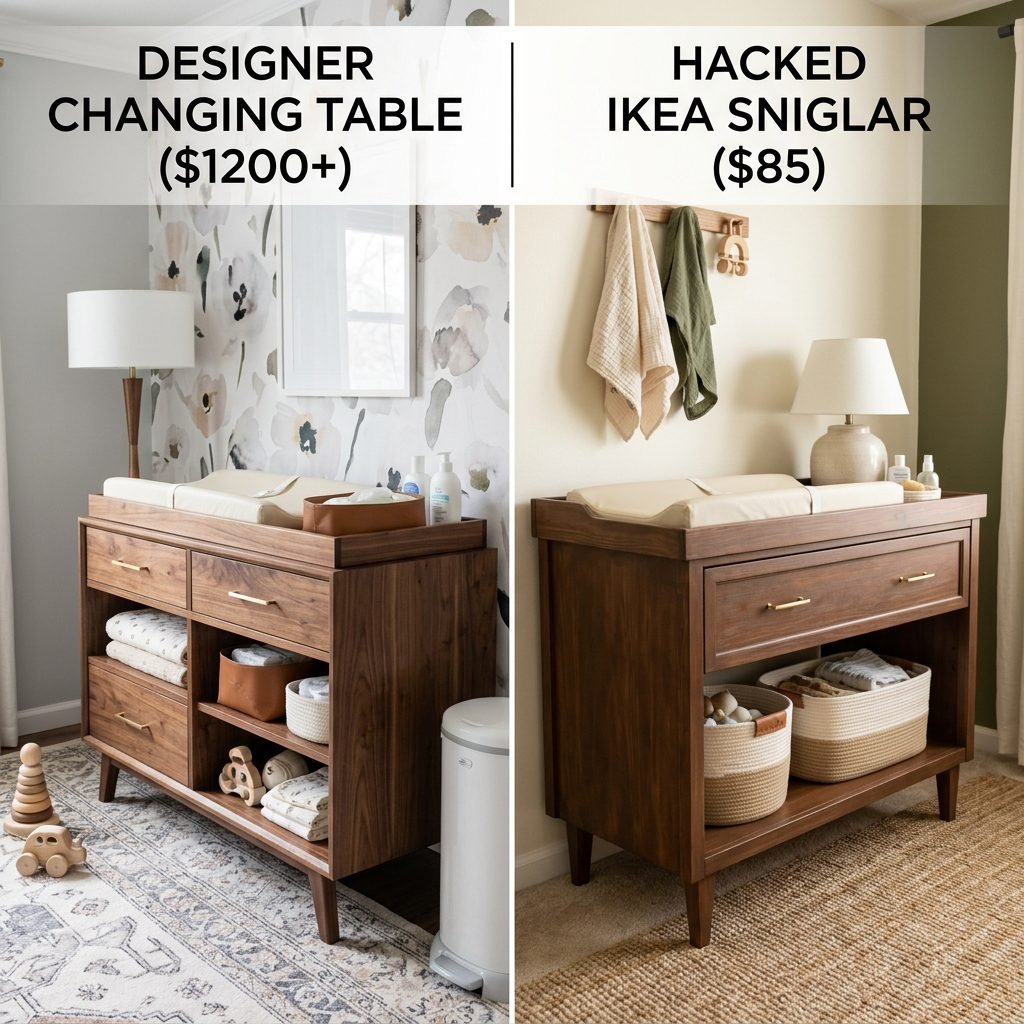
Let’s talk numbers, mama. When you’re saving for a college fund or just trying to survive the cost of premium diapers, every dollar counts. Here is how the Sniglar hack stacks up against a popular high-end nursery brand changing table.
| Item | Boutique Brand Cost | IKEA Sniglar Hack Cost |
|---|---|---|
| Changing Table | $399.00 | $35.00 |
| Storage Bins (Set) | $85.00 | $15.00 (SKUBB/ÖNSKLIG) |
| Finish/Paint | Included | $12.00 (Sample Can/Stain) |
| Hardware/Hooks | $40.00 | $8.00 |
| TOTAL | $524.00 | $70.00 |
With a savings of over $450, you could afford a high-quality organic mattress, a month of grocery delivery, or a few sessions with a postpartum doula (which, trust me, is worth its weight in gold!).
Conclusion
Your Beautiful, Organized Journey Starts Here
Mama, you’ve done it. You’ve taken a simple, affordable piece of furniture and turned it into a customized command center for your nursery. The IKEA Sniglar changing table hack is more than just a way to save money—it’s a way to reclaim a bit of control in the beautiful chaos of new motherhood. By organizing your space ergonomically and aesthetically, you are setting yourself up for smoother nights and more joyful days.
Remember that the most important part of any nursery isn’t the furniture; it’s the love that fills the room. But having a tidy, functional spot to clean those tiny toes certainly helps! You are doing an amazing job, and your baby is so lucky to have a mama as thoughtful and resourceful as you. Now, go take a nap—you’ve earned it!