How to Sew DIY Organic Cotton Baby Bibs (Free Pattern Included!)
Welcome to Your Creative Nesting Journey, Mama
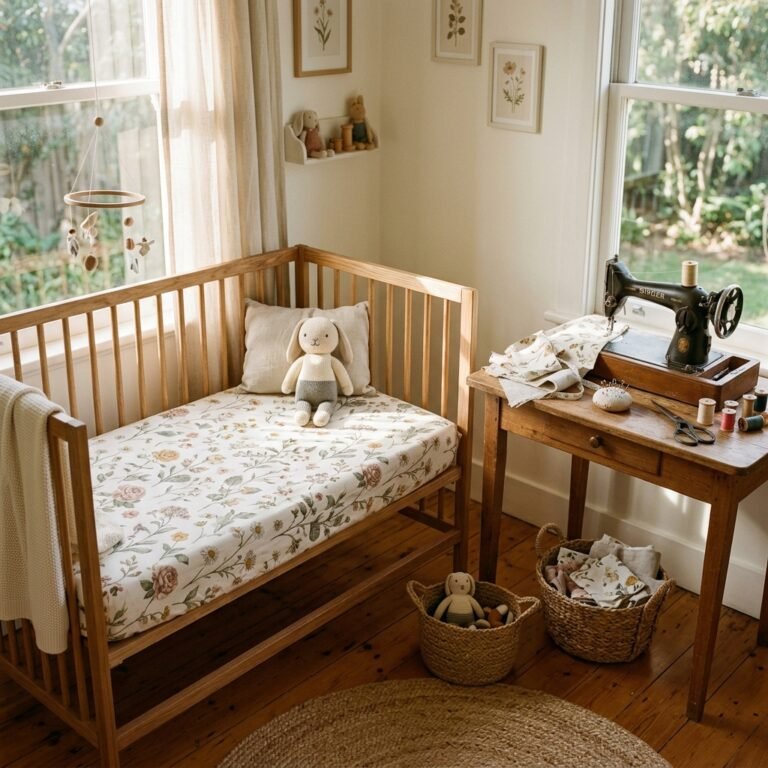
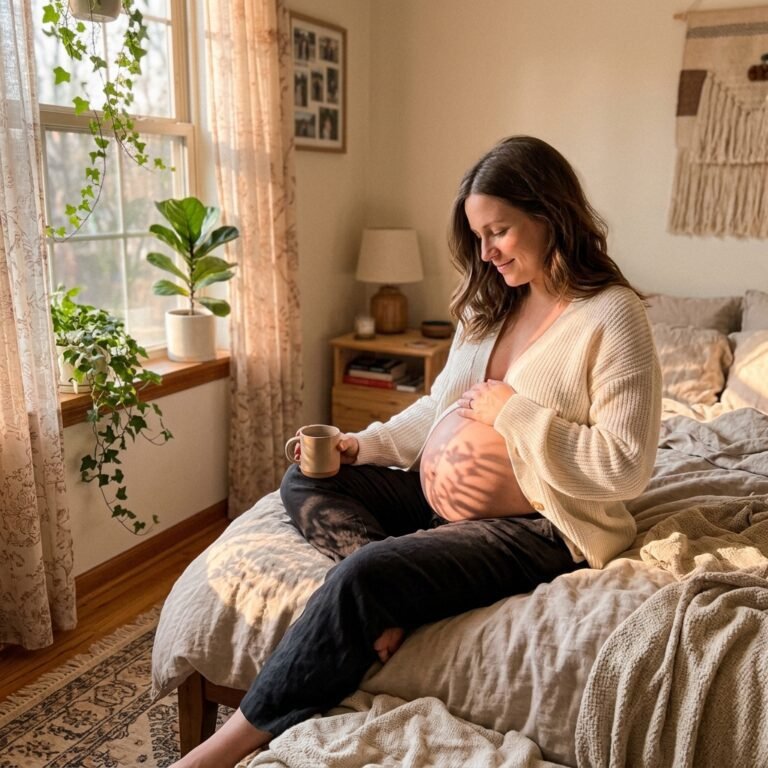
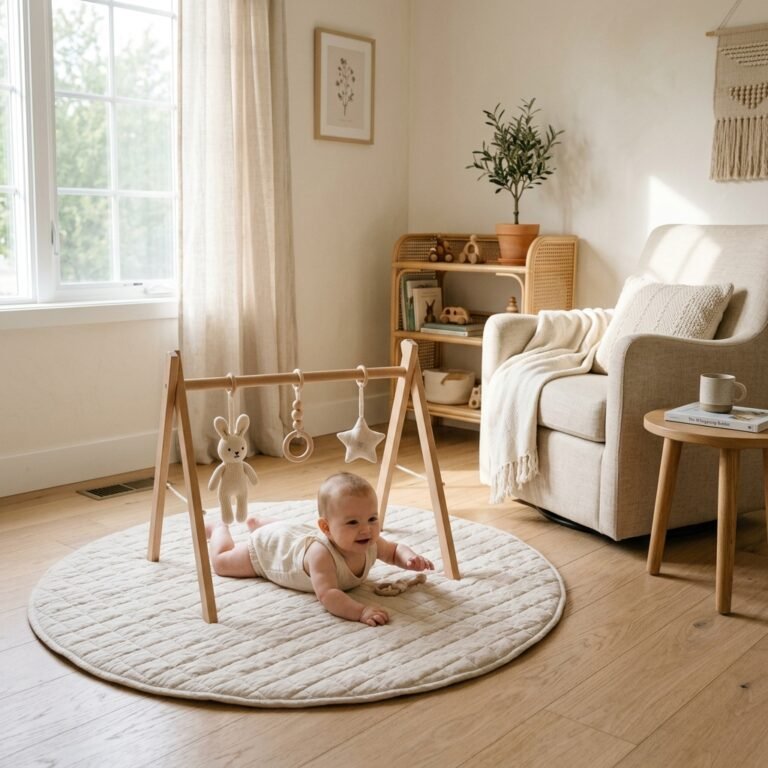
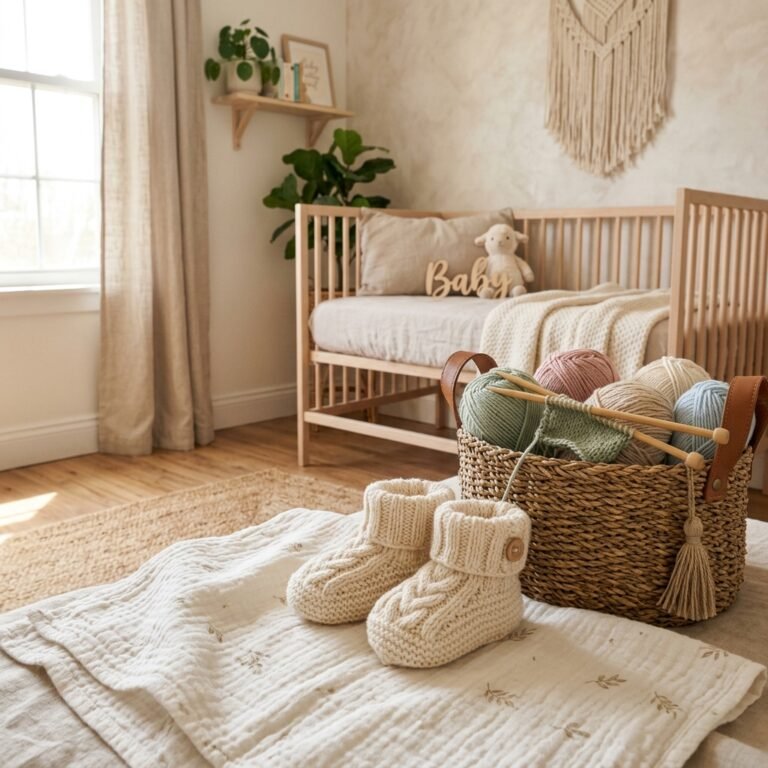
There is something truly magical about the third trimester—that ‘nesting’ energy that flows through your veins, urging you to prepare a soft, safe, and beautiful world for your little one. As a doula, I’ve seen many mothers find deep peace in the tactile rhythm of crafting. Whether you are a seasoned seamstress or picking up a needle for the first time, sewing your own organic cotton baby bibs is a beautiful way to bond with your baby before they even arrive.
Commercial bibs are often treated with synthetic dyes or contain hidden plastics that can irritate a newborn’s incredibly thin and absorbent skin. By making your own, you are in total control. You choose the GOTS-certified organic cotton, the absorbency level, and the style that matches your nursery aesthetic. In this guide, we aren’t just making a piece of fabric to catch drool; we are creating a soft, non-toxic barrier that protects your baby’s skin and your favorite outfits. Let’s get those creative juices flowing, sweet mama!
Crafting for your baby is a form of meditation. With every stitch, you are weaving love and intention into the fabric of their new life.
Why Organic Cotton? The Doula’s Perspective on Skin Health
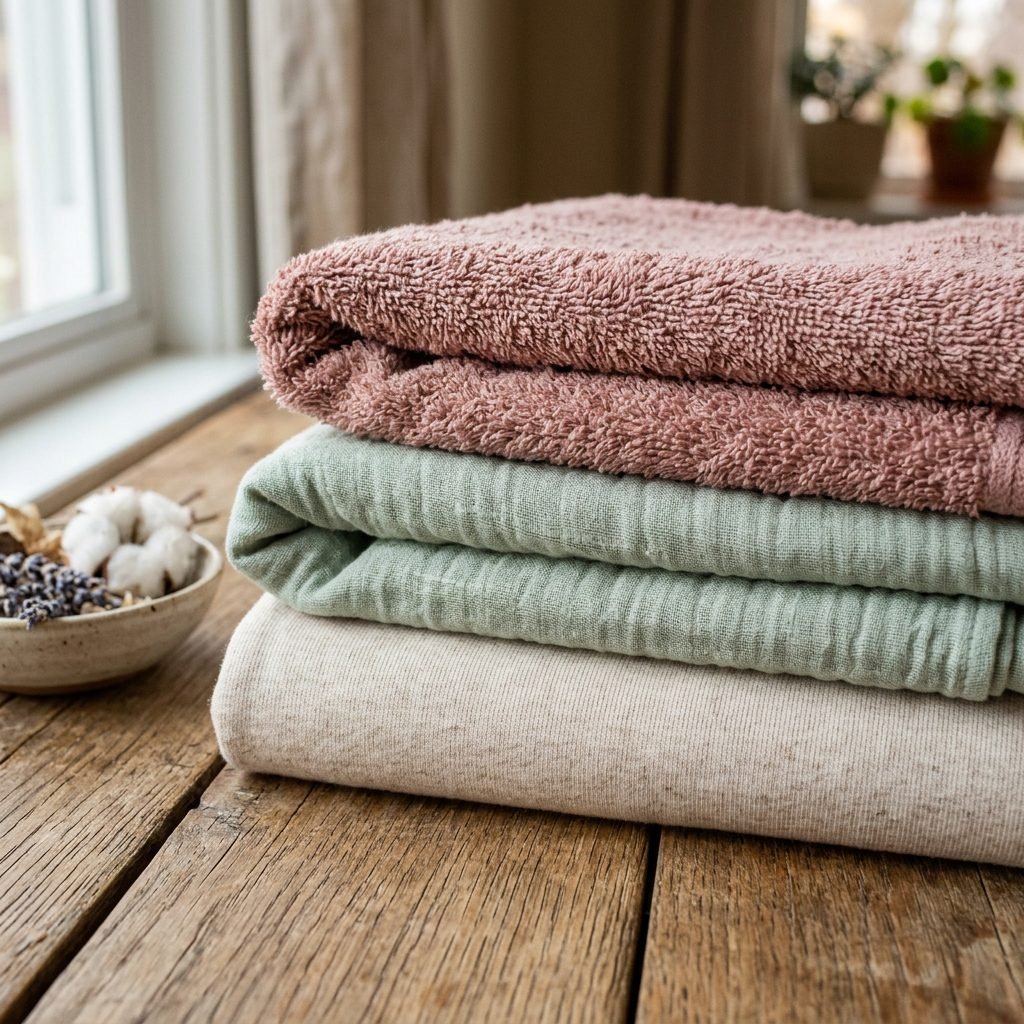
A newborn’s skin is up to five times thinner than adult skin. This means that whatever touches them—detergents, dyes, and fabric finishes—is more likely to be absorbed into their bloodstream. This is why I always recommend organic materials for items that sit close to the face and mouth, like bibs.
The Benefits of Organic Fibers
- Hypoallergenic Properties: Organic cotton is grown without synthetic pesticides or fertilizers, reducing the risk of contact dermatitis and eczema flares.
- Breathability: Natural fibers allow for better airflow, preventing heat rashes around the neck.
- Superior Absorbency: Organic cotton fibers are often less damaged by chemical processing, meaning they stay ‘thirsty’ and soak up milk spills and drool more effectively.
| Fabric Type | Best Use Case | Softness Rating |
|---|---|---|
| Organic Cotton Interlock | Everyday feeding bibs | High |
| Organic Double Gauze | Stylish ‘bandana’ drool bibs | Ultra-Soft |
| Organic Cotton Terry | Heavy-duty teething bibs | Medium |
| Organic Flannel | Structural backing and warmth | High |
Gathering Your Supplies: The Non-Toxic Crafting Kit
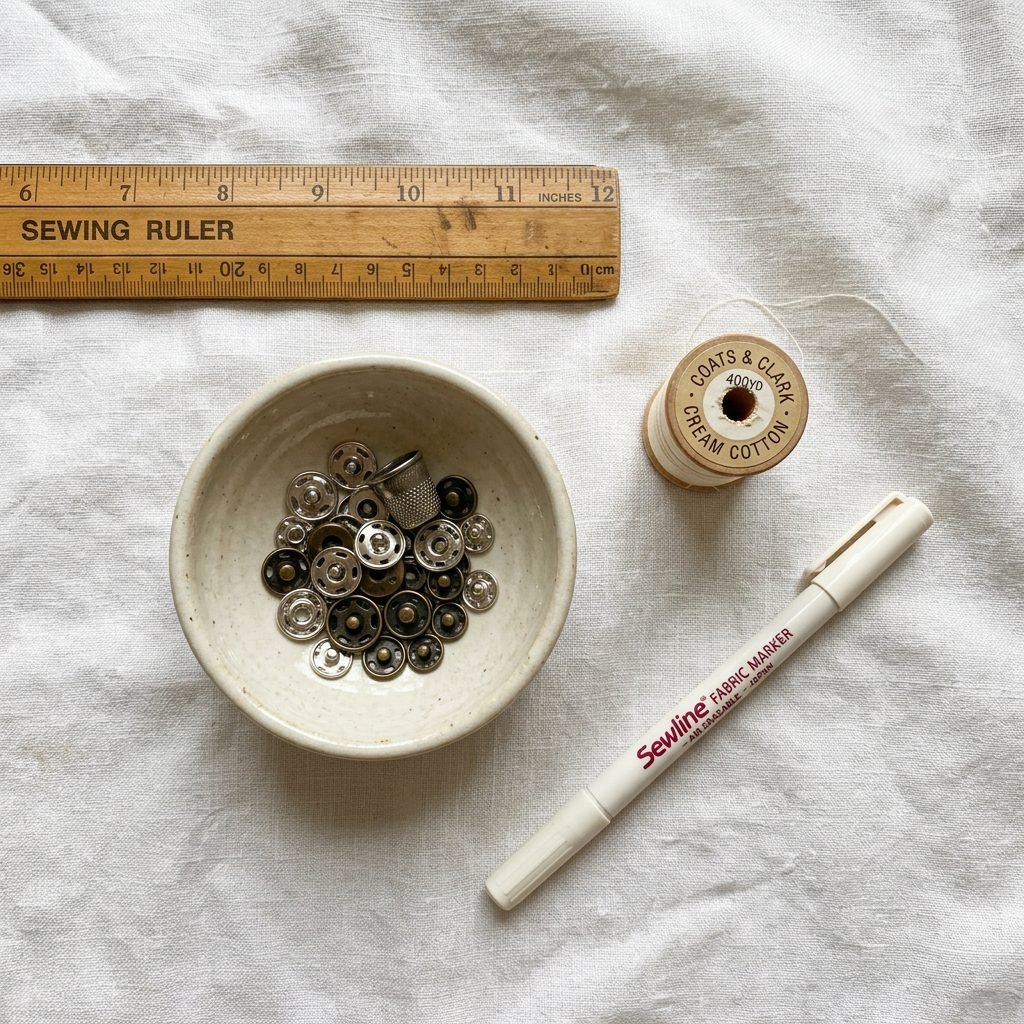
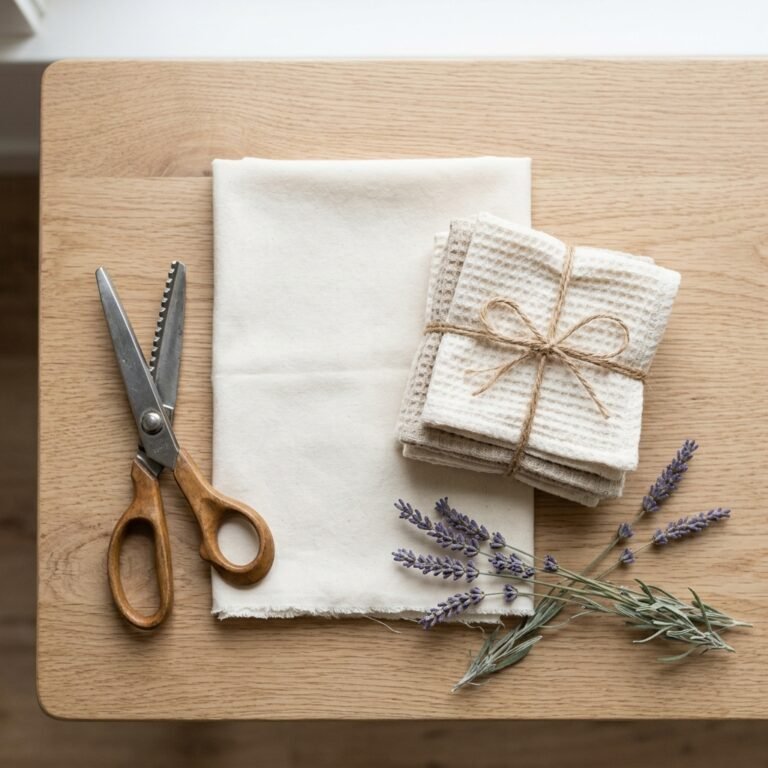
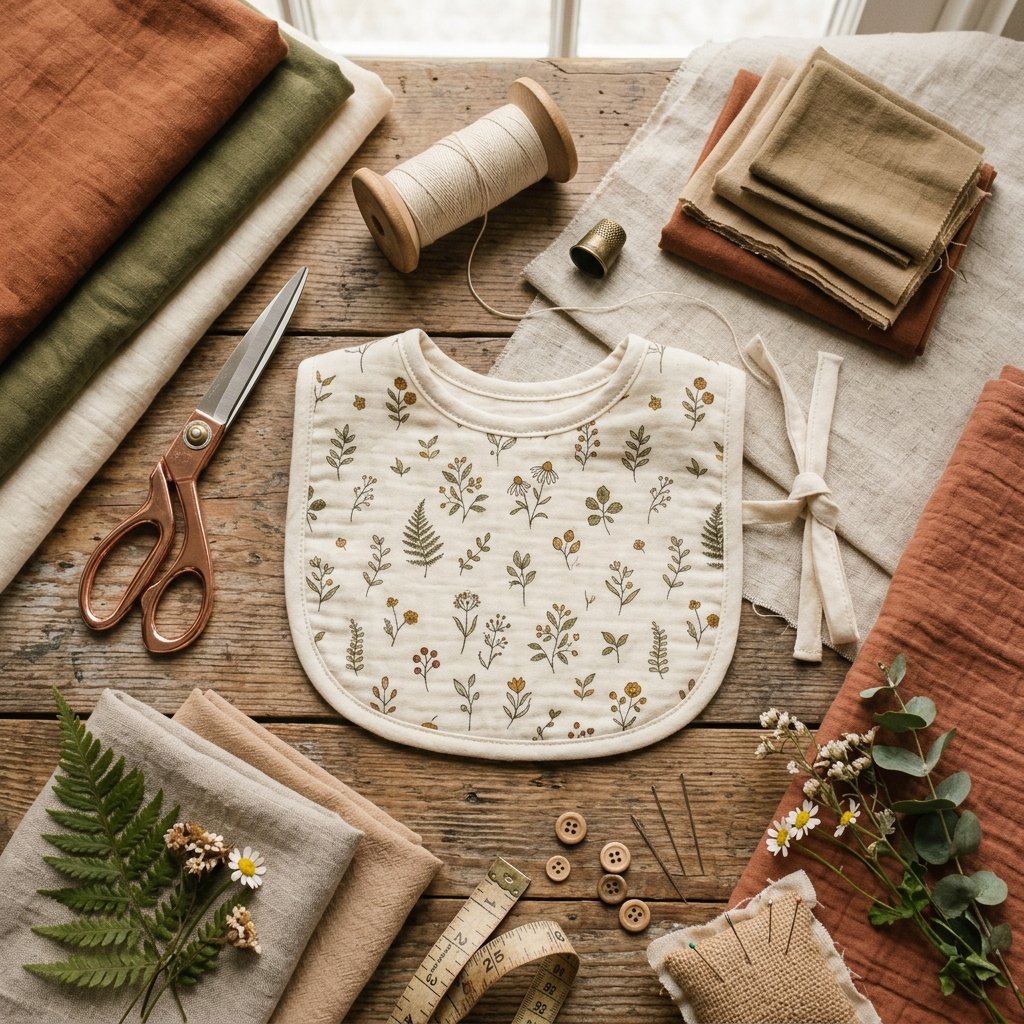
Before we dive into the sewing, let’s gather your materials. You don’t need an expensive studio to create high-quality bibs. A simple corner of your dining table and a few key items will do. When sourcing your fabric, look for the GOTS (Global Organic Textile Standard) label to ensure the highest level of environmental and social responsibility.
Essential Materials List
- Main Fabric: 1/4 yard of organic cotton knit or gauze for the front.
- Backing Fabric: 1/4 yard of organic cotton terry or flannel for absorbency.
- Thread: 100% cotton thread (avoid polyester to keep the bib fully natural).
- Closures: Lead-free metal snaps or plastic KAM snaps (avoid Velcro as it can scratch delicate skin).
- The Pattern: Our free template (dimensions provided below).
| Item | Estimated Cost | Eco-Friendly Tip |
|---|---|---|
| Organic Fabric (1/2 yard total) | $6.00 – $9.00 | Use leftover scraps from other projects! |
| Cotton Thread | $3.50 | Look for recycled cotton thread options. |
| Snaps (Pack of 20) | $5.00 | Buy in bulk to save for future projects. |
| Total per Bib | ~$1.50 – $2.50 | Much cheaper than high-end organic brands! |
The Free Pattern: Dimensions and Preparation
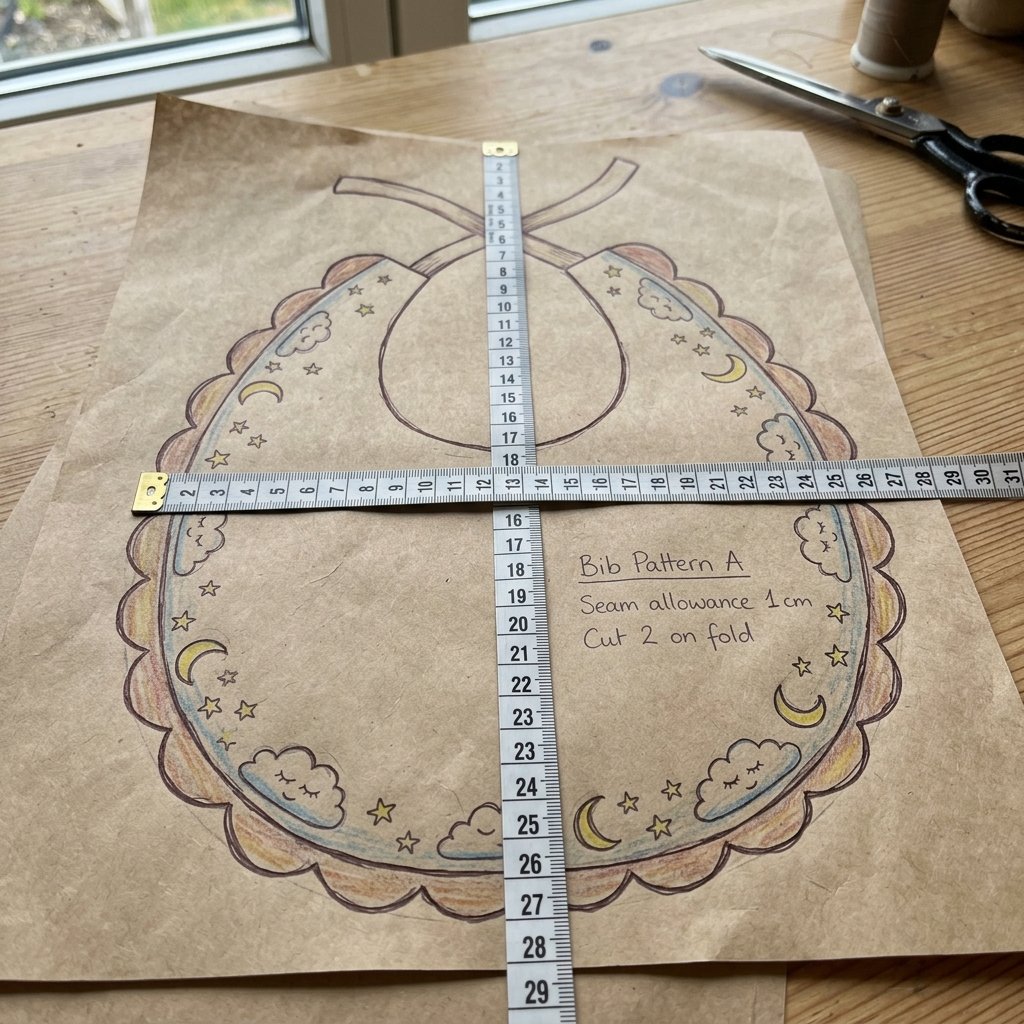
You don’t need a printer to create this pattern! You can easily draft it on a piece of parchment paper or cardboard using these standard dimensions for a 0-12 month fit. If you want a ‘toddler’ size, simply add 1 inch to the outer perimeter.
Drafting Your Pattern
- Total Height: 11 inches.
- Total Width: 8.5 inches.
- Neck Opening: 3.5 inches wide by 3 inches deep (U-shape).
- Seam Allowance: 1/4 inch (already included in these dimensions).
Pro-Tip: Always pre-wash your organic fabrics! Organic cotton is prone to shrinking because it hasn’t been treated with ‘anti-shrink’ chemicals. Wash in warm water and tumble dry on low before you cut your pattern to ensure the bib doesn’t warp after its first wash.
Remember, mama: Perfection is not the goal. The slight imperfections in a handmade item are what make it a heirloom.
Step-by-Step Tutorial: Sewing Your Organic Bib
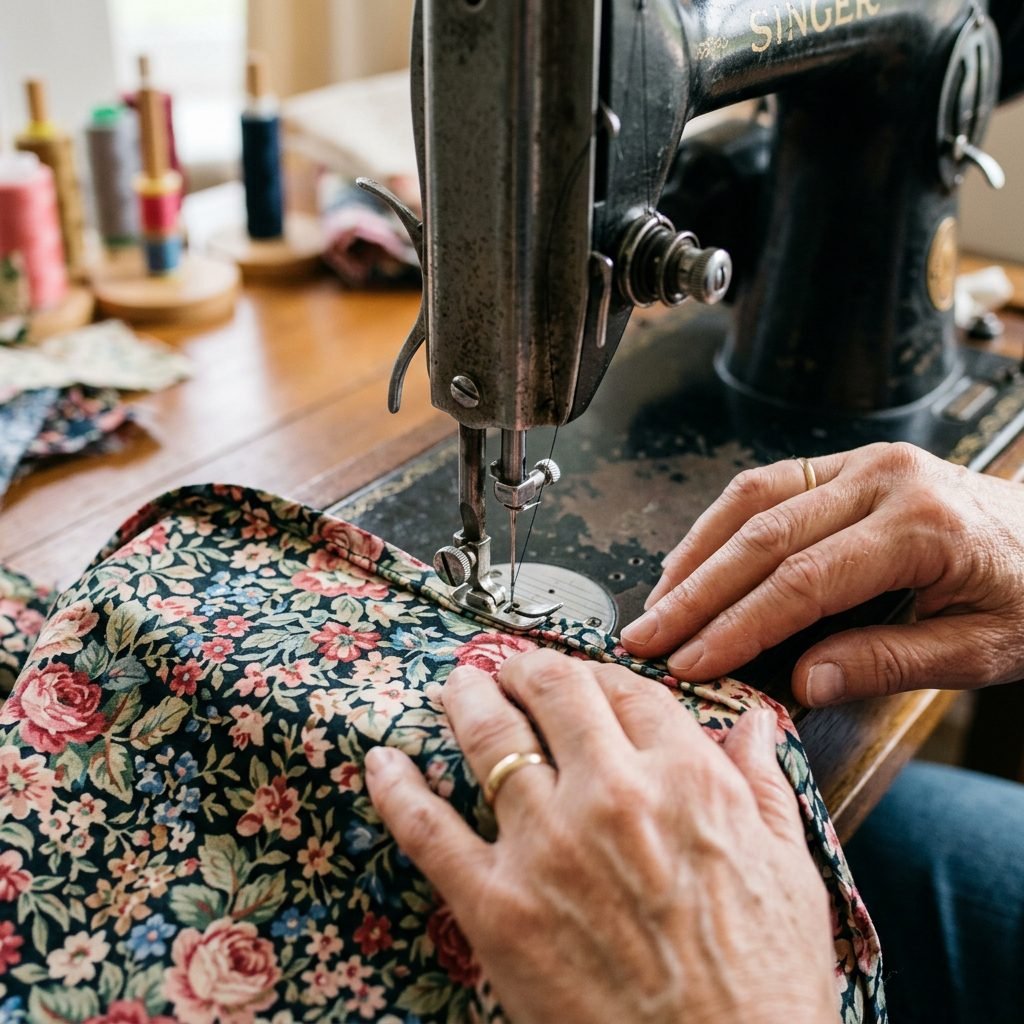
Now for the fun part! Put on your favorite podcast, pour a cup of red raspberry leaf tea, and let’s sew. This method uses the ‘birthing’ technique (sewing right sides together and turning), which hides all raw edges—perfect for sensitive baby skin.
The Sewing Process
- Cut Your Fabric: Using your pattern, cut one piece from your ‘pretty’ top fabric and one piece from your absorbent backing fabric.
- Pin Together: Place the two pieces Right Sides Together (the ‘pretty’ sides should be touching each other). Pin around the edges.
- The Stitching: Starting at the bottom straight edge, sew all the way around the perimeter with a 1/4 inch seam allowance. CRITICAL: Leave a 2-inch gap unsewn at the bottom for turning.
- Clip the Curves: Use your scissors to make small snips into the seam allowance around the neck curve and outer corners. Be careful not to cut the stitches! This helps the bib lay flat.
- The ‘Birth’: Reach through the 2-inch gap and pull the fabric through, turning the bib right side out. Use a chopstick or blunt pencil to push out the edges.
- Press: Iron the bib flat, making sure the raw edges of your 2-inch gap are tucked neatly inside.
- Topstitch: Sew a decorative line of stitching 1/8 inch from the edge all the way around. This closes the gap and gives it a professional finish.
- Add Snaps: Following the manufacturer’s instructions, apply one snap to each ‘wing’ of the bib. Ensure they are secure so they don’t pose a choking hazard.
Customizing for the ‘Heavy Drooller’ and Sensory Play
As a pediatric sleep consultant and doula, I know that once teething starts (usually around 4-6 months), a standard bib can get soaked in minutes. Wet fabric against the chest can lead to chills and skin irritation. Here is how to level up your DIY bibs for different stages.
The Absorbency Matrix
| Teething Phase | Recommended Layering | Style Tip |
|---|---|---|
| Newborn (Milk Spills) | Single Layer Jersey + Flannel | Classic Rounded Shape |
| Early Teething (Damp) | Double Gauze + Terry Cloth | Bandana Style |
| Heavy Drooler (Soaked) | Interlock + Hidden PUL Layer + Terry | Extra Long Coverage |
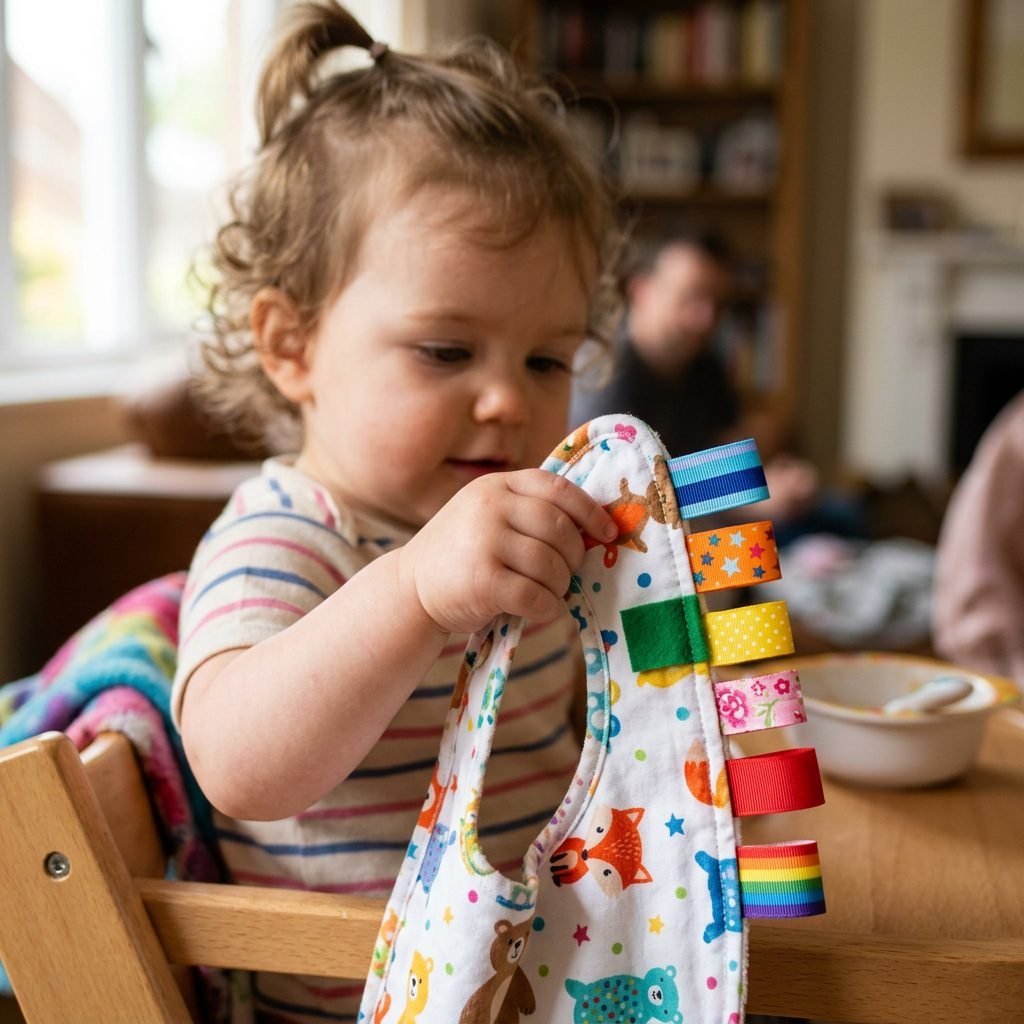
Sensory Addition: You can sew small loops of organic cotton ribbon (about 2 inches long) into the side seams of the bib. These ‘tags’ provide a safe, tactile experience for babies to touch and explore while they are wearing the bib, which is great for fine motor development!
Care, Longevity, and Safety Reminders
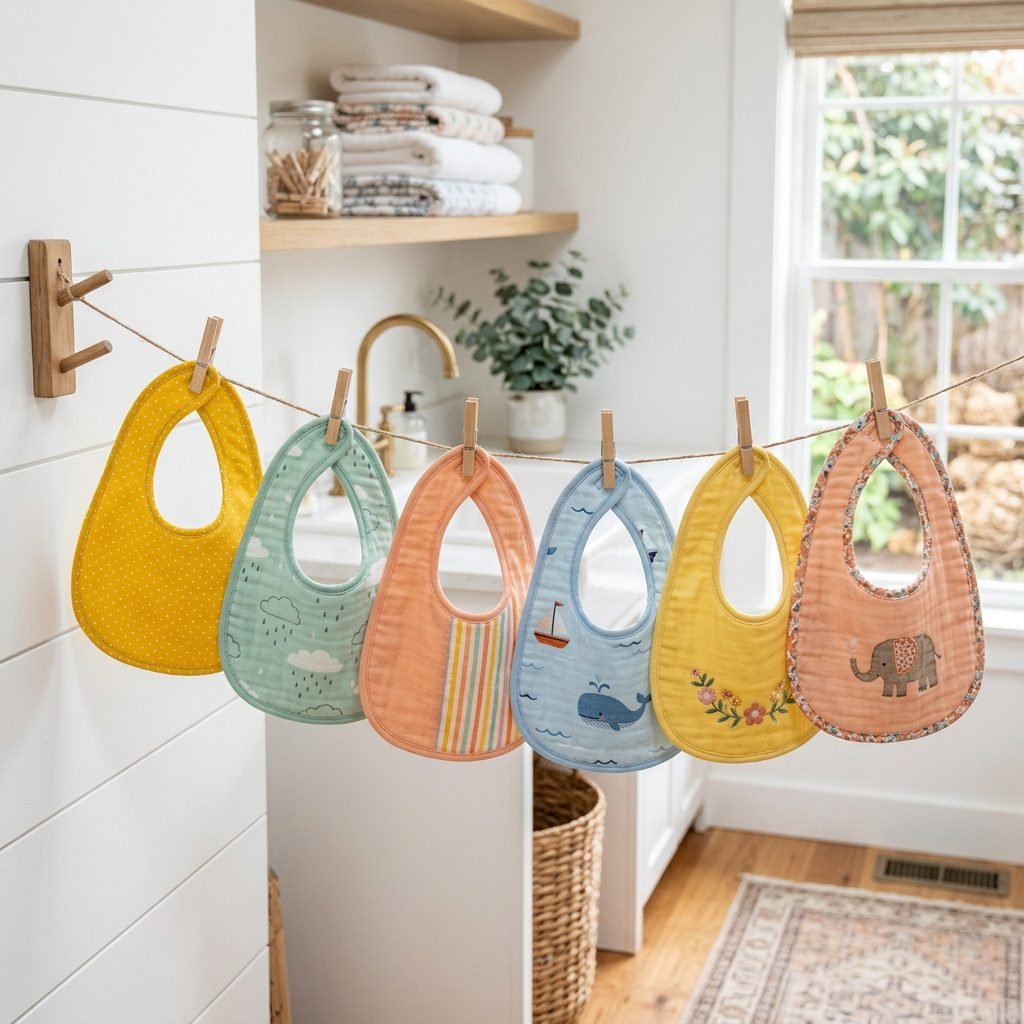
Your handmade bibs are durable, but they deserve a little love to keep them soft for your baby. Because we used organic cotton, they will actually get softer with every wash as the fibers open up.
Laundering Your DIY Bibs
- Wash Cold: To preserve colors and prevent excessive shrinking.
- Eco-Detergent: Use a fragrance-free, plant-based detergent to maintain the ‘organic’ integrity of the bib.
- Sun Dry: If possible, dry them in the sun. Sunlight is a natural disinfectant and can help bleach out yellow milk stains!
Important Safety Note
As a doula and safety advocate, I must remind you: Never let a baby sleep in a bib. Bibs should only be worn while the baby is awake and under direct supervision. Once the meal is over or the baby is placed down for a nap, remove the bib to prevent any risk of entanglement or suffocation.
Conclusion
You Did It, Mama!
Congratulations on crafting something beautiful and functional for your little one. Whether you made one bib or a dozen, you’ve taken a wonderful step toward a more sustainable and non-toxic nursery. These bibs also make incredible, heart-felt gifts for baby showers—nothing says ‘I care’ like a handmade item crafted from the purest materials. Wear that ‘Crafty Mom’ badge with pride, and enjoy those sweet, messy, milk-filled cuddles!
Medical Disclaimer: The information provided in this guide is for educational and DIY purposes only. Always supervise infants while wearing bibs. Consult with a pediatrician if your baby develops persistent skin rashes or irritation. This content is not a substitute for professional medical advice.