Turn Old Flannel Shirts Into Ultra-Soft DIY Reusable Baby Wipes
Embracing the Softness of a Second Life
Hello there, mama. If you are like most of us in those nesting weeks or the early haze of postpartum, you are looking for ways to make your home feel gentler, safer, and perhaps a bit more sustainable. There is something deeply grounding about holding a piece of fabric that has already lived a life—perhaps an old shirt of yours or a partner’s—and transforming it into something that will touch your baby’s delicate skin. Upcycling old flannel shirts into reusable baby wipes isn’t just a craft; it is a labor of love that honors both your budget and the environment.
As a doula, I often see parents overwhelmed by the sheer volume of ‘disposables’ that enter the home. Disposable wipes are convenient, yes, but they often contain fragrances and preservatives that can irritate a newborn’s brand-new skin barrier. By choosing flannel—especially well-loved, frequently washed flannel—you are providing your little one with a texture that is ultra-soft, highly absorbent, and free from mystery chemicals. Let’s walk through this process together, sister-to-sister, and create something beautiful and functional for your nursery.
Why Flannel is the Gold Standard for Baby’s Skin
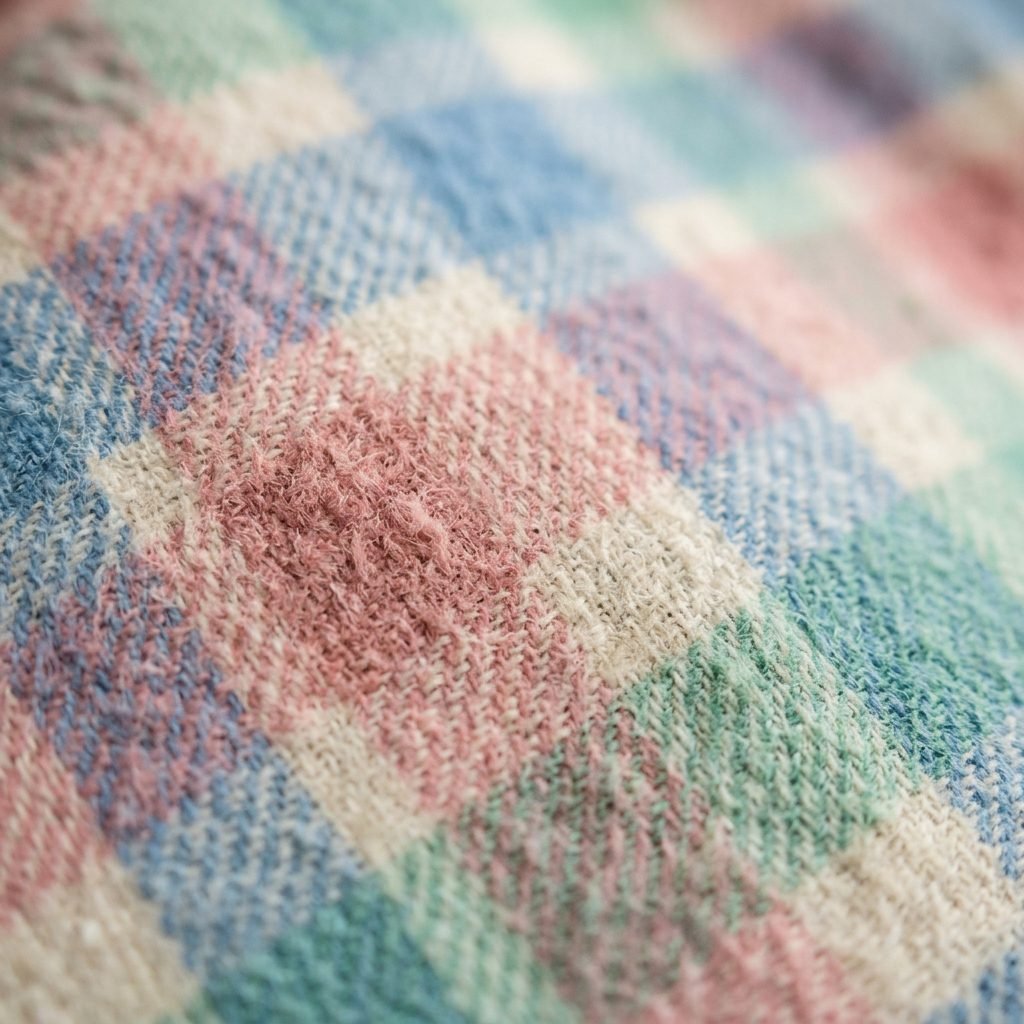
When we talk about the best fabrics for a baby’s bottom, cotton flannel is the undisputed queen. Why? Because flannel is a ‘napped’ fabric, meaning it has been brushed to create those tiny, soft fibers that feel like a cloud. Unlike new fabric, old flannel shirts have been laundered dozens of times, which has already broken down the stiff fibers and washed away any initial manufacturing chemicals.
The Benefits of Switching to Reusable Flannel
- Gentle Cleansing: The texture of flannel picks up messes much more efficiently than the slippery surface of a disposable wipe.
- Cost Savings: The average family spends over $500 in the first two years on disposable wipes alone. Upcycling costs you almost nothing.
- Reduced Diaper Rash: Using plain water or a simple DIY solution on natural cotton helps maintain the skin’s natural pH balance.
- Eco-Conscious Living: You are keeping textiles out of landfills and reducing the plastic waste associated with wipe packaging.
“Choosing reusables isn’t about being perfect; it’s about making a gentle choice for your baby’s future and a soft choice for their present.”
Gathering Your Supplies: The Upcycler’s Toolkit
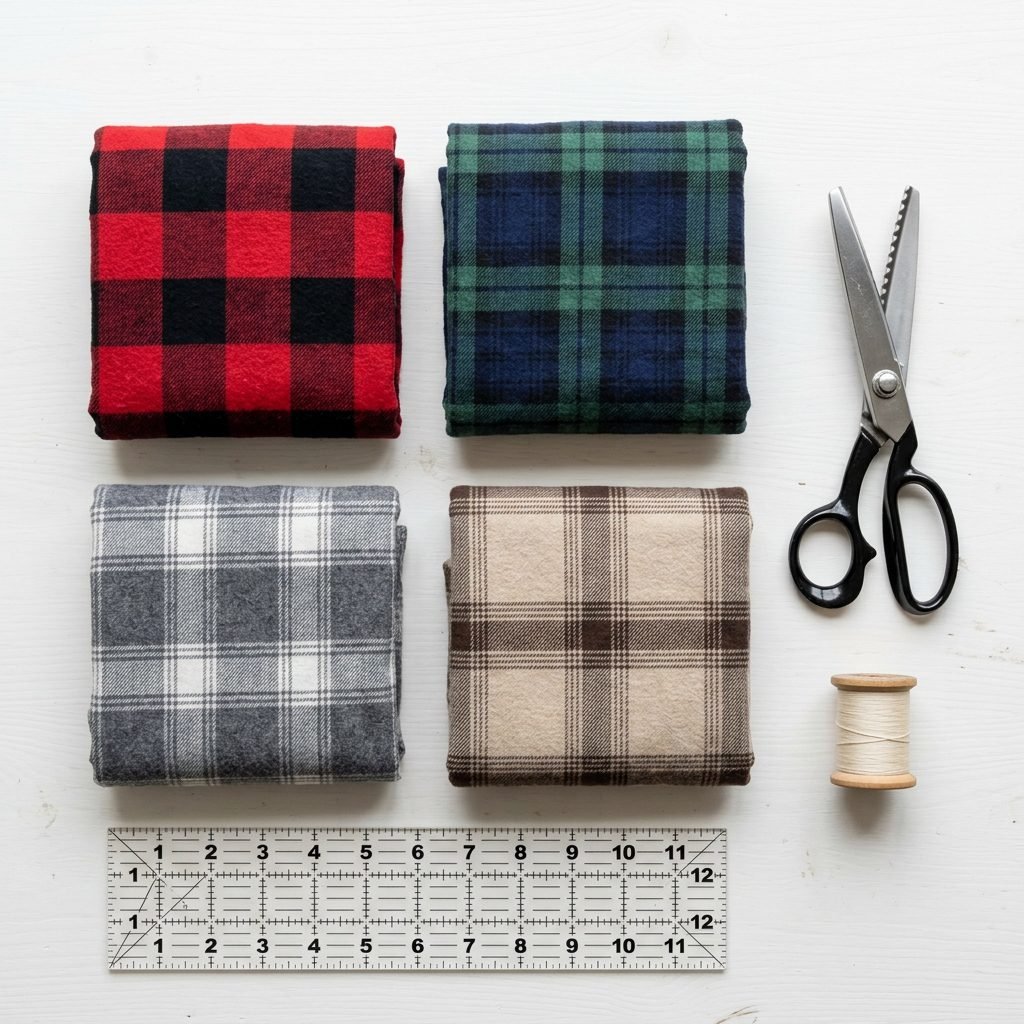
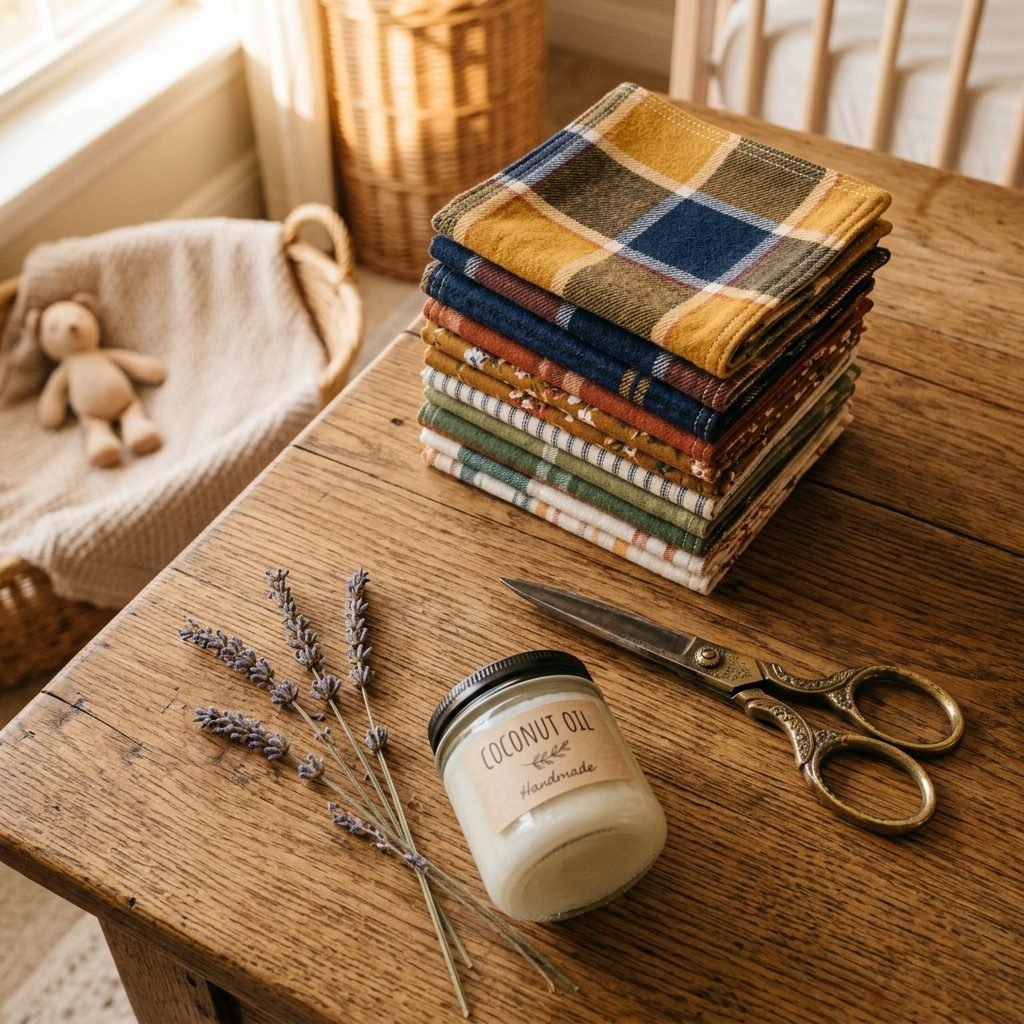
Before you start cutting into those memories, let’s make sure your workstation is ready. You don’t need a professional sewing studio to make these wipes. In fact, you can even make ‘no-sew’ versions if you have the right tools!
Essential Materials for DIY Wipes
| Item | Purpose | Pro-Tip |
|---|---|---|
| Old Flannel Shirts | The main material | 100% cotton is best for absorbency. |
| Fabric Shears or Rotary Cutter | Cutting the fabric | Sharp blades prevent fraying. |
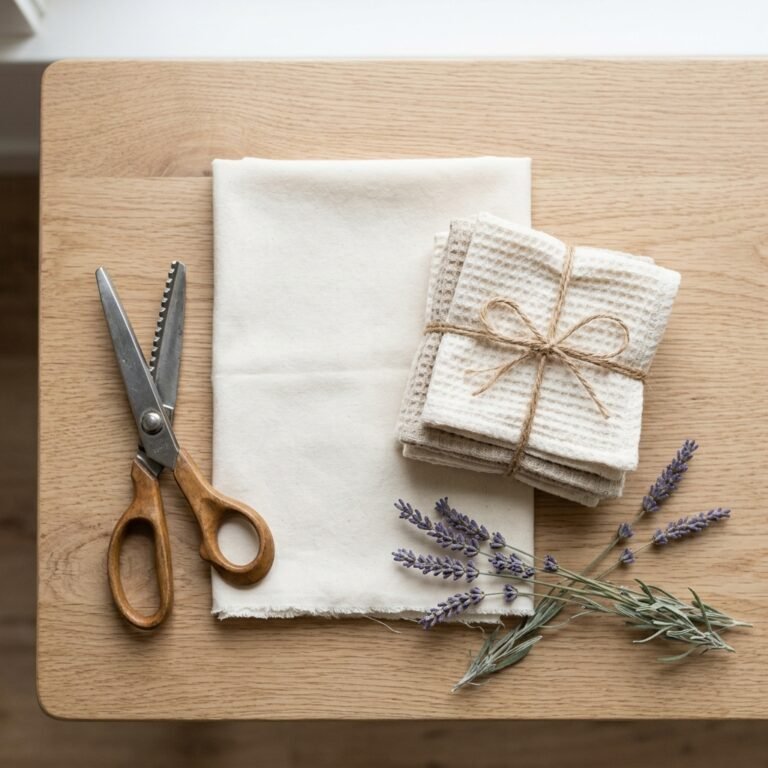
| Pinking Shears (Optional) | Edging for no-sew | The zigzag cut prevents the fabric from unraveling. |
| Sewing Machine or Serger | Finishing the edges | A simple zigzag stitch works wonders. |
| Cotton Thread | Binding the edges | Choose a fun, contrasting color for style! |
A note on fabric selection: Look for shirts that are 100% cotton. Avoid synthetic blends or ‘performance’ flannels, as they don’t absorb water as well and can sometimes feel ‘scratchy’ after a few washes. If the elbows are worn thin, don’t worry—you can cut your squares around the sturdier parts of the back and front panels.
Step-by-Step: From Shirt to Soft Wipe
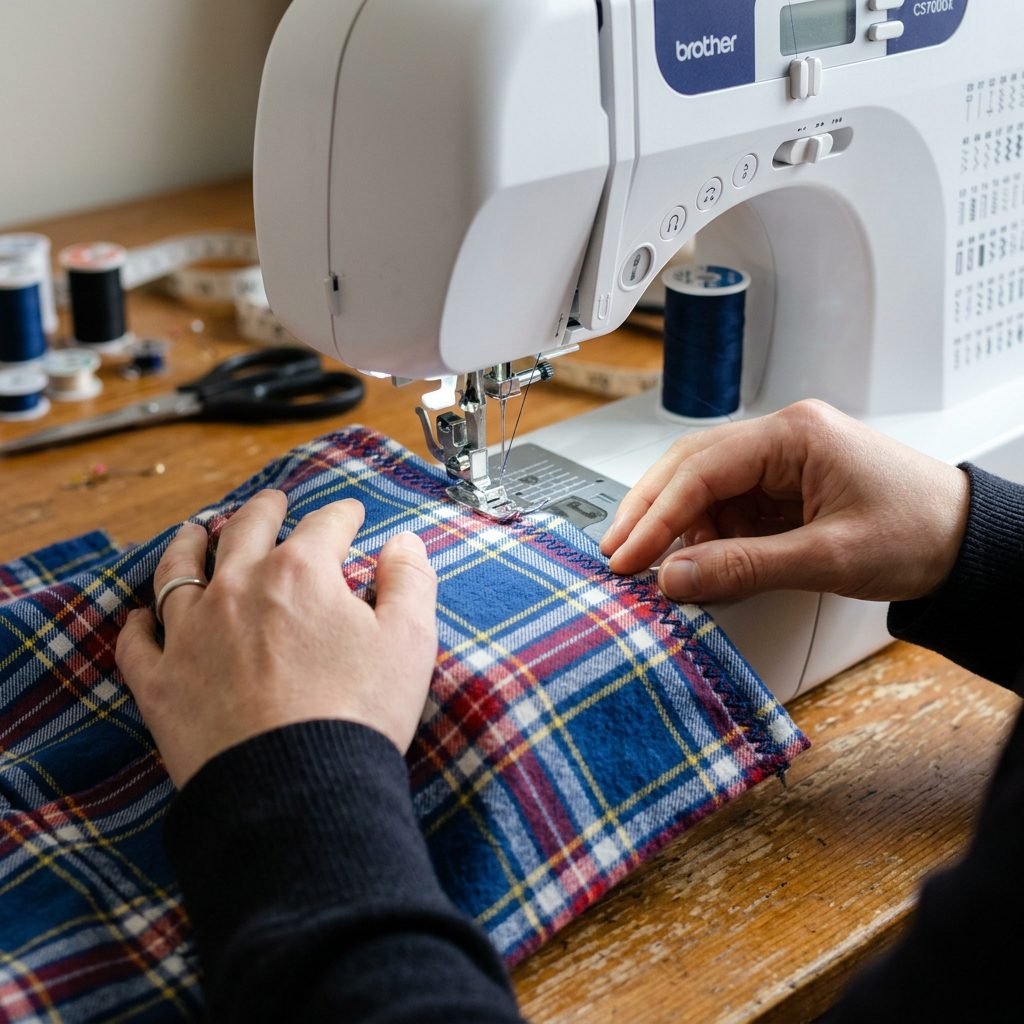
Let’s get to the heart of the project. Follow these steps to transform your shirts into a stack of nursery-ready wipes.
Instructions for Crafting Your Wipes
- Prep the Fabric: Wash and dry your old shirts on a hot cycle. This ensures they are fully preshrunk and sanitized before you begin.
- Deconstruct the Shirt: Use your shears to cut off the sleeves, the collar, and the button plackets. You want to lay the back panel and the two front panels as flat as possible on your cutting surface.
- Measure and Mark: Using a template (a 8×8 inch square is the ‘Goldilocks’ size), mark your squares on the fabric. You can use a washable fabric marker or even a piece of chalk.
- The Big Cut: Carefully cut out your squares. From a single adult large shirt, you can typically get 12 to 15 wipes.
- Finish the Edges:
- The Sewing Method: Use a zigzag stitch or a serger around the perimeter of each square. This prevents fraying during the hundreds of washes these wipes will endure.
- The No-Sew Method: If you don’t sew, use pinking shears to cut the edges. The notched edge significantly slows down fraying.
- Final Wash: Give the finished wipes one more quick wash to remove any loose threads or lint from the cutting process.
“Every stitch you place is a moment of preparation for the little one who will soon be in your arms. Enjoy the slow rhythm of the machine.”
The Secret Sauce: DIY Wipe Solutions
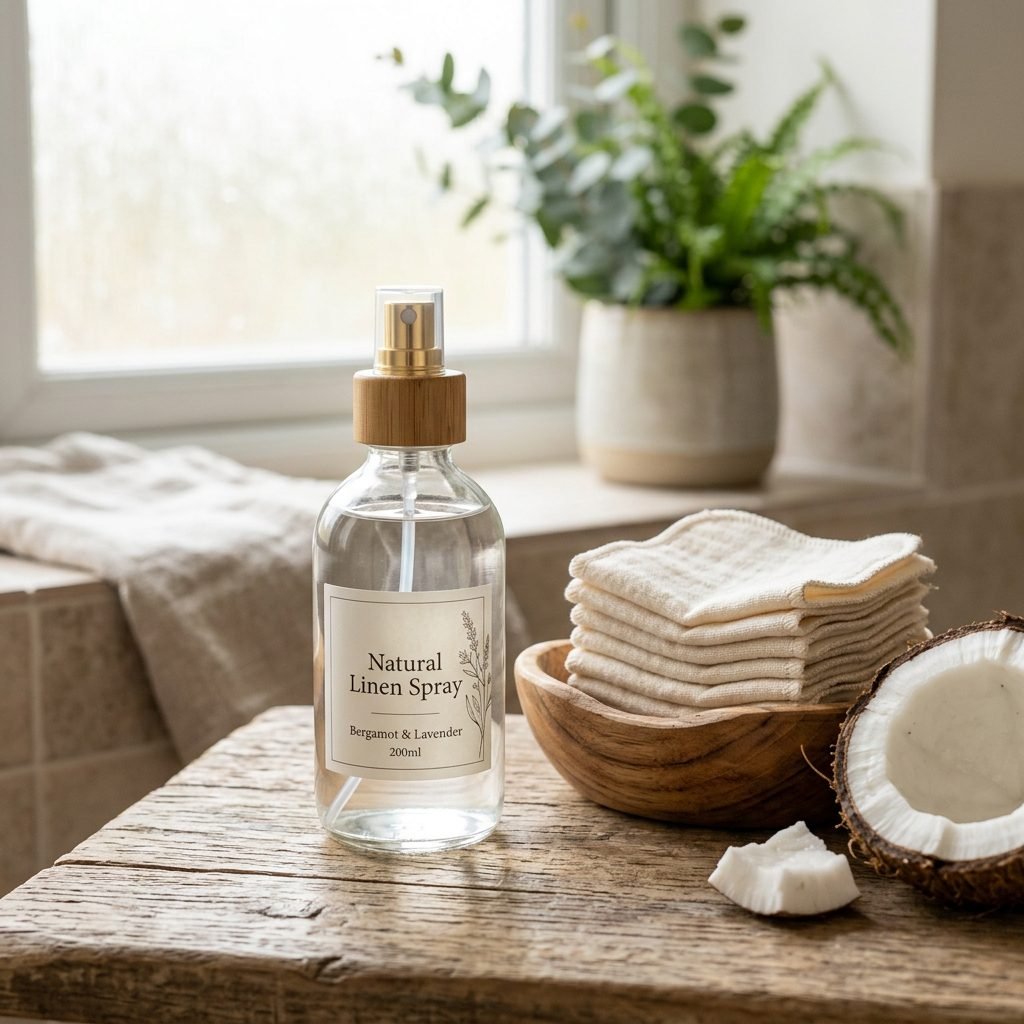
Now that you have your beautiful stack of flannel wipes, you need a solution to use with them. Many mamas prefer to keep their wipes dry in a basket and spray them with a solution as needed, while others prefer to keep them pre-moistened in a warmer or container.
Safe & Soothing Wipe Solution Recipes
| Ingredient | Benefit | Amount |
|---|---|---|
| Distilled Water | Pure base, prevents mold | 2 Cups |
| Fractionated Coconut Oil | Moisturizes and provides ‘glide’ | 1 Tablespoon |
| Liquid Castile Soap (Unscented) | Gentle cleansing agent | 1 Teaspoon |
| Vitamin E Oil (Optional) | Natural preservative/skin healer | 2-3 Drops |
Instructions: Simply whisk these ingredients together in a glass bowl. If you are using a spray bottle, pour the mixture in and shake gently before each use. If you prefer pre-moistened wipes, fold your flannel squares into a container and pour the solution over them until they are damp but not dripping. Important: Only make enough pre-moistened wipes for 2-3 days at a time to ensure they stay fresh and bacteria-free.
Storage and Laundry: Making the System Work
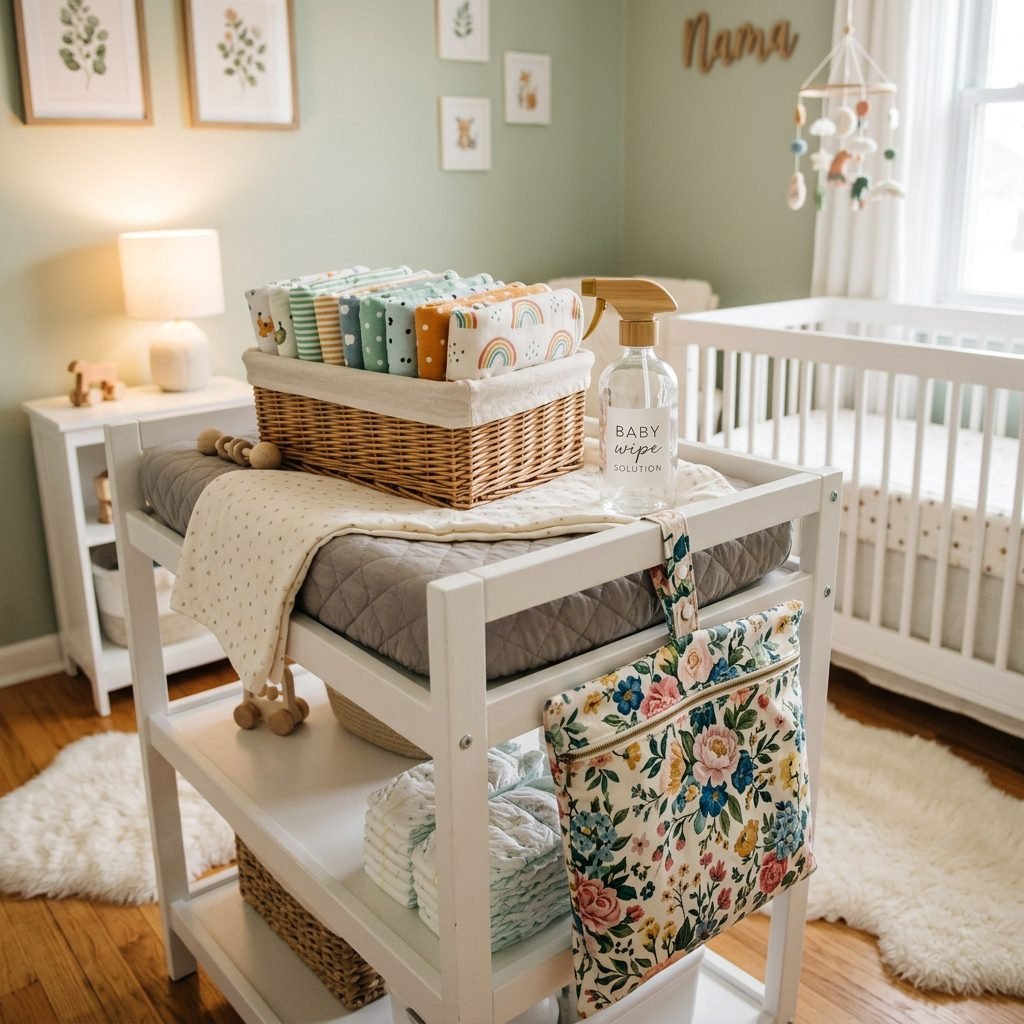
I know what you’re thinking, mama: ‘Is this going to be a lot of extra work?’ I promise you, once the system is in place, it becomes second nature. The key is organization.
The ‘Clean to Dirty’ Workflow
- The Clean Station: Keep your dry wipes in a pretty basket or a repurposed wipes container right on your changing table.
- The Wet Bag: Have a small, waterproof ‘wet bag’ hanging from the side of the table. When you’re done with a wipe, simply toss it in. No rinsing required for breastfed babies!
- The Laundry Routine: Wash your wipes along with your cloth diapers or baby towels. Use a hot water cycle and a fragrance-free, enzyme-rich detergent. Avoid fabric softeners, as they coat the fibers and make the flannel less absorbent over time.
If you find that your wipes are getting a bit ‘stiff’ after air-drying, a quick 10-minute tumble in the dryer on low heat will bring back that signature flannel fluffiness. Pro-Tip: Use wool dryer balls to soften the fabric naturally without chemicals.
The Impact: Budget and Environment Comparison
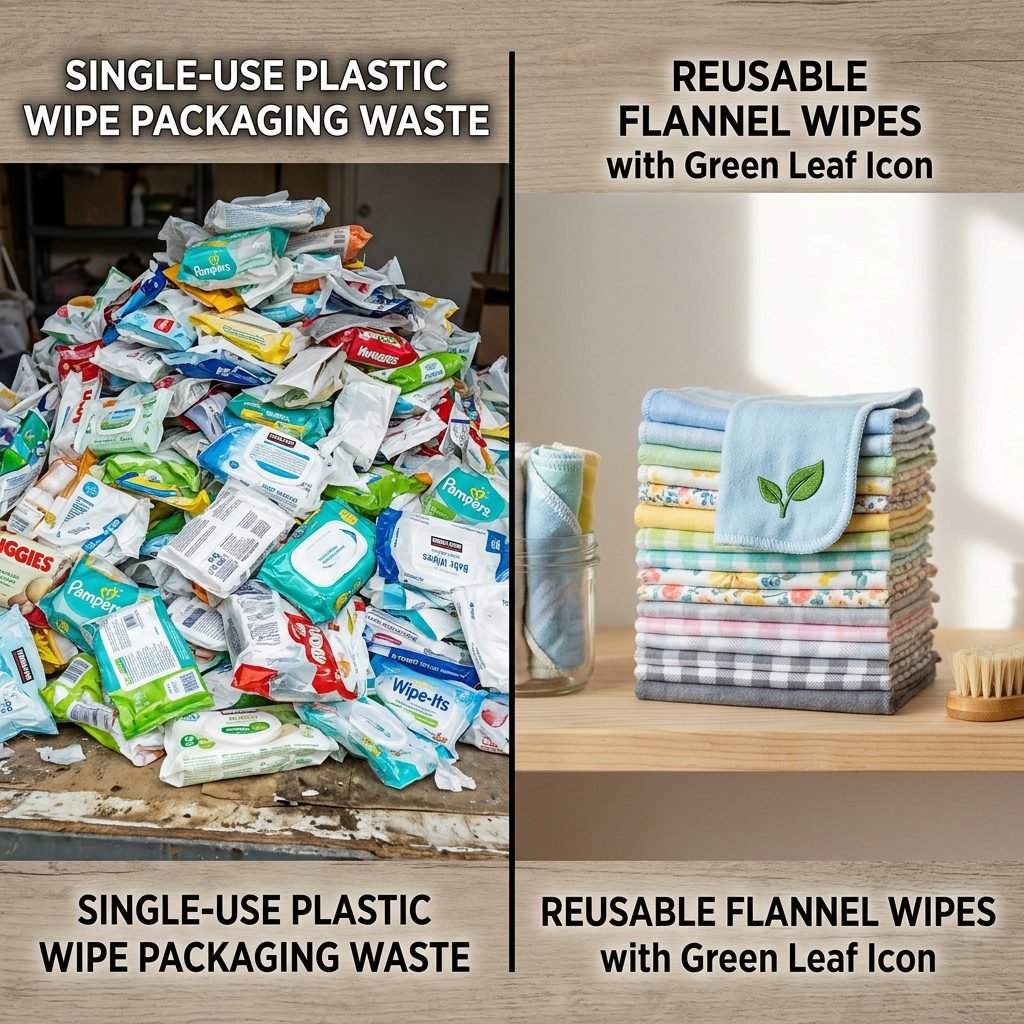
Let’s look at the numbers, because being a practical mama means keeping an eye on the family’s bottom line. When you choose to upcycle, the savings are immediate and compounding.
| Feature | Disposable Wipes | Upcycled Flannel Wipes |
|---|---|---|
| Initial Cost | $2 – $5 per pack | $0 (Upcycled from home) |
| 2-Year Total Cost | Approx. $500 – $700 | Approx. $20 (Laundry costs) |
| Chemical Load | Preservatives, Fragrance, Plastic | 100% Natural Cotton |
| Waste Produced | 15,000+ wipes in landfill | Zero waste |
| Durability | Single-use | Can be used for multiple children |
Beyond the money, there is a peace of mind that comes from knowing exactly what is touching your baby. In those early postpartum weeks, when everything feels new and sometimes a bit scary, having control over these small details can be incredibly empowering.
Conclusion
A Soft Start for Your Little One
Mama, you are doing a wonderful job. Whether you choose to go 100% reusable or just keep a small stack of these flannel wipes for ‘heavy-duty’ cleanups, you are making a choice that prioritizes health, comfort, and sustainability. These little squares of fabric, once part of a shirt that kept you warm, will now provide that same warmth and softness to your baby. It’s a beautiful cycle of care.
As you prepare your nursery, remember that the most important thing you provide isn’t the ‘stuff’—it’s the love and intention you put into every detail. Happy crafting, and may your postpartum journey be as soft as a well-worn flannel shirt.