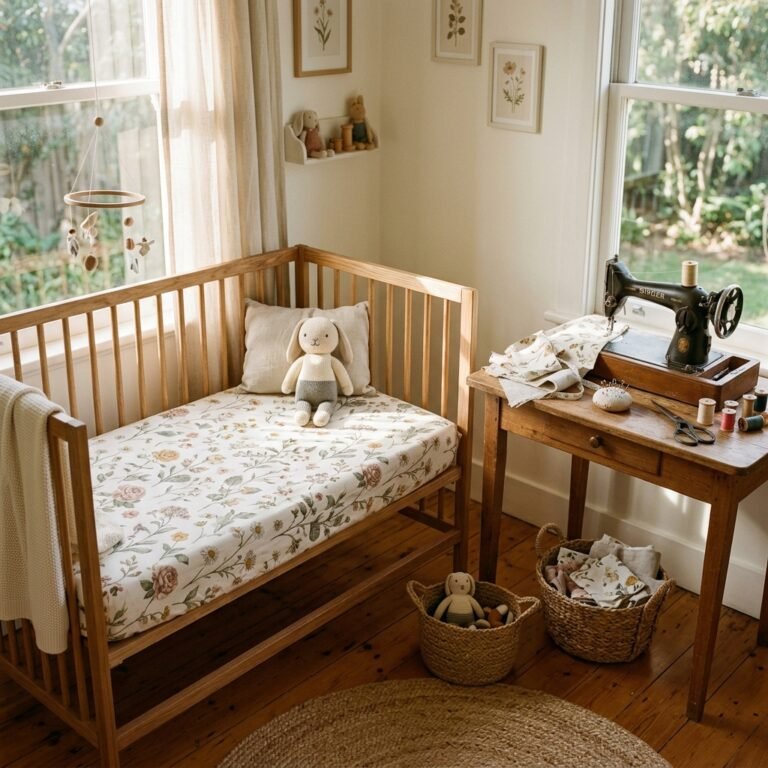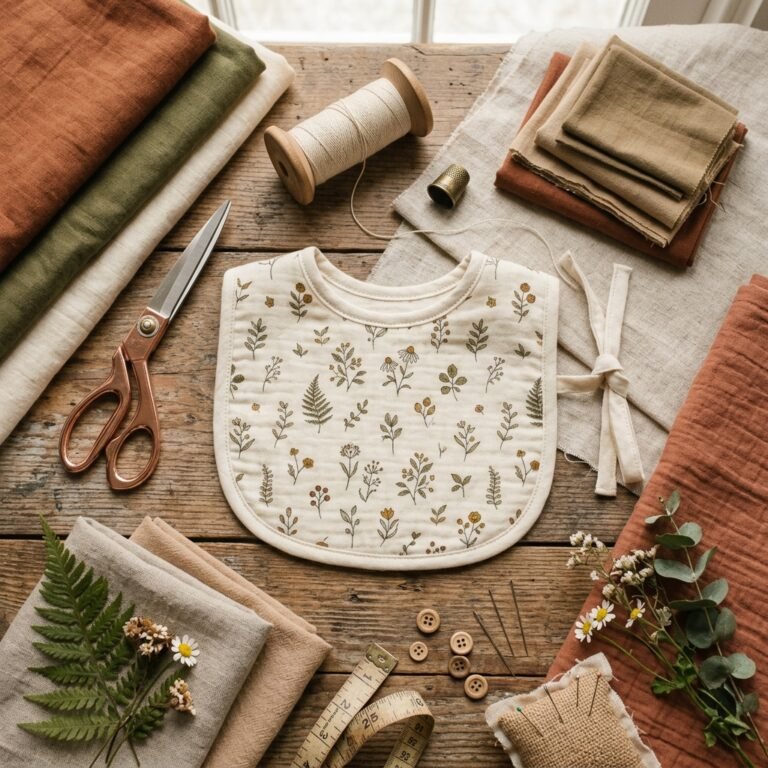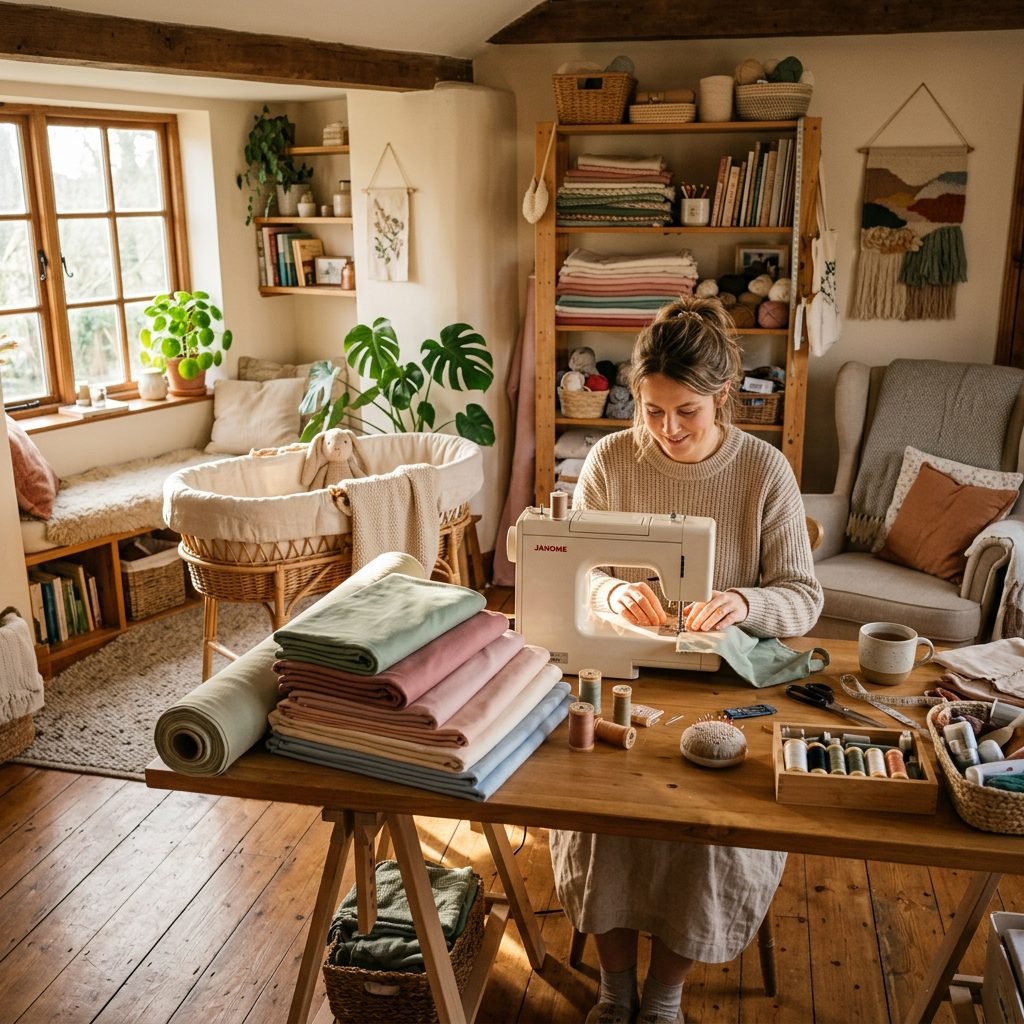
Save Money: DIY Cotton Knit Fitted Bassinet Sheets Sewing Pattern
The Sweetness of the Nesting Phase
Oh, mama, I see you. You’re in that beautiful, slightly frantic, and deeply emotional phase where every corner of the nursery needs to be just right. Whether you’re 20 weeks or 36 weeks along, the urge to create a safe, soft, and stylish space for your little one is a powerful expression of love. As a doula, I’ve seen so many mothers find peace in these small, tactile projects. There is something profoundly healing about working with your hands to prepare for the life you’re carrying.
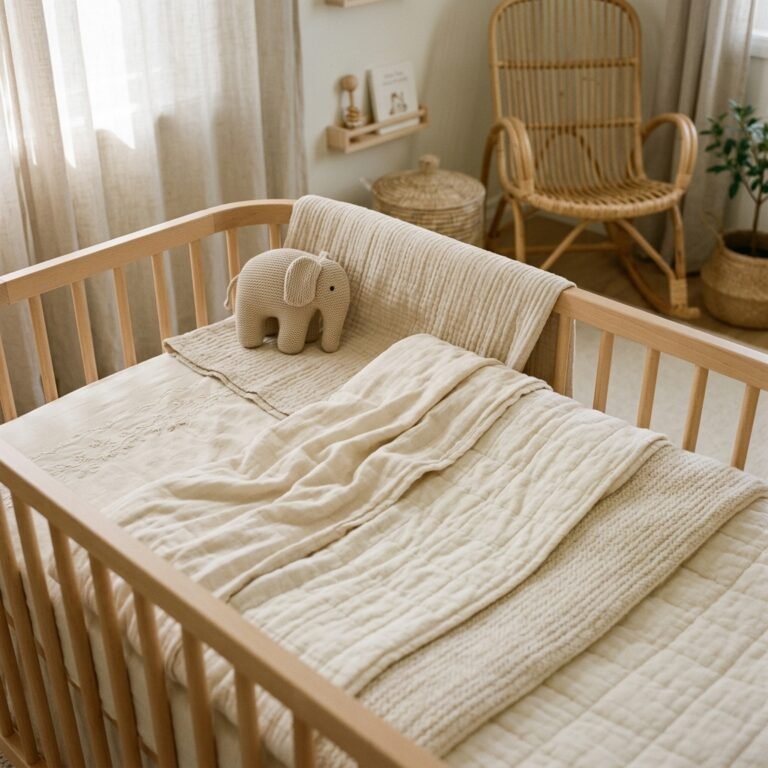
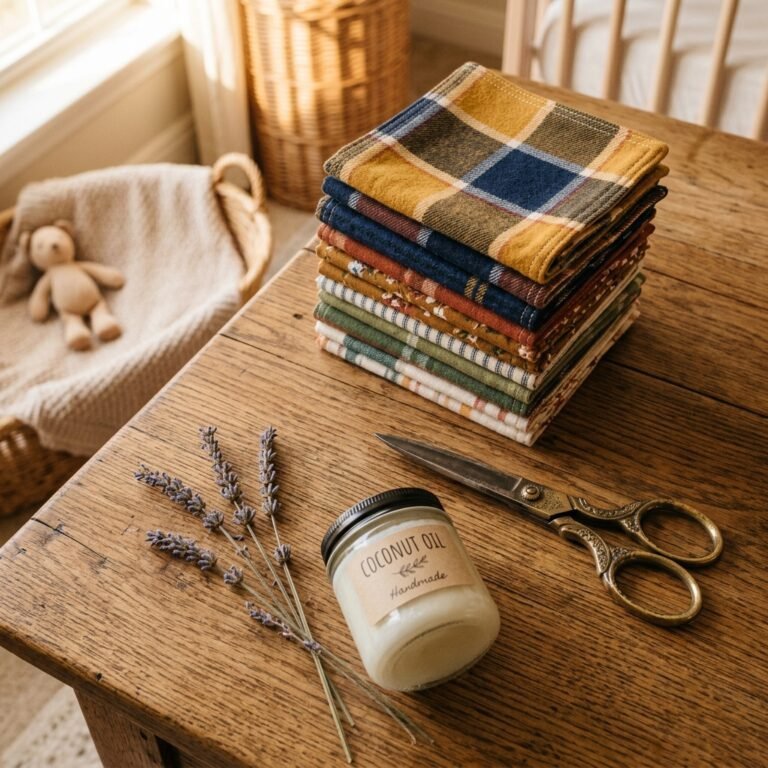
Bassinet sheets might seem like a small detail, but when you consider how much time your newborn will spend sleeping (hopefully!), the quality of that fabric matters. Boutique organic cotton sheets can cost upwards of $30 to $45 per sheet. By making them yourself, you can ensure the highest quality organic materials for a fraction of the price—often under $8 per sheet. Today, I’m walking you through a simple, beginner-friendly sewing pattern that will help you stock your nursery with love and savings.
Why DIY? The Benefits of Custom Bassinet Bedding
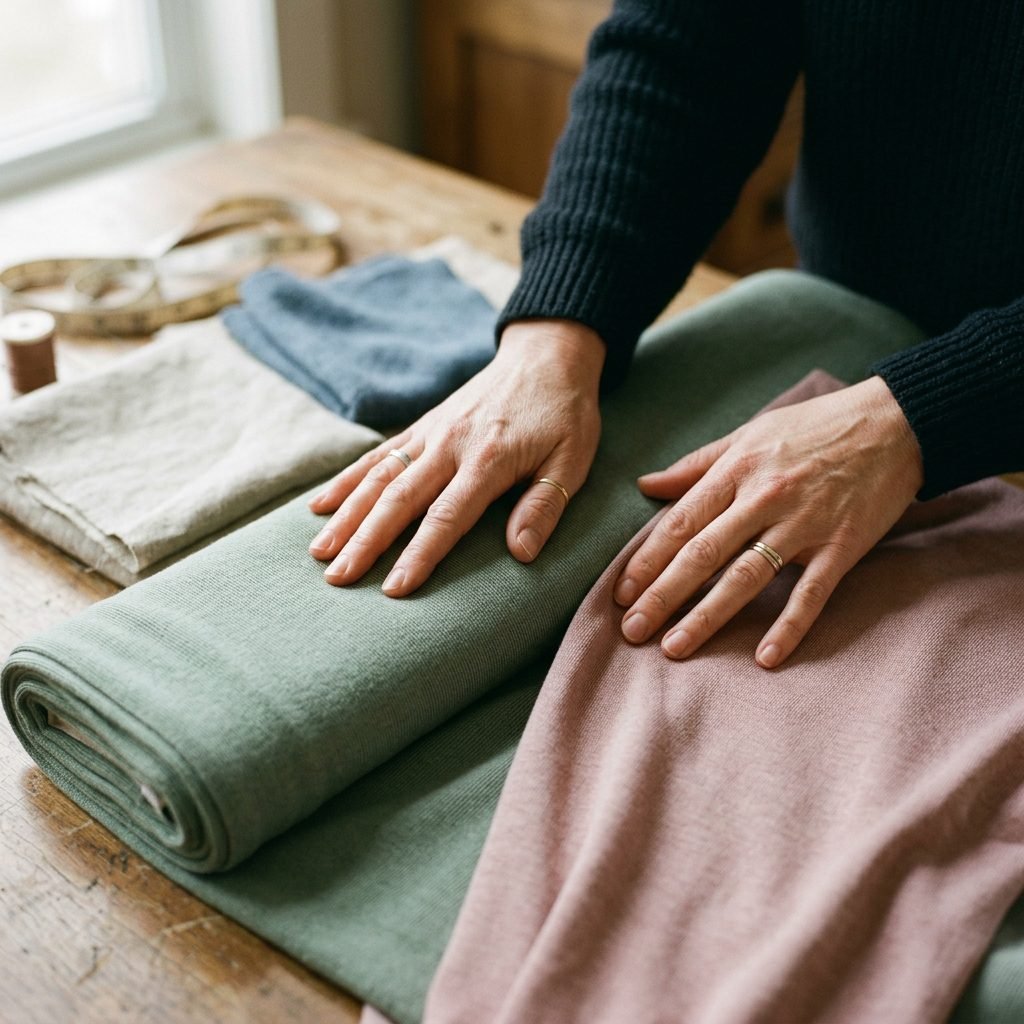
When you choose to sew your own bassinet sheets, you aren’t just saving money; you are taking control of your baby’s sleep environment. Most store-bought sheets are made of thin polyester blends or treated with harsh chemicals during manufacturing. By sourcing your own GOTS-certified organic cotton jersey, you ensure that only the purest fibers touch your baby’s delicate skin.
Furthermore, bassinets come in all shapes and sizes—oval, rectangular, hourglass, and even custom co-sleepers. Finding sheets that fit snugly can be a nightmare. A DIY approach allows you to create a custom fit for any mattress, which is crucial for Safe Sleep guidelines. A loose sheet is a hazard; a custom-sewn sheet is a security measure. Plus, you get to choose the prints! Whether you want moody florals, minimalist earth tones, or whimsical animals, the fabric store is your oyster.
The Budget Breakdown: DIY vs. Retail
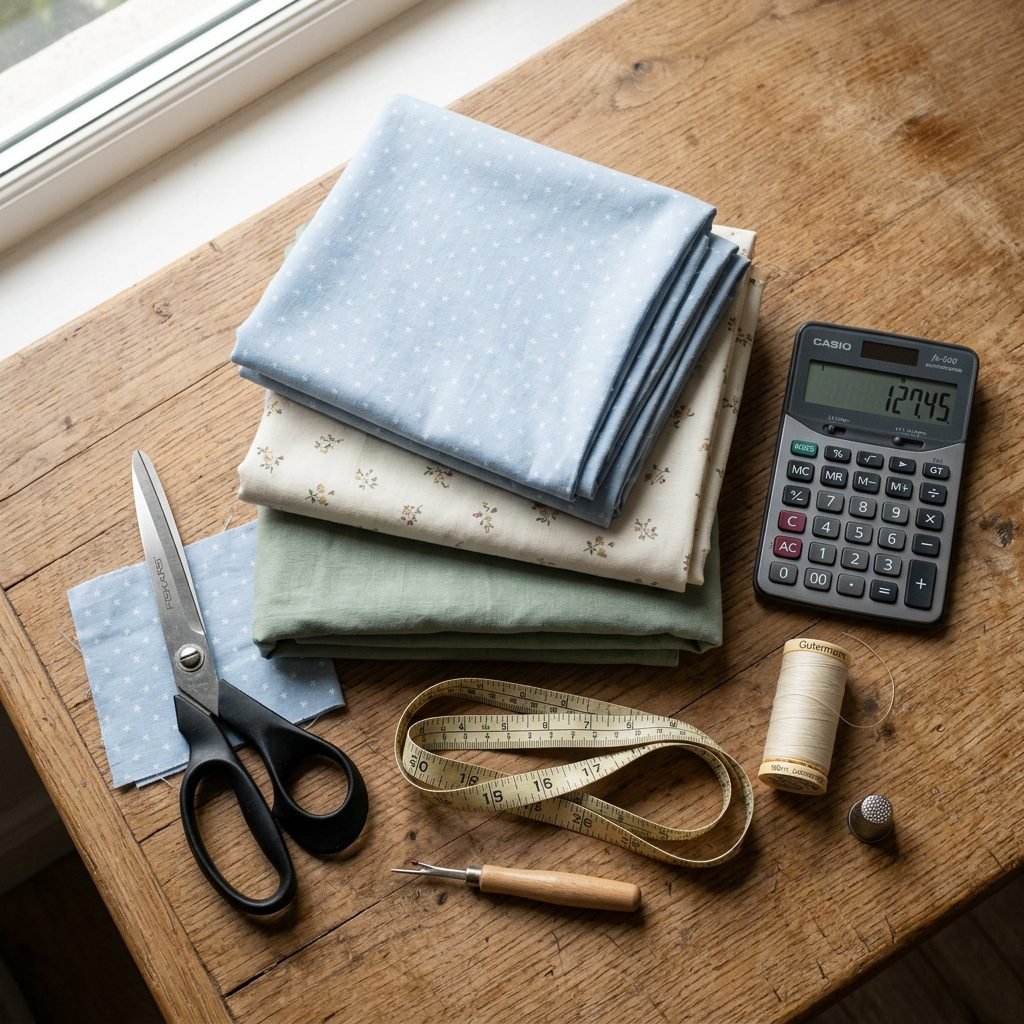
Let’s talk numbers, because I know that preparing for a baby can feel like a constant stream of expenses. When we look at the cost of high-end, organic cotton sheets compared to the cost of a few yards of fabric, the savings are undeniable. One yard of 60-inch wide cotton jersey can usually yield two bassinet sheets.
| Item | Boutique Retail Cost | DIY Project Cost | |
|---|---|---|---|
| Organic Cotton Sheet (1) | $35.00 | $7.50 | $27.50 |
| Set of 3 Sheets | $105.00 | $22.50 | $82.50 |
| Custom Sizing Fee | $15.00+ | $0.00 | $15.00 |
| Total Potential Savings | – | – | $97.50+ |
With the nearly $100 you save on just three sheets, you could put that money toward a high-quality nursing pillow, a postpartum doula visit, or your diaper fund. Practicality meets pampering!
Fabric Selection: What You Need to Know
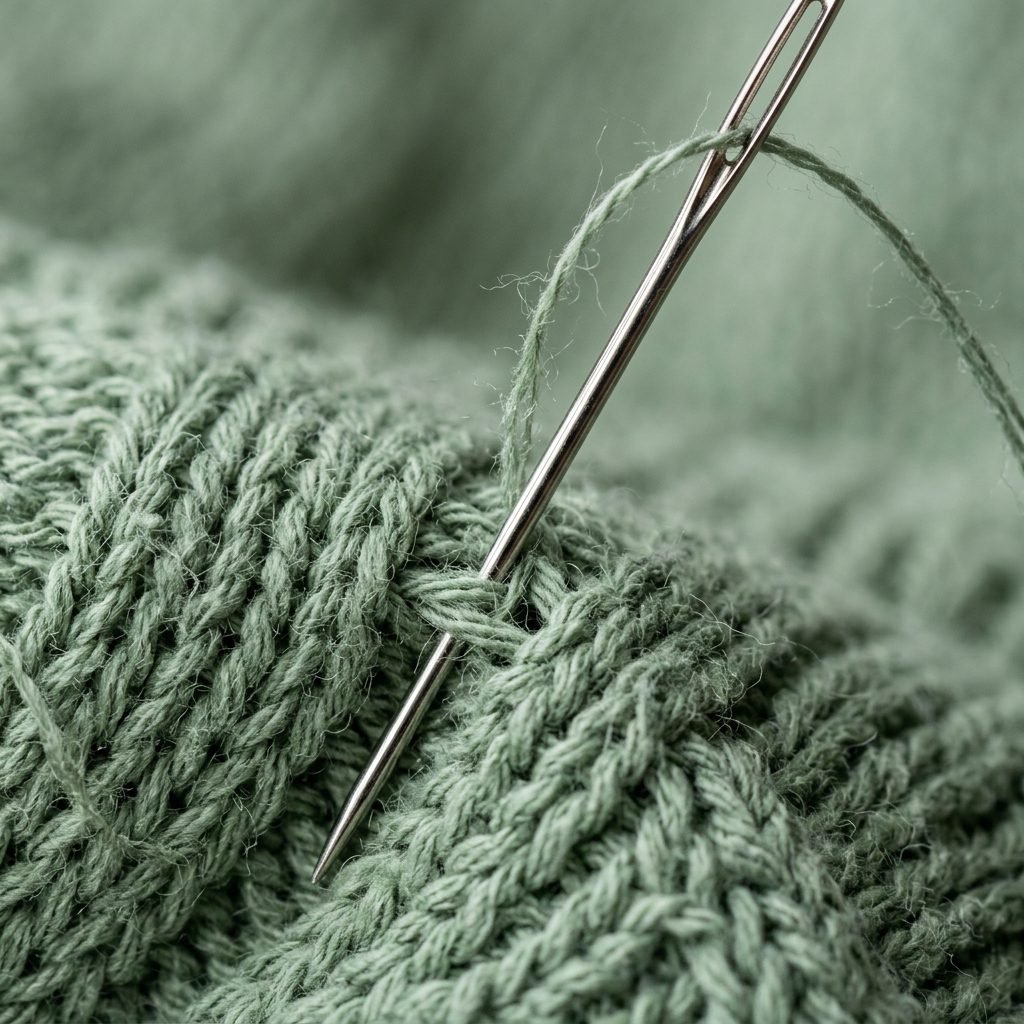
Choosing the Right Knit
Not all fabrics are created equal for bedding. You want a fabric with a bit of stretch but excellent recovery. Here are my top recommendations:
- Cotton Jersey: This is the most common t-shirt material. It’s breathable, soft, and easy to wash. Look for a 95% cotton / 5% spandex blend for the best fit.
- Cotton Interlock: This is slightly thicker than jersey and looks the same on both sides. It is incredibly soft and very stable to sew, making it perfect for beginners.
- Organic Bamboo Knit: If you want ultimate softness and temperature regulation, bamboo is a dream. Just be aware it can be a bit ‘slippery’ under the sewing machine.
Pro-Tip: Always pre-wash your fabric in a ‘free and clear’ detergent before cutting. Natural fibers shrink, and you want that shrinkage to happen before you sew your perfect fit!
Measuring and Cutting Your Pattern
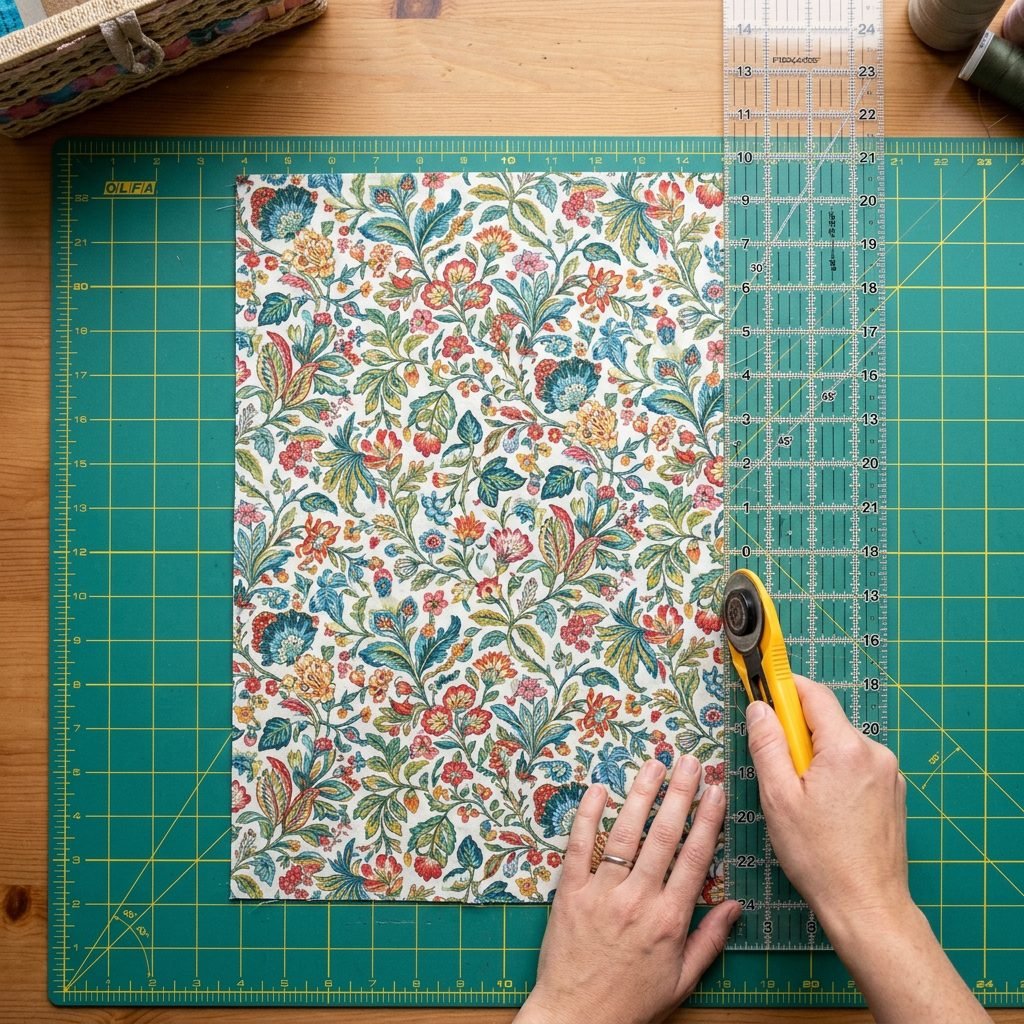
Since bassinets vary, we aren’t using a one-size-fits-all paper pattern. Instead, we are using the ‘Mattress + Depth’ formula. Grab your measuring tape and follow these steps:
- Measure the Length (L) and Width (W) of the mattress top.
- Measure the Depth (D) of the mattress (usually 1-2 inches).
- Calculate the Fabric Cut:
- Total Length = L + (2 x D) + 4 inches (for the wrap-around and casing).
- Total Width = W + (2 x D) + 4 inches.
For example, if your mattress is 30″ x 15″ x 1″, your fabric cut would be 36″ x 21″. This ensures there is plenty of fabric to tuck safely under the mattress, held tight by the elastic.
Step-by-Step Sewing Instructions
1. Cut the Corner Squares
To create the ‘fitted’ part of the sheet, you need to cut a square out of each of the four corners of your fabric rectangle. The size of the square should be D + 3 inches. If your mattress is 1 inch deep, cut a 4-inch square out of each corner.
2. Sew the Corner Seams
Bring the right sides of the fabric together at each corner, matching the edges you just cut. Sew with a 1/4 inch seam allowance. If you have a serger, use it here! If not, a zigzag stitch on a regular machine works perfectly to allow the seam to stretch.
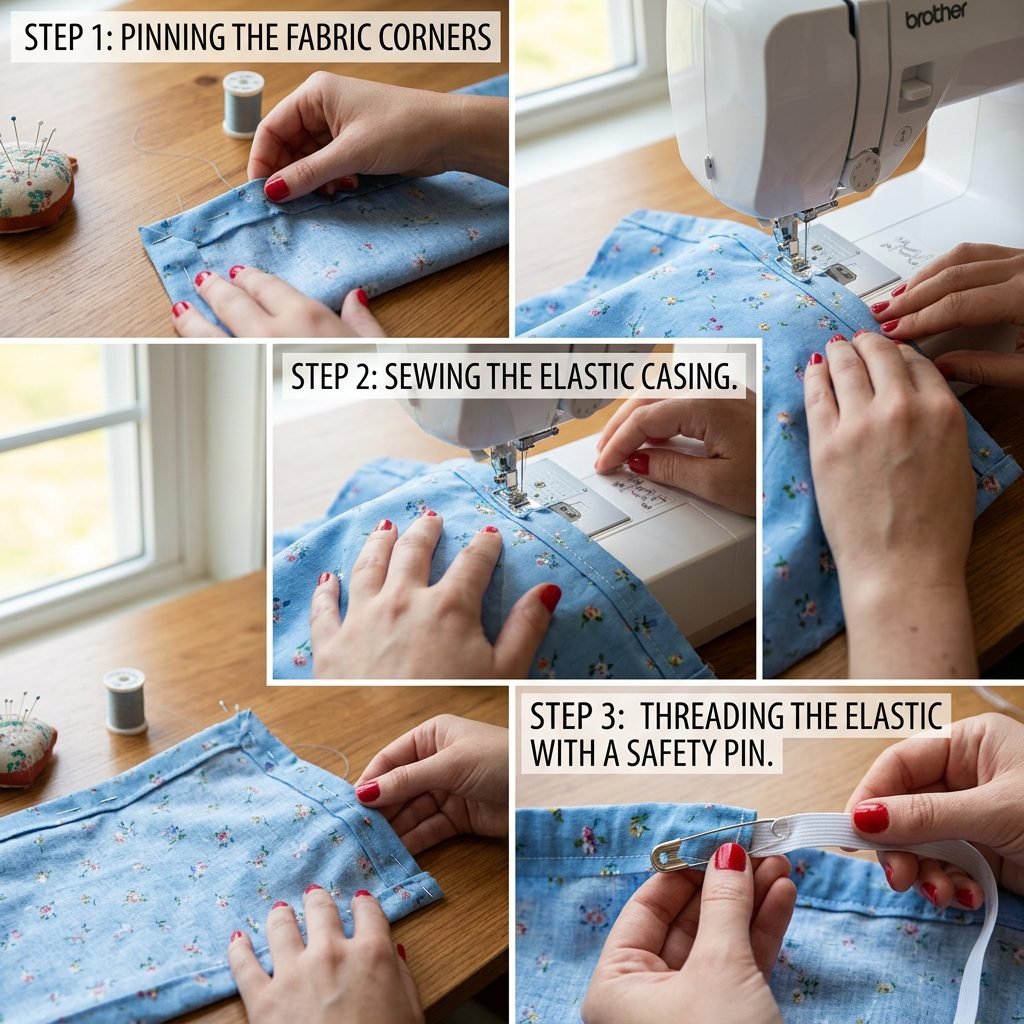
3. Create the Elastic Casing
Fold the raw edge of the entire sheet toward the wrong side by 1/2 inch and press. Fold it again by 1/2 inch to create a channel. Pin in place. Sew around the perimeter, leaving a 1-inch gap to thread the elastic.
4. Thread the Elastic
Using a safety pin, thread 1/4 inch braided elastic through the casing. For a standard bassinet, you will need about 35-45 inches of elastic. Pull it tight until the sheet looks gathered and fits the mattress snugly. Sew the elastic ends together, then sew the gap in the casing closed.
Safe Sleep and Final Fitting
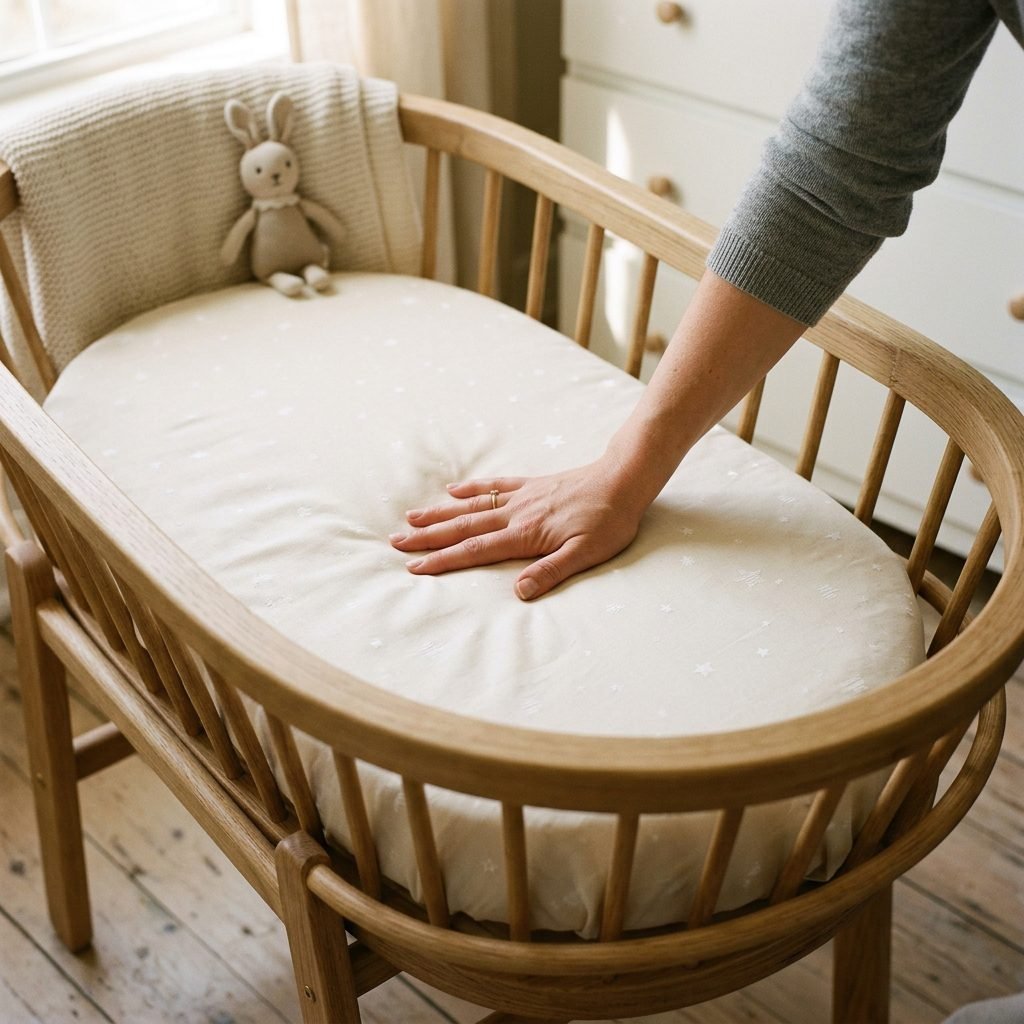
As a doula, safety is my number one priority. Once you’ve finished your masterpiece, you must perform the ‘Snug Test’. Place the sheet on the mattress and ensure there are no loose areas or fabric that can be pulled up more than an inch. The surface should be as flat and firm as a drum.
Safe Sleep Checklist:
- No Pillows or Blankets: Only the fitted sheet should be in the bassinet.
- Tight Fit: The elastic should be strong enough to keep the sheet from popping off the corners.
- Breathability: Ensure you used 100% cotton or a high-cotton blend to prevent overheating.
By following these steps, you’ve created a sleep environment that is not only beautiful and budget-friendly but also meets the highest safety standards for your new arrival.
Conclusion
You Made This with Love
There is a special kind of magic in the items we make for our children. Every time you lay your baby down in their bassinet, you’ll see the fabric you chose and remember the quiet afternoons spent sewing and dreaming of their arrival. You’ve saved money, you’ve ensured their safety, and you’ve added a personal touch to your nursery that no big-box store could ever replicate.
Enjoy these final weeks of preparation, mama. You are doing an incredible job, and your little one is so lucky to have a mother who cares so deeply about the details. Happy sewing!