Creative DIY: How to Turn a Vintage Wooden Ladder Into a Nursery Book Display
Welcome to the Magic of Nesting, Mama
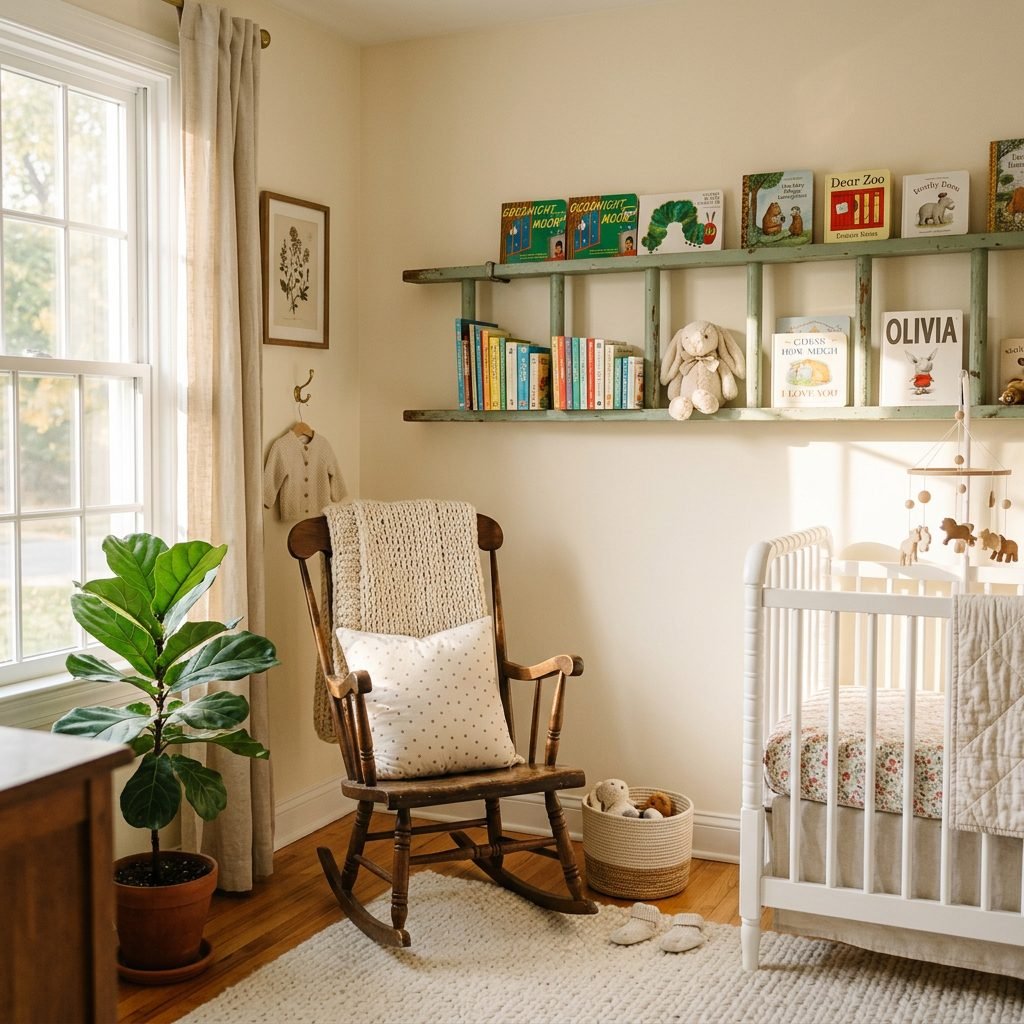
There is a special kind of magic that happens during the second and third trimesters. It is that irresistible urge to scrub every baseboard, organize every tiny onesie by color, and create a sanctuary that feels as warm and welcoming as a hug. As a doula, I have sat with so many of you during this ‘nesting phase,’ and I know that creating a beautiful space for your little one isn’t just about aesthetics—it is about preparing your heart and home for a new life. One of the most charming ways to add character and functionality to your nursery is by repurposing a vintage wooden ladder into a book display. It is sustainable, budget-friendly, and adds a touch of storybook whimsy that modern furniture just can’t replicate. Whether you are a seasoned DIY-er or a first-time crafter, this project is a beautiful way to channel that nesting energy into something tangible. Let’s walk through this journey together, sister to sister, and build a library that will hold the stories you’ll read to your baby for years to come.
Sourcing Your Vintage Treasure with a Doula’s Eye for Safety

The first step in our creative journey is finding the perfect ladder. This isn’t just about finding any old piece of wood; it is about finding a piece with soul that is also structurally sound for a nursery environment. When you are scouting flea markets, antique shops, or even your grandparents’ garage, look for a ladder that is between 4 to 6 feet long. This size is ideal for mounting horizontally above a changing table or along a low wall where your toddler can eventually reach their own books. However, vintage doesn’t have to mean ‘falling apart.’ We want to avoid ladders with deep cracks in the rungs or signs of wood rot.
What to Look for in a Vintage Ladder
- Solid Wood Construction: Pine, oak, or cedar are excellent choices for durability.
- Sturdy Rungs: Ensure the rungs are firmly attached to the side rails. We will be reinforcing them, but a solid foundation is key.
- Width: A ladder that is 12 to 15 inches wide provides the perfect depth for standard children’s board books and picture books.
As your doula-expert, I must remind you to be mindful of your physical limits while sourcing. If you are in your third trimester, please do not lift heavy ladders alone! Bring a partner, a friend, or your own ‘village’ to help with the heavy lifting. Your safety and the safety of your growing bump always come first.
The Preparation Phase: Testing, Cleaning, and Smoothing
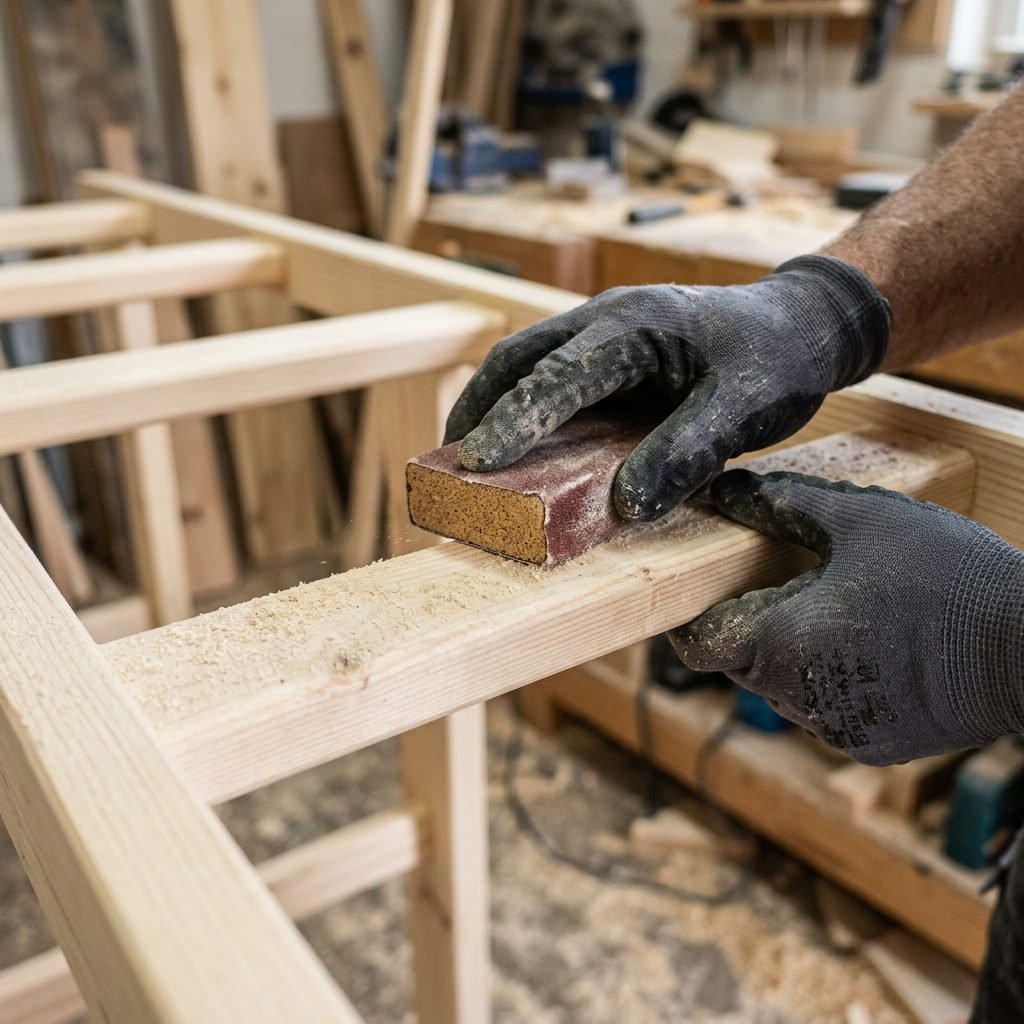
Once you’ve brought your treasure home, it is time for the most important part of working with vintage wood: the safety check. Many older ladders were coated in paints that contain lead, which is a major no-no for a nursery. Before you pick up a sander, you must use a lead testing kit. These are inexpensive and available at any hardware store. Simply follow the instructions to see if the existing finish is safe. If it tests positive for lead, it is best to find a different ladder or consult a professional for lead abatement, as sanding lead paint releases toxic dust into your home.
Step-by-Step Prep Guide
- Deep Clean: Use a mixture of warm water and mild dish soap to scrub away decades of dust and grime. Let it dry completely for at least 24 hours.
- Sanding for Smoothness: Start with a coarse 80-grit sandpaper to remove any old flakes of paint or splinters. Move to a 120-grit for general smoothing, and finish with a 220-grit for a buttery-soft feel. We want this ladder to be so smooth that even the most delicate baby fingers won’t catch a splinter.
- Wipe Down: Use a tack cloth or a damp microfiber towel to remove every last speck of sawdust.
Mama, remember that sanding can be a workout! Take frequent breaks, stay hydrated, and always wear a high-quality N95 mask to protect your lungs from dust, even if the wood is unpainted.
The Non-Toxic Glow-Up: Choosing Safe Finishes
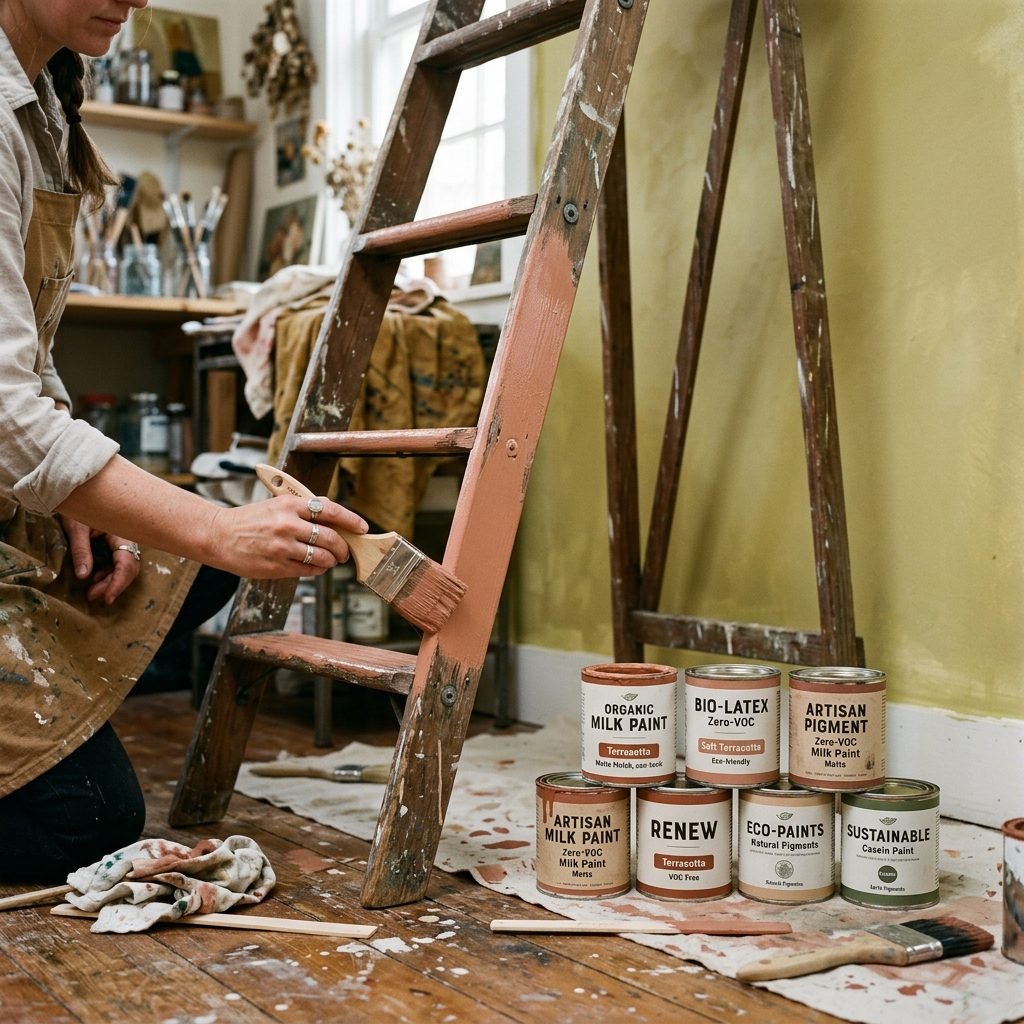
Now comes the fun part—bringing your vision to life with color! In a nursery, air quality is everything. Traditional oil-based paints and stains can off-gas Volatile Organic Compounds (VOCs) for weeks, which isn’t ideal for a newborn’s developing lungs. I always recommend using Zero-VOC or Low-VOC paints. Milk paint is another fantastic, natural option that gives a beautiful, chippy vintage look without any harsh chemicals. If you prefer the natural wood look, a food-safe beeswax or hemp oil finish is a wonderful way to seal the wood while keeping it non-toxic and ‘mouth-safe’ for curious toddlers.
Comparison of Nursery-Safe Finishes
| Finish Type | Pros | Best For |
|---|---|---|
| Milk Paint | 100% Natural, biodegradable, unique matte finish | Vintage/Shabby Chic look |
| Chalk Paint | Low-VOC, great coverage, no primer needed | Modern farmhouse style |
| Beeswax Polish | Completely non-toxic, enhances wood grain | Natural, rustic nurseries |
| Zero-VOC Acrylic | Durable, easy to clean, endless color options | Bright, contemporary spaces |
Apply your chosen finish in 2 to 3 thin coats, allowing ample drying time between each. If you are painting the ladder a soft pastel or a bold accent color, ensure you get into all the nooks and crannies where the rungs meet the rails. This attention to detail is what makes a DIY project look like a high-end boutique find.
The Critical Step: Anchoring and Child-Proofing Your Masterpiece
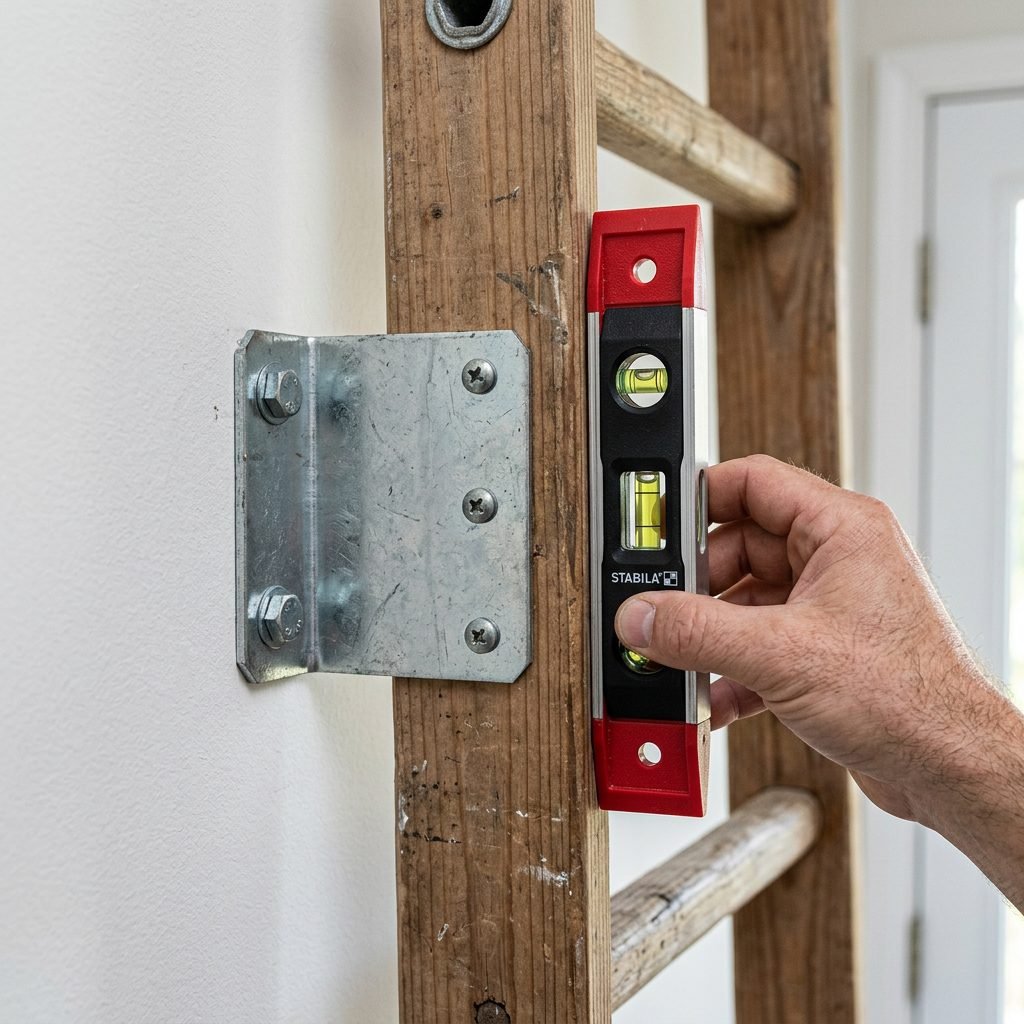
As a doula and safety advocate, I cannot stress this enough: Stability is your top priority. A ladder mounted horizontally on a wall becomes a tempting jungle gym for a curious toddler who has just learned to pull themselves up. To ensure this beautiful display stays on the wall, you must anchor it directly into the wall studs. Do not rely on drywall anchors alone for a piece this heavy, especially once it is loaded with books. Use heavy-duty L-brackets or ‘hidden’ floating shelf brackets that can support at least 50 pounds of weight.
Installation Instructions
- Locate the Studs: Use a stud finder to mark the vertical wood beams behind your drywall. You want at least two points of contact with studs.
- Leveling: Use a 2-foot level to ensure your ladder is perfectly straight. A crooked ladder will not only look off but can cause books to slide to one side.
- Drill Pilot Holes: This prevents the vintage wood from splitting when you drive in your screws.
- Secure the Brackets: Attach the brackets to the wall first, then secure the ladder to the brackets. Ensure there is zero wiggle room.
Safety Affirmation: ‘I am creating a space that is both beautiful and secure. My baby’s safety is the foundation of every choice I make.’
Styling Your Literary Ladder: A Sensory Experience for Baby
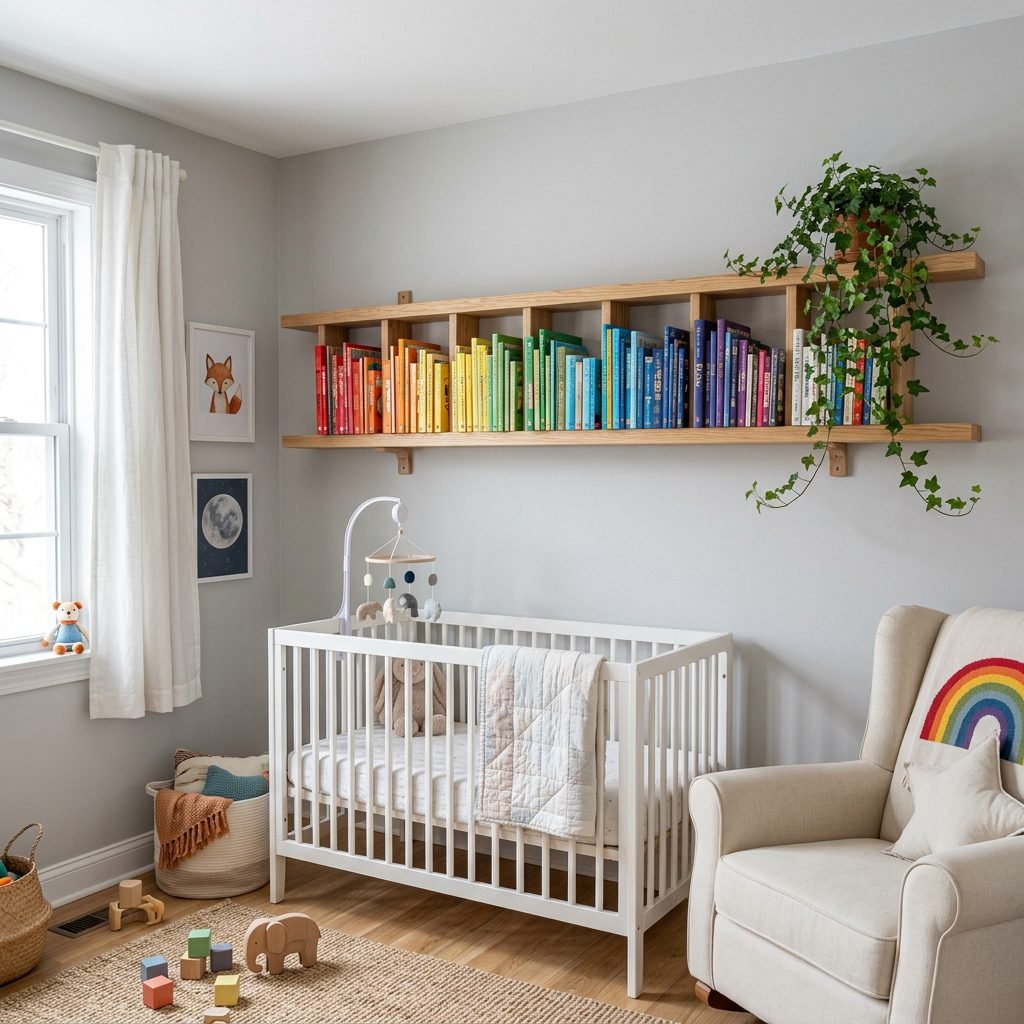
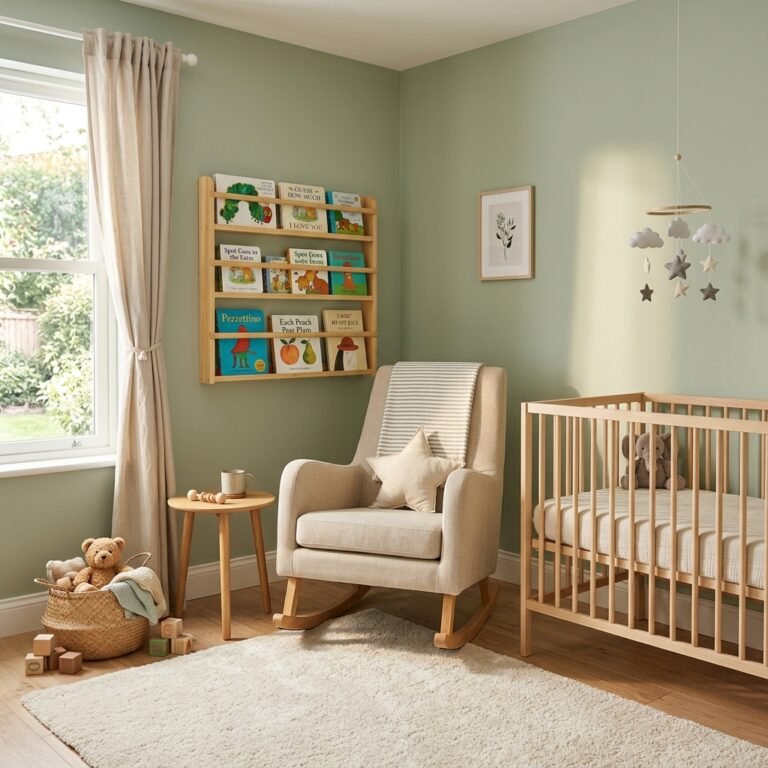
With the ladder securely on the wall, it is time for the final touch: the books! This isn’t just storage; it’s an invitation to a lifelong love of reading. When styling your ladder, think about the sensory experience. Place high-contrast black and white books on the lower rungs where a baby during tummy time might see them if the ladder is mounted low. As they grow, move the colorful picture books to eye level. You can also weave in small elements of decor, like a felt ball garland, a small clip-on reading light, or a tiny stuffed animal tucked between the rungs.
Budget and Materials Breakdown
| Material | Estimated Cost | Where to Buy |
|---|---|---|
| Vintage Ladder | $15 – $45 | Thrift Stores, Facebook Marketplace |
| Lead Test Kit | $10 – $15 | Home Improvement Stores |
| Sandpaper Variety Pack | $8 – $12 | Hardware Store |
| Zero-VOC Paint/Finish | $20 – $30 | Eco-friendly Paint Brands |
| L-Brackets & Screws | $10 – $15 | Hardware Store |
| Total Estimated Cost | $63 – $117 | A fraction of retail shelving! |
Organizing your books by color (the ‘rainbow’ method) is not only visually stunning but also helps toddlers learn their colors as they help you ‘clean up’ after storytime. Remember, this display is a living part of your nursery—it will change as your child’s interests grow, from board books to fairy tales and eventually to early chapter books.
Conclusion
Your Labor of Love is Complete
Mama, take a step back and look at what you’ve created. You took something old, forgotten, and perhaps a bit dusty, and transformed it into a vessel for knowledge, imagination, and bonding. This vintage ladder is no longer just a tool; it is a centerpiece of your nursery that tells a story of its own. As you sit in your nursing chair and reach for a book to read to your little one, you’ll feel that extra bit of pride knowing you built this with your own two hands during this sacred time of waiting. You are doing a wonderful job preparing for your baby, not just with furniture, but with the love and intention you pour into every corner of your home. Enjoy these quiet moments of preparation. Soon, those rungs will be filled with the sounds of ‘Read it again!’ and the sweet weight of a child in your lap. You’ve got this, sister.