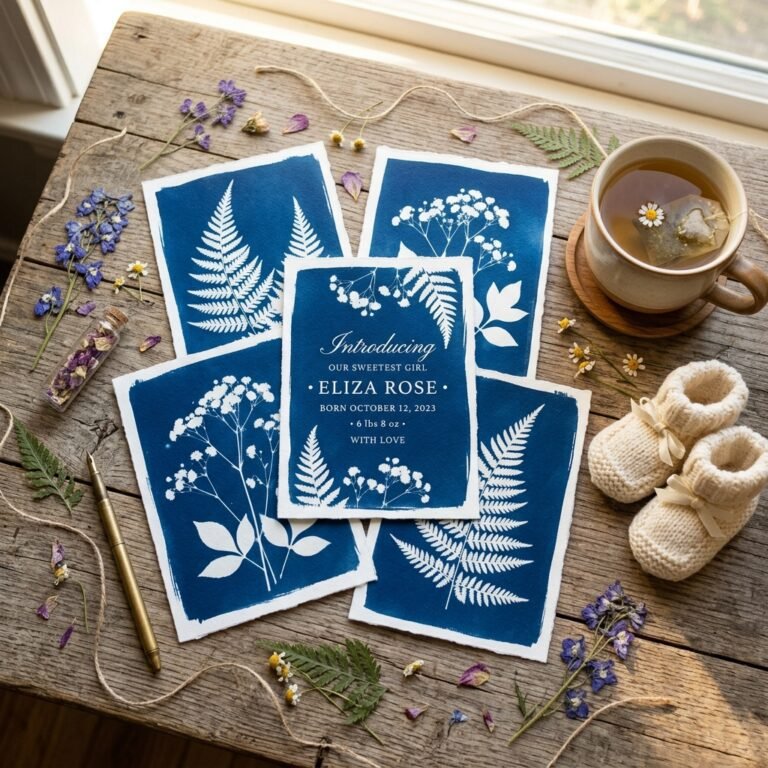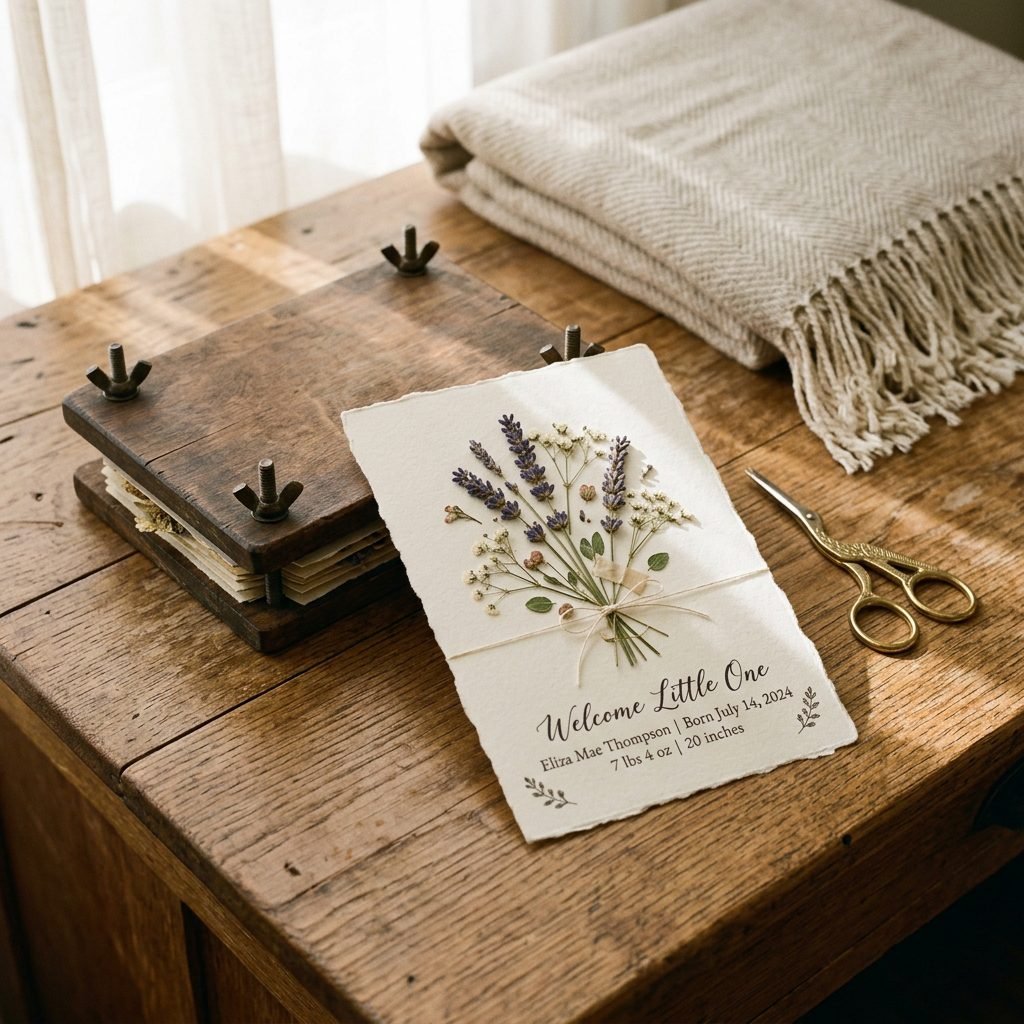
10 Gorgeous Pressed Botanical Birth Announcement Layouts You Can DIY
Welcome to the Sacred Art of Slowing Down, Mama
There is something profoundly poetic about the intersection of a new life and the timeless beauty of the natural world. As a doula and a fellow mother, I know that the weeks following your baby’s arrival often feel like a beautiful, hazy blur—a collection of soft sighs, milk-scented cuddles, and the quiet rhythm of recovery. In this season of ‘becoming,’ finding a small pocket of creative expression can be incredibly healing. Pressed botanical birth announcements are more than just a DIY project; they are a mindful practice, a way to anchor the memory of your baby’s birth season into a tangible, heirloom-quality keepsake.
In our fast-paced digital world, receiving a physical card that carries the delicate weight of real petals and artisanal paper is a rare gift. Whether you are currently nesting in your third trimester or you are navigating the gentle tides of the postpartum period, these 10 gorgeous layouts offer a range of styles from minimalist modern to whimsical wildflower meadows. We aren’t just making cards; we are weaving nature into your family’s story. Let’s gather our blooms, take a deep breath, and create something as unique as your little one.
The Botanical Toolkit: Preparing Your Creative Sanctuary
Gathering Your Materials with Intention
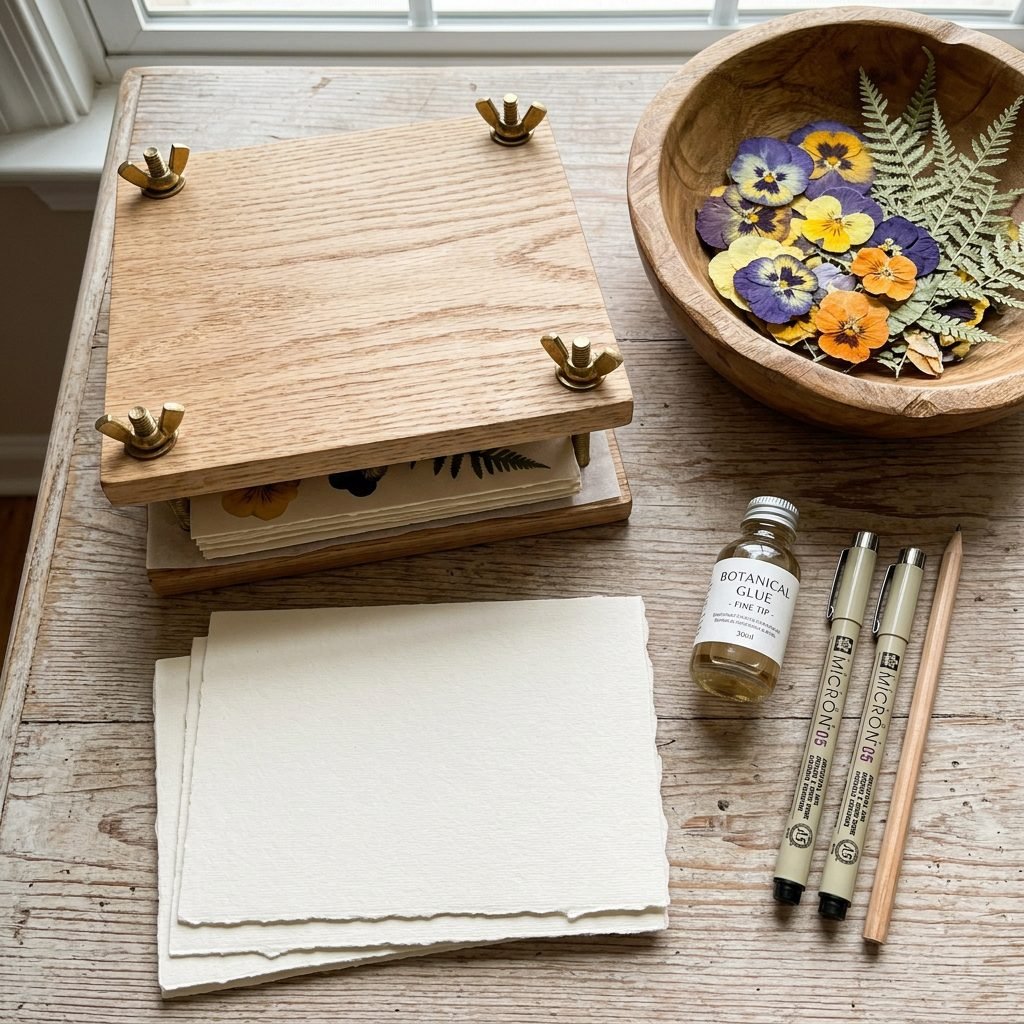
Before we dive into the layouts, we need to ensure your workspace is a place of peace. You don’t need a professional studio—a cleared corner of the dining table or a tray you can use while resting on the sofa is perfect. The key to successful botanical preservation is acid-free materials to ensure your flowers and paper don’t yellow or degrade over the next 50 years.
| Essential Item | Why It Matters | Budget Friendly Tip |
|---|---|---|
| Heavy-duty Flower Press | Ensures even pressure for flat, dry blooms. | Use heavy coffee table books lined with parchment paper. |
| Acid-Free Cardstock | Prevents the paper from becoming brittle over time. | Look for 300gsm watercolor paper for a premium feel. |
| pH-Neutral Adhesive | Won’t damage delicate petals or cause staining. | A tiny dot of clear-drying craft glue works wonders. |
| Fine-tipped Tweezers | Essential for placing tiny stamens and thin leaves. | Standard eyebrow tweezers (cleaned) are a great substitute. |
| Archival Ink Pens | Ensures your baby’s birth details never fade. | Micron pens are the gold standard for doulas and crafters. |
Setting the mood is part of the process. Light a non-toxic beeswax candle, put on a soothing playlist, and remember: there is no ‘wrong’ way to arrange nature. Its imperfections are where the soul lives.
The Science of the Squeeze: How to Press Like a Pro
Selecting Your Blooms
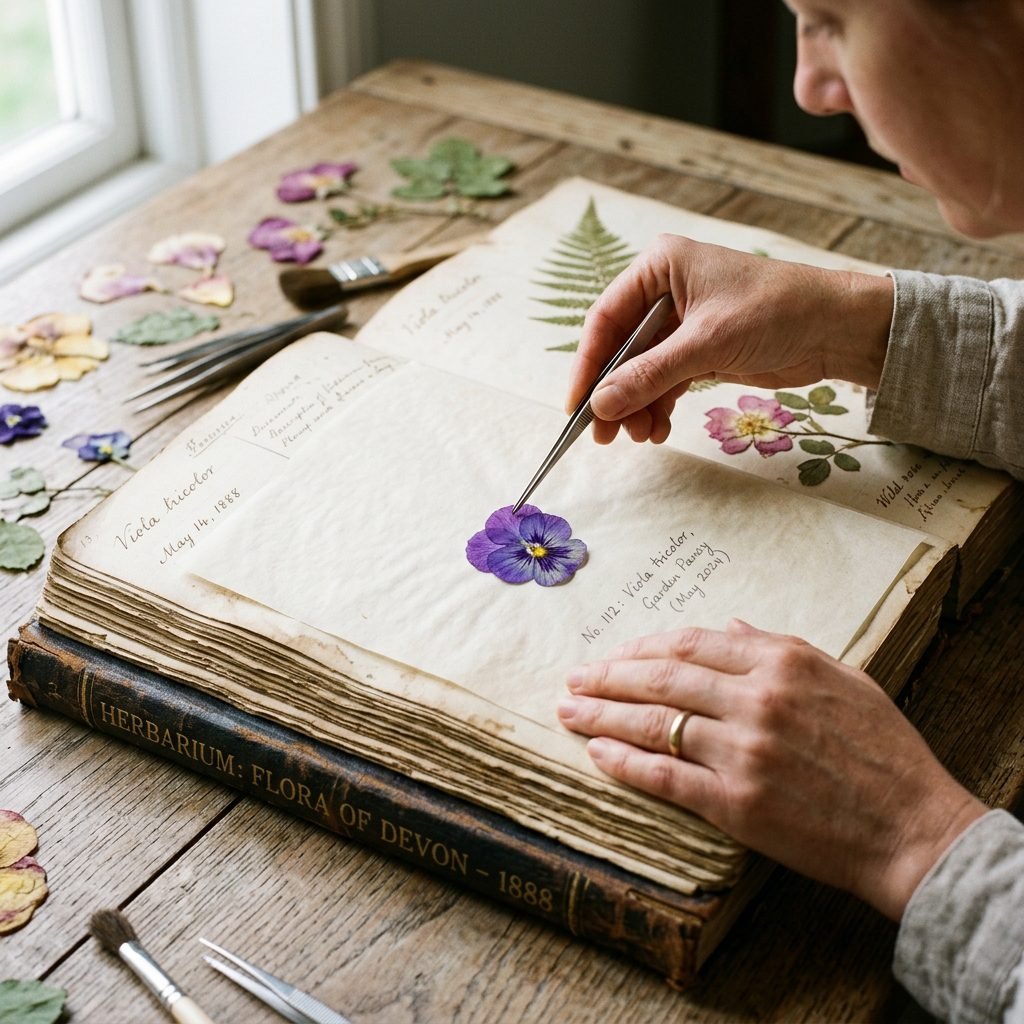
Not all flowers are created equal when it comes to pressing. As a doula, I often suggest using flowers from your baby shower bouquets or blooms that were in season the day you brought your little one home. Thinner flowers with a single layer of petals press the best. Avoid thick, ‘juicy’ flowers like full-bloom roses or lilies unless you plan to deconstruct them petal by petal.
- Best for Beginners: Queen Anne’s Lace, Pansies, Violas, Ferns, and Hydrangea petals.
- Best for Fragrance: Lavender sprigs and Eucalyptus leaves (these hold their scent for months).
- Best for Texture: Baby’s Breath and delicate grasses.
The Step-by-Step Pressing Method
- Harvesting: Pick your flowers on a dry morning after the dew has evaporated but before the sun is too hot.
- Preparation: Remove any unwanted leaves. If a flower is too thick (like a marigold), snip it in half vertically with a sharp blade.
- Layering: Place your flowers between two sheets of parchment paper. Ensure no two flowers are touching.
- Pressing: Place the parchment ‘sandwich’ inside your press or a heavy book.
- Waiting: This is the hardest part! Wait 7 to 14 days. Resist the urge to peek, as moving them early can tear the delicate fibers.
10 Gorgeous Layout Designs for Every Mother’s Style
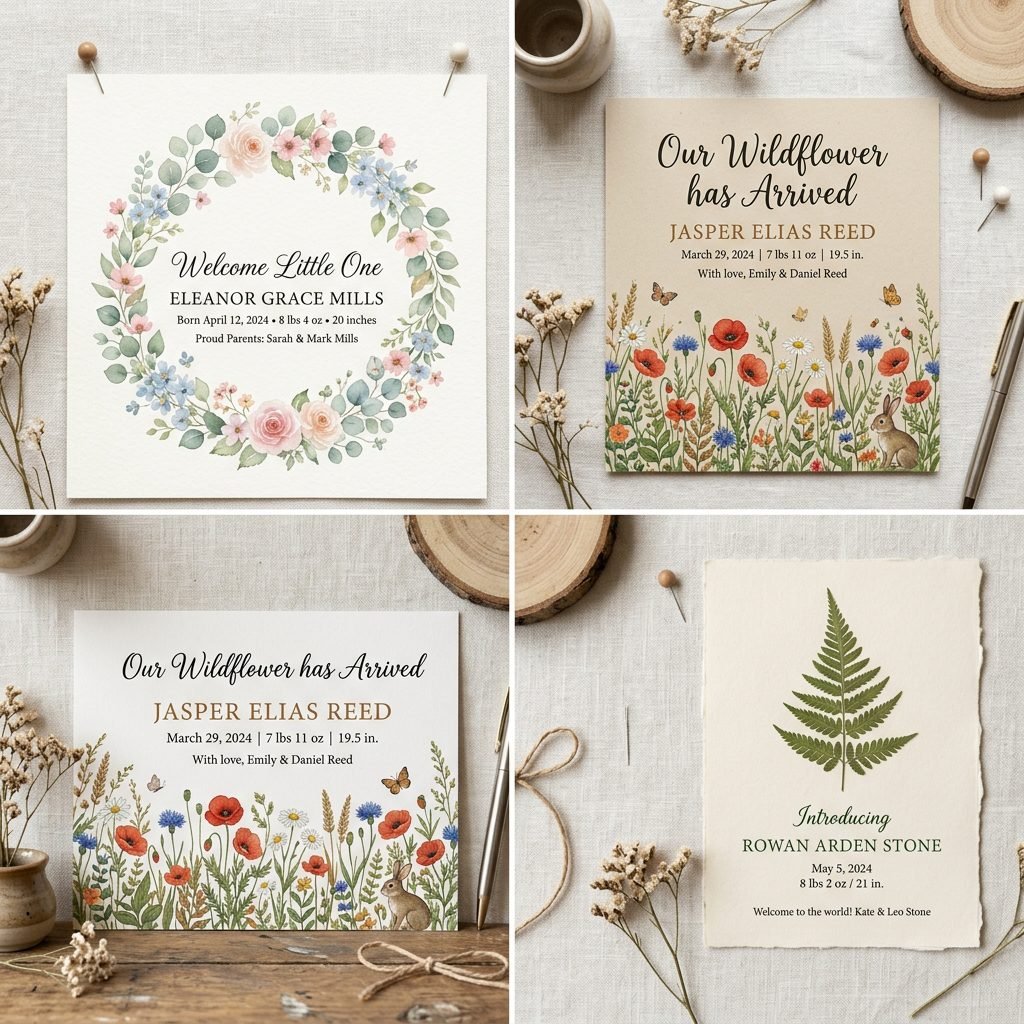
1. The Minimalist Single Stem
For the mother who loves clean lines and ‘less is more.’ Place one striking, tall stem—like a single Cosmos or a delicate Fern frond—off-center on the card. Write the baby’s name in a vertical script alongside the stem. This layout highlights the singular beauty of your new arrival.
2. The Botanical Wreath
A classic symbol of eternity and the circle of life. Use tiny bits of greenery and small blossoms (like Alyssum) to form a delicate circle in the center of the card. Place the birth weight and date inside the wreath. Tip: Use a jar lid to lightly trace a pencil circle as a guide before gluing.
3. The Wildflower Meadow
Perfect for the ‘Boho’ nursery. Arrange various heights of grasses, clovers, and tiny yellow buttercups along the bottom edge of the card, making them look as if they are growing upward. It creates a whimsical, grounded feel.
4. The Initial Monogram
Lightly trace your baby’s first initial in the center. Fill the shape of the letter with small pressed petals. This is a labor of love but results in a stunning piece of custom typography that looks professional and high-end.
5. The Floating Glass Frame
Instead of cardstock, place your botanicals between two panes of glass in a floating frame. Use a gold paint pen to write the birth details directly on the glass. This modern look allows the wall color to peek through, making the flowers look like they are suspended in air.
6. The Symmetrical Herbarium
Inspired by 19th-century vintage science journals. Place 4 to 6 different specimens in a grid pattern. Under each flower, write a ‘trait’ you wish for your baby (e.g., ‘Strength,’ ‘Kindness,’ ‘Wonder’).
7. The Corner Cascade
Focus your floral arrangement on the top-left and bottom-right corners, creating a frame that draws the eye toward the center where the announcement text sits. This is very visually balanced and elegant.
8. The Birth Month Flower Portrait
Research the ‘Birth Flower’ for the month your baby was born (e.g., Lily of the Valley for May, Larkspur for July). Feature this specific bloom prominently to add a layer of symbolic meaning to the piece.
9. The Hospital Bracelet Integration
For a deeply personal touch, create a layout that leaves space to mount your baby’s tiny hospital ID bracelet. Surround it with soft, white petals like Hydrangea or Baby’s Breath to create a ‘nest’ for the memento.
10. The ‘Tree of Life’ Layout
Use a slender, curved twig or a piece of pressed rosemary to act as a ‘trunk,’ and use various green leaves to create a canopy. This represents your growing family tree and the deep roots you are planting for your child.
The Finishing Touches: Lettering and Preservation
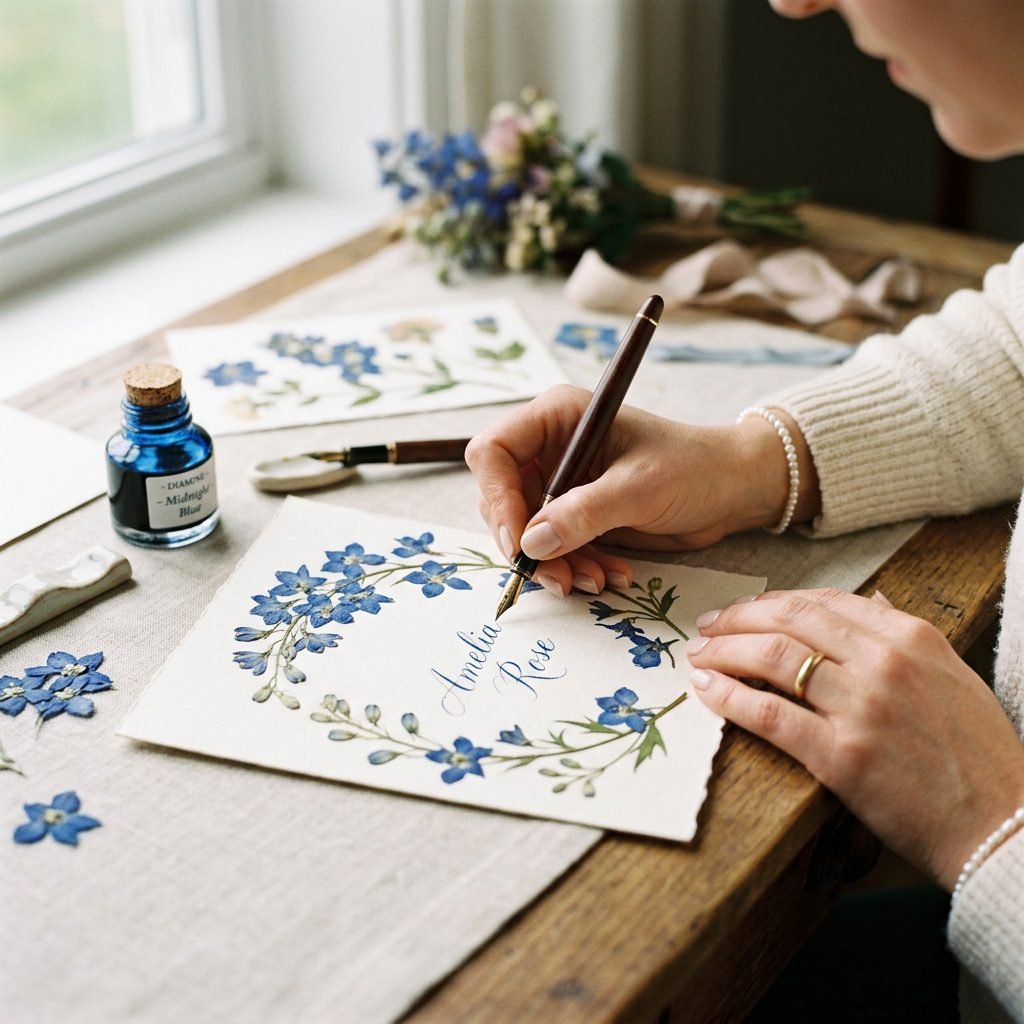
Adding the Vital Details
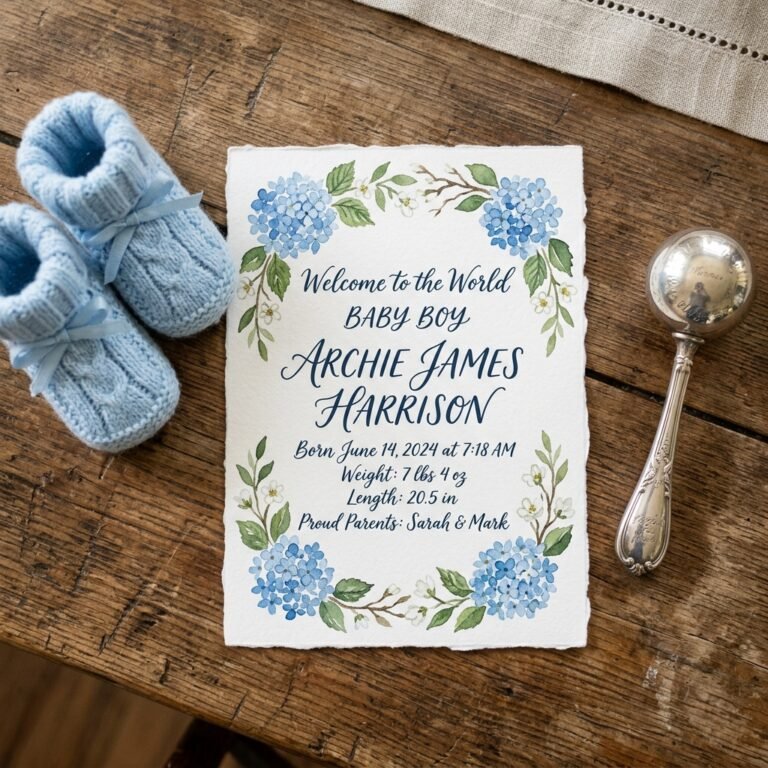
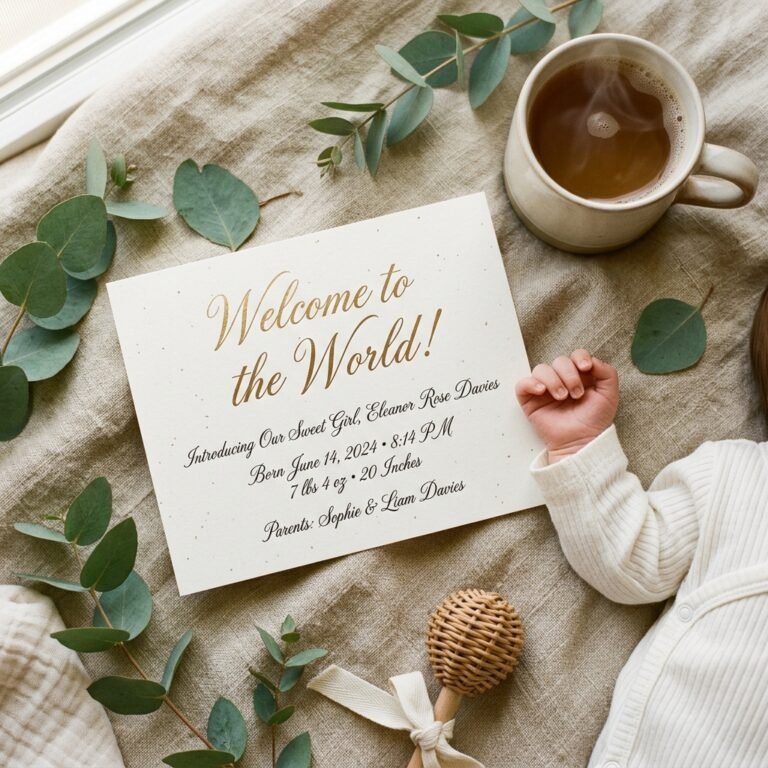
Once your layout is glued and dried, it’s time to add the information that makes this a birth announcement. You don’t need to be a calligrapher; your own handwriting is a gift to your child. However, if you are nervous, you can print the text onto the cardstock first and then glue the flowers around it.
What to Include:
- Full Name
- Birth Date & Time
- Weight (lbs/oz or kg)
- Length (inches or cm)
- A short quote or birth affirmation
Preservation Secrets
To ensure your colors stay vibrant, keep the finished announcements out of direct sunlight. UV rays are the enemy of natural pigments. If you are mailing these to family, place a piece of glassine paper or thin vellum over the flowers inside the envelope to prevent them from rubbing or chipping during transit.
| Feature | Hand-Written | Digital/Hybrid |
|---|---|---|
| Vibe | Intimate & Personal | Polished & Clean |
| Difficulty | Medium (requires steady hand) | Easy (print first, craft later) |
| Time | 15-20 mins per card | 5 mins per card |
Mindful Crafting: A Doula’s Perspective on Postpartum Creativity
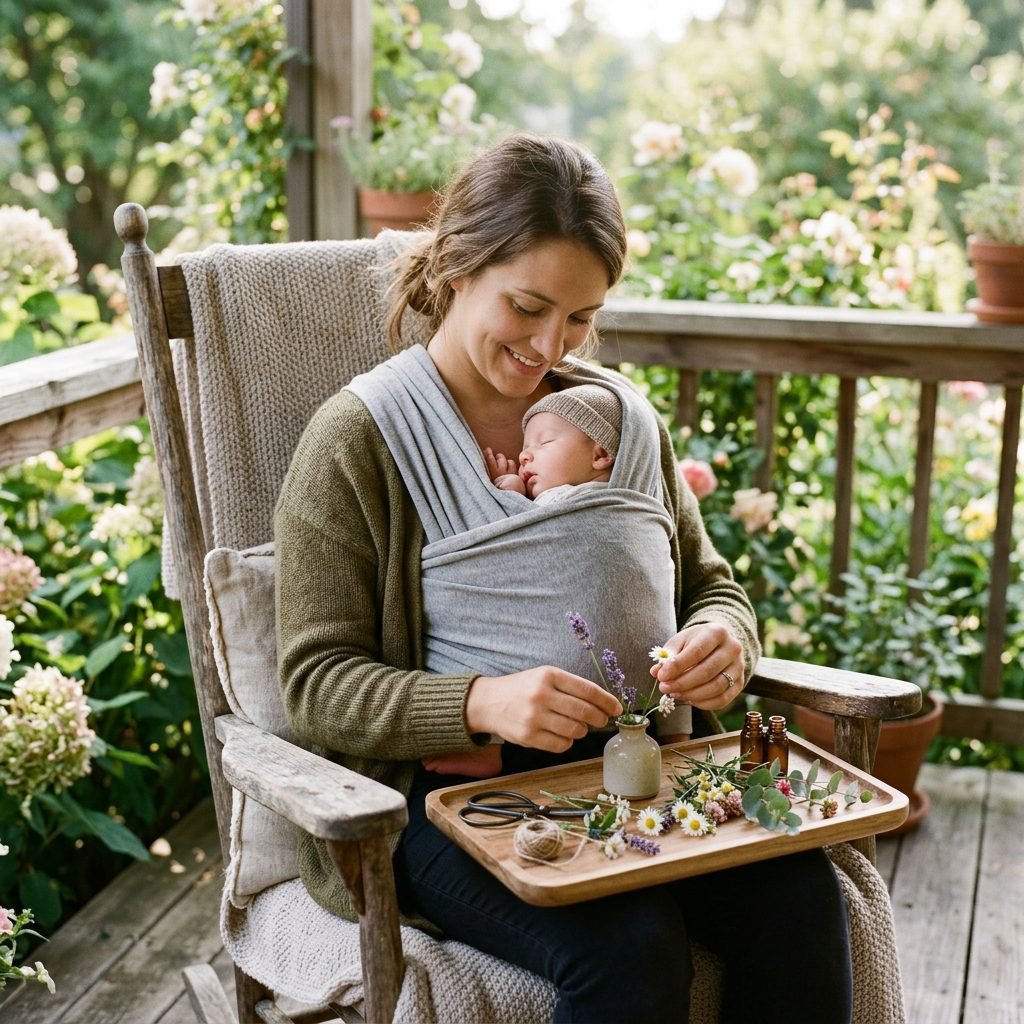
Healing Through the Petals
As a doula, I often see mothers struggle with the ‘all or nothing’ mentality of productivity. You might feel like if you aren’t sleeping or cleaning, you shouldn’t be doing anything else. But creative rest is a real thing. Working with your hands—feeling the texture of the paper, the fragility of the petals—can lower cortisol levels and help you process your birth story.
Gentle Reminder: Your value is not measured by your productivity. If you only manage to glue one petal today, that is enough. You are in a season of healing.
If you find yourself feeling overwhelmed, use this time as a sensory grounding exercise. Notice the colors, the faint earthy smell of the dried leaves, and the weight of your baby sleeping nearby. This isn’t just a ‘to-do’ list item; it’s a meditative pause in your journey as a mother.
Conclusion
A Keepsake for the Generations
Creating a pressed botanical birth announcement is a beautiful way to honor the fleeting ‘newness’ of your baby and the enduring beauty of nature. Whether you choose the minimalist single stem or the vibrant wildflower meadow, the love and intention you pour into these cards will be felt by everyone who receives them. Years from now, when your little one is no longer so little, you will come across one of these framed on a wall or tucked in a baby book, and you will be transported back to this sacred, tender time.
Remember, sweet mama, you are doing an incredible job. Take it one petal at a time, breathe deep, and enjoy the process of creating something beautiful. You and your baby are both blooming in your own perfect time.