This Vintage Ticket Style Birth Announcement Is Absolutely Adorable (and Easy to Make)
Welcome to the World, Little One
Oh, mama, take a deep breath. You’ve done the incredible work of bringing a new life into this world, and now comes the joyful part of introducing your little treasure to your circle of loved ones. While digital posts are quick, there is something profoundly soul-stirring about a physical memento. A vintage ticket-style birth announcement isn’t just a piece of mail; it’s an ‘Admit One’ invitation to your baby’s life story. It evokes a sense of nostalgia, a ‘golden age’ of travel and wonder, perfectly capturing the journey you’ve just completed. As your doula and creative companion, I want to show you how to craft these adorable keepsakes without adding stress to your postpartum days. We’re going for high-impact style with low-intensity effort, because you deserve to enjoy this nesting-turned-celebrating phase.
“Every child begins the world again.” – Henry David Thoreau. Let your announcement reflect the unique magic of your baby’s debut.
The Nostalgic Magic of the ‘Admit One’ Arrival
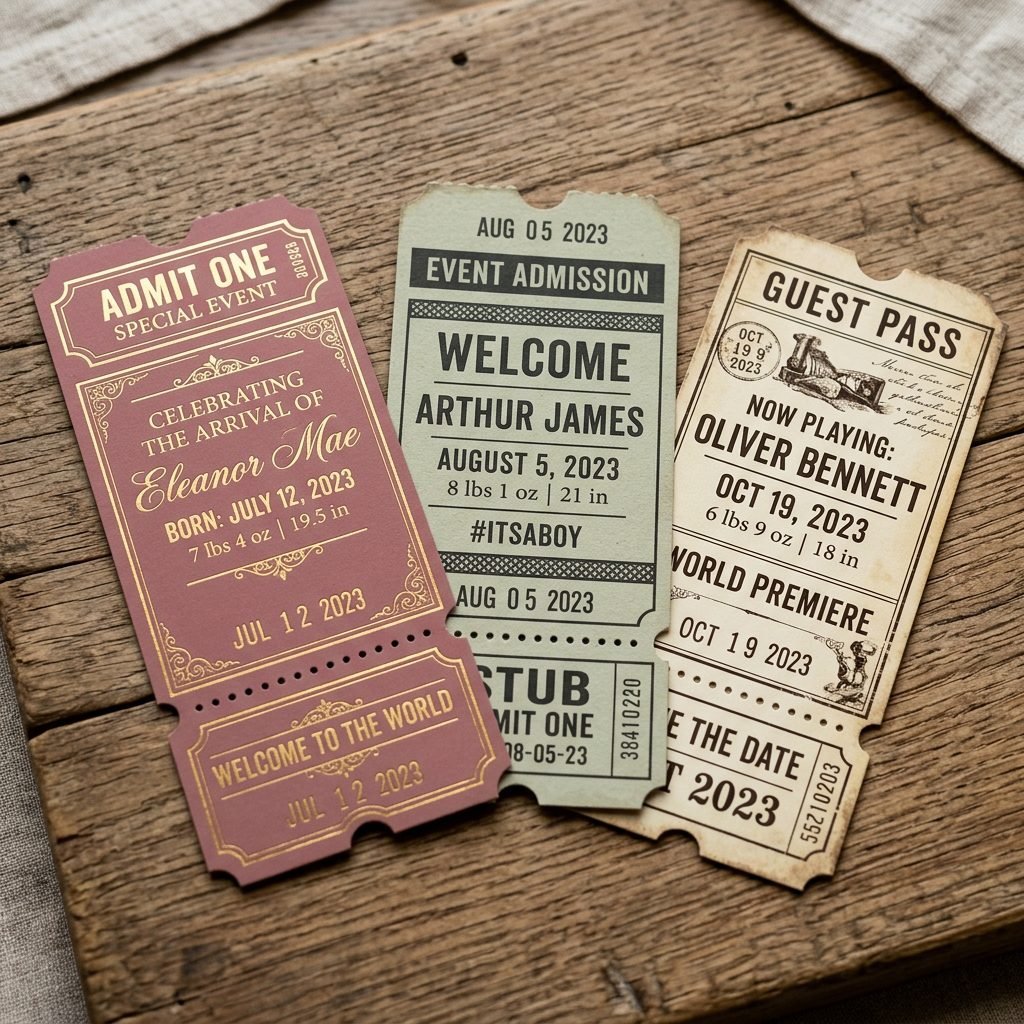
Why a vintage ticket? In a world of scrolling and swiping, a tangible, textured cardstock ticket feels like a precious artifact. It signals that this birth is an event—a premiere of the most beautiful kind. From a design perspective, the ticket format allows us to play with fun, thematic elements like ‘Seat Numbers’ (the nursery room), ‘Gate’ (the hospital or home birth location), and ‘Show Time’ (the exact minute of birth).
This style appeals to the crafty mom who loves a cohesive aesthetic. Whether your nursery is themed around ‘Le Petit Prince,’ vintage aviation, or classic storybooks, these announcements fit seamlessly. They tell a story of arrival, journey, and the start of a grand adventure. Plus, they are incredibly easy to slip into a frame or a scrapbook later on, serving as a timeless reminder of those first hazy, beautiful days.
Your Creative Toolkit: Materials and Budgeting
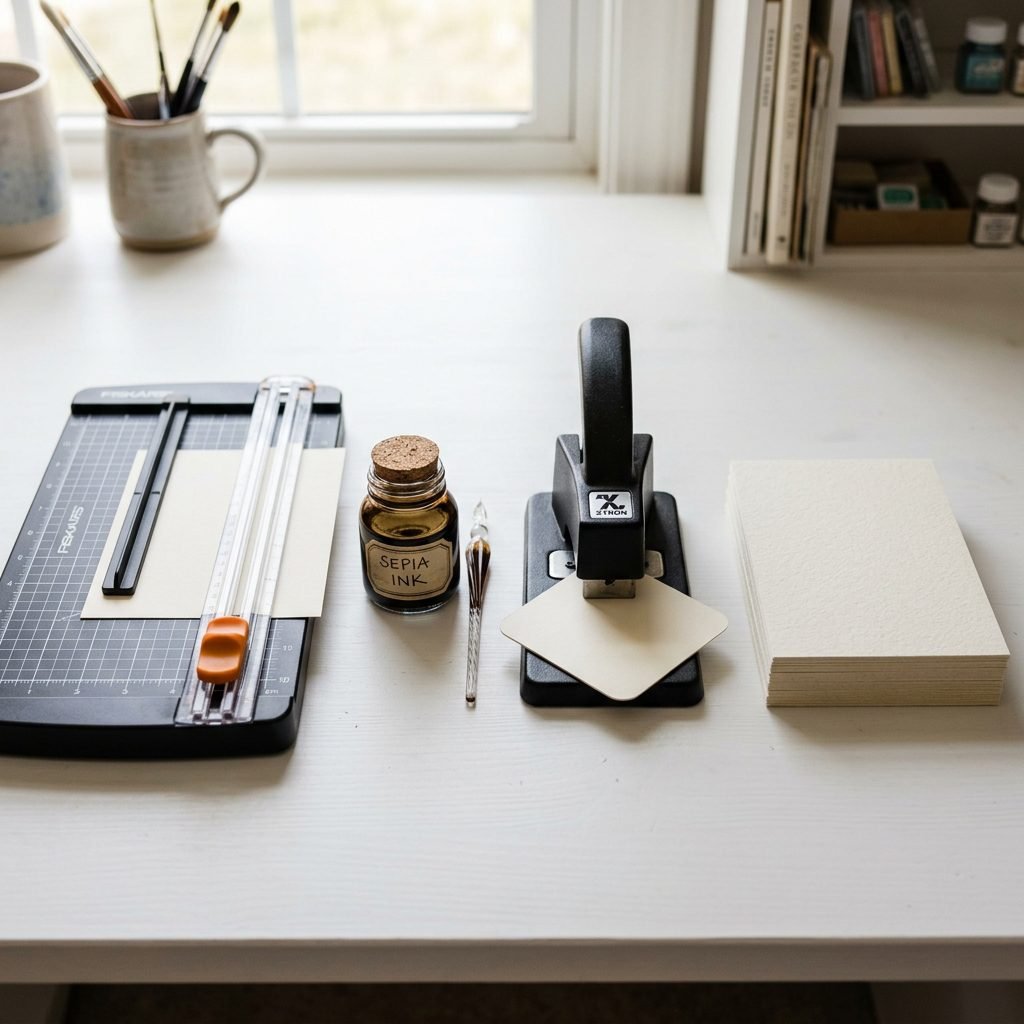
Before we dive into the ‘how-to,’ let’s talk about what you’ll need. You don’t need a professional printing press to achieve that high-end, boutique look. We are focusing on materials that are easy to source and gentle on the budget. As a doula who values practical preparation, I recommend gathering these supplies during your late pregnancy ‘nesting’ phase, so they are ready to go once baby arrives.
| Material | Purpose | Estimated Cost |
|---|---|---|
| Heavy Cardstock (80lb – 110lb) | Provides that authentic, sturdy ticket feel. | $10 – $15 |
| Paper Trimmer or X-Acto Knife | Ensures crisp, professional edges. | $12 – $20 |
| Corner Rounder Punch | Gives the ticket those iconic curved edges. | $8 – $12 |
| Distress Ink (Tea Dye or Walnut) | Adds an aged, vintage patina to the edges. | $6 – $10 |
| Digital Template or Design Software | For layout and typography. | Free – $15 |
Pro-Tip: If you want to go the extra mile, consider a ‘ticket stub’ perforator tool. This allows your recipients to actually ‘tear’ a portion of the announcement, making it interactive and incredibly realistic!
Designing Your Ticket: From Fonts to ‘Seat Numbers’
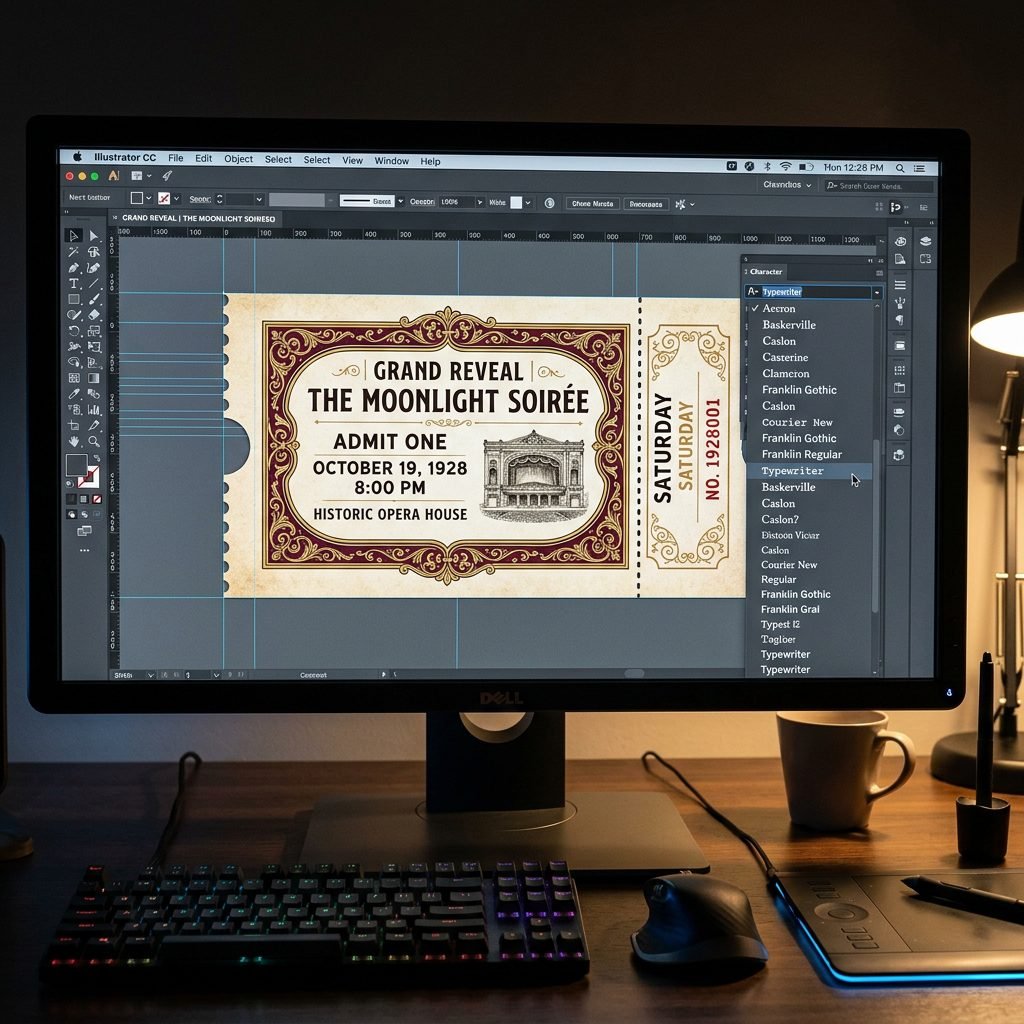
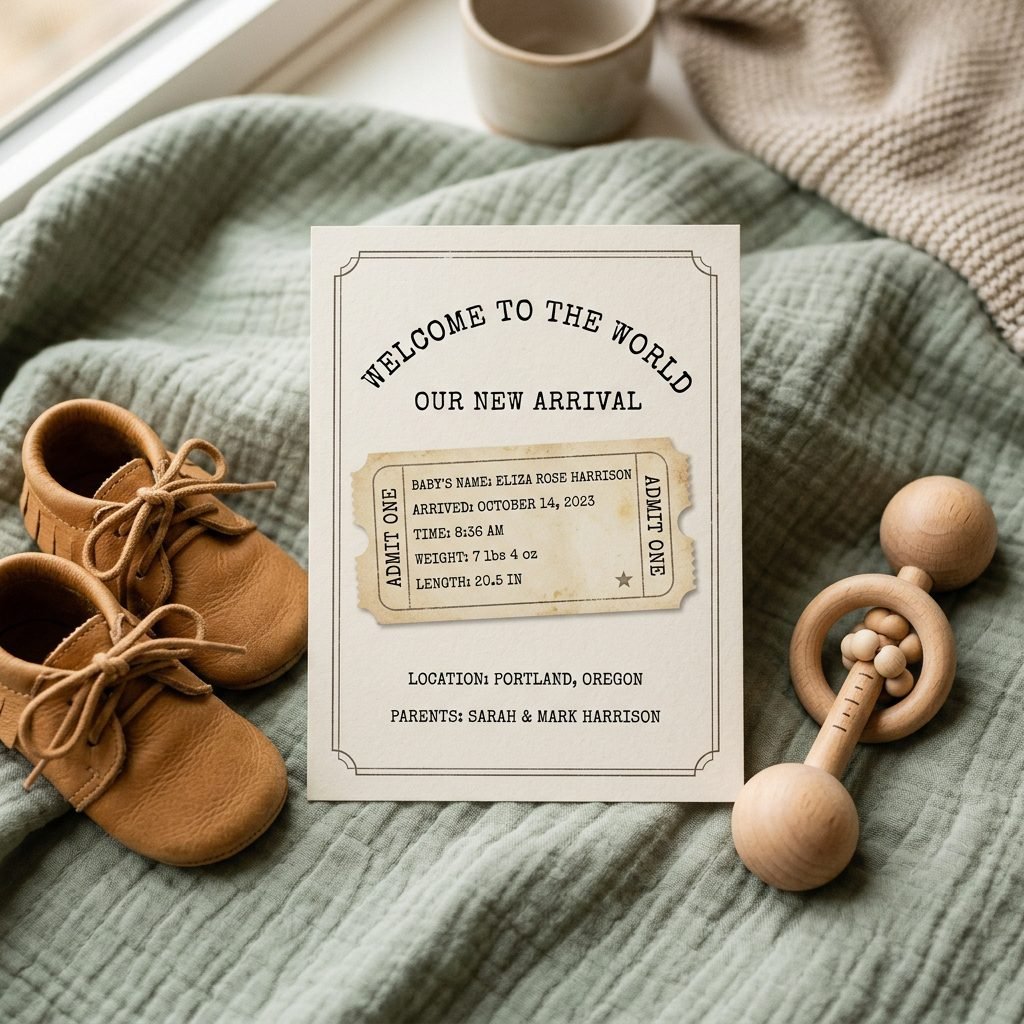
The secret to an ‘absolutely adorable’ announcement lies in the details. You want to mimic the typography of the early 20th century. Think bold serif fonts for the baby’s name and typewriter-style fonts for the statistics. Here is a checklist of elements to include on your vintage ticket:
- The Headline: ‘Admit One’ or ‘A New Star is Born’.
- The Main Event: Your baby’s full name in a prominent, classic font.
- The Date & Time: Formatted as ‘Performance Date’ and ‘Curtain Call’.
- Weight & Length: Listed as ‘Net Weight’ and ‘Dimensions’.
- The Location: ‘Venue: [Hospital Name or City]’.
- The Parents: ‘Produced by: [Mom & Dad’s Names]’.
When choosing your color palette, think muted and sophisticated. Avoid neon or overly bright colors. Instead, opt for earthy tones like terracotta, slate blue, mustard yellow, or a soft lavender. This keeps the ‘vintage’ feel authentic and stylish.
The Step-by-Step Creation Process
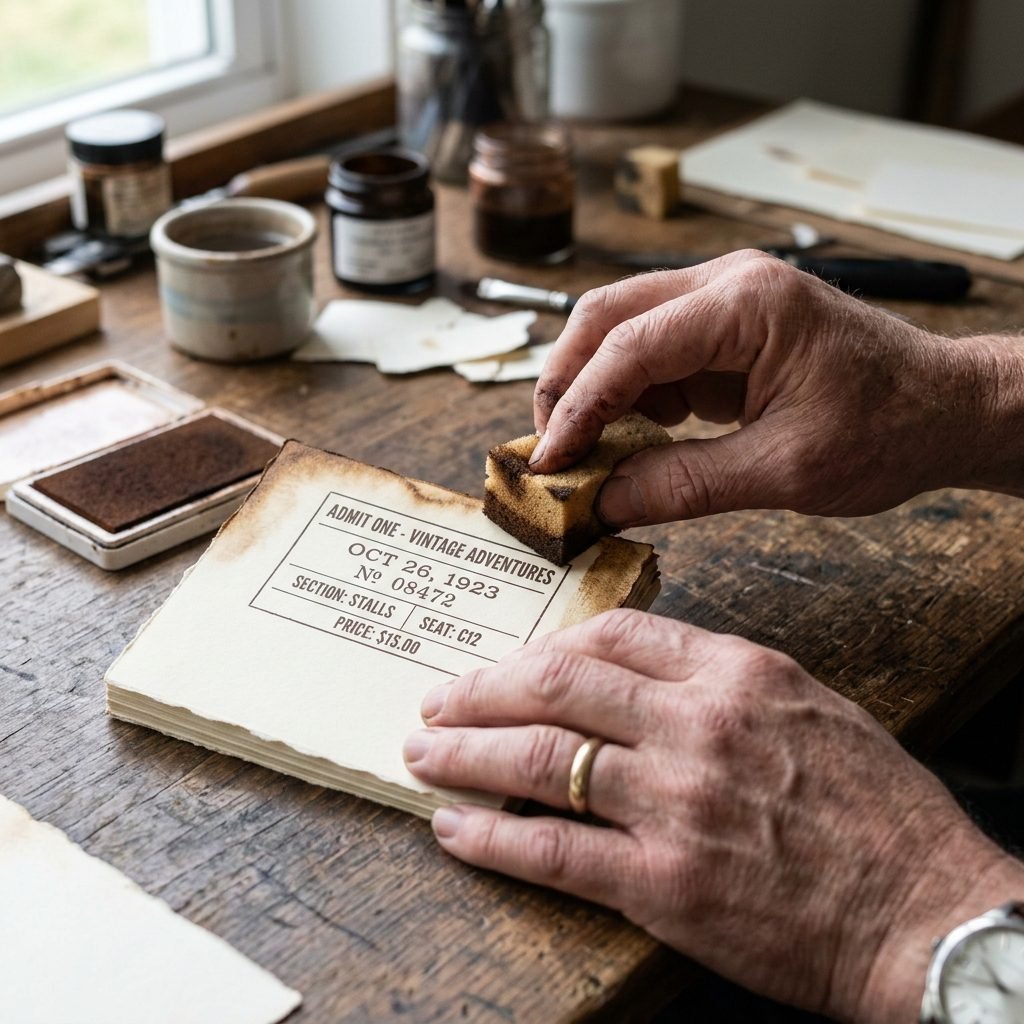
Now, let’s get our hands a little bit (beautifully) messy. Follow these steps to assemble your announcements. If you are in the early postpartum weeks, feel free to do this in 15-minute increments while baby naps, or ask a friend to help with the cutting!
- Design and Print: Use a tool like Canva or Photoshop to create a layout that is 3 inches by 7 inches (the standard vintage ticket size). Print multiple tickets per page on your heavy cardstock.
- Precision Cutting: Use your paper trimmer to cut the tickets out. Accuracy here is key to making them look professional rather than ‘homemade.’
- Round the Corners: Use your corner rounder punch on all four corners. This instantly transforms a rectangle into a ticket.
- The ‘Aged’ Effect: Take a small sponge or cotton ball, dip it lightly into your distress ink, and rub it gently along the edges of the cardstock. This creates a sun-kissed, antique look.
- The Perforation (Optional): If you have a perforating tool, run it about 2 inches from the right side to create a ‘stub’ look.
- The Finishing Touch: Punch a small hole in the end and tie a piece of baker’s twine or a thin silk ribbon through it.
“Creating something with your hands during the postpartum period can be incredibly grounding. It’s a way to celebrate your new reality one snip at a time.”
Styling the Perfect Announcement Photo
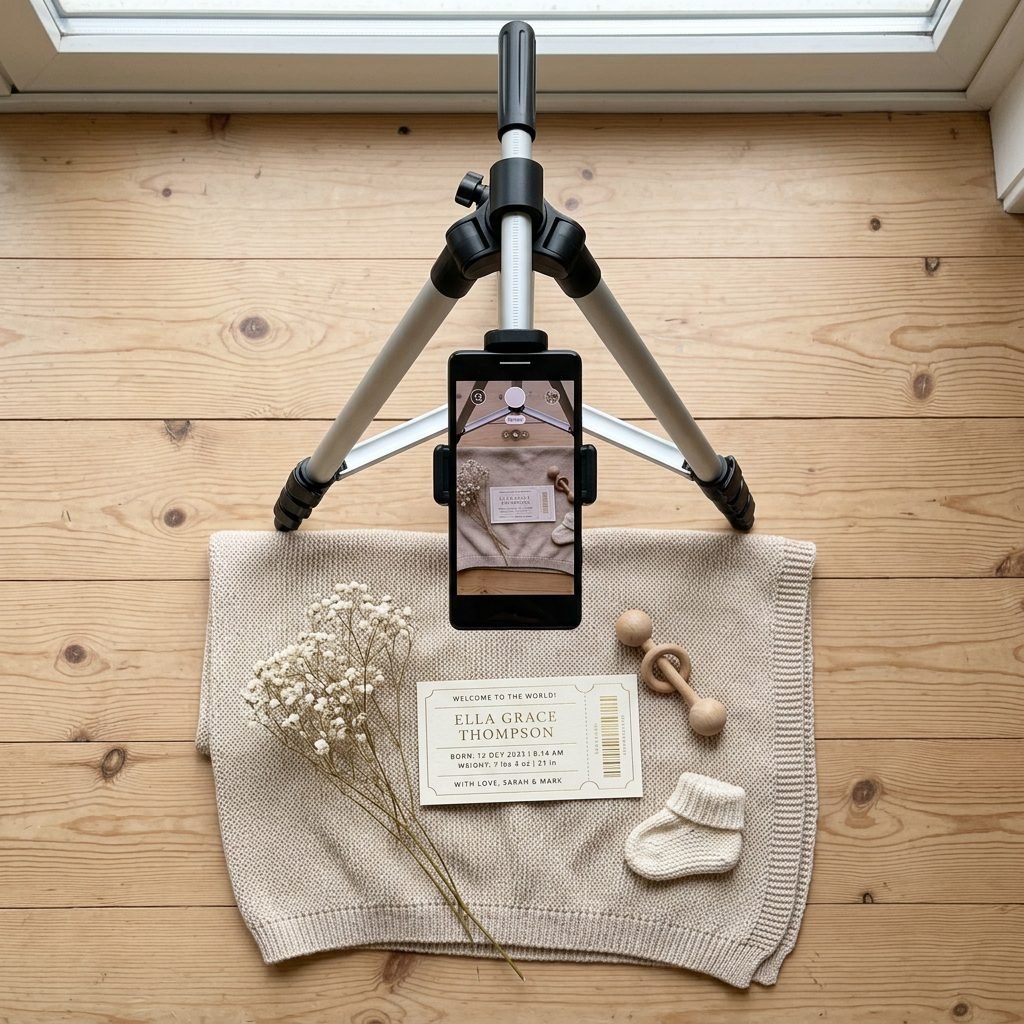
Even if you mail out physical copies, you’ll likely want to share a photo of the announcement on social media. This is where your inner stylist comes out! To make the photo pop, use textures that contrast with the paper.
| Styling Element | Why it Works | |
|---|---|---|
| Linen or Muslin Fabrics | Adds soft, organic texture that complements the paper. | Natural fibers look high-end. |
| Dried Flowers or Eucalyptus | Adds a touch of life and ‘vintage botanical’ vibes. | Lasts longer than fresh flowers for multiple shoots. |
| Heirloom Items | A silver rattle or an old family locket adds depth. | Connects the new baby to family history. |
| Natural Light | Soft, indirect sunlight prevents harsh shadows. | Makes the skin tones and paper colors look true to life. |
Place your ticket in the center of your ‘set.’ Surround it with meaningful items—perhaps the hospital hat or the first pair of socks. Take the photo from directly above (a ‘flat-lay’) for the most modern, clean look. Don’t worry about perfection; the slight imperfections in a DIY project are what make it soulful.
Beyond the Mailbox: Turning Tickets into Keepsakes
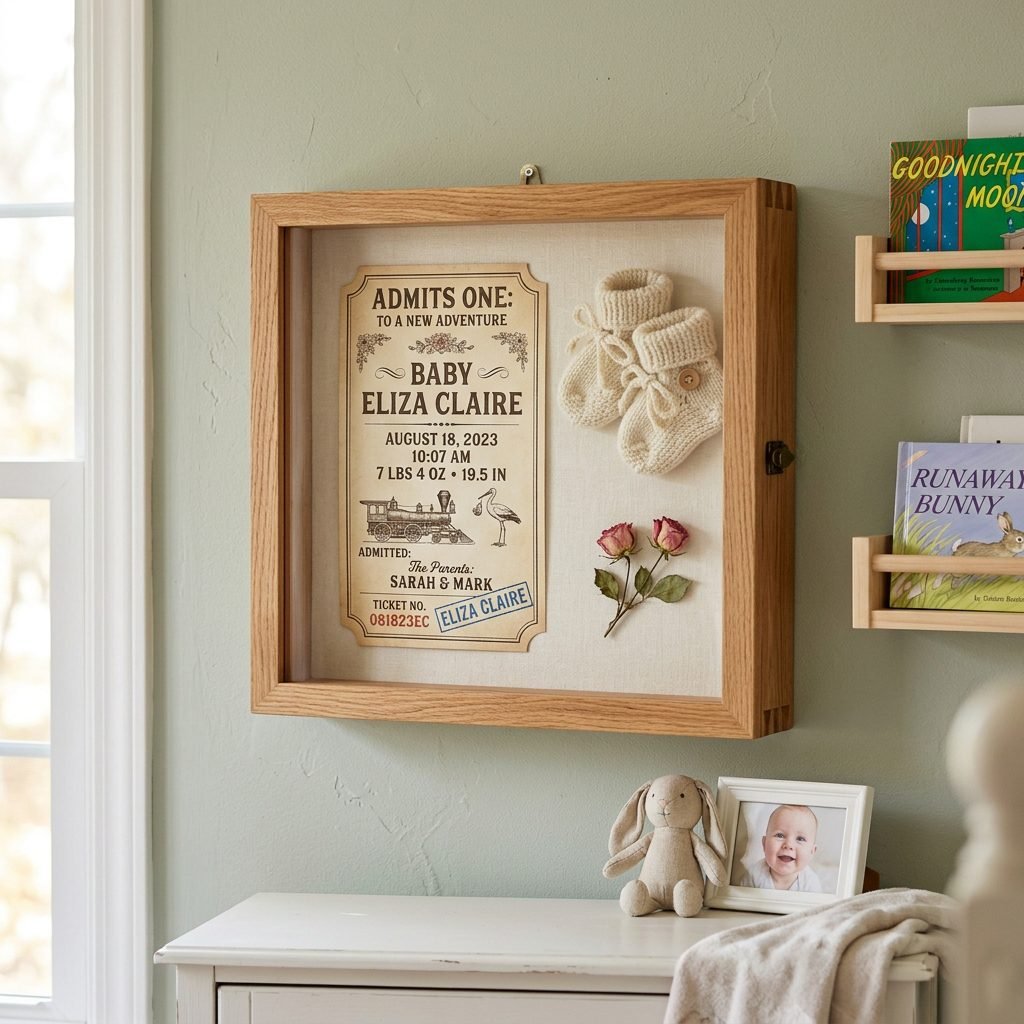
Once the stamps are licked and the envelopes are sent, don’t forget to save a few for yourself! As a doula, I always encourage moms to create a ‘Memory Box’. These vintage tickets are the perfect size for:
- Shadow Boxes: Frame the ticket alongside baby’s hospital ID bracelet and a first photo.
- Holiday Ornaments: Laminate a small version of the ticket or place it inside a clear glass ornament for the Christmas tree.
- Baby Book Focal Point: Use it as the introductory page in your baby’s first-year album.
Remember, mama, these announcements are a celebration of your strength just as much as they are a celebration of your baby. You navigated pregnancy, you endured labor, and now you are the curator of your family’s history. Wear that badge with pride!
Conclusion
A Grand Opening to Remember
Creating a vintage ticket-style birth announcement is a beautiful way to slow down and honor the magnitude of your baby’s arrival. It’s a project that combines style, sentiment, and simplicity—the perfect trifecta for a busy new mother. Whether you’re mailing them to distant relatives or tucking one into a frame for the nursery, these tickets serve as a permanent ‘Admit One’ to the most wonderful show on earth: your life with your new little one. You’ve got this, mama. Enjoy every snip, every stamp, and every snuggle along the way.