How to Use a Chunky Knit Blanket for Cozy DIY Newborn Photos
Welcome to the Golden Hour of Motherhood
Oh, sweet mama, congratulations! Whether you are currently cradling a growing bump or you are in those hazy, milk-scented early days of postpartum, you know that time feels like it is slipping through your fingers. Those tiny toes, the velvet-soft skin, and the way they curl into a ball—it all changes so fast. As a doula and a lover of all things aesthetic, I know how much you want to freeze these moments in time. But let’s be honest: professional newborn photography sessions can be expensive, and sometimes, the thought of packing up a 7-day-old baby to go to a studio feels like climbing Mount Everest.
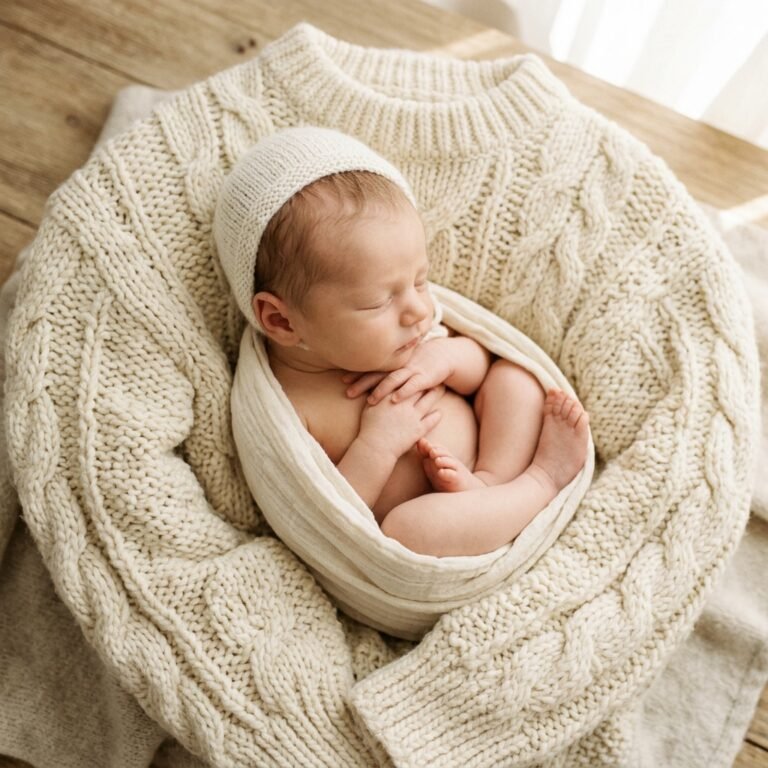
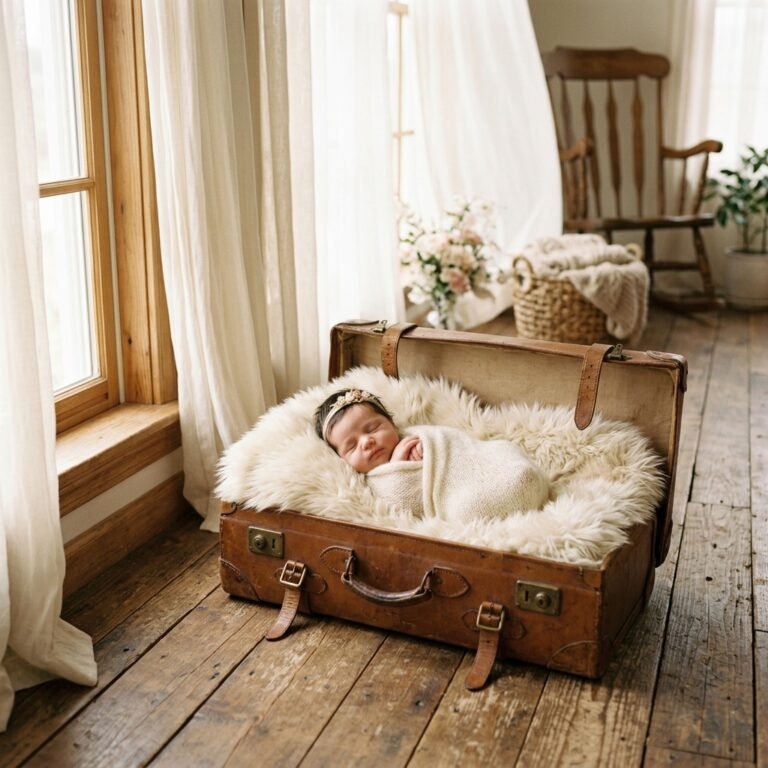
That is where the magic of the DIY newborn photo shoot comes in. You don’t need a thousand-dollar camera or a studio setup to capture professional-looking images. All you really need is beautiful natural light, a sleepy baby, and the secret weapon of every lifestyle photographer: the chunky knit blanket. These blankets aren’t just for keeping warm; their oversized stitches provide an incredible architectural texture that contrasts beautifully with a newborn’s delicate features. In this guide, I am going to walk you through exactly how to use these cozy masterpieces to create heirloom-quality photos right in your living room.
“In the chaos of new motherhood, taking a moment to capture the stillness of your baby is a gift to your future self. You are the best person to document their first days because you know their soul better than anyone else.”
Selecting the Perfect Blanket: Materials, Safety, and Aesthetics
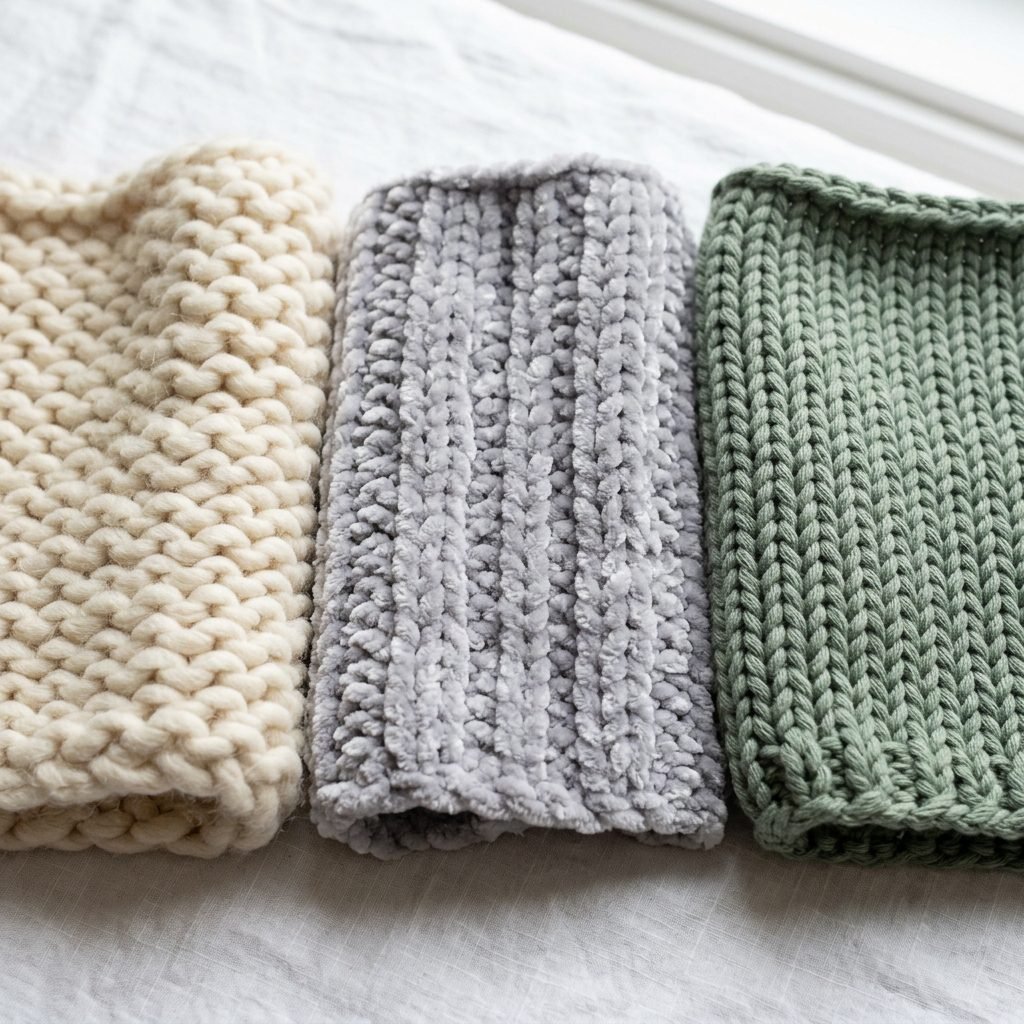
Not all chunky knits are created equal, especially when it comes to the sensitive skin of a newborn. When you are choosing a blanket for your DIY session, you want to balance visual impact with infant safety. The texture of the blanket is what creates that ‘pro’ look—the shadows cast by the large loops add depth to your photos that a flat fleece blanket simply cannot provide.
Material Matters: Choosing Baby-Safe Fibers
Newborn skin is incredibly thin and permeable. Some wools, while beautiful, can be scratchy or shed fibers that might irritate a baby’s nose or eyes. I always recommend Merino wool or high-quality Chenille. Merino is naturally hypoallergenic and temperature-regulating, which is vital because newborns cannot yet regulate their own body heat. Chenille is a fantastic vegan alternative that is buttery soft and doesn’t shed.
| Blanket Material | Pros for Photography | Cons/Safety Notes |
|---|---|---|
| Merino Wool | Luxurious texture, organic look, breathable. | Can be expensive; requires gentle hand-washing. |
| Chenille/Acrylic Mix | Very soft, budget-friendly, no shedding. | Can look slightly ‘shiny’ in bright light. |
| Cotton Chunky Knit | Heavier weight, very breathable, washable. | Less ‘loft’ or fluffiness than wool. |
| Unspun Roving | Extreme ‘cloud-like’ appearance. | Caution: High shedding; fibers can get in baby’s mouth. |
Color Theory for Newborns
When in doubt, go neutral. Creams, oatmeals, soft greys, and muted sages allow the focus to remain on your baby’s face. Avoid bright, neon colors which can cause ‘color cast’—this is when the color of the blanket reflects back onto the baby’s skin, making them look jaundiced or overly pink in the final photo.
The DIY Studio Setup: Lighting and Safety Foundations
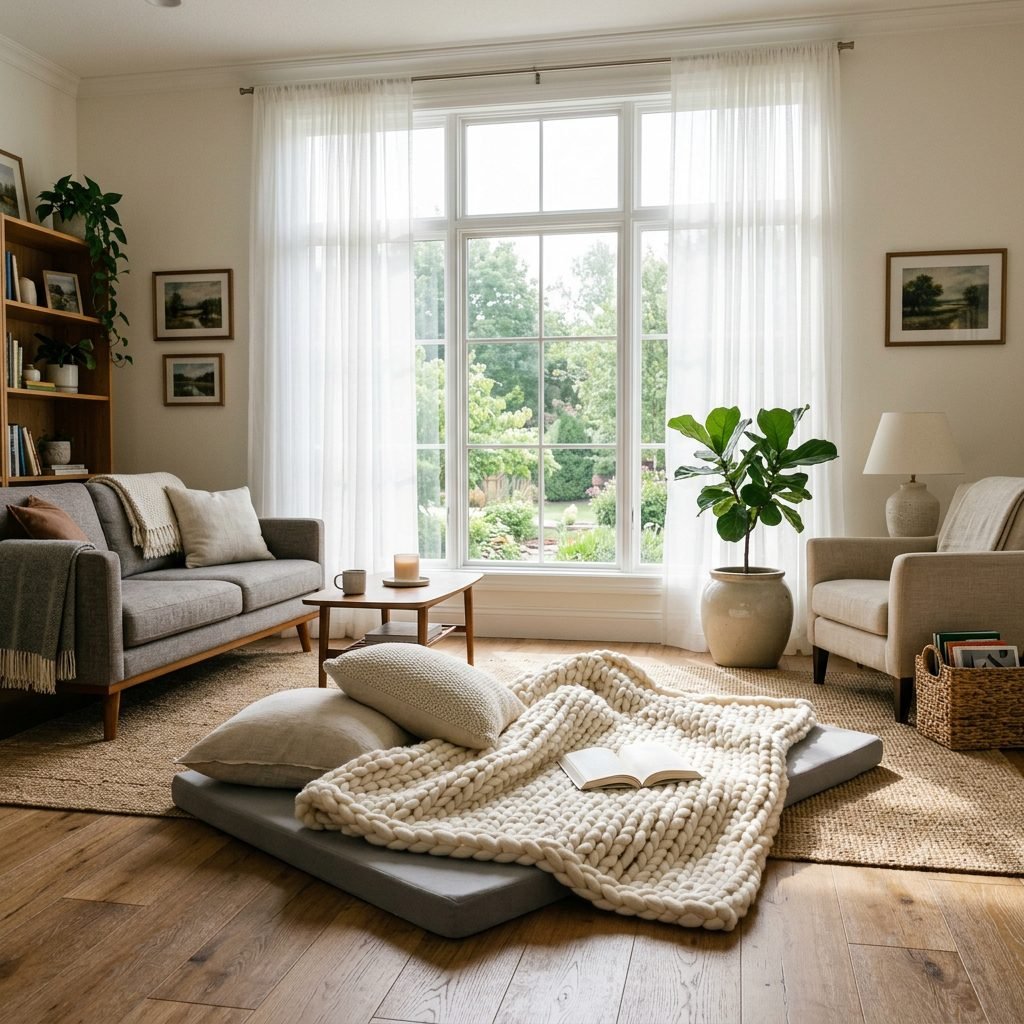
Before you even pick up your baby, you need to set the stage. As a doula, my number one priority is always safety. A DIY photo shoot should never compromise the well-being of your little one. The chunky knit blanket is heavy and textured, so we must ensure it is used as a backdrop or a base, never as a heavy covering that could obstruct breathing.
The Golden Rule of Lighting
Turn off your overhead lights! Indoor light bulbs often create a yellowish tint that is hard to edit. Instead, find the largest window in your home. You want indirect natural light. This means a window where the sun isn’t shining directly in (which creates harsh shadows), but rather a soft, bright glow. North-facing windows are the holy grail of photography.
Safety Check-List for Your DIY Session
- Temperature Control: Since baby will likely be in just a diaper or a thin wrap, keep the room at 72-75 degrees Fahrenheit.
- The Spotter: Never leave a baby unattended on a prop. If you are the photographer, have your partner or a friend act as a ‘spotter’ within arm’s reach at all times.
- Firm Surface: If you are placing the chunky knit blanket on the floor, ensure there is a yoga mat or a firm rug underneath for padding. If using a basket, ensure it is weighted at the bottom so it cannot tip.
- Hygiene: Ensure the blanket has been cleaned with a baby-safe, scent-free detergent before use.
“Safety isn’t just a checklist; it’s the foundation of a peaceful session. When baby feels secure and warm, they will give you those sleepy, angelic poses you’re dreaming of.”
Styling Techniques: Creating ‘The Nest’ and ‘The Flow’
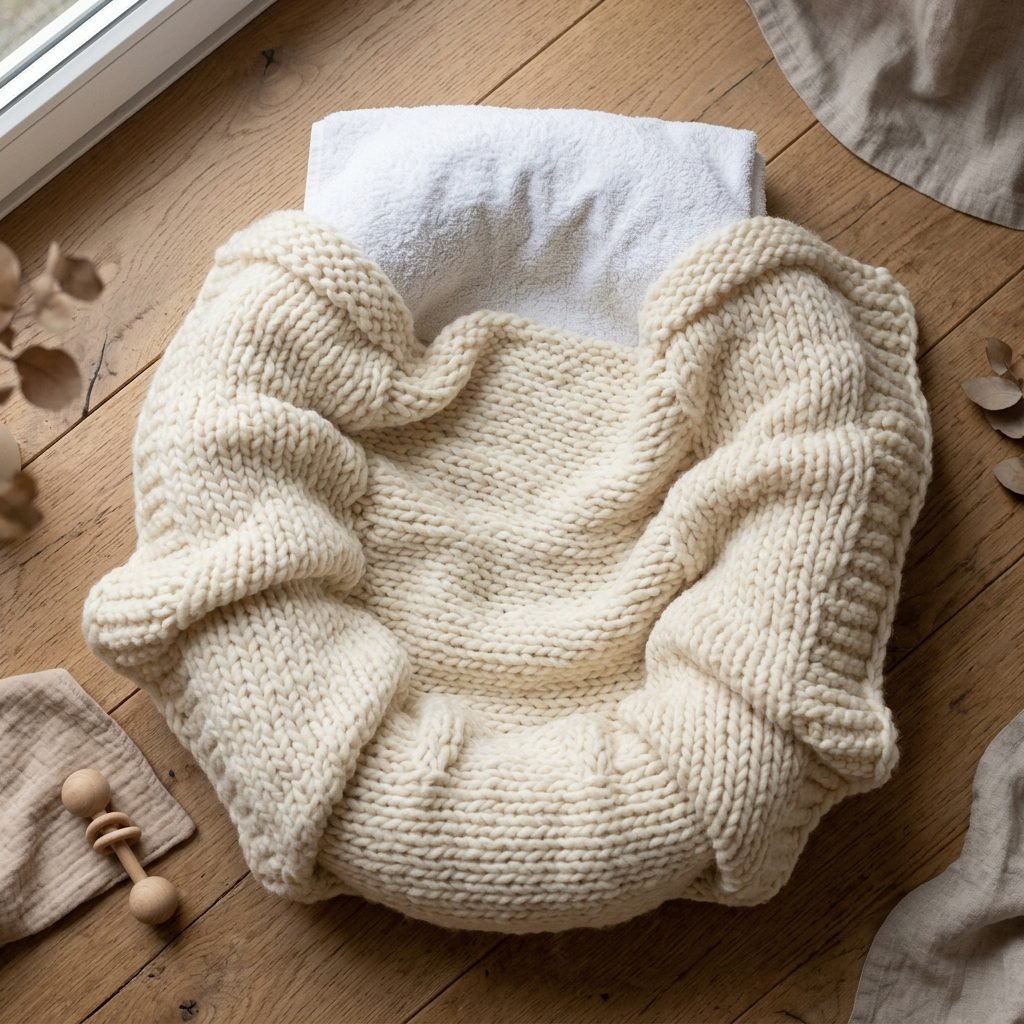
This is where the artistry happens. Using a chunky knit blanket effectively requires more than just laying it flat. You want to create dimension. There are three primary ways to style your blanket for the best visual results.
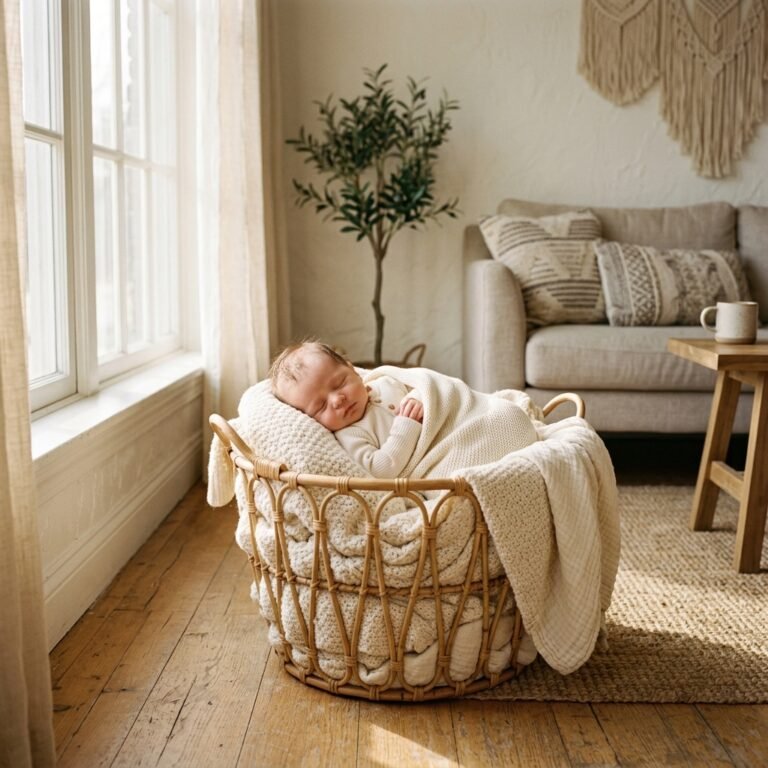
Method 1: The ‘Bird’s Nest’ (Best for Baskets)
If you are using a Moses basket or a wooden crate, don’t just stuff the blanket in. Spiral it. Start from the outside edges and work your way in, creating a hollow center. This allows the baby to ‘sink’ slightly into the middle (while resting on a firm support underneath), which looks incredibly cozy and keeps them contained.
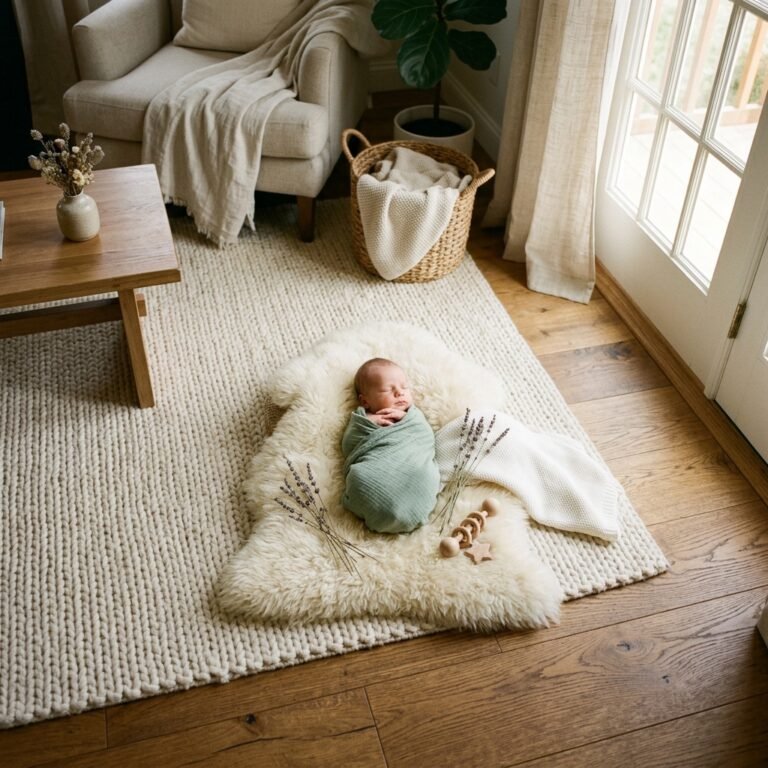
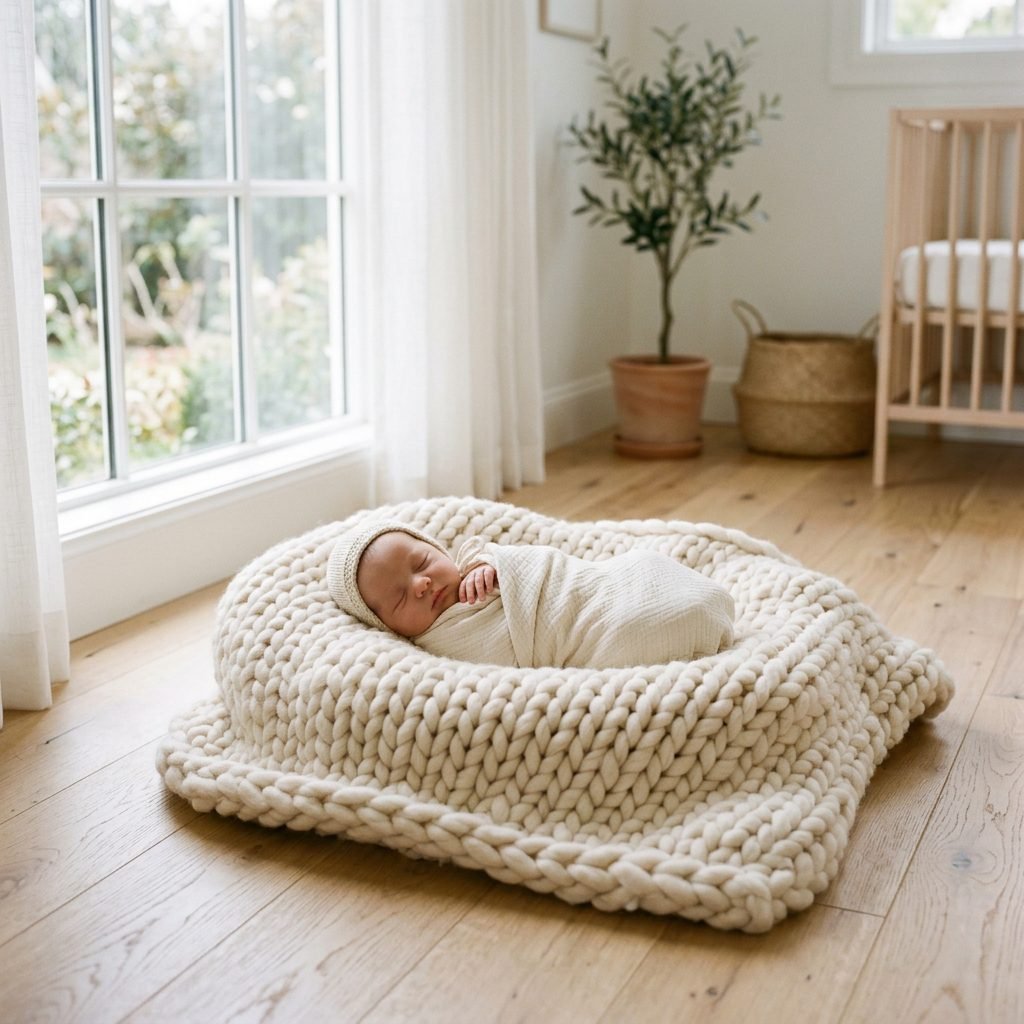
Method 2: The ‘Textured Backdrop’ (Best for Floor Poses)
Lay your blanket on the floor and purposefully create ‘ripples’ or ‘waves’ in the fabric. Avoid pulling it tight. When you place the baby on the blanket, the ripples will catch the light and create beautiful shadows. Pro Tip: Tuck small rolled-up hand towels underneath the blanket to create a gentle incline for the baby’s head.
Method 3: The ‘Layered Look’
Layering textures is a secret of professional stylists. Place a smooth muslin swaddle over the chunky knit. The contrast between the giant, rope-like stitches of the blanket and the delicate, airy weave of the muslin creates a high-end look.
| Styling Technique | Visual Effect | Best For… |
|---|---|---|
| The Nest | Cozy, contained, ‘womb-like’. | Sleeping babies in baskets. |
| The Rippled Flat-Lay | Modern, clean, artistic shadows. | Active babies or ‘awake’ shots. |
| The Over-the-Shoulder | Intimate, lifestyle-focused. | Mom-and-baby cuddles. |
Posing and Angles: How to Capture the Magic
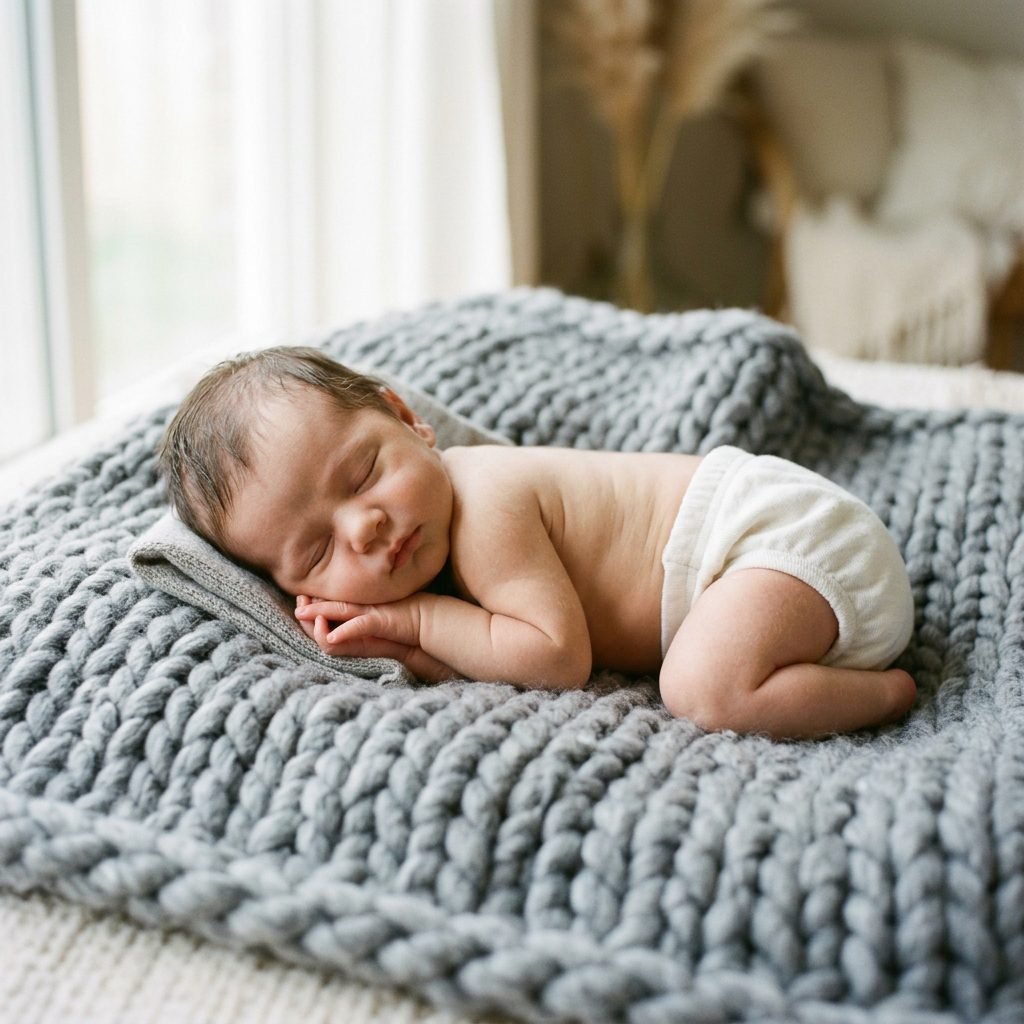
Now that your ‘studio’ is ready, it’s time to bring in the star of the show. When posing a newborn on a chunky knit blanket, less is more. We want the baby to look natural and comfortable. As a sleep consultant, I recommend timing your shoot for right after a full feed and a diaper change—the ‘milk coma’ phase is your best friend!
The ‘Side-Lying’ Pose
Gently place the baby on their side, tucked into one of the ‘valleys’ of the knit blanket. Bring their hands up near their chin. This is a very soothing position for babies and looks incredibly sweet. Ensure their face is angled toward the light source.
The ‘Tushy-Up’ Pose (Advanced)
This is the classic newborn look. Place the baby on their tummy with their knees tucked under their belly. The chunky knit provides great support for this. Caution: Only do this if the baby is deeply asleep and never leave them in this position if they are struggling or if their airway isn’t perfectly clear.
Camera Angles You Must Try
- The 45-Degree Angle: Stand at the baby’s feet and aim up toward their head at a 45-degree angle. This prevents ‘shooting up the nose’ and creates a flattering perspective.
- The Macro Detail: Zoom in close on just a tiny foot or a hand resting on the giant knit stitches. The scale difference is adorable!
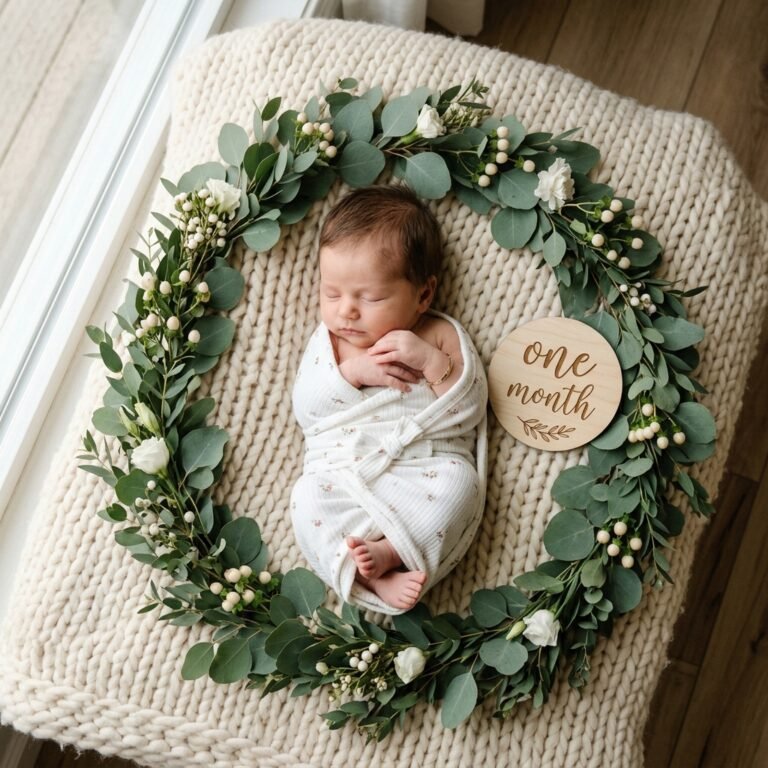
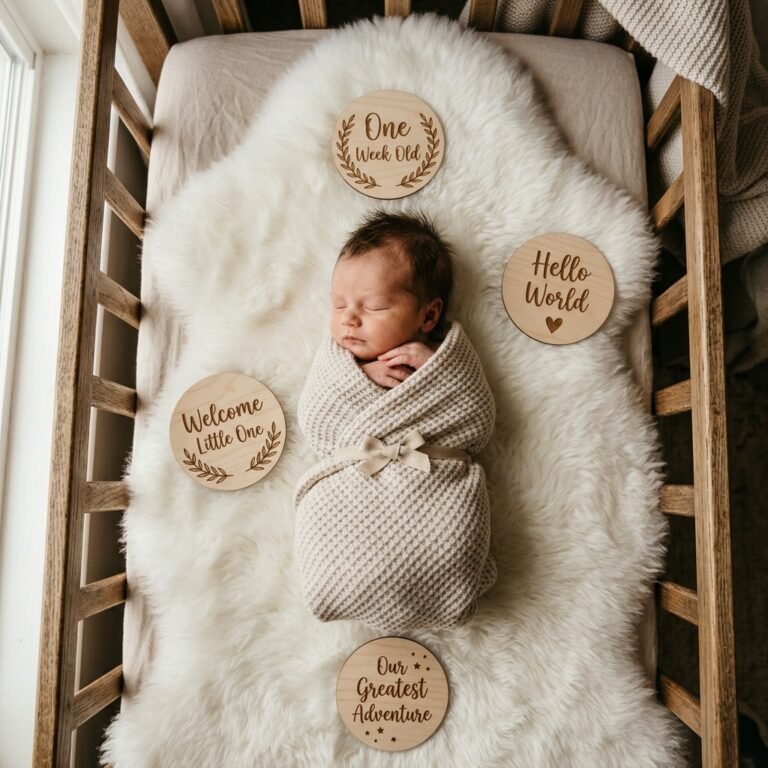
- The Bird’s Eye View: Stand directly over the baby (use your neck strap!). This captures the full ‘nest’ effect of the blanket.
Post-Shoot Care: Cleaning and Preserving Your Blanket
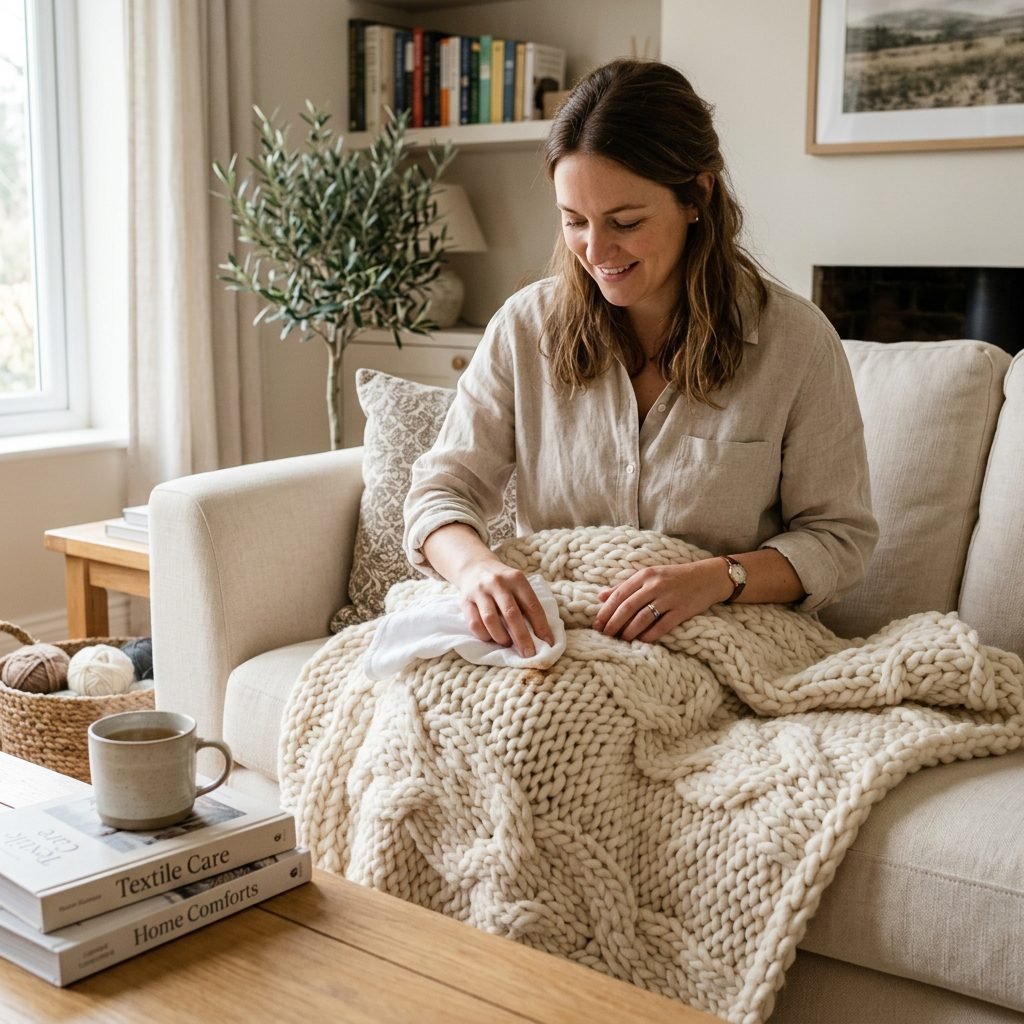
Let’s be real, mama: newborns are unpredictable. There is a 90% chance that some ‘fluids’ will end up on your beautiful blanket during the shoot. Don’t panic! Whether it’s spit-up or a diaper leak, the way you care for the blanket after the shoot will determine if it stays a nursery staple or becomes a matted mess.
Step-by-Step Cleaning for Chunky Knits
- Spot Clean First: Use a damp cloth with a tiny drop of wool wash. Blot—do not rub! Rubbing causes the fibers to ‘felt’ and lose their fluffiness.
- The Soaking Method: If the whole blanket needs a wash, fill a bathtub with lukewarm water and a gentle detergent. Submerge the blanket and gently squeeze the water through it.
- The Drying Process: This is the most important part. Never put a chunky knit in the dryer. Lay it flat on a large drying rack or a pile of clean towels in the sun. It may take 24-48 hours to dry completely.
- Storage: Once dry, fold the blanket loosely. Do not hang it, as the weight of the chunky stitches will cause the blanket to stretch out of shape over time.
Conclusion
Cherishing the Moments You’ve Created
You did it, mama! You’ve turned a simple corner of your home into a professional-grade photo studio and captured memories that will last a lifetime. Using a chunky knit blanket isn’t just about the ‘aesthetic’—it’s about creating a soft, safe, and beautiful space to celebrate the miracle of your new baby. Remember, the ‘perfect’ photo isn’t the one where everything is perfectly aligned; it’s the one that captures the essence of your baby’s peace. Even if the baby cried, even if there was a blowout, even if the lighting wasn’t ‘perfect’—these photos are a testament to your love and effort in these early days. Print them, frame them, and every time you look at them, remember how strong and capable you are. You’ve got this!