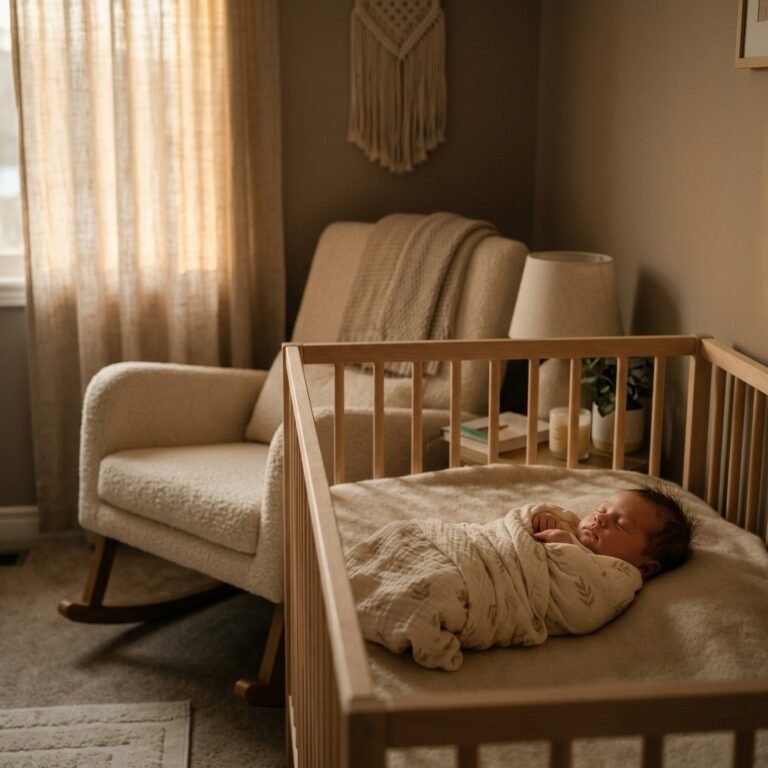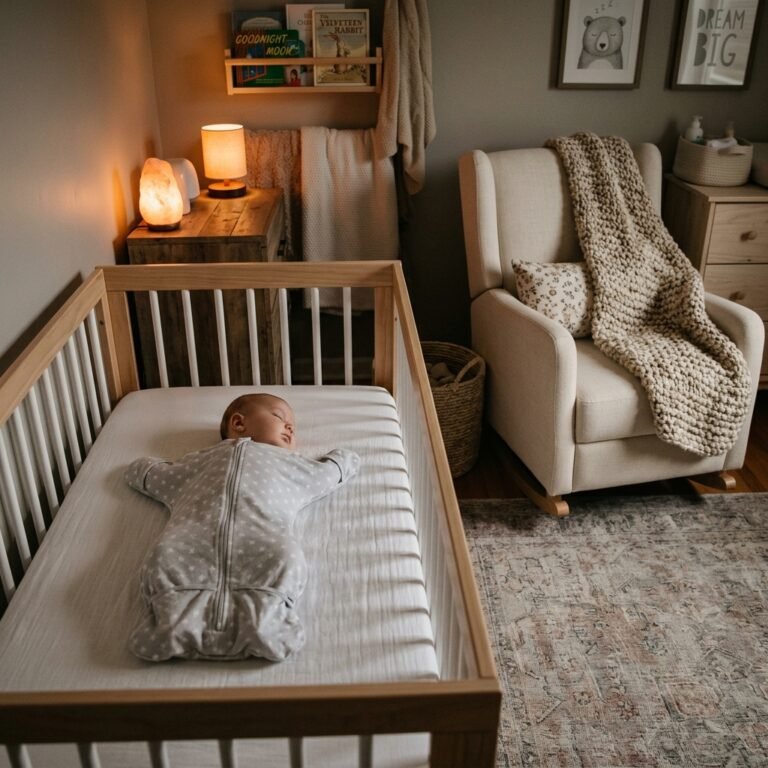
Stop the Contact Naps: How to Smoothly Transition Baby to Sleep in Their Bassinet
The Sweet Struggle of the Human Heat Pad
Oh, mama, I see you. You are sitting there, perhaps in a slightly uncomfortable position, with a beautiful, heavy, sleeping bundle of joy pressed against your chest. You haven’t moved in forty-five minutes. Your phone is out of reach, your water bottle is on the other side of the room, and your bladder is sending urgent distress signals. This is the ‘contact nap trap’—a place of pure, oxytocin-filled magic and total physical restriction. While those snuggles are vital for bonding, there comes a point where you need your body back. Whether you need to eat a hot meal, tend to an older sibling, or simply stretch your limbs, transitioning baby to the bassinet is a milestone for your mental health and their sleep independence.
As a doula and sleep consultant, I want you to know that wanting to stop contact naps isn’t ‘selfish.’ It is a necessary part of the postpartum transition. We aren’t looking for a ‘cold turkey’ break from closeness; we are looking for a gentle, evidence-based bridge from your heartbeat to their own safe sleep space. In this guide, we will walk through the biological reasons babies crave your touch, how to prep the perfect sleep environment, and the exact physical maneuvers to transfer a sleeping baby without triggering that dreaded Moro reflex.
The Science of Snuggles: Why Babies Demand Contact

Before we dive into the ‘how-to,’ let’s talk about the ‘why.’ Your baby isn’t being ‘manipulative’ or ‘clingy.’ They are biologically programmed to seek your proximity for survival. Inside the womb, they were constantly held, swayed, and serenaded by the sound of your blood flow and heartbeat. The transition to the ‘fourth trimester’ is a huge shock to their nervous system.
Understanding the Biological Drivers
- The Moro Reflex: This is the ‘startle reflex.’ When a baby feels a sudden lack of support (like being lowered into a flat bassinet), their brain thinks they are falling, causing their arms to jerk out and wake them up.
- Thermoregulation: Your body acts as a natural heater. When they leave your warmth for a cool cotton sheet, the temperature drop signals an alert to their brain.
- The Scent of Safety: Your breastmilk and skin scent are their primary markers of security. A sterile bassinet smells like… nothing.
To successfully transition, we have to mimic these sensations in the bassinet. We aren’t just moving a baby; we are recreating a sensory experience. Here is a comparison of what your baby experiences during a contact nap versus a standard bassinet nap:
| Feature | Contact Nap Experience | Standard Bassinet Experience |
|---|---|---|
| Temperature | Consistent 98.6 degrees | Room temperature (68-72 degrees) |
| Sound | Rhythmic heartbeat & breathing | Silence or distant household noise |
| Movement | Micro-sways from your breathing | Static and still |
| Scent | Familiar maternal pheromones | Laundry detergent or ‘new’ fabric |
Prepping the ‘Landing Pad’: Creating the Ideal Bassinet Environment
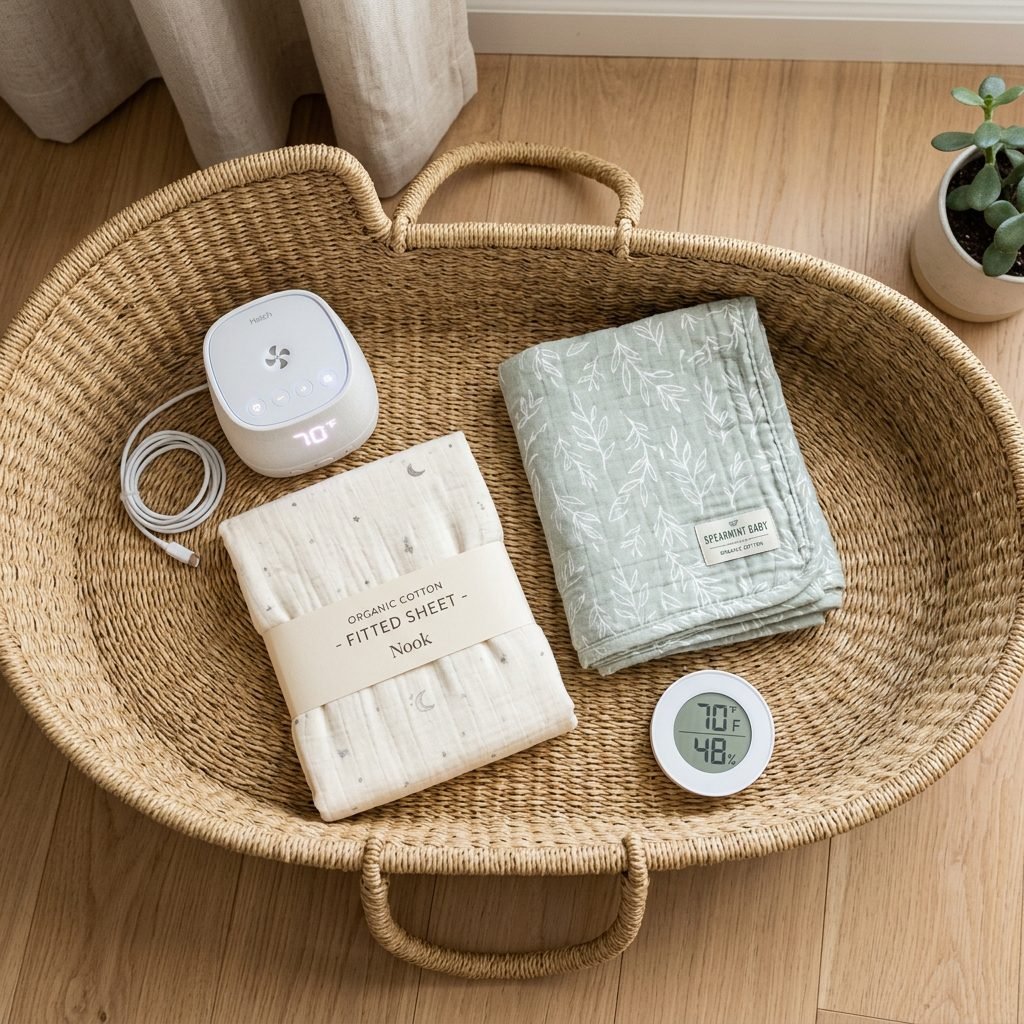
You wouldn’t want to be dropped onto a cold, hard floor, and neither does your baby. To make the bassinet appealing, we need to optimize the environment before the nap even begins. Consistency is your best friend here. If the bassinet is only used at 2 AM, it will feel like a foreign land during the day.
The 5-Point Bassinet Checklist
- Warm the Surface: Use a heating pad or a warm water bottle to pre-warm the bassinet mattress for 10 minutes before the transfer. CRITICAL: Remove the heating pad and check the surface with your inner wrist to ensure it is warm, not hot, before laying the baby down.
- The Scent Trick: Take the bassinet sheet and tuck it into your shirt for an hour or sleep on it for one night. This transfers your scent to the fabric, making the ‘landing pad’ smell like mom.
- White Noise: Use a sound machine that mimics the low-frequency rumbling of the womb. It should be placed at least 7 feet away from the baby’s head and set to about 50-60 decibels (the volume of a soft shower).
- Blackout Curtains: Melatonin, the sleep hormone, is inhibited by light. Even during day naps, a dark room helps the brain stay in a sleep state.
- Tight Sheets: Ensure the mattress is firm and the sheet is perfectly taut. Any bunching can be a safety hazard and a sensory distraction.
“Your baby’s sleep space is their sanctuary. By making it smell like you and feel like the womb, you are giving them the tools to feel safe even when your arms aren’t around them.”
The Gentle Transfer: A Step-by-Step Physical Guide
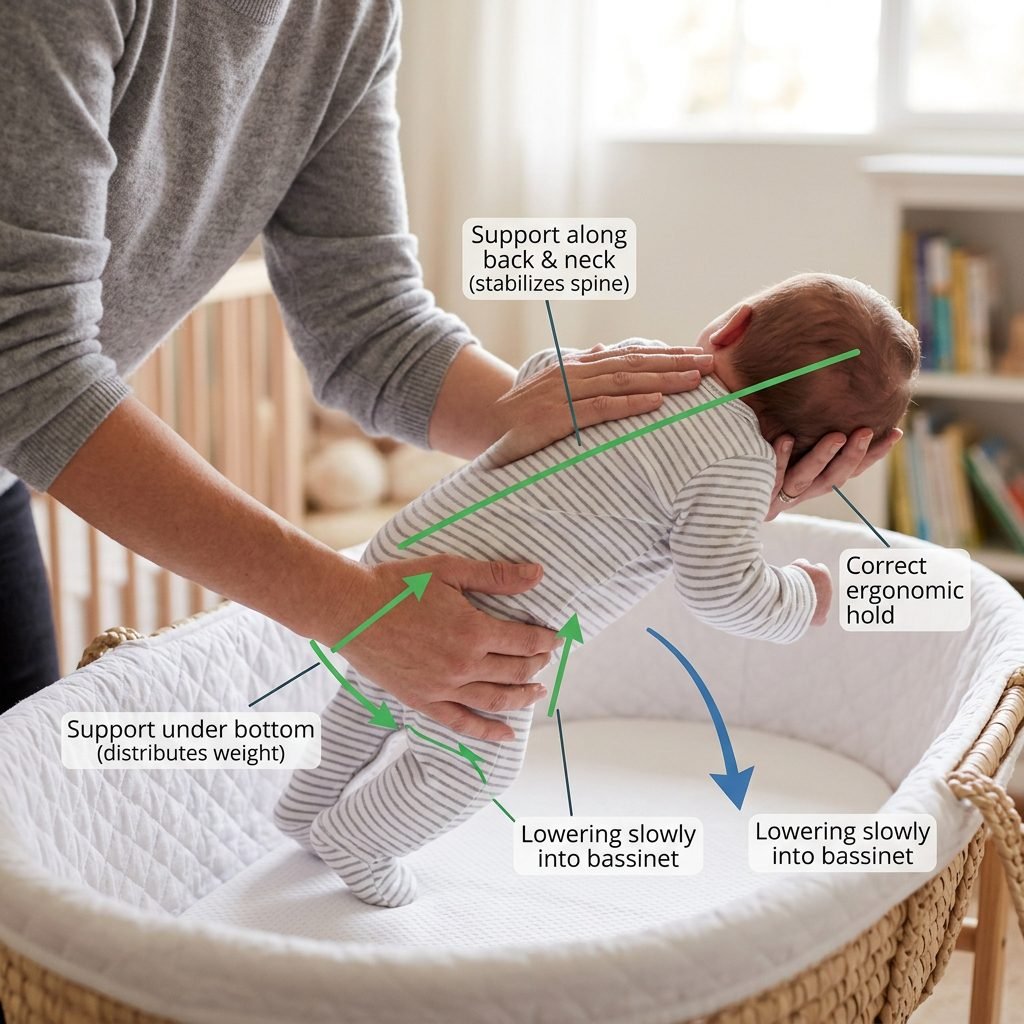
The moment of the transfer is where most contact naps fail. It’s a high-stakes game of ‘the floor is lava.’ To succeed, you must move slowly and maintain physical contact for as long as possible during the descent. We call this the ‘Butt-Back-Head’ method.
How to Execute the Perfect Transfer
- Wait for Deep Sleep: Do not attempt the transfer the moment their eyes close. Wait about 10 to 15 minutes until they enter a deep sleep cycle. Look for the ‘limp limb’ test—lift their arm and let it go; if it falls heavily without resistance, they are ready.
- Keep Them Close: As you stand up, keep the baby pressed firmly against your chest. Do not create space between your bodies yet.
- The Slow Descent: Lower yourself over the bassinet. Your torso should follow the baby down so they don’t feel the sensation of ‘falling.’
- Feet and Bottom First: Touch the baby’s feet to the mattress first, followed by their bottom. This prevents the Moro reflex from triggering. Never lead with the head.
- The Pause: Once their torso is down, keep your hands resting firmly on their chest and tummy. This ‘weight’ mimics your embrace.
- The Slow Withdrawal: Gradually lift your hands away, one millimeter at a time. If the baby stirs, apply gentle pressure or a ‘shushing’ sound until they settle again.
| Phase | Action | Why it Works |
|---|---|---|
| The Lean | Lower your chest with the baby | Prevents the ‘falling’ sensation |
| The Anchor | Hand on chest/pressure | Mimics the weight of your arms |
| The Shush | Rhythmic ‘shh’ sound | Drowns out environmental clicks/creaks |
Troubleshooting the Mid-Nap Wake-Up
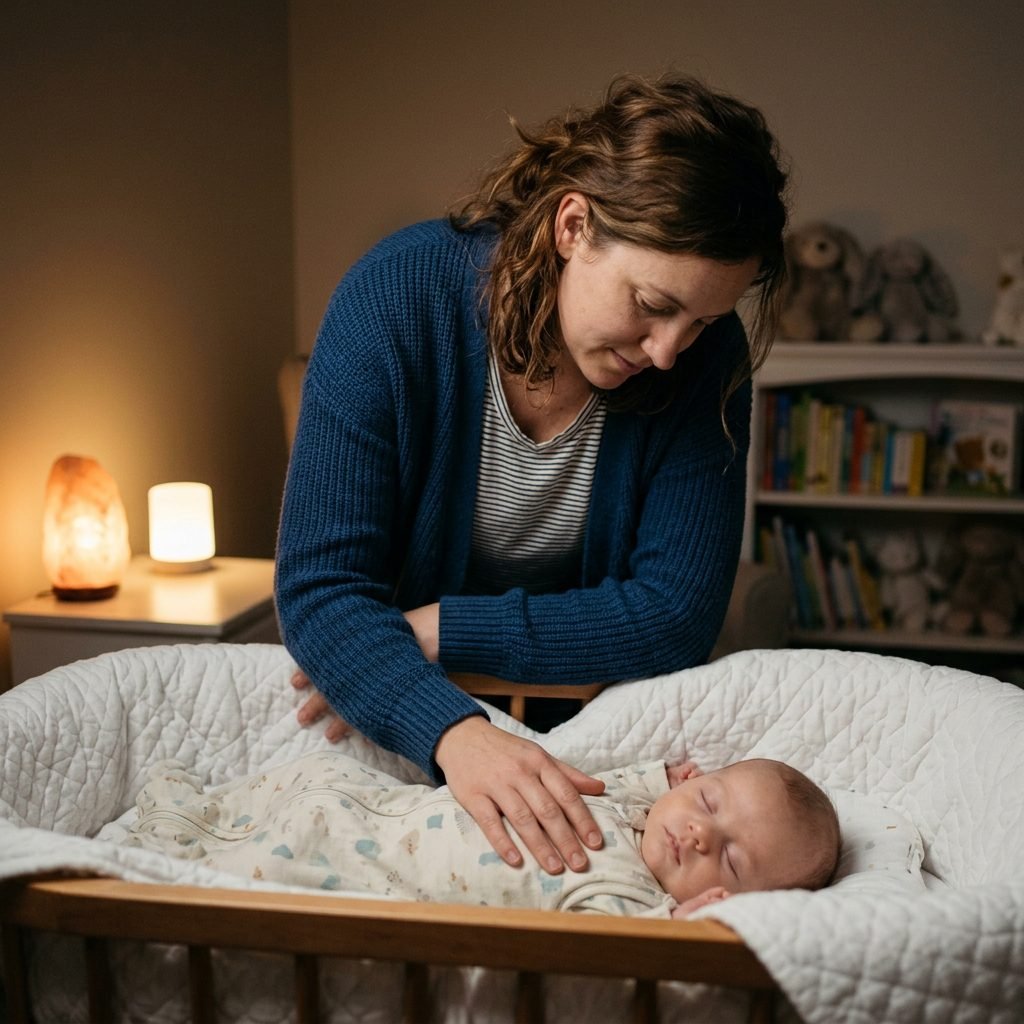
It happens to the best of us: you successfully transfer them, you walk out the door, and eight minutes later, you hear the cry. Don’t panic, and don’t immediately scoop them up if they are just fussing. There is a difference between a ‘mantra cry’ (settling) and a ‘distress cry.’
The ‘Layered Intervention’ Strategy
Instead of immediately ending the nap and going back to a contact nap, try these layers of intervention first:
- Level 1: Verbal Assurance: Stand by the bassinet and use a rhythmic ‘shhh-shhh’ or a low, humming song. Sometimes just hearing your voice is enough.
- Level 2: Physical Touch: Place a firm, warm hand on their chest. Do not pick them up. Use the other hand to gently jiggle their hips or stroke their forehead.
- Level 3: The ‘Roll’: If they are gassy, gently roll them slightly to their side (while still in the bassinet) and pat their bottom, then roll them back to their back once settled.
If these don’t work after 5-10 minutes, it’s okay to ‘rescue’ the nap. Pick them up, finish the nap as a contact nap, and try again for the next sleep cycle. Consistency doesn’t mean perfection; it means persistence.
“You are teaching a new skill. Like any skill, there will be ‘practice’ sessions that go poorly. That doesn’t mean you’ve failed; it means the lesson is still in progress.”
The Transition Timeline: What to Expect
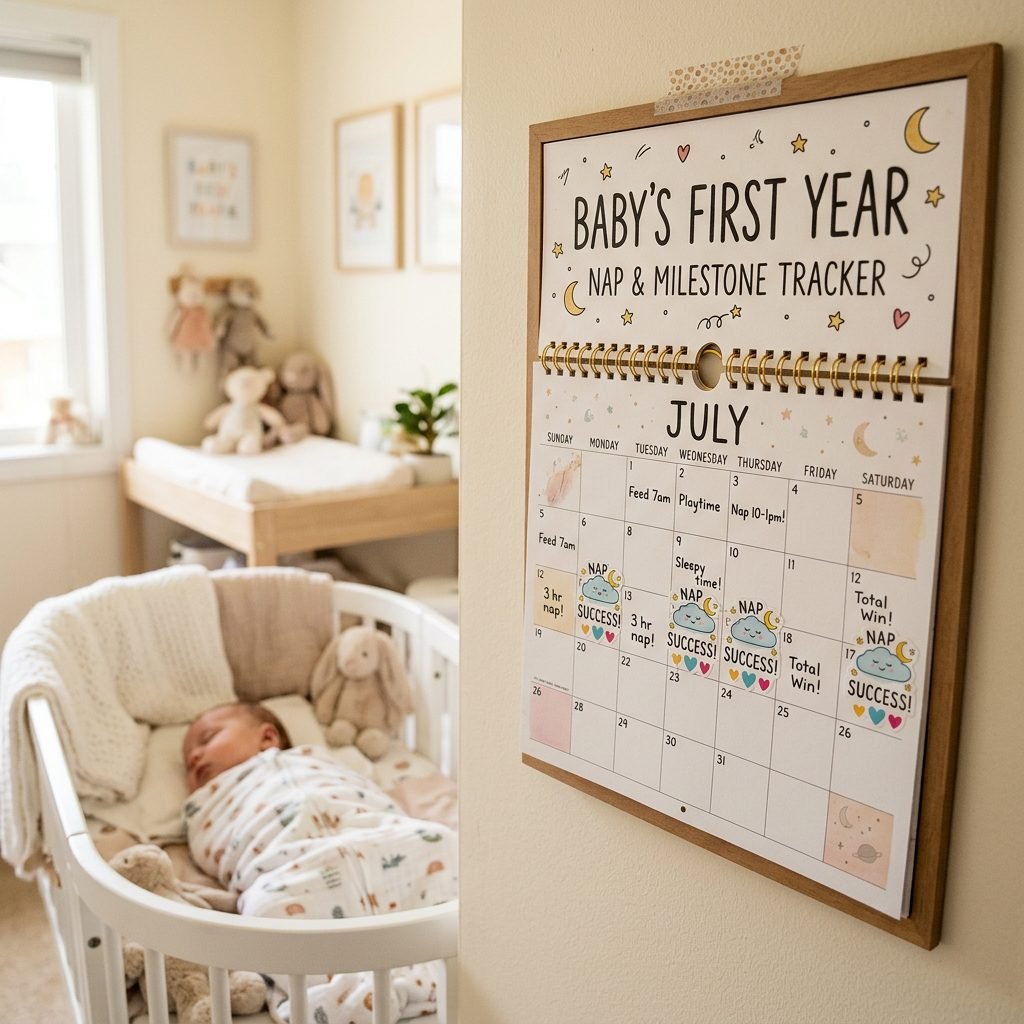
Transitioning away from contact naps isn’t an overnight switch. It’s a gradual progression. Most families find success by focusing on one nap at a time. Usually, the first nap of the day is the easiest because sleep pressure is highest.
| Days | Goal | Action Plan |
|---|---|---|
| Days 1-3 | The ‘First Nap’ Focus | Only attempt the bassinet for Nap #1. All other naps can be contact/carrier. |
| Days 4-7 | The ‘Practice’ Phase | Attempt Naps #1 and #2 in the bassinet. Focus on the transfer technique. |
| Days 8-14 | Consistency | All naps start in the bassinet. Use ‘rescue’ naps only if they wake under 20 mins. |
During this time, pay close attention to wake windows. A baby who is overtired has higher levels of cortisol (the stress hormone), which makes the ‘startle reflex’ much more sensitive. Use an age-appropriate schedule to ensure they are ‘tired but not wired’ when you start the transfer.
Conclusion
You’ve Got This, Mama
Moving from the warmth of your arms to the independence of a bassinet is a big step for both you and your baby. It’s okay to feel a little bittersweet about it—those snuggles are precious. But remember, a well-rested mother is a more present mother. By implementing the ‘Butt-Back-Head’ transfer and optimizing the sleep environment with your scent and warmth, you are setting the foundation for healthy sleep habits that will last a lifetime.
Be patient with yourself and your little one. Some days the transfer will be seamless, and other days you’ll end up back on the couch with a baby on your chest. Both are okay. You are doing a wonderful job navigating the beautiful, exhausting reality of the fourth trimester. Sweet dreams to you both!