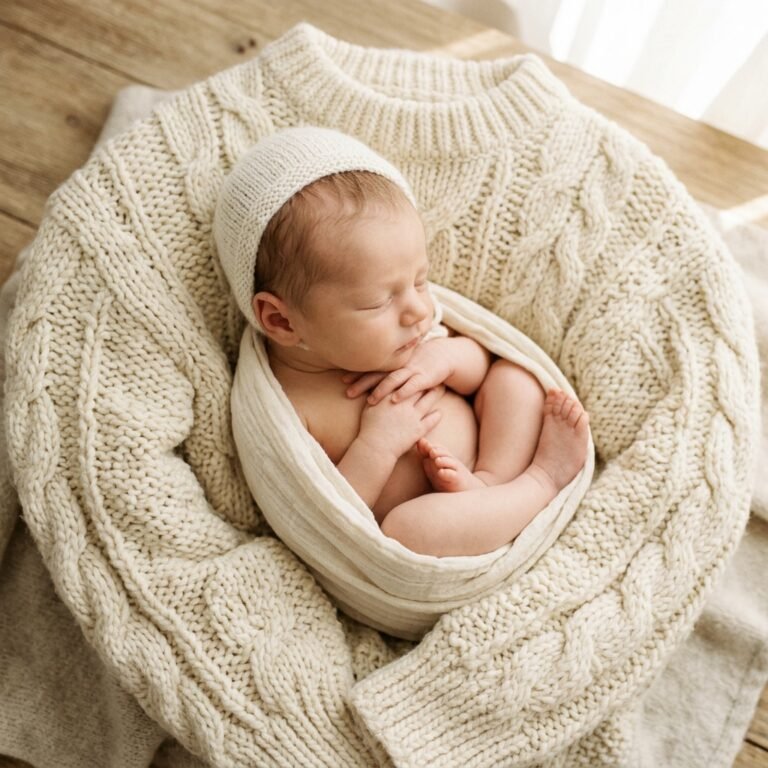
The Overhead Newborn Flat Lay Guide: Gorgeous Baby Photos on Your Phone
Capturing the Fleeting Magic of the Fourth Trimester
Welcome, sweet mama. If you are reading this while holding a sleeping infant or nesting in anticipation of your little one’s arrival, you already know how quickly these days blur together. As a doula, I often tell my clients that the ‘newborn haze’ is both a biological necessity and a bittersweet thief of memory. We want to freeze every tiny eyelash, every curled finger, and every soft roll of skin. But let’s be honest: hiring a professional photographer for every weekly milestone isn’t always feasible, especially when you’re navigating the beautiful, chaotic rhythm of postpartum recovery.
The overhead newborn flat lay is the perfect solution. It is a classic, minimalist photography style that highlights your baby’s features against a curated backdrop. The best part? You don’t need a fancy DSLR or a studio setup. Your smartphone, a patch of natural light, and a few household items are all you need to create gallery-worthy images. In this guide, we will walk through the physical setup, the safety protocols (which are my priority as your doula!), and the styling secrets that turn a simple snapshot into a cherished heirloom.
The Golden Rule of Lighting: Chasing Soft, Natural Rays
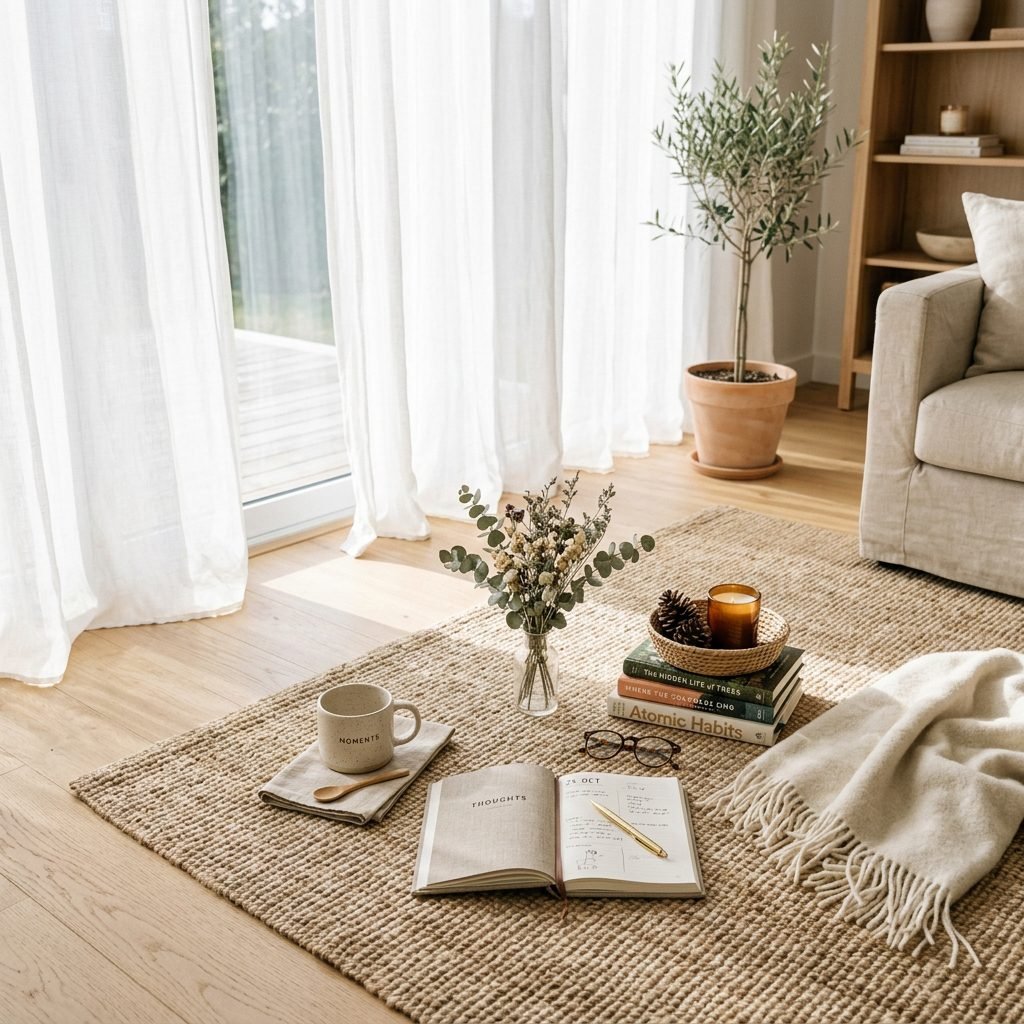
In photography, light is everything. For newborn skin, which can sometimes be a bit blotchy or red in those first few weeks, soft, indirect natural light is your best friend. It smooths out textures and creates that ethereal, ‘glowy’ look we all love.
Finding the Best Spot in Your Home
- Identify North or South-facing windows: These windows provide consistent, soft light throughout the day without the harsh, direct sunbeams that cause ‘hot spots’ and deep shadows.
- The Garage Door Trick: If your house is dark, try opening your garage door during the day. Place your setup about 5-10 feet back from the opening. It provides a massive, soft light source similar to a professional softbox.
- Turn off the overheads: Artificial indoor lighting often has a yellow or orange tint. For the cleanest look, turn off all lamps and ceiling lights and rely solely on the sun.
Pro Tip: Always position your baby so the light ‘flows’ from the top of their head down toward their toes. Lighting from the bottom up (known as ‘ghoul lighting’) creates unnatural shadows under the nose and chin.
Safety First: The Doula’s Guide to a Secure Shoot
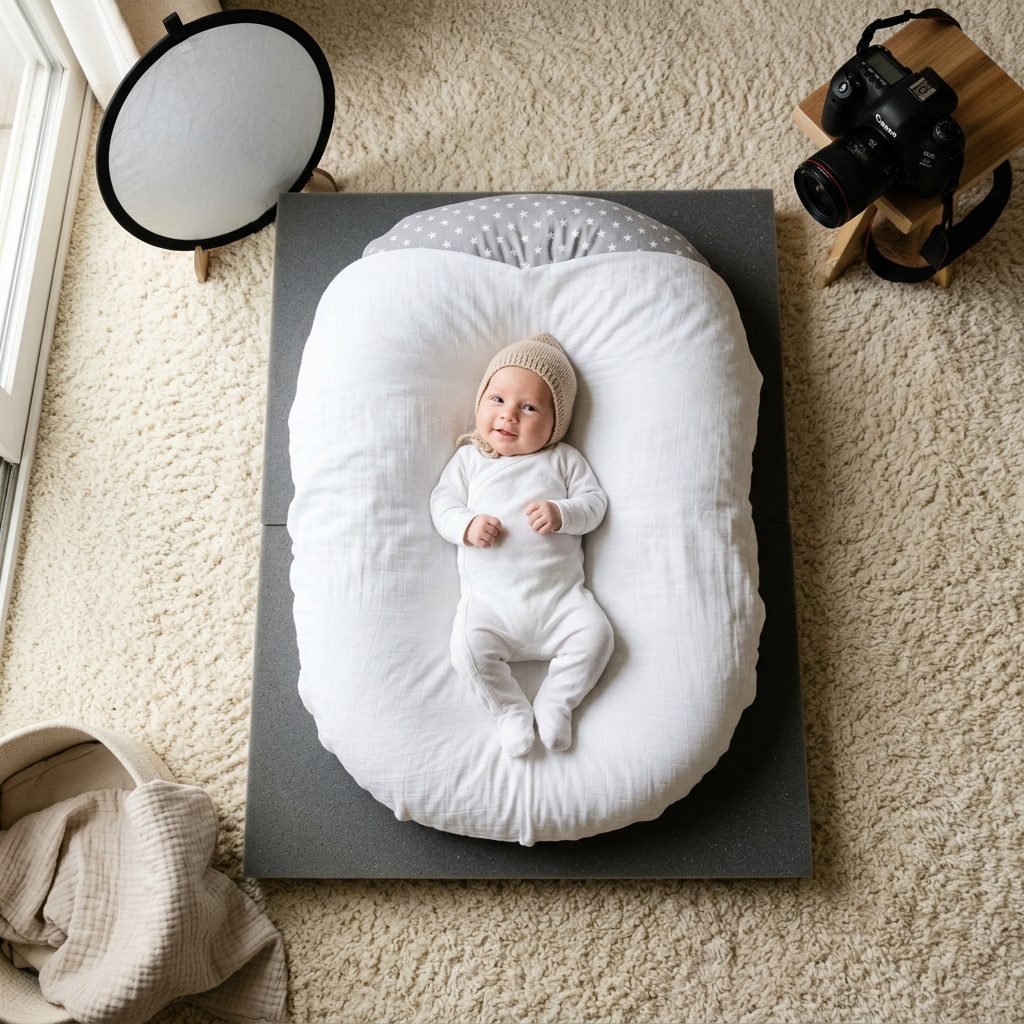
Before we talk about aesthetics, we must talk about safety. As a doula, my primary concern is always the physical and emotional well-being of the baby and the mother.
Creating a Safe Foundation
- The Floor is Your Friend: Never perform an overhead flat lay on a high surface like a dining table or a kitchen counter. Even a newborn who can’t roll yet can wiggle unexpectedly. Always set up your ‘studio’ on a flat area of the floor.
- The Spotter Rule: If you are standing on a small step stool to get height, have a partner or friend stand right next to the baby. Their only job is to keep a hand near the baby while you click the shutter.
- Temperature Check: Since many flat lays involve just a diaper or a thin wrap, ensure the room is warm—aim for 72-75 degrees Fahrenheit. A cold baby is an unhappy, wiggly model!
- The Phone Grip: Use a wrist strap or a secure phone grip. You do not want your phone slipping from your hands while you are leaning directly over your little one.
Styling Your Story: Textures and Props
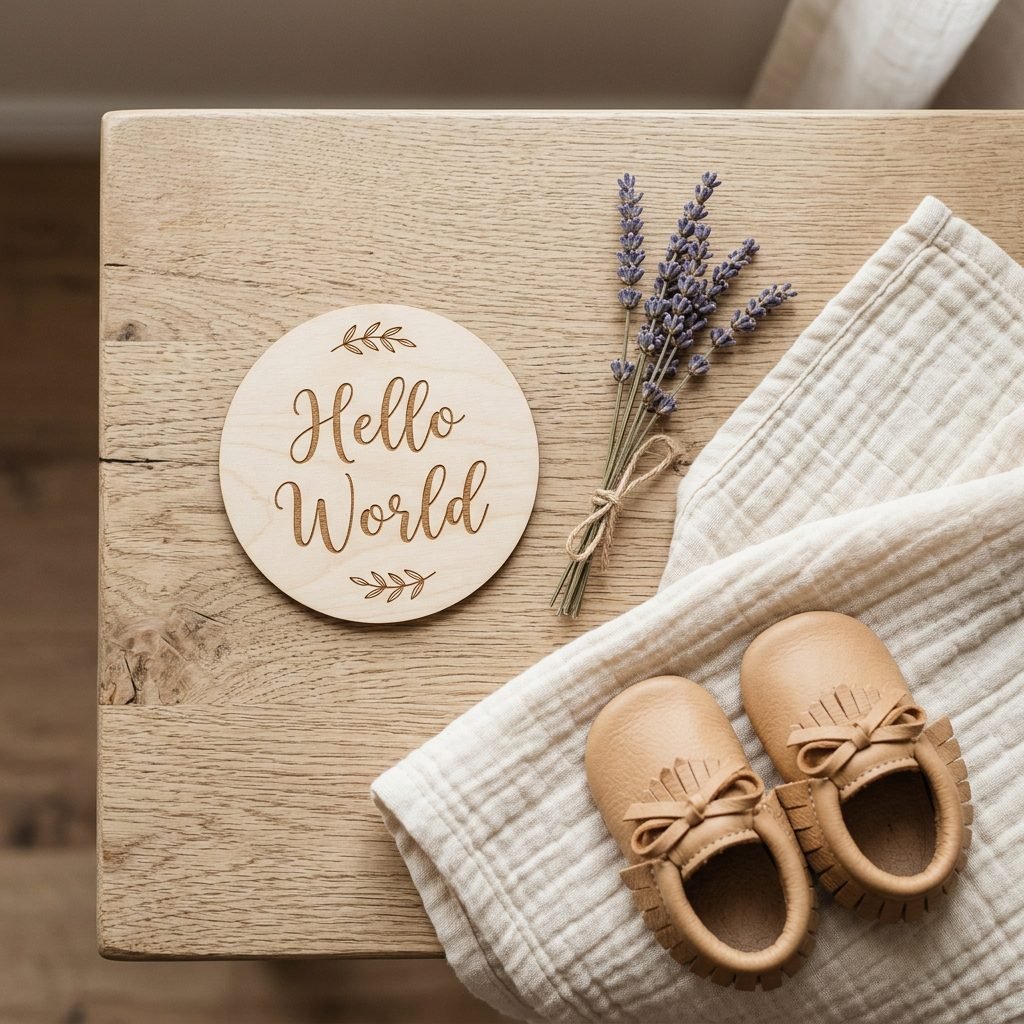
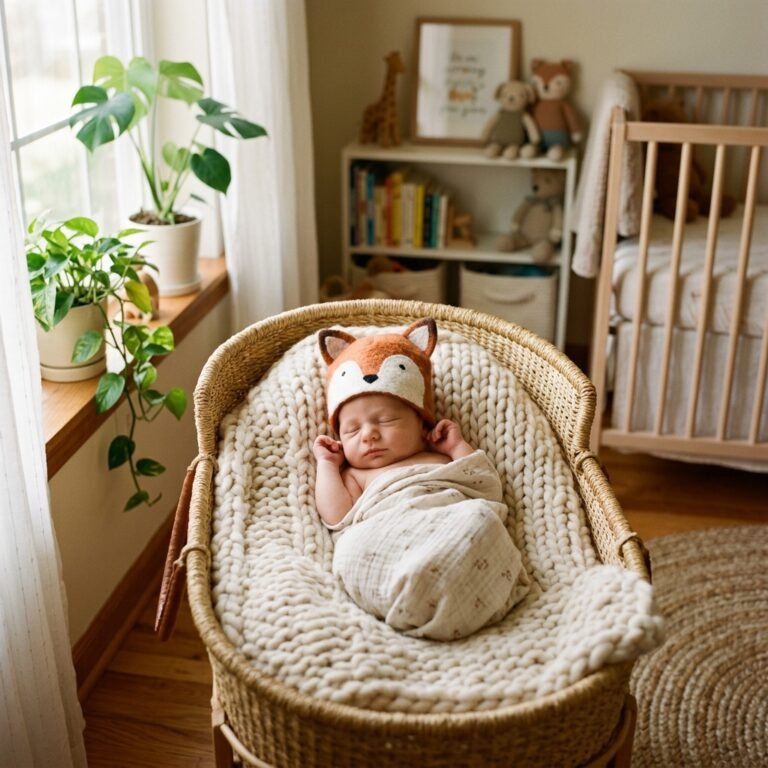
The ‘flat lay’ is an art of composition. You want to create a visual frame that draws the eye directly to your baby’s face. Think about textures that feel like a warm hug: muslins, chunky knits, and organic cottons.
Choosing Your Color Palette
Stick to a monochromatic or neutral palette (creams, tans, sage greens, or dusty roses) to keep the focus on the baby. If you use props, choose items that have sentimental value or represent the season.
| Material Type | Why It Works | Budget Level |
|---|---|---|
| Muslin Swaddle | Light, airy, and easy to drape or ‘scrunch’ for texture. | Low ($10-$20) |
| Chunky Knit Blanket | Adds depth and a cozy, high-end feel to the background. | Medium ($30-$60) |
| Faux Fur Rug | Provides a soft, cloud-like aesthetic for ‘naked’ baby shots. | Medium ($25-$45) |
| Wooden Milestone Discs | Clearly marks the age and adds a natural, rustic element. | Low ($15/set) |
The ‘C’ Curve Composition
Try to pose your baby in a natural ‘fetal’ position—knees tucked up slightly and hands near the face. This ‘C’ curve is not only adorable but also how they naturally felt in the womb, making them feel more secure during the shoot.
Technical Mastery: Using Your Phone Like a Pro
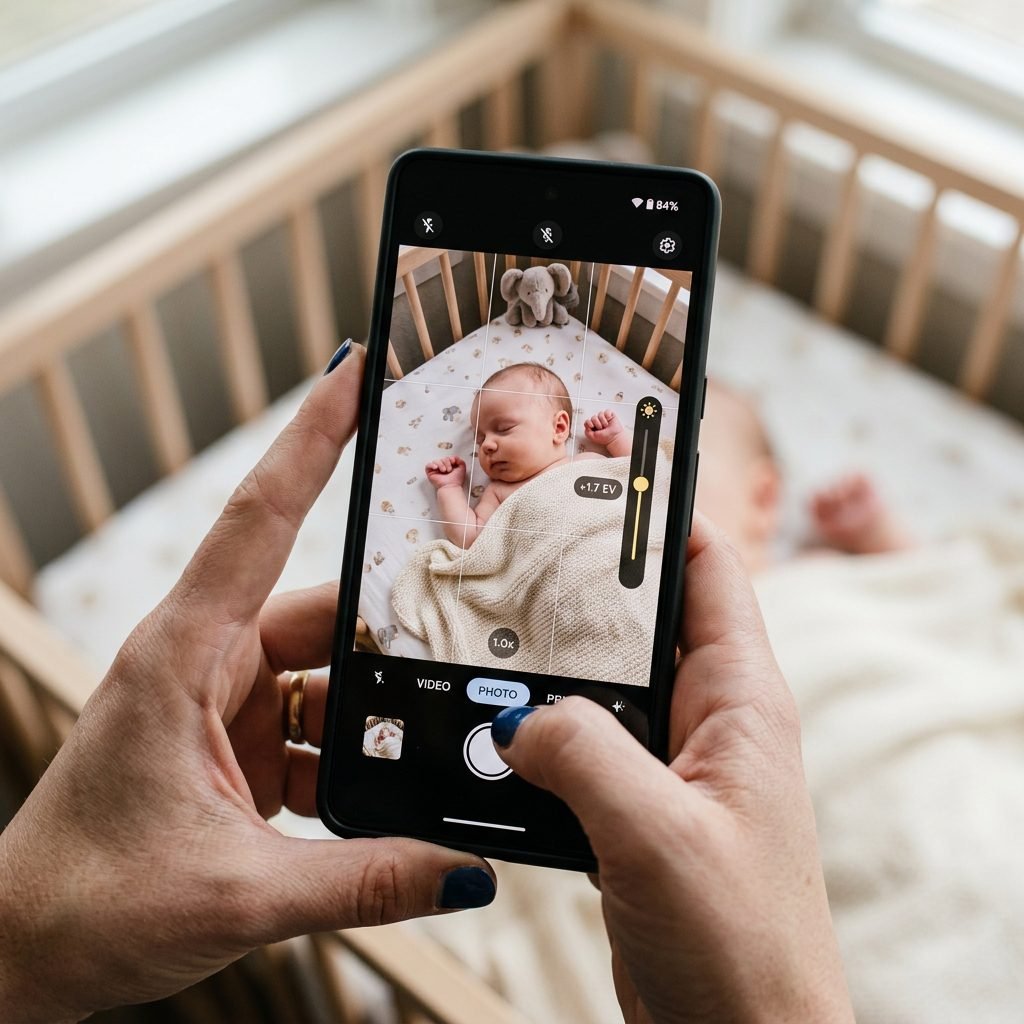
You don’t need a $2,000 camera. Modern smartphones are incredibly capable if you know which settings to toggle. Follow these steps to optimize your phone for the perfect shot.
Camera Settings to Adjust
- Turn on the Grid: Go to your phone settings and enable the ‘Grid.’ When you hold your phone flat over the baby, two crosses (usually white and yellow) will appear in the center. When they align into one, your phone is perfectly level.
- Lock Your Focus: Tap on your baby’s eye on the screen and hold it for a second until you see ‘AE/AF Lock.’ This ensures the camera doesn’t refocus if the baby moves a tiny bit.
- Exposure Slider: Once focused, swipe your finger up or down on the screen to adjust the brightness. Newborn photos usually look best when slightly ‘blown out’ or brightened.
- Portrait Mode: Use this sparingly. While it creates a lovely blurred background (bokeh), it can sometimes accidentally blur the baby’s ears or hair if the lighting isn’t perfect.
“The best camera is the one you have in your hand, especially when it’s capturing the miracle you made.”
The Milestone Flat Lay: A Monthly Tradition
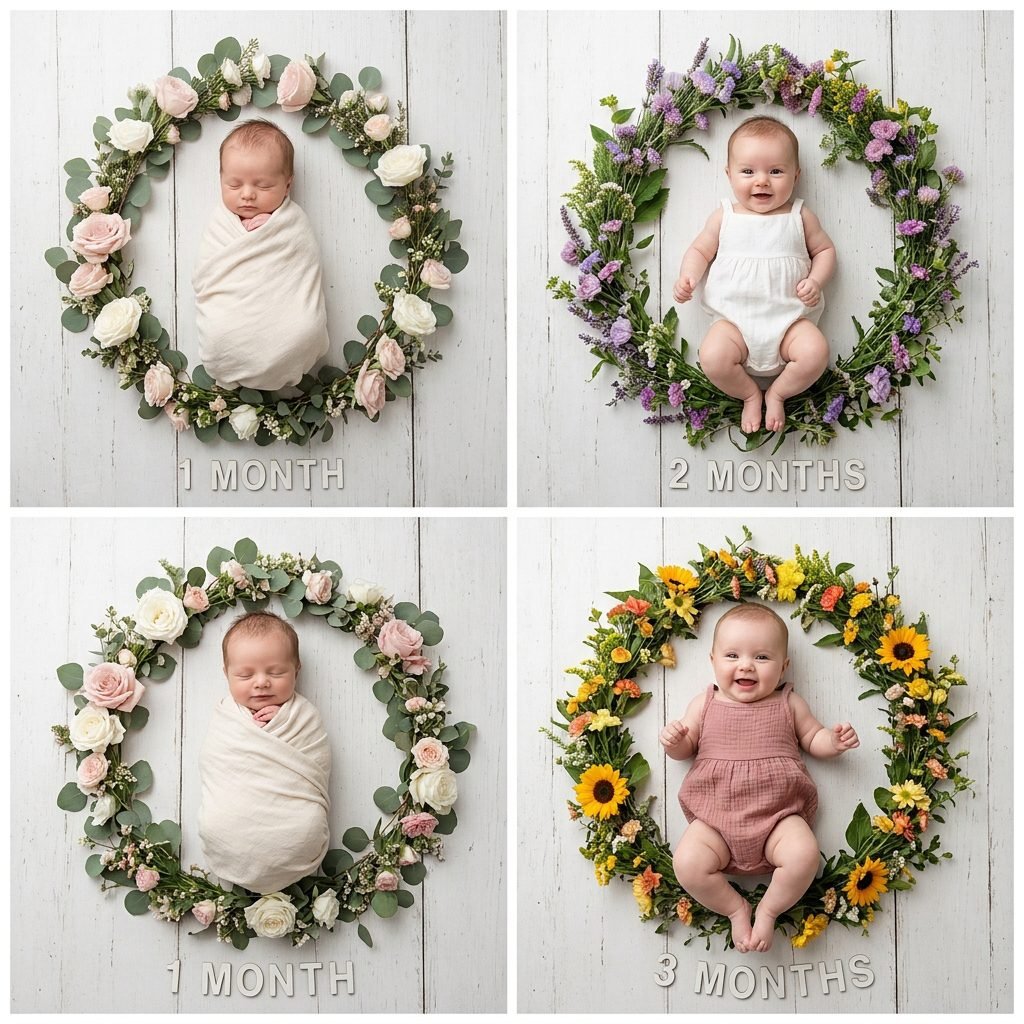
Consistency is key for milestone photos. If you plan to do this every month for the first year, keep your ‘base’ the same. Use the same blanket and the same lighting spot so that when you look back at the 12-month progression, the only thing that changes is your baby growing!
Creative Milestone Ideas
- The Clock Method: Use 12 flowers or 12 toys to create a circle around the baby, pointing one item toward the ‘hour’ that represents their age in months.
- The Clothing Comparison: Place a newborn-sized onesie next to them every month to show how much they have outgrown it.
- The Letter Board: Include a small board with ‘stats’ like their weight, current likes (e.g., ‘loves tummy time’), and dislikes (e.g., ‘hates the car seat’).
Conclusion
Preserving the Magic, One Snap at a Time
Mama, remember that the most important part of this process isn’t a perfectly straight horizon line or a color-coordinated swaddle—it’s the memory. If your baby is fussy, if the light isn’t cooperating, or if you’re just feeling touched-out and tired, put the phone down. These photos are meant to celebrate your journey, not add another ‘to-do’ to your list.
The beauty of the smartphone flat lay is that it fits into your life. You can capture these moments in the quiet 10 minutes between a diaper change and a nap. When you look back at these photos a year from now, you won’t see the laundry pile just outside the frame; you’ll see the curve of those tiny cheeks and remember exactly how they smelled. You’re doing an amazing job, and these photos will be the treasures of your family’s history. Happy snapping!