How to Build DIY Floating Book Ledges for a Small Space Nursery
Welcome to Your Nesting Journey, Mama
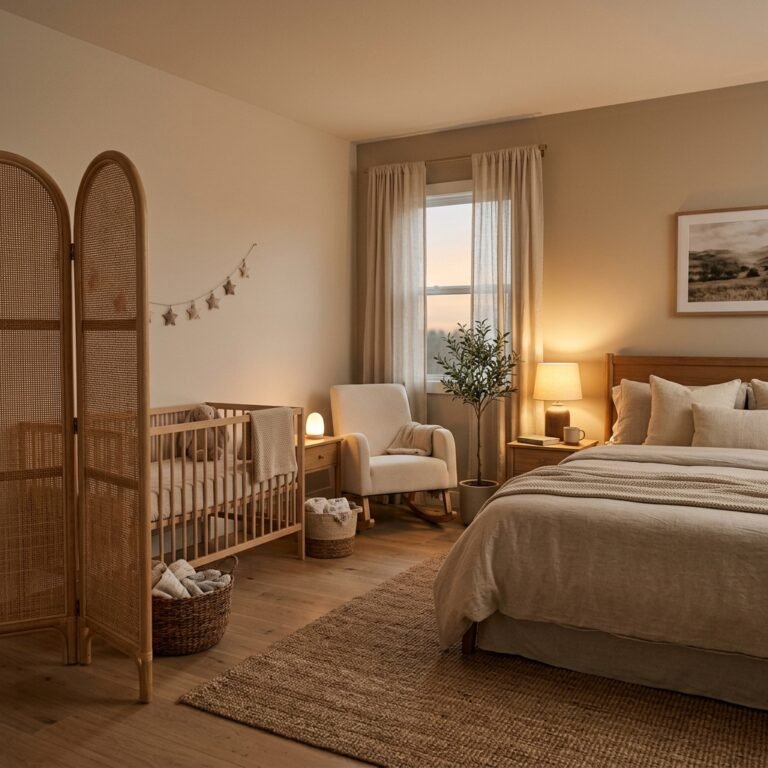
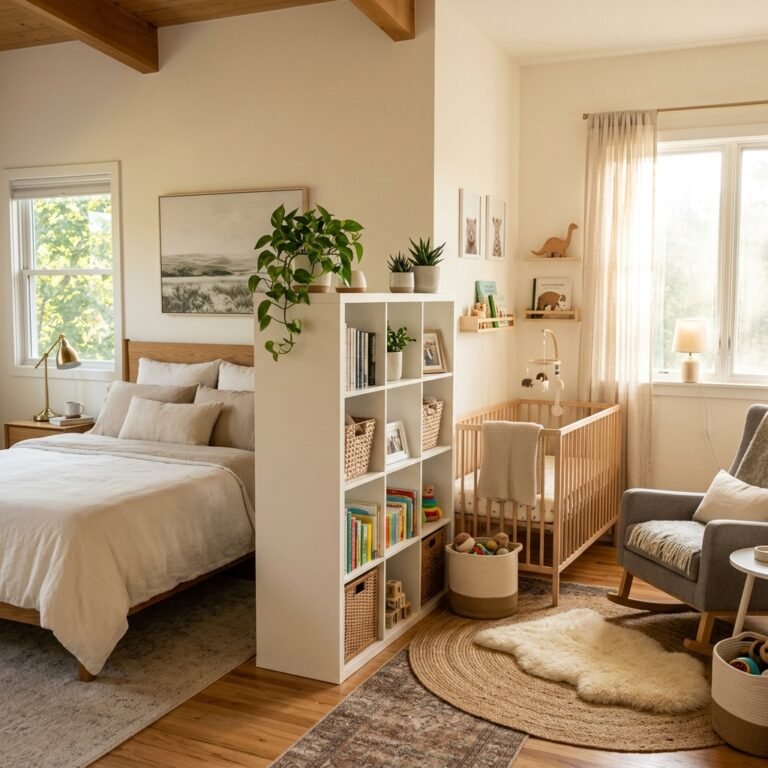
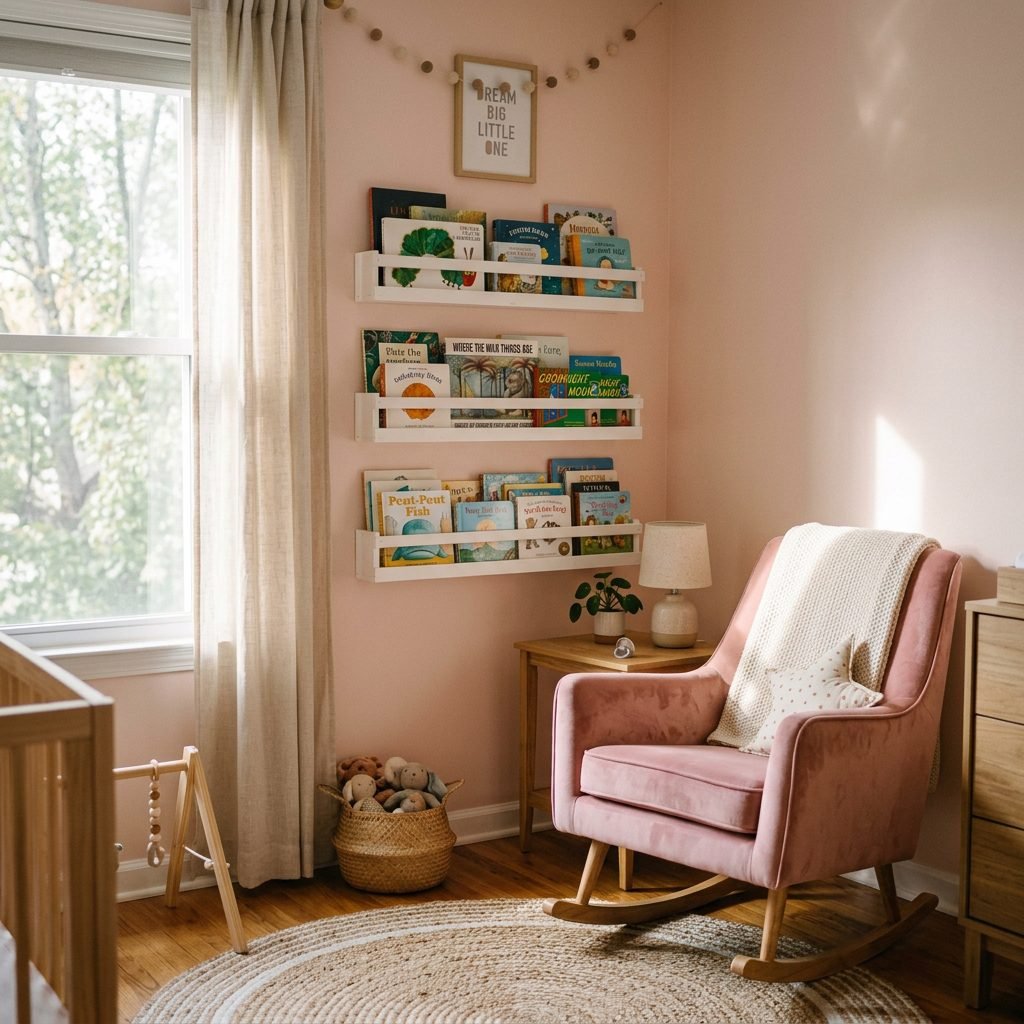
Oh, sweet mama, I see you. You are in that beautiful, whirlwind phase of preparing for your little one’s arrival, or perhaps you are navigating the early days of motherhood and realizing that space is a luxury you simply don’t have enough of. As a doula and a fellow mom, I know that the ‘nesting instinct’ isn’t just about cleaning—it’s about creating a sanctuary. When you’re working with a small nursery, every square inch of floor space is precious. That’s why I am so excited to share this project with you. Floating book ledges are the ultimate secret weapon for small nurseries. They take advantage of your vertical space, turning a blank wall into a functional piece of art that encourages a lifelong love of reading.
Building these yourself isn’t just a way to save money; it’s a way to pour your love into the very walls that will hold your baby. Don’t worry if you’ve never picked up a power drill before—I am going to walk you through this step-by-step, just like a sister. We’ll make sure these shelves are sturdy, safe, and absolutely beautiful. Grab a glass of water (stay hydrated, mama!), and let’s get started on creating a cozy reading nook for your little peanut.
Planning Your Space: Why Vertical Storage is a Lifesaver
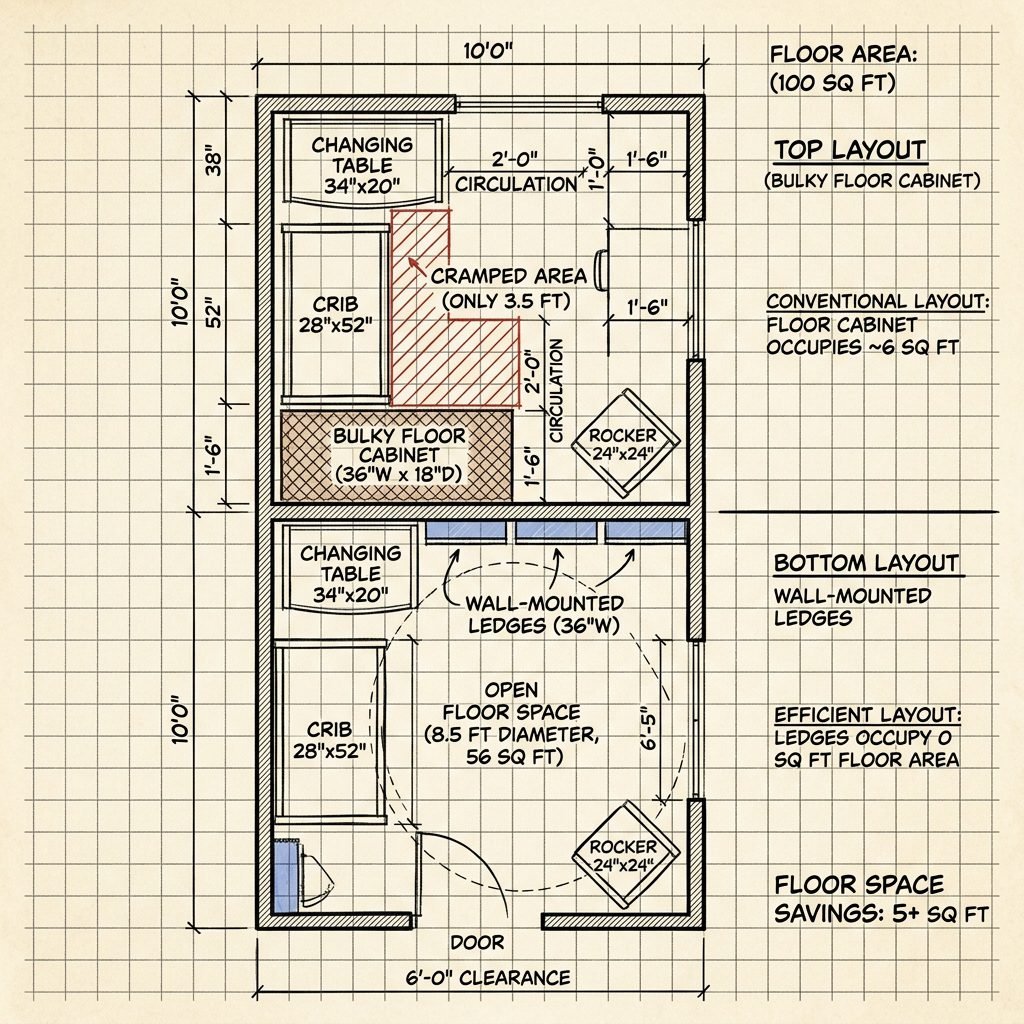
When you are dealing with a small nursery, traditional bookshelves can feel bulky and intrusive. They take up floor space where a diaper pail or a laundry basket needs to go. Floating ledges, however, have a very slim profile—usually only sticking out 3 to 4 inches from the wall. This allows you to place them behind a door, above a changing table, or in that awkward narrow corner next to the crib.
The Benefits of Front-Facing Books
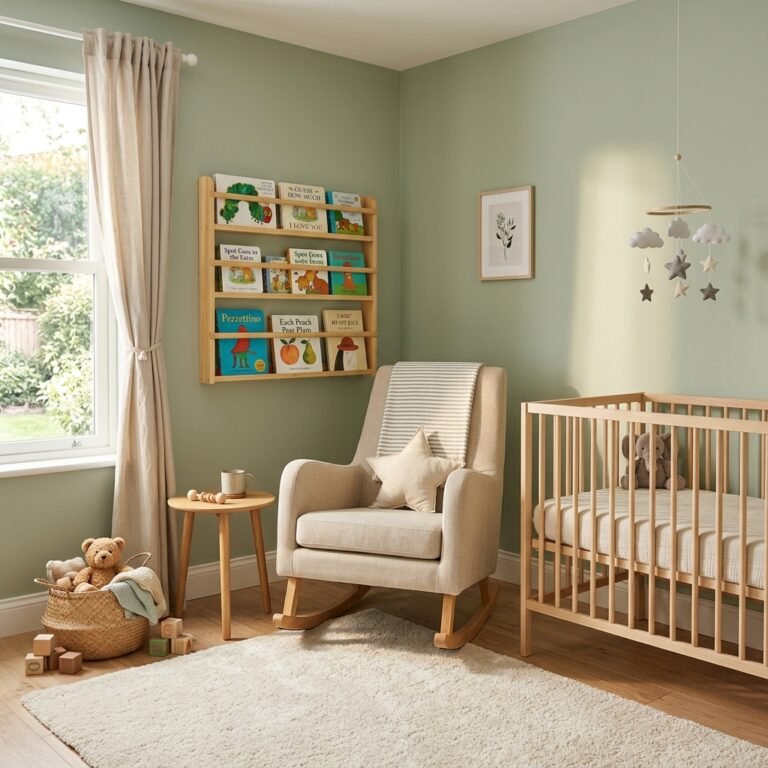
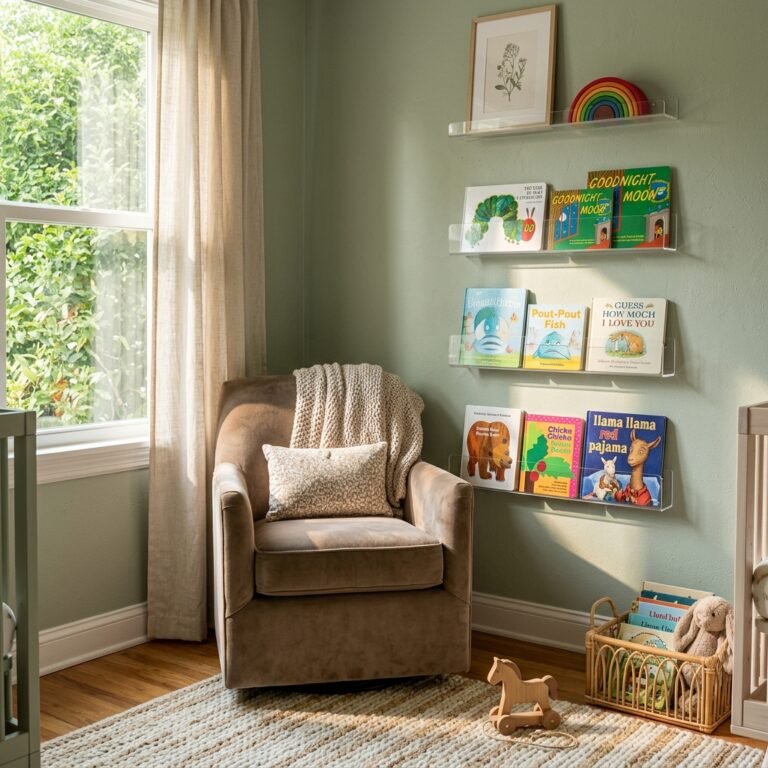
As a doula, I often talk to parents about infant development. Did you know that front-facing books (where the cover is visible) are significantly more engaging for babies and toddlers than spine-out books? It allows them to recognize their favorite characters and colors long before they can read. By building these ledges, you are literally putting a ‘literary rainbow’ at their eye level.
| Storage Type | Floor Space Used | Visual Impact | Accessibility |
|---|---|---|---|
| Standard Bookshelf | 2-4 Square Feet | Can feel cluttered in small rooms | Hard for babies to see covers |
| DIY Floating Ledges | 0 Square Feet | Open, airy, and decorative | High visibility; encourages ‘shelfies’ |
“Your nursery doesn’t need to be big to be full of magic. It just needs to be intentional.”
The Crafty Mama’s Shopping List: Materials and Budget
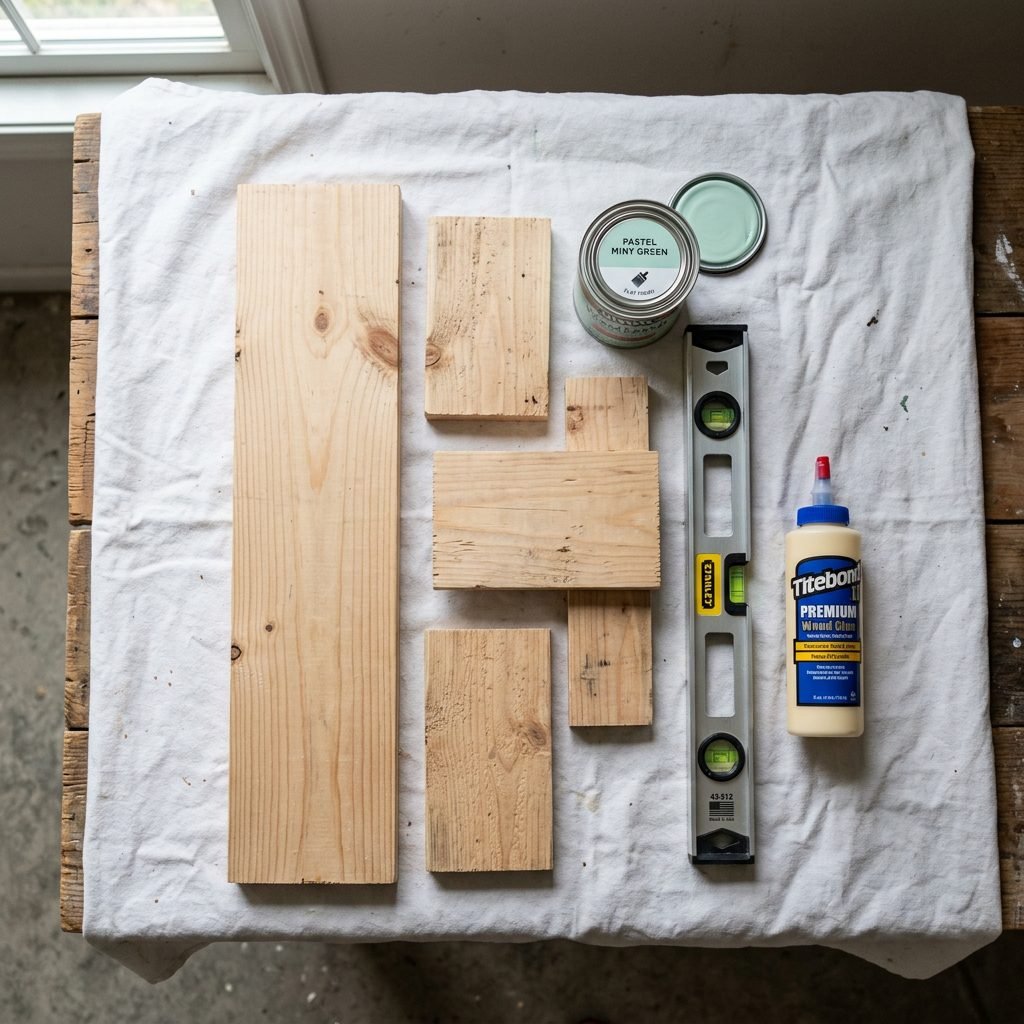
You don’t need a professional workshop for this project. Most of these items can be found at your local hardware store, and many stores will even cut the wood for you if you ask nicely! We are going to use pine because it is lightweight, affordable, and takes paint or stain beautifully.
What You Will Need:
- 1×4 Pine Boards (for the base)
- 1×2 Pine Boards (for the front guard rail)
- 1×3 Pine Boards (for the back support)
- Wood Glue (Non-toxic options like Titebond III are great)
- 1.5-inch Brad Nails or Wood Screws
- Sandpaper (120 and 220 grit)
- Paint or Stain (Ensure it is Zero-VOC for nursery safety)
- Level and Stud Finder
| Item | Estimated Cost | Purpose |
|---|---|---|
| Pine Boards (8ft) | $15 – $25 | The structure of the shelves |
| Wood Glue | $5 – $8 | Ensuring a permanent bond |
| Wall Anchors | $10 | Crucial for safety and weight support |
| Zero-VOC Paint | $20 | Adding color without harmful fumes |
Step-by-Step: Building Your Ledges with Love
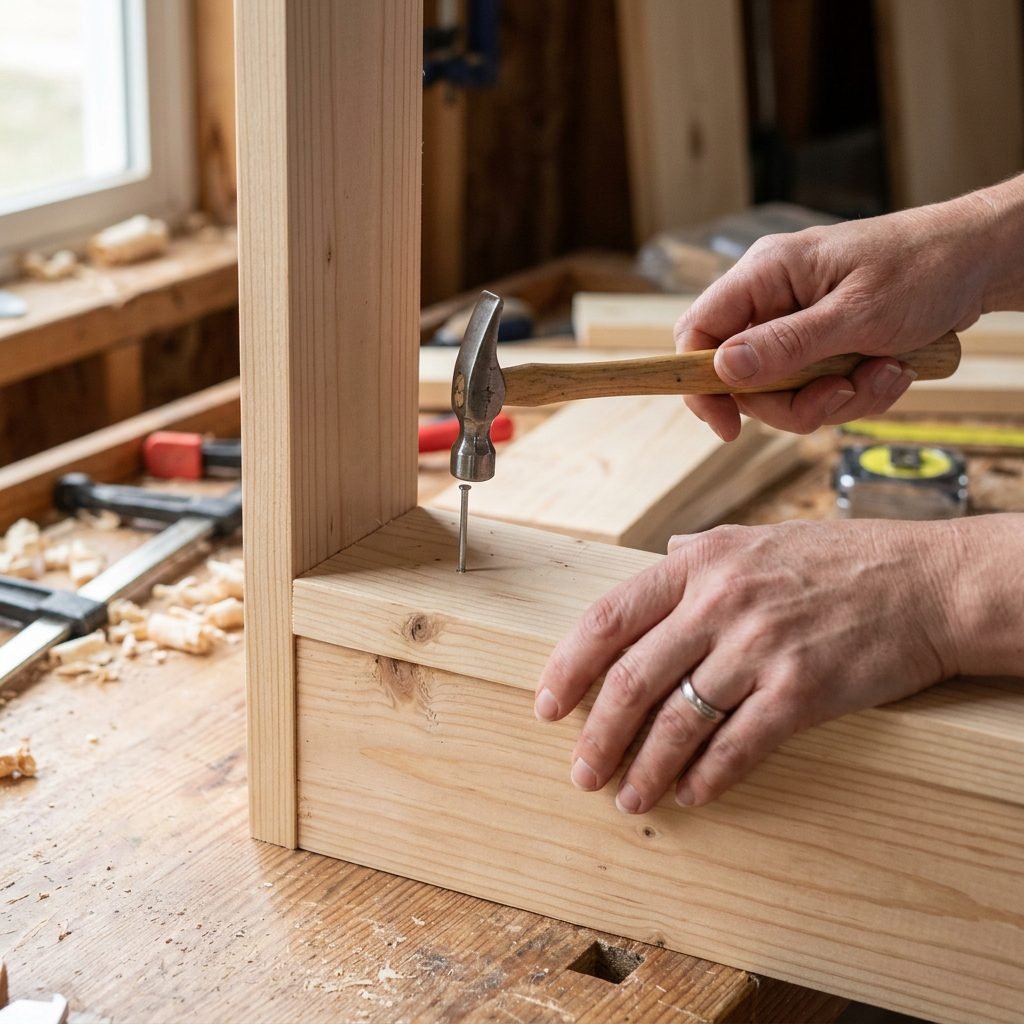
Ready to build? Take a deep breath. You’ve got this! We are essentially making a long ‘J’ or ‘U’ shape out of wood. Here is the physical breakdown of the assembly process:
- Measure and Cut: Decide how long you want your shelves. A standard length is 24 to 36 inches. Cut your 1×4 (base), 1×3 (back), and 1×2 (front) to the exact same length.
- Sand Everything: This is vital for a nursery! Sand every edge and corner until it is smooth to the touch. Use the 120 grit first, then finish with the 220 grit. We don’t want any splinters for tiny fingers.
- The Glue and Nail Sandwich: Apply a thin bead of wood glue along the edge of the 1×4 base. Press the 1×3 back piece against it to form an ‘L’ shape. Secure with nails every 6 inches.
- Attach the Front Rail: Now, glue the 1×2 strip to the front of the 1×4 base. This creates the ‘lip’ that keeps the books from sliding off. Nail it into place.
- Fill and Finish: Use a tiny bit of wood filler to cover the nail holes. Once dry, give it one last light sand and apply your baby-safe paint or wood conditioner.
“Every nail you drive is a step toward a home built on care. Take your time, mama.”
Installation & Safety: Keeping Your Little Explorer Secure
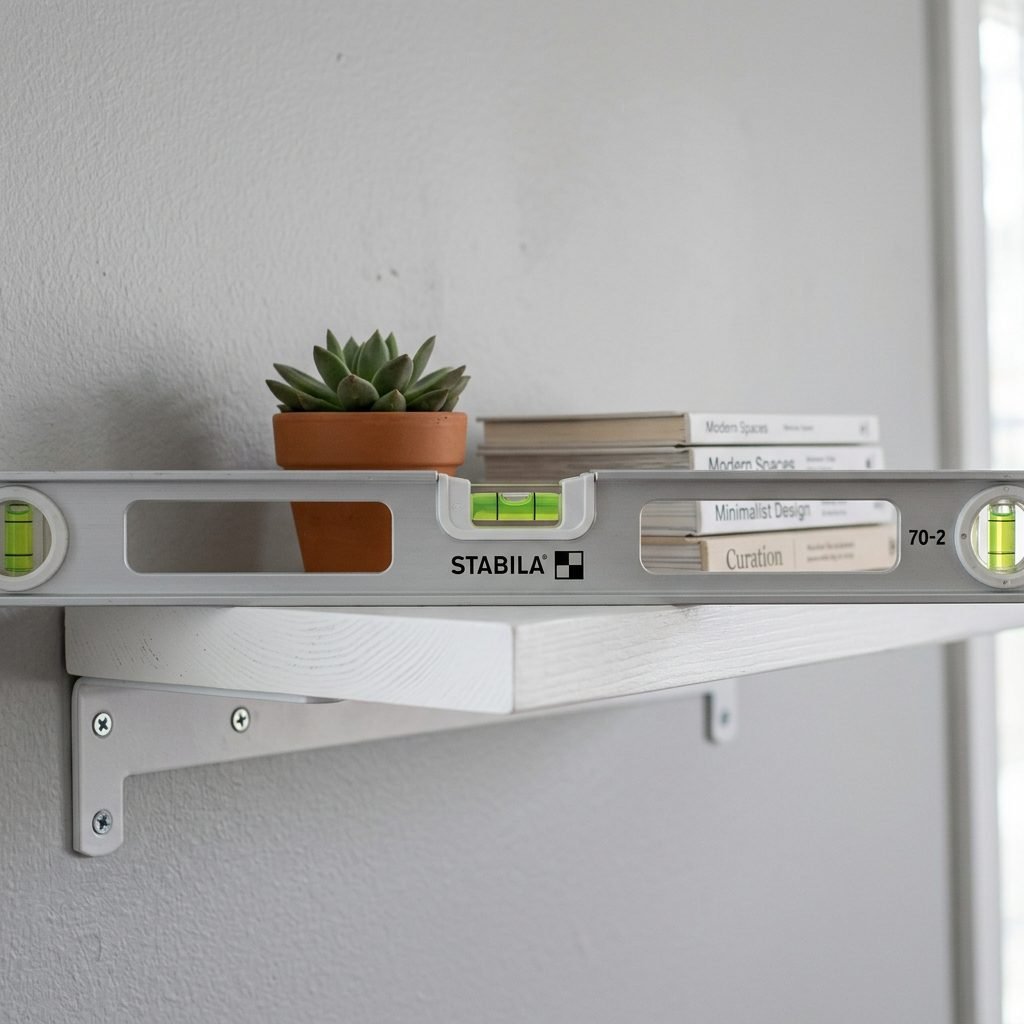
Safety is our absolute priority. Once your baby starts pulling up or cruising, they will try to grab these shelves. We must ensure they are anchored into the wall properly. Never simply nail these into the drywall.
Finding the Studs
Use your stud finder to locate the wooden framing behind your walls. If you can screw directly into the studs, your shelves will be incredibly strong. If the studs aren’t where you want the shelves to be, you must use heavy-duty toggle bolts or drywall anchors rated for at least 50 pounds.
Height Considerations
Think about the ‘Active Reach’ of your child. I recommend installing one ledge lower (about 18-24 inches from the floor) for your toddler to reach independently, and two ledges higher up for the books you want to keep ‘special’ or out of reach of sticky fingers. Always ensure the shelves are level—nothing ruins the aesthetic of a nursery like a crooked book ledge!
| Wall Type | Attachment Method | Safety Rating |
|---|---|---|
| Wood Stud | 2.5″ Wood Screws | Highest (Recommended) |
| Drywall Only | Toggle Bolts | Moderate (Use with caution) |
| Plaster | Specialized Masonry Anchors | Varies by age of wall |
Styling Your Literary Rainbow: Organization Tips
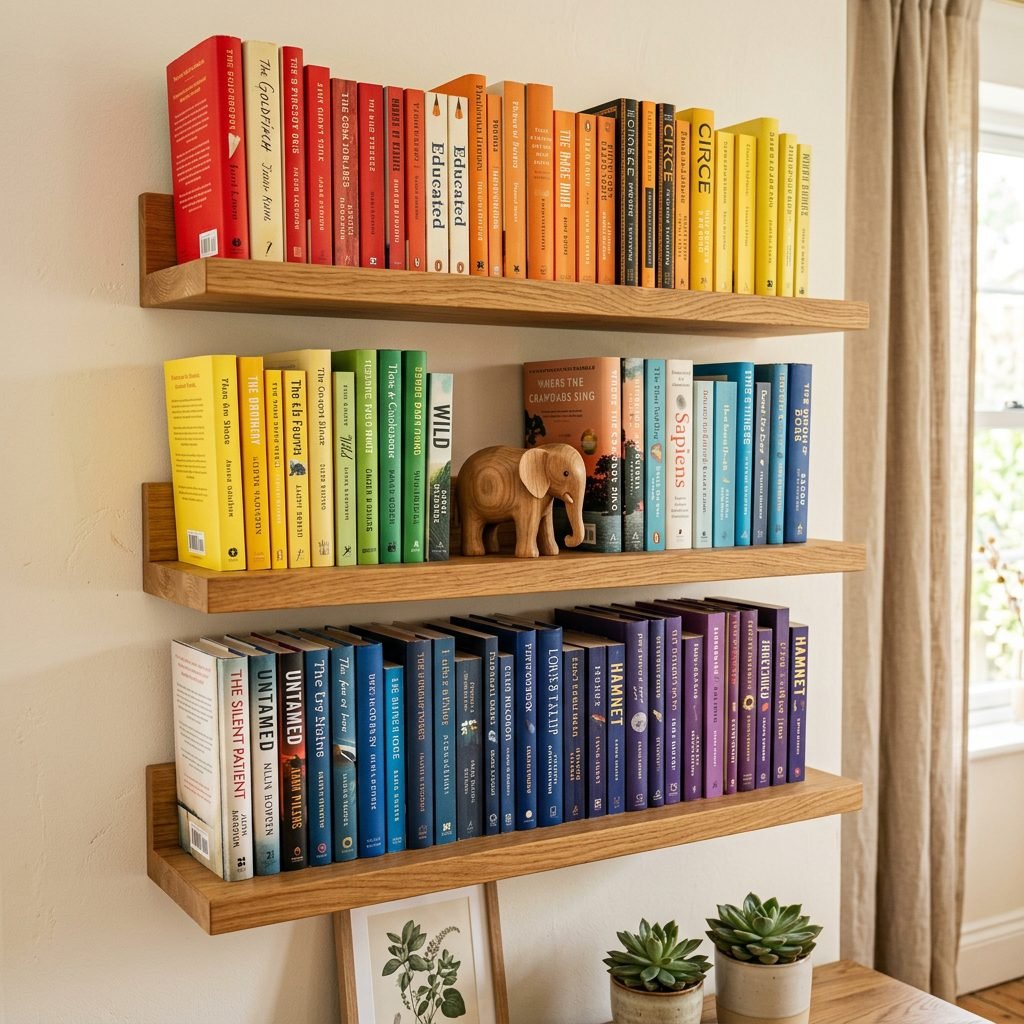
Now for the fun part! Styling these shelves is where your personality really shines. Since we are working with a small space, we want the shelves to look curated, not cluttered.
- Color Coding: Arrange the books by the color of their spines/covers. It creates a ‘rainbow’ effect that is visually soothing and helps babies with color recognition.
- Vary the Heights: Mix tall picture books with smaller board books. This creates visual interest and ensures you’re maximizing the vertical space between ledges.
- Add a Personal Touch: Leave a little space on one end of a ledge for a small wooden toy, a framed ultrasound photo, or a tiny faux plant. It breaks up the rows of books and adds a designer feel.
- Rotation is Key: In a small nursery, you can’t display every book at once. Keep a ‘book bin’ in the closet and rotate the books on the ledges every 2-4 weeks. It keeps the environment fresh for your baby!
Doula Tip: The Nightly Ritual
Place your most soothing, ‘goodnight’ themed books on the lowest shelf. This makes it easy for you to grab them during the bedtime routine while you’re holding a sleepy baby in your other arm.
The Heart of the Nursery: Bonding Through Reading

As a doula, I see the nursery as more than just a room; it’s the place where your relationship with your child begins to bloom. Reading to your baby—even while they are still in the womb—is a powerful way to bond. The sound of your voice is their favorite melody.
These DIY shelves represent the effort you are putting into their future. Every time you pull a book from these ledges, you are creating a moment of connection. Whether it’s a 2:00 AM feeding and you’re reading to keep yourself awake, or a cozy afternoon snuggle, these shelves are the backdrop to your most precious memories.
“You are your child’s first and best teacher. These books are the tools, but your love is the foundation.”
Conclusion
You Did It, Mama!
Building your own DIY floating book ledges is such a rewarding way to prepare for your little one. You’ve maximized your small space, created a beautiful focal point, and set the stage for a lifetime of stories. Remember, it doesn’t have to be perfect—the small imperfections in the wood or paint are just reminders that these were made by hand, with love. Take a moment to sit in your nursery, look at your hard work, and imagine the sweet moments to come. You are doing an amazing job preparing for this new chapter. Happy nesting!