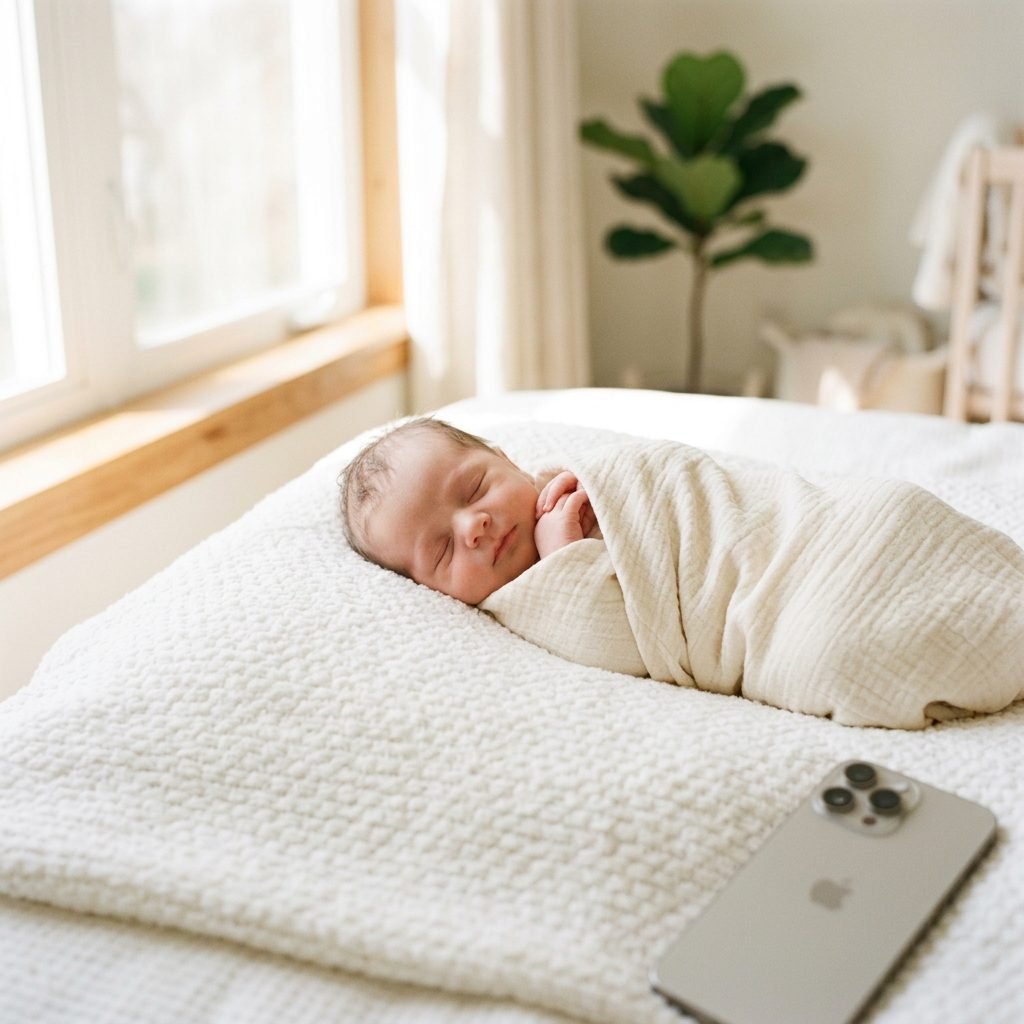
How to Adjust Your iPhone Camera Settings for Perfect Bright & Airy Newborn Photos
Capturing the Magic of New Life
Oh, mama, I see you. You’re sitting there, perhaps still in your nursing tank, staring at those tiny, translucent fingernails and that soft peach fuzz on your baby’s shoulders. You want to freeze time, don’t you? I know the feeling of wanting to bottle up the scent of their head and the way they curl their toes when they dream. As a doula and a mama myself, I know that those first few weeks are a beautiful, hazy blur. You don’t need a thousand-dollar DSLR camera to capture the magic. Your iPhone is an incredible tool, and with just a few gentle tweaks, you can take professional-looking, bright and airy photos that look like they belong in a high-end magazine.
The ‘Bright & Airy’ style is more than just a trend; it’s a way to emphasize the purity, softness, and light of a new life. It focuses on overexposed whites, soft pastels, and a dreamlike quality that hides the laundry piles in the background and highlights the glow of your little one. Today, I’m going to walk you through the exact settings, the lighting secrets, and the styling hacks to make your home feel like a professional studio. Let’s take a deep breath together and get ready to create some heirlooms.
Chasing the Light: The Foundation of the Airy Look
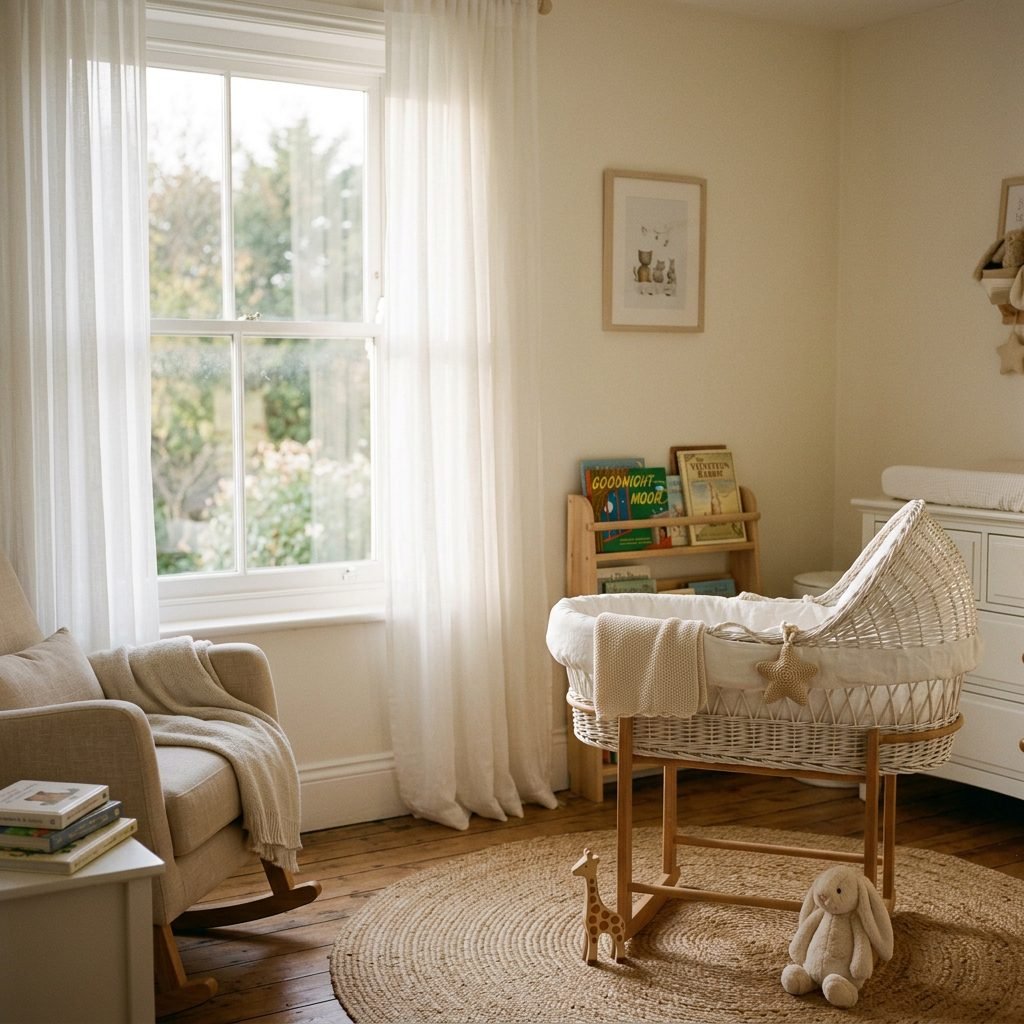
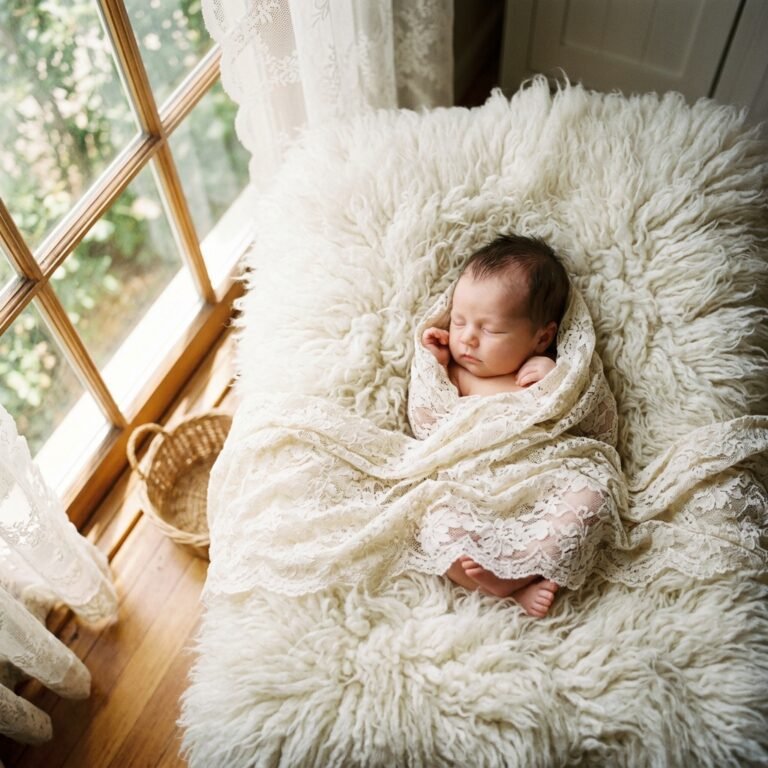
Before we even touch your phone settings, we have to talk about the most important ingredient: Natural Light. You cannot achieve a bright and airy look with overhead yellow lights or a camera flash. Flash creates harsh shadows and can startle your sweet babe. Instead, we want ‘soft, diffused light.’
Finding the ‘Sweet Spot’ in Your Home
- North or South-Facing Windows: These windows usually provide the most consistent, soft light throughout the day without the harsh glare of direct sun.
- The 45-Degree Rule: Place your baby at a 45-degree angle to the window. This allows the light to roll gently across their features, creating soft shadows that define their tiny nose and cheeks without being dark.
- Turn Off the Lamps: Artificial light is the enemy of the airy aesthetic. It creates a ‘muddy’ yellow tint that is very hard to fix later. Flip those switches off!
| Lighting Condition | Effect on Photo | Action Required |
|---|---|---|
| Direct Sunlight | Harsh shadows, squinting baby | Close a sheer white curtain to diffuse the light. |
| Overhead Light | Yellow skin tones, ‘flat’ look | Turn it off and move closer to a window. |
| Cloudy Day | Soft, even light (Perfect!) | Increase Exposure Compensation slightly on your iPhone. |
Pro Tip: The best time for newborn photos is usually mid-morning, about 10:00 AM, when the light is bright but not yet directly overhead.
The Master Settings: Calibrating Your iPhone Camera
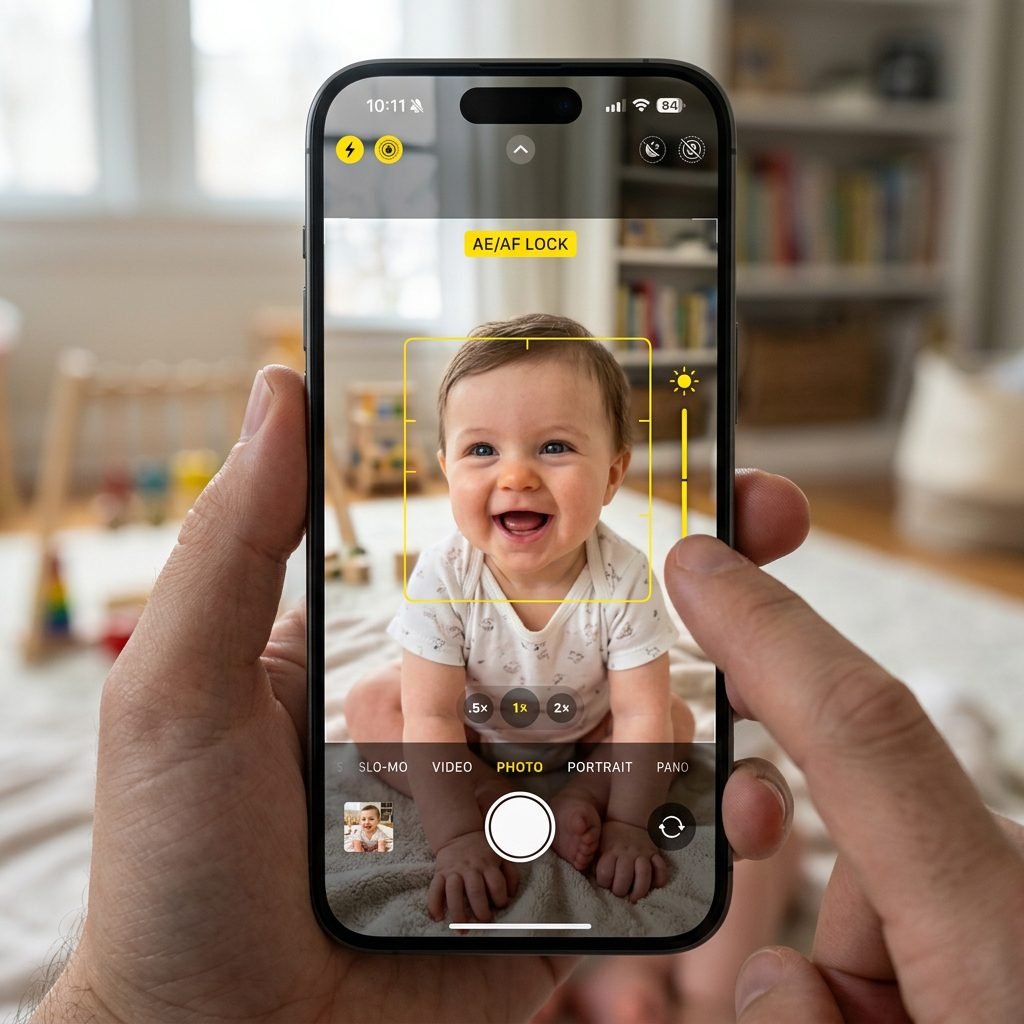
Now, let’s dive into the ‘brain’ of your iPhone. By default, your phone tries to balance everything to a medium gray. For a bright and airy look, we want to tell the phone to let in more light than it thinks it needs.
1. Exposure Compensation (The Sun Icon)
When you open your camera app, tap on your baby’s face to set the focus. A yellow box will appear with a small sun icon next to it. Gently slide that sun upward. This increases the exposure. For the airy look, you want to go just slightly higher than ‘normal’—look for the whites in the frame to look crisp but not ‘blown out’ (where you lose all detail).
2. AE/AF Lock
Babies move! To keep your settings from jumping around, press and hold on the screen where you want the focus to stay (usually the baby’s eyes) until you see ‘AE/AF LOCK’ in yellow at the top. Now, your exposure and focus are locked in place, even if the baby wiggles or you move the phone.
3. High-Key Settings in Portrait Mode
If you have a newer iPhone, use Portrait Mode. Once in Portrait Mode, look for the ‘Natural Light’ setting at the bottom. Swipe through to ‘High-Key Light Mono’ if you want a stunning black and white, or keep it on ‘Studio Light’ for color. Studio Light subtly brightens the face while softening the background.
4. Turn Off ‘Live Photo’ for Stillness
While Live Photos are cute, they can sometimes reduce the overall sharpness of a still shot. If you are aiming for a ‘perfect’ portrait, toggle the Live Photo icon (the concentric circles) to off.
Styling the Scene: Texture and Neutrals
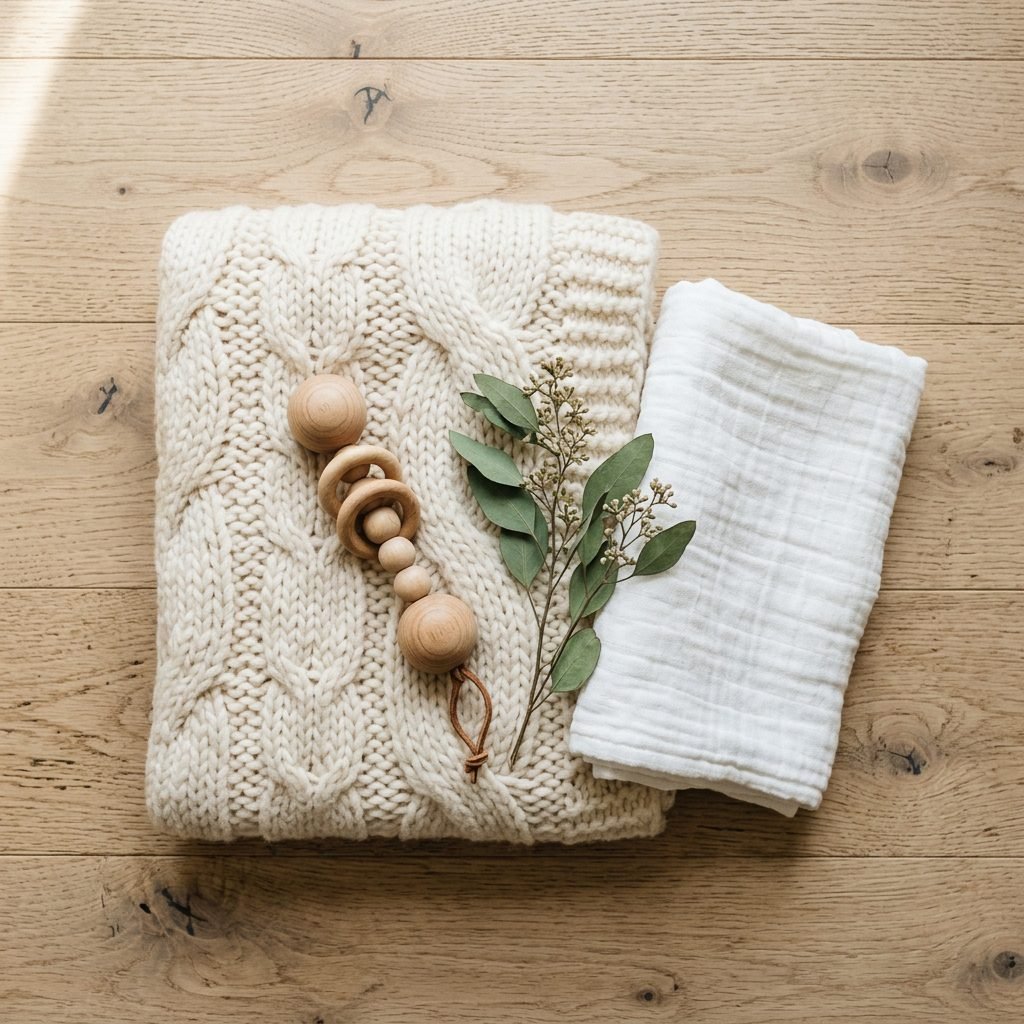
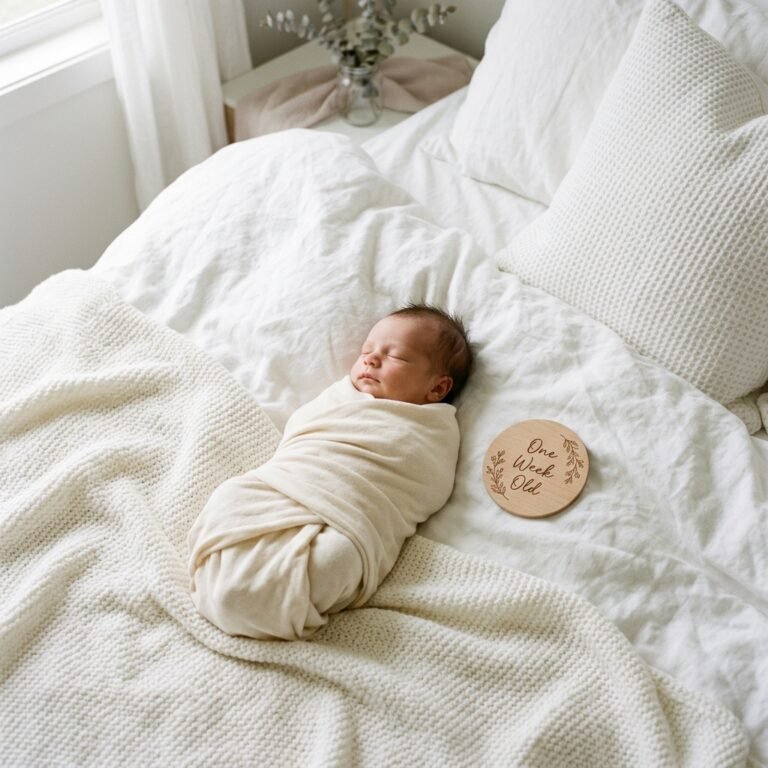
The ‘Airy’ aesthetic relies heavily on your color palette. Bright colors like red or navy blue will ‘eat’ the light and break the ethereal vibe. We want to stick to monochromatic neutrals.
The ‘Bright & Airy’ Color Palette
- Creams and Off-Whites: Softer than pure white, which can sometimes look blue on camera.
- Oatmeal and Beige: Adds warmth to the skin tones.
- Sage Green or Dusty Rose: If you must have color, keep it muted and desaturated.
Texture is Your Best Friend
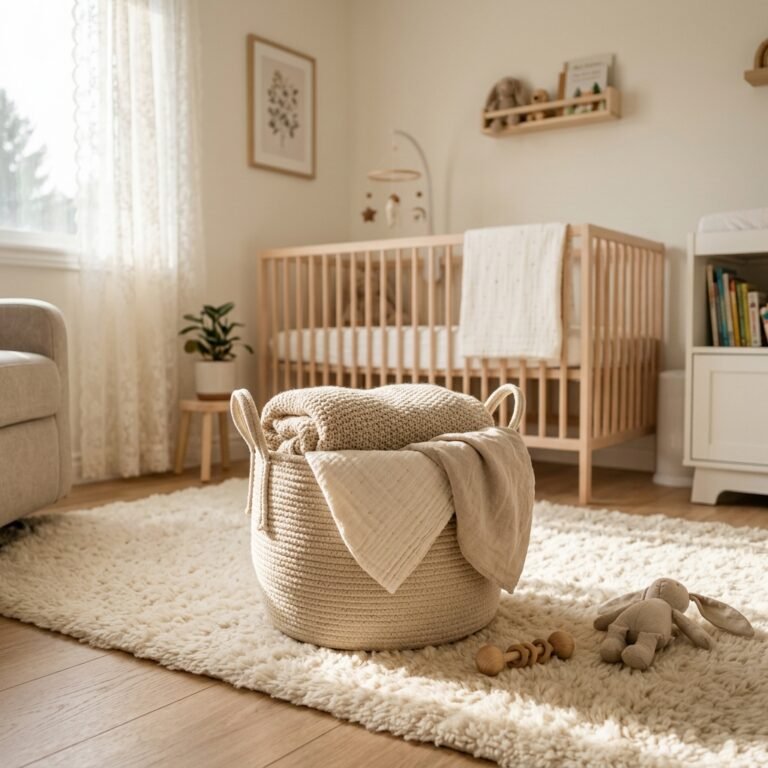
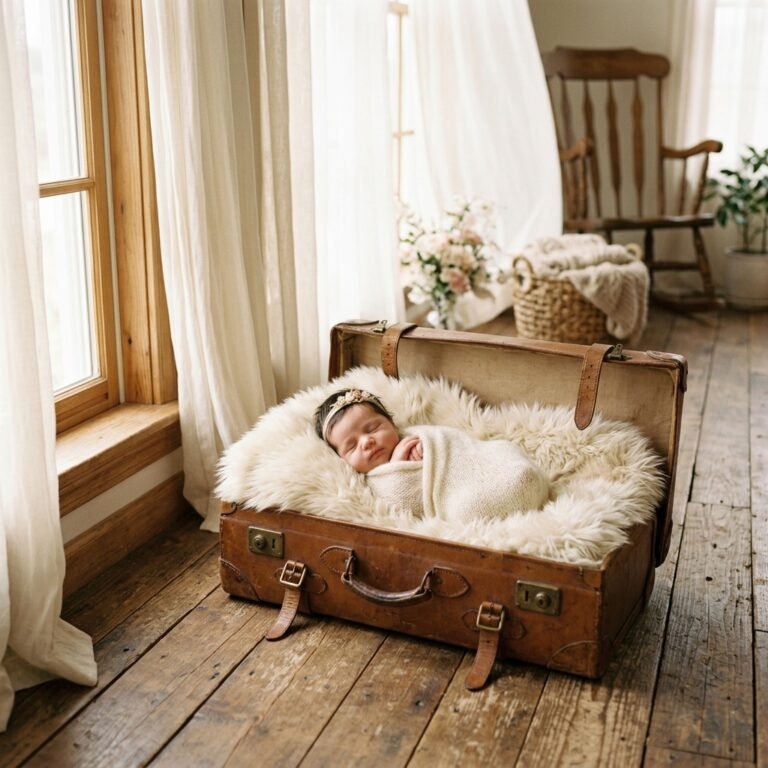
Since we are using limited colors, we use texture to create visual interest. Think chunky knit blankets, muslin swaddles, or a faux-fur rug. These textures catch the light and create those soft ‘pockets’ of shadow that make a photo look professional.
| Item | Why it Works | Budget Tip |
|---|---|---|
| Muslin Swaddle | Light, breathable, beautiful drape | Use a plain white bedsheet if you don’t have one! |
| Woven Basket | Adds an organic, earthy element | Check local thrift stores for ‘Moses’ style baskets. |
| Neutral Onesie | Keeps the focus on the baby’s face | A simple white onesie is better than a busy pattern. |
Safety First: The Doula’s Guide to Posing
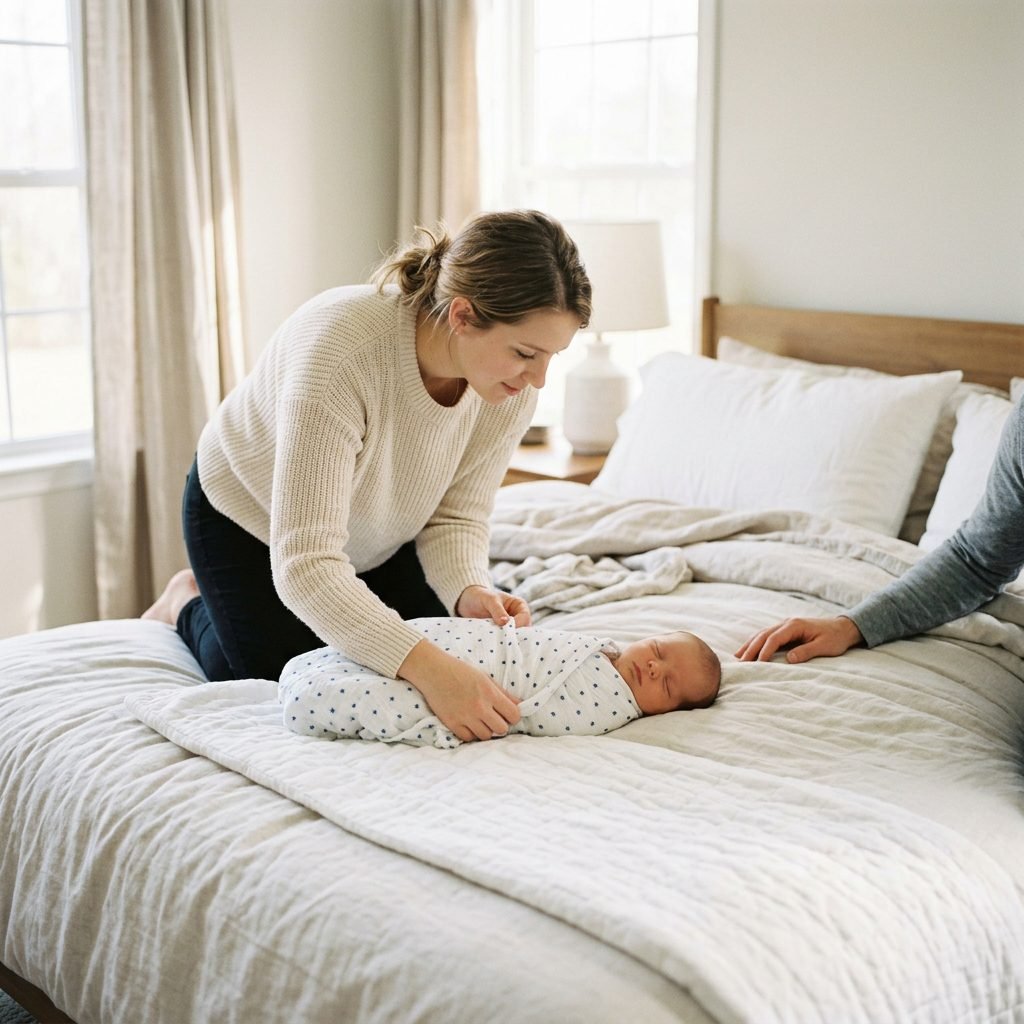
Sweet mama, before you start snapping, we must talk about safety. Professional newborn photographers spend years learning how to safely pose babies. At home, we keep it simple and safe.
Safe Posing Guidelines
- The ‘Back is Best’ Rule: Always keep baby on their back or slightly tilted to the side if they are in a deep sleep. Never leave a baby unattended on a raised surface like a bed or a ‘posing’ pillow.
- The Spotter: If you are taking a photo from above, have your partner or a friend stand right next to the baby with their hands just inches away, ready to jump in.
- Temperature Check: To keep a baby sleepy and comfortable in just a diaper or a thin wrap, the room needs to be warm—around 75-78°F (24-25°C). If they are shivering or their skin looks mottled, they are too cold.
- Listen to the Baby: If your little one is fussing or rooting, stop. A happy, fed baby makes for the best photos. A ‘perfect’ photo is never worth a stressed-out newborn.
“Your baby’s comfort is the priority. The most beautiful photo is one where they feel safe and loved.”
The 5-Minute Edit: Finalizing the Glow
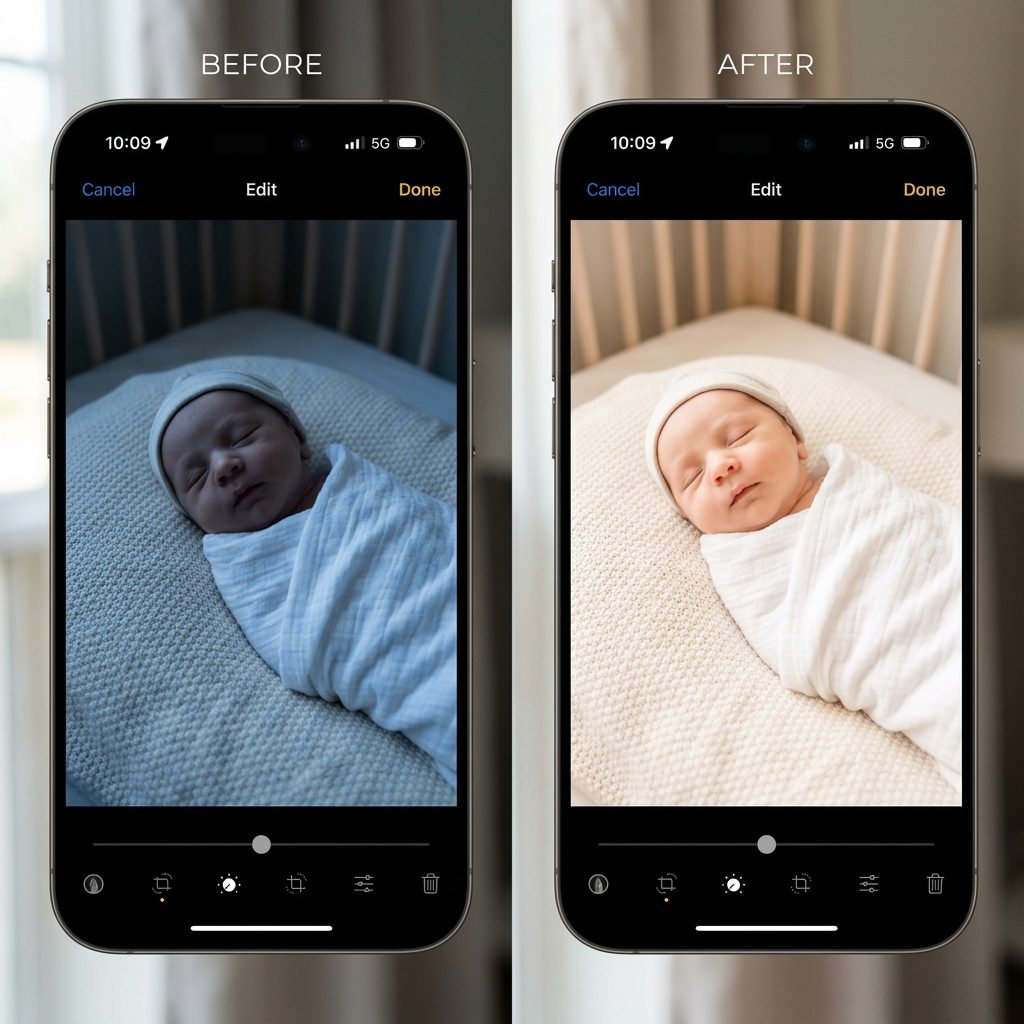
Even the best photo can use a little polish. You don’t need Photoshop; the Photos App on your iPhone is surprisingly powerful.
Step-by-Step Editing Formula
- Brilliance: Slide this up to about +20. This magically brightens shadows and highlights without washing out the photo.
- Highlights: If the white blanket looks too bright, slide this down (-10). If it looks gray, slide it up (+10).
- Shadows: Slide this up (+20). This is the secret to the ‘airy’ look—it removes the dark, heavy areas of the photo.
- Saturation & Vibrance: Be careful here! Slide Saturation down slightly (-5) and Vibrance up (+10). This keeps skin tones from looking orange while making the eyes pop.
- Warmth: If the photo looks too blue (common with window light), slide the Warmth up (+10) to give that golden, sun-kissed feel.
Comparison Table: The ‘Airy’ Edit Guide
| Setting | Direction | Result |
|---|---|---|
| Exposure | Increase (+) | Overall Brightness |
| Shadows | Increase (+) | Softens dark areas |
| Contrast | Decrease (-) | Creates a dreamy, low-contrast look |
| Warmth | Increase (+) | Removes ‘cold’ blue tones from window light |
Conclusion
You’ve Got This, Mama
There you have it—your roadmap to capturing those ethereal, bright and airy newborn moments right from your phone. Remember, the ‘perfect’ photo isn’t about having a clutter-free house or a baby that never cries. It’s about capturing the feeling of this season. Ten years from now, you won’t care if there was a stray pacifier in the corner of the frame; you’ll only care that you captured the way their eyelashes cast shadows on their cheeks. Practice these settings, play with the light, but most importantly, enjoy those snuggles. You are doing an amazing job, and these photos will be a testament to the beautiful life you are nurturing. Happy snapping!