Sweet & Simple: How to Safely Style a Rustic Wood Crate Newborn Photoshoot at Home
Oh, mama. Welcome to the beautiful, exhausting, and incredibly fleeting fourth trimester. If you are sitting there holding your tiny, sleepy newborn, staring at their perfect little eyelashes and wishing you could freeze time, I see you. The first few weeks of your baby’s life are a whirlwind of feeding, rocking, and healing. While professional newborn photography is breathtaking, the reality of packing a diaper bag, getting yourself dressed, and driving to a studio days after giving birth can feel incredibly overwhelming for a postpartum mother.
But what if I told you that you could capture those stunning, professional-looking milestone photos right in the comfort of your own living room—wearing your favorite nursing bra and cozy sweatpants? As a doula and a mama who loves a good creative project, I am here to guide you through one of the most popular and timeless newborn photography setups: the rustic wood crate.
Styling a newborn photoshoot at home is a wonderful, low-pressure way to capture memories. If baby gets fussy, you can stop and nurse. If baby has a blowout, your washing machine is three steps away. However, when we introduce props like wooden crates, safety must be our absolute top priority. Newborns are fragile, top-heavy, and rely entirely on us to keep their environment secure. In this comprehensive guide, we are going to walk through exactly how to choose the right crate, baby-proof your setup, layer soft textures, and use natural window light to create absolute magic. Grab a cup of warm tea (or iced coffee, if that’s what keeps you going today!), and let’s create some beautiful memories together.
The Foundation: Choosing and Baby-Proofing Your Rustic Crate

The magic of a rustic photoshoot starts with the perfect prop, but before we even think about aesthetics, we have to talk about structural integrity and safety. Not all wooden crates are created equal. Vintage apple crates you find at a flea market might look incredibly charming, but they can hide splinters, rusty nails, or lead paint. We want the look of rustic, but the safety of a modern nursery.
Selecting the Perfect Crate
When sourcing your crate, look for options at local craft stores (like Michaels or Hobby Lobby) where the wood is new and untreated. If you do opt for a vintage crate, you must thoroughly inspect and prep it. The crate should be wide enough for your baby to curl up comfortably, typically around 12 to 18 inches in length.
The Safety Prep Checklist
- Sand it down: Run a fine-grit sandpaper over every edge, corner, and interior slat. Your baby will be wrapped, but their delicate skin should never come near a potential splinter.
- Check for hazards: Inspect for loose staples, protruding nails, or weak bottom slats. If the bottom feels flimsy, reinforce it with a piece of heavy cardboard or MDF cut to size.
- The Weighting Trick: This is a closely guarded newborn photographer secret! Babies have large, heavy heads compared to their bodies. If you place a baby near the edge of a light wooden crate, it can easily tip over. Always place a 5 to 10-pound sandbag or a few heavy books flat at the very bottom of the crate before adding any blankets. This anchors the prop to the floor.
Materials and Budget Breakdown
You don’t need to spend a fortune to get a high-end look. Here is a quick breakdown of what you will need and the estimated cost to keep your DIY project budget-friendly.
| Item / Material | Purpose | Estimated Cost |
|---|---|---|
| Untreated Craft Store Wood Crate | The main structural prop | $15 – $25 |
| Fine-Grit Sandpaper | Smoothing rough edges for safety | $3 – $5 |
| Heavy Books or Small Sandbag | Anchoring the bottom to prevent tipping | Free (Use what you have!) |
| Waterproof Puppy Pads | Protecting props from unexpected diaper leaks | $5 (Pack of 10) |
| Firm Pillows or Rolled Towels | Creating structural support inside the crate | Free (Use your own) |
| Aesthetic Top Blankets (Chunky Knit/Faux Fur) | The visible, beautiful texture layers | $20 – $40 |
Sisterly Reminder: Never place your crate on a high surface like a table or a bed. All prop photography should be done flat on the floor, ideally on top of a soft rug, to ensure zero risk of falling.
Creating the Cozy Nest: Layers, Textures, and Hidden Support
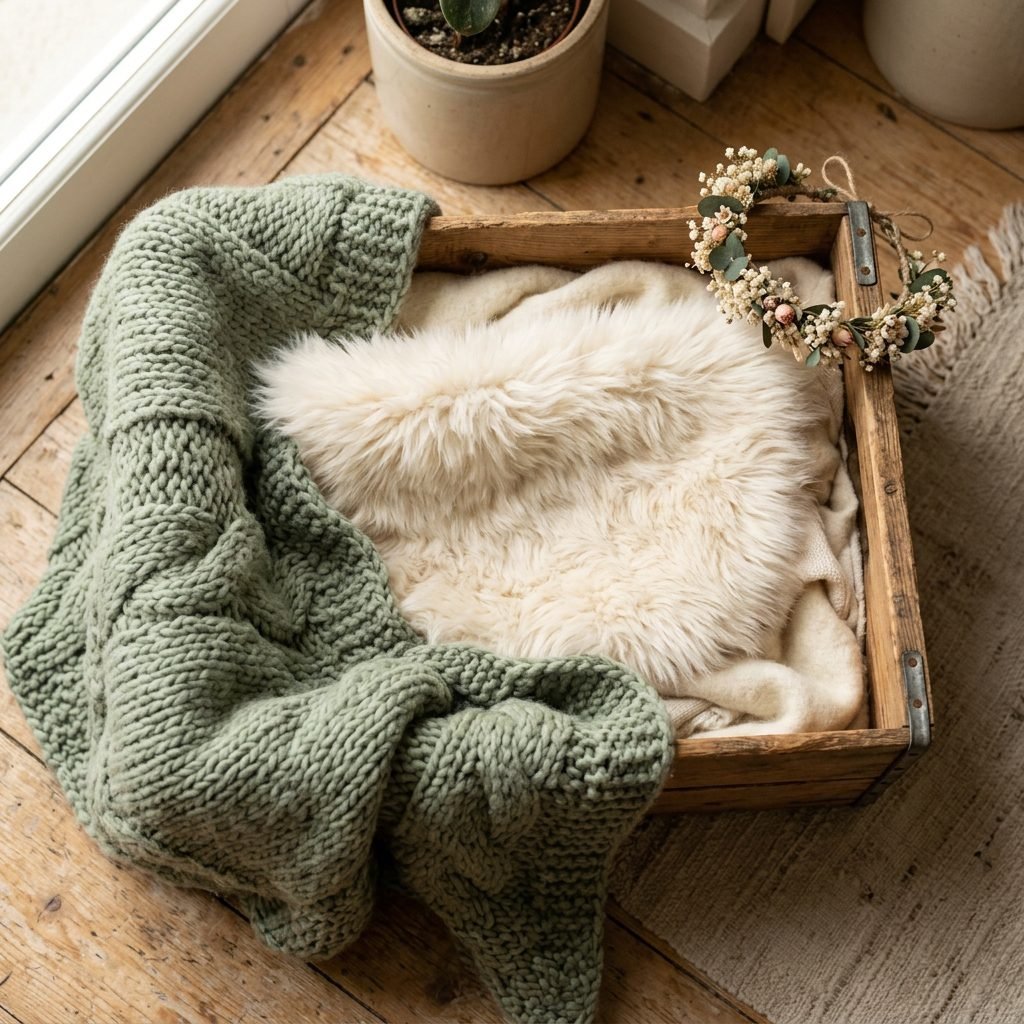
Now that your crate is safe, stable, and anchored, it is time to build the “nest.” This is where the artistry happens! A common mistake parents make when DIYing newborn photos is just throwing a blanket into a box and laying the baby inside. Without proper support, the baby will sink to the bottom, look uncomfortable, and the photo will lose that cozy, elevated, professional look.
Step-by-Step: Building the Layers
- The Anchor Layer: Ensure your weights (books or sandbag) are secure at the bottom.
- The Bulk Layer: Use firm bath towels or small decorative pillows to fill the crate. You want the “floor” of the crate to be elevated so that your baby is resting near the top rim, not sinking into a deep hole. Roll a few hand towels to place around the inner edges to act as bumpers.
- The Waterproof Layer: Newborns are famous for their timing. The moment you take their diaper off for a cute bare-bum shot, nature calls. Place a disposable waterproof puppy pad over your bulk towels. This will save you from doing mountains of laundry!
- The Base Blanket: Choose a neutral, stretchy blanket (like a jersey knit or muslin swaddle) and pull it tightly over the towels and puppy pad. Tuck the edges down the inside walls of the crate so everything looks smooth and intentional.
- The Texture Layer: This is what the camera sees! Drape a chunky knit blanket, a piece of faux fur, or a heavily textured linen throw over the top. Let parts of this blanket spill organically over the edges of the crate to soften the hard wooden lines.
Choosing Your Color Palette
Rustic wood has warm, earthy undertones. To make your baby the star of the show, stick to soft, muted, and neutral color palettes. Think creamy whites, oatmeal, soft sage greens, dusty blush pinks, or warm terracotta. Avoid loud patterns or neon colors, as these can cast unflattering color reflections onto your baby’s delicate skin.
Setting the Scene: Lighting, Temperature, and Studio Vibes at Home
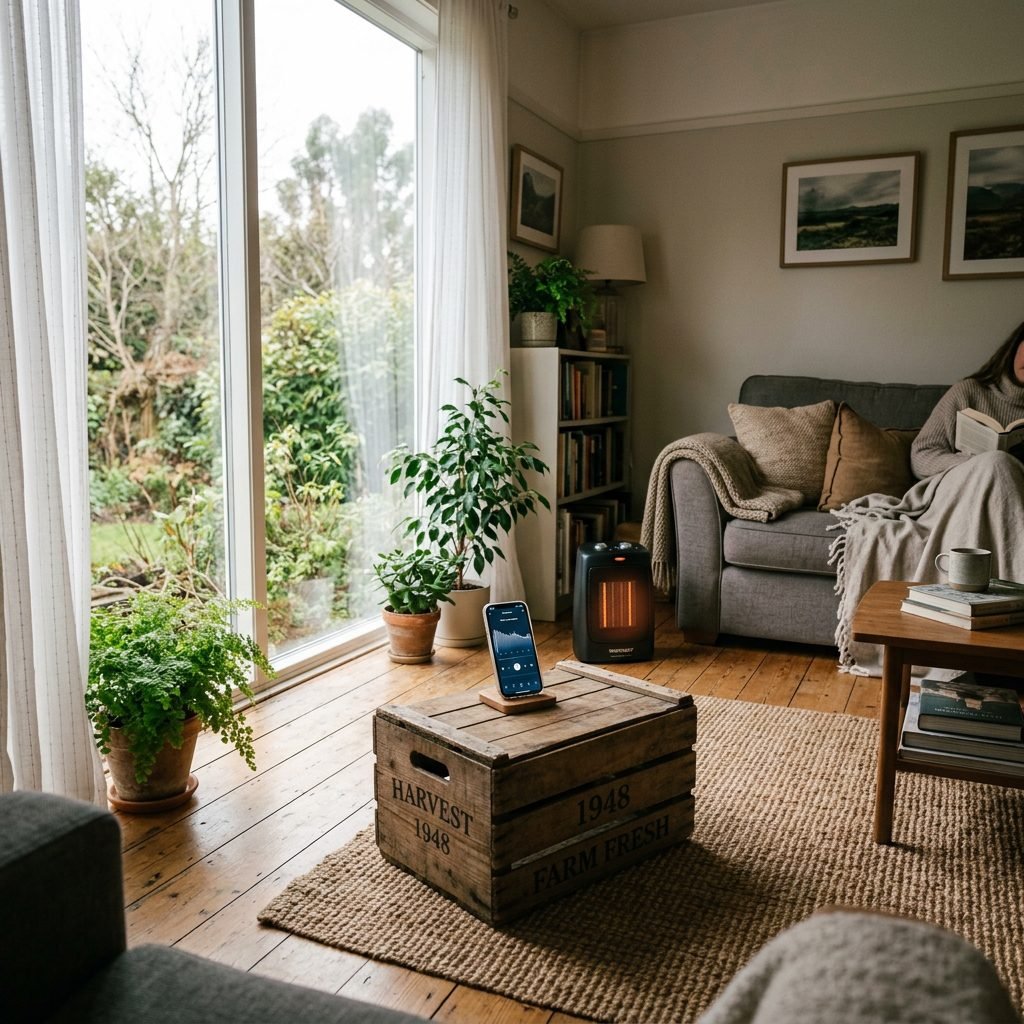
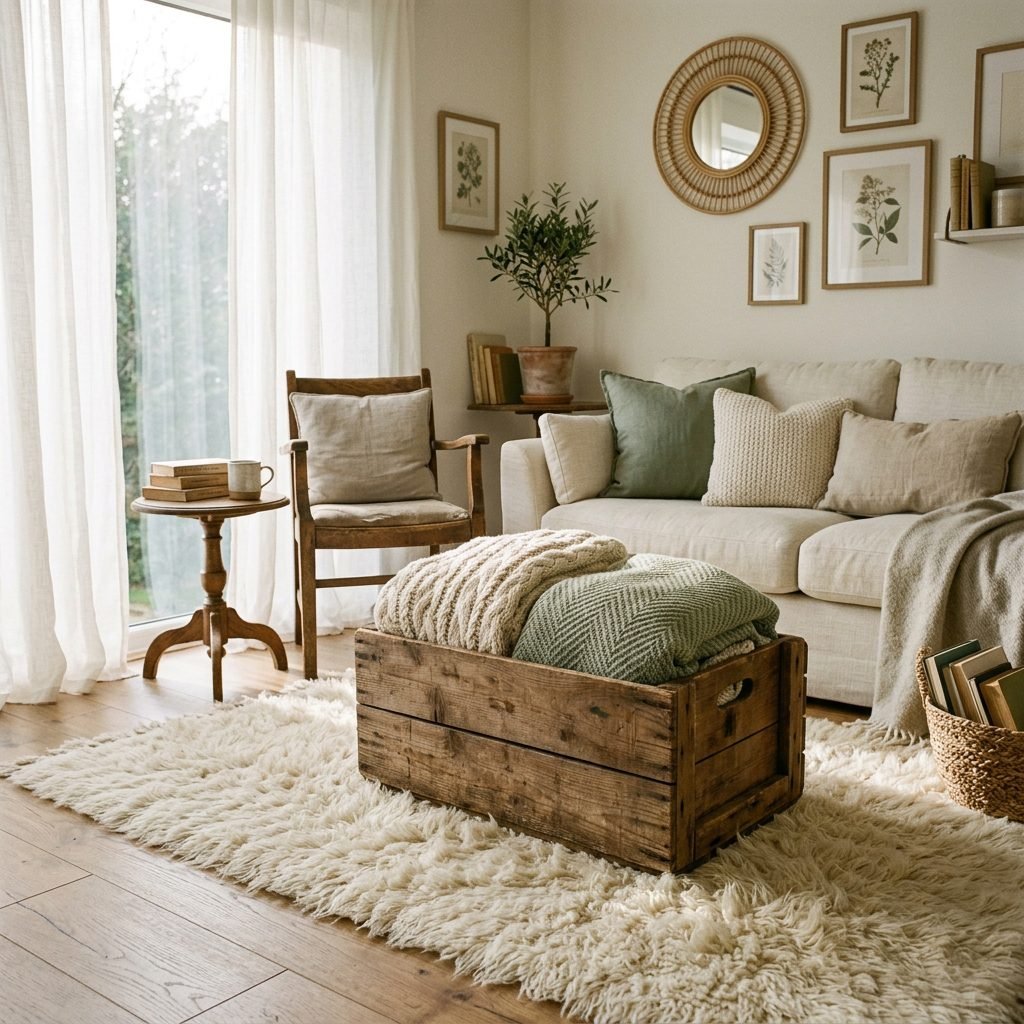
You have your beautiful, safe crate ready. Now, we need to transform your living room into a professional newborn studio. The secret to those dreamy, sleepy newborn photos isn’t a $5,000 camera—it is mastering the environment. Babies are incredibly sensitive to temperature, sound, and light.
1. Harnessing Natural Window Light
Turn off every artificial light in the room (lamps, overhead lights, even the TV). Mixing warm overhead lighting with cool window light creates muddy, yellow tones on baby’s skin. Find the biggest window in your home. You want indirect sunlight. If the sun is beaming directly onto the floor creating harsh shadows, hang a sheer white curtain or tape a white bedsheet over the window to diffuse the light, making it soft and buttery.
Position your crate at a 45-degree angle to the window. You want the light to flow down your baby’s face from the top of their head toward their toes. Never light a baby from the chin up (often called “ghoul lighting”), as it creates unnatural shadows in their nose and eyes.
2. Turning Up the Heat
Newborns cannot regulate their body temperature well. If you are photographing them in just a diaper or a light swaddle, the room needs to be much warmer than you are used to. Aim for 78 to 80 degrees Fahrenheit. I highly recommend bringing a small, safe space heater into the room and placing it a few feet away from the crate (never pointing directly at the baby’s skin). If you, the mama, are slightly sweating, the temperature is perfect for a sleepy baby!
3. The Power of Sound
Your baby just spent nine months in a womb that was as loud as a vacuum cleaner. Silence is startling to them. Use a portable sound machine, or an app on your phone, and play deep white noise or womb sounds. Place it near the crate to help lull them into a deep, milk-drunk sleep.
The Step-by-Step Photoshoot Flow: Timing is Everything
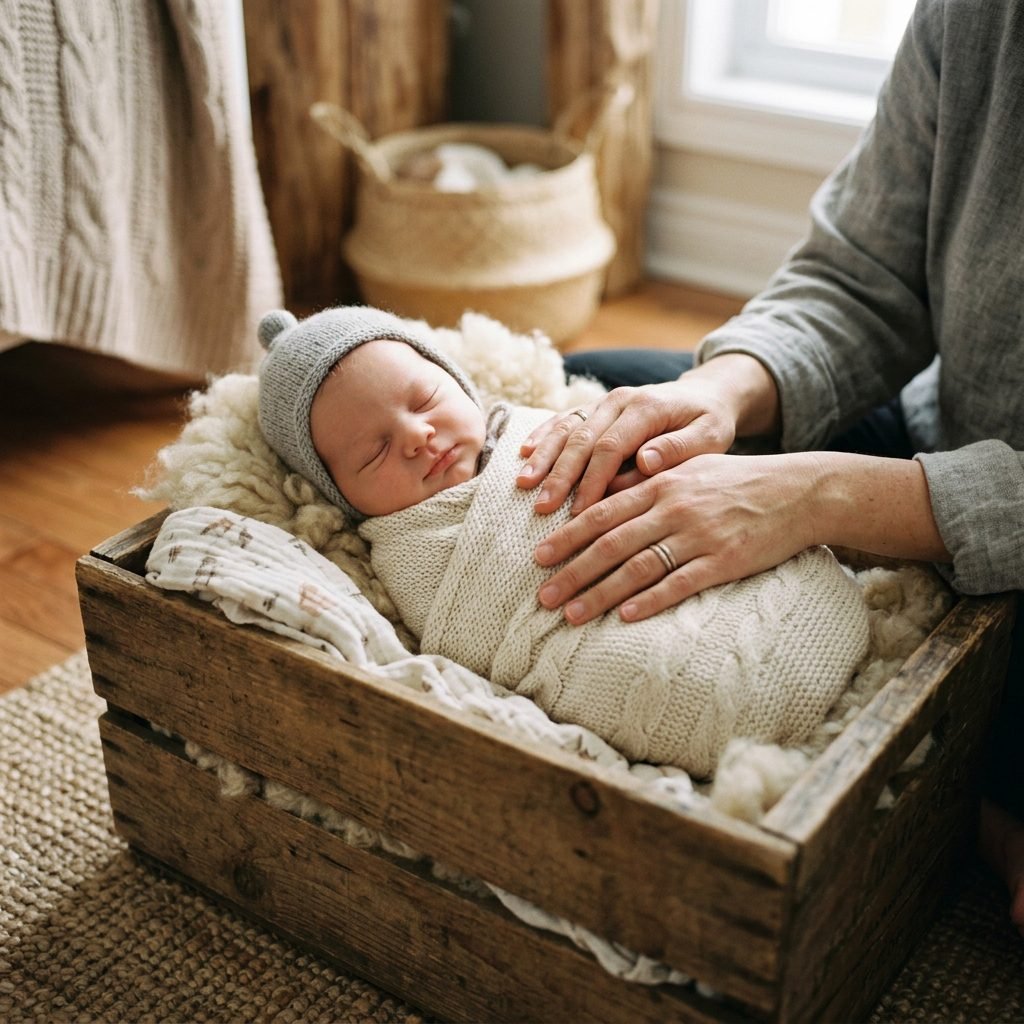
Timing your photoshoot correctly will make the difference between a peaceful, joyful experience and a stressful, tear-filled hour. Newborns run the show, so we must work around their natural rhythms. The best time to photograph a newborn is usually in the morning, between 5 to 14 days old, when they are still very sleepy and naturally curl into those womb-like positions.
The Pre-Shoot Workflow
- Set the Stage (30 mins before): Have your crate fully styled, the room heated, the white noise playing, and your camera or phone ready.
- The Feed (20 mins before): Strip baby down to just their diaper (keep it loose so it doesn’t leave red marks on their tummy) and wrap them in a warm blanket. Give them a full, satisfying feed. A milk-drunk baby is a sleepy, cooperative baby!
- The Burp & Settle (10 mins before): Take your time burping them. Gas is the enemy of a peaceful photoshoot. Once they are deeply asleep (you can test this by gently lifting their arm—if it drops like a wet noodle, they are in deep sleep!), it is time to move.
- The Transfer: Slowly and gently transfer your baby into the crate. Keep one hand firmly but gently resting on their chest for a few minutes. The warmth and pressure of your hand will ease the startle reflex (Moro reflex) during the transition.
Troubleshooting Baby’s Mood
Even with perfect preparation, babies have their own agendas. Here is a quick guide on how to pivot based on your baby’s cues.
| Baby’s Cue | What It Means | How to Pivot |
|---|---|---|
| Startling, arms flailing | Moro reflex triggered by transition | Keep your hands firmly on their chest and head for 60 seconds. Shush loudly. |
| Rooting, sucking on hands | Still hungry or needs soothing | Offer a pacifier for a few minutes while they are in the crate, then gently remove it. |
| Wide awake but calm | Alert phase | Wrap them snugly in a beautiful swaddle. Awake babies feel more secure when wrapped tight. Capture those beautiful open-eye shots! |
| Crying, pulling legs up | Gas pain or overstimulated | Stop the shoot. Pick baby up, do some gentle “bicycle legs,” and try again later. Do not force it. |
A Doula’s Reassurance: Mama, if your baby just won’t settle today, that is completely okay. You are doing a wonderful job. Pack it up, cuddle your sweet baby, and try again tomorrow. The beauty of a home photoshoot is that you have all the time in the world.
Posing Safety and Camera Angles: Getting That Professional Look
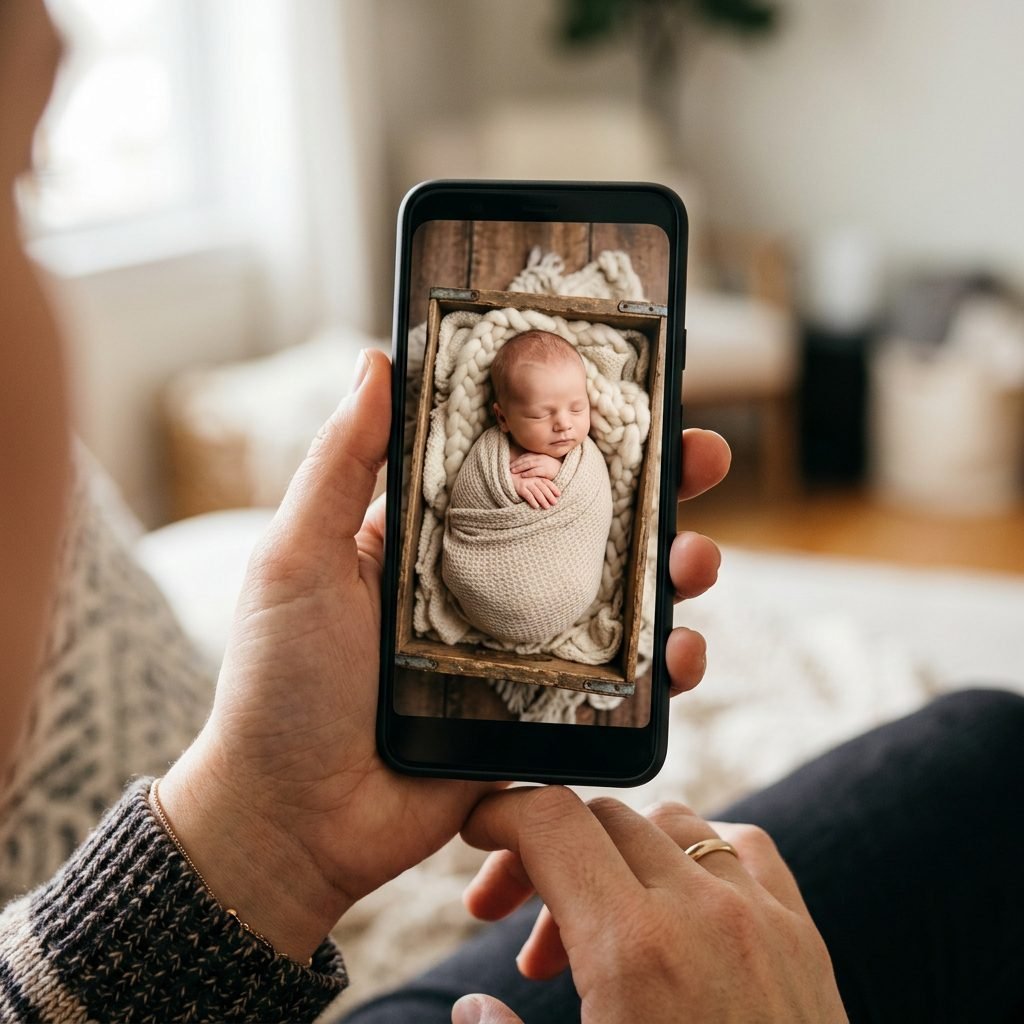
When placing your baby in the crate, natural and baby-led posing is always the safest and most beautiful route. Never attempt complex poses (like the “froggy” pose where baby’s chin rests on their hands) at home. Those images you see online are actually “composites”—two images stitched together in Photoshop where a professional’s hands were holding the baby’s head at all times.
Safe Posing Ideas for the Crate
- The Back sleeper: Lay baby flat on their back, slightly angled toward the light. Gently tuck their hands over their chest. This is incredibly safe and looks angelic.
- The Side sleeper: Gently roll baby onto their side, tucking their knees up toward their tummy (how they lived in the womb). Place a small rolled washcloth under the blanket beneath their head to keep their neck straight and airway open.
- The Swaddle: If baby is fussy, wrap them tightly in a stretchy swaddle. Place them in the crate on their back. A swaddled baby feels secure and is much less likely to wake up.
Mastering Your Camera Angles
Whether you are using a DSLR or your smartphone (which takes phenomenal photos these days!), angles are everything. Since you are shooting down into a crate, you want to avoid shooting up baby’s nose.
- The Overhead Shot: Stand directly over the crate. Ensure your camera is perfectly parallel to the floor. Safety note: Always wear the neck strap of your camera so it cannot slip from your hands!
- The 45-Degree Angle: Crouch down slightly and shoot from the top of the baby’s head, angling down towards their toes. This highlights their chubby cheeks and beautiful eyelashes.
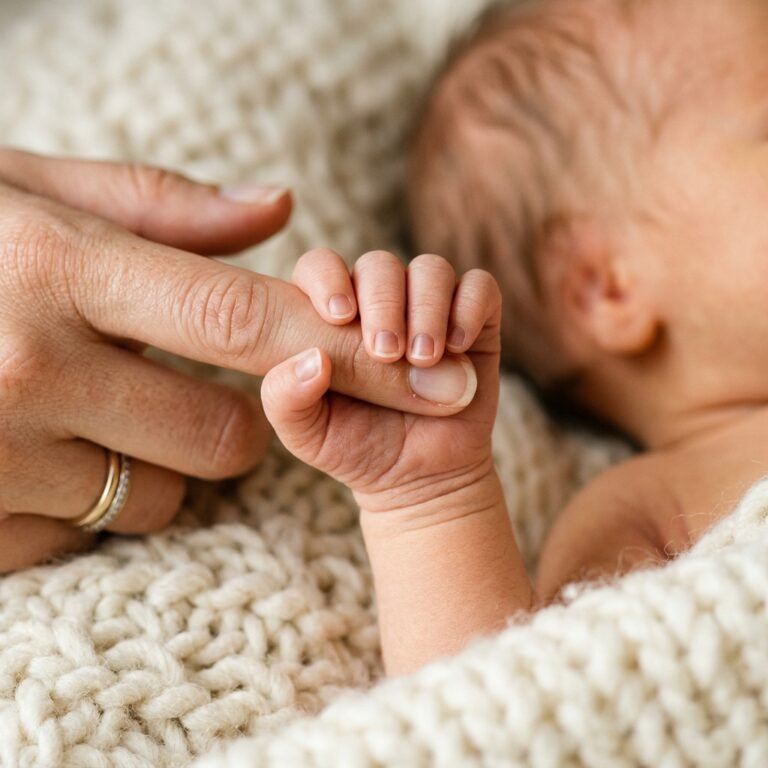
- The Details: Don’t forget to get close! Zoom in on their tiny toes resting against the rustic wood, their little fingers curled up, or their pouty lips. These macro details are the ones you will cherish forever.
Embracing the Imperfections of Motherhood
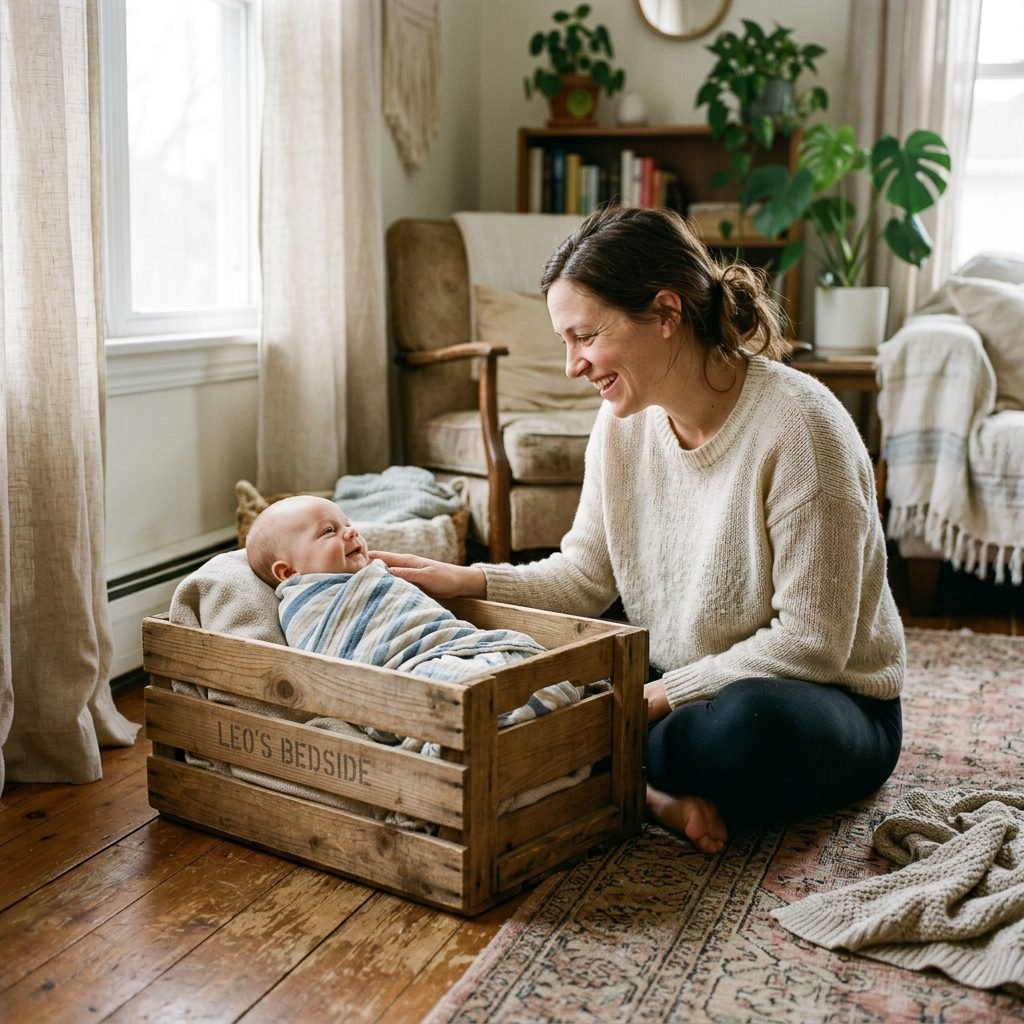
At the end of the day, the goal of this photoshoot isn’t to get a picture-perfect magazine cover—it is to document the overwhelming, heart-bursting love you feel for your new baby. If the blanket is a little wrinkled, or if baby decides to stay awake and stare at you the whole time, embrace it. Those imperfections are the true story of motherhood.
Take your time, prioritize your baby’s comfort and safety above all else, and don’t forget to hand the camera to your partner so you can get in a few photos, too. You just did an incredibly hard, beautiful thing by bringing this life into the world. You deserve to be in the frame, messy bun, sweatpants, and all.
Conclusion
Styling a rustic wood crate newborn photoshoot at home is a beautiful, creative way to celebrate your baby’s arrival while honoring your own need for a gentle postpartum recovery. By focusing on safety, warmth, and natural light, you can create breathtaking images that you will treasure for a lifetime. Remember, you are exactly the mother your baby needs, and everything you do with love is perfect. Happy snapping, mama!