The Liquid Starch Hack: Rental-Friendly DIY Nursery Wallpaper Using Fabric
Hello, beautiful mamas, parents-to-be, and fellow nesting queens! If you are currently in that magical, slightly overwhelming phase of pregnancy where all you want to do is scrub baseboards and perfectly arrange tiny onesies by color and size, you are right where you need to be. The nesting instinct is a powerful, beautiful thing. It is your mind and body’s way of preparing a safe, loving haven for your sweet baby. But what happens when that deep desire to create a dream nursery clashes with the strict rules of a rental agreement? Or what if you simply do not want to commit to the permanence, hassle, and chemical smells of traditional wallpaper and paint?
Take a deep breath, drop your shoulders, and relax your jaw. I have got you completely covered. Today, we are diving into one of my absolute favorite, doula-approved nesting projects: the liquid starch fabric wallpaper hack. This brilliant, old-school DIY trick allows you to create a stunning, custom accent wall in your baby’s nursery using nothing more than lightweight fabric and liquid laundry starch. It is entirely removable, incredibly budget-friendly, and completely free of the harsh volatile organic compounds (VOCs) found in standard wallpaper glues and heavy paints. Whether you are living in an apartment with strict landlords, military housing, or you just want a nursery design that can easily evolve as your baby grows into a toddler, this fabric wallpaper technique is going to be your new best friend.
In this comprehensive guide, we are going to walk through every single step together. From choosing the safest, most sensory-friendly fabrics for your little one, to the exact application techniques that will save your back and feet, I am here to hold your hand through the whole process. So, grab a giant glass of ice water, put your swollen feet up for a moment, and let us talk about how to transform your nursery into a breathtaking, rental-friendly sanctuary.
Nesting in a Rental: Why the Liquid Starch Hack is Pure Magic
When you bring a new baby home, you want their environment to be as pure, calming, and safe as possible. Traditional nursery renovations often involve heavy sanding, painting, and gluing, which can introduce strong odors and chemicals into your home. As an expectant mama, you are already doing so much to protect your growing baby, and your nursery decor should support that goal, not hinder it. This is where the liquid starch fabric hack shines so brightly.
The Non-Toxic Advantage
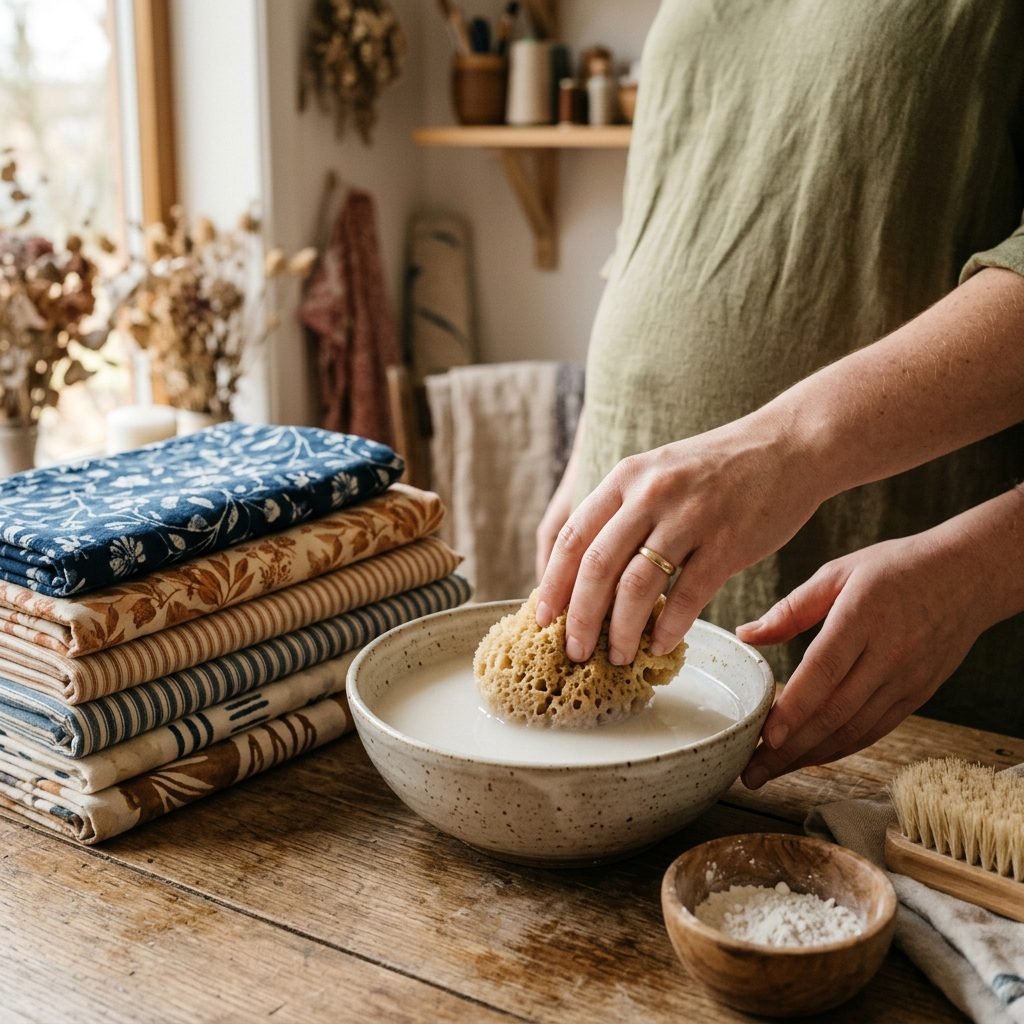
Liquid starch, traditionally used to keep dress shirts crisp, is a simple mixture of cornstarch and water. When used as a wall adhesive, it acts like a temporary, non-toxic paste. Unlike heavy-duty wallpaper pastes that require serious ventilation and masks, liquid starch is gentle and virtually odorless once dry. This means you can safely work on your nursery project without worrying about inhaling dangerous fumes, which is especially crucial during the first and third trimesters when your body is working overtime.
Budget and Renter Friendly
Let us talk about the financial side of preparing for a baby. Between strollers, car seats, and endless stacks of diapers, the expenses add up quickly. Traditional wallpaper can cost hundreds, if not thousands, of dollars for a single accent wall. Fabric, on the other hand, can be sourced incredibly cheaply. You can use flat bedsheets, discounted yardage from a craft store, or even thrifted vintage linens. Most importantly, when it is time to move out or transition the room from a nursery to a big kid room, the fabric peels right off the wall with zero damage to the drywall or existing paint beneath it. Your security deposit remains perfectly safe!
Breathe, mama. Creating a beautiful space for your baby does not require going into debt or risking your rental deposit. The love and intention you pour into this room matter far more than the price tag of the materials.
Choosing the Perfect Fabric: Textures, Weights, and Sensory Benefits
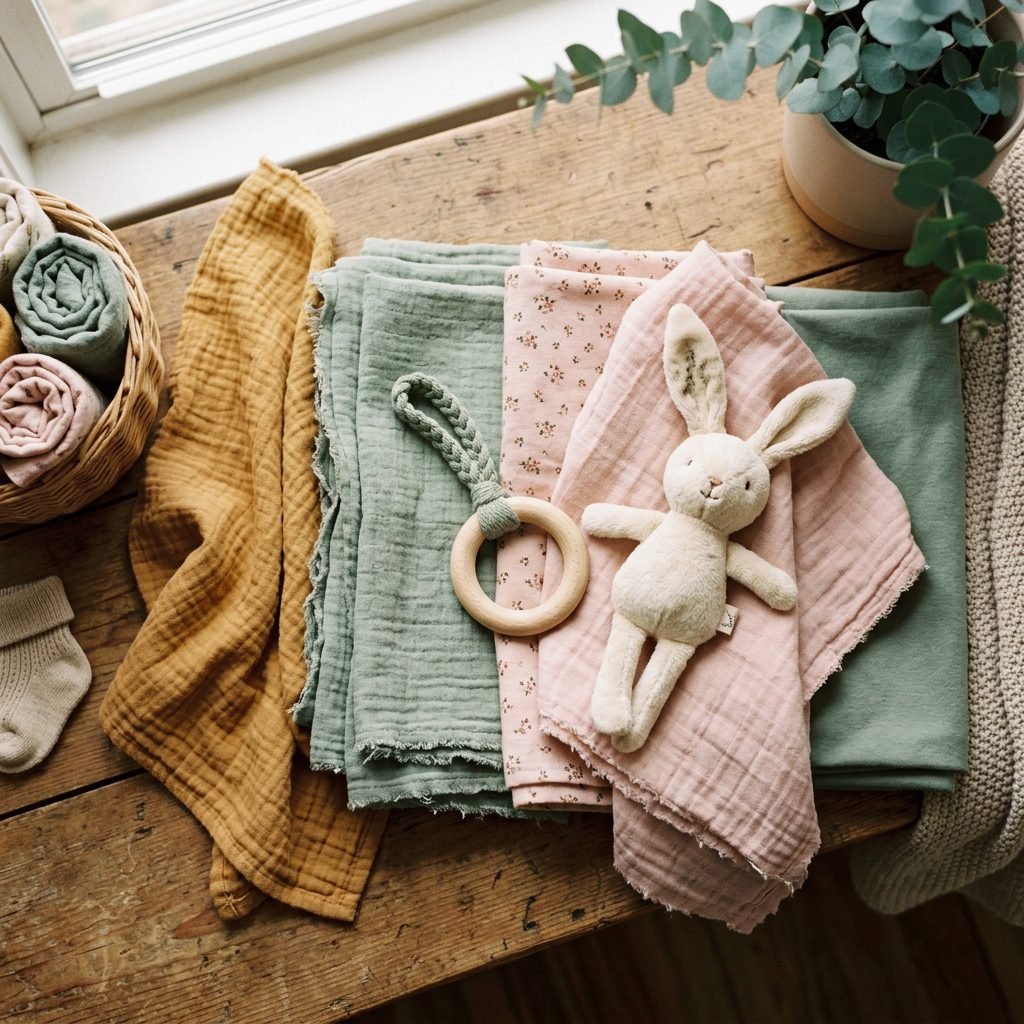
Not all fabrics are created equal when it comes to this DIY project. The type of fabric you choose will dictate how easily it goes up, how well it stays up, and how it stimulates your baby’s developing senses.
Stick to Lightweight, 100% Cotton
For the absolute best results, you want to look for 100% lightweight cotton or a very light poly-cotton blend. Quilting cotton is the holy grail for this project. It is light enough that the starch can easily hold its weight against gravity, but tightly woven enough that the starch will not seep through and create a messy, dripping nightmare. Avoid heavy fabrics like canvas, denim, velvet, or thick upholstery fabrics. These are simply too heavy for the starch to support and will slowly slide down your wall overnight, leading to a very frustrating morning for a tired mama!
Color Psychology and Sensory Play
When selecting your pattern, consider how your baby will interact with the space. In the first few months of life, infants can only see high-contrast colors, primarily black, white, and shades of gray. A monochromatic, geometric fabric can be incredibly stimulating for a newborn’s brain development. As they grow, softer pastels and nature-inspired prints (like soft greens, warm terracottas, and gentle blues) can help regulate their nervous system and promote better sleep habits.
Pre-Washing is Non-Negotiable
Before you even think about putting that fabric on the wall, you must wash and dry it! Fabric straight from the store is often coated in a chemical sizing to keep it stiff on the bolt. This factory sizing will repel the liquid starch and prevent it from sticking to your wall. Wash your fabric in your favorite baby-safe, unscented detergent, dry it completely, and give it a good iron. Yes, ironing is a chore, but starting with crisp, wrinkle-free fabric is the secret to a flawless, professional-looking wall.
Your DIY Fabric Wallpaper Toolkit & Budget Breakdown
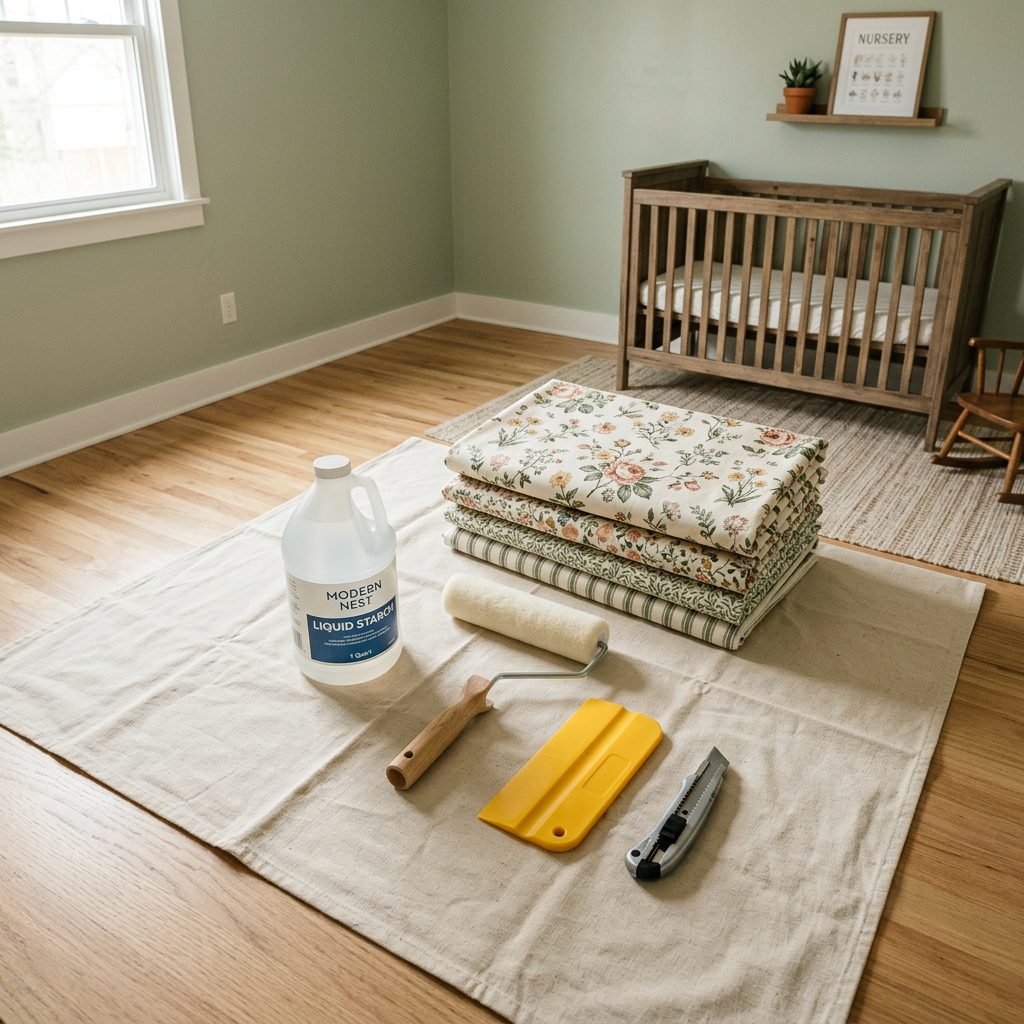
Preparation is key to a stress-free DIY experience. Before you start, gather all your supplies in the nursery. Having everything within arm’s reach means less bending, less walking back and forth, and less strain on your beautiful, changing body.
The Essential Supply List
- Lightweight Cotton Fabric: Measured to cover your accent wall, plus an extra 10 to 15 percent for pattern matching and trimming.
- Liquid Laundry Starch: Sta-Flo is a popular, reliable brand. You will need about one half-gallon jug for a standard 8×10 foot wall.
- A Clean Paint Roller and Tray: For applying the starch quickly and evenly to the wall.
- A Wallpaper Smoothing Tool: A plastic smoothing tool or a clean, dry sponge to push out air bubbles.
- Push Pins or Thumbtacks: To hold the fabric at the ceiling line while you work.
- A Sharp Utility Knife (Exacto Knife): With extra replacement blades. A dull blade will pull and fray the fabric instead of cutting it cleanly.
- Drop Cloths or Old Towels: To protect your flooring from starch drips.
To help you plan your nesting budget, here is a quick breakdown of what you can expect to spend on this project compared to traditional wallpaper.
| Material / Tool | Estimated Cost | Purpose & Notes |
|---|---|---|
| Lightweight Cotton Fabric | $30 – $80 | The star of the show! Price varies based on yardage and brand. Thrifted sheets can cost as little as $5. |
| Liquid Starch (e.g., Sta-Flo) | $5 – $10 | Your non-toxic, rental-safe adhesive. One jug usually covers a standard accent wall. |
| Paint Roller & Tray Kit | $10 – $15 | For rolling the starch onto the wall efficiently. |
| Smoothing Tool & Utility Knife | $10 – $15 | Essential for crisp edges and removing air bubbles. |
| Total DIY Cost | $55 – $120 | A fraction of the cost of traditional wallpaper! |
| Traditional Wallpaper (For Comparison) | $300 – $800+ | Includes expensive paste, specialized tools, and higher material costs. |
Step-by-Step Guide: Bringing Your Nursery Vision to Life
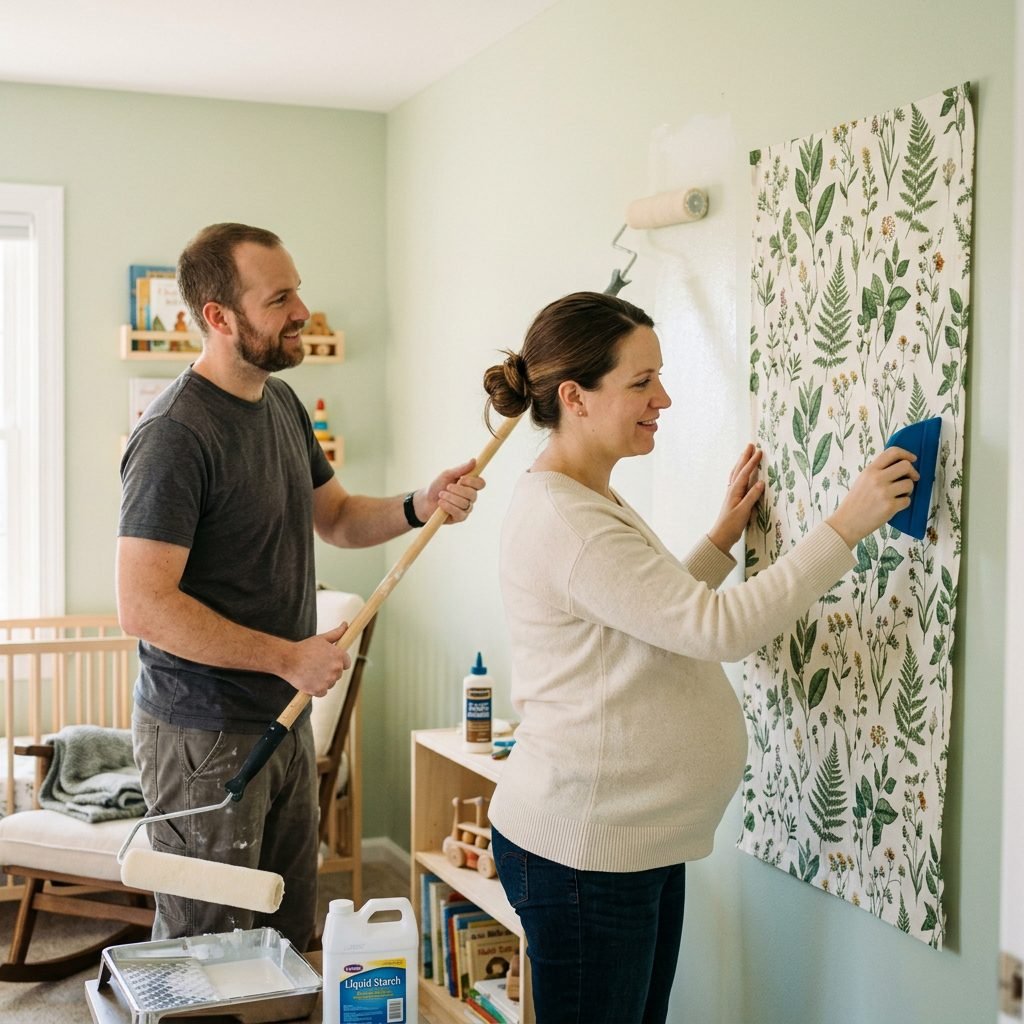
Alright, sweet friend, it is time to transform this room. Put on your favorite calming playlist, wear your most comfortable maternity leggings, and remember to take this one step at a time. Do not rush. If you feel tired, sit down. The wall is not going anywhere.
Phase 1: Prep and Prime
- Clean the Wall: Wipe down your wall with a damp cloth to remove any dust, cobwebs, or hidden grime. Starch needs a clean surface to adhere properly. Let the wall dry completely.
- Protect the Floors: Lay down your drop cloths or old towels right against the baseboards. Liquid starch is watery and will drip!
- Pre-Cut the Fabric: Measure your wall height from ceiling to baseboard. Cut your fabric panels to this length, adding about 3 to 4 inches of excess at both the top and bottom. You will trim this off later for a perfect fit.
Phase 2: The Application Process
- Roll the Starch: Pour your liquid starch into the paint tray. Do not dilute it! Using your paint roller, apply a generous, even coat of starch directly onto the wall, covering an area slightly wider than your first fabric panel.
- Pin and Smooth: Take your first fabric panel and use push pins to secure the top edge to the wall, right at the ceiling line. Let the fabric drape down over the starched wall.
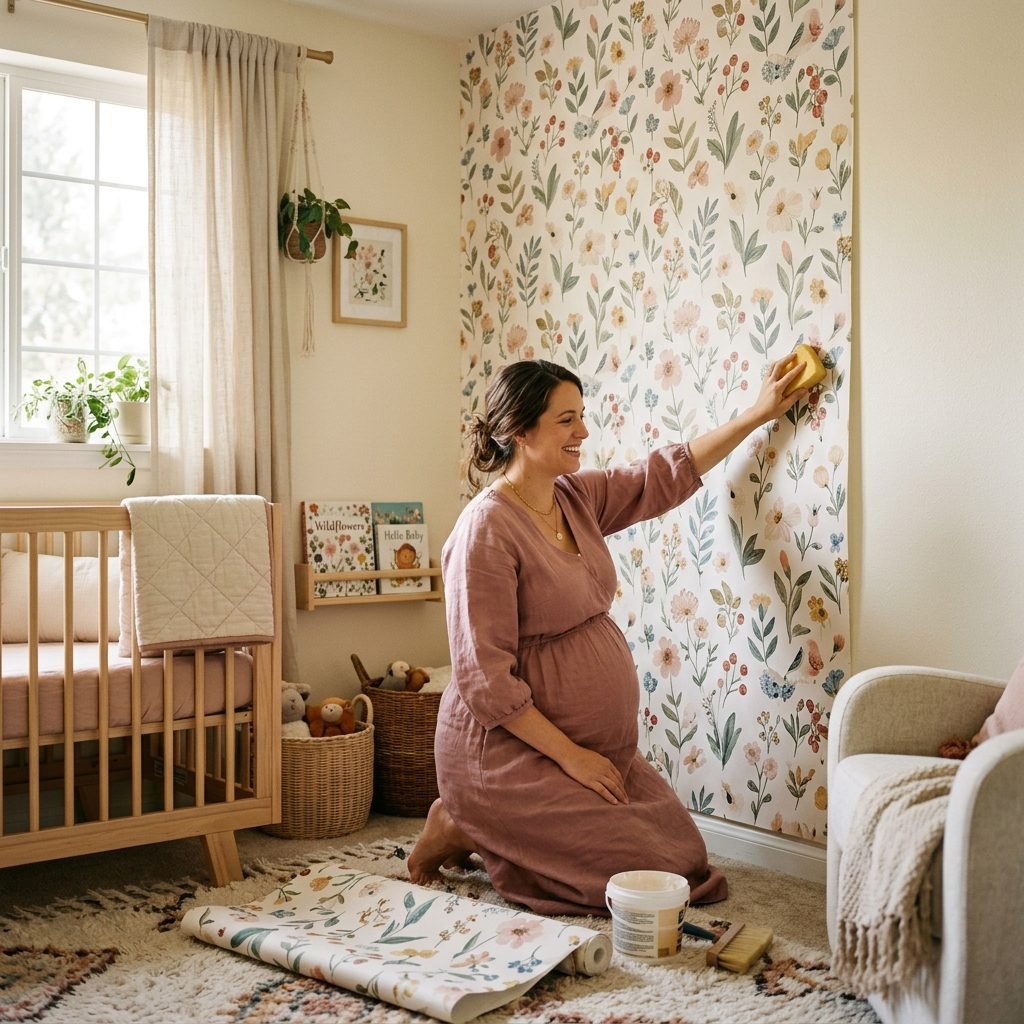
- Smooth it Out: Starting from the top center of the fabric, use your wallpaper smoother or a clean sponge to gently press the fabric into the starch. Work your way outwards and downwards, pushing any air bubbles or wrinkles toward the edges.
- Saturate the Top: Once the fabric is smooth against the wall, take your roller and roll another layer of liquid starch directly over the top of the fabric. You want the fabric to be completely saturated, sandwiching it between two layers of starch.
Sisterly Reminder: Your arms might get tired from rolling above your head! Ask your partner, a friend, or a family member to help with the high spots. Pregnancy changes your center of gravity, so please be incredibly careful if you are using a step stool. Always have someone spot you!
Phase 3: Overlapping and Trimming
- Match the Pattern: When applying the second panel, overlap it slightly with the first panel (about 1/2 inch) to ensure there are no gaps if the fabric shrinks slightly as it dries. Take your time to match up the pattern as best as you can.
- Let it Dry: This is the hardest part—waiting! Let the wall dry completely. This usually takes about 12 to 24 hours depending on the humidity in your home. The fabric will feel stiff and paper-like once dry.
- The Final Trim: Once everything is bone dry, take your sharp utility knife and a straight edge. Carefully trim the excess fabric away from the ceiling line, baseboards, and corners. Change your blade frequently to ensure a crisp, clean cut without pulling the threads.
Troubleshooting: Outlets, Bubbles, and Tricky Corners
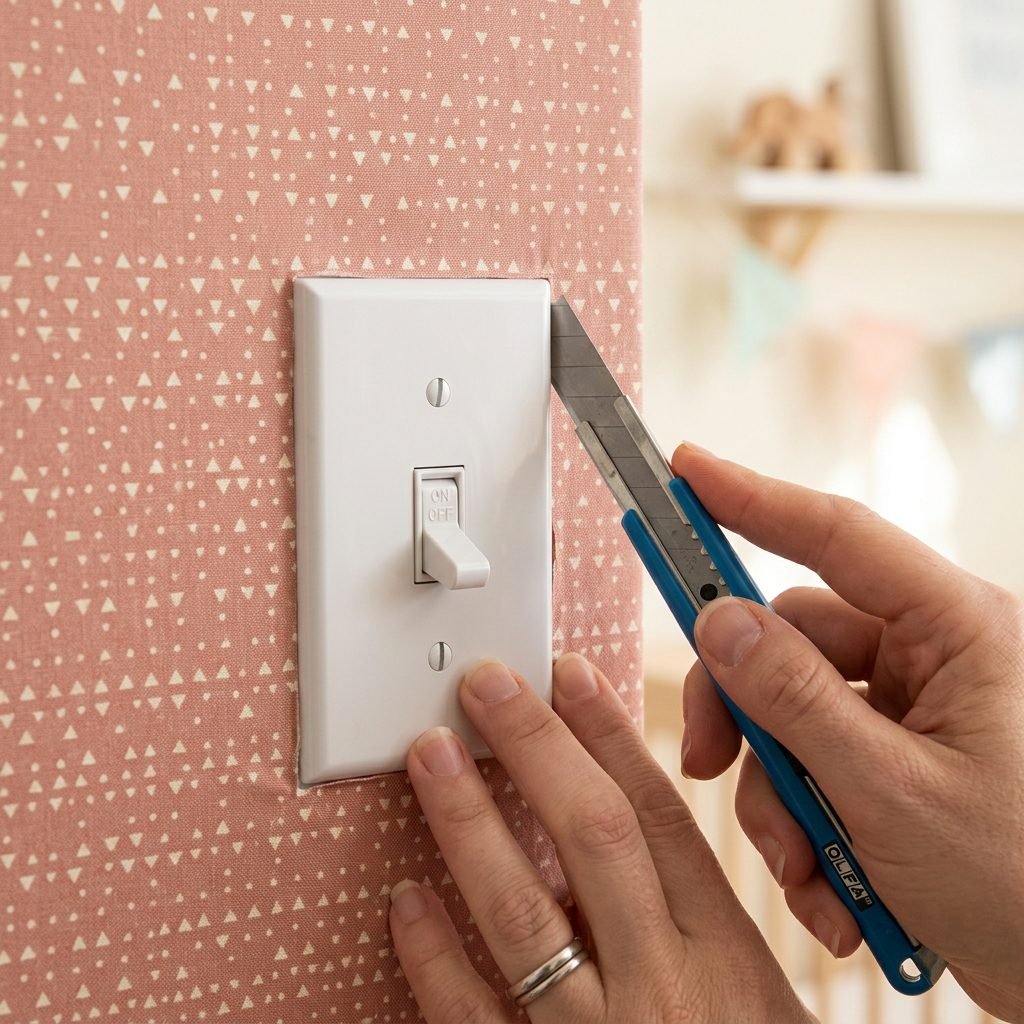
Even the most perfectly planned DIY projects hit a few bumps in the road. As a doula, I constantly remind my clients that birth—and life—rarely goes exactly according to the textbook. The same applies to nursery design! Here is how to handle the tricky spots with grace and ease.
Dealing with Outlets and Switches
Before you begin, ensure the power to the room is turned off at the breaker for absolute safety. Remove the plastic faceplates from all outlets and light switches. When you apply the fabric over an outlet, simply smooth the fabric right over the open electrical box. Once the fabric is completely dry and stiff, use your utility knife to cut a neat rectangle around the inside edge of the box. Replace the faceplate, and you will have a seamless, professional finish! Never cut the fabric while it is wet around an outlet.
Banishing Stubborn Air Bubbles
If you notice a bubble the next day after the wall has dried, do not panic! You do not need to tear the whole panel down. Simply take a small, clean sponge dipped in warm water and gently dab the bubble to reactivate the starch. Smooth the bubble out with your fingers, apply a tiny bit more starch over the top, and let it dry again. It is incredibly forgiving.
Preventing Frayed Edges
Because you are working with woven fabric, fraying at the seams can happen. To prevent this, ensure your utility knife blade is brand new when you do your final trimming. If you notice a stubborn thread hanging after the wall is dry, do not pull it! Pulling can unravel the fabric down the wall. Instead, take a pair of small, sharp embroidery scissors and snip the thread as close to the wall as possible. You can seal the tiny edge with a tiny dab of clear school glue if needed.
The Takedown: Stress-Free Removal for Moving Day
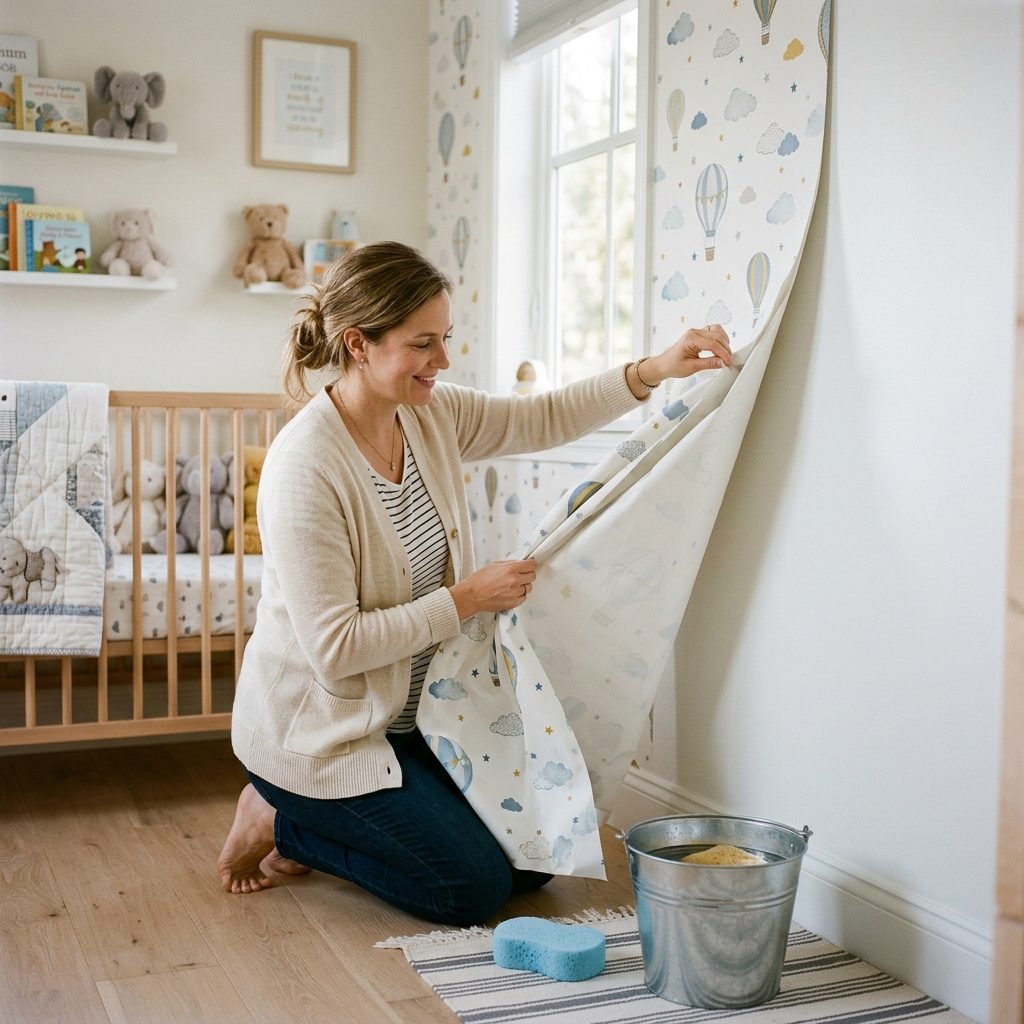
One of the most emotional parts of motherhood is watching your baby grow out of their nursery. Eventually, the crib will be replaced by a toddler bed, the changing table will turn into a toy storage unit, and you may decide it is time for a new room theme. Or, perhaps your lease is up, and it is time to move your growing family into a new home. Whatever the reason, removing this fabric wallpaper is a tear-free, stress-free process.
The Warm Water Magic
When you are ready to take the fabric down, all you need is a clean sponge and a bucket of warm water. Start at one corner of a fabric panel. Dampen the sponge and generously wet the corner of the fabric. Wait about 3 to 5 minutes for the warm water to soak through and reactivate the dried cornstarch. Once the corner is soft, gently pull the fabric away from the wall. It should peel off in one large, satisfying sheet!
Cleaning the Wall
Once the fabric is down, you might notice a slight, powdery residue left on the wall from the starch. Simply take a clean, damp cloth and wipe the wall down. A mild solution of warm water and a tiny drop of dish soap will remove any remaining starch perfectly. Your wall will look exactly as it did the day you moved in, keeping your landlord happy and your security deposit firmly in your pocket.
Repurposing the Fabric
The best part about this hack? The fabric is not ruined! Toss the removed panels into the washing machine on a warm cycle to wash away the starch. You can then repurpose that beautiful fabric into a quilt for your toddler’s new bed, decorative throw pillows, or even framed art for their new room. It is a beautiful, sustainable way to preserve the memories of their very first sweet space.
Conclusion: Embracing the Nesting Journey

Creating a beautiful nursery is such a special rite of passage for expectant mothers. It is a tangible way to channel your excitement, anxiety, and overwhelming love into a physical space. By using the liquid starch fabric hack, you are taking control of your environment, honoring your budget, and creating a breathtaking, non-toxic room where you and your baby will share countless late-night cuddles, sweet lullabies, and magical first milestones.
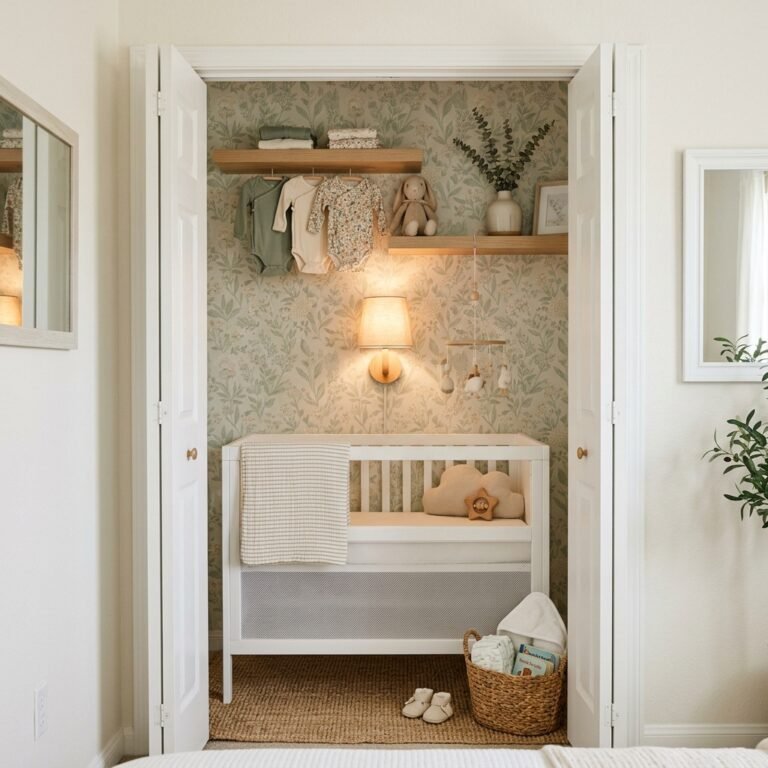
Remember, sweet mama, whether your nursery is a sprawling, Pinterest-perfect room or a cozy, starched-fabric nook in the corner of your own bedroom, your baby does not care about the square footage. All they need is a safe place to sleep, a full tummy, and the comforting sound of your heartbeat. You are already doing an incredible job. Now, go admire that gorgeous accent wall you just created, put your feet up, and rest. You have earned it!
Conclusion
Creating a beautiful nursery is such a special rite of passage for expectant mothers. It is a tangible way to channel your excitement, anxiety, and overwhelming love into a physical space. By using the liquid starch fabric hack, you are taking control of your environment, honoring your budget, and creating a breathtaking, non-toxic room where you and your baby will share countless late-night cuddles, sweet lullabies, and magical first milestones.
Remember, sweet mama, whether your nursery is a sprawling, Pinterest-perfect room or a cozy, starched-fabric nook in the corner of your own bedroom, your baby does not care about the square footage. All they need is a safe place to sleep, a full tummy, and the comforting sound of your heartbeat. You are already doing an incredible job. Now, go admire that gorgeous accent wall you just created, put your feet up, and rest. You have earned it!