How to Set Up a Cozy Newborn and Sibling Matching Pajama Photo Shoot at Home
Welcome home, mama. Whether you are currently nesting and dreaming of the days ahead or you are in the thick of the fourth trimester with a newborn in your arms and a curious toddler at your feet, there is something undeniably magical about matching pajamas. It is more than just a fashion choice; it is a visual representation of a new family chapter beginning. As a doula and a mom who has been through those hazy postpartum weeks, I know that the idea of a professional photo shoot can feel overwhelming. The logistics of getting everyone out of the house, the cost, and the pressure for everyone to ‘behave’ is often too much.
That is why the at-home DIY pajama shoot is your secret weapon. It allows you to capture those raw, tender, and slightly chaotic moments in the comfort of your own sanctuary. In this guide, we are going to walk through everything from choosing the softest, skin-safe fabrics to managing toddler moods and finding the perfect ‘golden hour’ light in your living room. Grab a cup of lukewarm coffee, and let’s plan your most precious memories yet.
Selecting the Perfect Pajamas: Comfort Meets Style
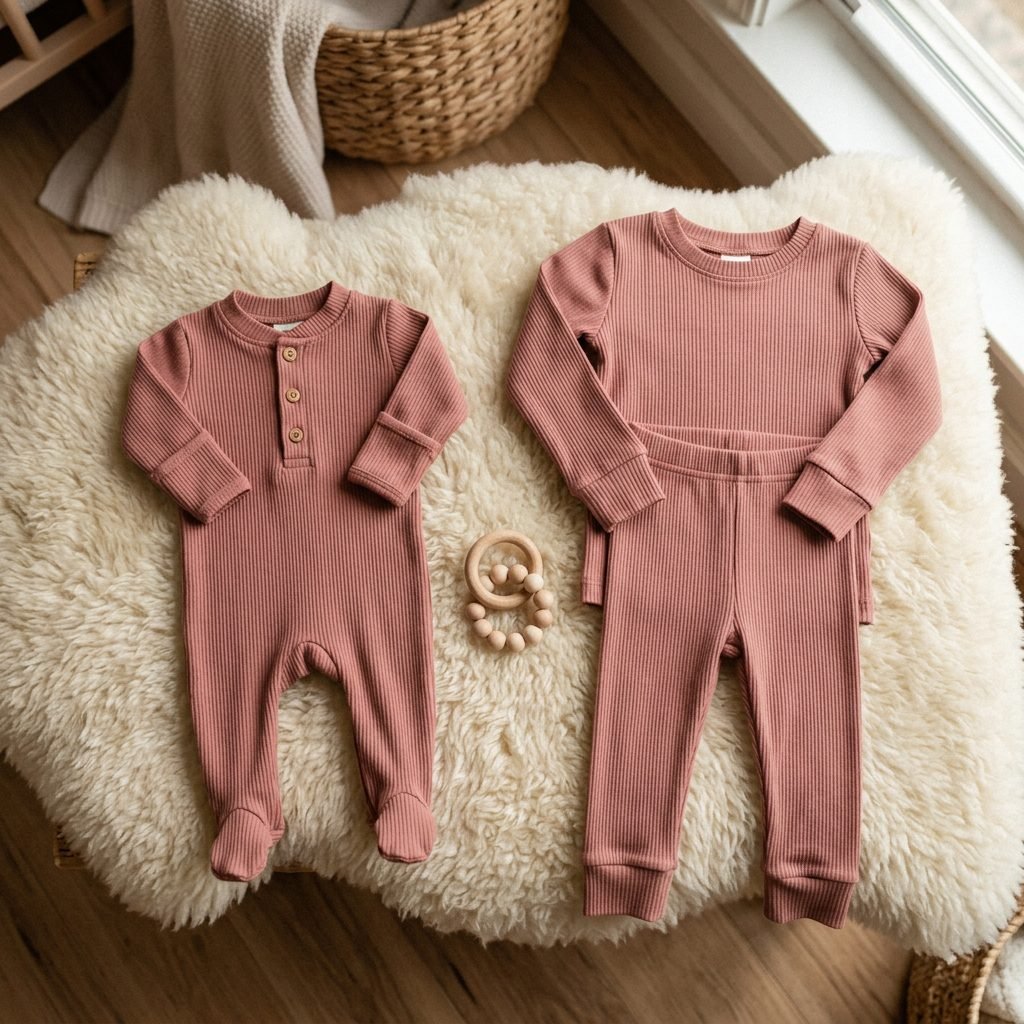
When it comes to newborns and siblings, the fabric is just as important as the print. A newborn’s skin is incredibly thin and absorbent, making organic materials a top priority. As a doula, I always recommend bamboo viscose or organic cotton for their breathability and hypoallergenic properties. You want a fabric that stretches easily over a diaper but doesn’t lose its shape.
Choosing Your Aesthetic
Before you hit ‘buy,’ consider the vibe of your home. If your nursery is full of earthy tones, look for ochre, sage, or terracotta. If you prefer a classic look, navy stripes or soft cream neutrals are timeless. Avoid overly busy patterns that might distract from the babies’ faces.
| Fabric Type | Pros | Best For… |
|---|---|---|
| Bamboo Viscose | Ultra-soft, temperature regulating, very stretchy. | Newborns with sensitive skin or eczema. |
| Organic Cotton | Durable, breathable, gets softer with every wash. | Active toddlers who might get sweaty playing. |
| Ribbed Knit | High-end aesthetic, beautiful texture on camera. | Creating a cozy, high-fashion look. |
Remember, mama: The goal is for them to be comfortable. If the toddler feels itchy, the photo shoot is over before it begins. Choose soft waistbands and tagless options.
Setting the Stage: Lighting and Background Hacks

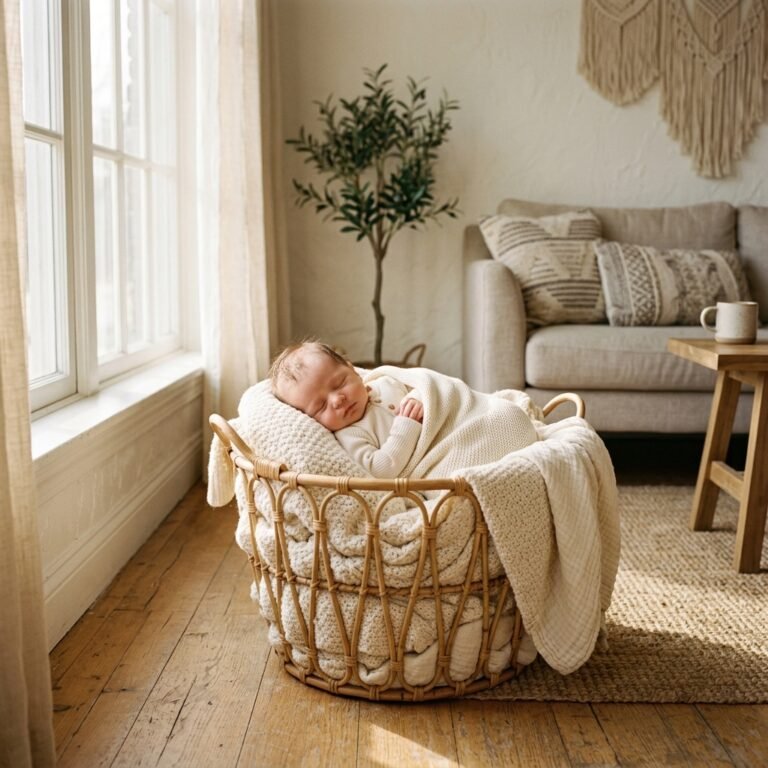
You don’t need a studio to get professional-looking results. The most important tool in your kit is natural light. Identify the room in your house that gets the most indirect sunlight—usually a bedroom or the living room. Avoid direct, harsh sunlight which creates ‘hot spots’ and squinty eyes.
The ‘Cozy’ Backdrop Checklist
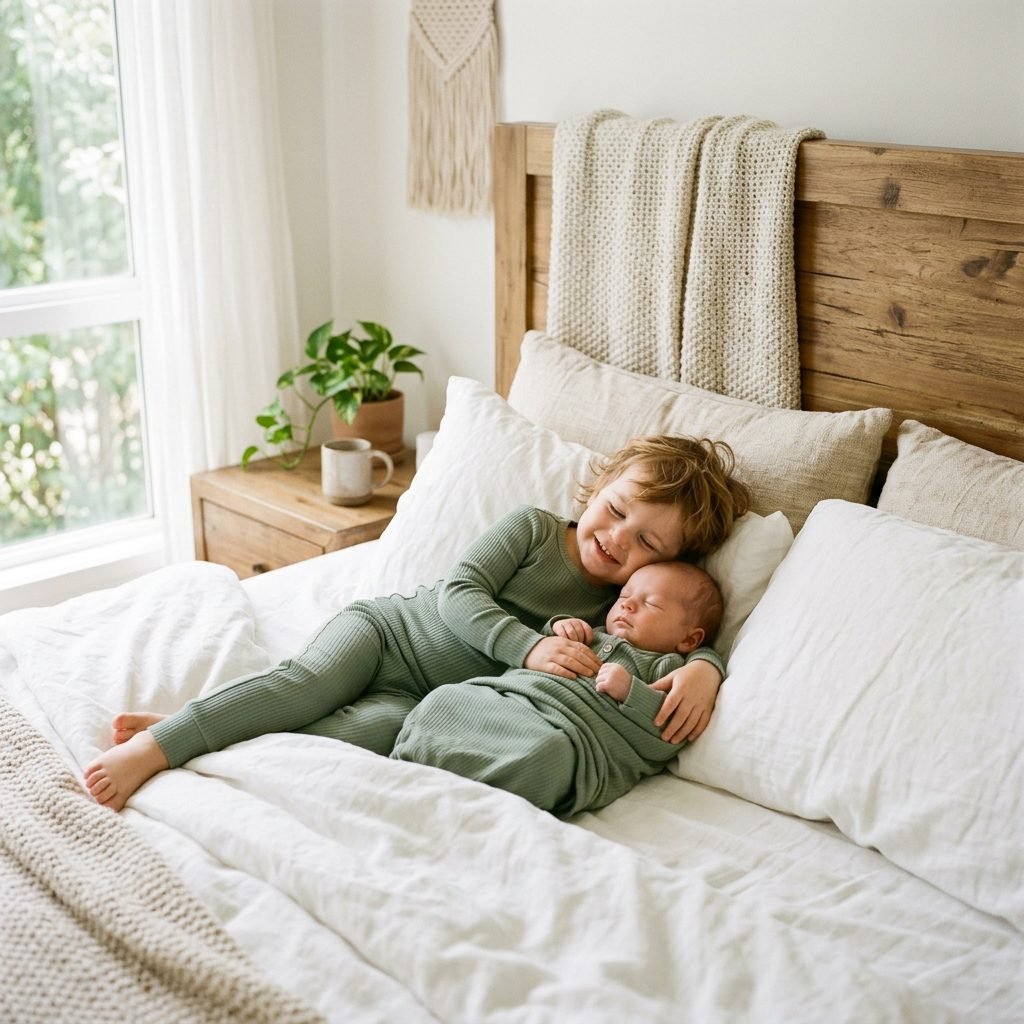
- The Bed: A large bed with a neutral, light-colored duvet is the easiest ‘studio’ setup. It provides a soft surface for the baby and plenty of room for the sibling to snuggle.
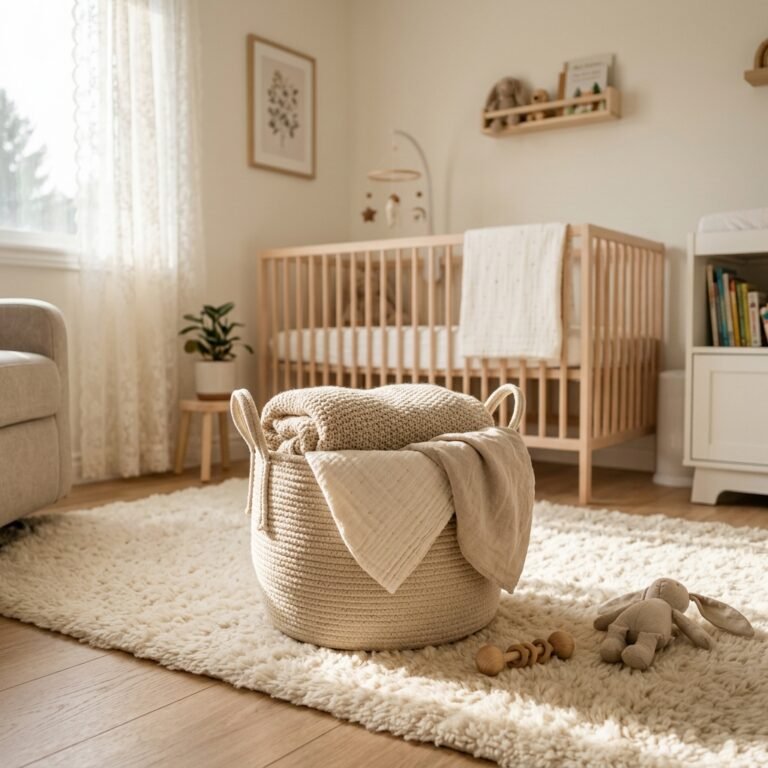
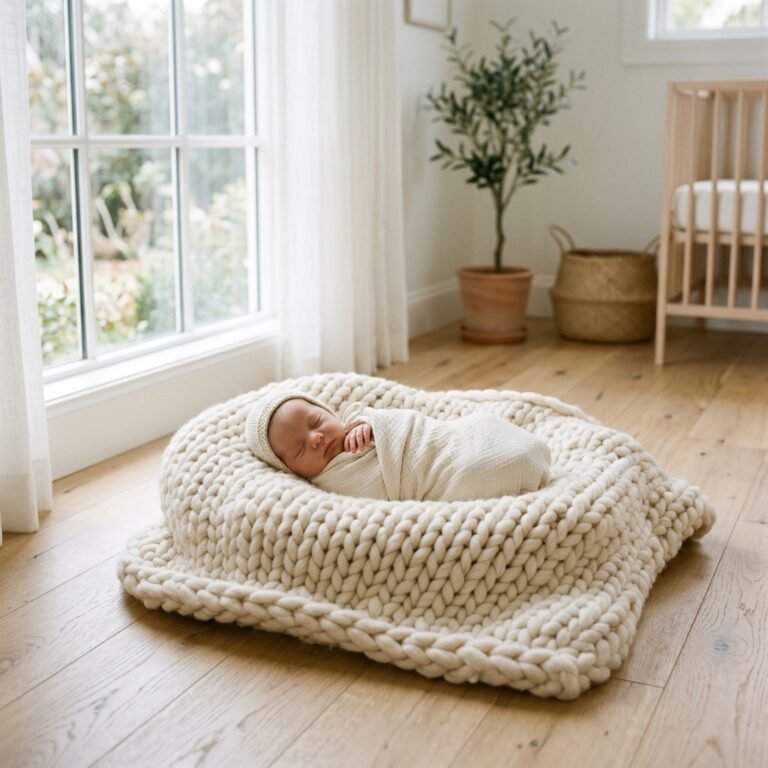
- The Nursery Rug: If you have a plush rug, this can be a great spot for ‘tummy time’ shots or the sibling looking down at the baby.
- Texture is Key: Layer different textures like chunky knit blankets, linen sheets, and velvet pillows to add depth to your photos.
Pro Tip: Clear the clutter! Move the half-empty water bottles, the breast pump parts, and the discarded socks out of the frame. A clean background makes the subjects pop.
The Sibling Strategy: Managing the Toddler Dynamic
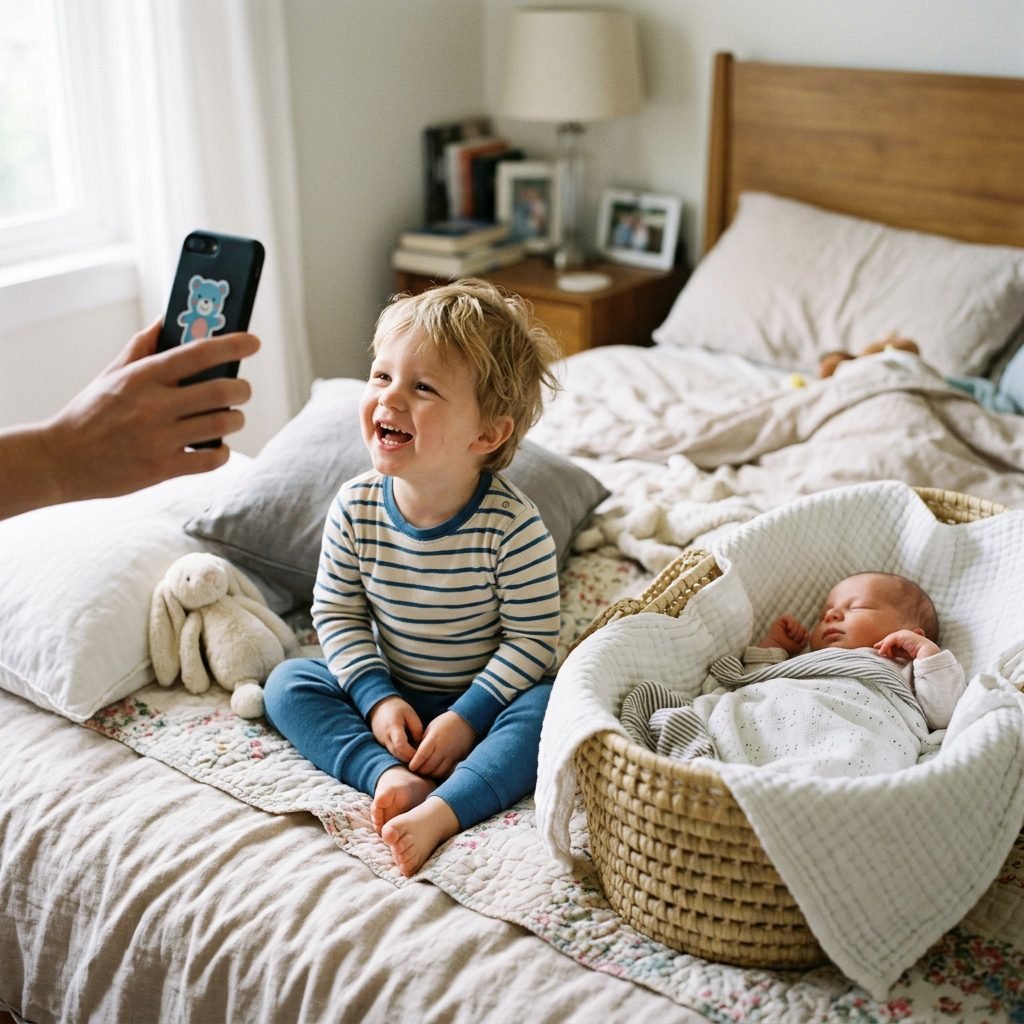
This is often the part that causes the most anxiety. Toddlers are unpredictable, and a new baby can trigger a range of emotions. As a pediatric sleep consultant and doula, I recommend a ‘Connection First’ approach. Do not force the sibling to hold the baby if they aren’t ready.
Step-by-Step Toddler Engagement
- The ‘Big Helper’ Role: Ask the toddler to help ‘pick out’ the pajamas (even if you’ve already chosen them).
- The Warm-Up: Let the toddler play on the bed or the photo area for 10 minutes before the baby is introduced.
- Positive Reinforcement: Use ‘special snacks’ that aren’t messy (like mini marshmallows or yogurt melts) as rewards for ‘gentle hands.’
- The ‘Secret’ Trick: Put a small sticker on your camera lens or phone to get the toddler to look directly at the ‘birdie.’
Affirmation for the moment: ‘I am capturing our real life. If there are tears or chaos, that is part of our story, and it is still beautiful.’
Technical Tips for the DIY Photographer Mom

You don’t need a DSLR to get stunning shots. Your smartphone is more than capable if you know a few simple tricks. Most modern phones have a ‘Portrait Mode’ that creates that beautiful blurred background (bokeh) which makes photos look professional.
Camera Settings and Angles
- Wipe the Lens: It sounds simple, but fingerprints on the lens are the #1 cause of blurry, ‘foggy’ photos.
- Focus on the Eyes: Tap the screen where the baby’s eyes are to ensure the focus is sharp.
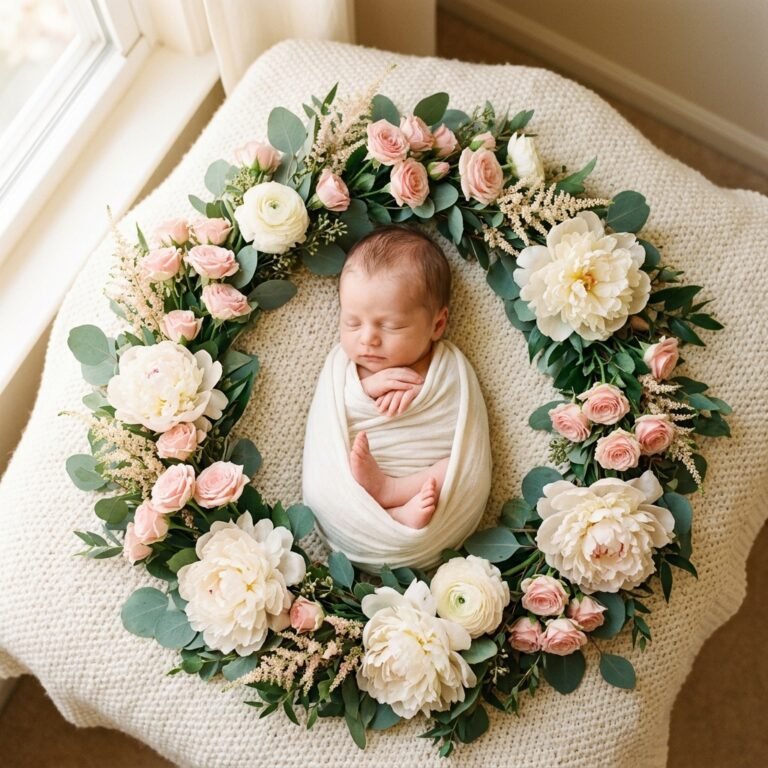
- Shoot from Above: For those ‘lying down’ shots, stand on a sturdy stool to get a direct overhead bird’s-eye view.
- Burst Mode: Use burst mode when the toddler is moving. You’re bound to catch one frame where everyone is (mostly) still.
| Shot Type | Description | Why it Works |
|---|---|---|
| The Close-Up | Focusing on tiny feet or hands touching. | Emphasizes the size difference and sweetness. |
| The ‘Nose-to-Nose’ | Toddler leaning in to kiss the baby’s forehead. | Pure emotional connection. |
| The Cuddle Puddle | Both laying flat, looking up at the camera. | Classic, clean, and shows both faces clearly. |
The Post-Shoot Recovery: Transitioning Back to Calm
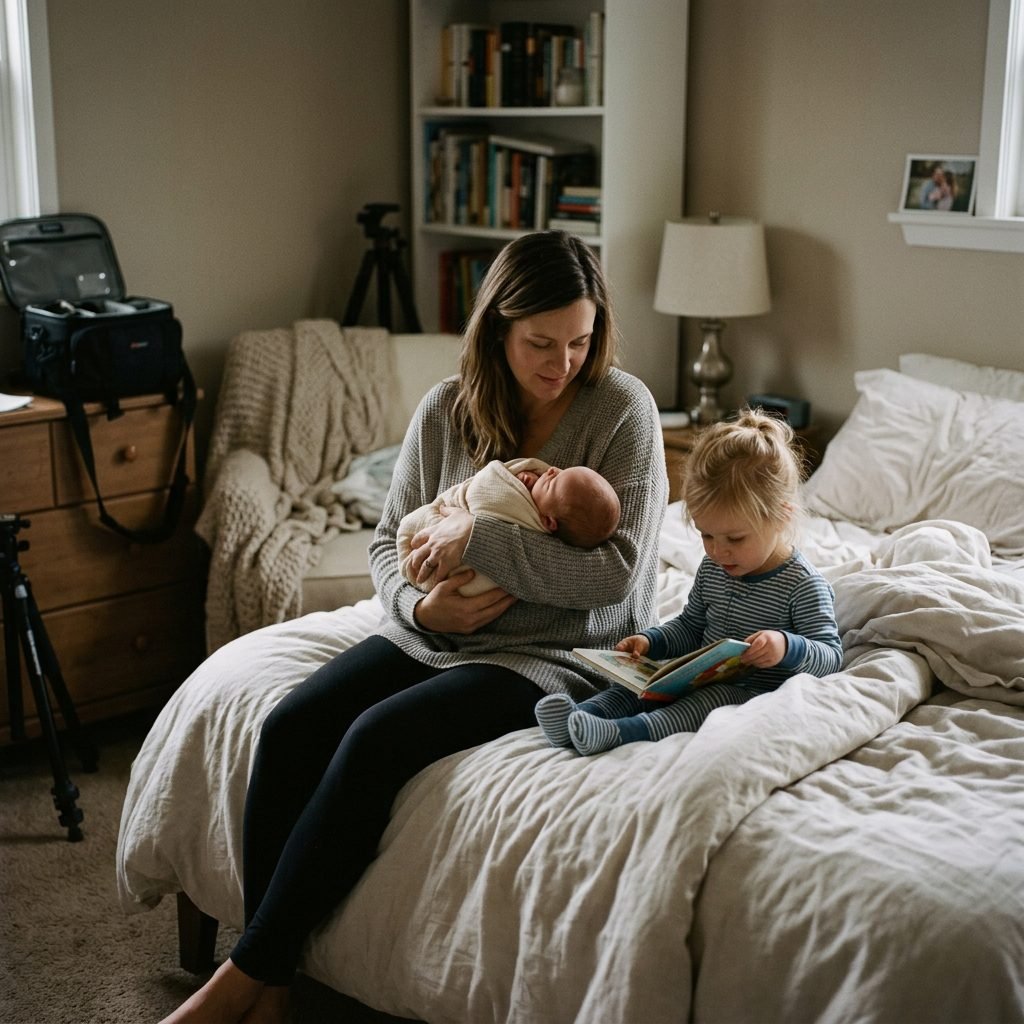
Once you’ve snapped your photos, the ‘post-shoot’ phase is critical for maintaining the peace. A photo shoot, even a fun one, is stimulating for a toddler and can be tiring for a newborn. As a postpartum nurse, I recommend an immediate ‘sensory reset.’
Lower the lights, put on some white noise, and transition into a quiet activity. This is the perfect time for a nursing session or a snack for the big sibling. Don’t worry about cleaning up the ‘set’ immediately. Leave the blankets where they are and just soak in the fact that you did it!
A Quick Safety Reminder
- Never leave a newborn unattended on a high surface (like a bed).
- Ensure the toddler understands ‘gentle touch’ before the shoot begins.
- If the baby falls asleep, move them to a firm, flat sleep surface immediately after the photo.
Conclusion
Mama, I want you to remember that these photos are for you. They aren’t for social media validation or to prove that your life is ‘perfect.’ They are a love letter to this fleeting, exhausting, and incredibly beautiful season of your life. Ten years from now, you won’t remember the laundry pile just out of frame or the fact that it took 45 minutes to get the toddler into his pants. You will look at those matching pajamas and remember the smell of your newborn’s head and the pride in your toddler’s eyes as they became a big brother or sister.
Be patient with yourself, be patient with your little ones, and don’t forget to get in a few photos yourself! Hand the phone to your partner or use a tripod. You are the heart of these photos, and you deserve to be seen in them. Happy snapping!