Safe & Simple DIY Newborn Photography Poses Anyone Can Do at Home
Welcome to the beautiful, blurry, and breathtaking world of early motherhood, mama. Those first few weeks with your newborn are a whirlwind of milk scents, tiny sighs, and a love so deep it feels like your heart is walking around outside your body. As a doula and a fellow mom, I know exactly how much you want to freeze time and bottle up those tiny toes and peach-fuzz ears. But let’s be real: professional newborn photography sessions can be expensive, and the logistics of getting out of the house in those early postpartum days can feel like climbing Everest.
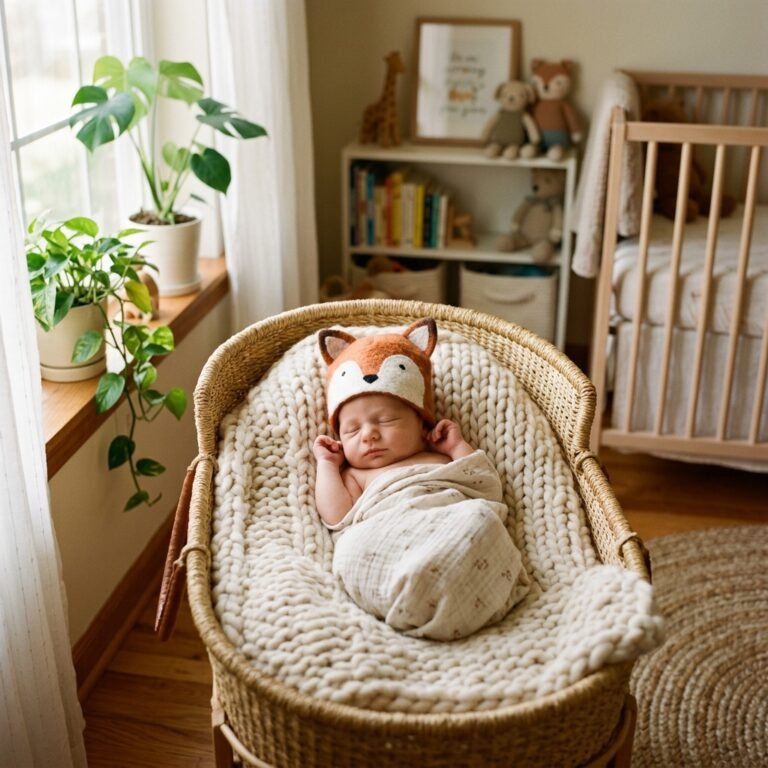
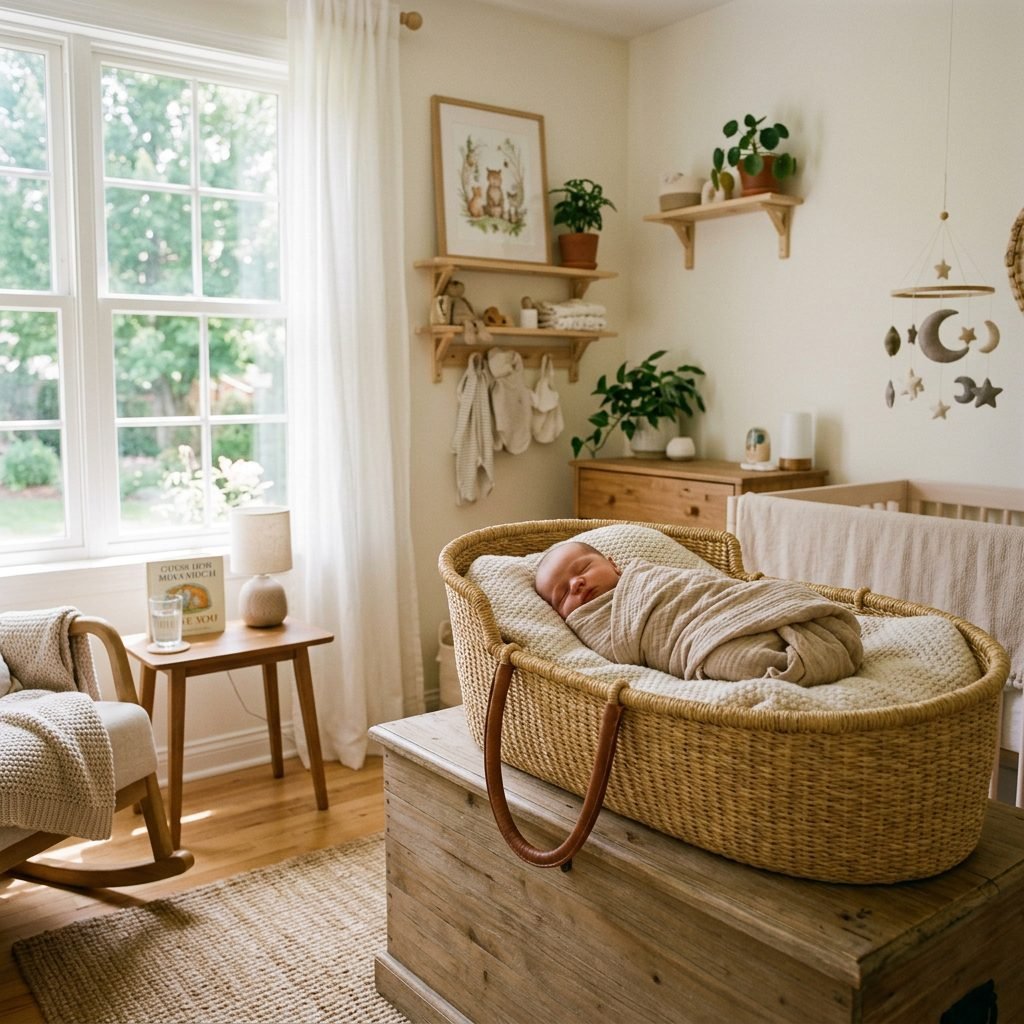
I’m here to tell you that you can absolutely capture professional-looking, heart-melting photos of your baby right in the comfort of your own home. You don’t need a thousand-dollar camera or a studio setup. What you need is a little bit of patience, some soft natural light, and a commitment to safety above all else. In this guide, we’re going to walk through the most beautiful, simple, and—most importantly—safe poses that anyone can master. We’ll cover how to prep your ‘studio’ (aka your living room), the essential DIY kit, and the step-by-step techniques to ensure your little one stays cozy and secure throughout the process. Grab a cup of lukewarm coffee, and let’s create some magic.
Creating Your Home Studio: Lighting, Warmth, and Vibes
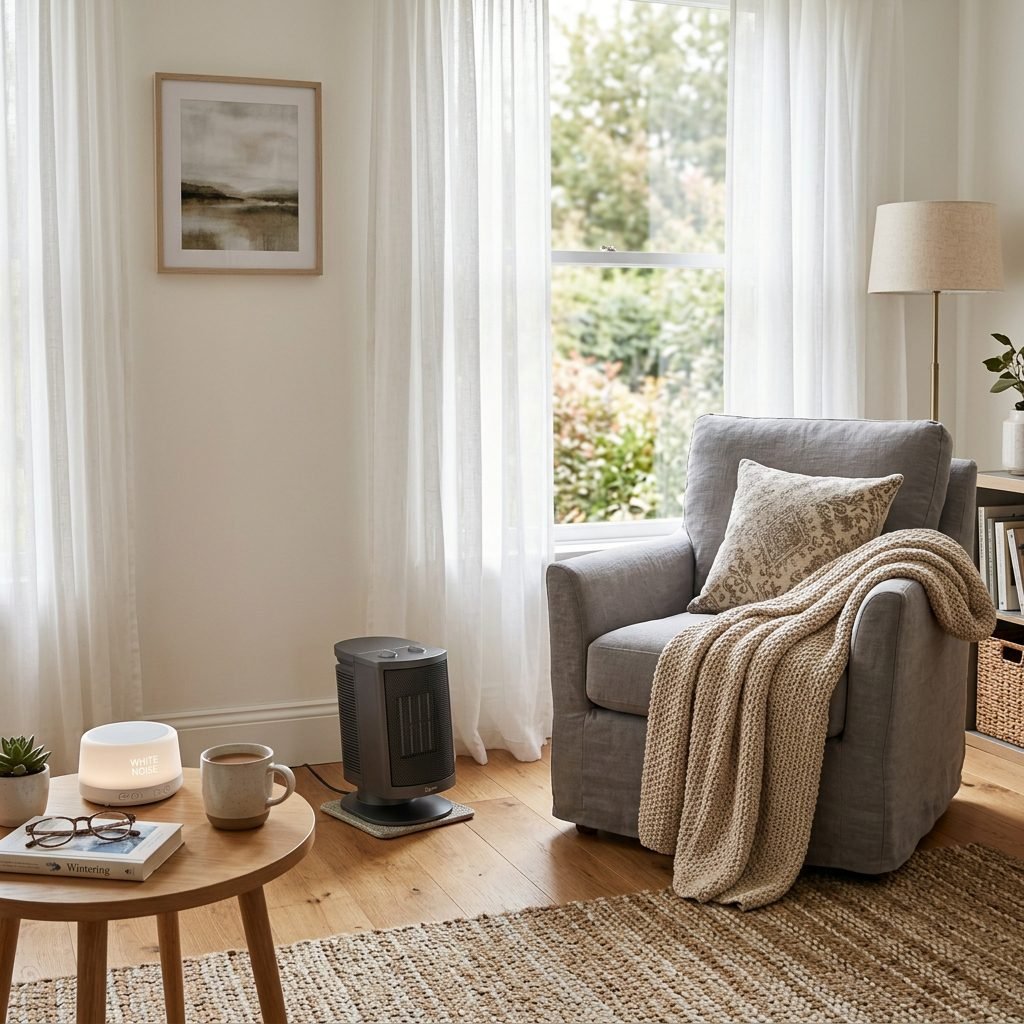
Before we even think about picking up a camera or a smartphone, we have to set the stage. A newborn’s comfort is the secret ingredient to a successful photo session. If they are cold, hungry, or startled by bright lights, the session will be over before it starts. Think of yourself as a ‘baby whisperer’ first and a photographer second.
The Magic of Natural Light
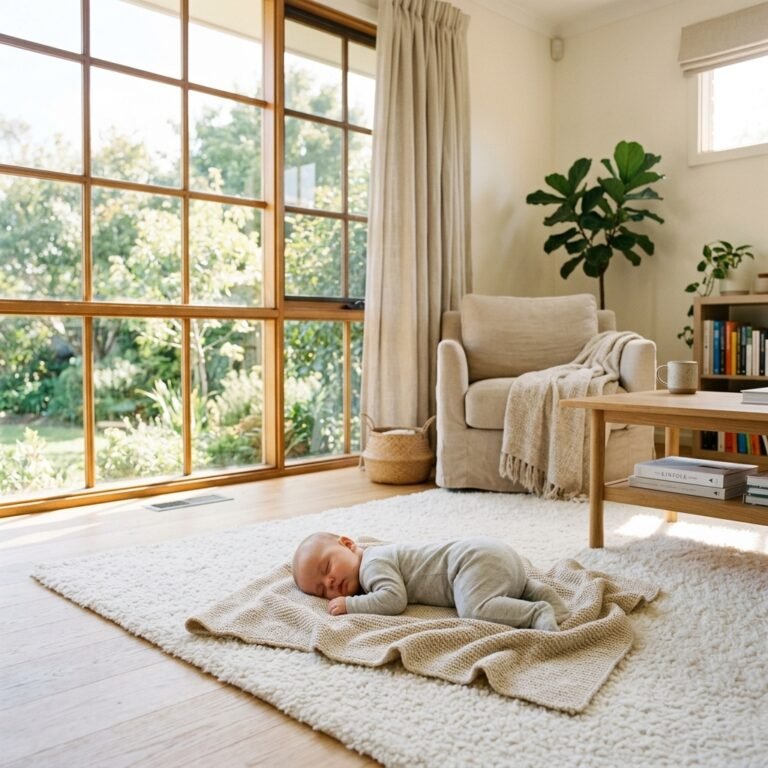
Forget the flash. Never use a direct flash on a newborn; it’s jarring for their sensitive eyes and creates harsh, unflattering shadows. Instead, find the largest window in your home. North-facing windows are the gold standard because they provide soft, consistent light all day without the harsh glare of direct sun. Place your posing area about 3 to 5 feet away from the window at a 45-degree angle. This creates that beautiful ‘Rembrandt lighting’ where one side of the face is softly illuminated and the other has a gentle shadow.
The Tropical Nursery Rule
Newborns cannot regulate their body temperature well, especially when they are stripped down to a diaper or a thin wrap. To keep them sleepy and ‘curled,’ you need to turn up the heat. Aim for a room temperature between 75°F and 80°F (24°C – 27°C). You should feel slightly too warm in a t-shirt; that’s when you know it’s perfect for the baby.
Pro-Tip: Use a space heater to pre-warm the area, but always keep it at least 6 feet away from the baby and never leave it unattended.
Sound and Scent
Use a white noise machine or a ‘shusher’ app to mimic the sounds of the womb. This masks the clicking of the camera and any household noises. If you’re breastfeeding, try to have a full feeding right before you start. A ‘milk drunk’ baby is a posing pro!
The Essential DIY Photography Kit & Budget Breakdown
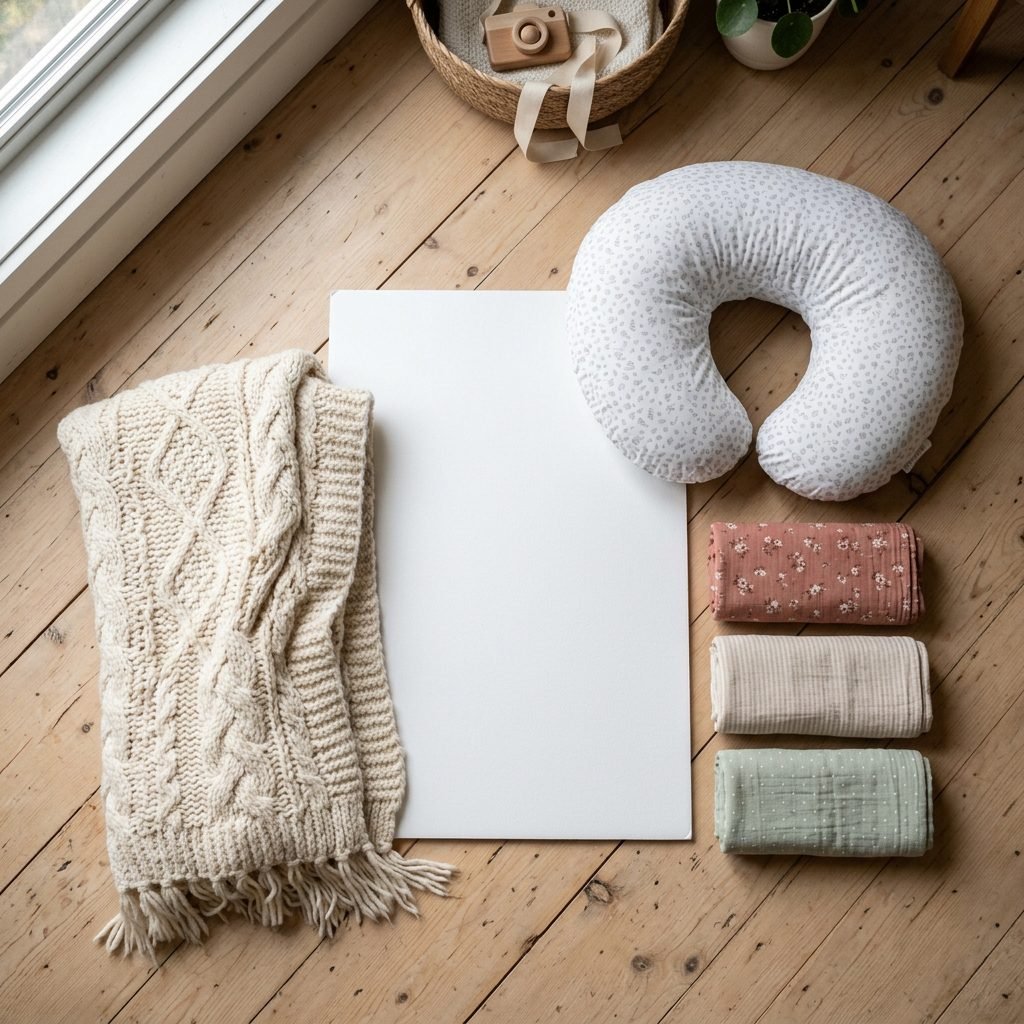
You don’t need fancy props to make your baby look like a work of art. In fact, the most timeless photos are often the simplest. Most of what you need is likely already in your nursery or linen closet. The goal is to use textures—knits, furs, and cottons—to add depth to the photo without distracting from the baby.
| Item | Why You Need It | DIY/Budget Alternative |
|---|---|---|
| Posing Surface | A firm but soft base. | A Boppy pillow or a firm sofa cushion. |
| Neutral Backdrop | To create a clean, professional look. | A cream-colored pashmina or a textured knit throw blanket. |
| Swaddles/Wraps | To keep baby snug and contained. | Muslin swaddle blankets or stretchy jersey fabric from a craft store. |
| Reflector | To bounce light into shadows. | A large piece of white foam board or a white bedsheet. |
| Clamps/Pegs | To pull blankets tight and remove wrinkles. | Large chip clips or clothespins. |
When choosing your colors, stick to a neutral palette: creams, soft grays, oatmeal, or muted pastels. These tones are incredibly forgiving with skin tones and won’t cast weird colors onto your baby’s face. Texture is your best friend. A chunky knit blanket looks much more expensive on camera than a flat cotton sheet.
Safety First: The Golden Rules of DIY Posing
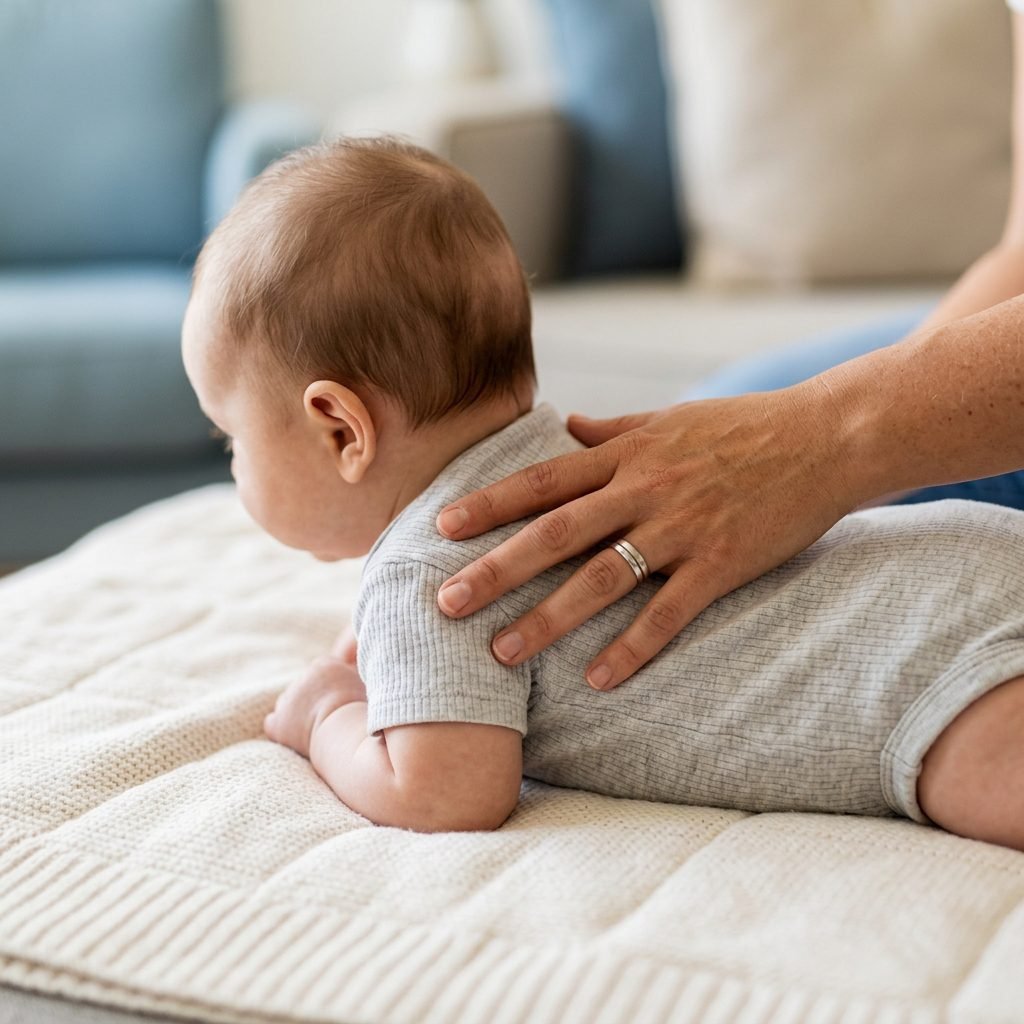
As a doula, safety is my absolute priority. Professional photographers spend years learning how to safely transition babies into complex poses. For a DIY session, we are going to stick to natural, physiological positions. If a pose looks like it requires gravity-defying balance, don’t do it. Many professional shots are actually ‘composites’ (two photos merged in Photoshop where a hand was supporting the baby the whole time).
The ‘Always a Hand’ Rule
Never, ever leave your baby unattended on a posing surface, even if they are deep sleepers. Newborns can have startle reflexes (Moro reflex) that cause them to jerk suddenly. Always have a ‘spotter’ (your partner, a friend, or an older sibling) sitting within arm’s reach of the baby. Their only job is to watch the baby while you look through the lens.
Circulation and Airway Check
When wrapping or posing, always ensure:
- The baby’s chin is off their chest. There should be at least two fingers of space under the chin to keep the airway open.
- The wrap is snug but not tight enough to restrict breathing or turn limbs blue/purple.
- The baby’s nose and mouth are never covered by fabric or fluff.
Safety Affirmation: “My baby’s comfort and safety are more important than any photograph. I will follow my baby’s lead and stop if they show any signs of distress.”
Step-by-Step: The Three Easiest DIY Poses
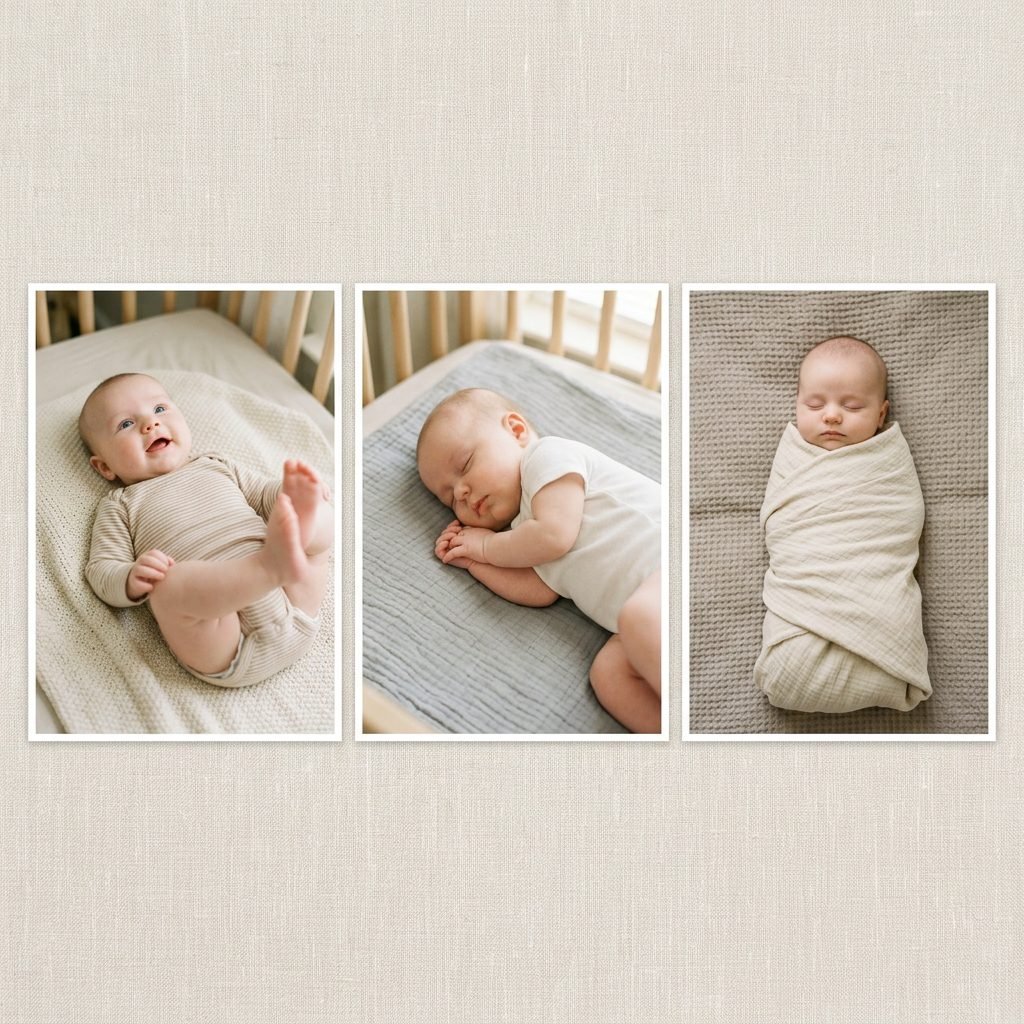
Let’s get into the fun part! These three poses are the bread and butter of newborn photography. They are easy to achieve and look stunning every single time.
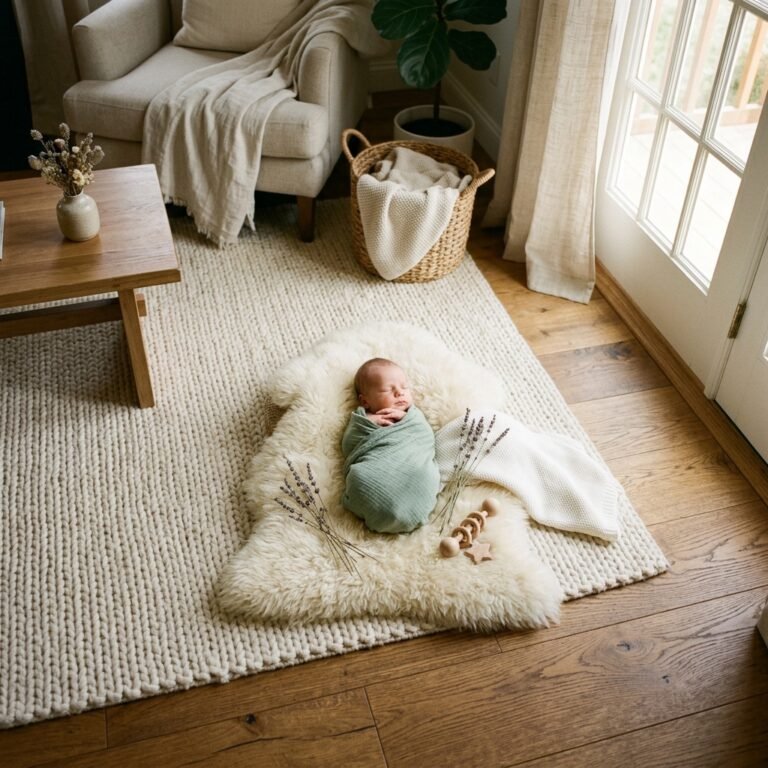
1. The ‘Back is Best’ (The Simple Sweetheart)
This is the safest and most natural pose. It celebrates the baby exactly as they are.
- Place your Boppy pillow or cushion under your neutral backdrop blanket.
- Smooth out all the wrinkles and use clips to pull the fabric taut.
- Place the baby on their back in the center of the ‘nest’ created by the pillow.
- Gently tuck their hands near their chin or chest.
- Angle: Stand directly over the baby, but be sure to wear your camera strap so you don’t drop your phone! Shoot from the baby’s head looking down toward their feet for a classic look.
2. The Side-Lying Snuggle
This pose highlights the adorable curve of a newborn’s back and their tiny profile.
- Gently roll the baby onto their side (usually their right side).
- Place a small rolled-up washcloth under the backdrop blanket to support their head and keep it from rolling forward.
- Tuck their knees up toward their belly in a ‘fetal’ position.
- Bring their hands up under their cheek as if they are sleeping on them.
- Angle: Get down low, level with the baby. Focus your camera on the eye closest to you.
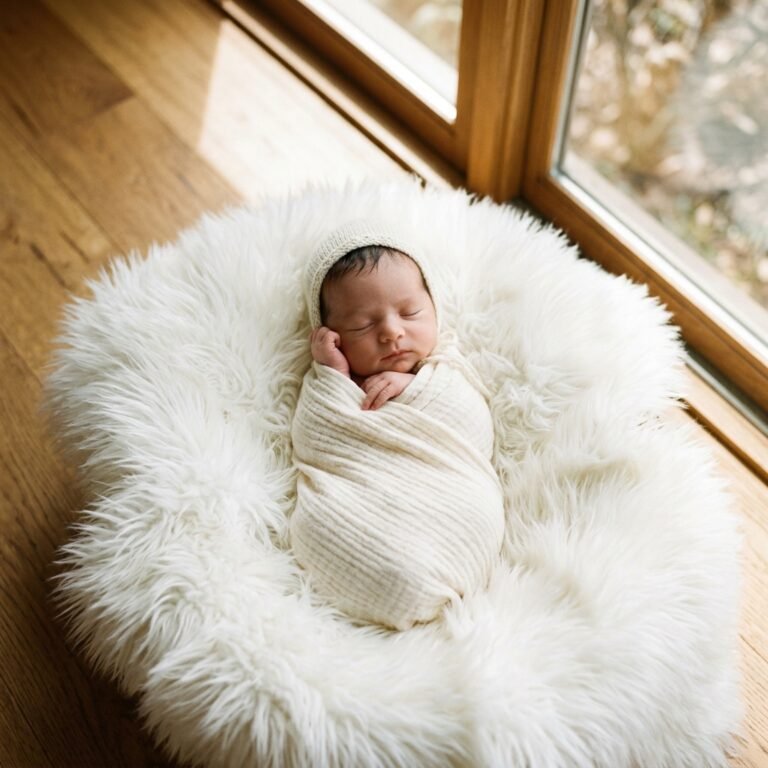
3. The ‘Tucked-in Toes’ (The Potato Sack Lite)
This uses a swaddle to create a tidy, round shape that looks very professional.
- Perform a ‘double wrap.’ Use one thin wrap to secure the arms and legs, then a second decorative wrap over the top.
- Ensure the feet are tucked in comfortably.
- Place the baby on their back and slightly prop their head up with a small towel under the blanket.
- Angle: Shoot from a 45-degree angle to capture the texture of the wrap and the baby’s face.
The Art of the ‘Macro’ Shot: Capturing the Details
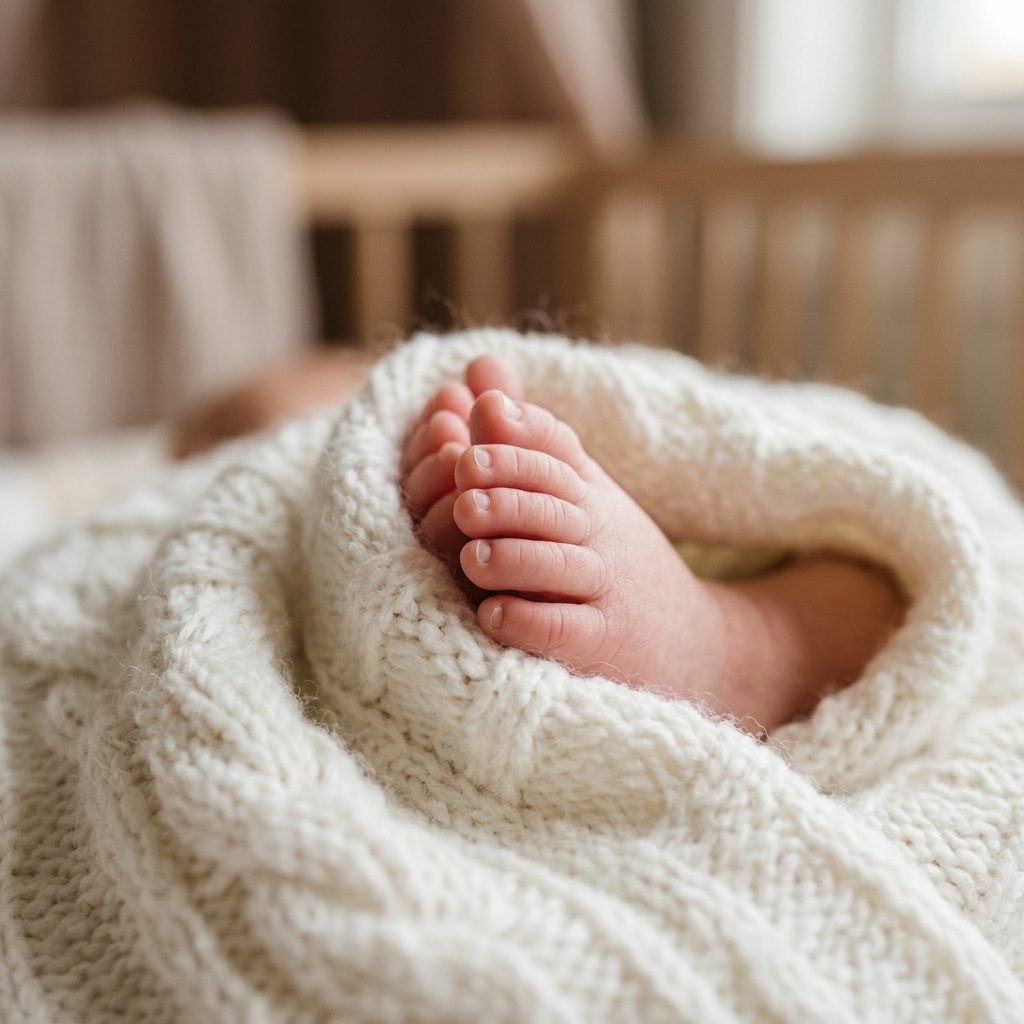
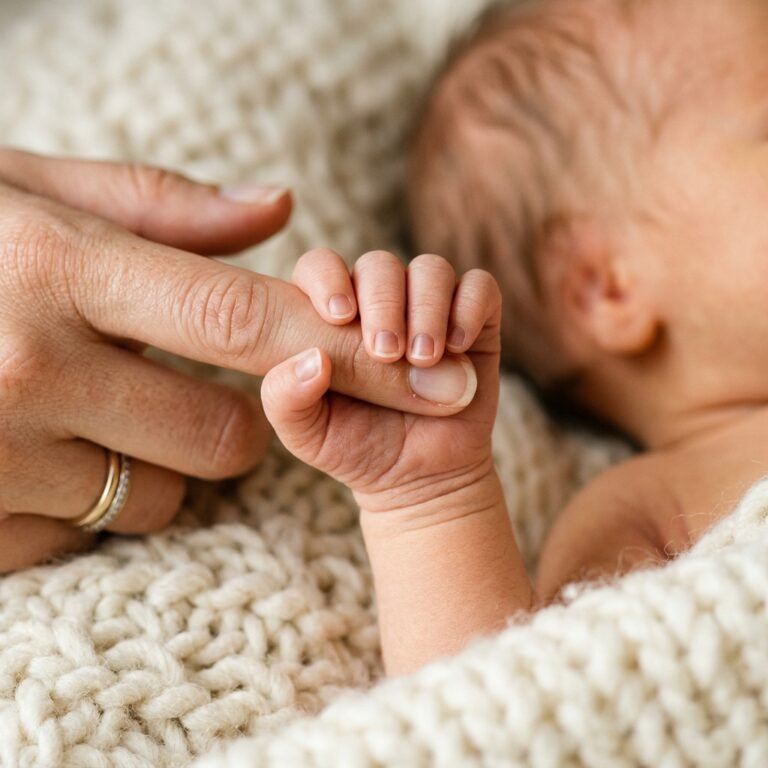
Sometimes the most powerful photos aren’t of the whole baby, but of the tiny details that change so quickly. These ‘macro’ shots are very easy to do at home because they don’t require complex posing; they just require a good eye and close proximity.
What to Capture:
- The Toes: Focus on the peeling skin of the heels or the way the toes curl.
- The Lips: Capture the ‘bow’ of the upper lip and those little milk bumps (milia).
- The Eyelashes: Wait for a deep sleep and get a close-up of those long, resting lashes.
- The Swirl: The crown of the head where the hair (or fuzz!) swirls together.
- The Hands: Place your own hand or your partner’s hand next to the baby’s to show the incredible scale of how small they truly are.
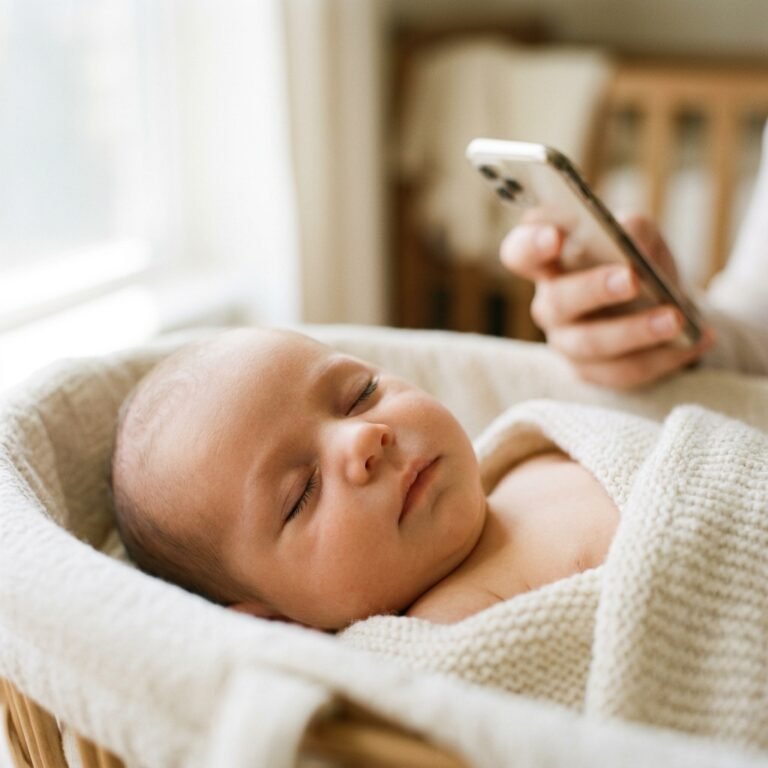
Styling Tip: For these shots, use a ‘portrait mode’ on your smartphone. This will blur the background and make the tiny detail pop. Ensure you are close enough that the detail fills the frame, but not so close that your camera can’t focus. Usually, 8 to 12 inches is the sweet spot.
Troubleshooting: What to Do When Baby Isn’t Cooperating
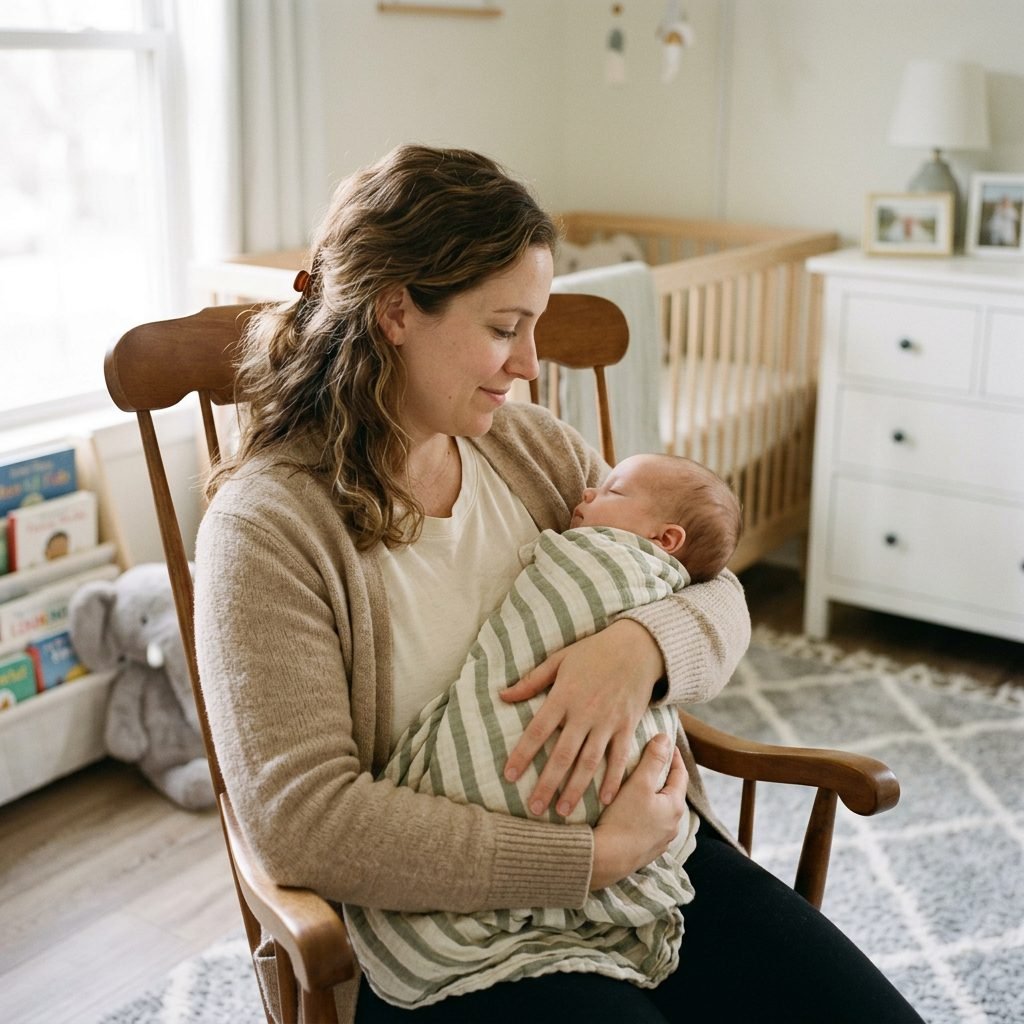
Even with the best prep, babies are unpredictable. They have ‘witching hours,’ gas, and cluster feeding needs. If your session feels like it’s going south, don’t panic. Here is your doula-approved troubleshooting guide.
| Issue | The Fix | |
|---|---|---|
| Baby is Rooting/Fussy | Stop and feed. A 10-minute ‘top-off’ can buy you another 30 minutes of sleep. | |
| Baby Keeps Startling | Use a tighter swaddle. The feeling of security will stop the Moro reflex. | |
| Red/Splotchy Skin | This is common! Adjust your lighting to be softer, or use a ‘black and white’ filter. B&W hides skin redness perfectly. | |
| Baby Won’t Stay Asleep | Capture ‘lifestyle’ shots instead. Open eyes are beautiful! Focus on their expression. |
Reassuring Reminder: “The best photos aren’t the ‘perfect’ ones; they are the ones that capture the reality of your life right now. If baby cries, take a break. Your peace is more important than the gallery.”
Post-Processing: The Finishing Touches
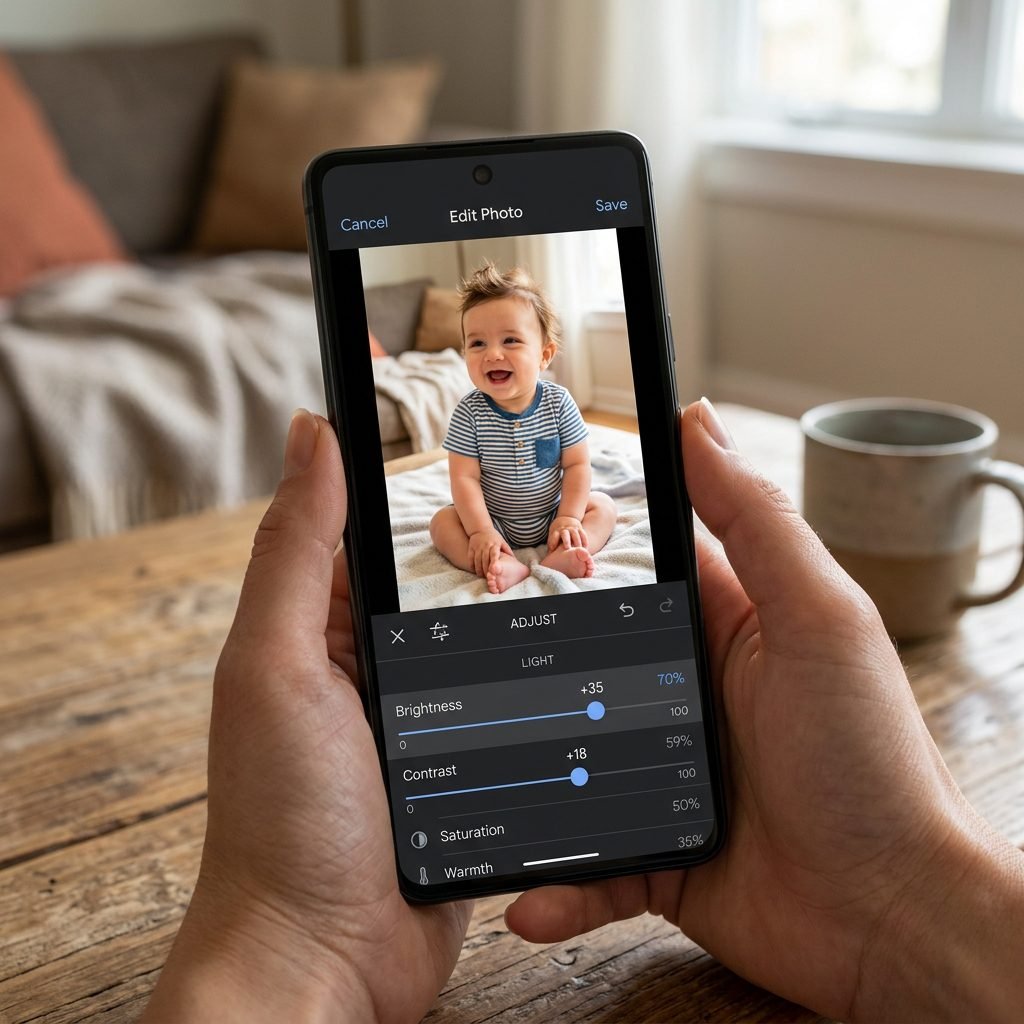
Once you’ve captured your images, a little bit of editing can take them from ‘home photo’ to ‘professional portrait.’ You don’t need Photoshop; free apps like Lightroom Mobile, Snapseed, or even the built-in iPhone editor work wonders.
Simple Editing Steps:
- Exposure: Increase slightly if the photo looks a bit dark. You want the skin to look bright and glowy.
- Contrast: Lower the contrast slightly for a ‘dreamy,’ soft look.
- Highlights: If the baby’s forehead is too bright from the window light, pull the highlights down.
- Saturation: Be careful here! If you increase saturation too much, the baby might look orange. Sometimes pulling the saturation down slightly creates a more timeless feel.
- Cropping: Don’t be afraid to crop in! Removing a distracting edge of a pillow or a stray diaper can make the composition much stronger.
Conclusion
Mama, you’ve done something incredible. You’ve not only birthed a human, but you’re now documenting their history. These photos will become some of your most cherished possessions as the years fly by. Remember that the goal isn’t perfection; it’s connection. Even if the blanket is a little wrinkled or the baby’s hat is slightly crooked, these images capture a time of life that is as fleeting as it is beautiful.
Be kind to yourself during this process. If you only get one good shot today, that is a victory. If you get none because the baby needed extra snuggles, that is a victory too. You are doing an amazing job, and your little one is so lucky to have a mama who cares so much about capturing their story. Happy snapping!