DIY High-Contrast Felt Quiet Book: Easy Sensory Patterns for Newborns
Welcome to the World of Visual Wonder, Mama!
There is something truly magical about those first few weeks at home with your newborn. Between the snuggles and the feedings, you might notice your little one staring intently at the shadows on the wall or the trim on your shirt. As a doula and a fellow mama, I can tell you: those tiny eyes are working overtime! At birth, a baby’s vision is the least developed of all their senses. They see the world in a blur of grays, which is why high-contrast patterns—specifically black and white—are like a visual feast for their growing brains.
Creating a DIY High-Contrast Felt Quiet Book isn’t just a craft project; it’s an act of love and a powerful tool for your baby’s cognitive development. These books provide the necessary visual stimulation to help strengthen the optic nerve and encourage neural connections. In this guide, we are going to walk through the ‘why’ and the ‘how’ of crafting a beautiful, safe, and stylish sensory book that will keep your baby engaged during tummy time and beyond. Grab a cup of tea, and let’s get crafty!
The Science of Sight: Why High Contrast Matters
Understanding the Newborn Eye
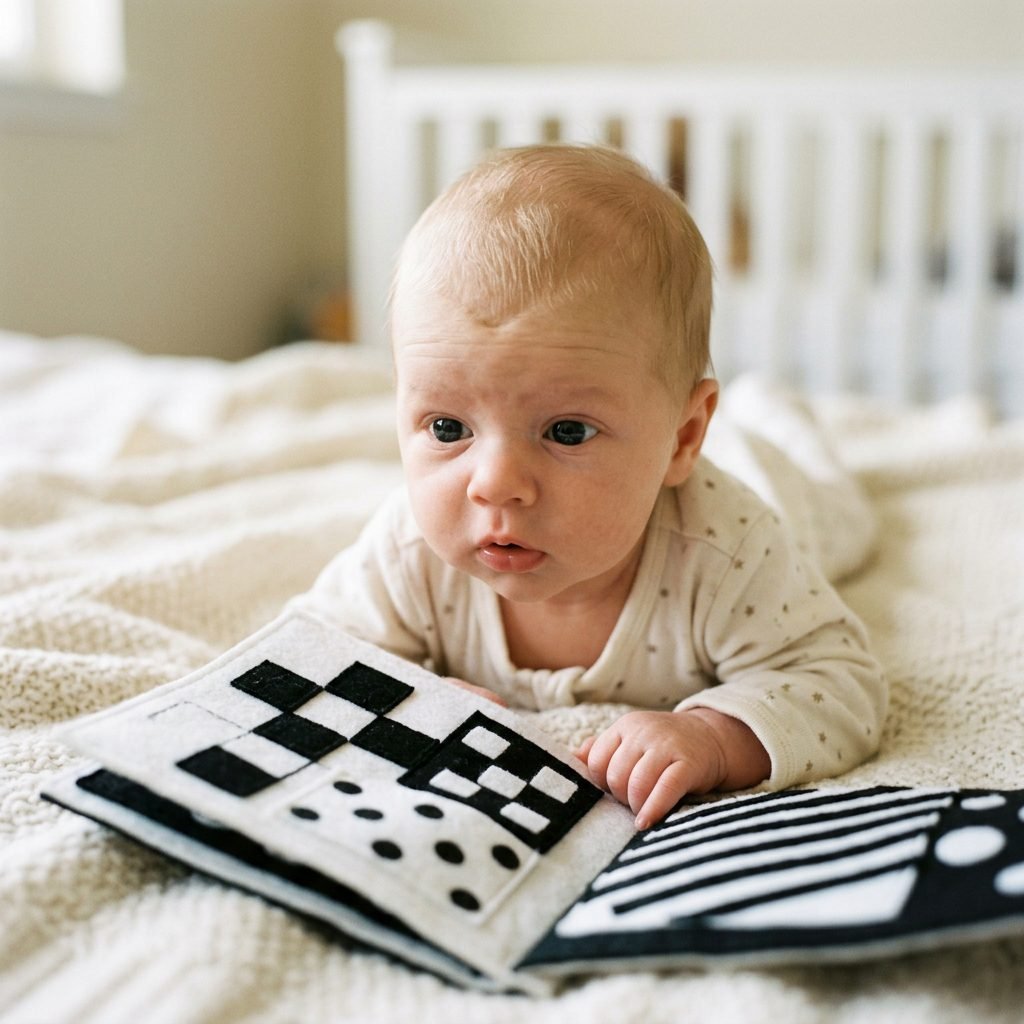
When your baby is born, their retinas are not yet fully developed. The photoreceptors responsible for seeing color (cones) are still maturing, while the ones that detect light and dark (rods) are more active. This is why newborns are naturally drawn to high-contrast images. Research shows that high-contrast patterns can increase a baby’s attention span and curiosity, providing a calming focus in a world that can often feel overstimulating.
Developmental Benefits of Visual Tracking
By providing clear, bold shapes, you are helping your baby practice visual tracking—the ability to follow an object with their eyes. This is a foundational skill for later milestones like reaching, crawling, and eventually reading. A felt book is the perfect medium because it is soft, tactile, and easy for you to prop up during those essential tummy time sessions.
Pro-Tip: High-contrast play isn’t just for ‘playtime.’ Use these patterns during diaper changes to keep a wiggly baby occupied and calm.
Gathering Your Supplies: Choosing Safe & Non-Toxic Materials
Selecting the Right Felt
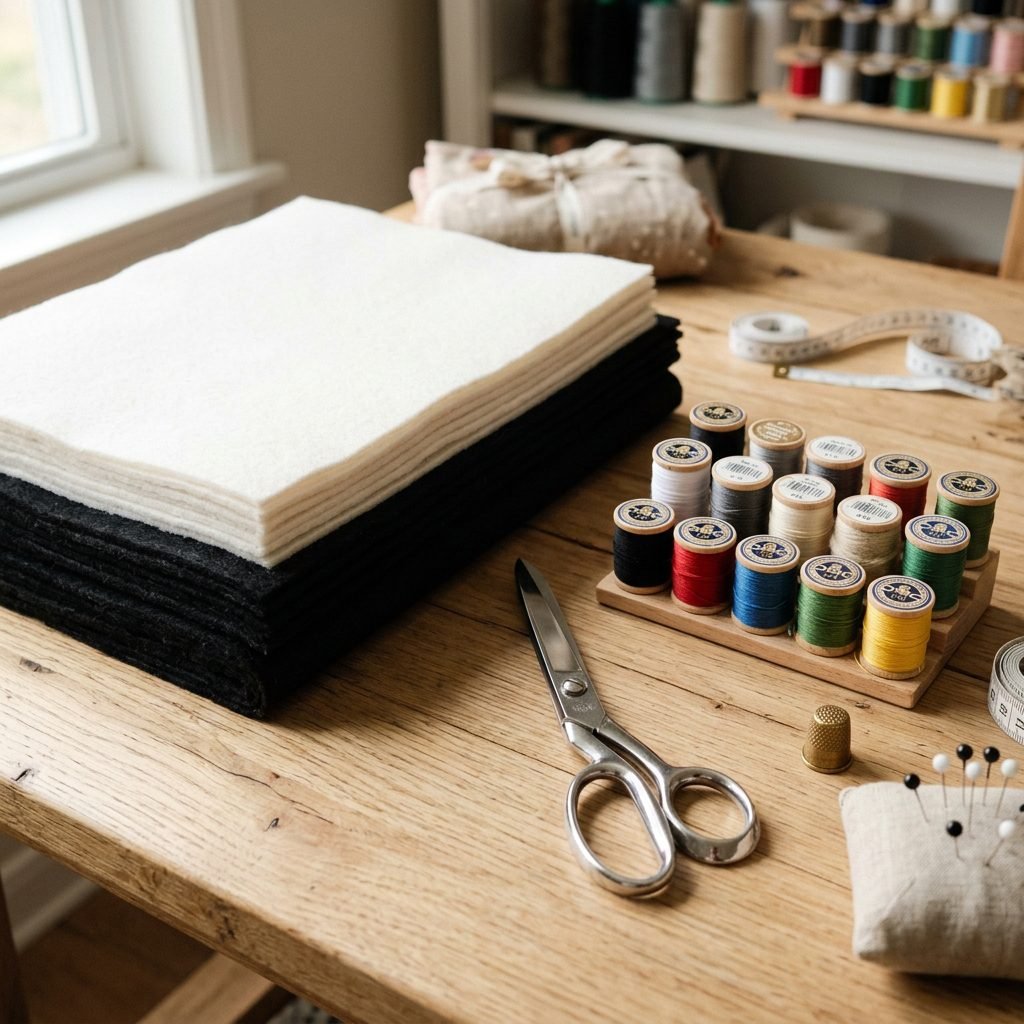
Not all felt is created equal, especially when it’s going to be near a baby’s sensitive skin (and eventually, their mouth!). I always recommend using 100% Wool Felt or a high-quality Wool-Rayon Blend. These materials are naturally flame-retardant, durable, and free from the harsh chemicals often found in cheap synthetic acrylic felts.
Your DIY Crafting Kit
To make this project as stress-free as possible, gather everything before you start. Here is a breakdown of what you’ll need and the estimated costs to help you stay on budget:
| Material Item | Purpose | Estimated Cost |
|---|---|---|
| 100% Wool Felt Sheets (Black & White) | The base and pattern of your pages | $15 – $25 |
| Embroidery Floss (Black, White, Red) | For stitching and adding detail | $3 – $5 |
| Fabric Scissors or Rotary Cutter | For clean, sharp edges on shapes | $10 – $20 |
| Fabric Glue (Non-Toxic/Permanent) | For a ‘no-sew’ or ‘low-sew’ option | $5 – $8 |
| Book Rings or Ribbon | To bind the pages together | $2 – $4 |
| Cotton Batting (Optional) | To add a little ‘squish’ to the pages | $5 – $10 |
Total Estimated Budget: $40 – $72. Remember, many of these items (like scissors and thread) you may already have in your craft bin!
Step-by-Step Tutorial: Crafting Your First Sensory Pages
Step 1: Preparing Your Base
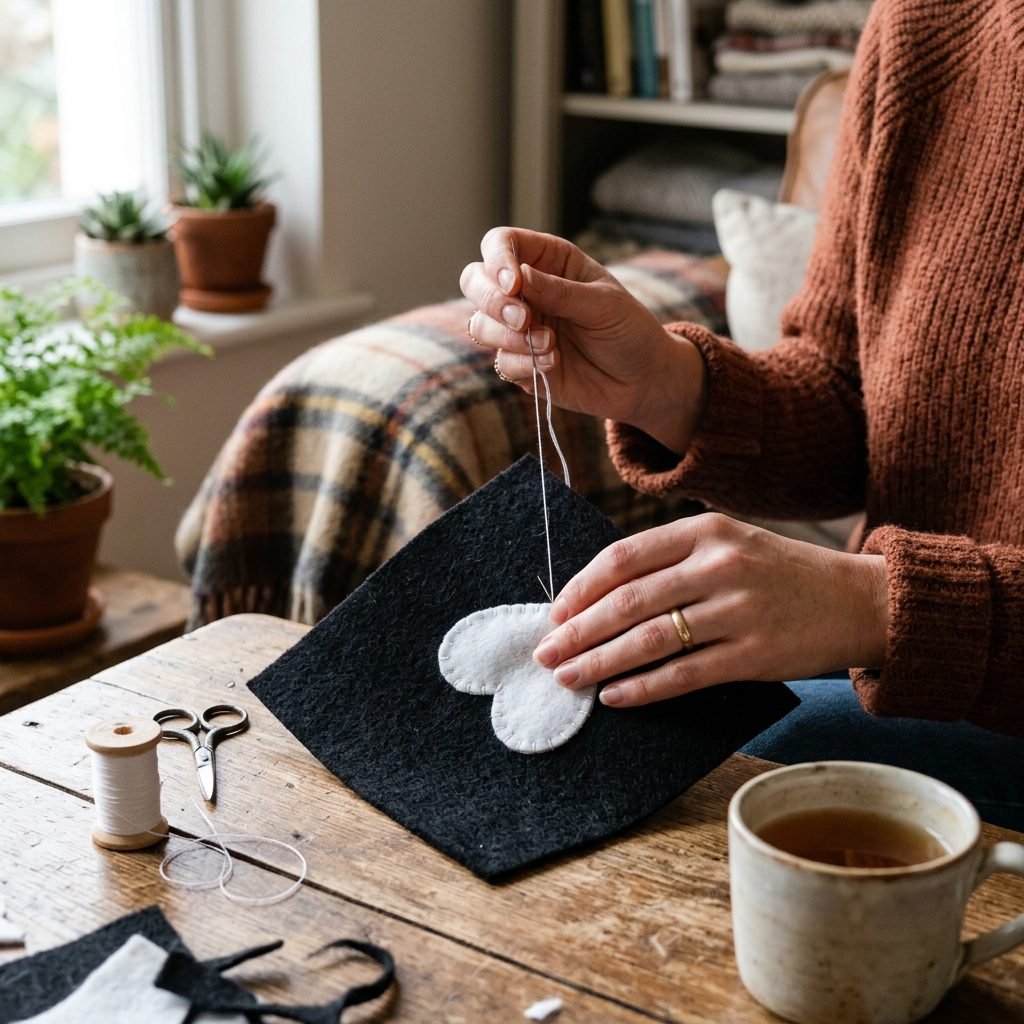
Cut your felt into uniform squares. A standard size of 6×6 inches or 8×8 inches works beautifully for tiny hands. You will need two squares per ‘page’ (a front and a back) if you want to hide your stitches or add batting.
Step 2: Designing Your Patterns
Newborns love simple, bold shapes. Start with these three classic designs:
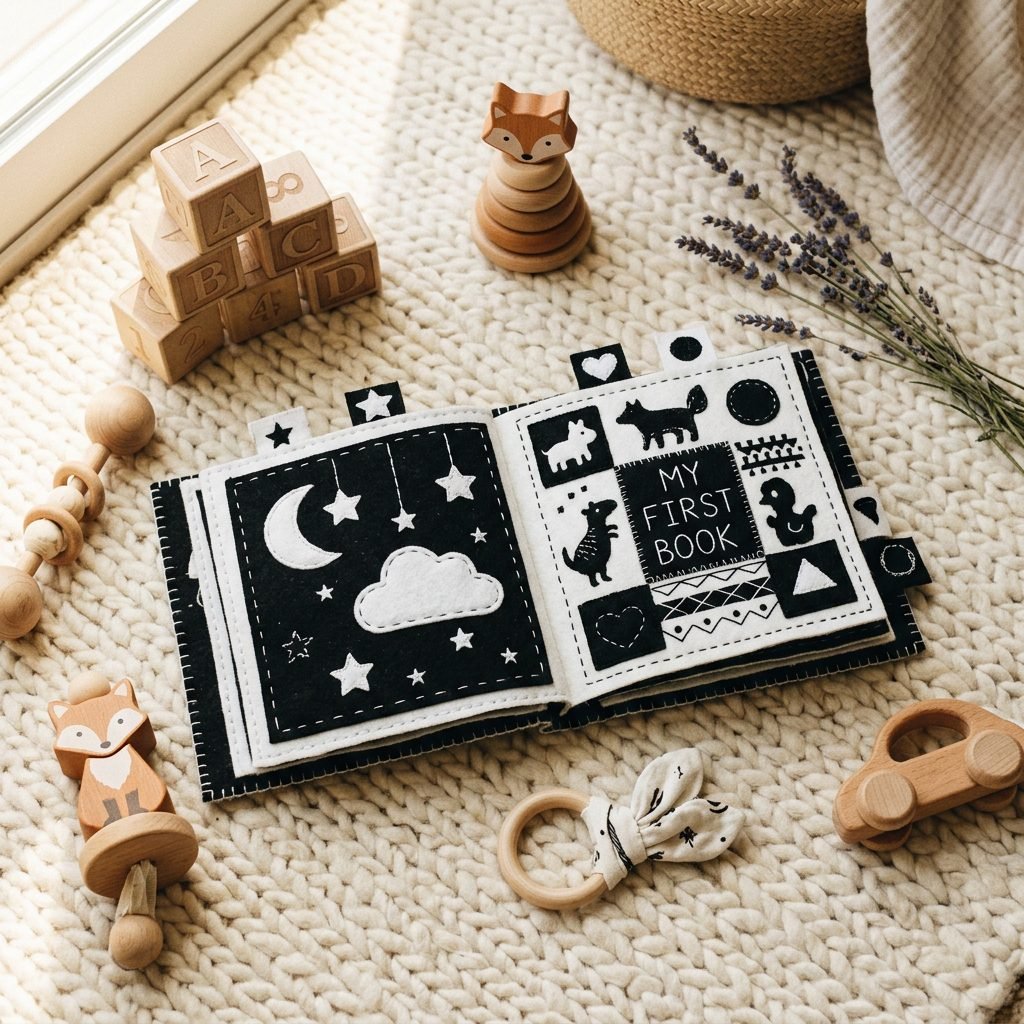
- The Bullseye: A large white circle on a black background with a smaller black circle in the center.
- The Checkerboard: Alternating 2-inch black and white squares.
- The Stripes: Thick 1-inch horizontal or vertical alternating bars.
Step 3: Attaching the Shapes
- Pin your shapes onto the base felt square to ensure they are centered.
- Stitch or Glue: For the most durable finish, use a simple running stitch or blanket stitch around the edges. If you are in a rush, a high-quality non-toxic fabric glue works well, but ensure it cures for 24-48 hours before giving it to baby.
- Double-check security: Pull on the edges of the shapes to make sure nothing can be peeled off.
Step 4: Assembling the Book
Once your individual pages are decorated, place two squares back-to-back. You can sew around the three edges, insert a layer of batting for a ‘puffy’ feel, and then sew the final edge. Punch holes in the side and use large book rings or satin ribbons to bind them together.
Advanced Patterns: Adding a Pop of Red
The Power of the Third Color
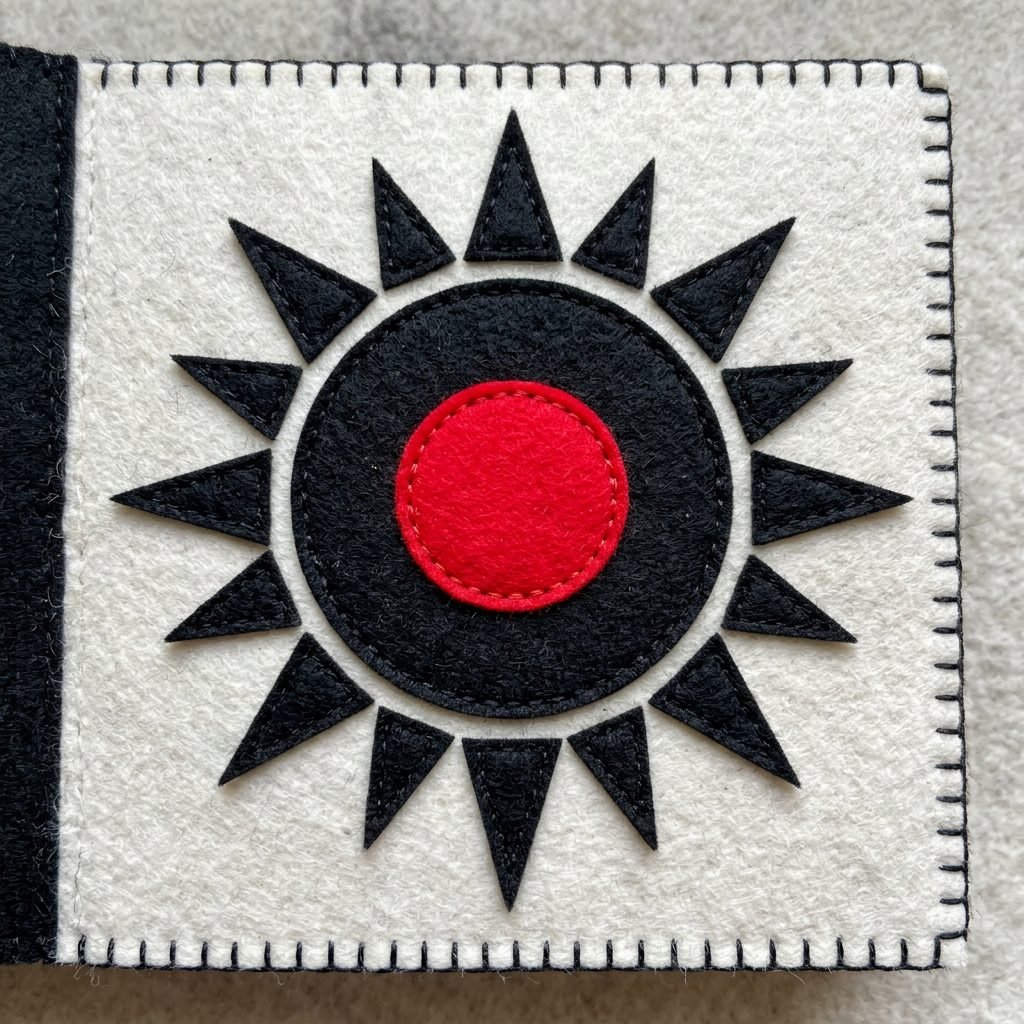
Did you know that red is the first color a baby can see after black and white? Once your baby is about 2-3 months old, their color vision begins to kick in. Adding a few pops of primary red to your quiet book can transition the toy from a newborn essential to a three-month-old’s favorite challenge.
Pattern Ideas for Growth
- The Ladybug: A red circle with black dots.
- The Heart: A bold red heart centered on a white page.
- Abstract Triangles: A mix of black, white, and red triangles of varying sizes.
Using these patterns helps develop visual discrimination, allowing the baby to distinguish between different shapes and colors. As a doula, I love seeing babies reach out to touch these bold red shapes—it’s a sign their hand-eye coordination is starting to bloom!
Safety First: Ensuring a Baby-Safe Craft
The ‘Mouth Test’
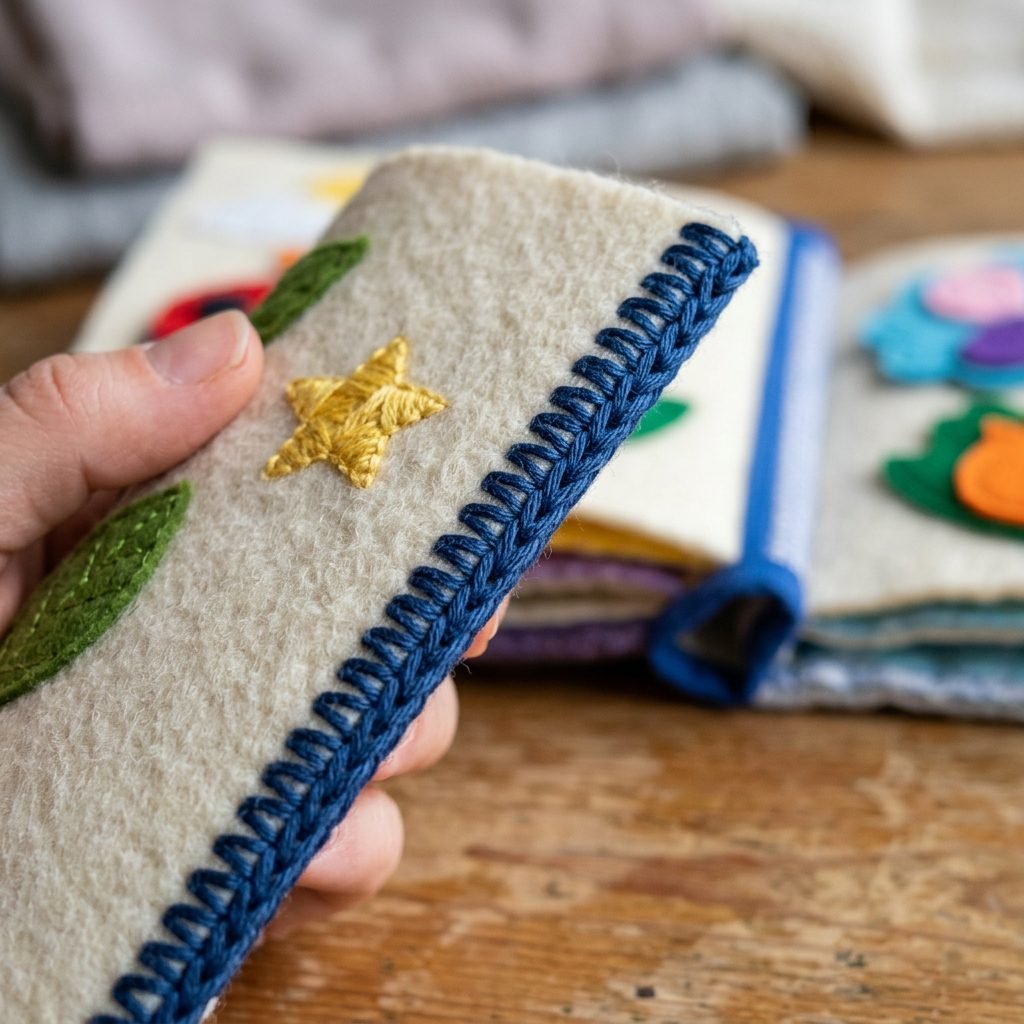
As your baby grows, that book is going to end up in their mouth. It’s a natural part of sensory exploration! To keep things safe, follow these non-negotiable rules:
- No Small Parts: Avoid buttons, beads, or sequins. Even if they are sewn on tightly, they pose a choking hazard.
- Reinforced Stitching: Use a heavy-duty embroidery floss rather than thin sewing thread.
- Washable Materials: Wool felt can be spot-cleaned, but if you want a fully machine-washable book, use high-quality polyester felt (though it lacks the luxury feel of wool).
Affirmation: I am creating a safe, nurturing space for my baby to learn and grow. Every stitch I make is a reflection of my care.
Maximizing Play: How to Use the Book for Milestones
Tummy Time Success
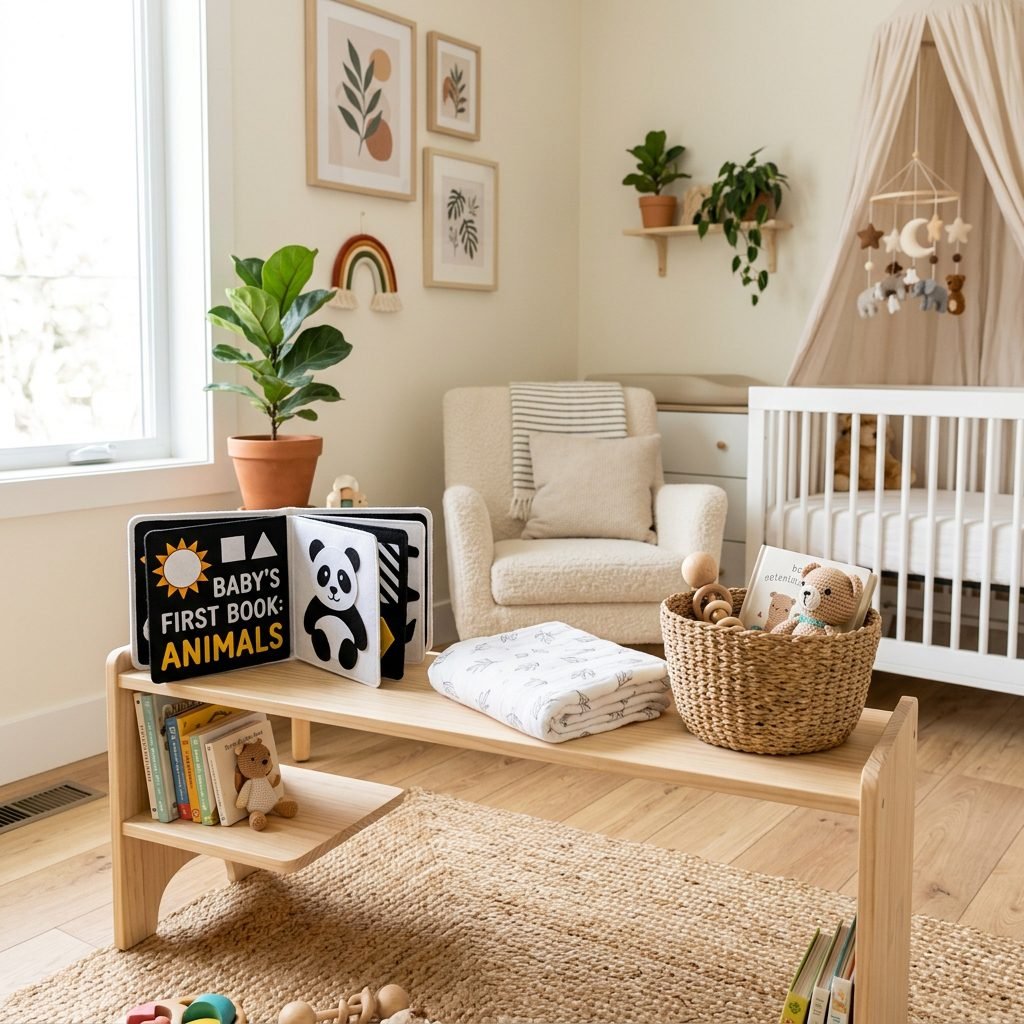
Many babies find tummy time difficult. To make it more enjoyable, prop your high-contrast book up in front of them. The visual stimulation acts as a distraction from the physical effort of lifting their head, encouraging them to stay in the position longer and strengthen those neck muscles.
The ‘Side-Lying’ Technique
Place the baby on their side (supported by you) and hold the book about 8 to 12 inches from their face. This is the ‘sweet spot’ for newborn focus. Slowly move the book from left to right to encourage smooth visual tracking.
Nursery Decor Integration
When not in use, these pages can be hung on the wall near the changing table or tucked into the side of the crib (under supervision). They add a sophisticated, Montessori-inspired aesthetic to any nursery while remaining functional.
Conclusion
A Labor of Love for Your Little One
Creating this DIY High-Contrast Felt Quiet Book is such a rewarding way to spend an afternoon during your pregnancy or those quiet nap times in the early postpartum days. You are providing your baby with a handmade tool that supports their brain, their eyes, and their curiosity. Remember, Mama, it doesn’t have to be perfect. Your baby doesn’t care if your stitches are straight; they care about the bold shapes and the love that radiates from every page.
Enjoy this creative journey, and take pride in knowing you are your baby’s very first teacher. Happy crafting!