Crafting for Baby: Free DIY Felt Woodland Animal Mobile Patterns
The Magic of the Nesting Phase
Oh, mama, I see you. You’re in that beautiful, slightly frantic, deeply emotional phase where every corner of the nursery needs to be perfect. As a doula, I call this the ‘Sacred Nesting,’ a time when your hands want to stay busy while your heart prepares for the arrival of your little one. There is something profoundly healing about creating something with your own two hands for your baby. It’s more than just decor; it’s your first gift of love, woven with every stitch.
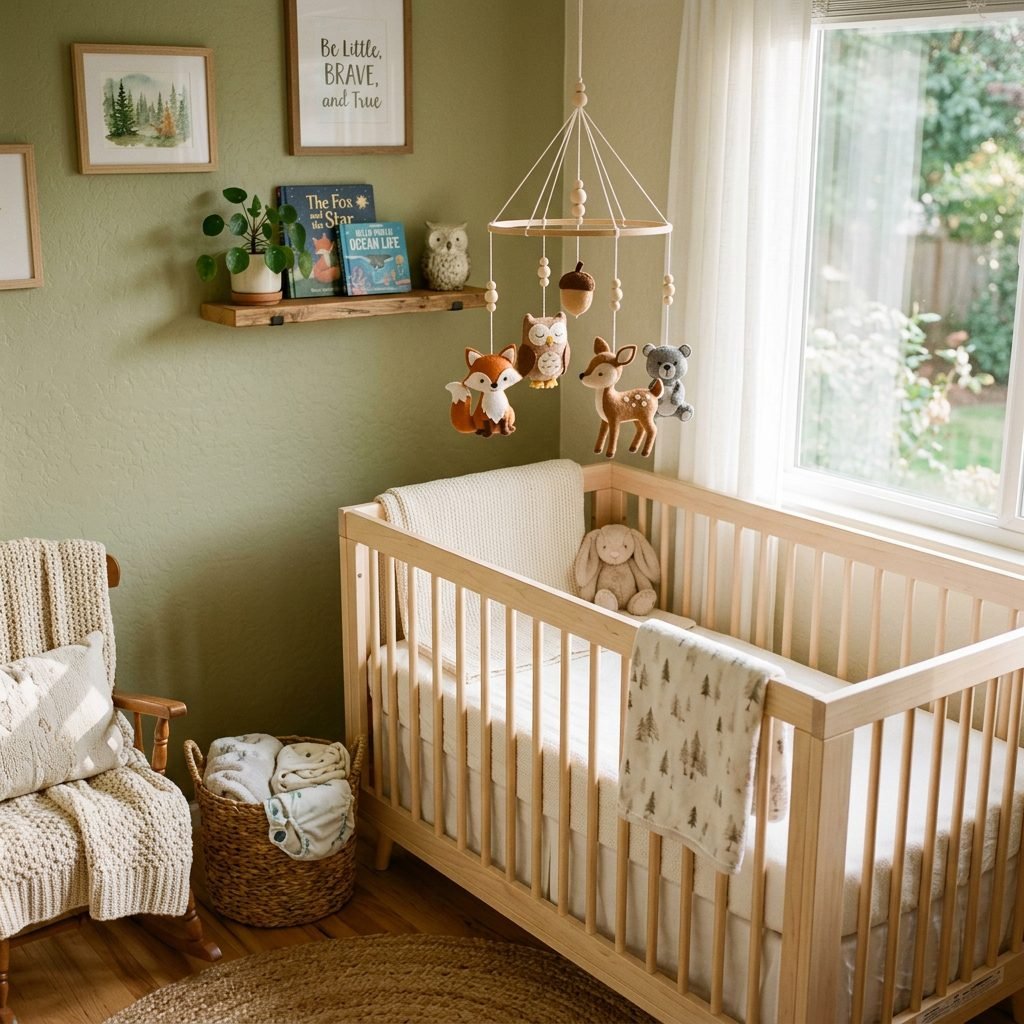
A woodland animal mobile is a classic choice for a reason. It brings the calming essence of nature indoors, creating a serene environment that helps both you and the baby feel grounded. In this guide, we aren’t just making ‘stuff’; we are crafting a sensory tool designed to help your baby develop their tracking skills while adding a touch of stylish, handmade charm to your home. Let’s pick up our needles and create some magic together.
Gathering Your Forest Supplies: The Material List
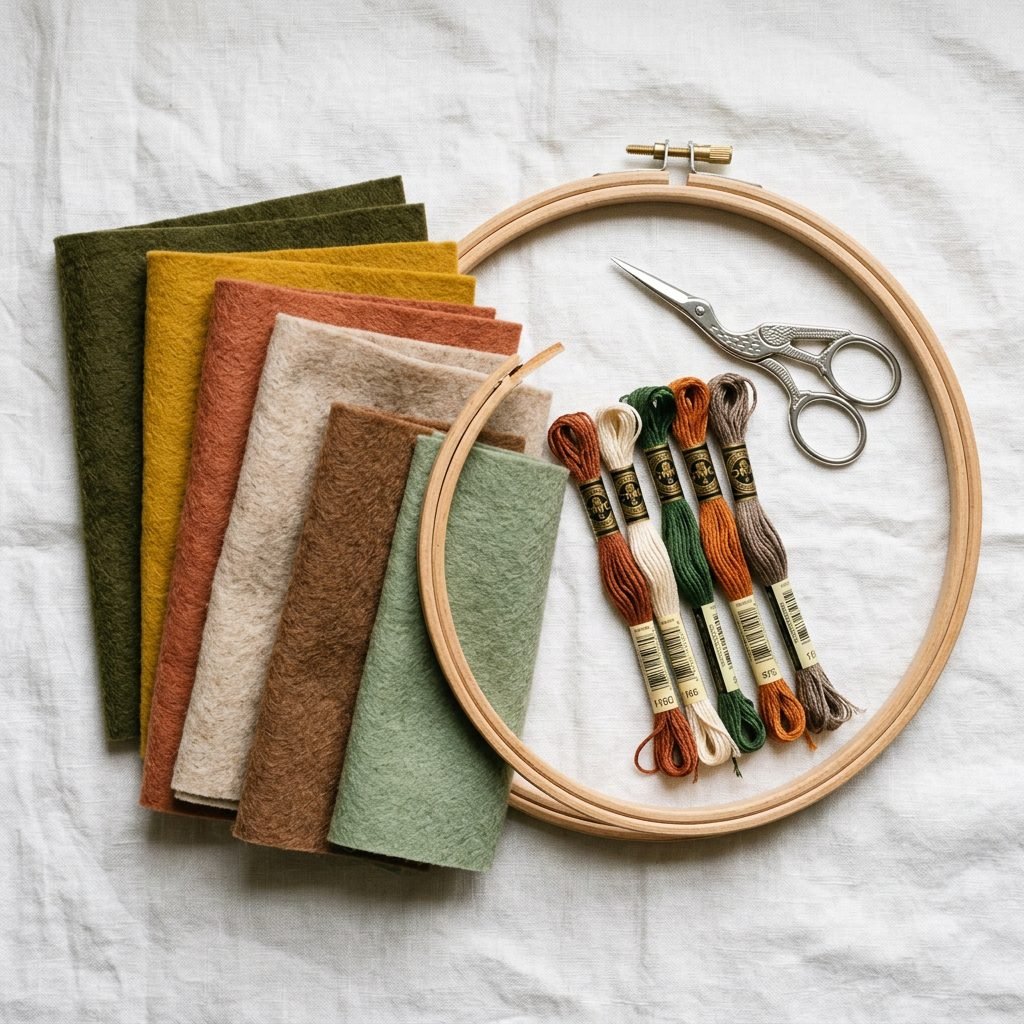
Before we dive into the patterns, let’s talk materials. Since this will hang above your most precious treasure, we want to prioritize non-toxic, natural materials. I always recommend 100% wool felt or a high-quality wool-rayon blend. Why? Because synthetic acrylic felt can pill easily and doesn’t have that heirloom feel we’re going for. Plus, wool is naturally flame-resistant and eco-friendly.
Here is a breakdown of what you will need to create your forest friends. Remember, mama, you don’t need to spend a fortune to create something beautiful. Often, the best crafts come from a place of simplicity.
| Material Item | Estimated Cost | Doula’s Choice Tip |
|---|---|---|
| 100% Wool Felt Sheets | $15 – $22 | Choose earthy tones: rust, mustard, sage, and cream. |
| Embroidery Floss | $5 – $8 | Use 100% cotton floss for a matte, natural look. |
| Hypoallergenic Stuffing | $7 – $10 | Look for ‘Cluster Stuff’—it stays soft and doesn’t lump. |
| Wooden Embroidery Hoop (8-10″) | $3 – $5 | Bamboo or beechwood provides a lovely organic frame. |
| Sharp Fabric Scissors | $0 (Already owned) | Ensure they are sharp to get those clean animal edges! |
| Clear Nylon Thread or Cotton Cord | $4 | Cotton cord adds a boho vibe; nylon looks like they’re floating. |
Pro-Tip: If you are feeling extra ‘extra,’ you can add a few drops of organic lavender essential oil to the stuffing before sewing the animals shut. It creates a very subtle, calming scent for the nursery.
The Patterns: Meeting Your Woodland Friends
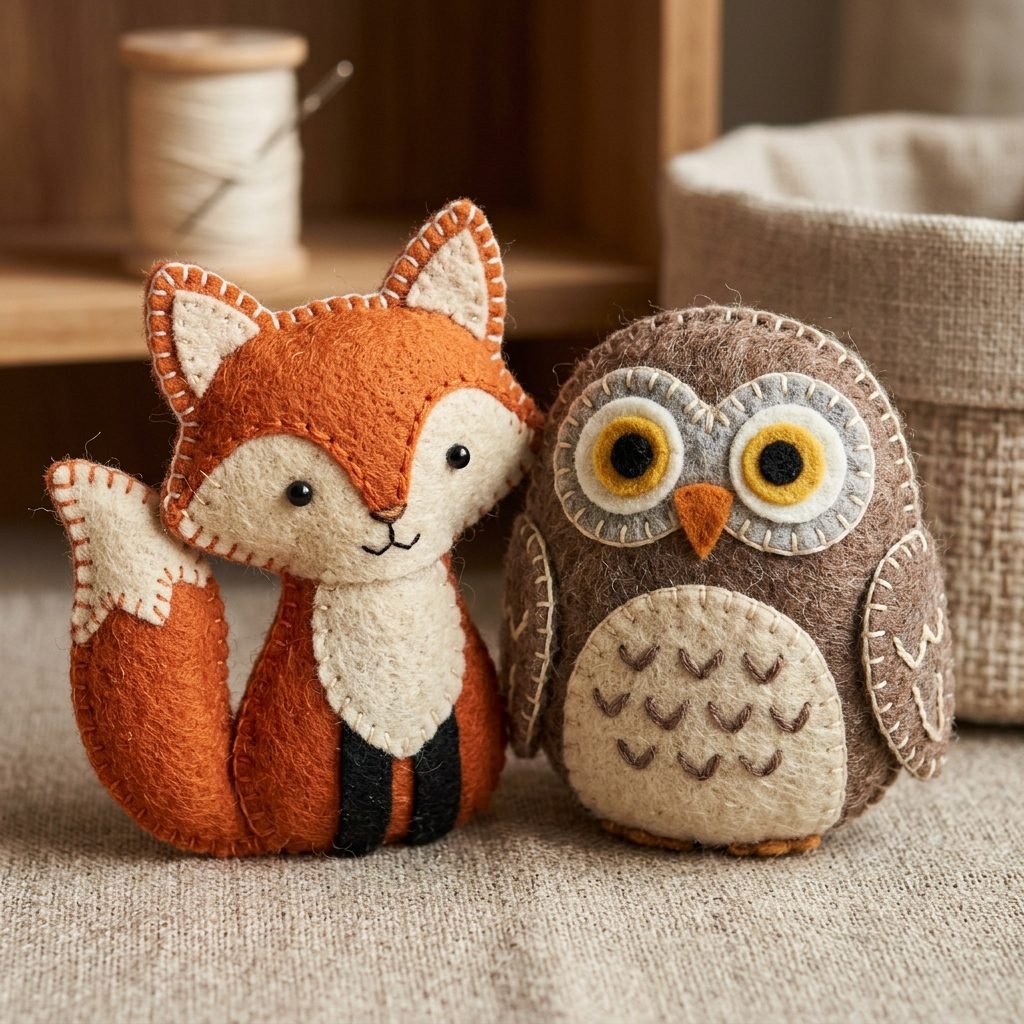
The Clever Little Fox
The fox is the star of the show. With his rust-colored coat and white-tipped tail, he adds a pop of warmth. To create him:
- Cut two body pieces in rust orange.
- Cut two white ‘cheek’ pieces and one white tail tip.
- Stitch the white accents onto the front body piece first using a simple running stitch.
- Use black floss to create two sleepy, closed eyes—this looks more peaceful for a sleeping baby!
- Blanket stitch the two body pieces together, leaving a small gap for stuffing.
The Wise Old Owl
The owl is perfect for adding texture. You can use ‘scalloped’ cuts of felt to mimic feathers. I love using a soft grey or a muted teal for the owl to provide contrast against the orange fox. Use a satin stitch for the beak and tiny French knots for the eyes if you feel comfortable, or stick to the ‘sleepy eye’ line for safety.
The Gentle Fawn
The deer brings a sense of grace. Use a light tan felt and add tiny white ‘spots’ on the back. These spots aren’t just cute; they provide high-contrast visual stimulation for your baby’s developing eyes. Young infants find it easier to focus on patterns with high contrast, like white dots on a darker background.
Step-by-Step Assembly: Bringing the Forest to Life
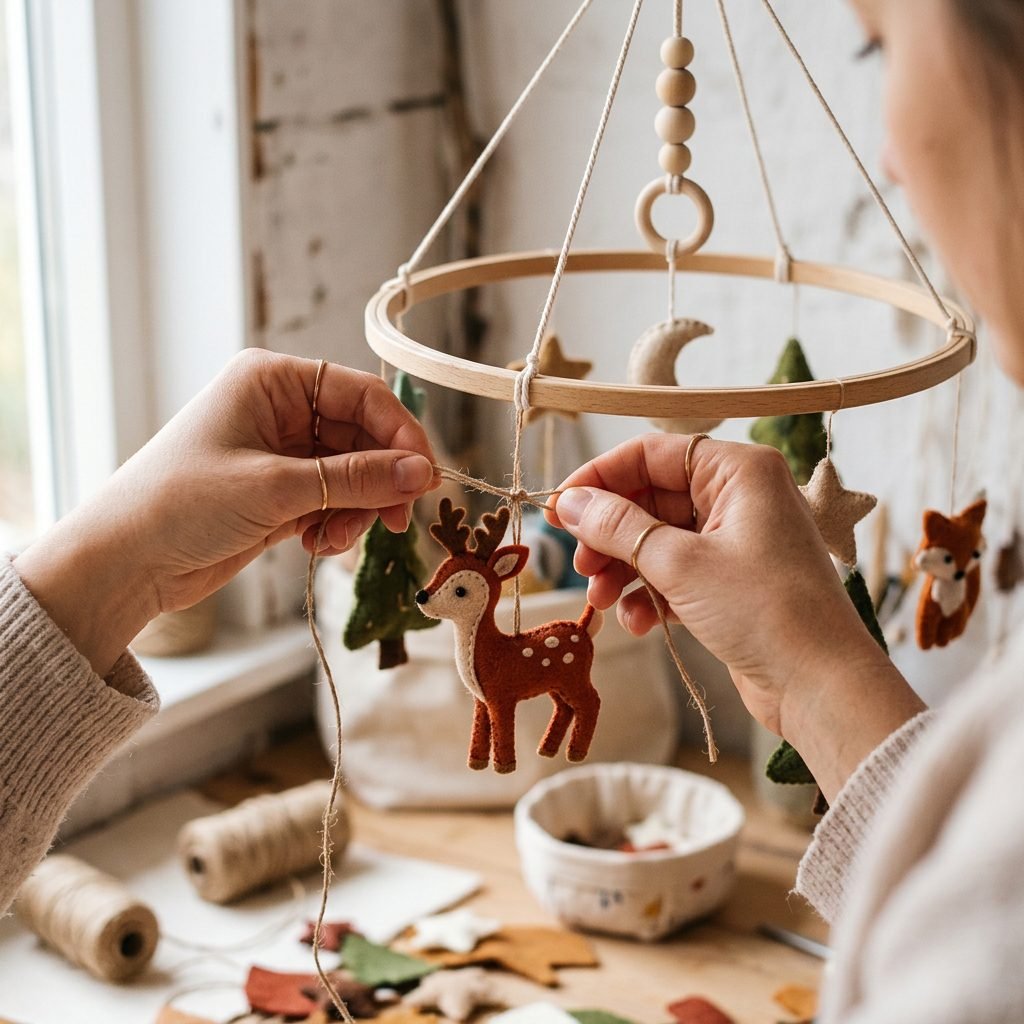
Now that you have your animals ready, it’s time to assemble the mobile. This is where the ‘interior organizer’ in me gets excited! Balance is key here—not just for aesthetics, but for the safety of the structure.
- Prepare the Hoop: You can leave the wooden hoop natural, or wrap it in cotton macramé cord for a softer look.
- Determine Your Lengths: Cut four pieces of cord at varying lengths (between 10 to 16 inches). Having the animals at slightly different heights creates a more dynamic ‘dance’ when the air moves through the room.
- Secure the Animals: Use a large-eyed needle to pull the cord through the top-center of each animal. Tie a thick knot inside the animal before finishing the final stitches.
- The Balancing Act: Tie the strings to the hoop. Hold the hoop up by its center string to see if it tilts. If the fox is heavier than the owl, move the owl further out or the fox further in until the hoop hangs perfectly level.
- The Centerpiece: Many moms like to hang a felt ‘cloud’ or a ‘mountain’ in the very center at a slightly higher level to tie the whole theme together.
Affirmation: As I tie these knots, I am weaving safety, peace, and love into my baby’s first room. I am prepared, I am capable, and I am creating a beautiful life.
Safety & Placement: The Doula’s Essential Guide
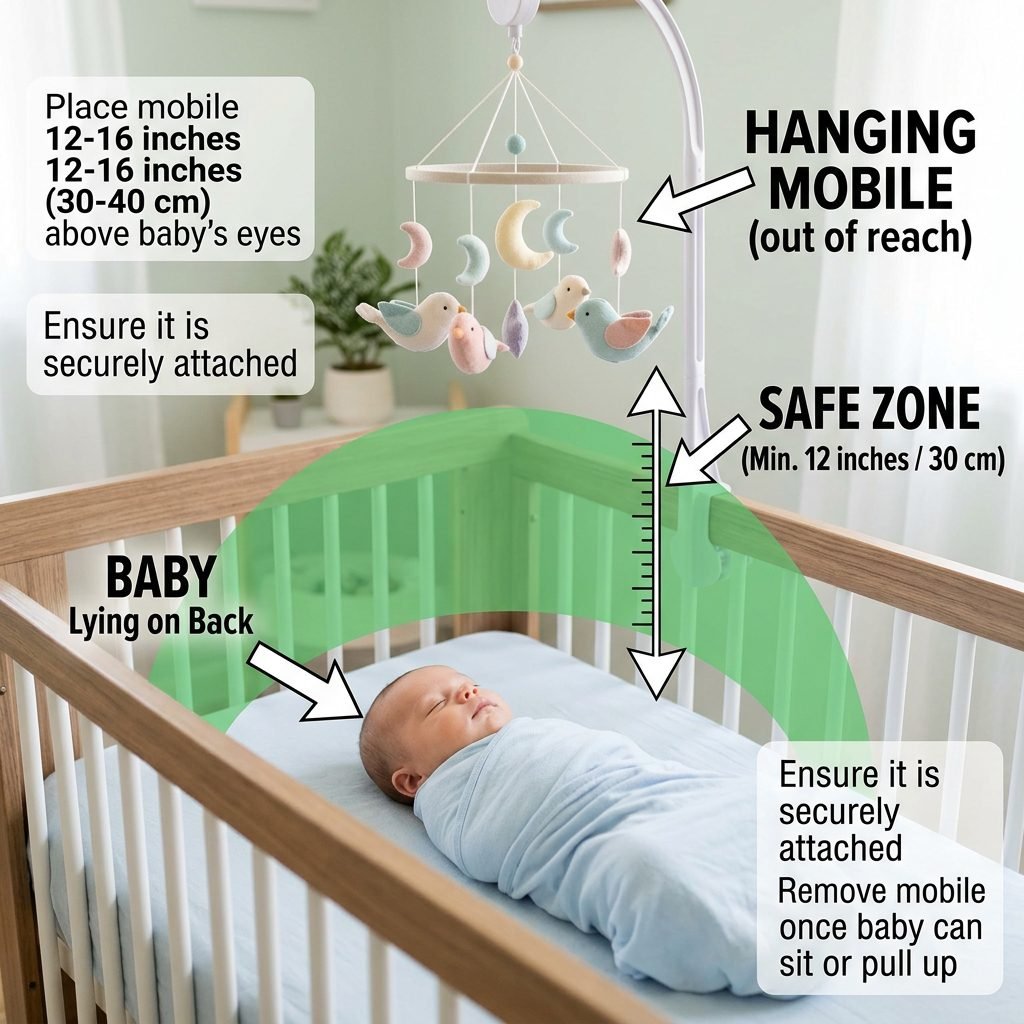
Mama, we need to talk about safety. While this mobile is beautiful, it is a decoration, not a toy. As a postpartum nurse would tell you, the safety of the sleep environment is our number one priority. Here is a checklist for proper installation:
- Height is Everything: The mobile should be hung at least 12 to 16 inches above the baby’s face. This is the ‘sweet spot’ for their visual range in the first few months.
- Out of Reach: As soon as your baby can push up on their hands and knees (usually around 5 months), the mobile must be removed from the crib area. Those little hands are stronger than you think!
- Secure Anchoring: Do not just tape the string to the ceiling. Use a proper screw-in ceiling hook or a sturdy mobile arm attached firmly to the crib.
- No Small Parts: Avoid using plastic beads or buttons for eyes. Stick to embroidery. If a bead falls off, it becomes a choking hazard.
| Age Phase | Visual Development | Mobile Benefit |
|---|---|---|
| 0-2 Months | Sees high contrast best | Focuses on shapes and silhouettes |
| 2-4 Months | Starts tracking movement | Follows animals as they spin slowly |
| 4-6 Months | Depth perception improves | Reaches (carefully!) toward the colors |
Sensory Benefits: Why DIY Beats Store-Bought
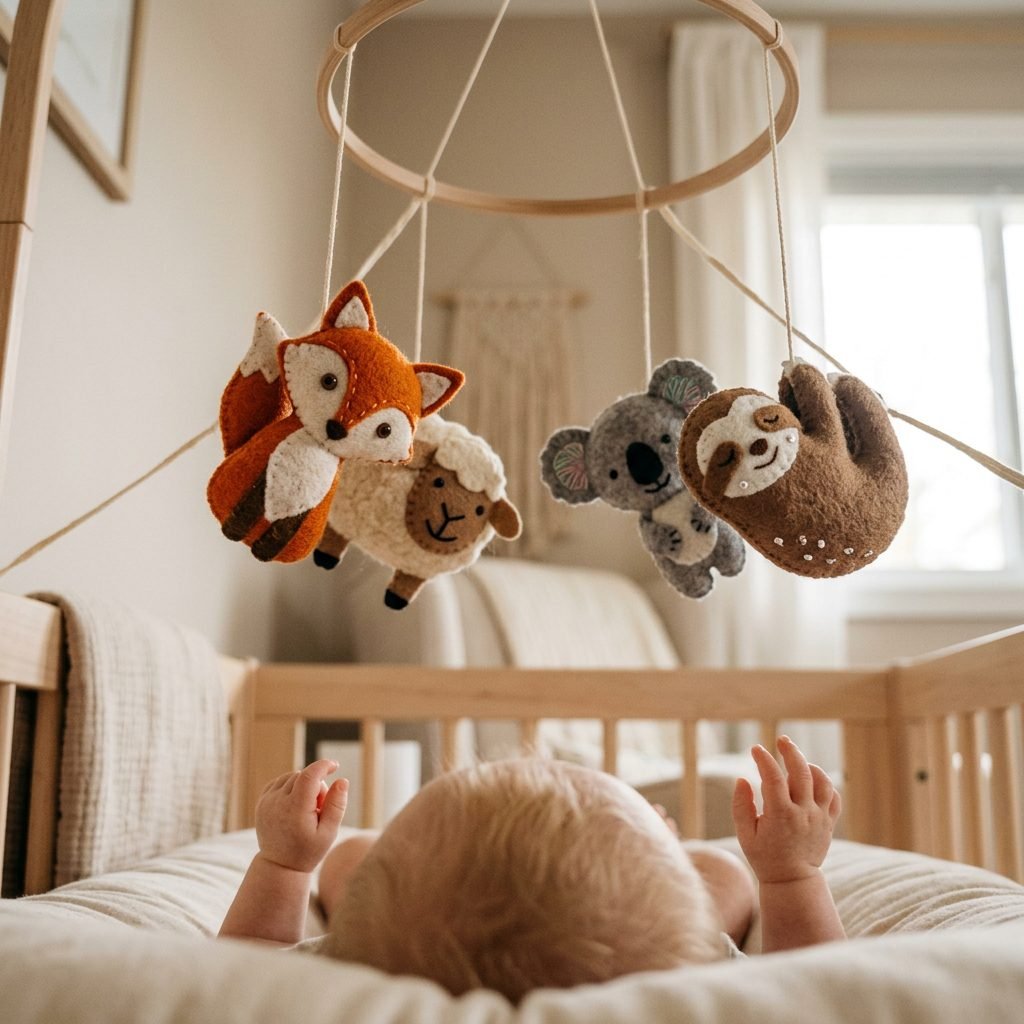
Why did we spend hours sewing when you could have bought a plastic one that plays ‘Twinkle Twinkle Little Star’? Because sensory play starts with the eyes. Store-bought mobiles often face outward to look good for the parents, but the baby ends up looking at the ‘bottoms’ of the toys! By DIYing, you can tilt your animals slightly downward so the baby actually sees their faces.
Furthermore, the gentle, natural movement of felt animals in a breeze is much more soothing than the jerky, mechanical rotation of a motorized mobile. It mimics the movement of leaves in a forest, which helps in developing smooth pursuit eye movements. You are literally helping your baby’s brain wire itself for focus and calm.
Lastly, let’s talk about the ‘Emotional Sensory’ aspect. Your baby will pick up on the energy of the room. A nursery filled with items made with love feels different. It’s a soft place to land for both of you during those 3 AM feedings.
Conclusion
A Labor of Love
You did it, mama! You’ve created a whimsical, woodland wonderland for your little one. Whether your stitches are perfectly straight or a little ‘character-filled,’ your baby won’t care. They will look up and see the love you poured into every animal. This mobile is a testament to your transition into motherhood—patient, creative, and protective.
Hang it with pride, take a deep breath of that ‘new room’ smell, and know that you are doing an amazing job. Your nesting journey is just the beginning of a lifetime of creating a beautiful world for your child. Now, go put your feet up—you’ve earned it!