How to Make a Safe and Stylish DIY Wood and Silicone Bead Pacifier Clip
Welcome to Your Creative Sanctuary, Mama!
Oh, the ‘binky hunt’—we’ve all been there, haven’t we? It’s 3:00 AM, you’re exhausted, and that tiny pacifier has vanished into the dark abyss of the nursery rug or, worse, the dusty floor of a grocery store. As a doula and a fellow mom, I know that sometimes it’s the smallest tools that make the biggest difference in our daily peace of mind. A pacifier clip isn’t just a stylish accessory; it’s a sanity-saver that keeps your baby’s soothing tool within reach and off the floor.
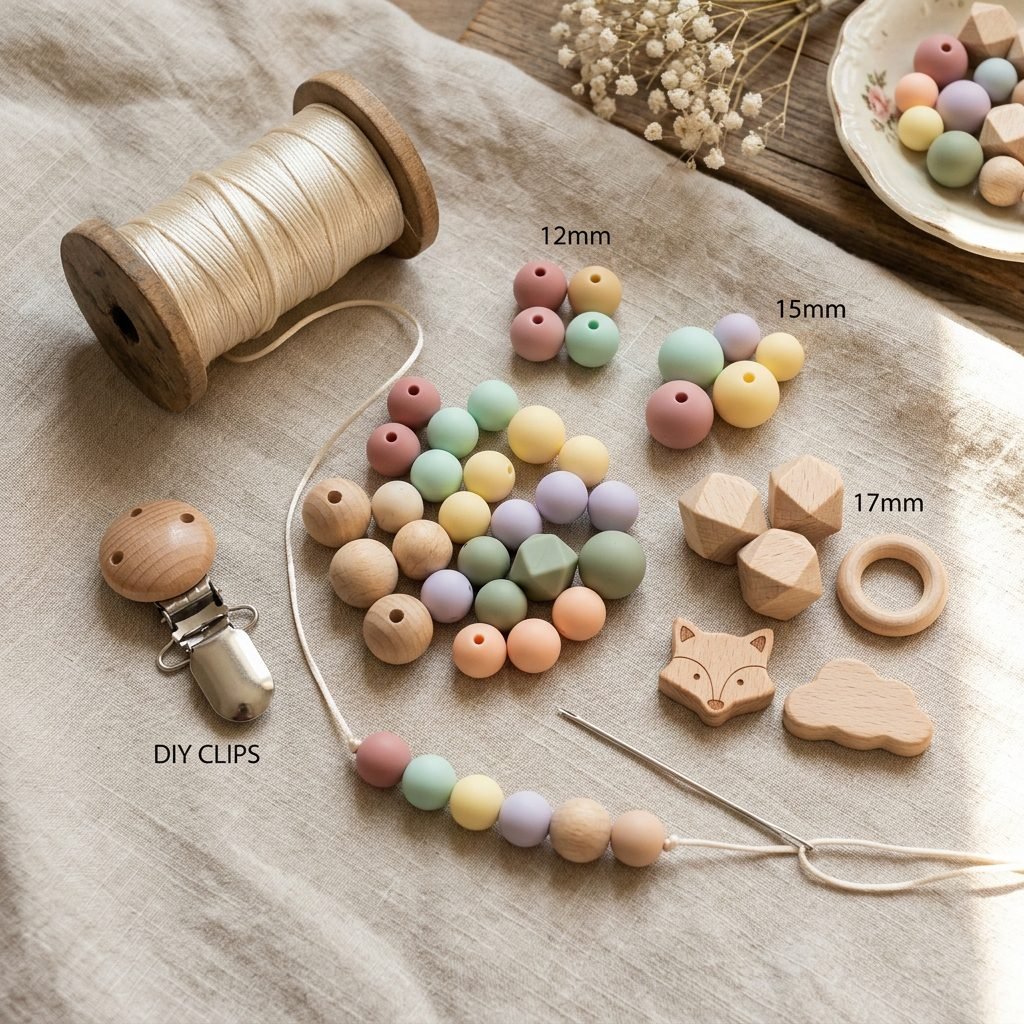
But here’s the thing, sweet sister: when it comes to our babies, safety is our absolute North Star. While those boutique clips are stunning, making your own allows you to control every single component, ensuring only the highest quality, non-toxic materials touch your baby’s skin. In this guide, I’m going to walk you through the process of creating a wood and silicone bead pacifier clip that is as safe as it is beautiful. We’ll blend the earthy, grounding texture of natural wood with the soft, chewy relief of food-grade silicone. Grab a cup of herbal tea, and let’s get crafting!
Remember, Mama: Your hands are creating something that will provide comfort to your little one. Take a deep breath and enjoy this mindful moment of nesting.
Safety Standards and Material Selection
The Golden Rules of Pacifier Clip Safety
Before we touch a single bead, we must talk about the non-negotiables. Because I care about your little one as if they were my own, we are following CPSC (Consumer Product Safety Commission) guidelines. The most critical rule is the length: a pacifier clip should never exceed 7 to 8 inches (approximately 220mm) in length from the end of the clip to the start of the loop. This prevents strangulation hazards.
Choosing Non-Toxic Materials
Your baby will likely explore this clip with their mouth, so every piece must be ‘taste-safe.’ Here is what you need to look for:
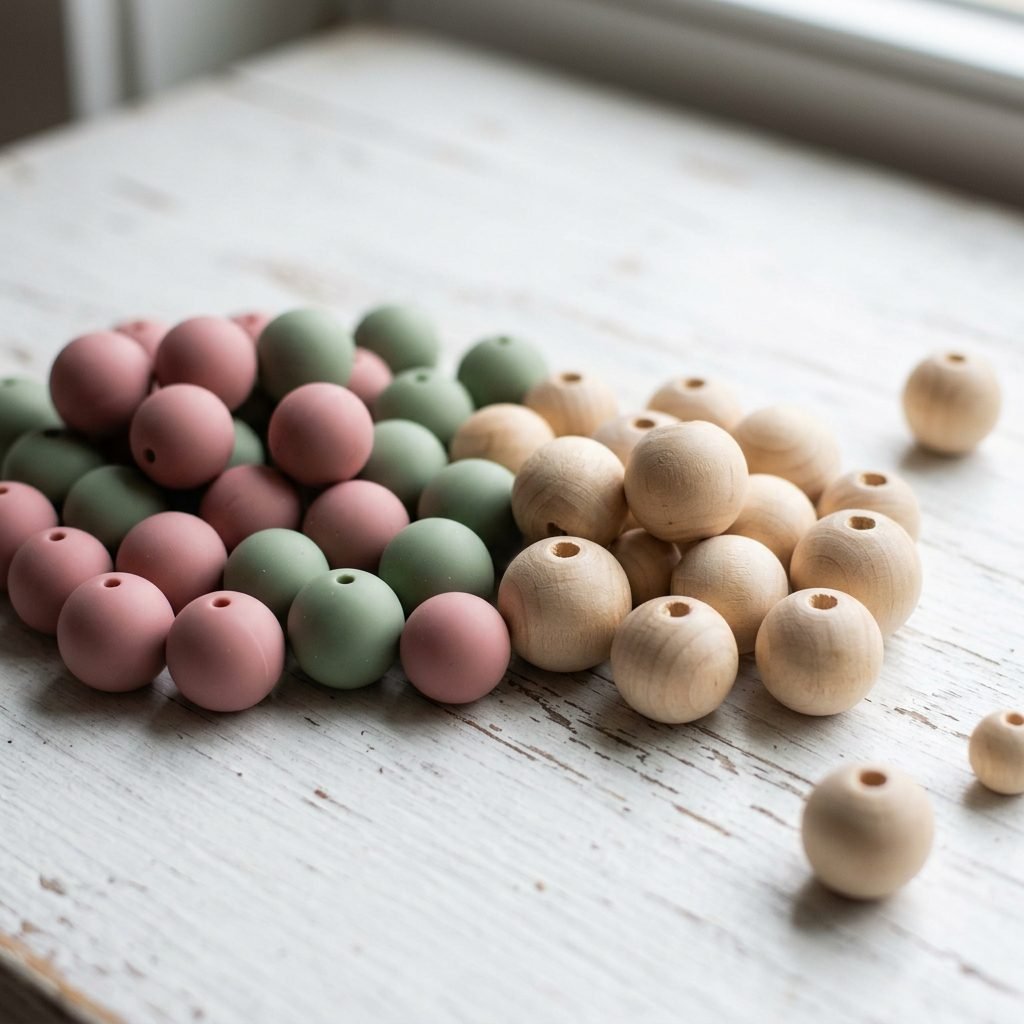
- Food-Grade Silicone: Ensure your beads are 100% BPA-free, phthalate-free, lead-free, and PVC-free. They should feel soft and slightly squishy.
- Untreated Natural Wood: Opt for FSC-certified beechwood or maple. These woods are splinter-resistant and have natural antimicrobial properties. Avoid woods that have been chemically treated or stained.
- Nylon Satin Cord: You need a heavy-duty 1.5mm to 2mm nylon cord. It’s durable, mold-resistant, and won’t snap under the pressure of a curious toddler’s tug.
- Lead-Free Metal Clips: Look for stainless steel clips with plastic inserts inside the ‘teeth’ to protect your baby’s clothing from snags.
| Material Component | Safety Requirement | Why It Matters |
|---|---|---|
| Silicone Beads | Food-Grade, BPA-Free | Safe for oral exploration and teething relief. |
| Wood Beads | Untreated Beech/Maple | Antimicrobial and splinter-free for safety. |
| Cord | Nylon (1.5mm+) | High break-strength to prevent choking hazards. |
| Clip | Lead-Free / Nickel-Free | Prevents skin irritation and heavy metal exposure. |
Your DIY Crafting Checklist & Budget
Gathering Your Supplies
One of the joys of DIY is that it is often more cost-effective than buying high-end boutique items, especially if you plan to make a few as gifts for your local mama tribe! Here is a breakdown of what you’ll need to get started and the estimated cost for a single clip versus bulk supplies.
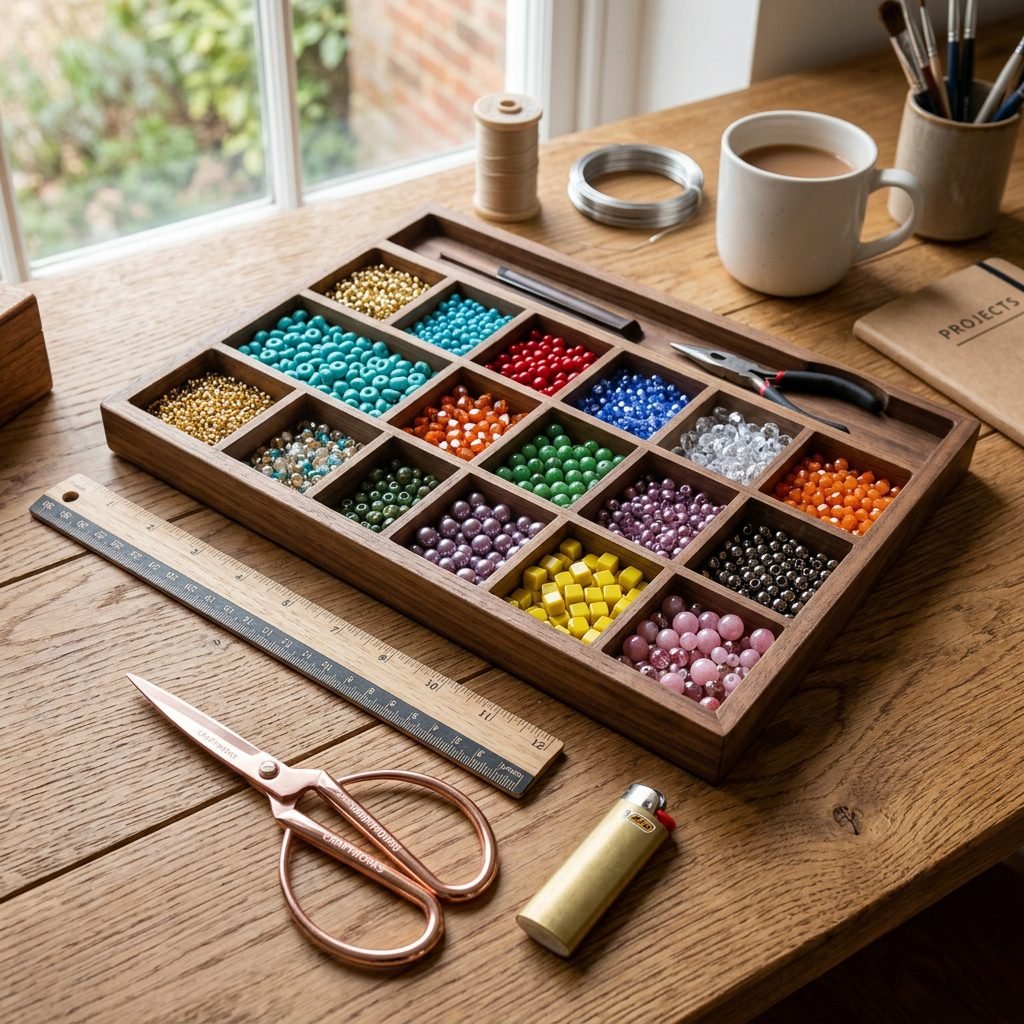
The Essential Tool Kit
- Sharp Scissors: For clean cuts on your nylon cord.
- A Lighter: Essential for heat-sealing the ends of the nylon to prevent fraying.
- A Large-Eye Needle: Or a ‘bead threader’ to help pull the cord through the beads.
- A Ruler: To ensure we stay within that 8-inch safety limit.
| Item | Estimated Bulk Cost (10-20 clips) | Cost Per Single Clip |
|---|---|---|
| Silicone Beads (Bulk Pack) | $15.00 – $20.00 | ~$1.50 |
| Wood Beads (20 pcs) | $8.00 – $12.00 | ~$0.80 |
| Metal Clips (10 pcs) | $10.00 – $15.00 | ~$1.20 |
| Nylon Cord (Spool) | $5.00 – $7.00 | ~$0.20 |
| Total | $38.00 – $54.00 | ~$3.70 |
As you can see, Mama, making these yourself is incredibly budget-friendly! You can create a whole ‘capsule collection’ of clips to match different outfits for the price of one store-bought designer clip.
Step-by-Step Assembly Guide
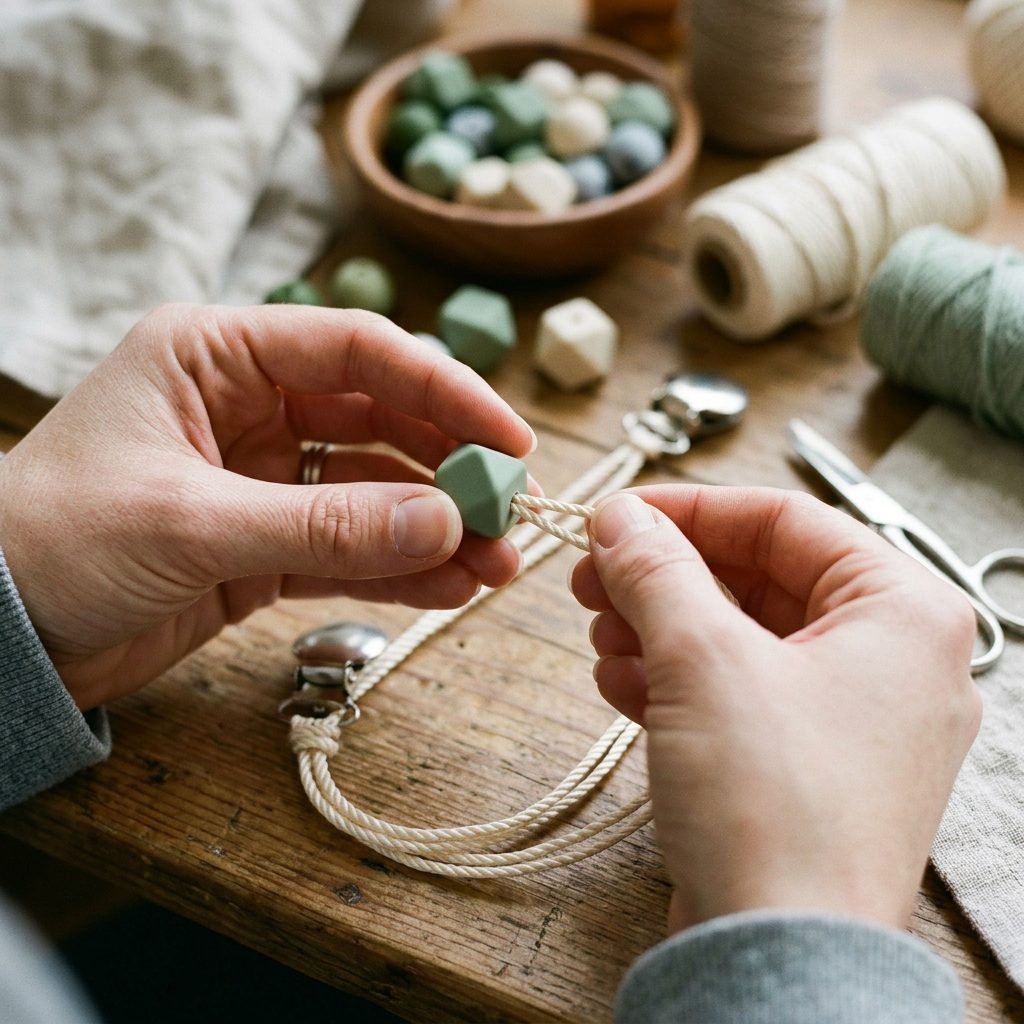
Crafting Your Masterpiece
Now, let’s get our hands busy! Follow these steps carefully to ensure a secure and durable finish. I recommend working at a clear table where you won’t be interrupted—this is your ‘me-time’ craft!
- Prepare the Cord: Cut a length of nylon cord approximately 25 to 30 inches long. This gives you plenty of room for knotting. Use your lighter to carefully singe the ends of the cord so they are pointed and hard; this makes threading the beads much easier.
- Attach the Clip: Fold your cord in half. Thread the folded loop through the hole of the metal clip. Pull the two loose ends of the cord through the loop and pull tight. This creates a secure ‘lark’s head knot’ at the base of the clip.
- The Security Knot: Tie a simple overhand knot right against the base of the clip. This ensures that even if the beads were to somehow break, the clip stays attached to the cord.
- Threading the Beads: Start sliding your beads onto both strands of the cord. I love a pattern of 3 silicone beads, 1 wood bead, 3 silicone beads. Experiment with textures! Ensure the beads are pushed tightly against each other.
- Measuring for Safety: Stop threading once the beaded portion reaches about 4.5 to 5 inches. Remember, the total length (including the loop) cannot exceed 8 inches.
- The Final Loop: Once your beads are on, tie a very tight double knot at the end of the beads. Leave a loop of cord about 2 to 3 inches long (this is what attaches to the pacifier).
- The ‘Pull Test’: This is the most important step! Give the clip a very firm tug. You are checking to ensure no knots slip and the cord is unbreakable.
Pro-Tip: When heat-sealing the final knot, use the blue part of the flame to avoid black soot marks on your beautiful cord!
Styling Your Clip: Color Palettes & Themes
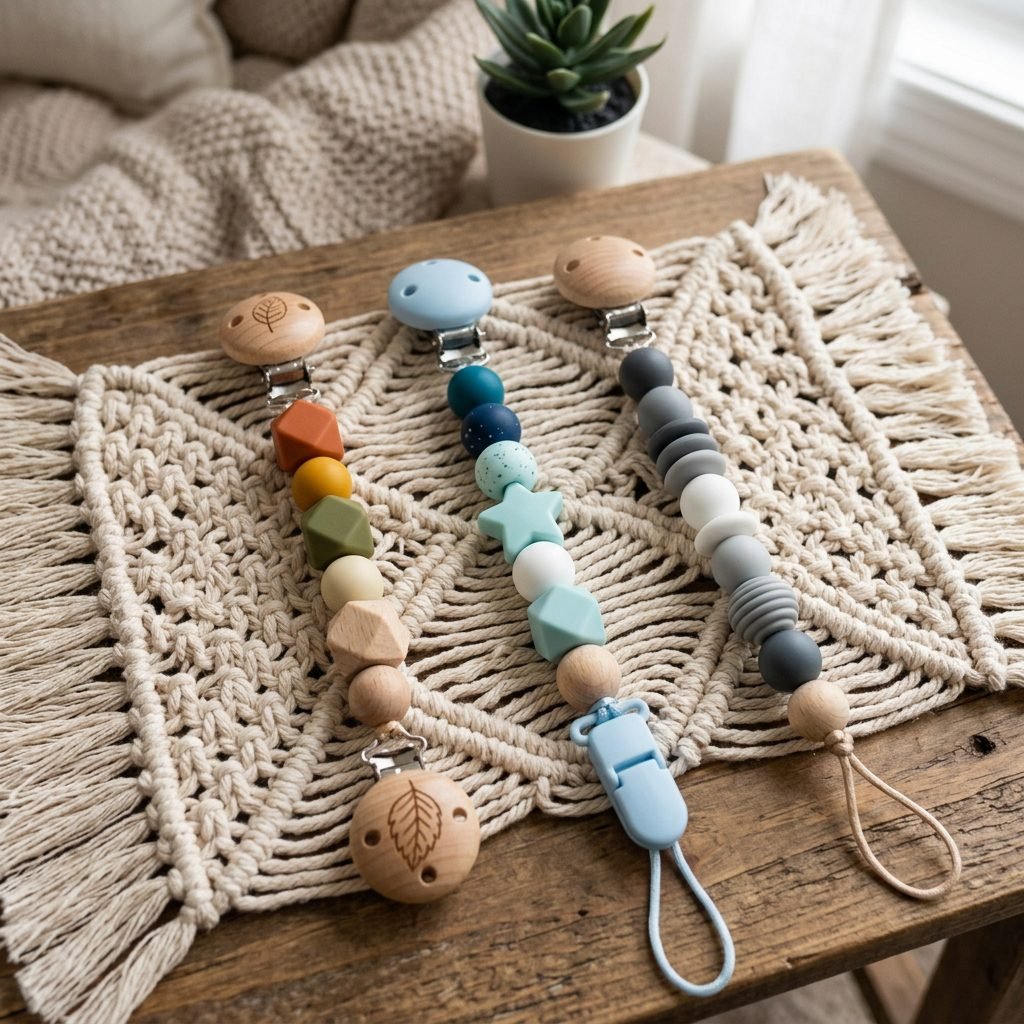
Designing with Intention
Since you are the designer today, let’s talk about aesthetics! A pacifier clip can be the perfect finishing touch to a curated baby outfit or a nursery theme. Here are three of my favorite color stories for this season:
1. The ‘Boho Earth’ Palette
Combine terracotta, mustard yellow, and sage green silicone beads with raw hexagonal wood beads. This looks stunning with linen rompers and neutral swaddles. It’s grounded, warm, and timeless.
2. The ‘Serene Sea’ Palette
Use varying shades of dusty blue, seafoam, and white. Pair these with round wood beads that have been lightly rubbed with organic coconut oil to bring out the grain. It’s calming for both you and the baby.
3. The ‘Modern Minimalist’
Stick to a monochromatic look with marble-patterned silicone beads, slate grey, and black. Use geometric wood beads for a sharp, clean look that fits perfectly in a modern nursery.
The Sensory Benefit
Don’t forget, Mama, that these clips serve a dual purpose! The different shapes (round vs. hexagonal) and materials (soft silicone vs. hard wood) provide sensory stimulation for your baby. As they hold the clip, they are developing fine motor skills and exploring tactile boundaries. It’s a tiny gym for their little fingers!
Cleaning, Care, and When to Retire the Clip
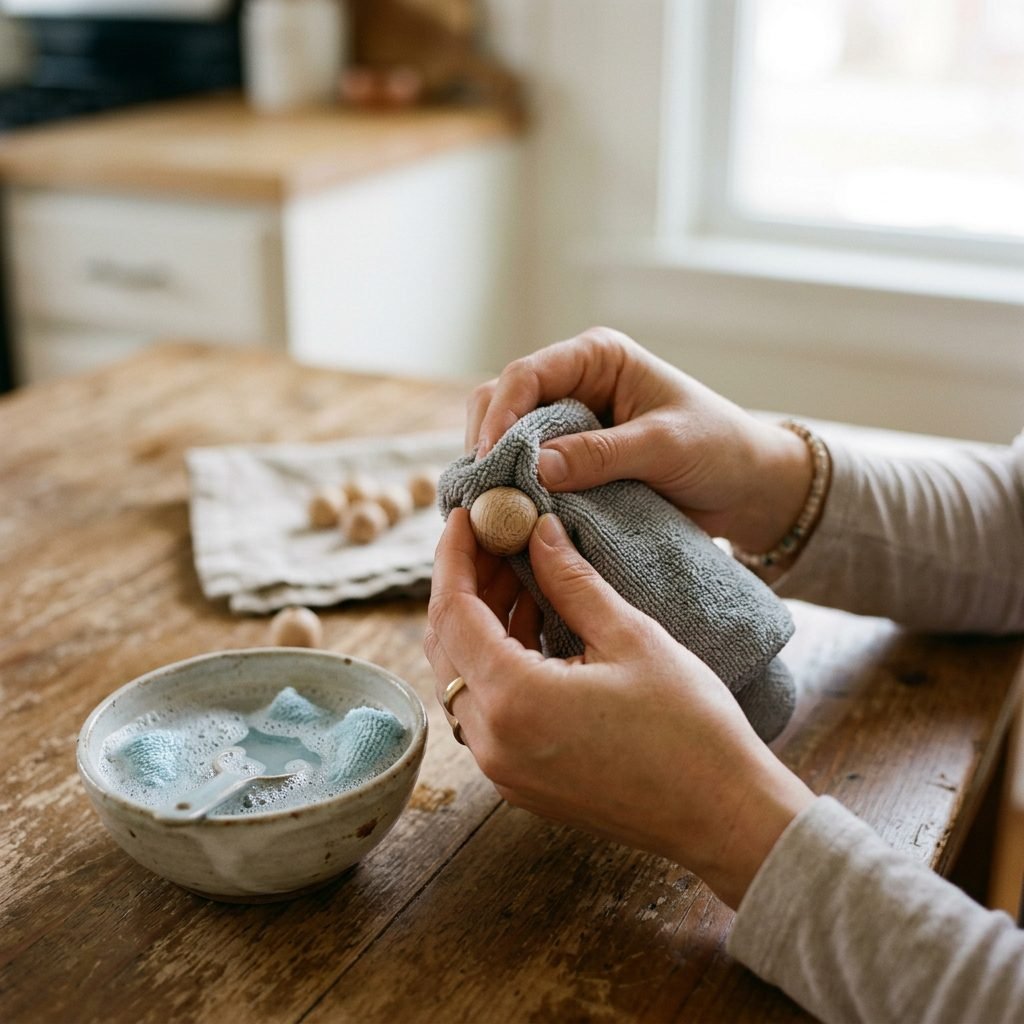
Maintaining Hygiene and Safety
Babies are messy—it’s part of their charm! Your pacifier clip will inevitably face drool, milk spills, and the occasional drop. Because we used wood and silicone, the cleaning process is specific.
How to Wash
- Silicone & Metal: Wipe down with a damp cloth and mild, organic dish soap.
- The Wood Element: Do not submerge the wood beads in water! Wood is porous and can swell or crack if it gets too wet. Simply wipe with a damp cloth and dry immediately.
- Deep Clean: You can use a 50/50 water and white vinegar solution for a natural disinfectant.
The Safety Inspection Checklist
As a doula, I recommend doing a ‘Safety Sweep’ every single morning before you clip it onto your baby. It only takes 5 seconds!
| Checkpoint | What to Look For | Action |
|---|---|---|
| Cord Integrity | Fraying or thinning of the nylon. | Discard immediately if frayed. |
| Bead Condition | Cracks in wood or teeth marks in silicone. | Replace damaged beads. |
| Knot Security | Any loosening of the end knots. | Re-tighten or retire the clip. |
| Clip Tension | The clip should be firm and hard to open. | Replace if the spring becomes loose. |
Expert Reminder: Never let a baby sleep with a pacifier clip attached. They are for supervised, awake-time use only to ensure 100% safety during those precious naps.
Conclusion
You Did It, Mama!
There is something so deeply satisfying about looking at your baby and seeing them use something made by your own hands. You’ve created a tool that is functional, beautiful, and—most importantly—safe. By choosing high-quality wood and silicone, you’ve provided a sensory experience that helps your little one navigate their world just a bit more comfortably.
Whether you’re keeping this for your own diaper bag or wrapping it up in tissue paper for a dear friend’s baby shower, know that the love and care you put into these small details truly matters. You are doing an incredible job, navigating the joys and challenges of motherhood with grace and creativity. Keep crafting, keep nesting, and keep being the amazing mama you are!
Medical Disclaimer: This guide is for educational and DIY purposes only. While following safety standards reduces risk, always supervise your infant while using any accessory. Pacifier clips are not toys and should never be used during sleep. Consult with a pediatrician if you have concerns regarding teething or choking hazards.