How to Build a Chic DIY Sensory Wall Panel for Your Baby’s Play Nook
Welcome to the World of Intentional Play, Mama
Oh, mama, I see you. You’re navigating the beautiful, exhausting, and transformative journey of motherhood, and you want the absolute best for your little one’s developing mind. You’ve likely seen those neon plastic toys that clutter the living room, but your heart (and your home’s aesthetic) craves something more meaningful. You want a space that fosters neurodevelopmental growth while blending seamlessly with your carefully curated nursery. That is exactly why we are building a Chic DIY Sensory Wall Panel today.
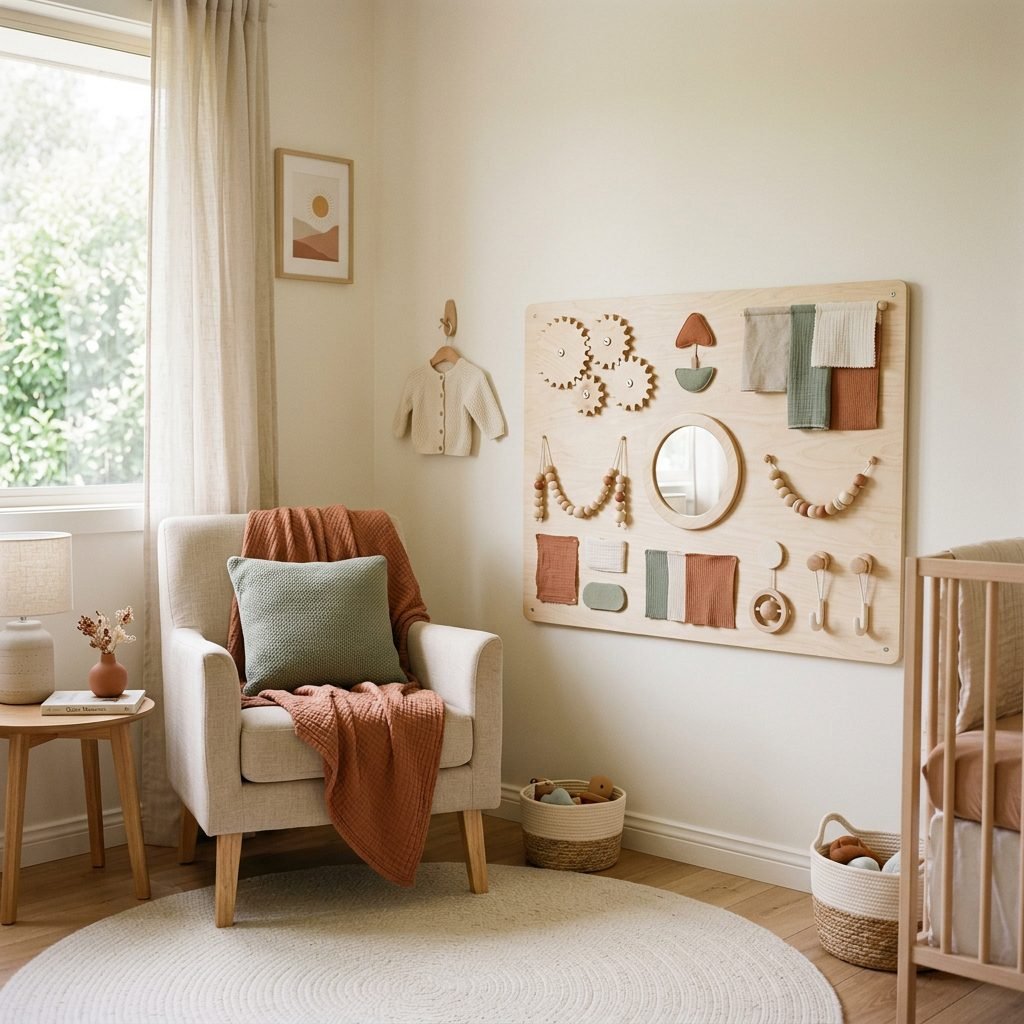
As a doula and a proponent of sensory-rich environments, I can tell you that a sensory wall—often called a ‘busy board’—is more than just a distraction. It is a sanctuary for exploration. It’s where your baby’s tiny fingers learn the physics of a spinning gear, the resistance of a zipper, and the cool touch of a mirror. We aren’t just making a toy; we are building a brain-building station that respects your style and your baby’s curiosity. Let’s roll up our sleeves and create something magical together.
The Science of Sensory Exploration: Why It Matters
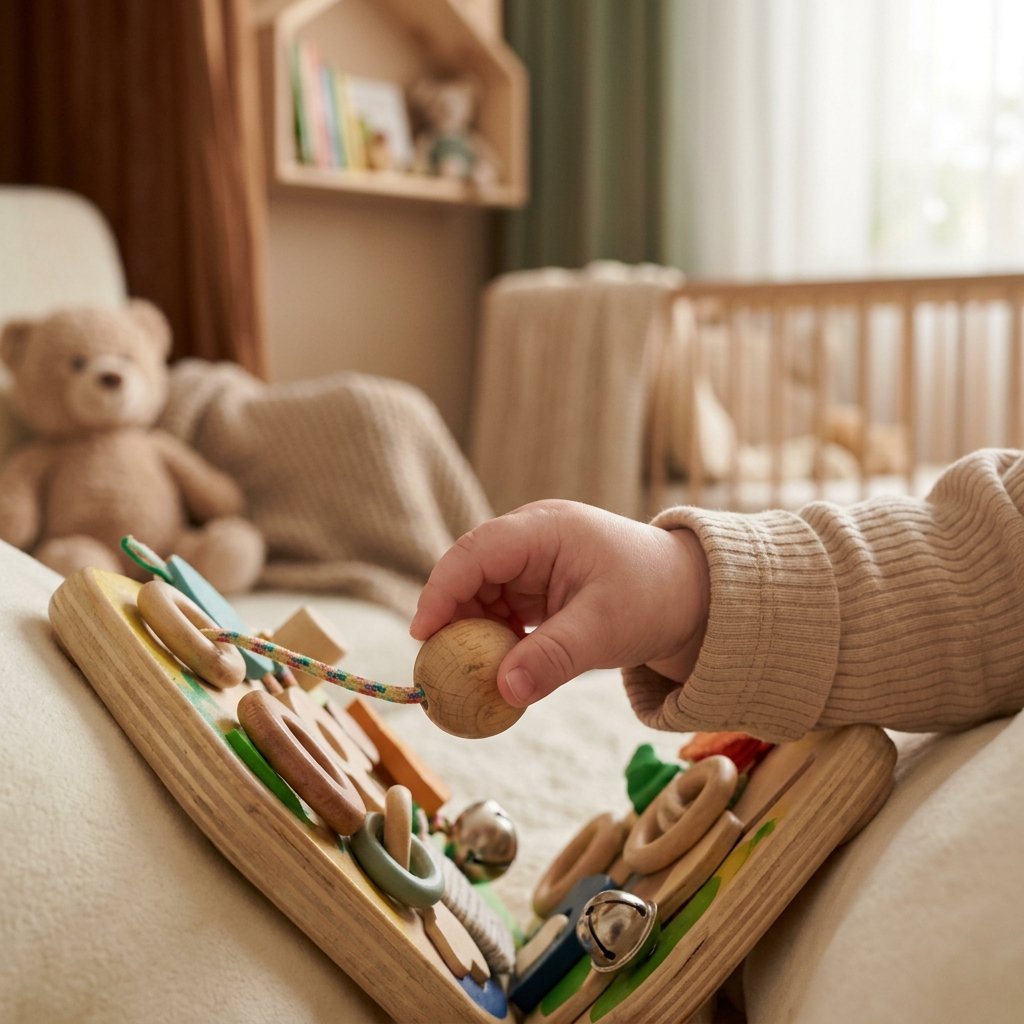
Before we dive into the wood and glue, let’s talk about the ‘why.’ From the moment your baby is born, their brain is forming millions of neural connections every second. Sensory play is the primary way they gather information about the world around them. By providing a variety of textures, sounds, and visual stimuli, you are literally helping to wire their brain for future learning.
The Benefits of a Vertical Play Surface
- Core Strength & Balance: When your baby reaches up to touch a high element on the wall, they are engaging their core and practicing balance, which is essential for crawling and walking.
- Fine Motor Precision: Manipulating small objects like knobs or zippers strengthens the tiny muscles in the hands and fingers, laying the groundwork for writing and self-feeding.
- Proprioceptive Input: Pushing, pulling, and sliding objects helps babies understand where their body is in space and how much force to use.
- Cognitive Problem Solving: Figuring out how a latch works or where a sound comes from builds early logic and reasoning skills.
Your baby’s hands are the tools of their intelligence. Every texture they feel and every gear they turn is a lesson in how the world works. You are giving them the gift of discovery.
Curating Your Aesthetic: Materials and Budget
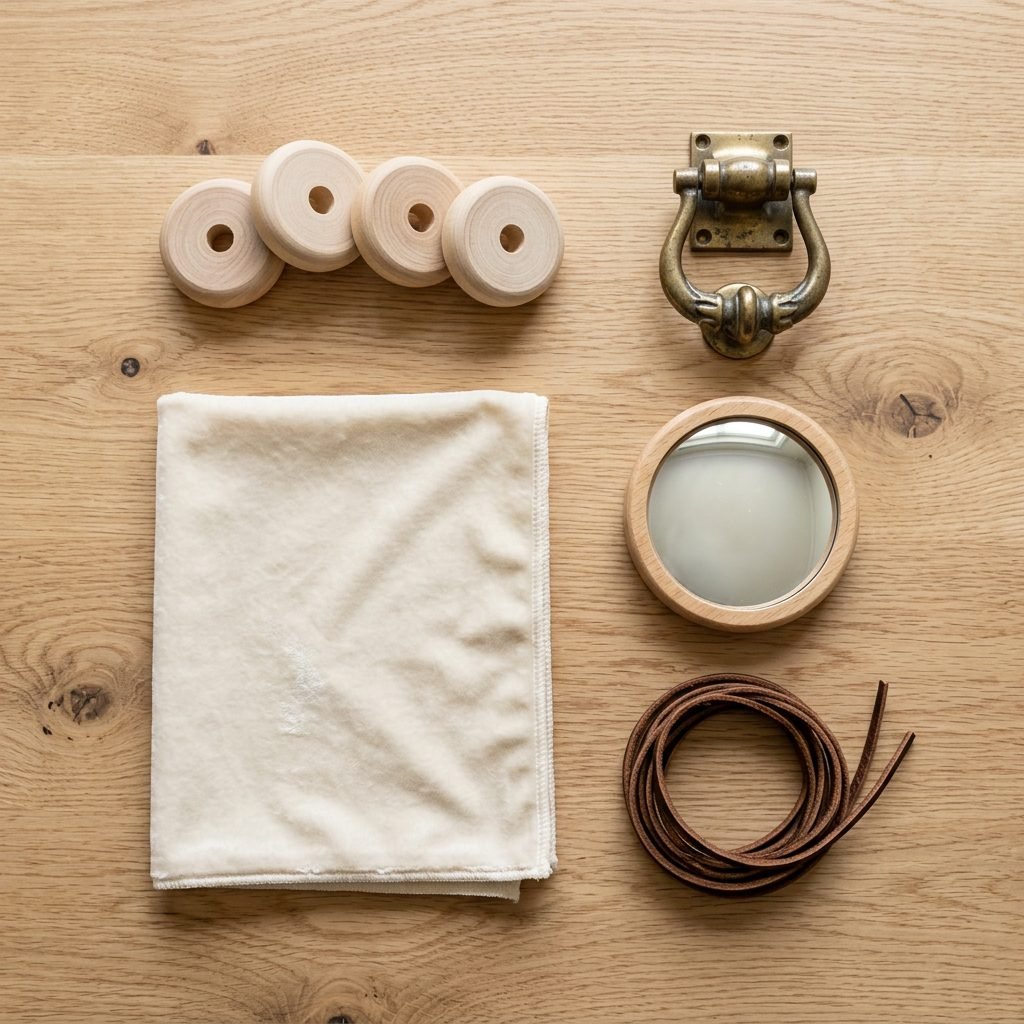
We want this panel to be a functional piece of art. Forget the primary colors and loud noises; we are aiming for a chic, sophisticated palette that complements your home. Think natural woods, matte metals, and high-quality textiles. Below is a breakdown of what you’ll need to create a high-end sensory experience without the high-end price tag.
| Category | Item Description | Estimated Cost |
|---|---|---|
| The Base | 3/4 inch Sanded Plywood or Large Bamboo Cutting Board | $15 – $30 |
| Hardware | Wooden gears, brass latches, silicone beads, leather pulls | $25 – $40 |
| Textiles | Velvet scraps, faux fur, silk ribbon, corrugated cardboard | $5 – $10 |
| Safety/Tools | Non-toxic wood glue, heavy-duty mounting strips, sandpaper | $15 – $20 |
| Total | A Chic, Custom Sensory Masterpiece | $60 – $100 |
When selecting your materials, prioritize natural and non-toxic options. Look for unfinished wood that you can seal with beeswax or food-grade mineral oil. For the ‘chic’ factor, stick to a cohesive color story—perhaps muted earth tones or a monochromatic grayscale palette.
The Safety Blueprint: Protecting Your Little Explorer
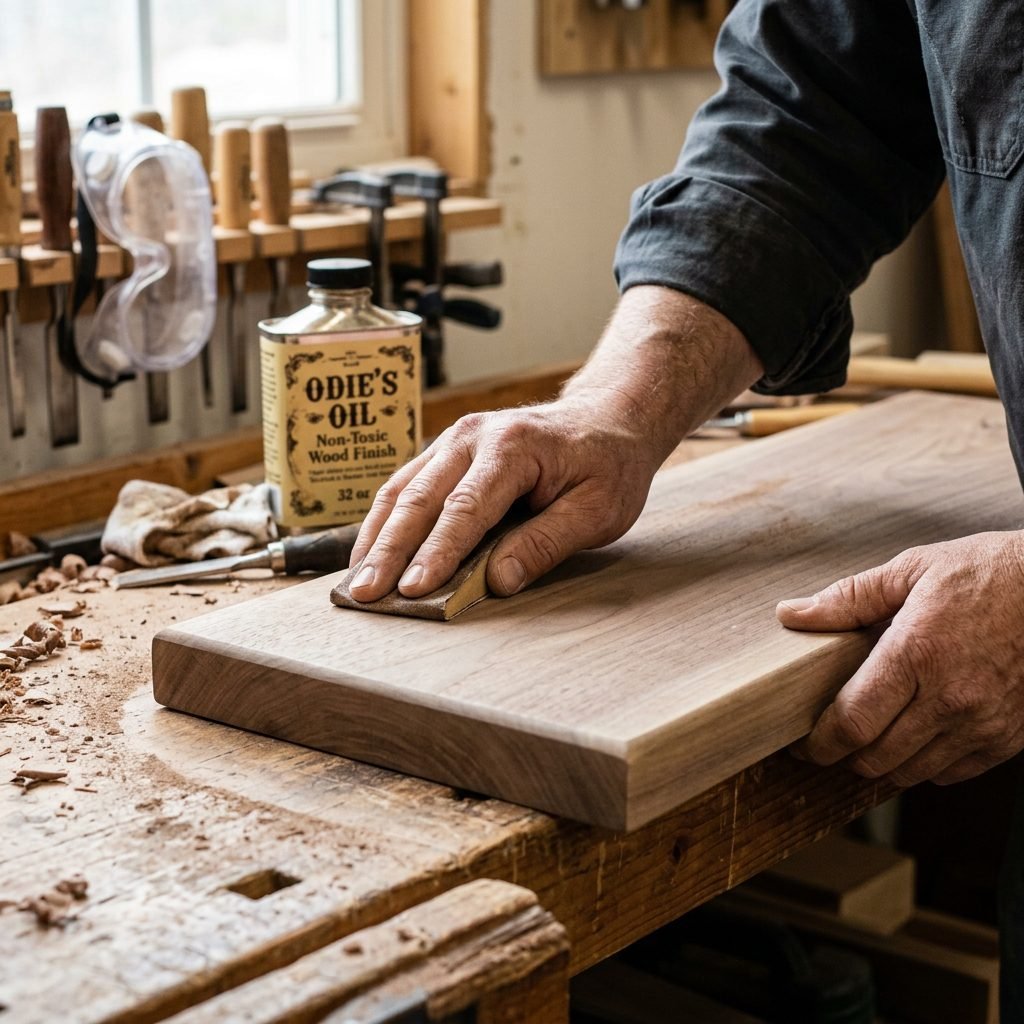
As a doula and nurse, safety is my non-negotiable priority. A DIY project for a baby requires an extra layer of vigilance. We must ensure that every single component is secured with the strength of a mama bear protecting her cub.
Crucial Safety Checklist
- The Choking Hazard Test: Ensure no small parts can be pulled off. If it can fit through a toilet paper roll, it’s too small to be loose. Use industrial-strength adhesive and screws for everything.
- Smooth Edges Only: Sand the base board until it is as smooth as your baby’s cheek. Any splinters or sharp corners must be rounded off and polished.
- Non-Toxic Finishes: Use only water-based, low-VOC paints or natural oils. Babies explore with their mouths as much as their hands!
- Secure Mounting: This board MUST be anchored to the wall using wall studs or heavy-duty anchors. It should not budge if a toddler tries to climb it.
- No Loops or Strings: Ensure any cords or ribbons are shorter than 7 inches to prevent any risk of entanglement.
Safety isn’t just a step in the process; it is the foundation of the entire project. When you know the board is secure, you can relax and enjoy watching your baby play.
Step-by-Step Construction Guide
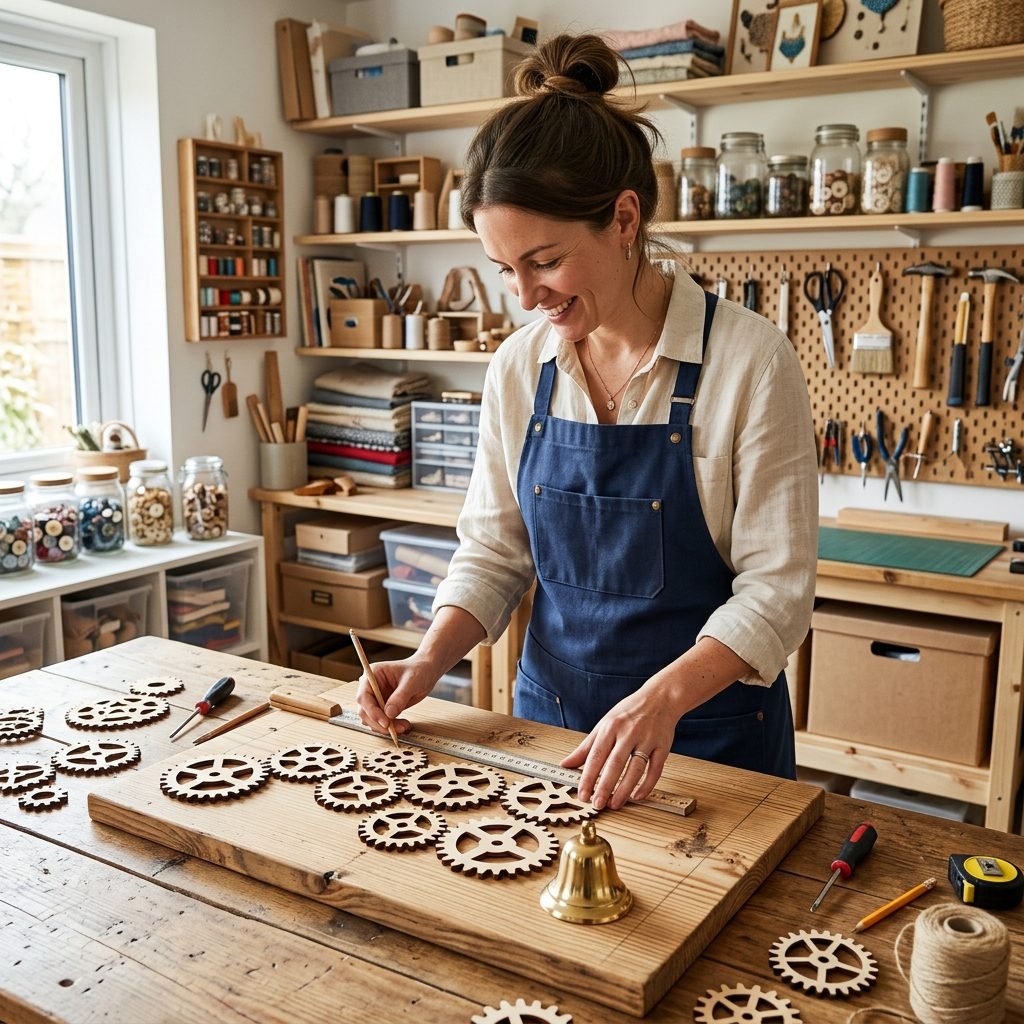
Now, let’s get building! This is a project you can easily complete during a few nap times. Follow these steps to ensure a professional, chic finish.
1. Prepare the Canvas
Cut your plywood to size (a 24×36 inch panel is a great standard size). Sand the front, back, and all edges thoroughly. If you’re painting, apply your base coat now and let it dry for at least 24 hours.
2. The ‘Dry Fit’ Layout
Before you glue or screw anything down, lay your board flat and arrange all your sensory elements. Aim for a balanced look. Place larger items like mirrors or gears first, then fill in the gaps with textures and smaller hardware. Pro-tip: Leave enough space between items so your baby’s hands don’t get pinched.
3. Secure the Elements
For wooden items, use a combination of wood glue and short screws (ensure the screws don’t poke through the back of the board!). For textiles, a heavy-duty, non-toxic contact cement works best. For the mirror, use acrylic safety mirror (never glass!) and secure it with a strong adhesive.
4. The Stress Test
Once everything is dry, give every item a firm tug. If it wiggles, it’s not secure enough. This board needs to withstand the enthusiastic curiosity of a growing baby.
5. Mounting to the Wall
Find the studs in your wall using a stud finder. Screw the board directly into the studs at your baby’s eye level (usually starting about 6-10 inches from the floor for a sitting baby). Cover the screw heads with matching wooden caps for a finished look.
Curating the Sensory Elements by Developmental Stage
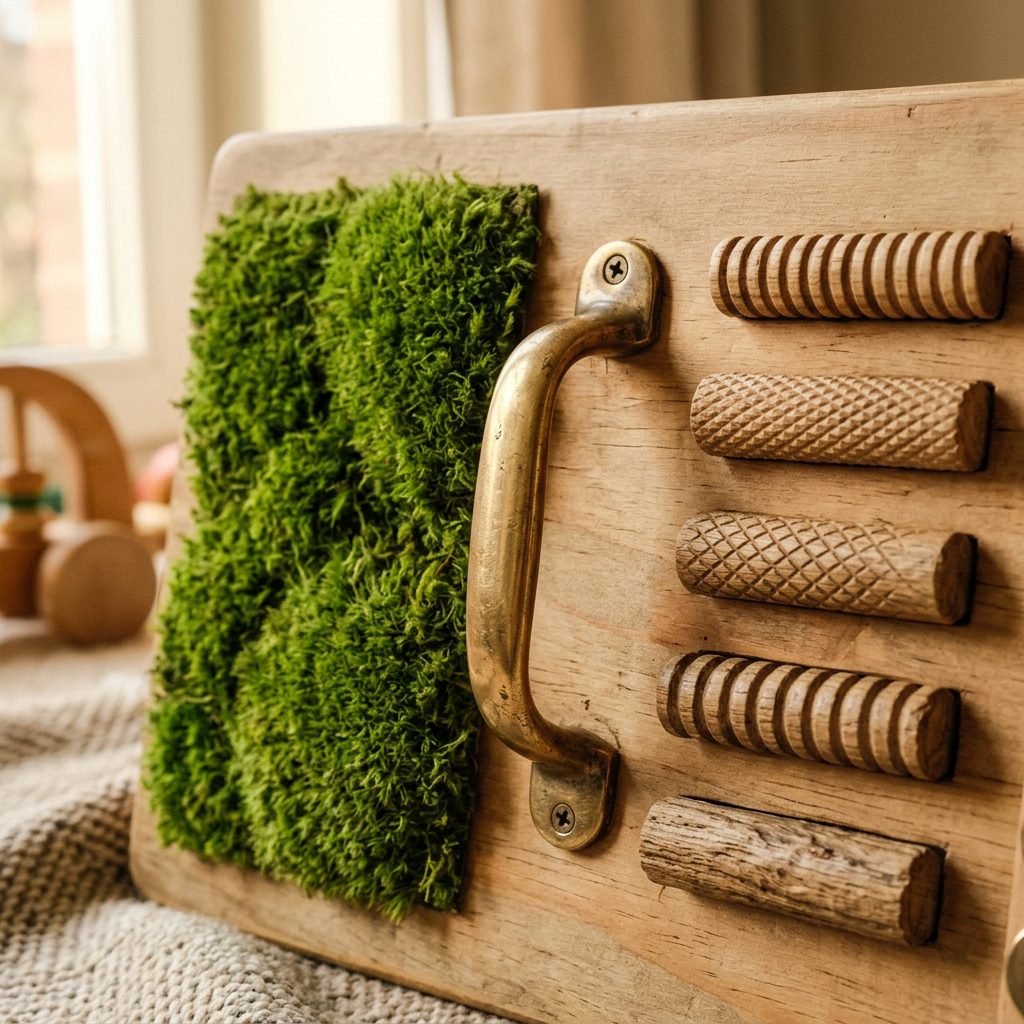
Not all sensory input is created equal. You can tailor your wall to your baby’s current milestones, and even update it as they grow! Here is a guide on what to include based on what your little one is learning.
| Age Range | Developmental Focus | Recommended Elements |
|---|---|---|
| 6-9 Months | Tactile & Visual Discovery | Acrylic mirrors, soft faux fur, high-contrast patterns, large wooden beads on a rail. |
| 9-12 Months | Cause & Effect | Door bells (gentle ones!), spinning wheels, sliding bolts, light switches (not connected to power). |
| 12-18 Months | Fine Motor & Logic | Zippers, velcro strips, buckles, chunky wooden gears, latches and hooks. |
| 18+ Months | Imaginary & Complex Play | Small chalkboards, magnetic strips with wooden letters, lacing holes with thick cord. |
The ‘Chic’ Element Ideas
- The Sound Section: Instead of plastic buttons, use a small brass ship’s bell or a set of wooden wind chimes for a gentle, melodic sound.
- The Texture Path: Use a strip of genuine leather, a piece of natural loofah, and a swatch of linen to provide a sophisticated tactile variety.
- The Visual Anchor: A round, frameless acrylic mirror acts as a focal point and helps with self-recognition.
Maintaining the Magic: Cleaning and Rotating
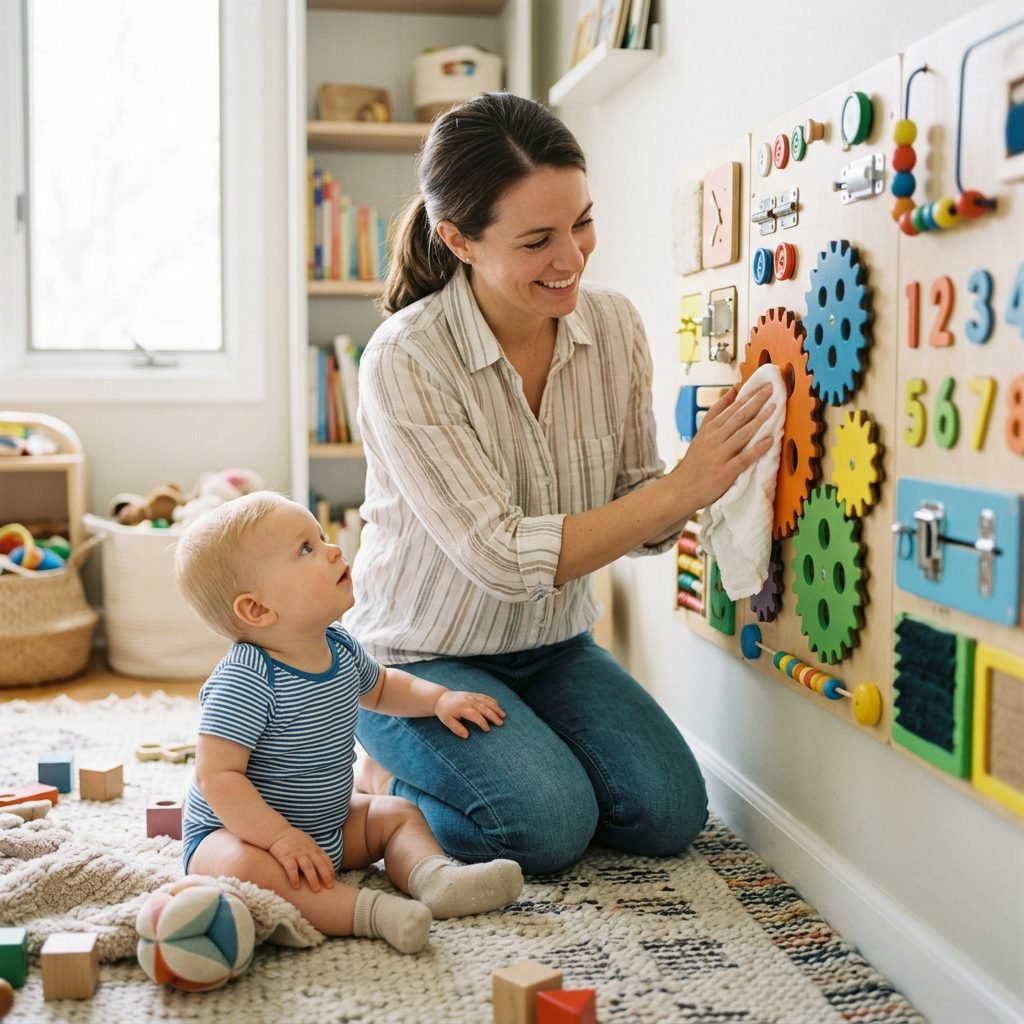
Because this board will be touched by sticky little fingers, maintenance is key. Since we used high-quality materials, cleaning is simple. Wipe down wooden parts with a damp cloth and a mild, baby-safe soap. For fabric elements, a quick pass with a lint roller or a damp cloth usually does the trick.
To keep the board engaging, consider rotating elements every few months. You can use heavy-duty velcro to attach certain items, allowing you to swap a ‘texture patch’ for a ‘new latch’ as your baby’s interests evolve. This keeps the ‘nook’ fresh and exciting without requiring a full rebuild.
Remember, mama, this space is a reflection of your love and intention. It doesn’t have to be perfect; it just has to be a safe place for your baby to wonder.
Conclusion
Your Play Nook, Reimagined
Building a chic DIY sensory wall is more than just a weekend project; it’s an investment in your baby’s cognitive future and a testament to your creative spirit. You’ve taken raw materials and transformed them into a developmental playground that honors the beauty of your home. Every time you see your little one reach for that brass latch or stroke the velvet patch, you can feel proud knowing you provided a safe, stylish, and stimulating environment for them to thrive.
Take a deep breath, mama. You’re doing an incredible job. Whether you’re a first-time mom or a seasoned pro, creating these intentional spaces makes the journey of motherhood just a little more beautiful. Enjoy the quiet moments of observation as your baby discovers the world, one texture at a time.