How to Make a DIY Cardboard Box Sensory Drop Game for Under $5
The Magic of the Humble Cardboard Box
Mama, I see you. You’re surrounded by the latest high-tech gadgets, singing plastic toys, and expensive Montessori subscriptions, yet your little one is currently more interested in the Amazon box that just arrived on your doorstep. There is something truly magical about the simplicity of cardboard. As a doula and a fellow mom who has spent many afternoons sitting on the nursery floor, I can tell you that some of the best developmental tools aren’t found in a high-end toy store—they are made right at your kitchen table with a bit of love and a budget of less than $5.
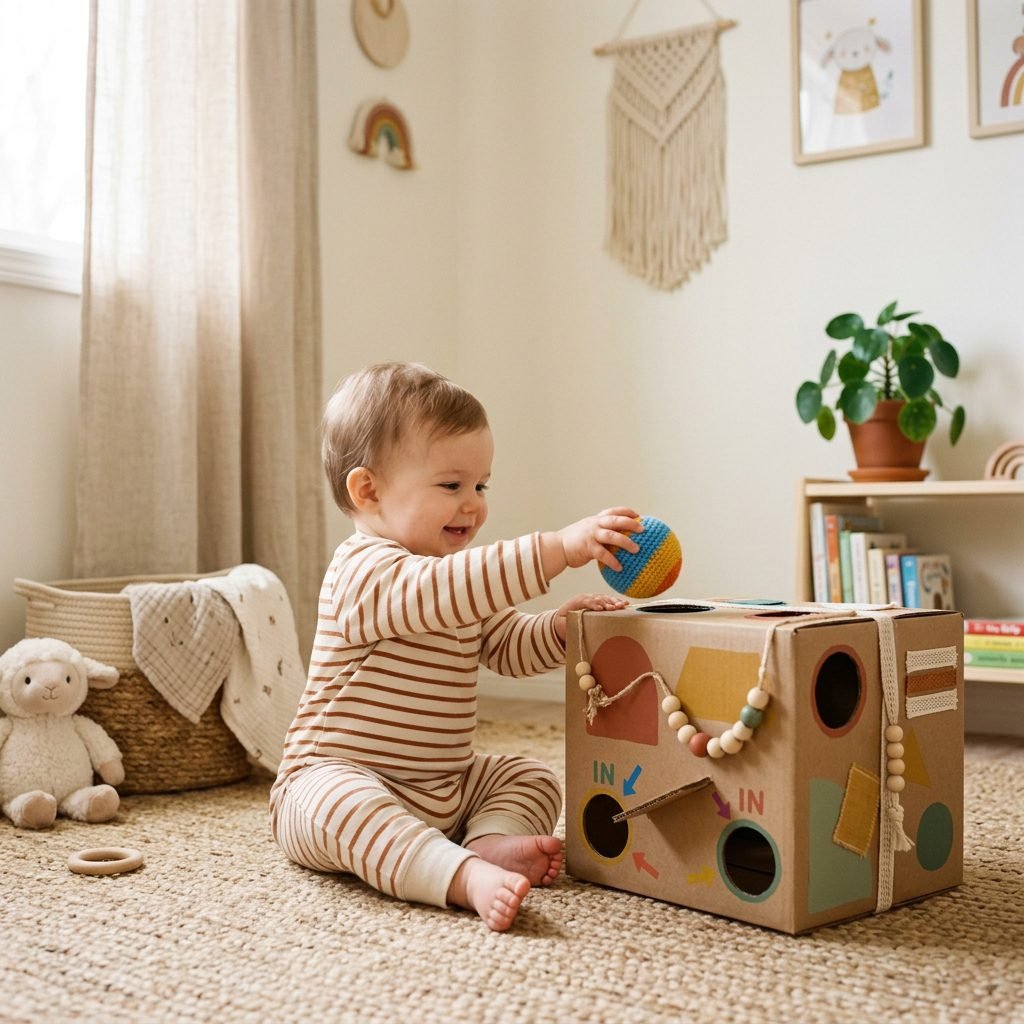
Sensory play is the foundation of early learning. It’s how our babies make sense of the world, one touch, one sound, and one ‘drop’ at a time. Today, we are going to channel that creative energy into a DIY Cardboard Box Sensory Drop Game. This isn’t just a way to recycle; it’s a way to foster hand-eye coordination, cause-and-effect reasoning, and that all-important concept of object permanence. Grab a cup of lukewarm coffee (we’ve all been there!), and let’s get crafting together.
Why Sensory Drop Games Matter: The Developmental Deep Dive
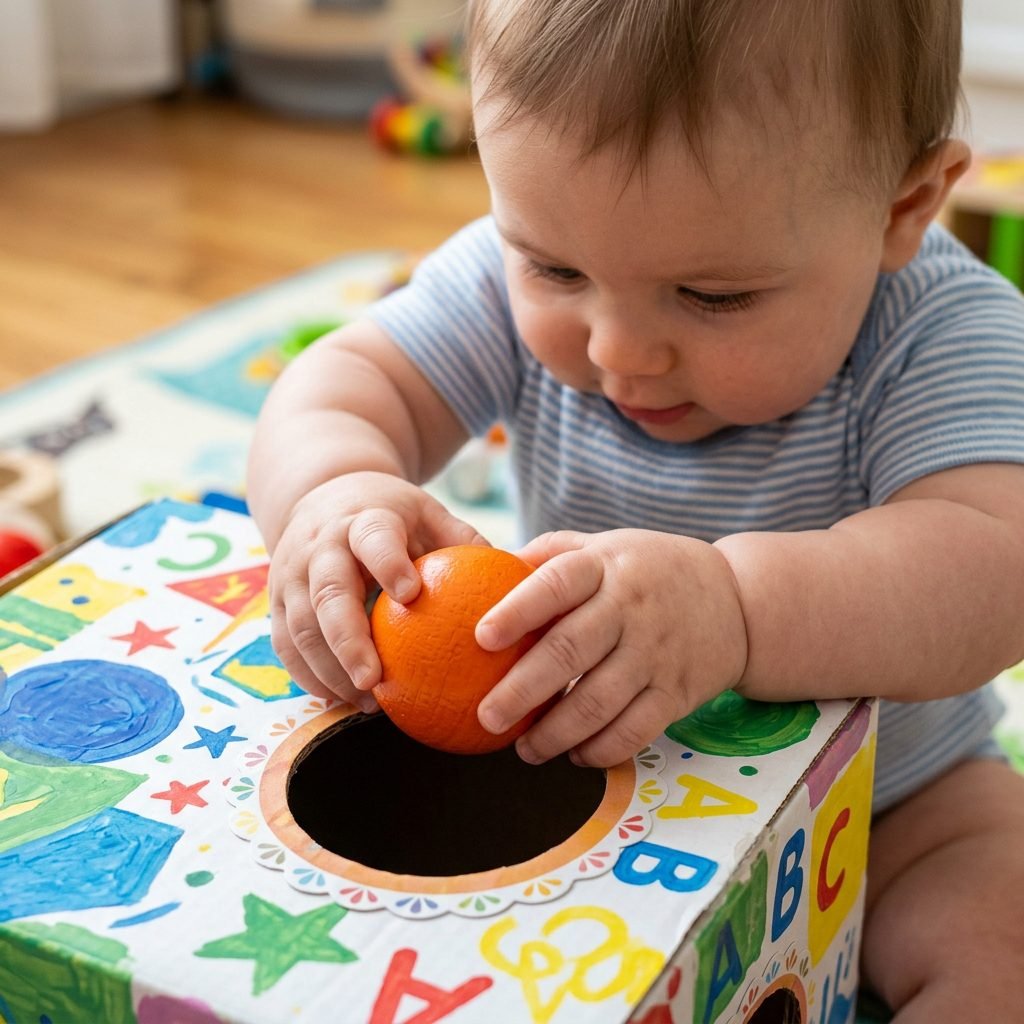
Before we pick up the scissors, let’s talk about the ‘why.’ As your baby grows, their brain is firing off millions of neural connections every second. Around the 6 to 9-month mark, babies begin to grasp the concept of object permanence—the understanding that things still exist even when they can’t see them. A drop game is the perfect ‘peek-a-boo’ style exercise for their hands.
Key Developmental Benefits
- Fine Motor Skills: Grasping balls, silk scarves, or large pom-poms strengthens the small muscles in the hands and fingers.
- Hand-Eye Coordination: Aiming an object for a specific hole requires intense focus and physical calibration.
- Spatial Awareness: Understanding that a large object won’t fit into a small hole is an early introduction to geometry and physics.
- Cause and Effect: ‘If I let go, the ball disappears and makes a thud sound!’ This realization is a massive cognitive milestone.
Remember, mama: your baby isn’t just ‘playing.’ They are a little scientist conducting gravity experiments in their pajamas. You are providing the laboratory!
The $5 Scavenger Hunt: Materials and Budget Breakdown
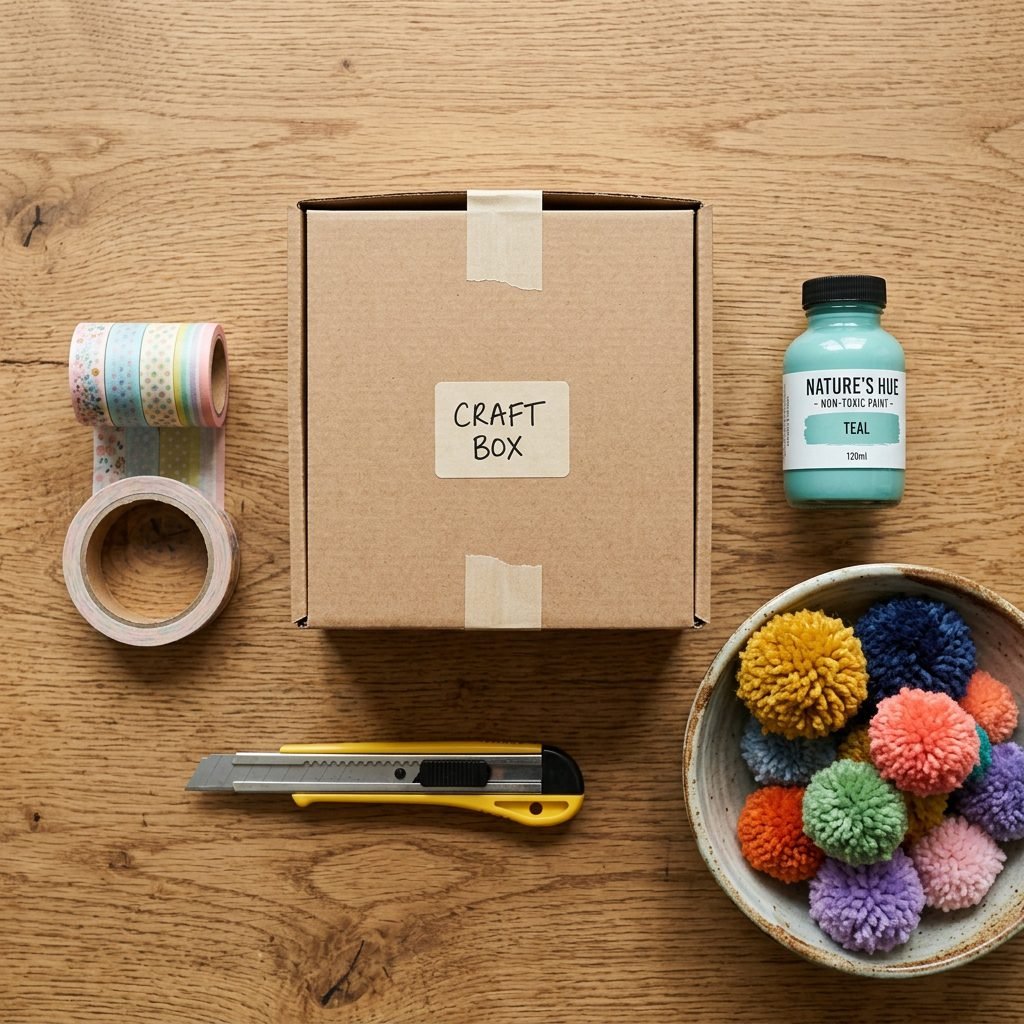
You likely have 90% of these items in your pantry or craft closet already. The goal is to keep this project practically free while making it look like a boutique find. We want non-toxic, durable, and baby-safe materials.
| Item | Source | Estimated Cost |
|---|---|---|
| Medium Cardboard Box | Recycling Bin | $0.00 |
| Utility Knife or Box Cutter | Toolbox | $0.00 |
| Non-Toxic Acrylic Paint or Markers | Craft Drawer | $1.50 |
| Washi Tape or Duct Tape | Dollar Store | $1.25 |
| Drop Objects (Pom-poms, Lids, Balls) | Household/Dollar Store | $2.00 |
| Total Investment | $4.75 |
When choosing your ‘drop’ objects, ensure they are too large to fit through a toilet paper roll to prevent choking hazards. I love using clean plastic jar lids, large wool felt balls, or even rolled-up colorful socks!
Step-By-Step Construction: Building Your Sensory Masterpiece
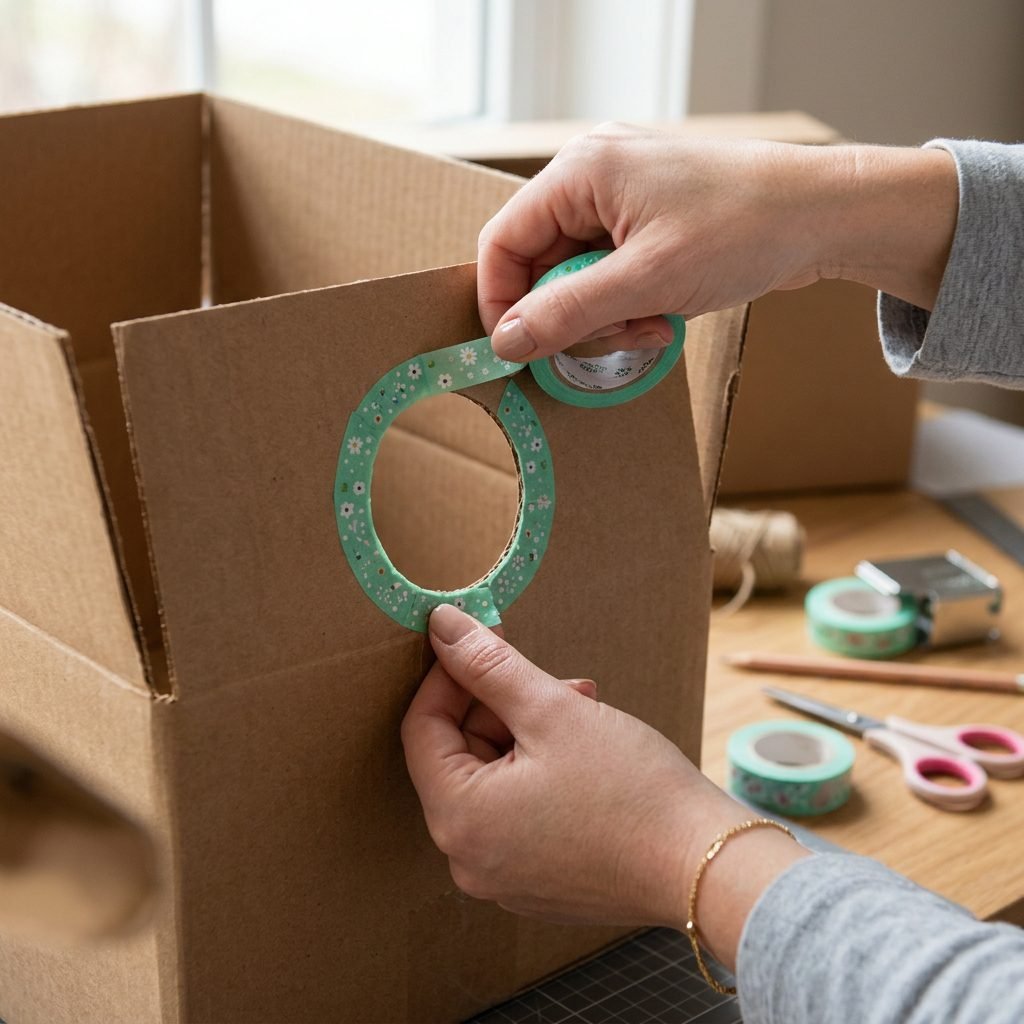
Let’s get building! Follow these steps to ensure a sturdy and safe toy that can withstand the ‘enthusiasm’ of a curious toddler.
- Prep the Box: Tape the bottom of your box securely. If the top flaps are still attached, you can either tape them shut to create a closed cube or leave one side open for easy retrieval of the items.
- Trace Your Holes: Find objects around the house to use as templates. Trace a circle (for balls), a thin rectangle (for jar lids or ‘coins’), and perhaps a triangle. Ensure the holes are roughly 1/2 inch larger than the objects you plan to drop.
- The Precision Cut: Using your utility knife, carefully cut out the shapes. Pro-Tip: Smooth the edges of the cardboard by rubbing them with the back of a metal spoon or applying a layer of washi tape around the rim of the hole to prevent paper cuts.
- Decorate with Intention: Use high-contrast colors (black and white) for younger babies or soft pastels to match your nursery. Avoid glitter or small stickers that could be peeled off and swallowed.
- Create a ‘Retrieval Door’: If you taped the box shut, cut a large ‘U’ shape near the bottom of one side to create a flap. This allows your baby to reach in and find their treasures once they’ve been dropped.
Sensory Variations: Leveling Up for Different Ages
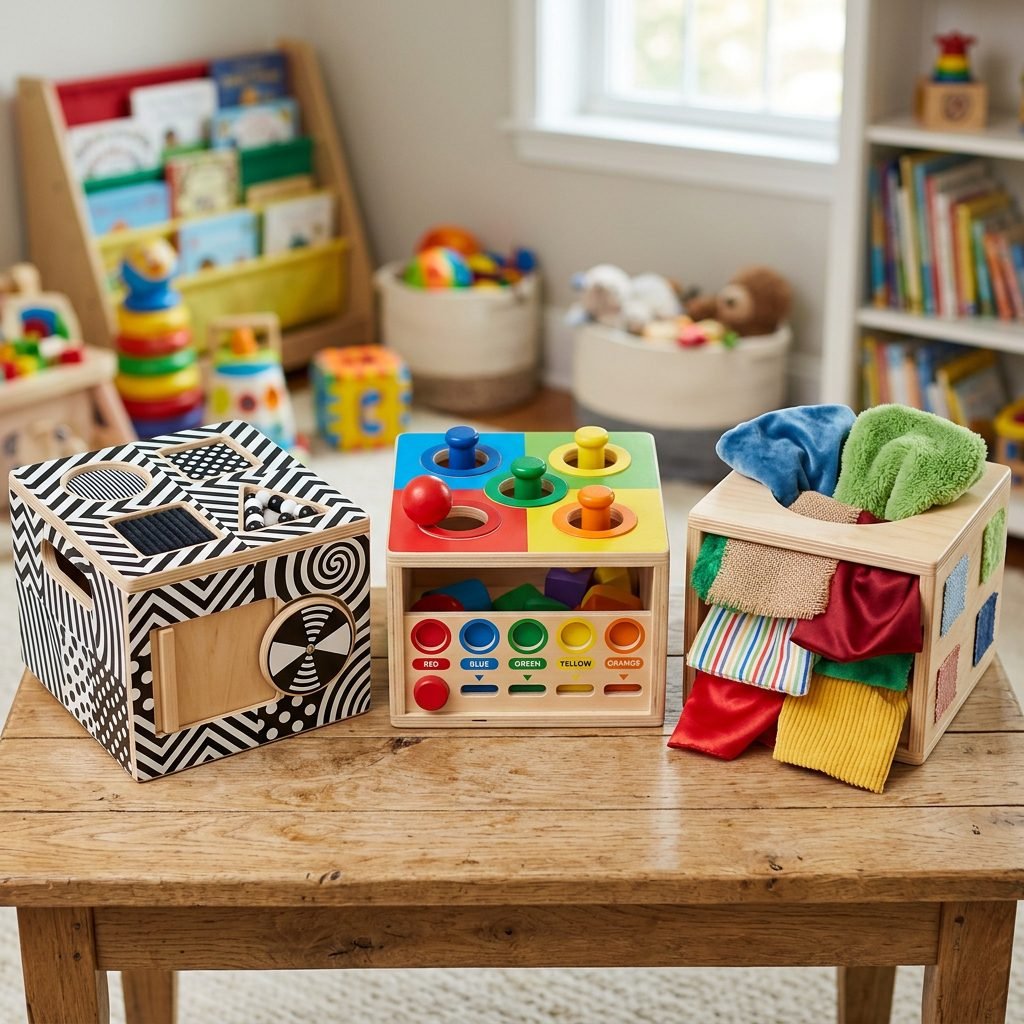
One of the reasons I love this DIY project is that it grows with your child. You can adapt the ‘sensory’ aspect to match their current milestone needs.
The Texture Drop (6-12 Months)
Instead of just plastic balls, provide objects with different tactile signatures. Try a silky scarf, a bumpy dryer ball, and a soft plush toy. This teaches the brain to process different textures as they disappear into the box.
The Sound Box (12-18 Months)
Place different materials at the bottom of the box to change the ‘thud’ sound. A piece of tin foil at the bottom creates a crinkle, while a small metal baking tray creates a loud ‘clang.’ This introduces the concept of auditory discrimination.
The Color Sorter (18-24 Months)
Paint the rims of the holes different colors (Red, Blue, Yellow). Challenge your toddler to match the red ball to the red hole. This shifts the game from pure sensory play to early logic and categorization.
Safety First: The Doula’s Checklist for DIY Toys
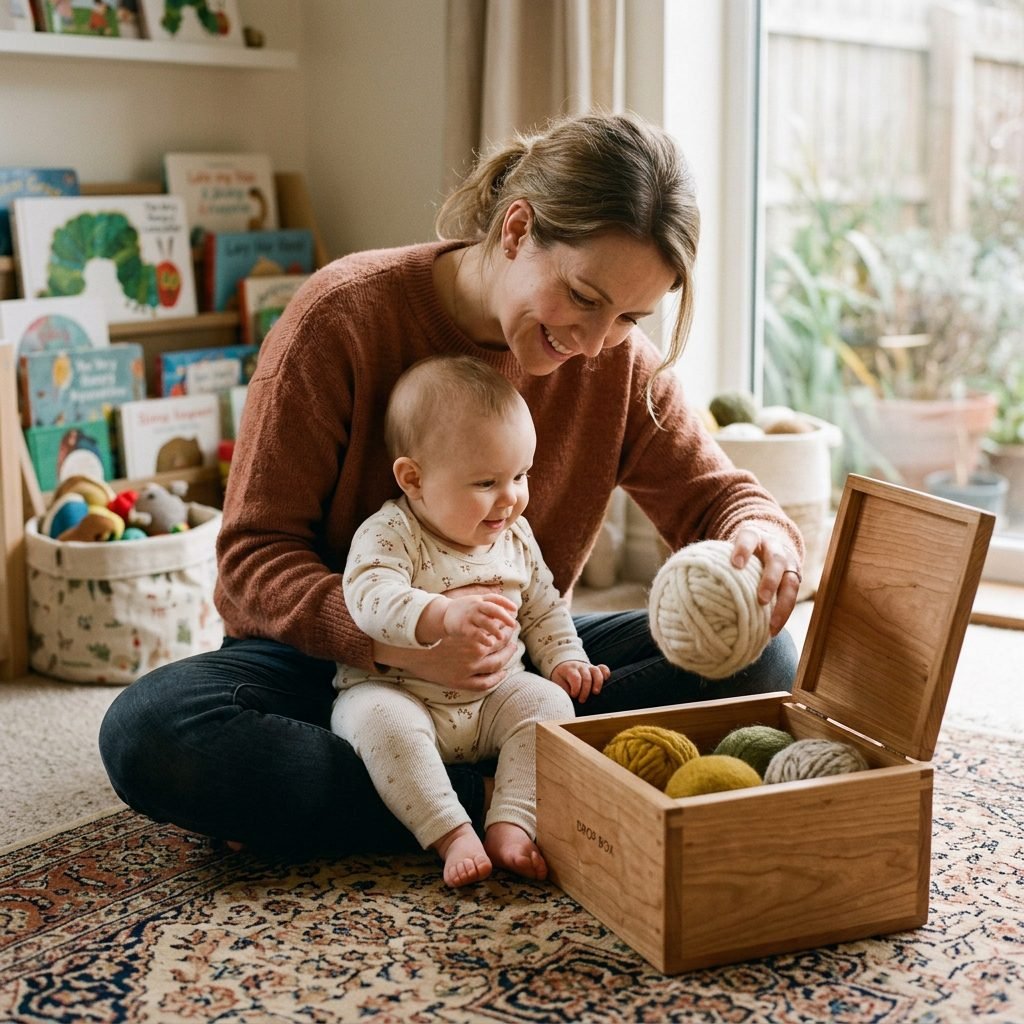
As a doula, safety is always my top priority. While DIY toys are wonderful, they require a bit more vigilance than store-bought, safety-tested items. Please keep these rules in mind:
- The Choke Test: If an object can fit inside a toilet paper tube, it is too small for a baby under 3. Stick to large, chunky items.
- Adhesive Integrity: Regularly check the tape and glue. Babies have surprisingly strong grip strength and can peel off tape if it starts to lift.
- Supervised Play: This is a ‘together’ toy. Sit with your baby, narrate what they are doing (‘You dropped the blue ball! It went in!’), and ensure the box doesn’t tip over on them.
- Cleanliness: Cardboard cannot be sanitized easily. If the box gets damp or soiled, it’s time to recycle it and make a fresh one. The beauty of this project is that it’s disposable and replaceable!
Styling Your Play Space: Making DIY Look Designer
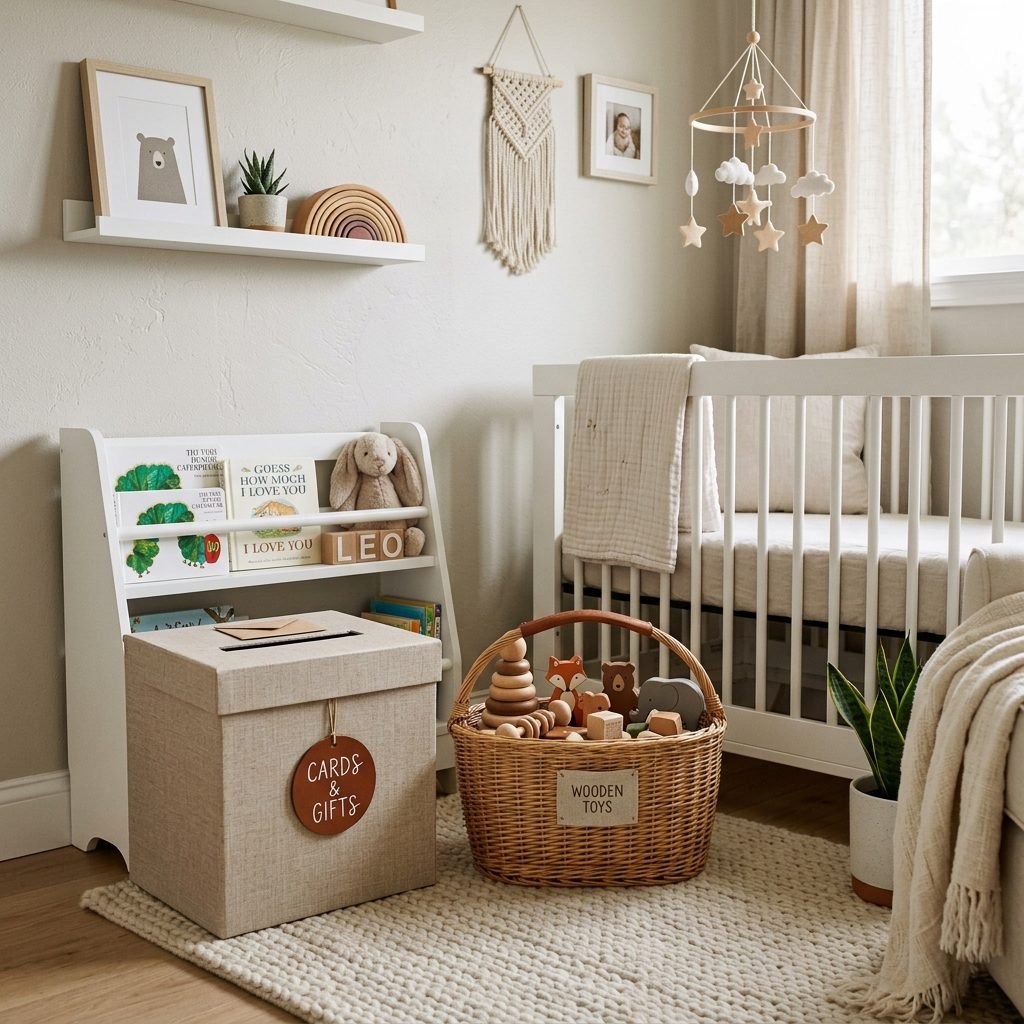
Who says cardboard has to look messy? If you are a nursery designer at heart, you can make this box a beautiful addition to your home. Use earth-toned contact paper or leftover wallpaper scraps to cover the box for a high-end look. Store the ‘drop’ objects in a small seagrass basket next to the box to keep the play area organized and inviting.
Style Tip: Use a ‘less is more’ approach. Providing only 3-4 objects at a time prevents overstimulation and encourages deeper focus on the task at hand.
Conclusion
You’ve Got This, Mama!
Creating this DIY sensory drop game is about more than just saving $20 at the toy store. It’s about the intentionality you bring to your child’s play. It’s about showing yourself that you have the tools, the creativity, and the love to support your baby’s development with exactly what you have on hand. Whether your box lasts for a week or a month, the memories of sitting on that floor together, cheering for every successful ‘drop,’ will last much longer.
So, take a bow! You’ve just built a developmental gym for under $5. Go ahead and share your creation with your mom-group—they’ll be amazed at your craftiness, and you can rest easy knowing you’re giving your little one the very best start in the most sustainable way possible.