5 Restorative Yoga Block Stretches to Gently Open Your Pelvis for Birth
Welcome to Your Sacred Preparation, Mama
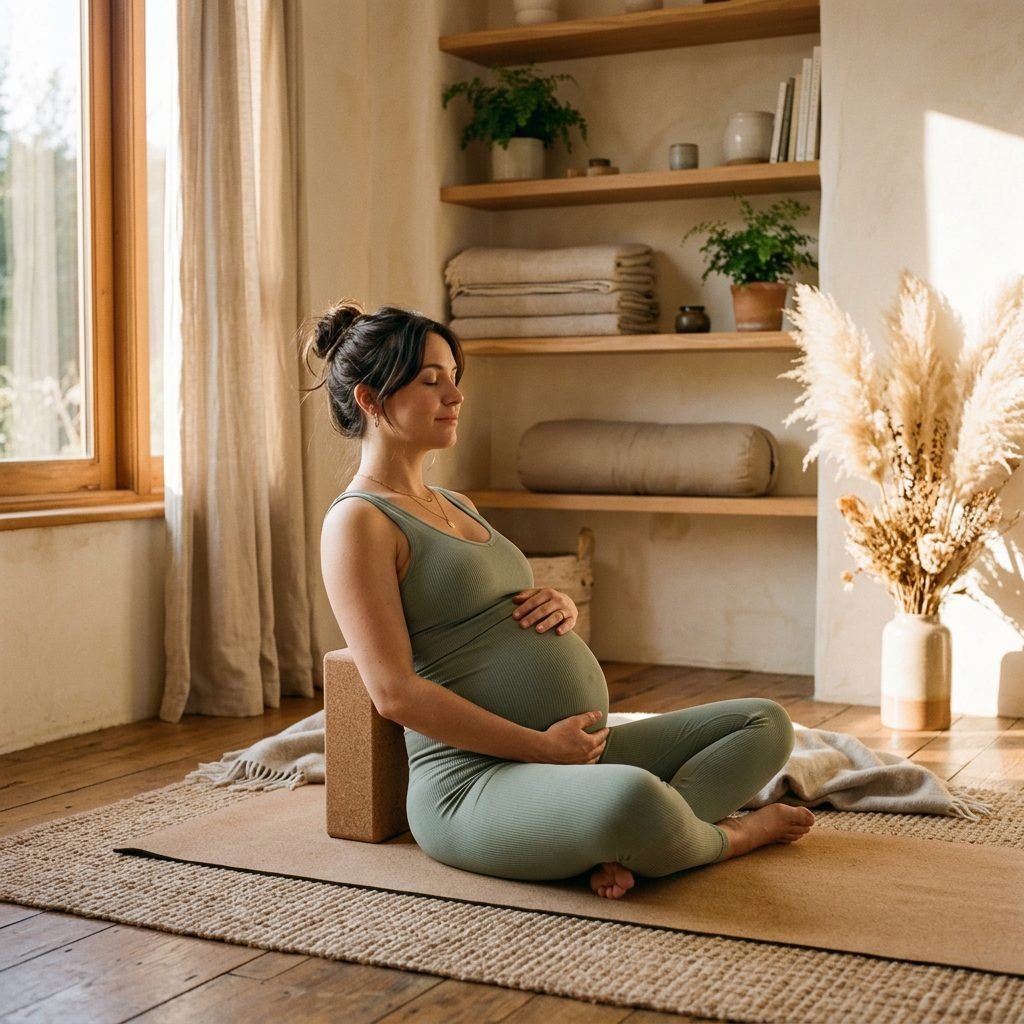
Hello, beautiful soul. As you journey through these final weeks or months of pregnancy, your body is performing an intricate dance of expansion. As a doula, I often tell my clients that birth is not just something that happens to you; it is a physical and emotional opening that you can gently prepare for. One of the most powerful tools in our ‘birth prep’ toolkit is the humble yoga block. These sturdy little rectangles are not just for advanced yogis; they are the ultimate support system for a growing belly and a changing pelvis. In this guide, we are going to explore how to use yoga blocks to create space—space for your baby to descend, space for your pelvic floor to soften, and space for you to find your inner calm.
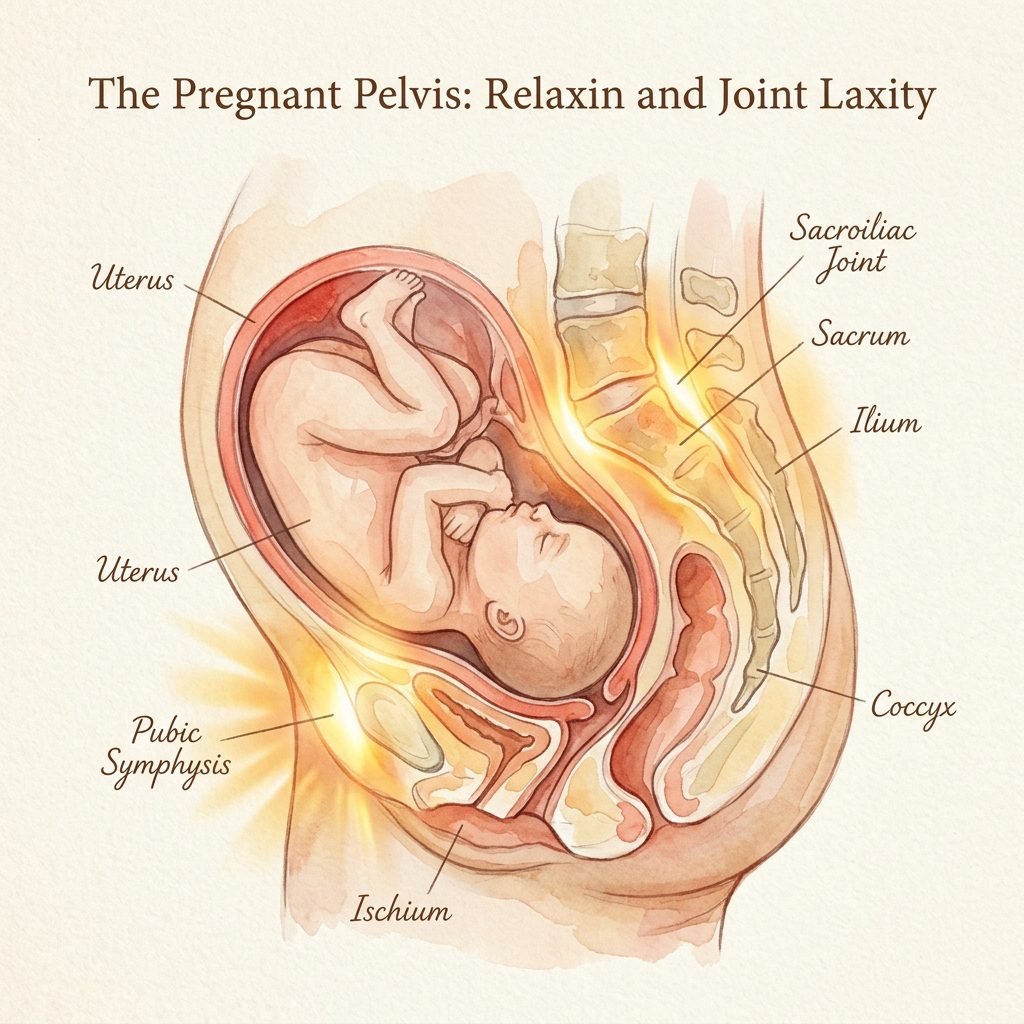
The pelvis is often thought of as a solid ring of bone, but during pregnancy, the hormone relaxin works its magic, softening the ligaments and allowing for subtle but crucial movements. By practicing restorative stretches, we aren’t just ‘stretching’ muscles; we are inviting the pelvic bones to find their optimal alignment for labor. Whether you are planning an unmedicated birth, an induction, or simply want to feel more comfortable in your skin today, these five stretches are your invitation to slow down and listen to your body’s wisdom.
“Your body is a cathedral of strength and softness. Every breath you take is a step closer to meeting your miracle.”
Understanding the Pelvic Architecture: Why Opening Matters
The Dynamic Pelvis
Before we dive into the moves, let’s talk about why we focus on the pelvis. Your pelvis consists of three main parts: the two hip bones and the sacrum. During birth, the baby must navigate through the pelvic inlet (the top) and the pelvic outlet (the bottom). If the muscles surrounding these areas—the hip flexors, adductors, and pelvic floor—are tight, they can create resistance. Our goal with yoga blocks is to provide passive support, allowing these muscles to release without effort.
The Role of the Pelvic Floor
A common misconception is that we need a ‘strong’ pelvic floor for birth. While strength is important, functional length and the ability to release are the true stars of the show during delivery. Think of your pelvic floor like a trampoline; it needs to be able to bounce and stretch, not stay rigid. Yoga blocks allow us to sit or lie in positions that encourage this ‘lengthening’ effect while taking the weight of the baby off your joints.
| Pelvic Area | Focus During Prep | Benefit for Birth |
|---|---|---|
| Pelvic Inlet | Opening the top of the pelvis | Helps baby engage and ‘drop’ into position. |
| Pelvic Outlet | Widening the bottom (sit-bones) | Provides more room for the crowning phase. |
| Sacrum | Creating mobility in the tailbone | Allows the tailbone to move out of the baby’s way. |
Setting Your Sanctuary: The Props and the Vibe
Choosing Your Blocks
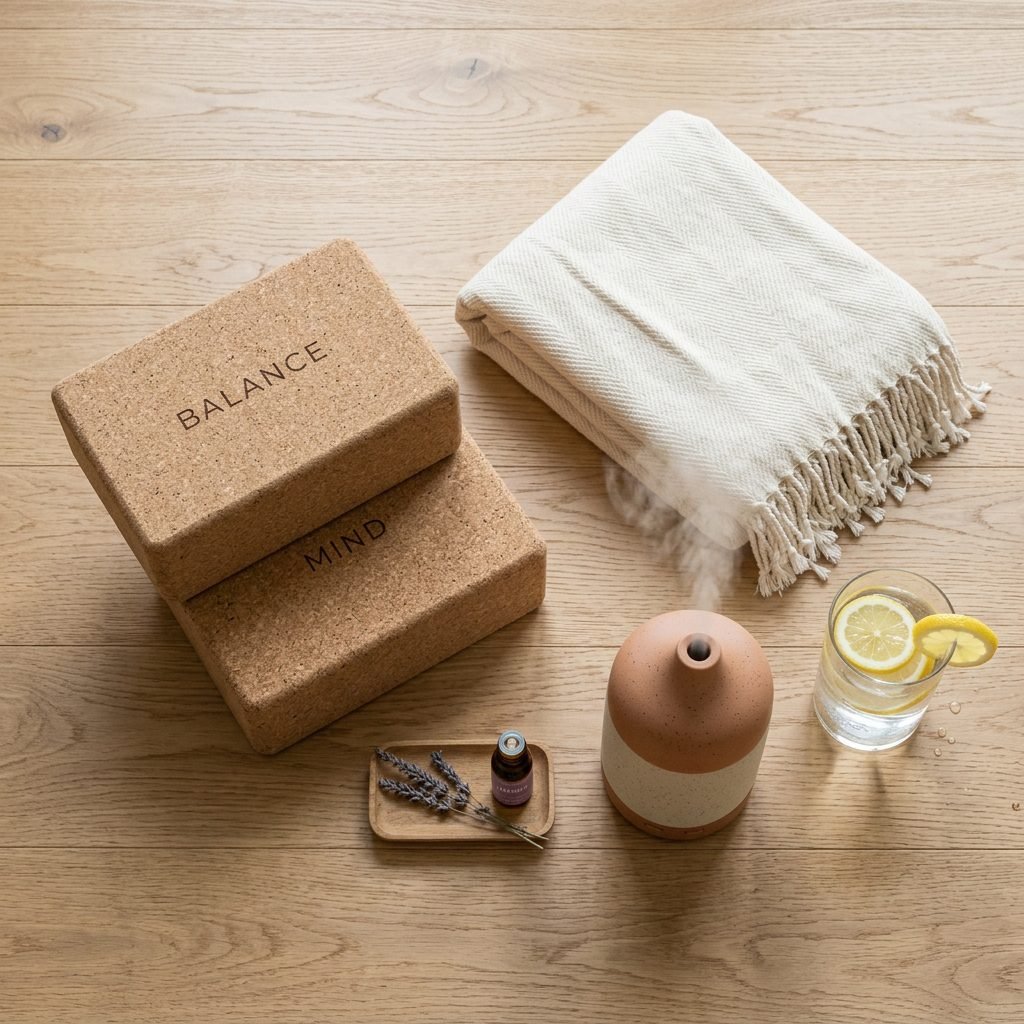
When it comes to yoga blocks, you have two main choices: foam or cork. Foam blocks are lightweight and have a bit of ‘squish,’ making them wonderful for sensitive areas like the sacrum or under the head. Cork blocks are heavier and more stable, which is great for standing or sitting poses where you need firm support. I recommend having two blocks for these stretches.
Creating a Restorative Environment
Since we are focusing on the nervous system, the environment matters just as much as the stretch. To get the most out of these moves, try to:
- Dim the lights or use warm-toned lamps.
- Play a ‘Birth Affirmations’ playlist or soft nature sounds.
- Diffuse lavender or frankincense oil (ensure they are pregnancy-safe brands).
- Wear comfortable, breathable layers—think high-waisted maternity leggings and a soft tank.
Safe vs. Caution Guide
| Safe to Practice | Avoid or Modify If… |
|---|---|
| Gentle, passive stretching | You feel sharp, stabbing pain (SPD/PGP). |
| Deep, diaphragmatic breathing | You feel dizzy or lightheaded while lying back. |
| Using blocks for height and support | You are experiencing any vaginal bleeding. |
The 5 Restorative Stretches for Pelvic Opening
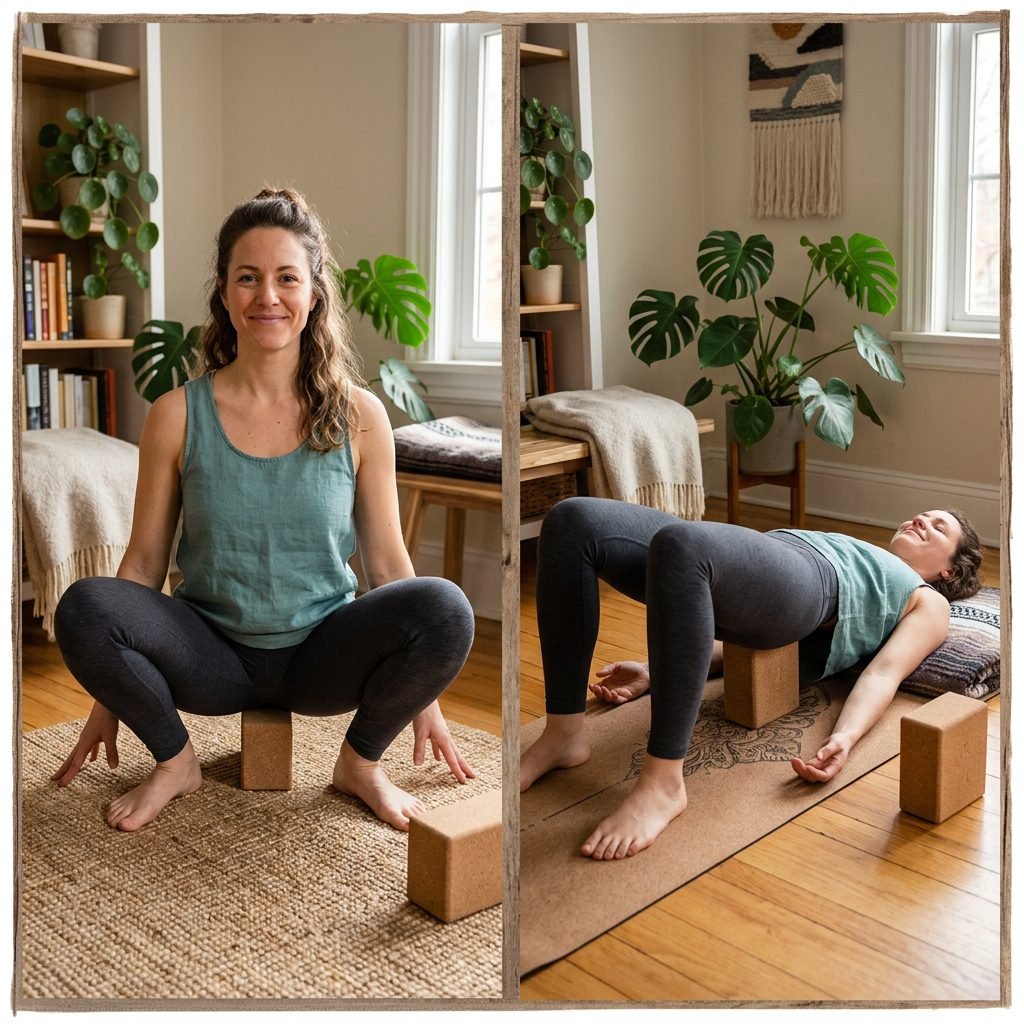
1. Supported Malasana (The Deep Squat)
This is the gold standard for opening the pelvic outlet. In a traditional squat, your muscles are working hard to hold you up. By placing one or two blocks under your sit-bones, we turn this into a restorative pose.
- Stand with feet wider than hip-width, toes turned out slightly.
- Slowly lower your hips until you can sit firmly on your stacked blocks.
- Bring your elbows to the inside of your knees and press your palms together at your heart.
- Lengthen your spine and breathe into your bottom.
Doula Tip: Imagine your sit-bones spreading apart with every inhale.
2. Supported Bridge (Setu Bandhasana)
This move is incredible for releasing the psoas and opening the pelvic inlet.
- Lie on your back with knees bent and feet flat on the floor.
- Lift your hips and slide a block (on its lowest or middle height) directly under your sacrum (the flat bone at the base of your spine).
- Rest your arms by your sides.
- Hold for 3-5 minutes.
Warning: If you feel dizzy lying on your back (Supine Hypotensive Syndrome), prop your upper body up with pillows so you are at a slight incline.
3. Supported Reclined Bound Angle (Supta Baddha Konasana)
This stretch targets the adductors (inner thighs) which are directly connected to the pelvic floor.
- Sit on the floor and bring the soles of your feet together, knees dropping out wide.
- Place a block under each knee or outer thigh for support.
- Slowly lean back onto a bolster or a stack of pillows.
- Let your hands rest on your belly, connecting with your baby.
4. Side-Lying Pelvic Release
Asymmetry is your friend in labor! This pose helps create space in one side of the pelvis at a time.
- Lie on your left side with a pillow under your head.
- Keep your bottom leg straight.
- Bend your top knee and rest it on two stacked blocks (or a bolster).
- Ensure your knee is higher than your hip to encourage the pelvis to tilt and open.
5. Supported Child’s Pose (Balasana)
This is the ultimate ‘surrender’ pose.
- Kneel on the floor with knees wide and big toes touching.
- Place a block in front of you.
- Fold forward and rest your forehead on the block (or rest your chest on a bolster with a block underneath it).
- Focus on breathing into your lower back and sacrum.
The Breath-Pelvis Connection: 360-Degree Breathing

While the blocks do the physical work, your breath is the ‘key’ that unlocks the pelvic floor. During these stretches, I want you to practice 360-degree breathing. Instead of just breathing into your chest, imagine your ribcage is an umbrella opening in all directions—front, sides, and back.
The Inhale-Release Connection
- Inhale: As the diaphragm moves down, the pelvic floor also moves down and stretches. This is the moment of ‘opening.’
- Exhale: The diaphragm and pelvic floor gently lift. This is the moment of ‘support.’
In labor, we want to emphasize that inhale/downward energy. Practice making low, guttural sounds (like ‘mooing’ or ‘humming’) while in these block stretches. High-pitched tension in the throat often leads to tension in the pelvis, so keep your jaw soft and your breath deep.
“Soft jaw, soft pelvis. Let your breath pave the way for your baby’s arrival.”
Modifications for Pelvic Girdle Pain (PGP) and SPD
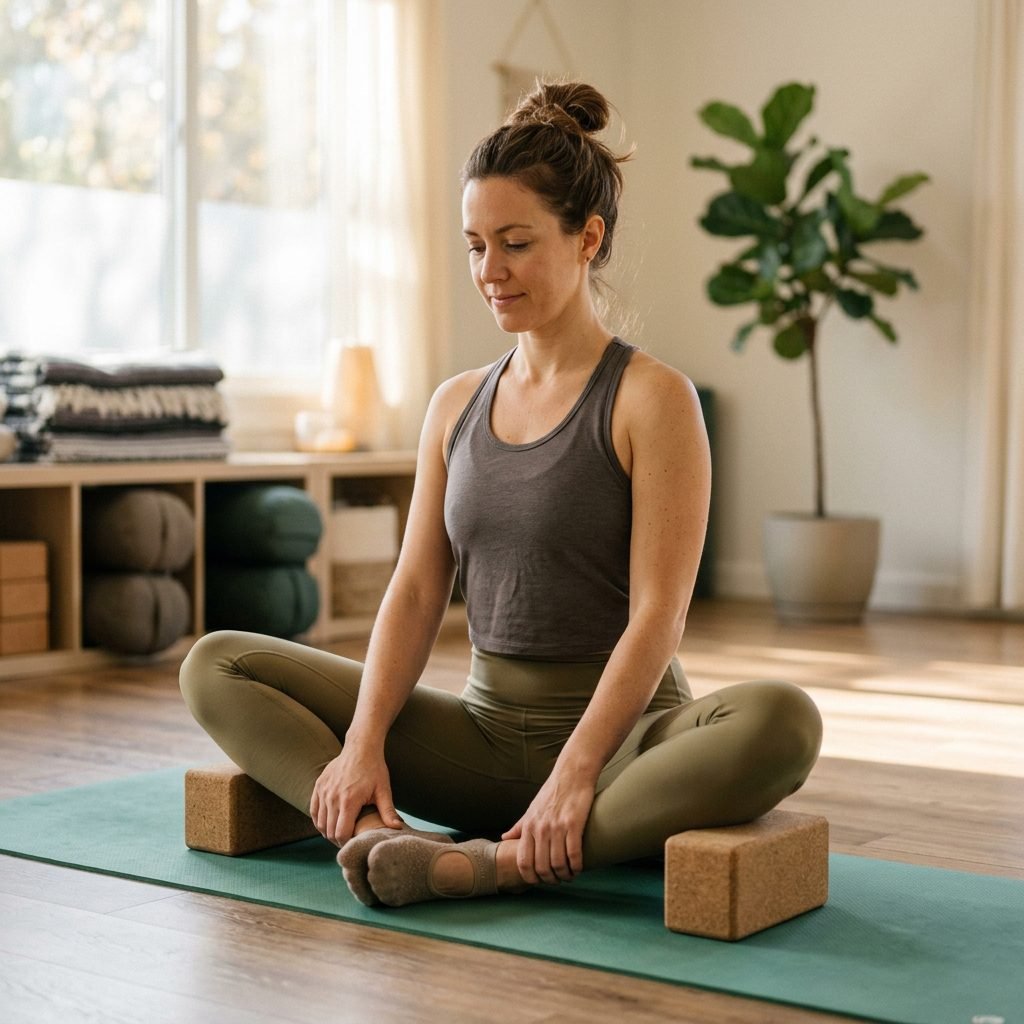
Many mamas experience Pelvic Girdle Pain (PGP) or Symphysis Pubis Dysfunction (SPD), which can make wide-legged stretches feel like ‘lightning’ in the crotch. If that’s you, don’t worry! You can still prepare for birth without the pain.
How to Modify:
- Keep it Narrow: In Malasana or Bound Angle, don’t bring your knees as wide. Use the blocks at their highest height to reduce the angle of the stretch.
- Symmetry is Key: Avoid positions where one leg is doing something vastly different from the other if it triggers pain.
- The ‘Block Squeeze’: Sometimes, gently squeezing a block between your knees while lying down can actually help stabilize the pubic bone and relieve pain.
| Symptom | Modification Strategy |
|---|---|
| Sharp pain in pubic bone | Keep knees no wider than hip-width; use blocks for support. |
| Aching in the lower back | Use a block under the sacrum in a very low, flat position. |
| Inner thigh pulling | Bring blocks closer to the body to support the weight of the legs. |
A Daily Ritual: Your 15-Minute Birth Prep Routine
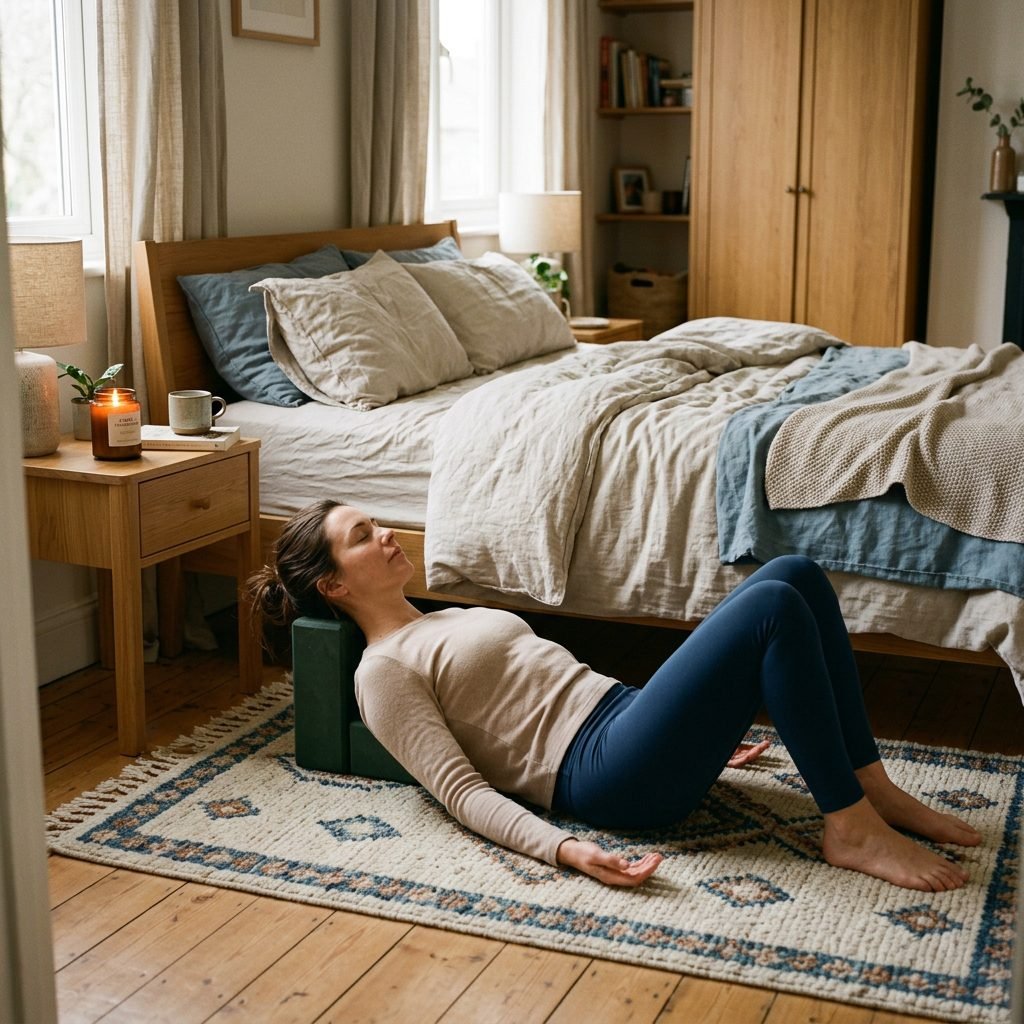
Consistency is more important than intensity. You don’t need an hour-long yoga session to see results. Here is a simple, 15-minute daily routine you can do before bed or after waking up:
- Minutes 0-3: Supported Child’s Pose (To ground and center).
- Minutes 3-7: Supported Bridge (To release the hip flexors from a day of sitting/walking).
- Minutes 7-12: Supported Reclined Bound Angle (To soften the pelvic floor and connect with baby).
- Minutes 12-15: Supported Malasana (To finish with an active, opening posture).
By dedicating this small window of time to yourself, you are telling your body and your baby that you are ready. You are building the muscle memory of relaxation that will serve you so well when the surges of labor begin.
Conclusion
Trust the Process, Mama
Preparing for birth is a journey of a thousand small moments. These five yoga block stretches are more than just physical exercises; they are a ritual of surrender and strength. By creating space in your pelvis, you are physically preparing the path for your baby, but you are also mentally preparing yourself to let go and trust your body’s innate capability. Remember, there is no ‘perfect’ way to do this. Some days you might stay in a stretch for ten minutes, and other days, thirty seconds is all you have. Both are enough.
You are doing an incredible job. Your body knows how to grow this baby, and it knows how to birth this baby. Use these blocks as your support, use your breath as your guide, and keep moving forward with confidence. You’ve got this, mama!