How to Do Lateral Slide Birth Ball Stretches to Open Your Pelvis
Welcome to the final stretch, sweet mama. If you are reading this, you are likely feeling the heavy, beautiful, and sometimes deeply uncomfortable weight of your baby settling lower into your pelvis. As a doula and fellow mother, I want to wrap you in a warm, reassuring hug and tell you that every ache and lightning bolt of pressure you are feeling is your body doing exactly what it was designed to do. But you do not have to just grit your teeth and bear it. Enter your new best friend: the birth ball.
Today, we are going deep into one of my absolute favorite, evidence-based techniques for pelvic mobility: the lateral slide birth ball stretch. This isn’t just about bouncing aimlessly; it is a targeted, biomechanical movement designed to create asymmetrical space in your pelvis. Whether you are 32 weeks pregnant and trying to relieve round ligament pain, or you are in the thick of active labor looking for a way to help your baby navigate the birth canal, this stretch is pure magic.
My pelvis is open, my body is relaxed, and I am making space for my baby to safely arrive.
By mastering the lateral slide, you are actively inviting your baby into the optimal position for birth. We are going to break down the anatomy, the exact step-by-step movements, and how your birth partner can support you through this empowering exercise. Grab a glass of ice water, roll out your yoga mat, and let’s create some beautiful space for that sweet baby of yours.
Understanding Your Pelvis: Why Lateral Movement Works Wonders
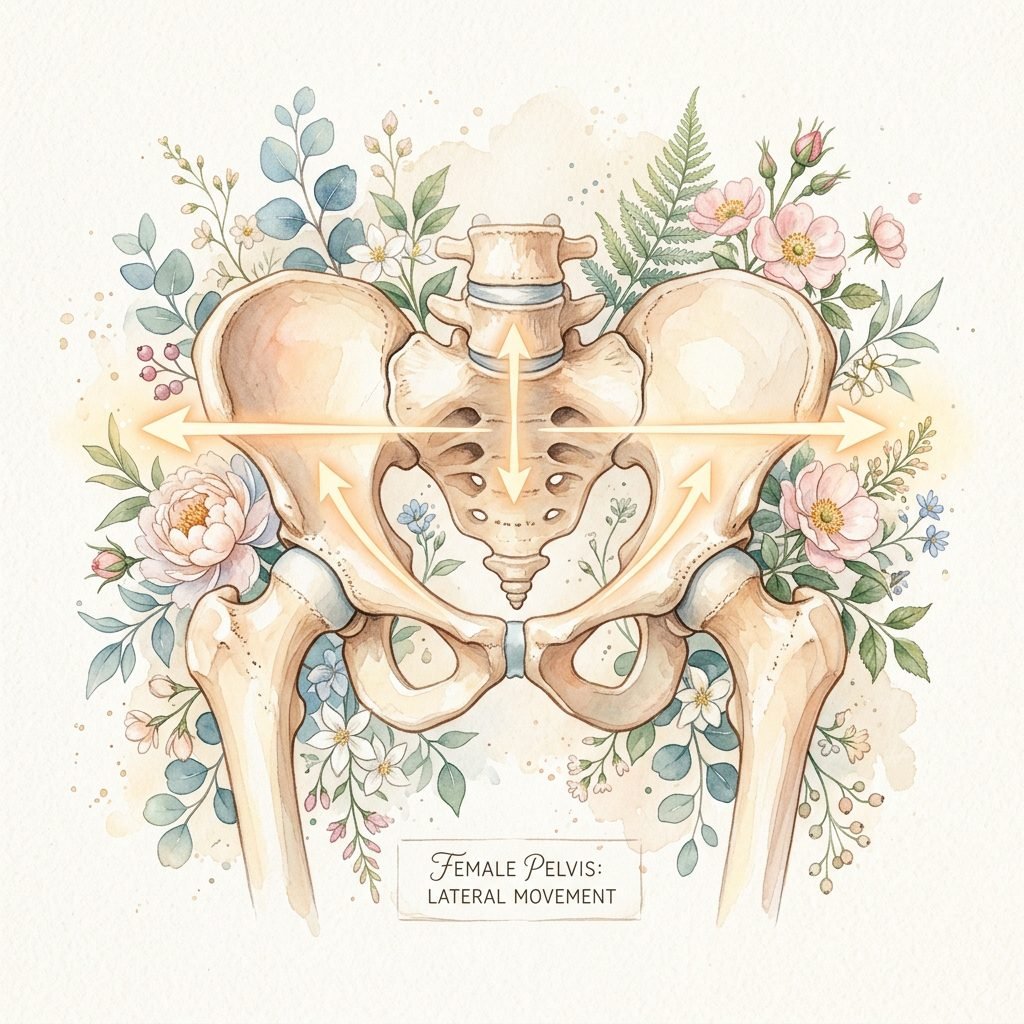
To truly appreciate the magic of the lateral slide, we need to take a quick, fascinating look at your pelvic anatomy. Think of your pelvis not as a rigid, fused bowl of bone, but as a dynamic, shifting cradle held together by flexible ligaments. During pregnancy, the hormone relaxin floods your system, softening these ligaments and allowing your pelvic joints to expand. It is a brilliant design, but it can also lead to instability and discomfort.
The Magic of Asymmetry
When you do lateral (side-to-side) movements, you are engaging in what birth workers call asymmetrical pelvic positioning. Here is why that matters:
- Opens the Mid-Pelvis: While deep squats open the pelvic outlet, asymmetrical movements like the lateral slide specifically open the mid-pelvis, which is often where babies need a little extra room to rotate.
- Relieves Sciatic Nerve Pressure: Shifting your weight laterally can instantly relieve the sharp, shooting pains of sciatica by taking the pressure off the nerves in your lower back.
- Encourages Fetal Rotation: If your baby is in an occiput posterior (sunny-side up) position, the gentle, rocking asymmetry of the lateral slide gives them the physical space and motion cues to turn anteriorly.
When you perform a lateral slide, you are opening one side of the pelvis while stabilizing the other, creating a literal pathway for your baby to descend. It is evidence-based, highly effective, and feels incredibly relieving on a tired, heavy pregnant body.
Setting the Stage: Birth Ball Sizing and Safety Essentials
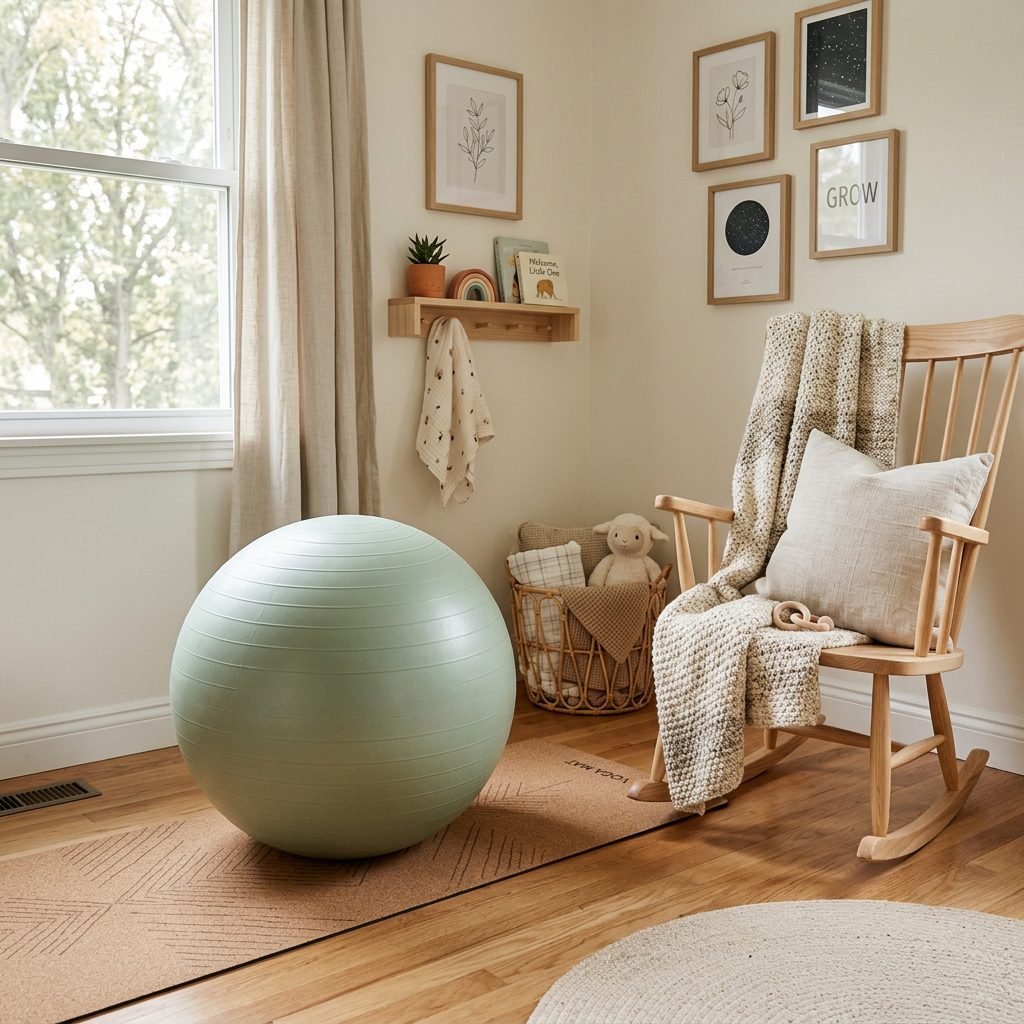
Before we dive into the physical movements, we must ensure your setup is safe, comfortable, and tailored to your specific body. A birth ball that is too small will compress your pelvis, while one that is too large will strain your lower back. Let’s get your setup perfect.
Choosing the Right Size Birth Ball
When you sit on your fully inflated birth ball, your hips should be at least 2 to 3 inches higher than your knees. This downward slope is crucial for keeping your pelvis open and your baby positioned forward. Here is a quick sizing guide based on your height:
- If you are under 5’4″: Choose a 55-centimeter ball.
- If you are between 5’4″ and 5’10”: Choose a 65-centimeter ball.
- If you are over 5’10”: Choose a 75-centimeter ball.
Safety and Comfort Checklist
Your safety is my top priority. As your center of gravity shifts in the third trimester, balance can become tricky. Always follow these safety protocols:
- Use a Non-Slip Surface: Never use your birth ball on hardwood or tile floors without a high-quality, non-slip yoga mat underneath it.
- Check the Inflation: Your ball should be firm, not squishy. If you sink deeply into it, it needs more air. A firm ball provides the counter-pressure your perineum needs.
- Keep a Support Nearby: Always position your ball near a sturdy piece of furniture, a bed, or your birth partner so you have something to hold onto if you feel off-balance.
- Anti-Burst Material: Ensure your ball is specifically labeled as “anti-burst” and can support at least 300 pounds.
Step-by-Step Guide: Mastering the Lateral Slide Stretch
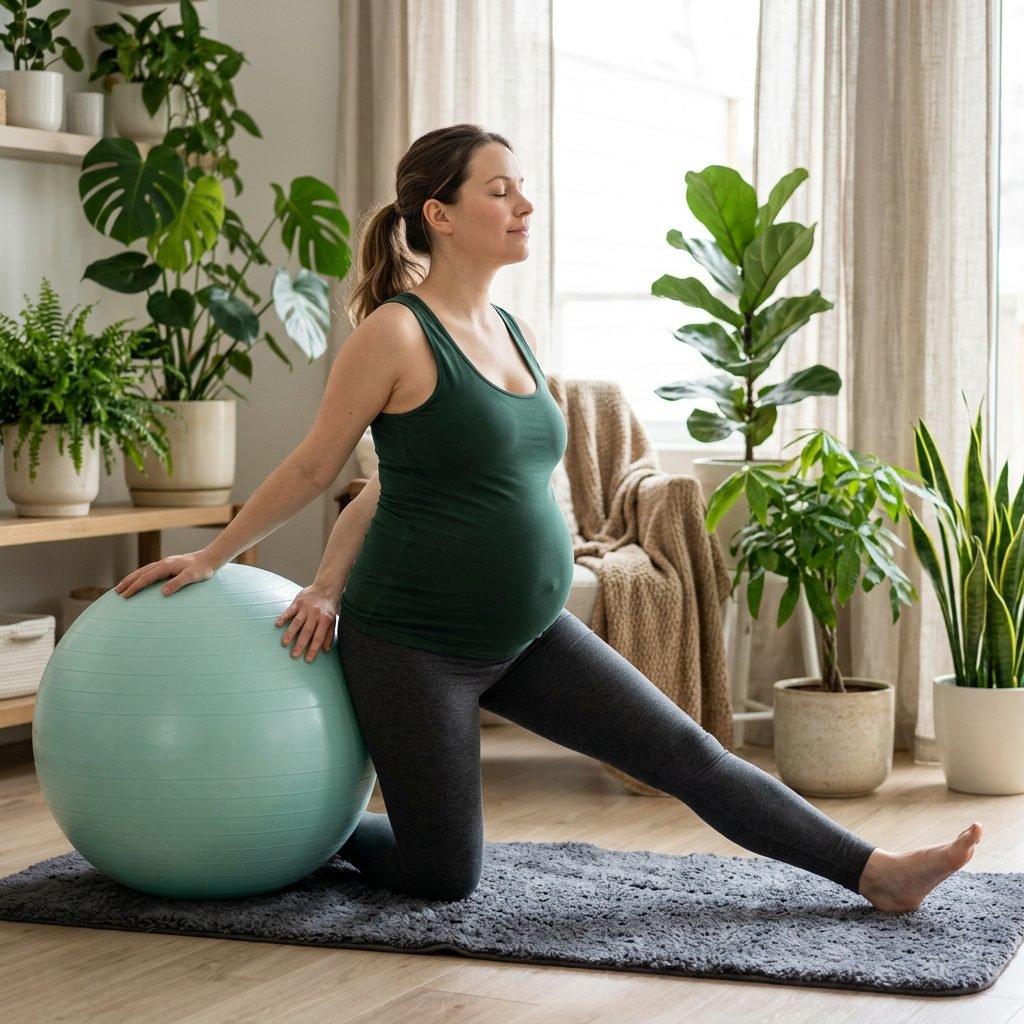
Now that your space is perfectly prepped, let’s move into the actual stretch. This is a highly physical, yet deeply relaxing movement. I want you to focus heavily on your breath here. Oxygen is the fuel for your uterus, and deep, intentional breathing will help your pelvic floor muscles release their tension.
The Setup Position
- Find Your Base: Kneel on your soft, non-slip yoga mat. Place your birth ball directly in front of you, slightly to your left side.
- Extend the Leg: Slowly extend your right leg straight out to the side. Your right foot should be flat on the floor, toes pointing forward. Your left knee remains securely on the mat.
- Engage the Ball: Lean your upper body forward and rest your forearms comfortably on the birth ball. Keep your spine straight and neutral—avoid rounding your lower back.
The Lateral Slide Movement
- The Inhale: Take a deep, expansive breath in through your nose for 4 slow counts. Feel your ribcage expand laterally and visualize your pelvic floor softening like a blooming flower.
- The Slide (Exhale): As you exhale slowly through your mouth for 6 to 8 counts, gently roll the birth ball to the left, bending your left knee deeper while keeping your right leg completely straight. You will feel a deep, beautiful stretch along your right inner thigh and the right side of your pelvis.
- The Hold: Pause at the deepest comfortable point of the stretch for 3 to 5 seconds. Do not bounce; just hold and breathe into the sensation.
- The Return: Inhale deeply as you slowly use your core and arms to roll the ball back to the starting center position.
- Repeat and Switch: Repeat this sliding motion 10 times on the right leg, then switch your setup to extend your left leg and repeat 10 times on the other side.
Breathe in strength, breathe out tension. My body knows exactly how to open for my baby.
Partner Support: Enhancing the Stretch with Counter Pressure

Birth is a team effort, and your partner can play a monumental role in making the lateral slide even more effective and relieving. When you are heavily pregnant or in the throes of active labor contractions, having physical support can transform this stretch from a simple exercise into profound pain relief.
The Double Hip Squeeze
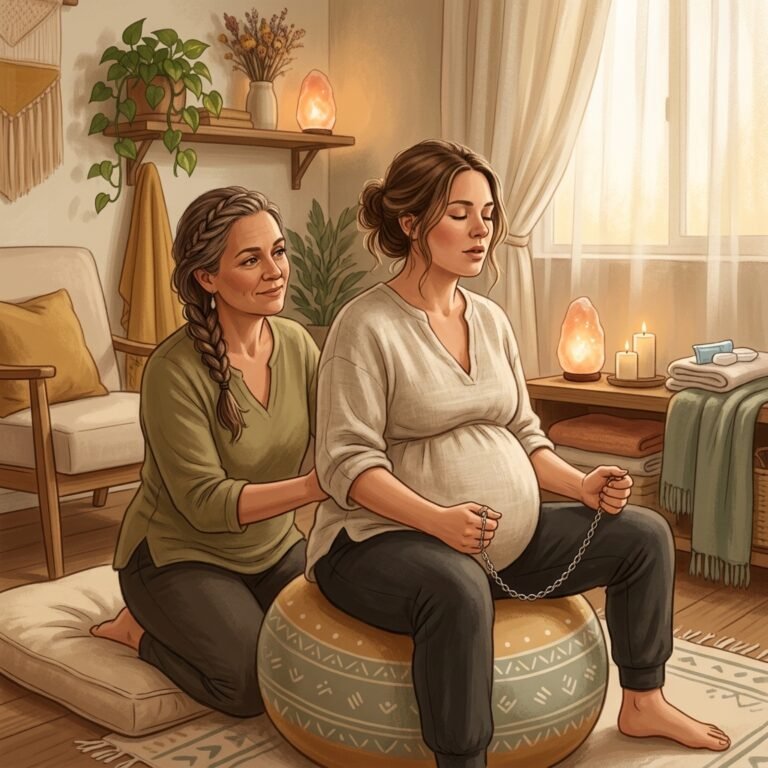
While you are leaning forward on the birth ball performing your lateral slides, your partner can apply a technique called the double hip squeeze. This provides counter pressure that relieves the intense ache of lower back labor and sacroiliac (SI) joint pain.
- Partner Positioning: Have your partner kneel directly behind you on the mat.
- Hand Placement: Your partner should place the meaty part of their palms on the fleshy part of your glutes, right over the SI joints (the two dimples on your lower back).
- The Squeeze: As you exhale and slide laterally, your partner should press firmly inward and slightly upward, pushing your hips together. This counteracts the outward pressure of the baby’s head on your pelvic bones.
- Communication: Always tell your partner if you need more or less pressure.
Partner Script: “You are doing so beautifully. Breathe with me. Inhale… two, three, four. Exhale… let your pelvis melt open. I’ve got you.”
This combined movement—your asymmetrical slide paired with their stabilizing counter pressure—is a doula’s secret weapon for managing intense back labor and keeping you grounded.
When to Use the Lateral Slide: A Labor Phase Guide
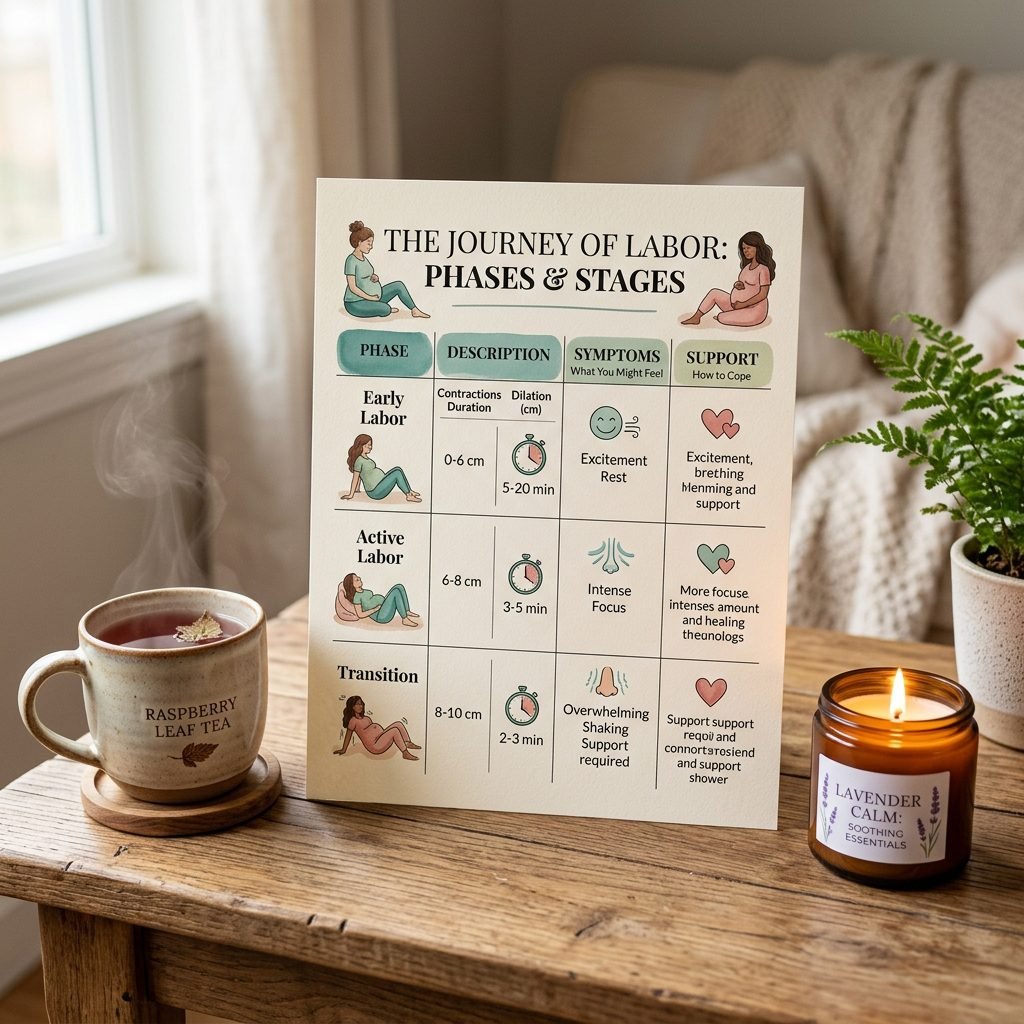
Knowing how to do the stretch is only half the battle; knowing when to use it is where the real birth magic happens. The lateral slide is versatile, but its benefits change depending on what phase of pregnancy or labor you are currently experiencing. I have created this simple, easy-to-read guide so you and your birth team know exactly when to pull this tool out of your toolbox.
| Pregnancy / Labor Phase | How Lateral Slides Help | Recommended Duration & Frequency |
|---|---|---|
| Third Trimester (32-40 Weeks) | Relieves round ligament pain, balances the pelvis, and encourages baby to drop into the pelvic inlet. | 10-15 minutes daily as part of an evening relaxation routine. |
| Early Labor (0-6 cm) | Provides a gentle distraction, keeps the body moving, and helps the baby engage into the pelvis. | 10-15 stretches per side every hour, resting in between. |
| Active Labor (6-8 cm) | Creates crucial asymmetrical space for the baby to rotate through the mid-pelvis. Highly effective for stalling labor. | During contractions (if comfortable) or between contractions for 5-10 minutes. |
| Transition (8-10 cm) | Relieves intense pelvic pressure and back labor. Best combined with partner counter pressure. | As needed for pain relief. Focus heavily on deep, vocalized exhales. |
Remember, mama, your body will tell you what it needs. If you attempt a lateral slide during labor and it feels wrong or increases your pain sharply, stop immediately. The golden rule of labor positioning is to follow your comfort. Comfort equals relaxation, and relaxation equals dilation.
Conclusion
Sweet friend, preparing your body for birth is an incredible act of love. By practicing the lateral slide birth ball stretch, you are not just stretching muscles; you are actively communicating with your baby, creating a spacious, welcoming pathway for their arrival into the world. Be gentle with yourself as you practice. Some days your pelvis will feel fluid and open, and other days it will feel heavy and tight. Both are normal, and both are okay.
Keep your birth ball inflated, keep your water bottle full, and keep reminding yourself of your inherent strength. You are built for this, your baby knows exactly what to do, and together, you are going to experience a miraculous transition. I am cheering you on every single step, slide, and breath of the way.
I trust my body. I trust my baby. I am safe, I am supported, and I am ready.