The Best Birth Ball Stretches to Get Baby Into the Optimal Head-Down Position
Welcome to Your Empowered Pregnancy Journey, Mama
Hello, beautiful soul. As a doula, I have seen firsthand how a simple tool—the humble birth ball—can become a mother’s best friend in the final weeks of pregnancy. You are likely here because you want to give your baby the best possible ‘start’ by encouraging them into the Occiput Anterior (OA) position—that’s the golden standard where baby is head-down and facing your back. When baby is positioned correctly, labor often progresses more smoothly, and those intense ‘back labor’ sensations are minimized.
Think of your pelvis as a soft, adaptable bowl and your baby as a clever little passenger. By using birth ball stretches, we aren’t just ‘working out’; we are creating space, releasing tight ligaments, and using the gentle force of gravity to invite your little one to settle into the optimal spot. Whether you are 34 weeks or 39 weeks, it is never too late to start these rhythmic, soothing movements. Let’s dive into how you can use your birth ball to prepare your body and your baby for the big day.
Finding Your Perfect Match: The Birth Ball Sizing Guide
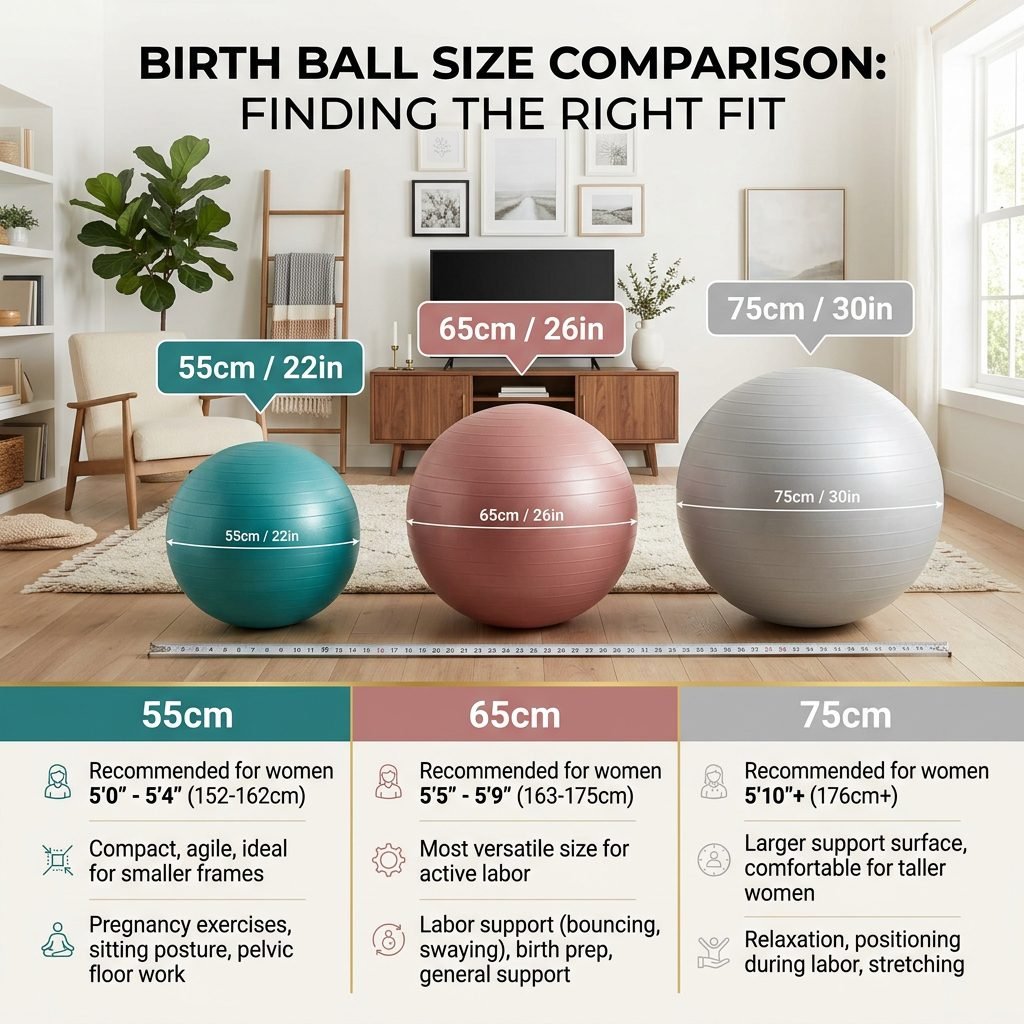
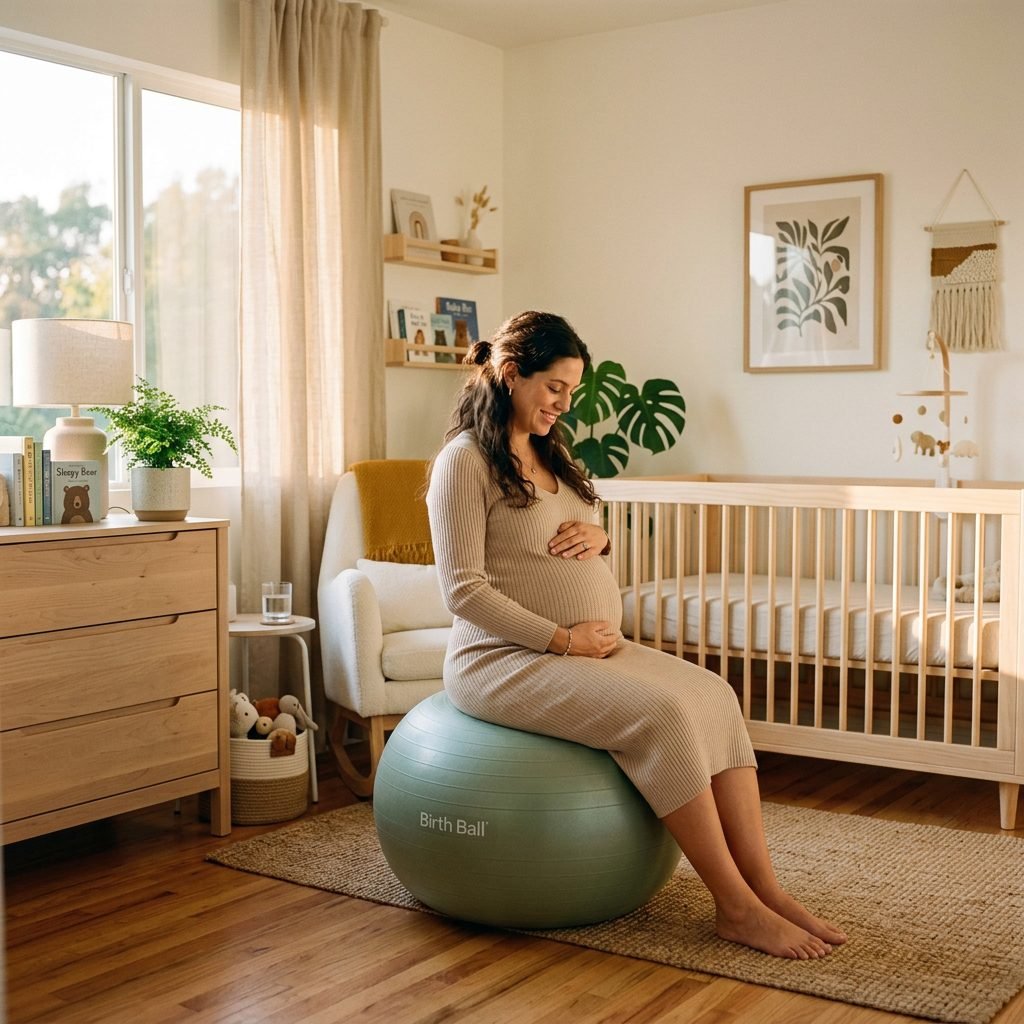
Before we begin our stretches, we must ensure your equipment is safe and supportive. A birth ball that is too small will cause your hips to sink lower than your knees, which can actually encourage baby to tuck into a less-than-ideal position. We want your hips to be slightly higher than your knees to keep the pelvis open and forward-leaning.
How to Measure for Success
When you sit on the ball, your thighs should be angled slightly downward. If you feel like you are squatting deeply, the ball needs more air or you need a larger size. Follow this general sizing guide to ensure your comfort and safety:
| Your Height | Recommended Ball Size |
|---|---|
| Under 5’4″ (162 cm) | 55 cm Ball |
| 5’4″ to 5’10” (162 – 178 cm) | 65 cm Ball |
| Over 5’10” (178 cm) | 75 cm Ball |
Doula Tip: Always ensure your ball is ‘anti-burst’ rated. This means if it gets a puncture, it will deflate slowly rather than popping, keeping you and baby safe.
The Foundation: Pelvic Tilts and Rhythmic Rocking
Waking Up the Pelvic Floor
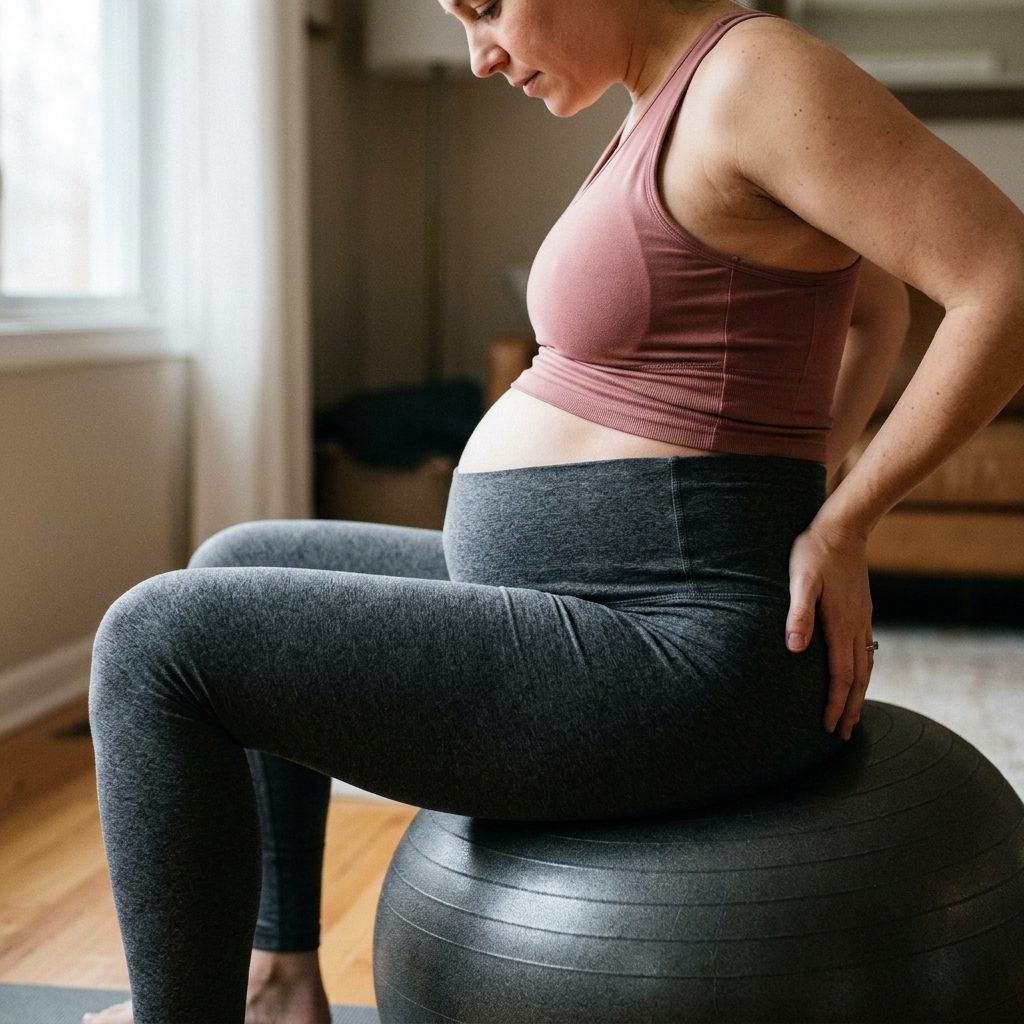
The first step in encouraging baby to move is to loosen the lower back and the pelvic floor. Pelvic tilts are the ‘bread and butter’ of pregnancy comfort. They help to tuck the tailbone and create a gentle rocking motion that can nudge a ‘sunny-side-up’ (OP) baby to rotate.
Step-by-Step Pelvic Tilts
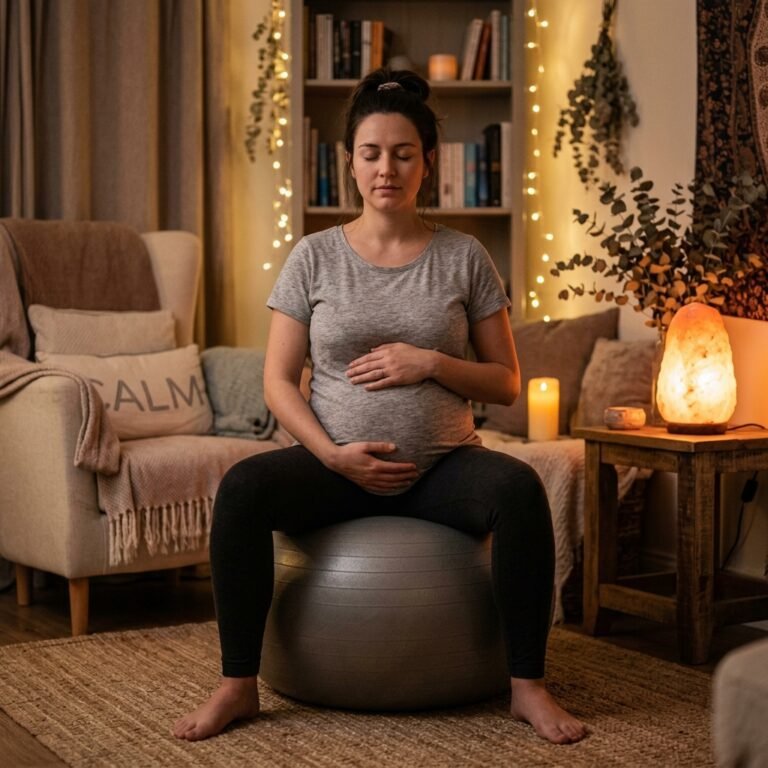
- Sit squarely on the center of your ball with your feet planted wider than hip-width apart for stability.
- Place your hands on your knees or your hips.
- As you inhale, gently arch your lower back and look slightly upward (avoid over-extending).
- As you exhale, tuck your tailbone under, pulling your belly button toward your spine and rounding your lower back.
- Repeat this for 10 to 15 breaths, focusing on the fluidity of the movement.
By doing this, you are effectively ‘swinging the hammock’ of your uterus, making it easier for the heaviest part of the baby (their back) to swing toward the front of your belly.
The Hula Hoop: Opening the Pelvic Brim
Circular Magic for Fetal Engagement
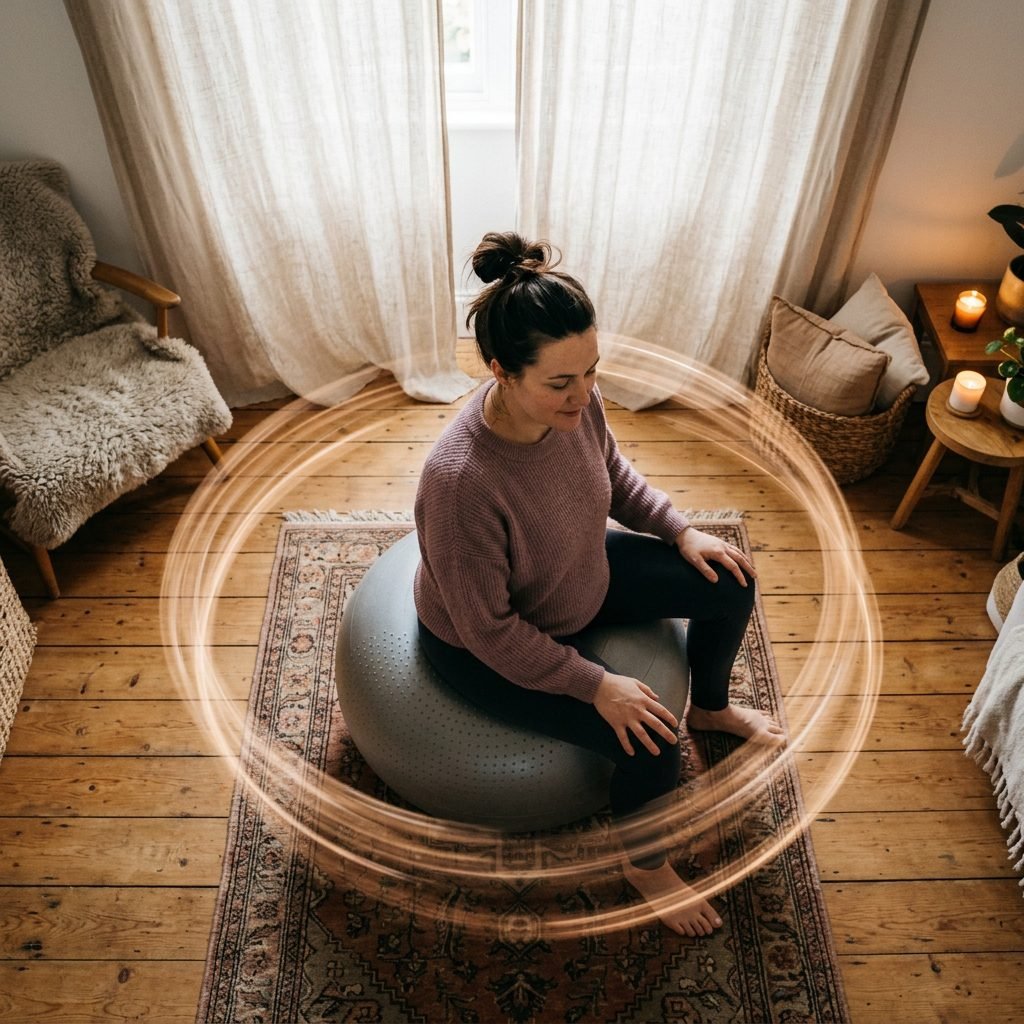
If pelvic tilts are the foundation, ‘Hula Hoops’ are the secret sauce. This circular motion helps to soften the sacroiliac (SI) joints and the symphysis pubis, allowing the pelvic brim to open wide. This is particularly helpful if your baby is still high up and hasn’t ‘dropped’ or engaged yet.
How to Perform Birth Ball Circles
- Sit tall on your ball, imagining a string pulling the crown of your head toward the ceiling.
- Begin to move your hips in a small clockwise circle.
- Gradually increase the size of the circle as your hips feel looser.
- Switch to a counter-clockwise direction after 2 minutes.
- Focus on keeping your upper body still while your pelvis does all the work.
Affirmation: “With every circle, I create space for my baby. My body is soft, my pelvis is open, and my baby is finding their way.”
Gravity-Assisted Forward Leaning for Back Labor Relief
Getting Baby Off Your Spine
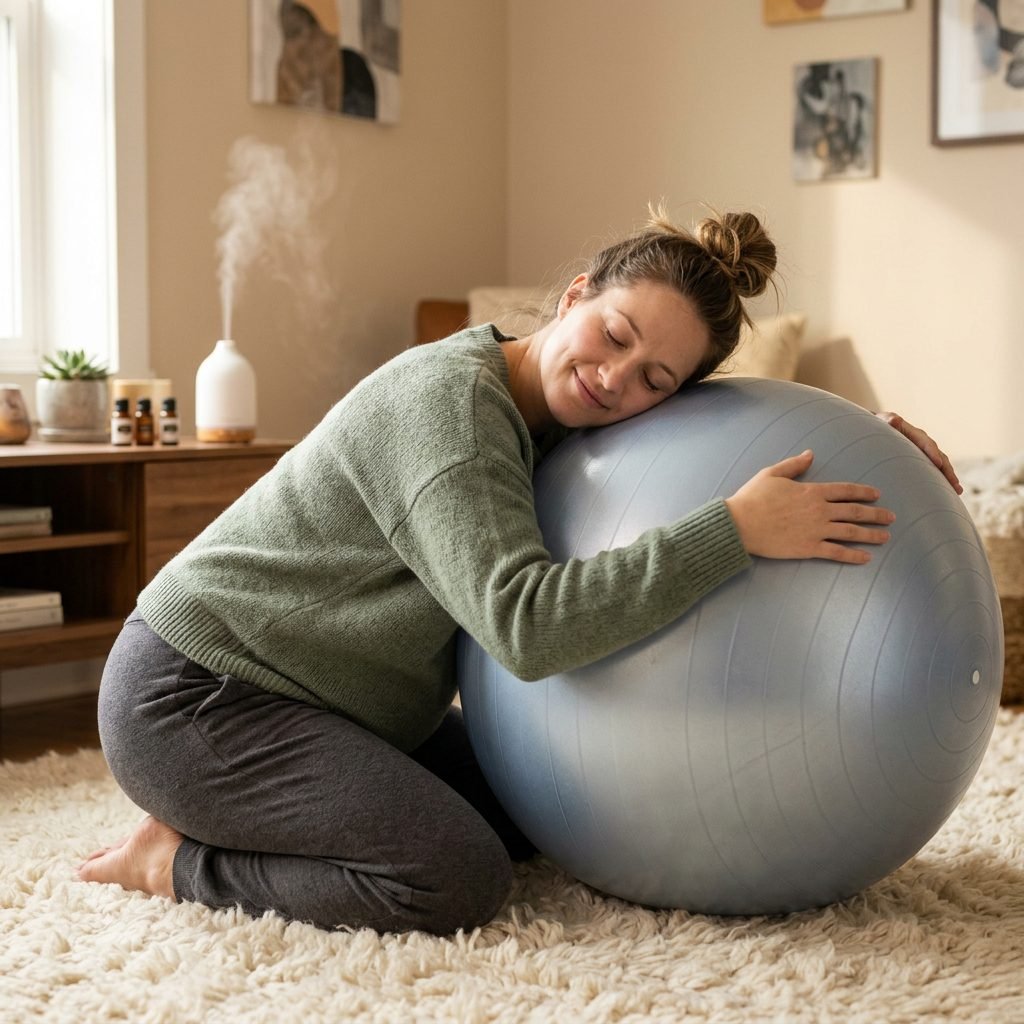
If you are experiencing ‘back labor’ or a lot of pressure in your lower spine, your baby might be in a posterior position. The best way to fix this is to get Forward-Leaning Inversions or simple forward leans. This uses gravity to pull the baby’s weight away from your spine and toward the ‘hammock’ of your abdominal wall.
The Ball-Hug Stretch
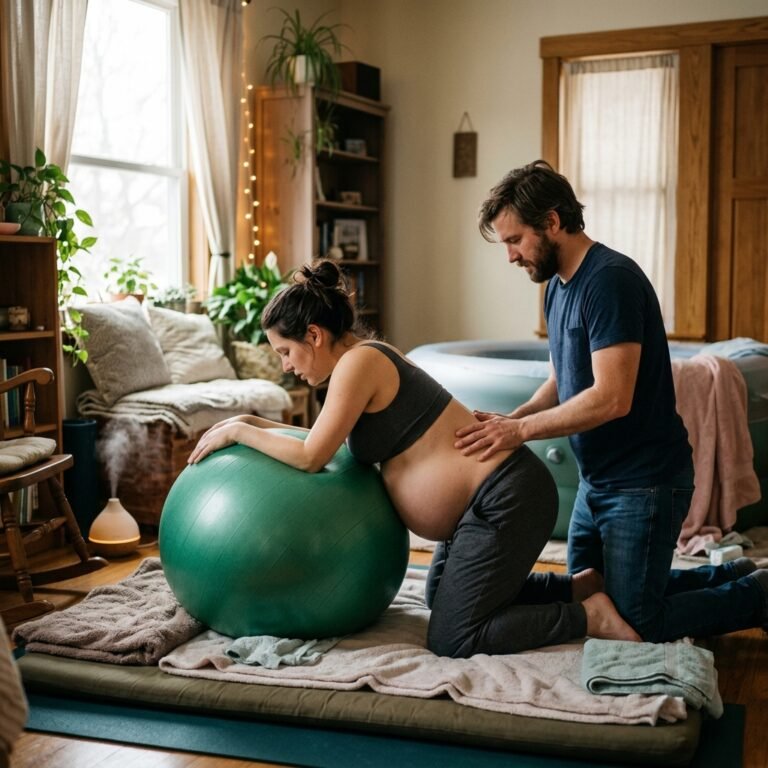
- Kneel on a soft yoga mat or carpet in front of your birth ball.
- Open your knees wide to make plenty of room for your belly.
- Lean forward and drape your chest and arms over the ball.
- Rest your head on your hands or the ball itself.
- Gently sway your hips from side to side like a wagging tail.
This position is incredibly restorative. Stay here for 5 to 10 minutes. It’s also a fantastic position for your partner to provide a lower back massage or apply counter-pressure during early labor.
The Figure-Eight: Asymmetrical Movement for Stubborn Positions
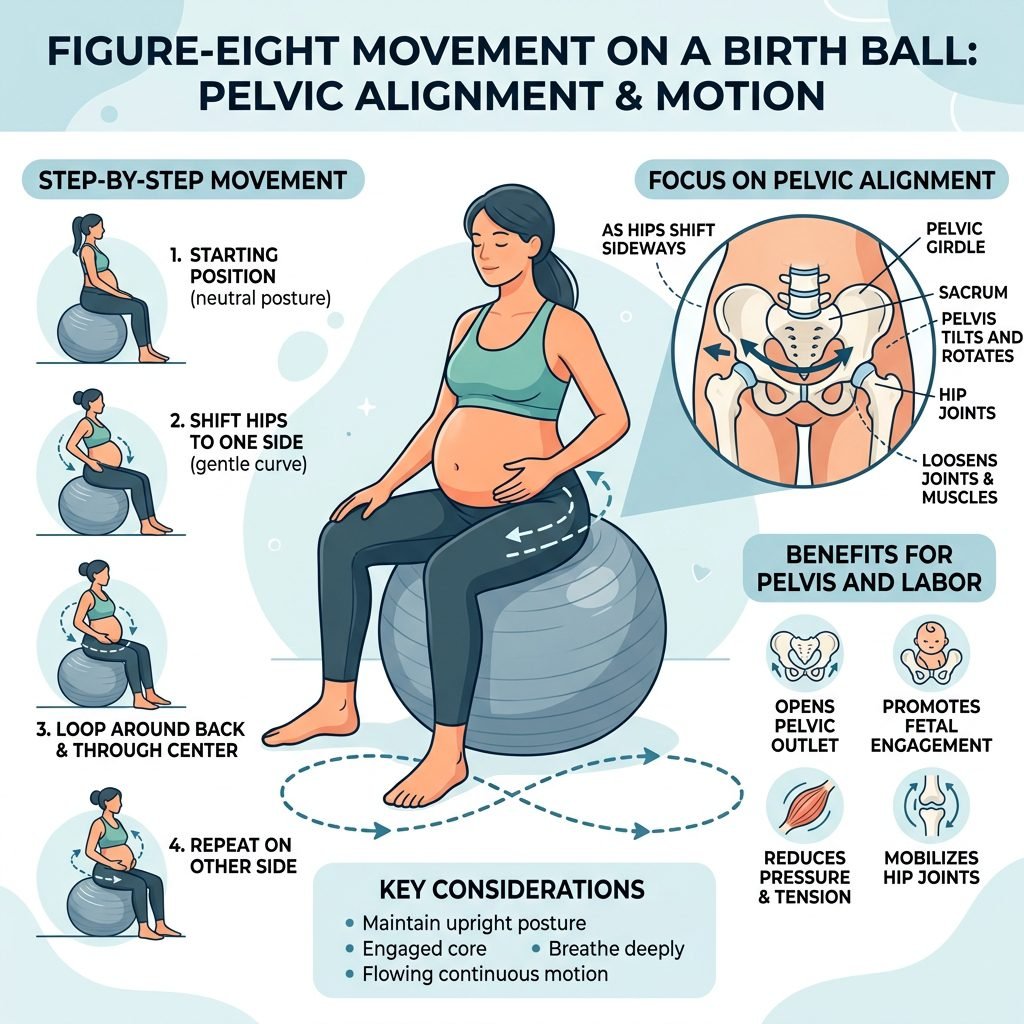
The Power of Asymmetry
Sometimes, baby gets ‘stuck’ on a pelvic shelf. When linear movements (like rocking) don’t work, we turn to asymmetrical movements. The ‘Figure-Eight’ or ‘Infinity Loop’ movement forces the pelvis to shift in a way that can help a baby rotate their head to find the path of least resistance.
| Movement Type | Benefit for Baby | When to Use |
|---|---|---|
| Pelvic Tilts | Relieves back pain | Daily for comfort |
| Hula Hoops | Encourages engagement | Early 3rd Trimester |
| Figure-Eights | Helps rotation (OP to OA) | 37+ Weeks or during labor |
Mastering the Infinity Loop
- While sitting on the ball, shift your weight to your left sit-bone, then curve it forward.
- Shift the weight to the right sit-bone, then curve it backward.
- You are essentially drawing an ‘8’ on the floor with your pelvis.
- Keep your movements slow and intentional. If you feel a ‘pinch’, slow down and breathe into that space.
Creating Your Daily Birth Ball Ritual
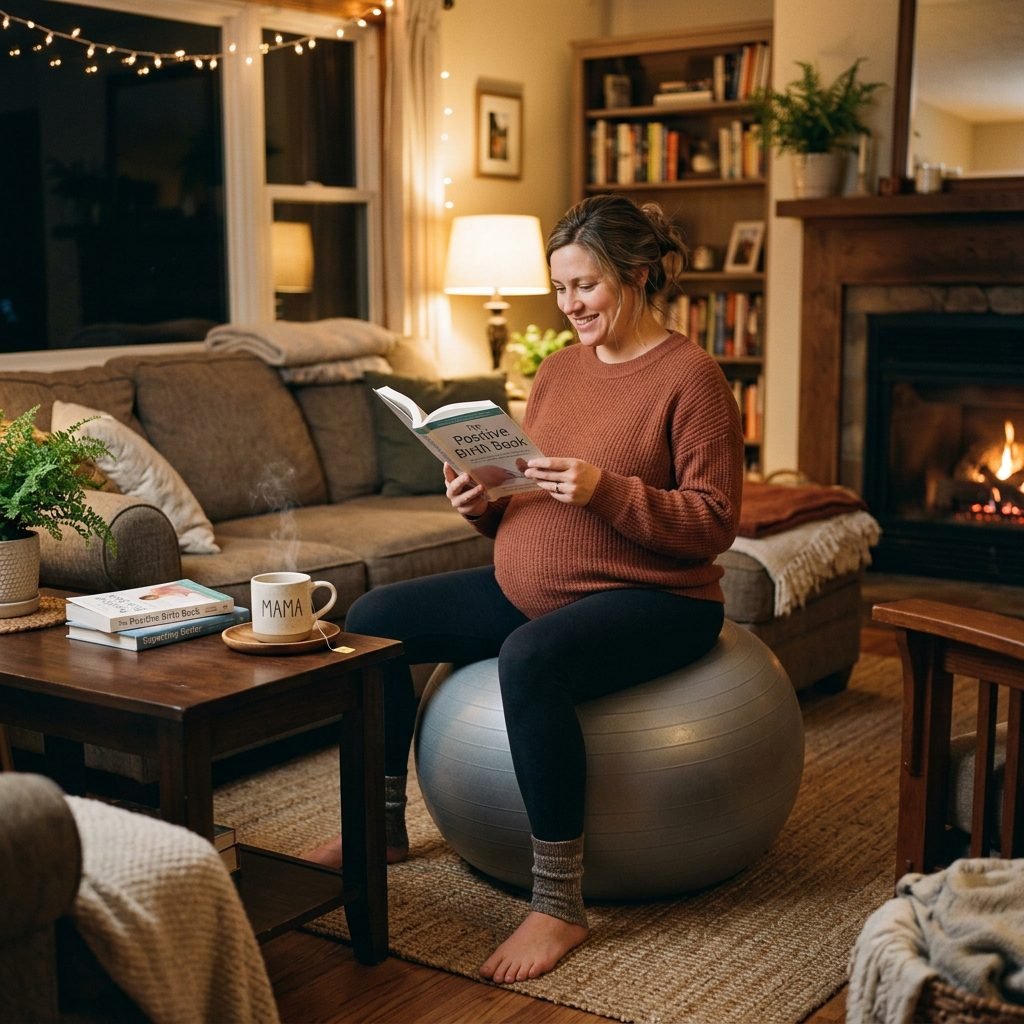
Consistency is Key
To truly influence fetal positioning, these stretches shouldn’t be a one-time event. I recommend a 20-minute daily ritual. You can even do these while watching your favorite show or reading a book on nursery organization!
A Sample Routine for Optimal Positioning
- 0-5 Minutes: Gentle bouncing to warm up the pelvic floor (keep feet flat!).
- 5-10 Minutes: Large Hula Hoop circles (both directions).
- 10-15 Minutes: Figure-Eights to encourage rotation.
- 15-20 Minutes: Forward-leaning ‘Ball Hug’ to finish in a relaxed, gravity-positive state.
Remember, Mama, your body was built for this. These stretches are simply tools to help you communicate with your baby and prepare your ‘birth gates’ to open when the time is right.
Conclusion
Trust the Process, Trust Your Body
Using a birth ball is one of the most proactive and soothing ways you can prepare for labor. By incorporating these stretches, you are not only helping your baby find the optimal head-down position, but you are also building the muscle memory and pelvic flexibility that will serve you during delivery. Be patient with yourself and your little one. Sometimes babies need a few days of consistent movement to make that final turn.
You are doing an incredible job, Mama. Whether this is your first baby or your fourth, your dedication to your physical comfort and your baby’s positioning is a beautiful act of love. Keep breathing, keep moving, and trust that your body knows exactly what to do.