5 Safe Acupressure Points to Help Induce and Speed Up Labor Naturally
The Science, Safety, and Setup of Labor Acupressure
When is it Safe to Start?
You should never begin labor-inducing acupressure before you are considered full-term. Most care providers recommend waiting until you are at least 38 to 39 weeks pregnant. If you have a high-risk pregnancy, placenta previa, or preeclampsia, you must skip this entirely unless explicitly directed by your medical provider. Always text or call your OB or midwife before beginning any induction techniques.
How to Apply Pressure
When applying acupressure, you or your partner should use a thumb, knuckle, or the eraser end of a pencil to apply firm, steady pressure. You want to press hard enough to feel a dull ache or a heavy sensation, but it should never be sharply painful. Hold each point for 1 to 3 minutes, breathing deeply through the pressure.
| Acupressure Dos | Acupressure Don’ts |
|---|---|
| Do wait until at least 38-39 weeks of pregnancy. | Don’t use these points if you are at risk for preterm labor. |
| Do create a calm, dimly lit, spa-like environment. | Don’t press so hard that it causes sharp, unbearable pain. |
| Do pair pressure with deep, low vocalizations or breathing. | Don’t continue if you feel dizzy, nauseous, or panicky. |
| Do involve your birth partner for bonding and support. | Don’t use points over broken skin, bruises, or varicose veins. |
Point 1: Spleen 6 (Sanyinjiao) – The Cervix Softener
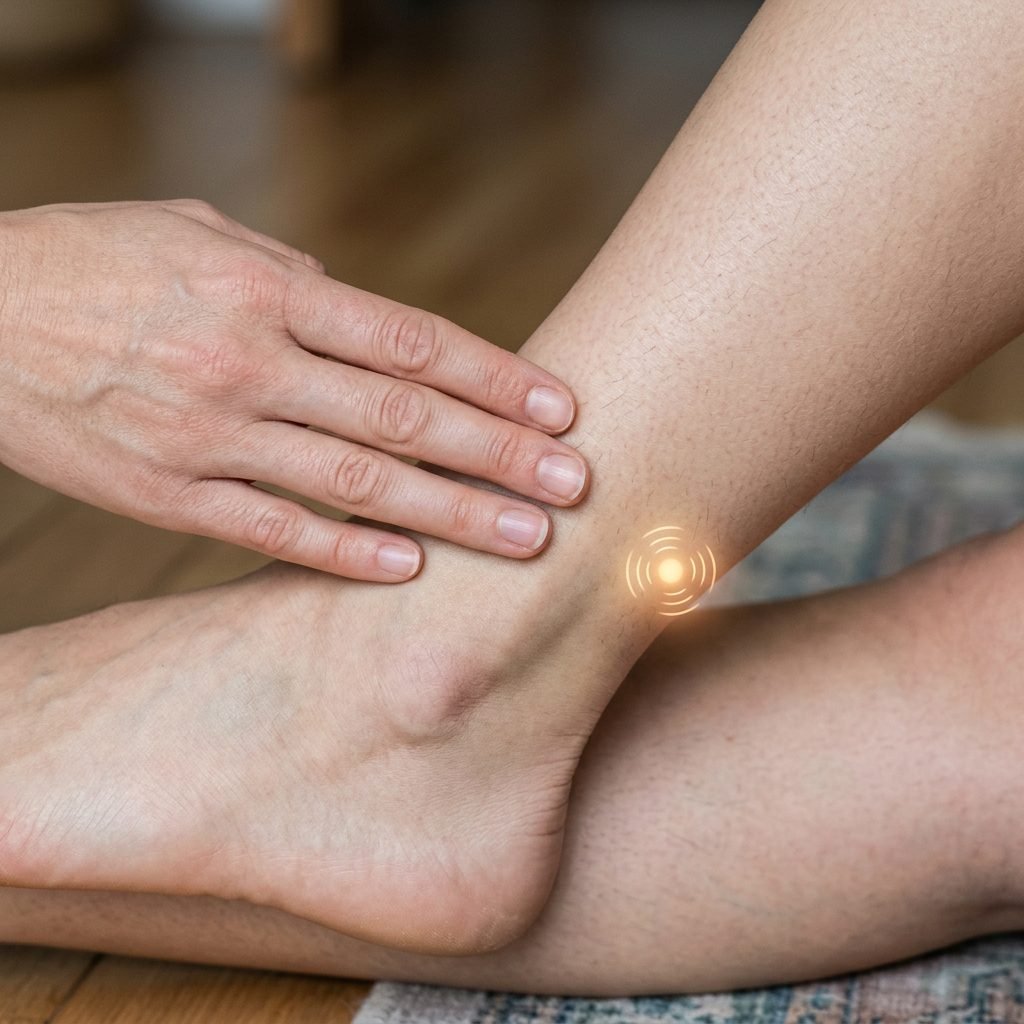
How to Find and Stimulate Spleen 6:
- Sit comfortably on a birth ball or recline on your bed with a maternity pillow supporting your back.
- Locate the highest peak of your inner ankle bone (the medial malleolus).
- Place four of your fingers flat right above the inner ankle bone.
- The Spleen 6 point is located just above your top finger, slightly behind the shin bone (tibia). You will usually feel a slight, tender indentation here.
- Have your partner apply firm, direct pressure using their thumb.
- Hold the pressure for 60 to 90 seconds. As they press, take deep, slow breaths, visualizing your cervix melting and opening like a blooming flower.
- Release for 1 minute, then repeat on the other leg.
“My body is relaxed. My baby is descending. I trust the timing of my birth. With every exhale, I am opening.”
Point 2: Large Intestine 4 (Hegu) – The Contraction Booster

How to Find and Stimulate Large Intestine 4:
- Rest your hand on your lap, keeping your fingers relaxed and slightly curved.
- Look at the webbing between your thumb and your index finger.
- Squeeze your thumb and index finger together. You will see a small mound of muscle bulge up in the webbing.
- The point is right at the highest peak of that muscle mound.
- Using the thumb and index finger of your opposite hand (or your partner’s hand), pinch this webbing firmly. Angle the pressure slightly inward toward the bone of the index finger.
- Apply firm, steady pressure or use small circular massaging motions for 1 to 2 minutes.
- Switch to the other hand.
Doula Tip: During active labor, have your partner press this point exactly as a contraction begins, hold it through the peak of the contraction, and release it as the contraction fades. This gives your brain a secondary sensation to focus on, effectively reducing your perception of the contraction pain.
Point 3: Bladder 32 (Ciliao) – The Lower Back Reliever
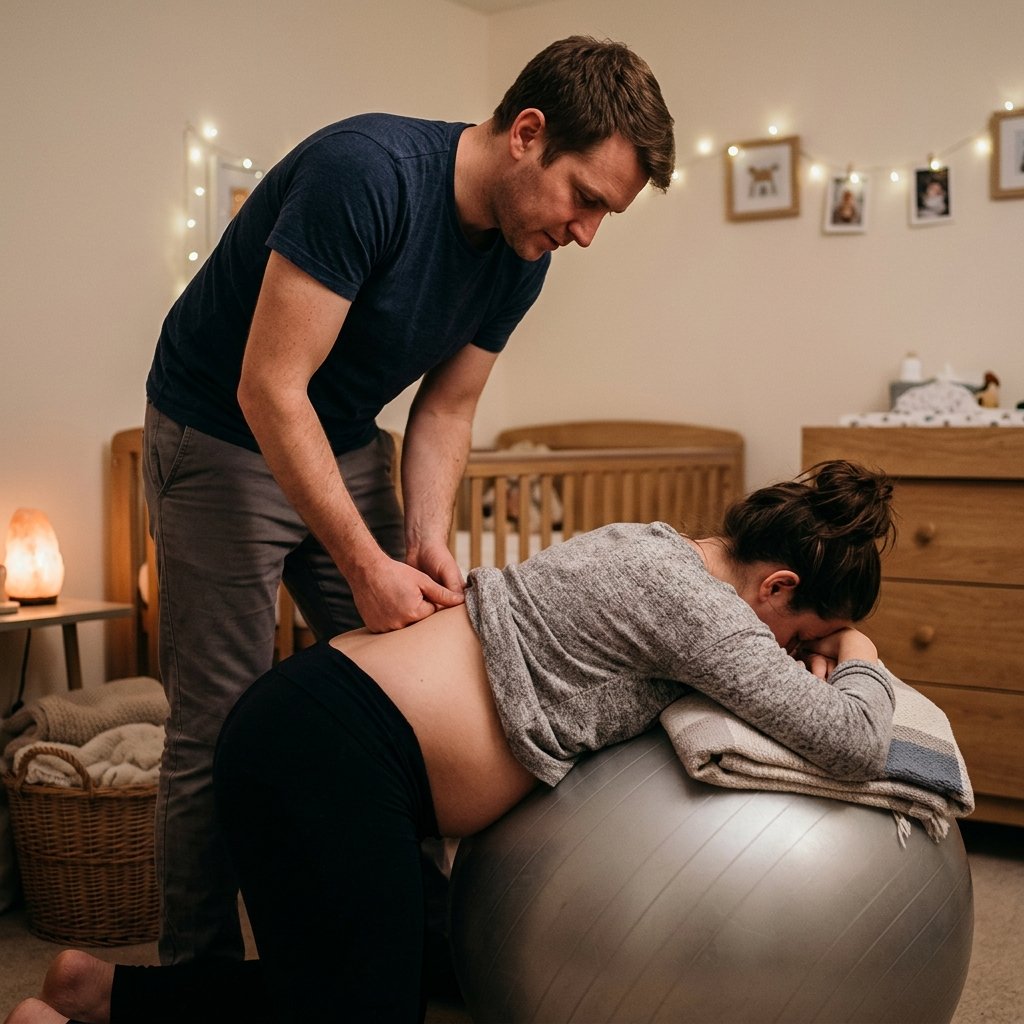
How to Find and Stimulate Bladder 32:
- Stand up and lean forward over a hospital bed, a countertop, or a birth ball. Alternatively, kneel on all fours (a great position for rotating a posterior baby).
- Have your partner locate the dimples at the base of your lower back, just above your buttocks.
- The Bladder 32 points are located in the hollows of the sacrum, roughly one index finger width below those dimples and one thumb width on either side of the spine.
- Your partner should press deeply into these hollows using their knuckles or thumbs. Because the tissue here is thicker, they can apply significantly more pressure than on the hands or ankles.
- Have them press firmly for 2 to 3 minutes, or continuously during a contraction.
| Labor Phase | Best Position for Bladder 32 | Partner Action |
|---|---|---|
| Early Labor | Standing, swaying hips side to side. | Firm, circular massage over the dimples to encourage baby’s descent. |
| Active Labor | Kneeling over a birth ball or peanut ball. | Deep, sustained knuckle pressure during the entire length of the contraction. |
| Transition | Side-lying with a peanut ball between legs. | Counter-pressure on the sacrum combined with warm compresses. |
Point 4: Gallbladder 21 (Jianjing) – The Downward Energy Flow

How to Find and Stimulate Gallbladder 21:
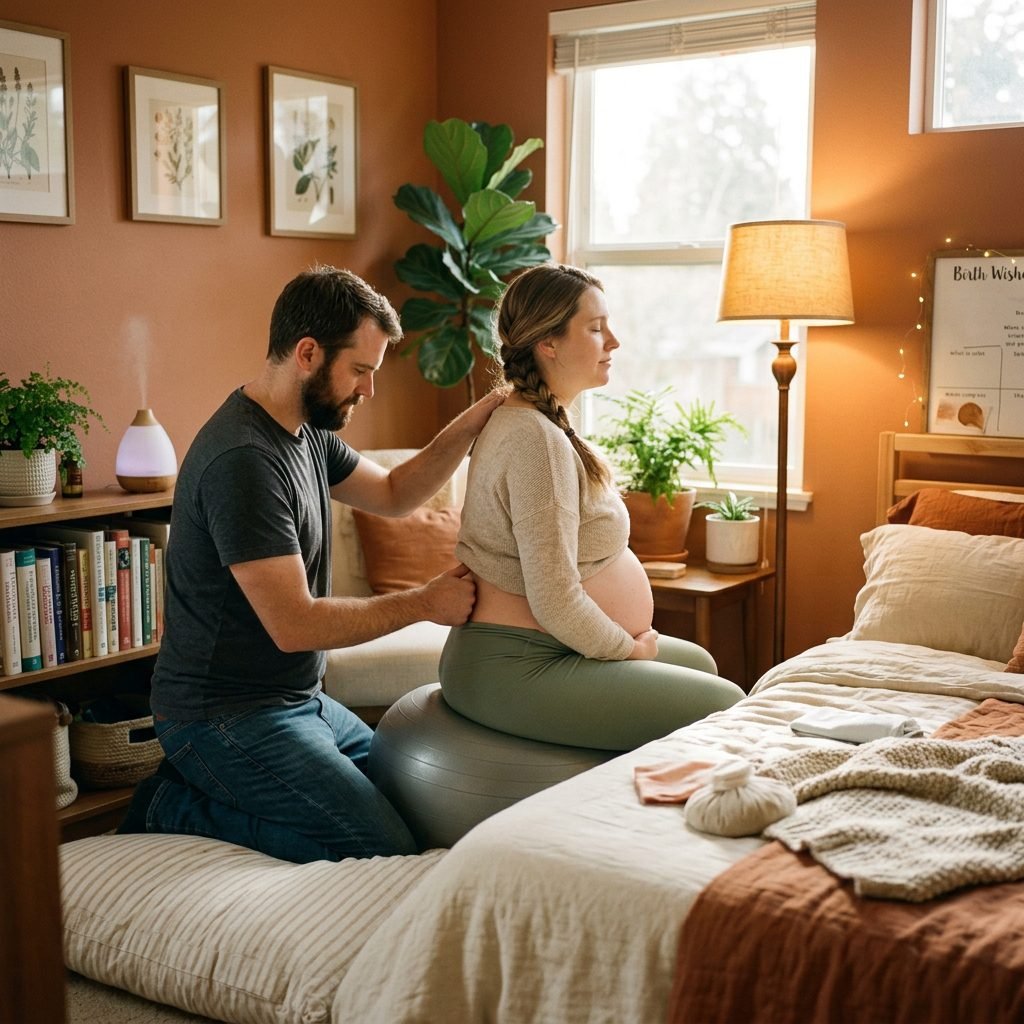
- Sit comfortably with your arms resting in your lap. Drop your shoulders away from your ears.
- Have your partner stand behind you.
- Locate the bony bump at the base of your neck (the C7 vertebra).
- Find the edge of your shoulder joint.
- Gallbladder 21 is located exactly halfway between the base of your neck and the edge of your shoulder, right in the belly of the upper trapezius muscle.
- Have your partner use their thumbs or knuckles to press firmly downward into this muscle.
- Hold for 1 to 2 minutes while you practice deep belly breathing.
Warning: This point has a very strong downward-pulling action. It is highly effective for induction, but it should be completely avoided prior to 38 weeks of pregnancy.
Point 5: Kidney 1 (Yongquan) – The Grounding Anchor
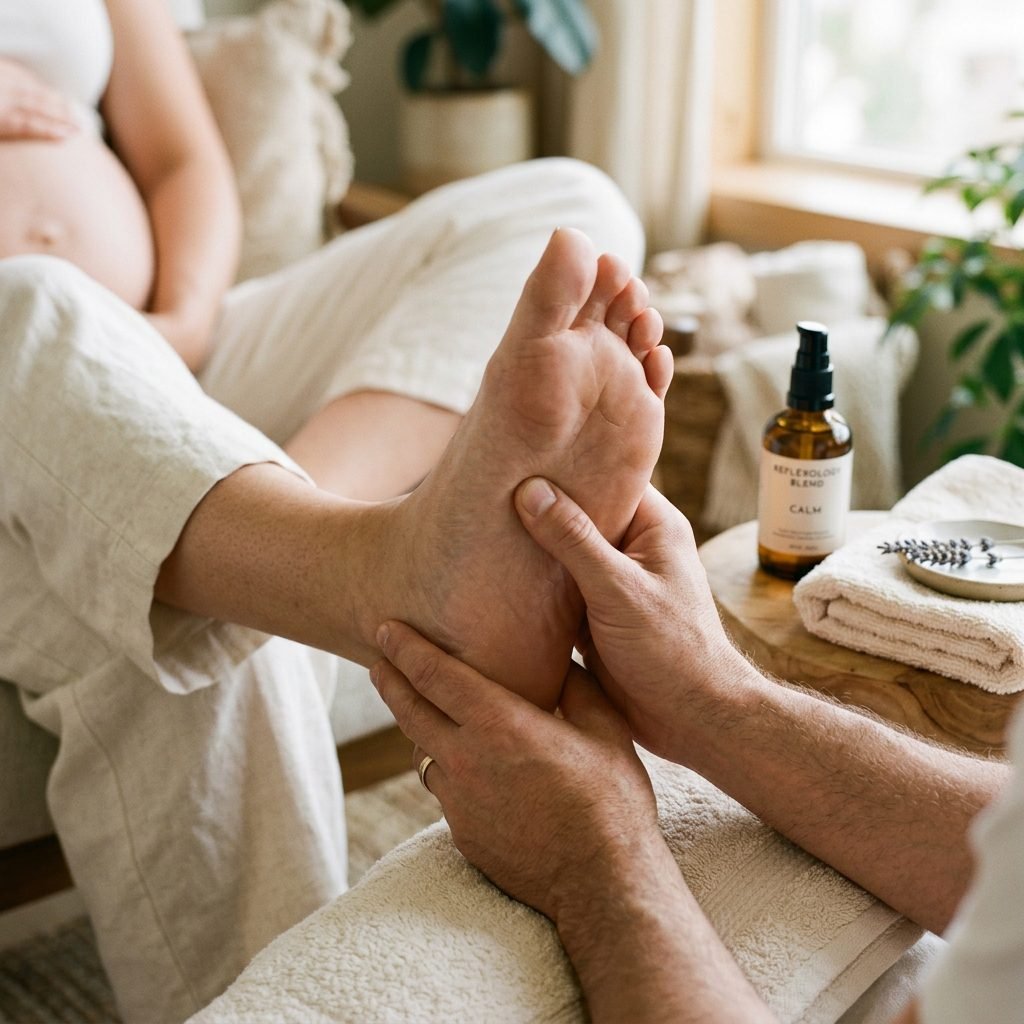
How to Find and Stimulate Kidney 1:
- Sit back in a comfortable chair and bring one foot up to rest on your opposite knee (or better yet, have your partner sit at your feet).
- Look at the sole of your foot.
- Imagine dividing your foot into thirds, from the base of your toes to your heel.
- Kidney 1 is located in the depression that forms in the upper third of the sole when you curl your toes inward. It is right in the center of the foot, just below the ball of the foot.
- Using a thumb, press firmly into this depression.
- Hold the pressure for 2 to 3 minutes. This is an excellent time for your partner to give you a full foot massage, using a pregnancy-safe lotion or a carrier oil blended with a drop of clary sage essential oil (if cleared by your provider).
“I release my fears. I release my tension. I am anchored to the earth, and my body is a safe place for my baby to be born.”