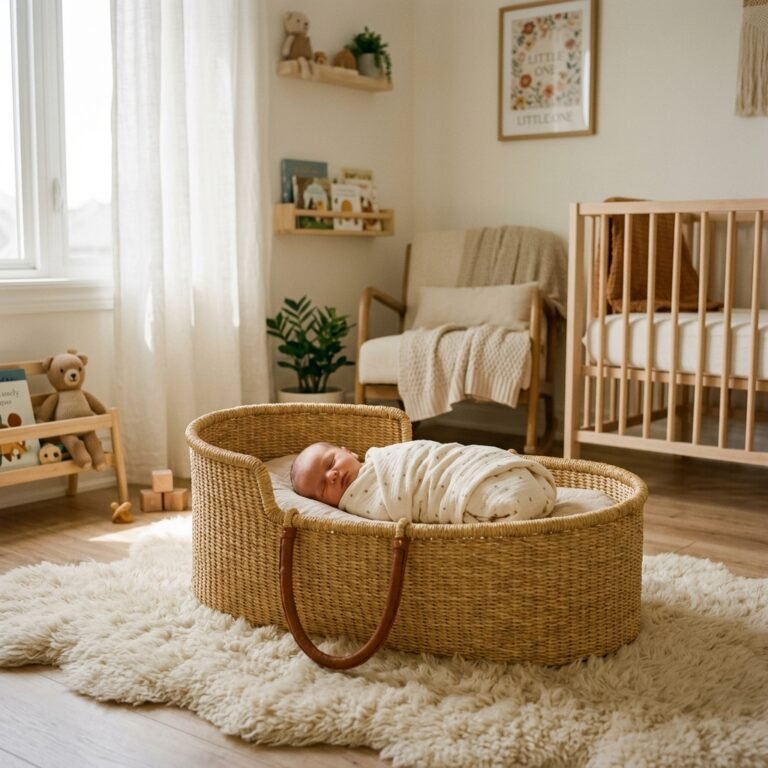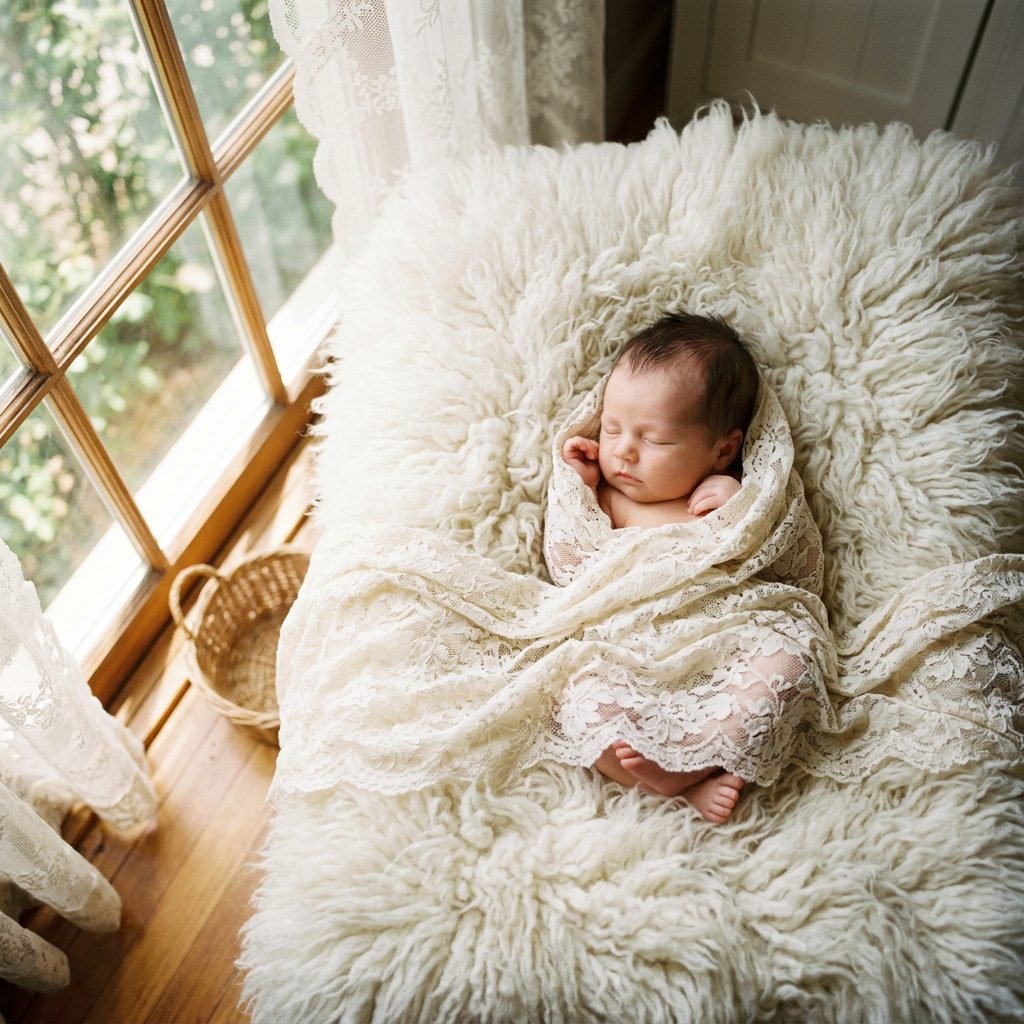
How to Safely Wrap Your Newborn in a Vintage Lace Scarf for Photos
Welcome to Your Beautiful DIY Milestone, Mama
Hello, sweet friend. First of all, take a deep breath and look at what you have created. Whether you are days or weeks into your postpartum journey, you are doing an incredible job. As a doula and pediatric sleep consultant, I know firsthand how fleeting these early newborn days can feel. The desire to freeze time and capture those tiny, curled-up details is so strong, and using a family heirloom—like a grandmother’s vintage lace veil or a beautifully thrifted lace scarf—adds a layer of breathtaking sentimentality to your baby’s photos.
But I also know that handling a fragile newborn while trying to play photographer can feel overwhelming. You might be wondering: Is this fabric too scratchy? How do I get them into those sleepy, curly poses without waking them up? How do I ensure their little hips and airways are completely safe?
Breathe in, Mama. You are creating a beautiful memory, but your baby’s safety and comfort will always come before the perfect shot. We are going to do this the gentle, doula-approved way.
In this comprehensive guide, we are going to walk through the exact steps to safely prepare your vintage lace, set up a womb-like environment in your home, and wrap your baby with the utmost care. We will focus heavily on newborn physiology, ensuring that their hips are supported and their breathing is never restricted. By the end of this guide, you will have the knowledge and confidence to capture stunning, professional-quality heirloom photos right in your own living room, all while keeping your sweet baby perfectly safe and content.
Prepping the Heirloom Fabric: Cleaning and Softening Vintage Lace
Why Fabric Preparation is Crucial for Newborn Skin
Before we even think about wrapping your little one, we need to talk about the fabric itself. Vintage lace is undeniably gorgeous, but it can also be stiff, dusty, and potentially irritating to a newborn’s delicate, fresh skin. Babies are born with a highly sensitive skin barrier, and older fabrics might harbor dust mites, lingering perfumes, or harsh starches from decades past.
The Gentle Washing Process
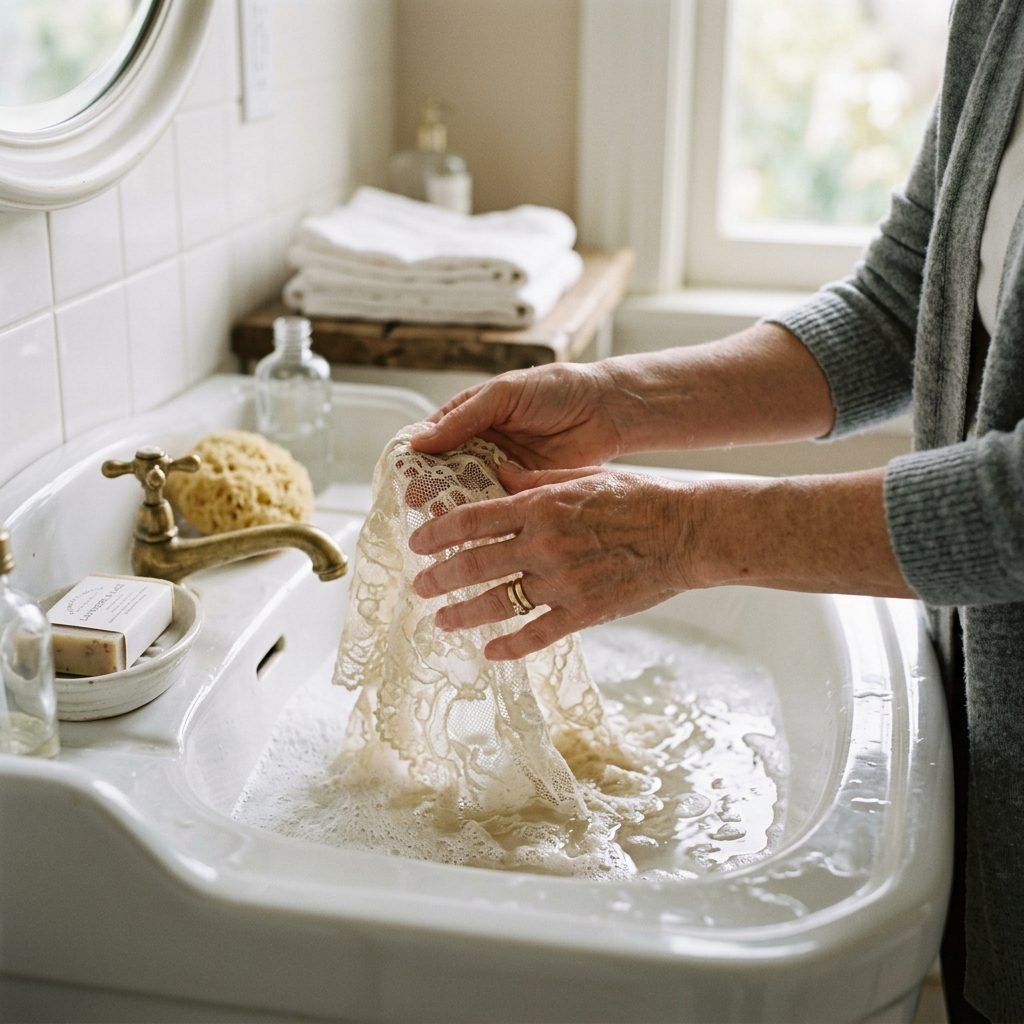
To ensure the lace is safe for your baby, it requires a gentle, non-toxic spa day of its own. Never put a vintage textile in a modern washing machine, even on the delicate cycle. Instead, follow these steps to hand-wash and soften the scarf:
- Step 1: The Soak. Fill a clean basin with lukewarm water. Add a few drops of a gentle, fragrance-free, baby-safe detergent. Submerge the lace and let it soak for 20 minutes to loosen any trapped dust.
- Step 2: The Rinse. Drain the soapy water and refill the basin with cool, clean water. Gently press the lace up and down. Never wring or twist vintage lace, as the fibers are fragile and can snap.
- Step 3: The Softening. To naturally soften stiff lace without harsh chemicals, add a splash of white vinegar to the final rinse water. This helps break down old starches and leaves the fabric much softer against the skin.
- Step 4: The Dry. Lift the lace out, supporting the entire piece so the weight of the water doesn’t stretch it. Lay it flat on a clean, dry towel, roll the towel up like a jelly roll to press out excess moisture, and then unroll it to air dry flat.
| Fabric Care Action | Why It Matters for Your Baby |
|---|---|
| Using Fragrance-Free Detergent | Prevents contact dermatitis and protects baby’s sensitive respiratory system. |
| Vinegar Rinse vs. Fabric Softener | Commercial softeners leave a chemical film; vinegar naturally softens and evaporates cleanly. |
| Air Drying Flat | Maintains the delicate structure of the lace so it drapes beautifully over your baby. |
Setting the Stage: Creating a Womb-Like Photography Studio
Recreating the Comfort of the Womb
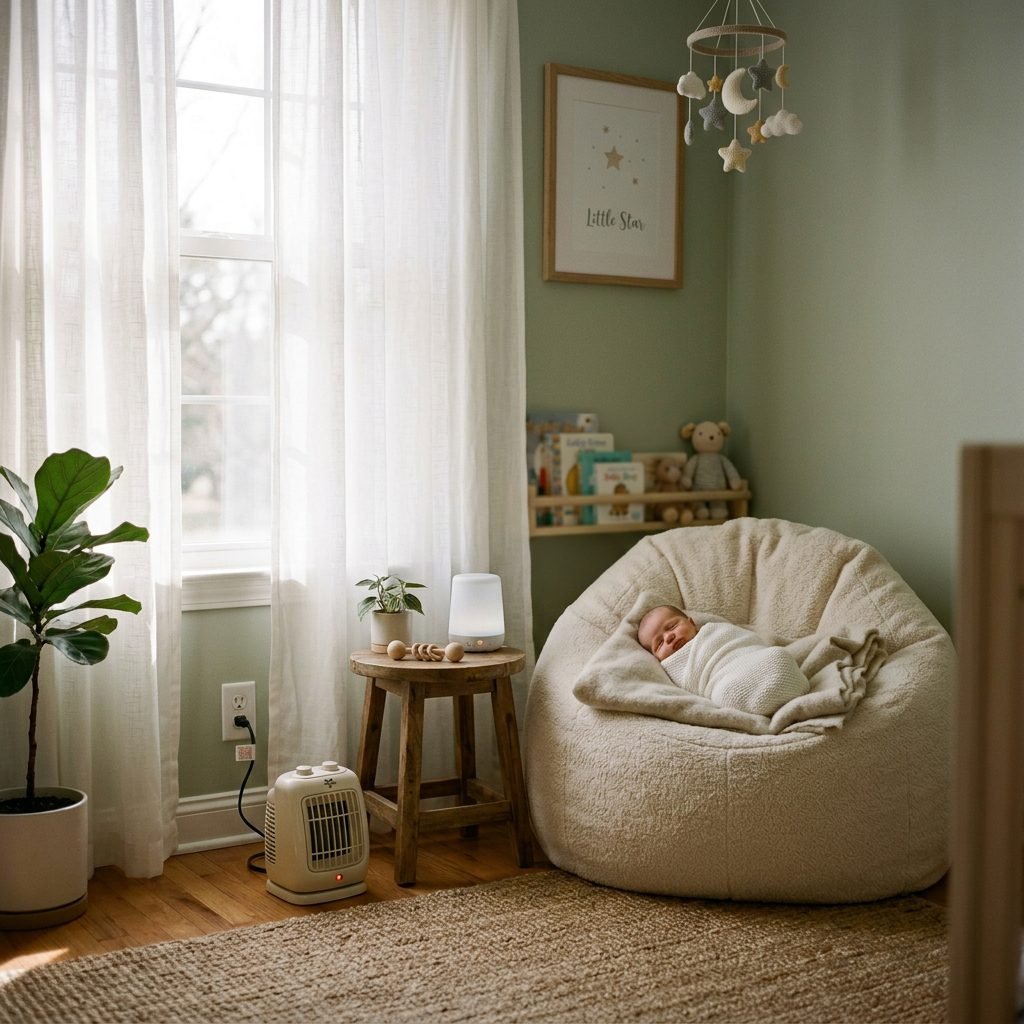
Professional newborn photographers know a secret: the key to those peaceful, curled-up poses isn’t magic—it’s temperature and sound. Your baby spent nine months in a very warm, very noisy, and very cozy environment. To keep them sleepy and compliant while you wrap them in lace, you need to recreate that environment in your chosen room.
Temperature and Lighting Setup
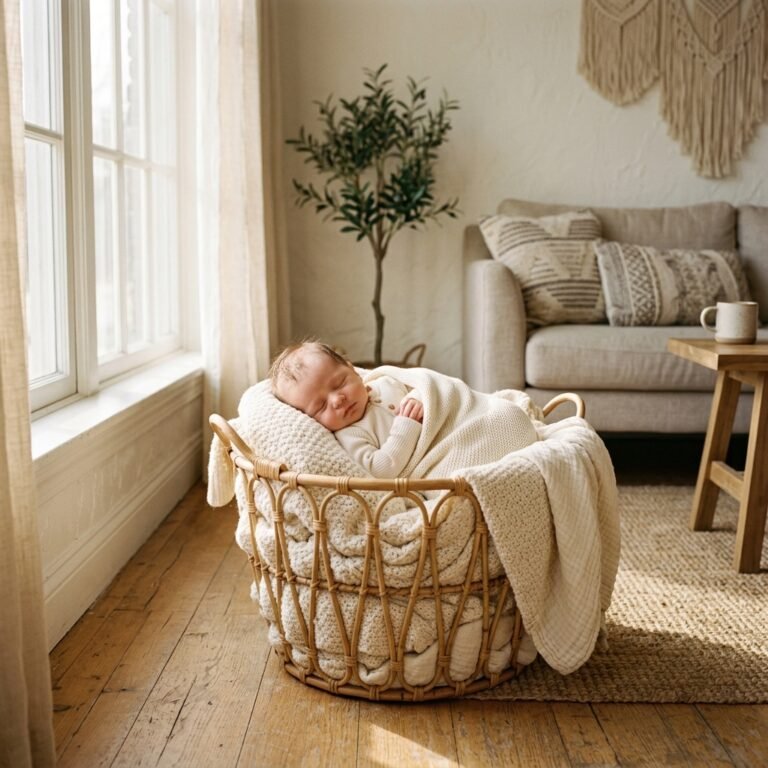
Choose a room with a large window that lets in plenty of indirect natural light. Avoid direct, harsh sunlight, as it will cast hard shadows and might overheat the baby. Before you begin, raise the temperature in the room. It should feel uncomfortably warm for you—around 78 to 80 degrees Fahrenheit. Because your baby will be lightly wrapped, they need this ambient heat to regulate their body temperature safely.
The Power of Sound and Satiety
Next, bring in a white noise machine. Set it to a consistent, deep sound (like a vacuum or womb heartbeat) and place it near the photography area. The volume should be similar to the sound of a strong shower. Finally, ensure your baby has a completely full belly. A milk-drunk baby is a sleepy, relaxed baby. Plan to feed them right before you begin the wrapping process.
| Environmental Element | Ideal Setting | Expert Doula Tip |
|---|---|---|
| Room Temperature | 78 – 80 Degrees F | Use a small, safe space heater nearby, but never point it directly at the baby’s skin. |
| Lighting | Indirect Window Light | Turn off all overhead artificial lights to avoid yellow/orange skin tones in your photos. |
| Sound | Continuous White Noise | Use a portable sound machine tucked under the posing blanket to mimic womb vibrations. |
| Baby’s State | Freshly Fed and Burped | Keep them upright for 10-15 minutes after feeding to prevent spit-up during the photo session. |
The Doula-Approved Wrapping Method: Safety, Hips, and Airways
The Golden Rule: Lace is for Draping, Not for Binding
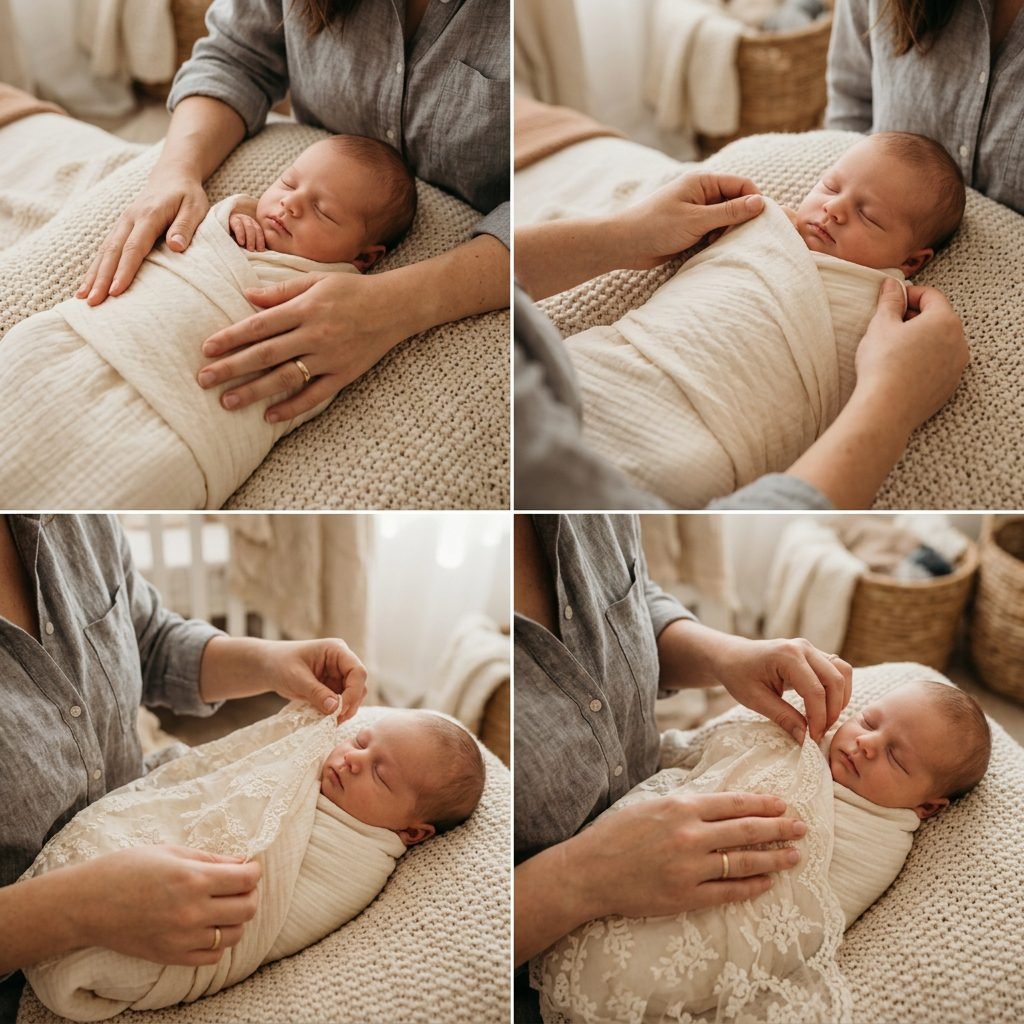
This is the most critical section of our guide, Mama. Vintage lace is beautiful, but it is often not stretchy. Wrapping a baby tightly in a non-stretch fabric can restrict their breathing and force their hips into an unsafe, straightened position, increasing the risk of hip dysplasia. Therefore, the lace is strictly a decorative top layer. We will use a soft, stretchy base swaddle to secure the baby safely first.
Step-by-Step Safe Wrapping Technique
- Prepare the Base: Lay down a soft, stretchy jersey or muslin swaddle on your safe posing surface (like a firm beanbag or a mattress on the floor).
- Position the Baby: Gently lay your sleepy baby on their back in the center of the base swaddle.
- Secure the Hips (The M-Shape): Gently guide your baby’s legs into a natural froggy position, where their knees are bent and splayed outward, and their hips are relaxed. Never pull a baby’s legs straight. Wrap the bottom of the base swaddle loosely around their hips, ensuring their legs have room to kick and settle naturally.
- Secure the Arms: Gently tuck their hands high up near their chest or face. This is a natural, soothing position for them. Bring the sides of the stretchy base swaddle over their arms and tuck it snugly behind their back.
- Check the Airway: Ensure the base swaddle sits well below their chin. You should be able to easily fit two fingers between the baby’s chest and the fabric. Their chin should be up, not pressed down into their chest.
- Drape the Vintage Lace: Now, take your beautiful, softened vintage lace scarf. Instead of wrapping it tightly, gently drape it over the base swaddle. You can tuck the edges of the lace under the baby’s body to give the illusion of a full lace wrap. Let the intricate edges of the lace pool beautifully around the baby’s head and feet.
Safety Check: Always ensure your baby’s nose and mouth are completely clear of the lace. Vintage fabrics can be a suffocation hazard if they fall over a newborn’s face. Keep your eyes on your baby at all times.
Capturing the Magic: Angles, Lighting, and Styling
Mastering the Natural Light
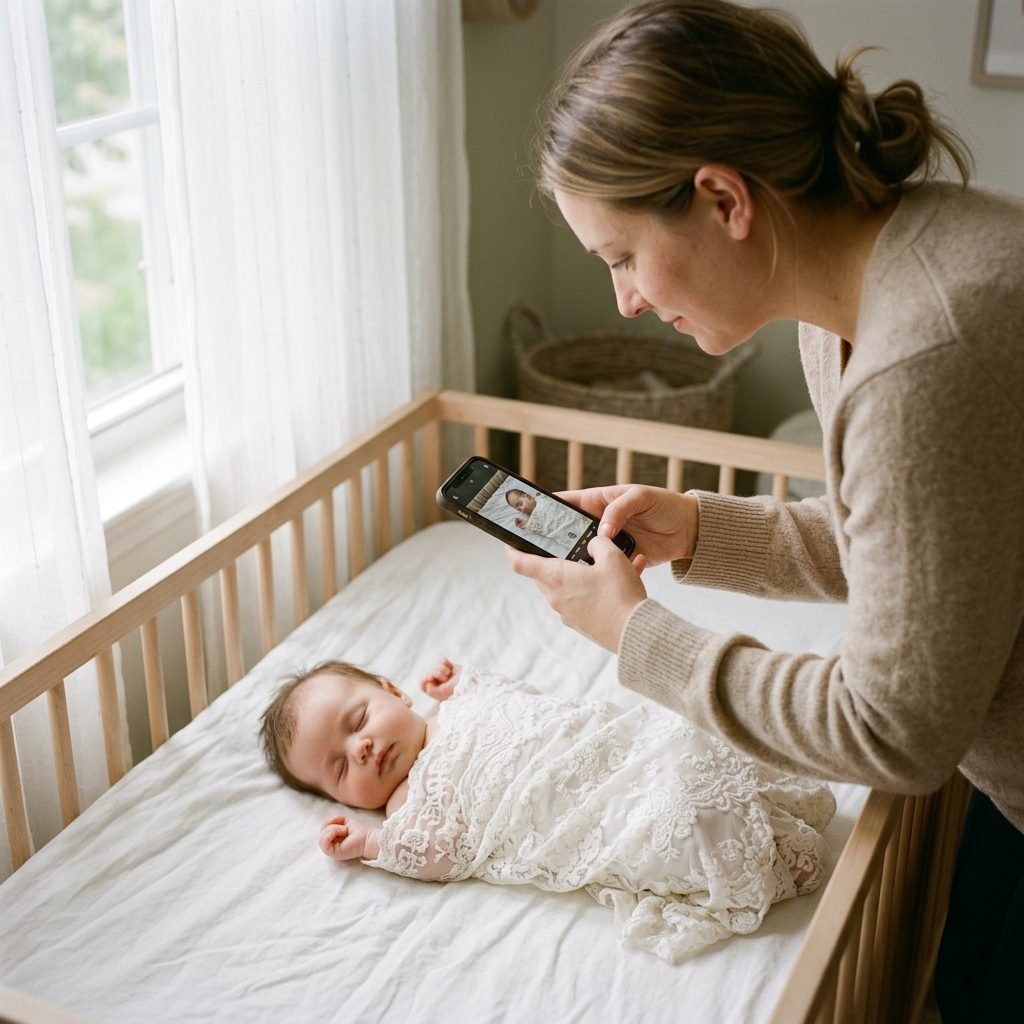
Now that your baby is safely and beautifully wrapped, it is time to capture the magic. You do not need a fancy DSLR camera to get stunning photos; a modern smartphone is more than capable if you understand lighting and angles.
Directional Lighting is Key
Place your baby so that the natural light from the window flows down from the top of their head toward their toes, or at a 45-degree angle across their face. This creates soft, flattering shadows that highlight those chubby cheeks and delicate eyelashes. Never light a baby from the chin up (often called ‘ghoul lighting’), as it casts unnatural shadows on their face.
Flattering Camera Angles
- Shoot Down the Nose: Always position your camera slightly above the baby’s head, shooting down toward their nose. Avoid shooting up from their feet, as this highlights their nostrils and creates an unflattering angle.
- Get Close for Details: Don’t forget to take close-up shots! Capture the contrast of the intricate vintage lace against their tiny, smooth fingers and toes.
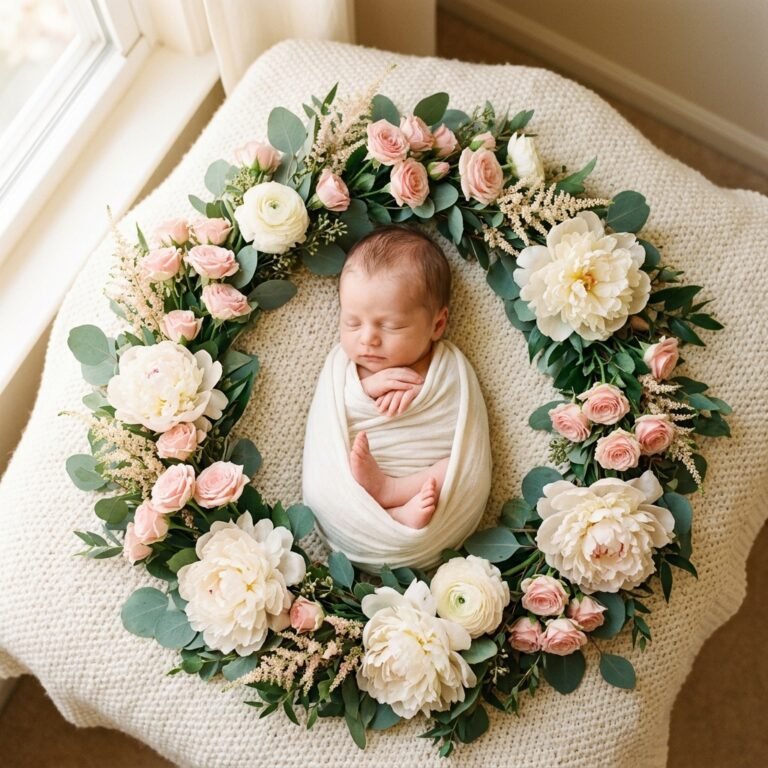
- The Overhead Shot: Stand directly above the baby (ensure your camera strap is securely around your neck if using a DSLR, or hold your phone with a firm, two-handed grip) and take a beautiful bird’s-eye view of the lace pooling around them.
| Photography Mistake | How to Fix It for Professional Results |
|---|---|
| Blurry Photos | Ensure you have enough natural light; tap your phone screen to lock focus on the baby’s eyes. |
| Yellow or Blue Skin Tones | Turn off all room lamps. Use only the window light to keep the white balance natural. |
| Cluttered Background | Use a solid, neutral-colored blanket under the lace to make the baby and the vintage fabric the star of the show. |
Reading Your Baby’s Cues: When to Pause or Stop
Honoring Your Baby’s Voice
As a doula, I always remind parents that babies communicate beautifully if we take the time to listen. A newborn photo session should be a peaceful experience for both of you. If at any point your baby becomes fussy, it is time to pause. No photograph is worth stressing out your little one or yourself.
Recognizing Fussy Cues
If your baby starts rooting, smacking their lips, or bringing their hands aggressively to their mouth, they are likely telling you they are hungry again—even if they just ate! Growth spurts happen rapidly, and cluster feeding is normal. Take the lace off, unwrap the base swaddle, and offer the breast or bottle.
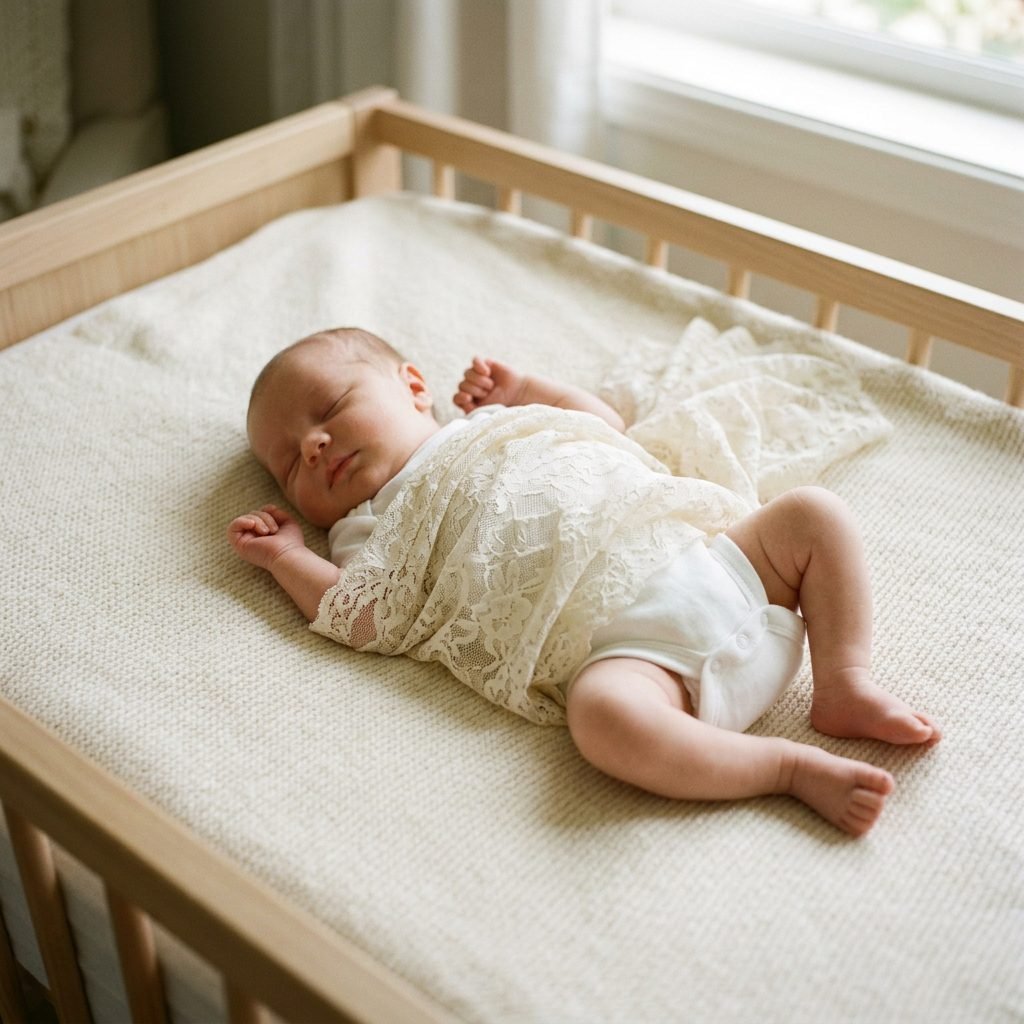
If your baby is grunting, pulling their legs up hard, or crying out, they might need to be burped or have a diaper change. Vintage lace photos look best when the baby is in a state of deep, restorative sleep. If they are awake and alert, you can still take beautiful photos, but you might need to abandon the wrapped pose and simply lay the lace over them loosely while they kick and look around.
Remember, Mama: Your baby’s well-being is the priority. If today isn’t the day, try again tomorrow. They will still be perfectly tiny and beautiful. Give yourself grace.
Always ensure that the baby’s neck is supported if you attempt to move them, and never force a limb into a pose. Professional photographers often use composite images (stitching two photos together in Photoshop) to achieve those gravity-defying poses like the ‘froggy’ pose. Do not attempt complex, unsupported poses at home. A simple, back-lying pose swaddled in lace is classic, timeless, and, most importantly, 100% safe.
Conclusion
Preserving the Memories Safely
Wrapping your newborn in a vintage lace scarf is a beautiful way to honor your family’s history while celebrating its newest addition. By taking the time to properly wash and soften the heirloom fabric, setting up a warm and soothing environment, and prioritizing a safe, hip-friendly base swaddle, you are setting yourself up for a deeply rewarding experience. Remember, the true beauty of these photos lies not in absolute perfection, but in the immense love you have for that tiny human wrapped in the frame. Trust your maternal instincts, keep your baby’s comfort at the forefront, and enjoy this quiet, creative moment in your postpartum journey.