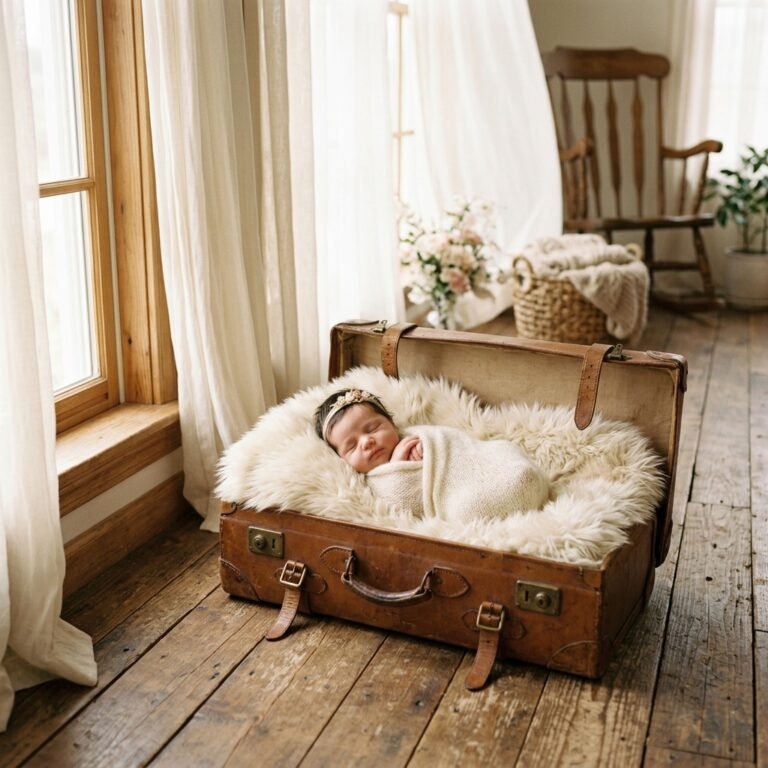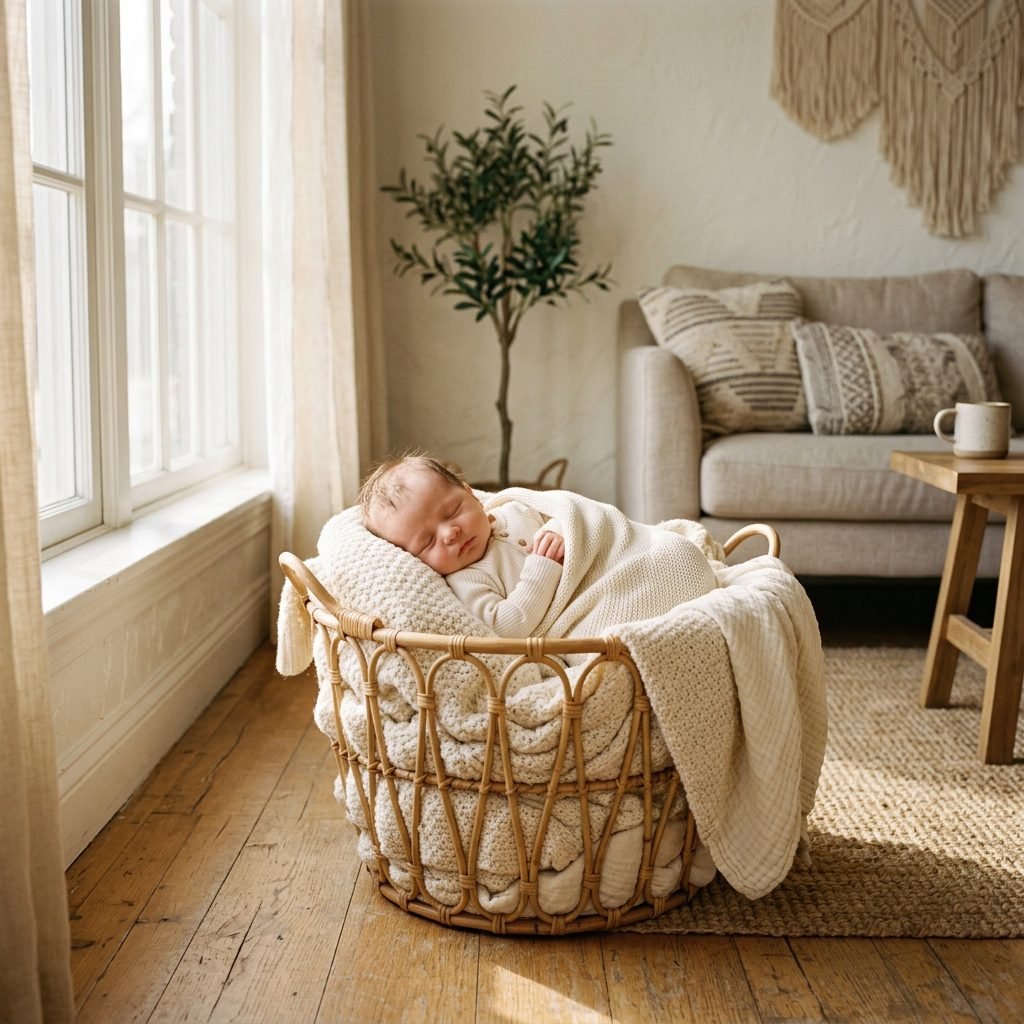
The Laundry Basket Trick: Sweet & Cozy Lifestyle Newborn Photo Ideas at Home
Embracing the Magic of the Fourth Trimester
Oh, sweet mama, I see you. You are in that beautiful, hazy, exhausting whirlwind known as the fourth trimester. Your home is filled with the scent of ivory soap and new-baby skin, but also perhaps a bit of chaos—stacks of diapers, half-drunk cups of cold tea, and the ever-present mountain of laundry. It is a time of profound transition, where every tiny yawn and microscopic fingernail feels like a miracle you want to freeze in time forever. But let’s be honest: the thought of packing up a diaper bag, a healing body, and a sensitive newborn to trek to a professional photography studio can feel absolutely overwhelming.
That is exactly why I want to share one of my favorite ‘doula-hacks’ with you: The Laundry Basket Trick. This isn’t just about saving money; it’s about capturing the raw, authentic beauty of your baby in the place where they are most loved—at home. By using a simple household item you already own, we can create a safe, sturdy, and incredibly photogenic ‘nest’ that mimics those high-end studio props. As a doula and a stylist, I’ve seen how this method allows moms to stay in their pajamas, keep the nursing pillow nearby, and still end up with a gallery of images that look like they belong in a high-end magazine. Let’s walk through this together, step by gentle step, to ensure your DIY photoshoot is stress-free, safe, and soul-soothingly beautiful.
The Logic of the Basket: Why This Trick is a Game-Changer
Why a Laundry Basket?
You might be wondering, ‘Why a laundry basket of all things?’ As a maternal wellness expert, I prioritize two things: safety and comfort. A standard laundry basket—especially the round wicker or sturdy plastic varieties—provides a defined, enclosed space that helps a newborn feel secure. It mimics the snugness of the womb, which naturally encourages that deep, peaceful sleep we need for those adorable ‘sleeping baby’ shots.
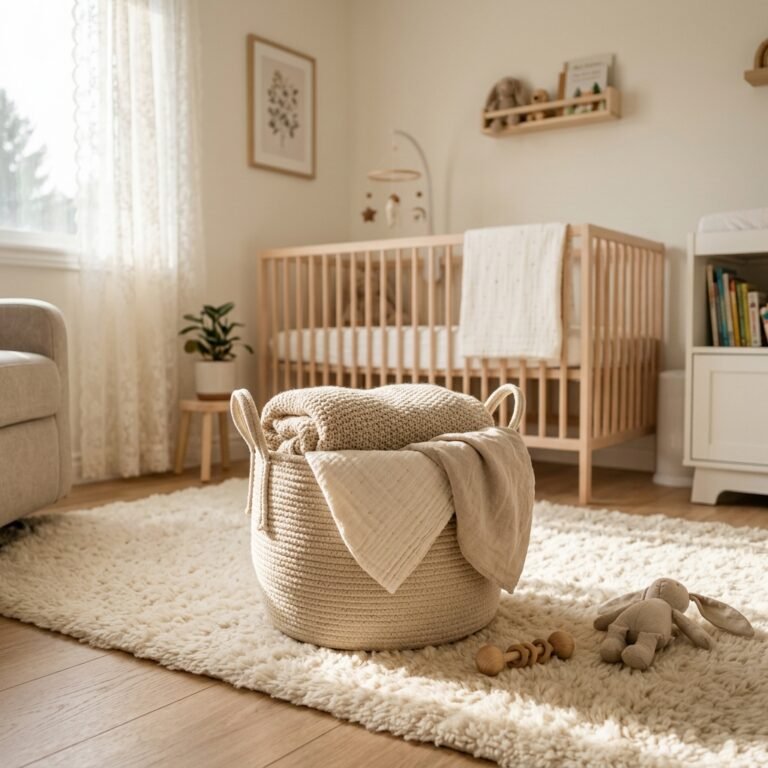
From a technical photography standpoint, the basket acts as a structural frame. It allows us to build a ‘false floor’ of support, ensuring the baby is positioned at the right angle to catch the light without the risk of them rolling off a flat surface like a bed or a sofa. It also hides the ‘clutter’ of the room. When you drape a beautiful heirloom quilt or a chunky knit throw over the edges of the basket, the plastic or wicker disappears, leaving only a soft, ethereal nest.
The Benefits for the Postpartum Mama
- Zero Travel Required: You stay in your ‘nest’ while we build theirs. No car seats, no traffic, no stress.
- Temperature Control: You can keep your home at the perfect 72-75 degrees Fahrenheit to keep baby cozy in just a diaper or a thin swaddle.
- Flexibility: If baby gets fussy or needs to nurse, you simply pause, cuddle, and resume when they are ready. There is no ticking clock on a studio rental.
- Authenticity: These photos will always remind you of the home where your baby spent their very first days.
Setting the Stage: Lighting, Warmth, and Atmosphere

Creating the Perfect ‘Studio’ Environment
Before we even touch the basket, we need to prepare the environment. Newborns are incredibly sensitive to their surroundings, and a successful photoshoot depends entirely on their comfort level. Think of yourself as a ‘baby whisperer’ today. We want to create a sensory experience that lulls them into a state of total relaxation.
The Golden Rule of Light
Forget the flash! Artificial light is often too harsh for a newborn’s delicate skin and can cause them to startle. Instead, look for natural, indirect sunlight. Find the largest window in your home—usually a sliding glass door or a large north-facing window works best. You want the light to ‘fall’ over the baby at a 45-degree angle. This creates soft shadows that define their tiny features without washing them out.
The Comfort Checklist
- Warmth is Key: Since we often want to see those tiny toes and rolls, the baby might be underdressed. Use a small space heater (kept at a safe distance) to ensure the ‘studio’ area is toasty. If you are sweating slightly, the baby is likely just right.
- The Sound of Silence (or Pink Noise): Use a white noise machine or a ‘shusher’ app. This masks the sound of the camera shutter or older siblings playing in the next room, keeping the baby in a deep sleep state.
- Full Bellies: Plan the shoot for immediately after a ‘top-off’ feeding. A ‘milk drunk’ baby is the best model!
Remember, mama: Your energy is contagious. If you are calm and relaxed, your baby will feel that peace. Take a deep breath, put on some soft music, and enjoy this creative process.
The DIY Studio Kit: Materials and Budget Breakdown
Gathering Your Supplies
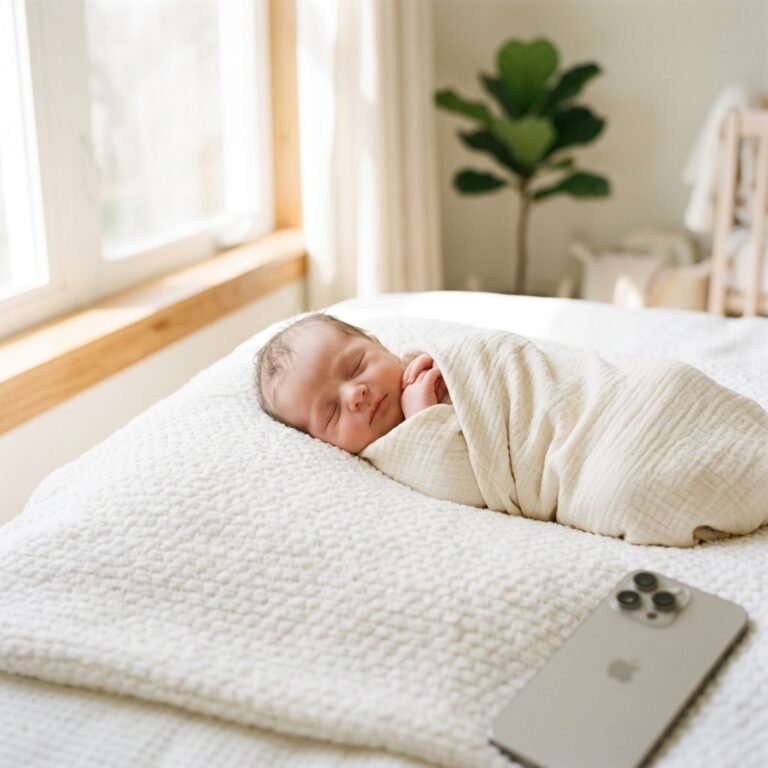
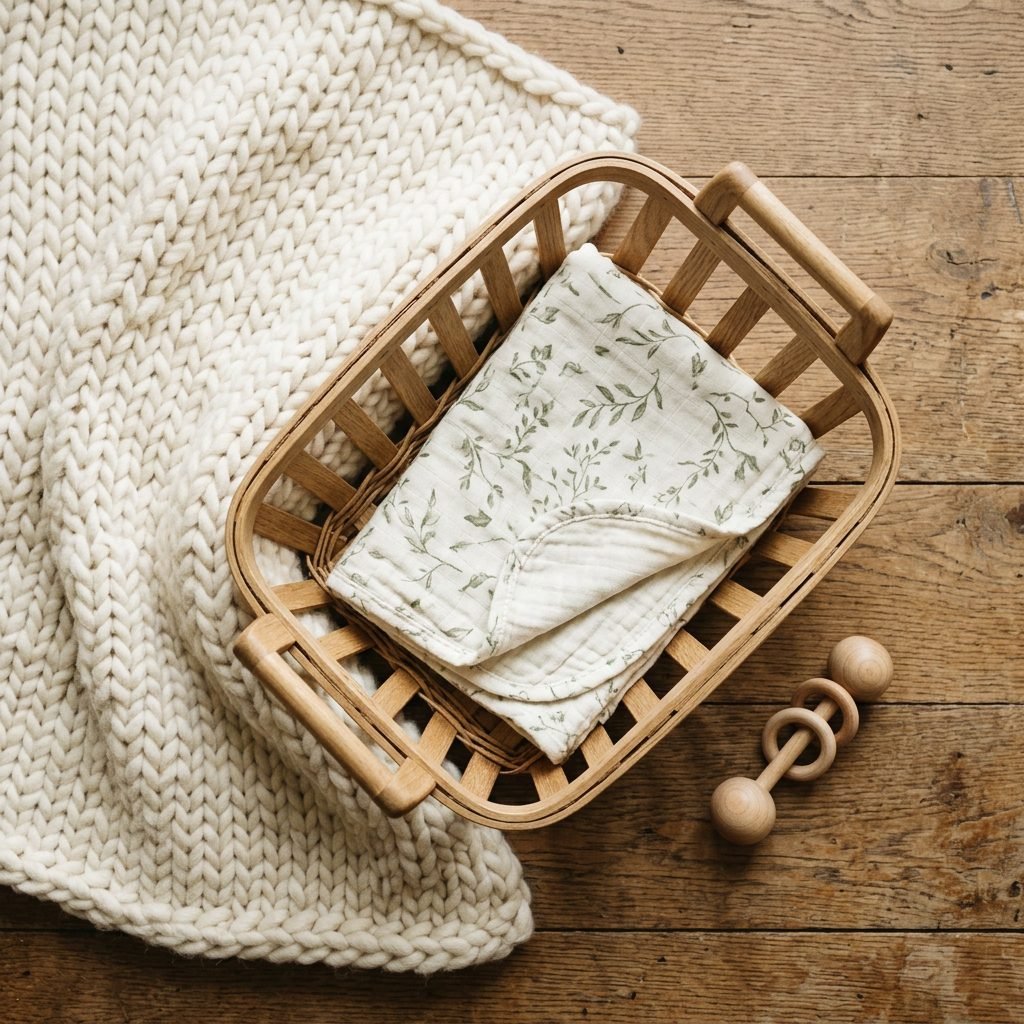
One of the best parts of the laundry basket trick is that it is incredibly budget-friendly. Most of these items are already in your linen closet or nursery. The goal is to layer textures to create depth and interest in your photos. You don’t need a fancy DSLR camera; a modern smartphone with ‘Portrait Mode’ works wonders.
| Item | Purpose | Estimated Cost |
|---|---|---|
| Laundry Basket | Structural support and safety containment. | $0 (Use what you have!) |
| 3-4 Large Bath Towels | To fill the bottom of the basket and create a firm base. | $0 |
| Chunky Knit Throw | The primary ‘look’—drapes over the basket edges. | $20 – $45 |
| Muslin Swaddle | For wrapping the baby or adding a pop of color. | $10 – $15 |
| Faux Fur or Sheepskin | Adds a high-end, luxury texture to the ‘nest’. | $15 – $30 |
| Clamps or Clothespins | To pull the fabric tight across the back of the basket. | $5 |
Pro-Tip: Choosing Your Colors
When selecting your blankets and wraps, I always recommend a monochromatic or neutral palette. Creams, oatmeal, soft greys, and muted earth tones allow the focus to remain entirely on your baby’s skin tones and features. Avoid busy patterns or neon colors, as these can reflect unflattering tints onto the baby’s face.
Step-by-Step: Constructing Your Cozy Nest
Building the Perfect Setup
Now, let’s get tactical. We are going to turn that plastic basket into a professional-looking prop. Follow these steps carefully to ensure the surface is flat, supportive, and safe for your little one.
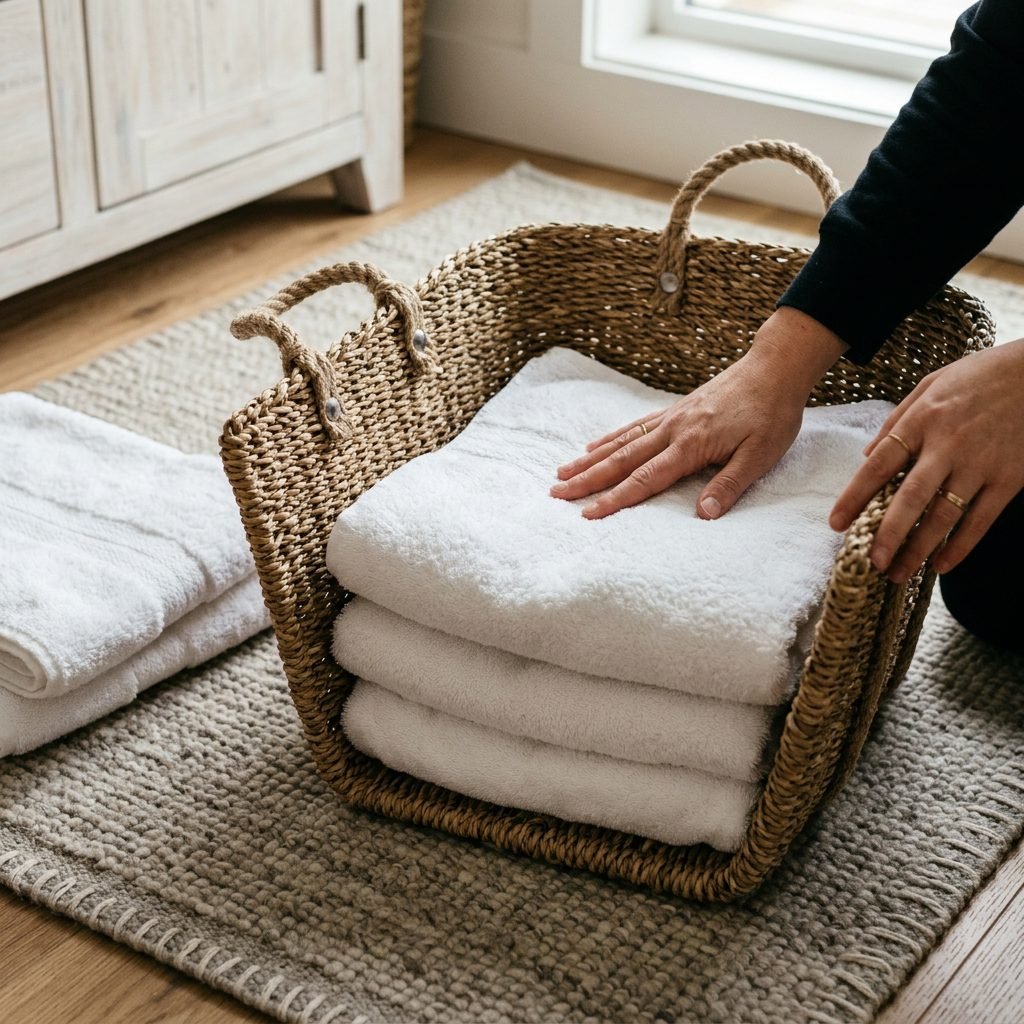
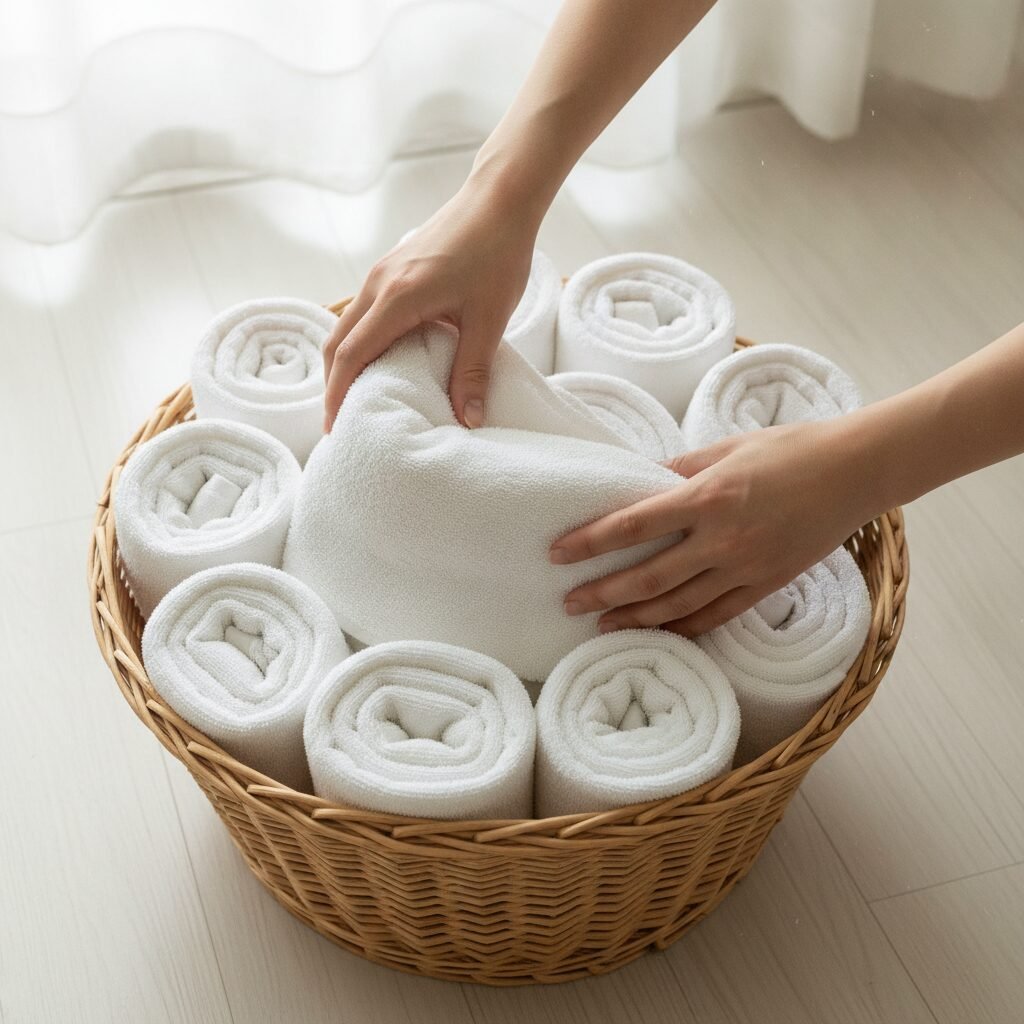
- The Foundation: Place the laundry basket on a flat, non-slip surface (like a rug). Fill the bottom 2/3 of the basket with tightly rolled bath towels. This creates a firm, stable base so the baby doesn’t sink too deep into the basket.
- The Leveling Layer: Place a flat pillow or a folded receiving blanket over the towels. Check with your hand to make sure there are no large gaps or lumps. The surface should be slightly recessed—about 3-4 inches below the rim of the basket.
- The Aesthetic Layer: Drape your ‘hero’ blanket (the chunky knit or faux fur) over the entire basket. Ensure it hangs over the edges to completely hide the basket itself.
- The Tension Trick: If the fabric looks wrinkled, use clothespins or clamps on the side of the basket *away* from the camera to pull the fabric taut. This creates that smooth, professional ‘studio’ backdrop look.
- The Safety Indentation: Use your fist to create a very slight, gentle ‘well’ in the center of the blankets. This is where the baby’s bottom will rest, ensuring they stay centered and secure.
Safety Warning: Never leave your baby unattended in the basket, even for a second. Always have a ‘spotter’ (like a partner or friend) standing within arm’s reach, just out of the camera frame.
Styling Your Sweetheart: Posing and Angles
Capturing the Details
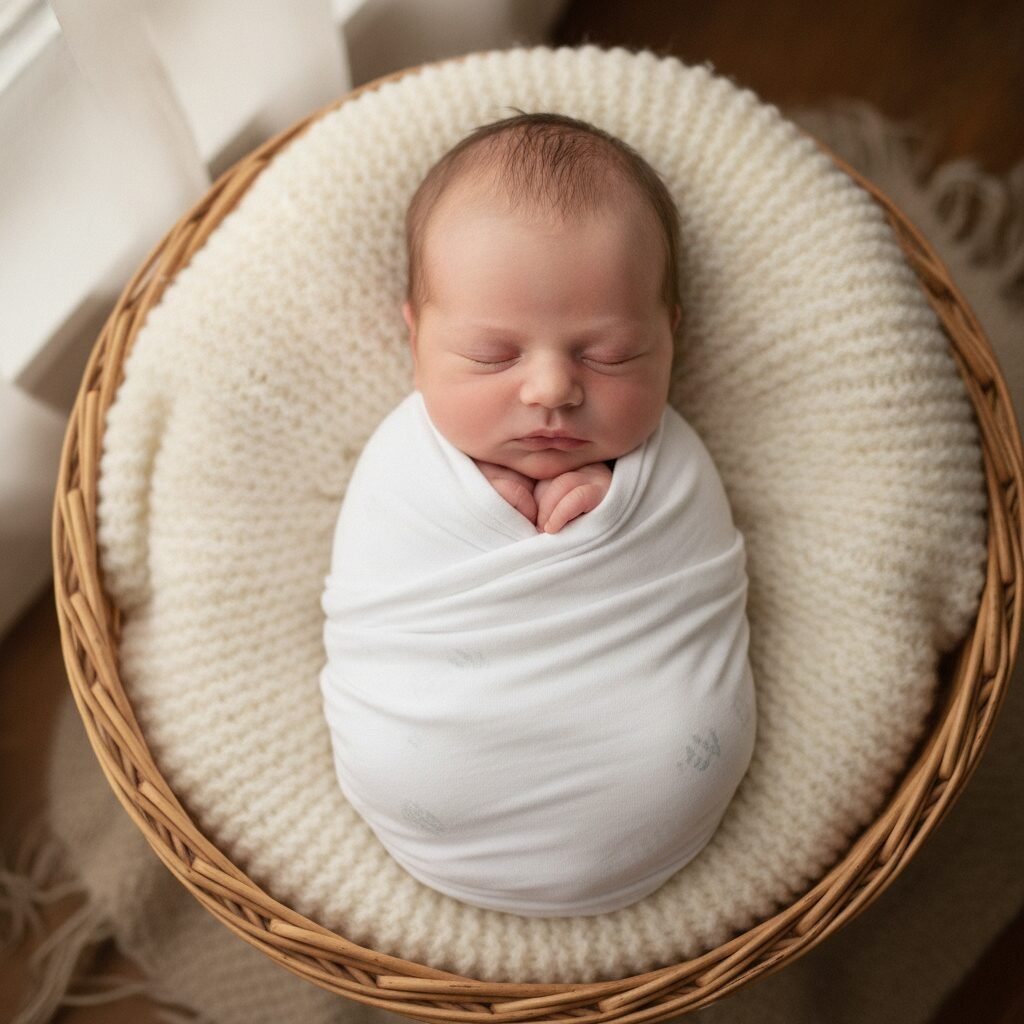
Once your nest is built, it’s time to introduce the star of the show. For the best results, wait until your baby is in a deep sleep. Carefully transition them into the basket, keeping their limbs tucked close to their body, which mimics the fetal position and feels very natural for them.
Top Posing Ideas
- The ‘Tushy-Up’ Pose: Place baby on their tummy with their knees tucked under them and their head resting on their folded hands. This shows off those delicious back rolls!
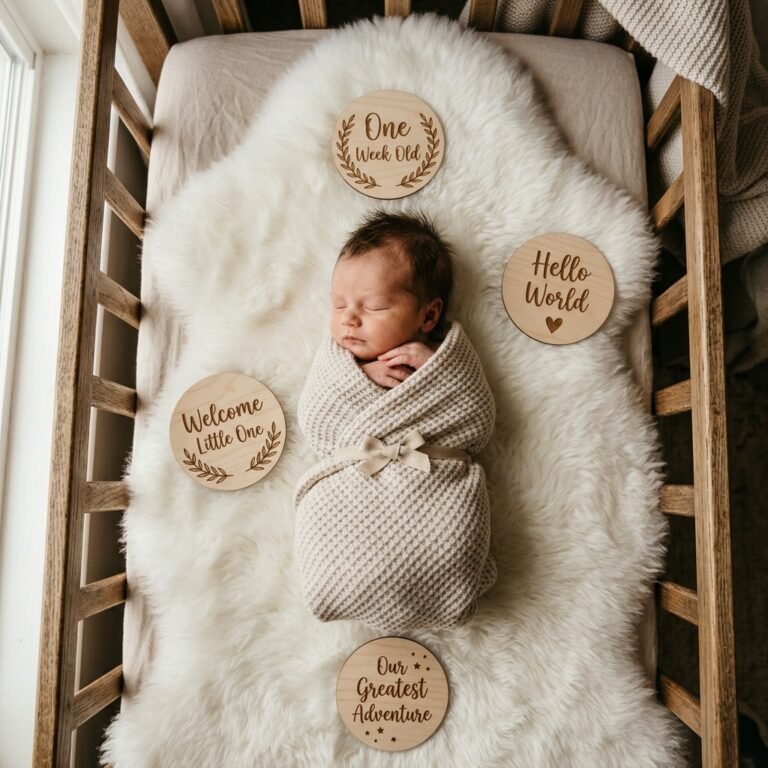
- The Swaddled Spud: Wrap the baby snugly in a muslin swaddle (the ‘egg’ wrap) and place them on their back in the basket. This is the easiest and safest pose for beginners.
- The Side-Lying Dreamer: Gently place the baby on their side, ensuring their head is supported by the ‘well’ you created. This is a great angle for capturing long eyelashes and tiny profiles.
Angles to Try
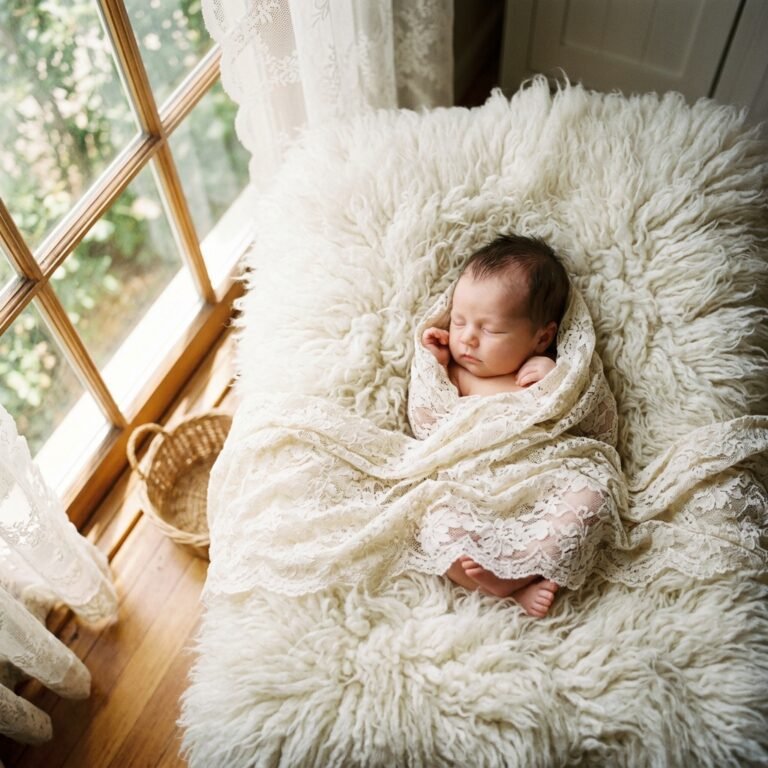
Don’t just stand over the basket! To get professional results, you need to move your body. Try the ‘Bird’s Eye View’ by standing directly over the basket (use a stool if needed, but be careful!). Then, drop down to eye level with the baby to capture the depth of the nest. Finally, don’t forget the macro shots: zoom in on the tiny toes, the swirl of hair on their crown, and those pouty lips. These ‘detail’ shots often become a mother’s most cherished memories.
The Safety First Manifesto: A Doula’s Essential Guide
Prioritizing Your Baby’s Wellbeing
As much as we want the perfect photo, your baby’s safety is the absolute priority. As a doula, I always remind parents that ‘lifestyle’ photography should never compromise physiological safety. Newborns have limited neck strength and can easily experience airway obstruction if positioned incorrectly.
Crucial Safety Protocols
- Airway Awareness: Always ensure the baby’s chin is ‘off their chest.’ There should be at least a finger’s width of space between their chin and their chest to ensure their airway remains open and clear.
- Circulation Check: If you are using a swaddle or wrap, make sure it isn’t too tight. You should be able to slide two fingers easily between the wrap and the baby’s chest. Watch for any blue or purple tint in the extremities.
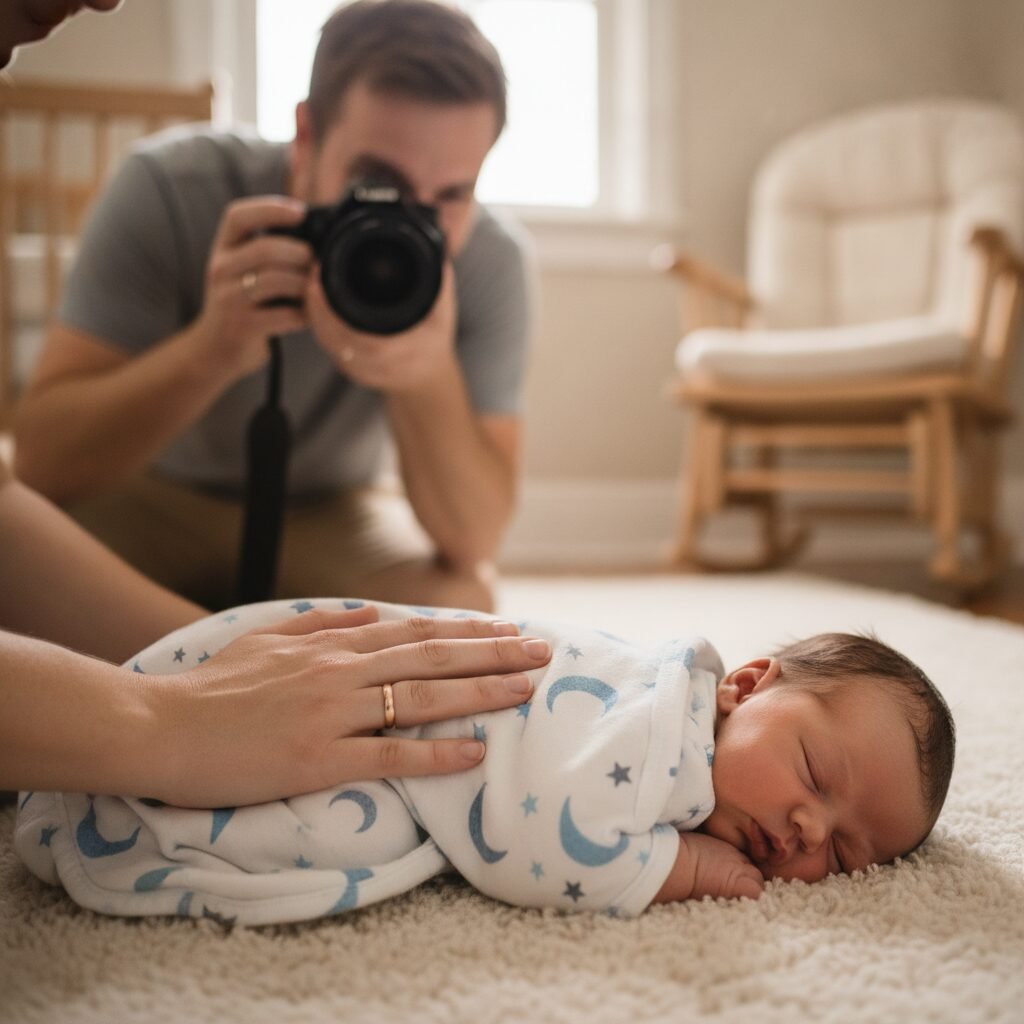
- The Spotter Rule: This is non-negotiable. One person takes the photo, and one person (the spotter) keeps their hands just inches away from the baby at all times. In professional photography, we often ‘composite’ images—meaning the spotter’s hand is in the photo and then edited out later. If you aren’t an editor, just have the spotter move their hand for one second while you click the shutter.
- Temperature Monitoring: Check the back of your baby’s neck. If it feels hot or sweaty, they are overheating. If it feels cold, add a layer or move the heater closer (safely).
Conclusion
You’ve Got This, Mama
Capturing these early days doesn’t require a thousand-dollar studio session or a house that looks like a showroom. It requires a little bit of natural light, a humble laundry basket, and a whole lot of love. When you look back at these photos in five, ten, or twenty years, you won’t see the plastic rim of the basket hidden under the blankets. You won’t remember that you hadn’t showered that morning. You will see the miracle of your child’s first days and the warmth of the home you built for them.
Take the pressure off yourself to be perfect. If the baby cries, stop. If the lighting isn’t right, try again tomorrow. These moments are fleeting, but the memories you are creating today are permanent. You are doing an incredible job, mama—in photography and in motherhood. Now, go grab that laundry basket (after you dump the clean clothes on the bed, of course!) and start creating some magic.