How to Use a Faux Fur Rug for Professional-Looking Newborn Photos at Home
Welcome to the Magic of the First Days, Mama
Oh, sweet mama, I see you. You are in that beautiful, hazy, milk-scented bubble where time seems to both stand still and move at warp speed. Those tiny toes, the way their eyelashes brush their cheeks, and that soft, downy hair—you want to freeze these moments forever. But let’s be honest: the thought of packing up a diaper bag, a postpartum body, and a sleepy newborn to head to a professional studio can feel like preparing for an Olympic event. What if I told you that you could capture those iconic, high-end, professional-looking images right in your own living room? The secret weapon used by high-end photographers worldwide isn’t a thousand-dollar lens—it is the humble, luxurious faux fur rug.
As your doula and maternal wellness companion, I want to help you create these memories without the stress. We are going to transform a small corner of your nursery or sunroom into a professional-grade studio. Using a faux fur rug provides that rich, ethereal texture that makes babies look like they are floating on a cloud. It hides imperfections in the floor, adds immediate depth to your photos, and keeps your little love cozy and warm during the shoot. Let’s walk through this process together, step-by-step, with the gentleness and care your new family deserves.
Remember, mama: these photos aren’t about perfection; they are about capturing the soul of your new beginning. You are doing an amazing job.
Choosing Your Canvas: Selecting the Perfect Faux Fur Texture
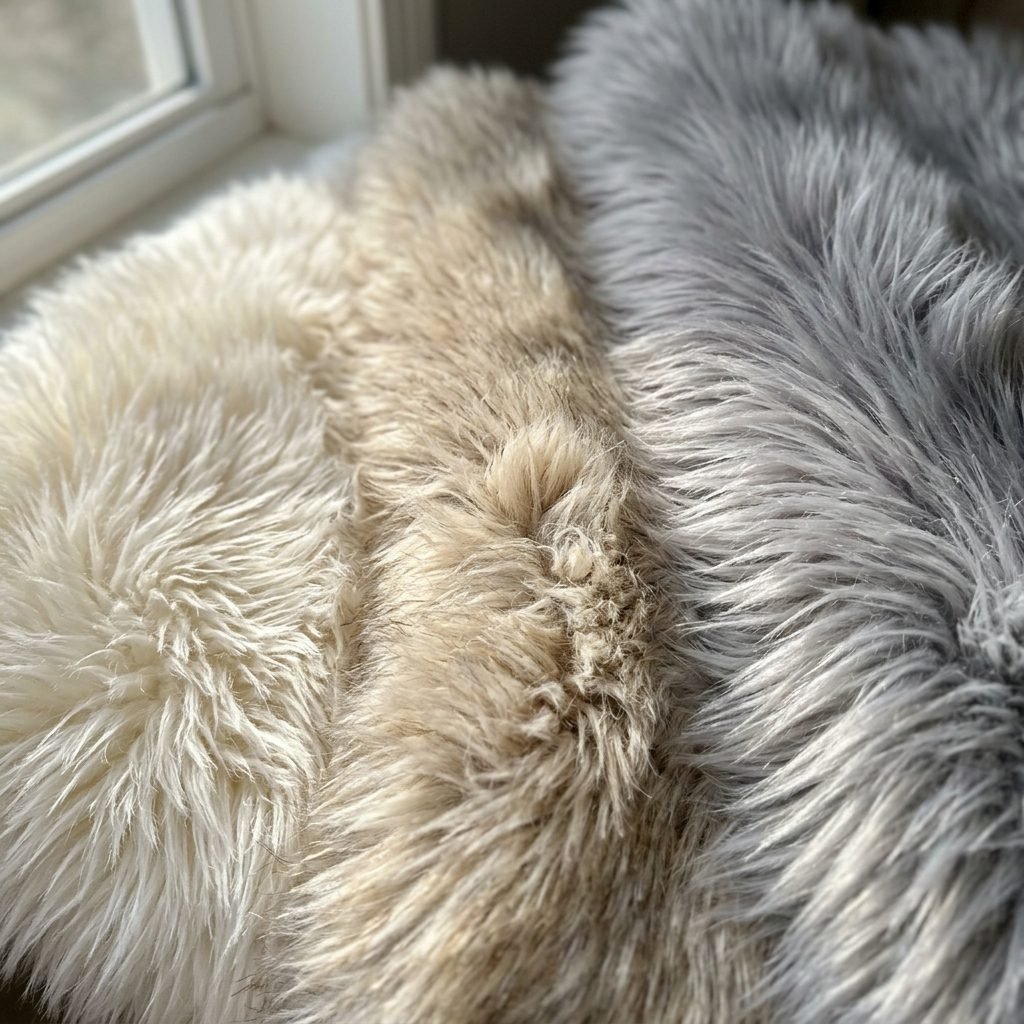
Finding the ‘Cloud’ for Your Little One
Not all faux fur is created equal when it comes to the camera lens. For a professional look, you want to avoid anything that looks too ‘plastic’ or shiny. Look for a rug with a long pile (at least 2-3 inches). This length allows the baby to ‘sink’ slightly into the fibers, which creates those beautiful shadows and highlights that give the photo a high-end, editorial feel.
Color Matters for Skin Tones
When selecting a color, I always recommend sticking to a neutral palette. Creams, soft whites, oatmeal, or very light greys are the gold standard. Why? Because these colors reflect light back onto the baby’s skin, helping to minimize any newborn redness or jaundice in the final image. Bold colors can sometimes cast a strange hue onto the baby’s delicate complexion. Think of the rug as a natural reflector that enhances your baby’s glow.
- Cream/Ivory: The most versatile and classic choice for a timeless look.
- Soft Grey: Perfect for a modern, slightly moody aesthetic.
- Blush or Dusty Blue: Subtle enough to add color without being distracting.
Ensure the backing of the rug is soft and flexible. If the rug is too stiff, it won’t drape over your ‘posers’ (which we will talk about soon) and will create harsh lines in your background. You want something that flows like fabric but looks like a dream.
The DIY Studio Checklist: Materials and Budget Breakdown
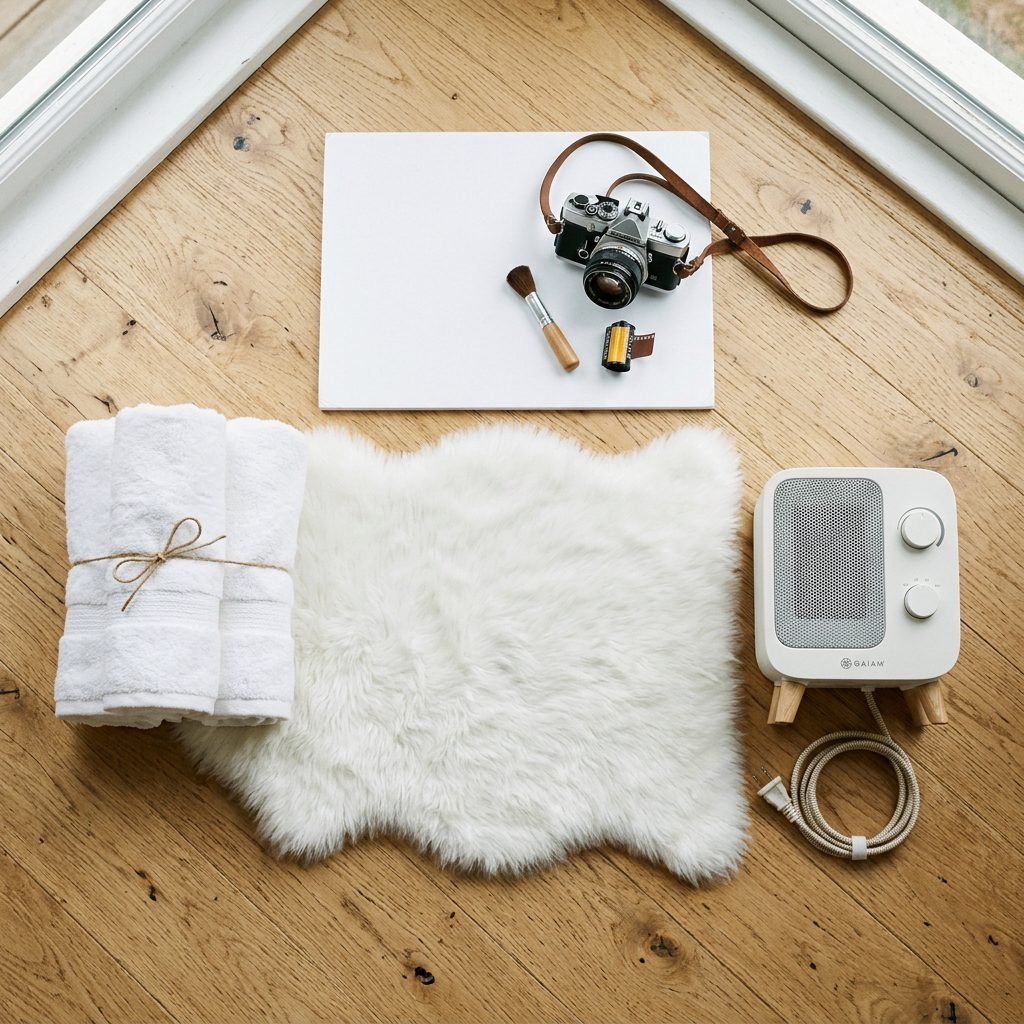
Setting Up Your Home Studio Without Breaking the Bank
You don’t need a massive budget to get professional results. Most of these items are already in your linen closet or can be picked up for the price of a few lattes. The goal is to create a soft, controlled environment where the baby is the star of the show. Here is exactly what you need to gather before you start clicking away.
| Item | Purpose | Estimated Cost |
|---|---|---|
| Faux Fur Rug (3×5 or Sheepskin shape) | The main backdrop and texture for the photo. | $25 – $50 |
| Rolled Bath Towels | Used under the rug to create a ‘nest’ for the baby. | $0 (Household) |
| Large Window | Your primary light source (Natural light is best!). | $0 |
| White Foam Board | To reflect light and fill in shadows on the baby’s face. | $5 |
| Space Heater | To keep the ‘studio’ at a cozy 75-80 degrees. | $20 – $30 |
| Clamps or Heavy Tape | To secure the rug if you are draping it over a chair. | $5 |
Pro Tip: If you are buying a new rug, give it a gentle wash (if the label allows) or a good shake outside to remove any loose fibers before placing your baby on it. We want to avoid any ‘furry’ noses during our session!
The Secret to Softness: Creating a Supportive ‘Nest’ Under the Fur
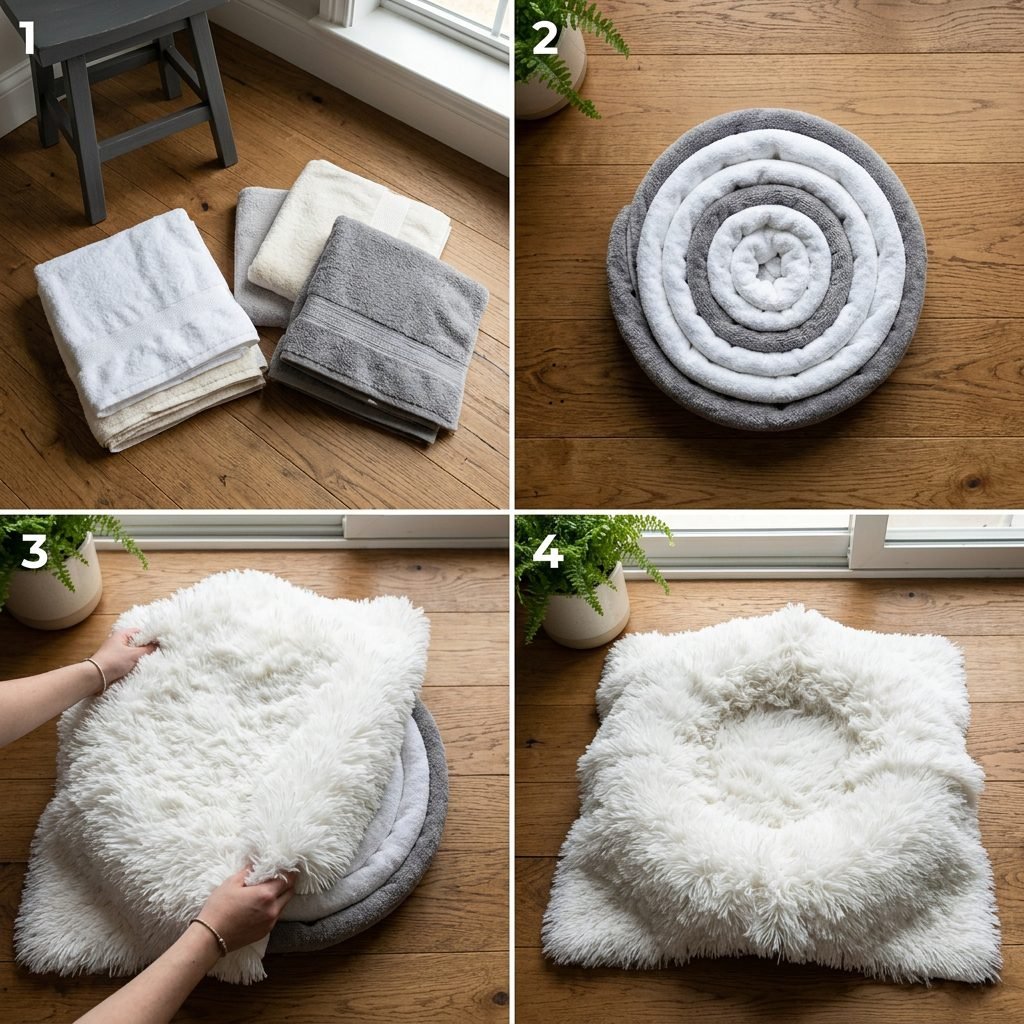
The ‘Towel Trick’ for Professional Posing
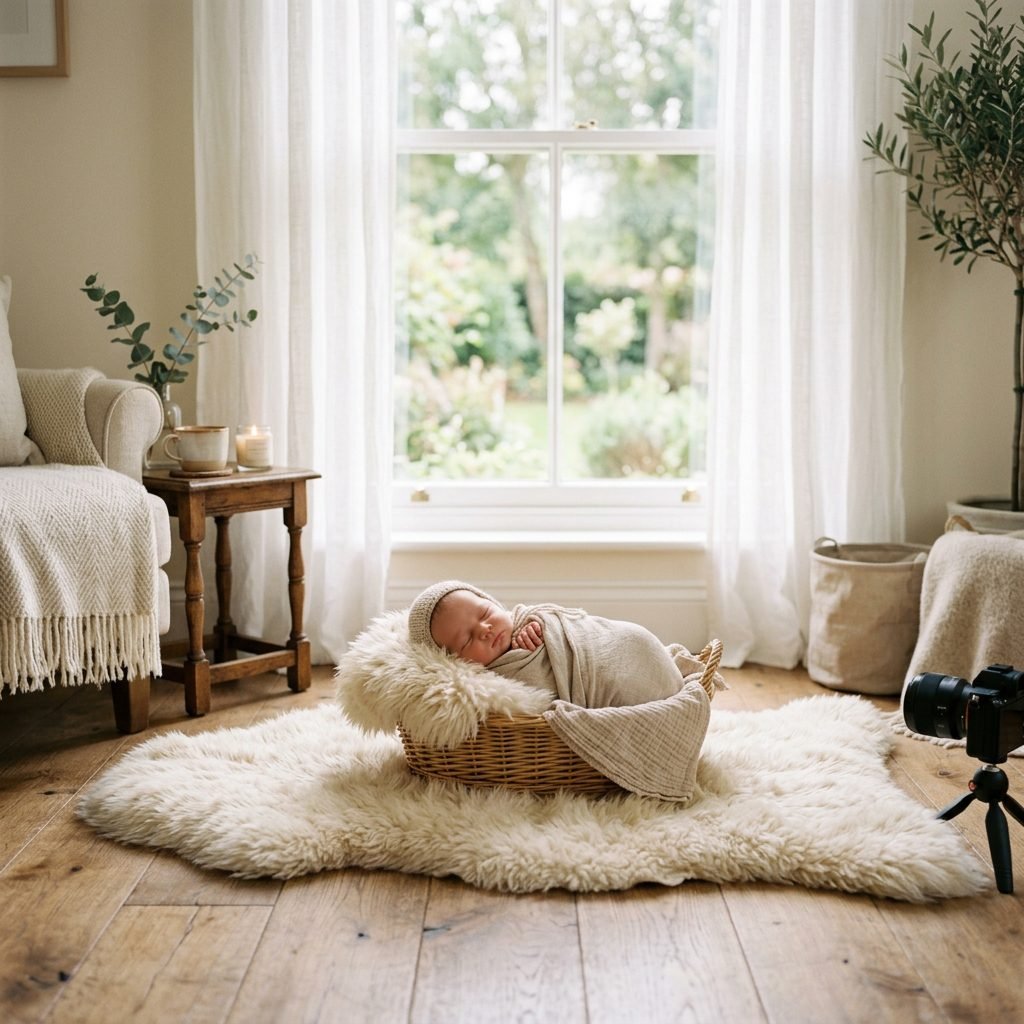
If you just lay a rug on the floor and put a baby on it, the photo will look flat. Professional photographers use ‘posers’ to create a gentle incline and a secure ‘nest’ that keeps the baby tucked and cozy. This is where your household towels come in! You want to create a donut-like shape underneath the faux fur rug.
How to Build the Nest
- The Base: Start on a flat, firm surface like a carpeted floor or a very sturdy table (with a spotter!).
- The Ring: Take 2-3 large bath towels and roll them up tightly. Form them into a ‘C’ or ‘O’ shape on the floor.
- The Incline: Place a smaller hand towel at the top of the ‘O’ to create a slight elevation for the baby’s head.
- The Drape: Lay your faux fur rug over this towel structure. Gently press the center of the rug down into the hole of the ‘O’ so it creates a soft, fur-lined valley.
When you place your baby in this ‘valley,’ the towels provide the structural support to keep their head slightly elevated and their limbs tucked in close to their body, which mimics the feeling of being in the womb. This ‘tucked’ look is the hallmark of professional newborn photography.
Lighting Your Little Love: Professional Techniques for Natural Light
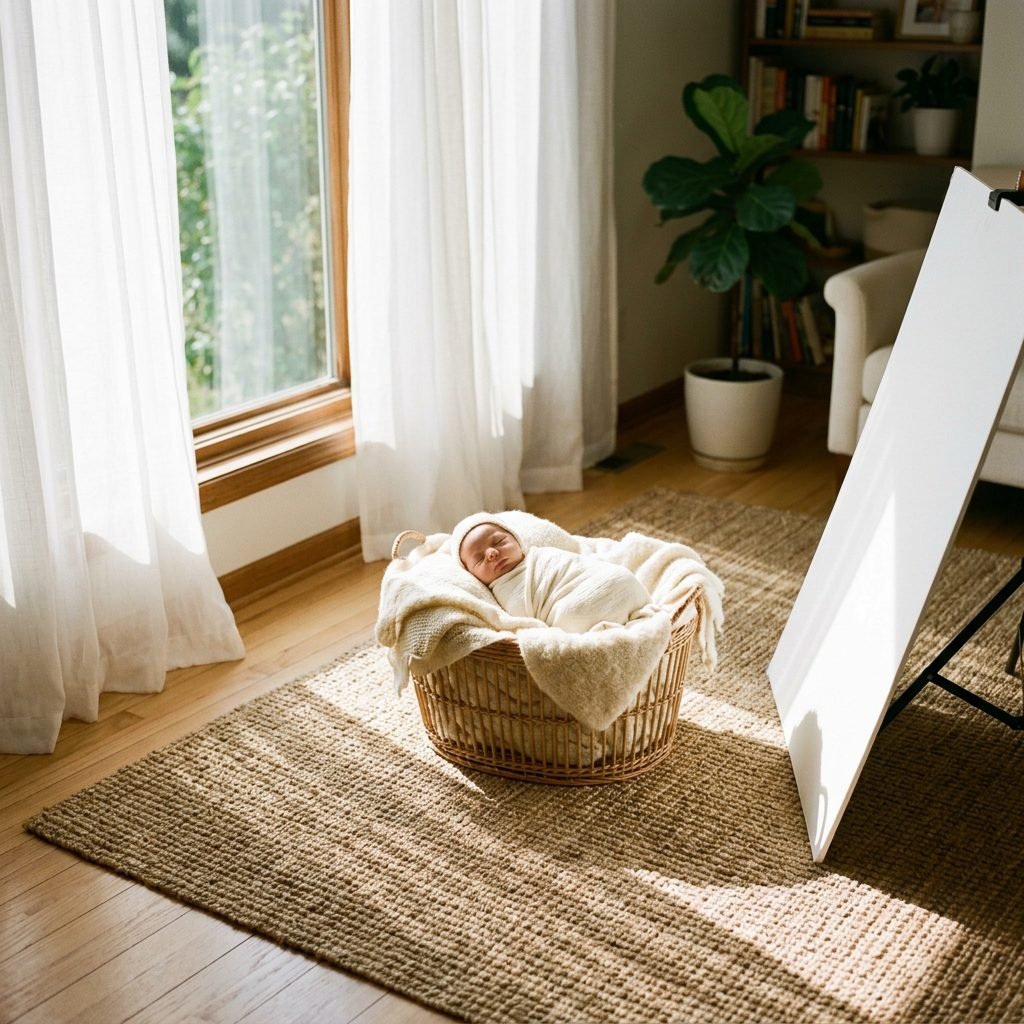
Mastering the ‘Golden Hour’ Indoors
Lighting is the difference between a ‘snapshot’ and a ‘photograph.’ For newborn photography, natural light is your best friend. You want soft, diffused light that wraps around the baby’s features. Avoid using your camera’s flash at all costs; it creates harsh shadows and can startle your little one.
Finding the Right Window
Look for a large window or glass door that does not have direct sunlight streaming through it. Direct sun creates ‘hot spots’ and squinty eyes. North or South facing windows are usually best. If the sun is too bright, you can hang a thin, white bedsheet over the window to act as a giant diffuser.
Positioning the Rug
Place your faux fur rug setup at a 45-degree angle to the window. You want the light to travel from the top of the baby’s head down toward their toes. This is called ‘top-lighting’ and it creates beautiful, soft shadows under the nose and chin, giving the face dimension. Never point the baby’s feet toward the light (this is called ‘up-lighting’ or ‘ghoul lighting’ and it’s generally less flattering).
Sisterly Advice: If one side of the baby’s face looks too dark, have your partner hold that white foam board on the dark side. It will bounce the window light back onto the baby, magically erasing those deep shadows!
Safety First, Always: A Doula’s Guide to Secure Posing
Your Baby’s Comfort is the Top Priority
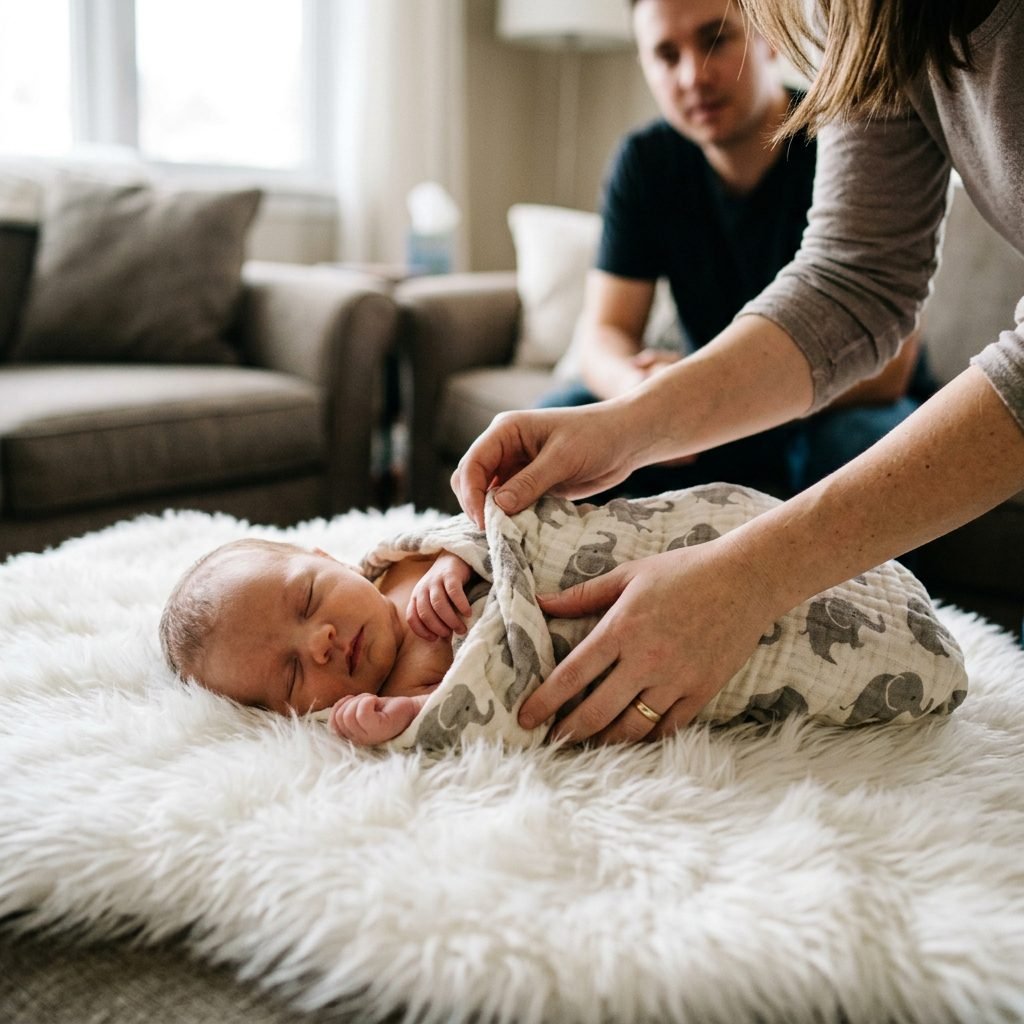
As a doula, my first rule is always safety. No photo is worth a risk to your baby’s well-being. Newborns cannot regulate their temperature well, and they lack neck control, so we must be their guardians throughout this process. Before you even touch your camera, ensure the environment is safe.
The Golden Rules of DIY Posing
- The ‘Spotter’ Rule: Never, ever be more than an arm’s length away from the baby. If you are taking the photo, your partner or a friend must be the ‘spotter,’ with their hands just inches from the baby at all times. They can move their hands for the split second you click the shutter.
- Circulation Check: If you are tucking feet or hands into the fur, ensure they aren’t tucked too tightly. Check that fingers and toes stay a healthy pink color.
- Temperature Control: Since we often take these photos with the baby in just a diaper or a thin wrap, the room needs to be warm—around 75-80 degrees Fahrenheit. If you feel slightly too warm, the baby is likely just right.
- The ‘No-Prop’ Zone: Avoid placing heavy props, hard toys, or anything sharp on the rug near the baby. The faux fur should be the only texture touching their skin.
If your baby starts to fuss or cry, stop. A ‘lifestyle’ photo of you comforting your crying baby is just as precious as a sleeping one. Listen to their cues; they will tell you when they’ve had enough of their modeling debut.
Capturing the Details: Angles and Perspective for That Pro Look
How to Frame Your Masterpiece
Now that your setup is perfect and baby is safe and cozy, it’s time to take the shot. To get that professional look, you need to move your body, not just your camera. The faux fur rug provides a beautiful, seamless background, so use it to your advantage.
The ‘Hero’ Shot (Overhead)
Stand directly over the baby (use a stool if you need to, but wear the camera strap around your neck!). Aim the camera straight down. This ‘flat lay’ perspective is iconic. Make sure the baby’s face is slightly turned toward the light source.
The ‘Macro’ Details
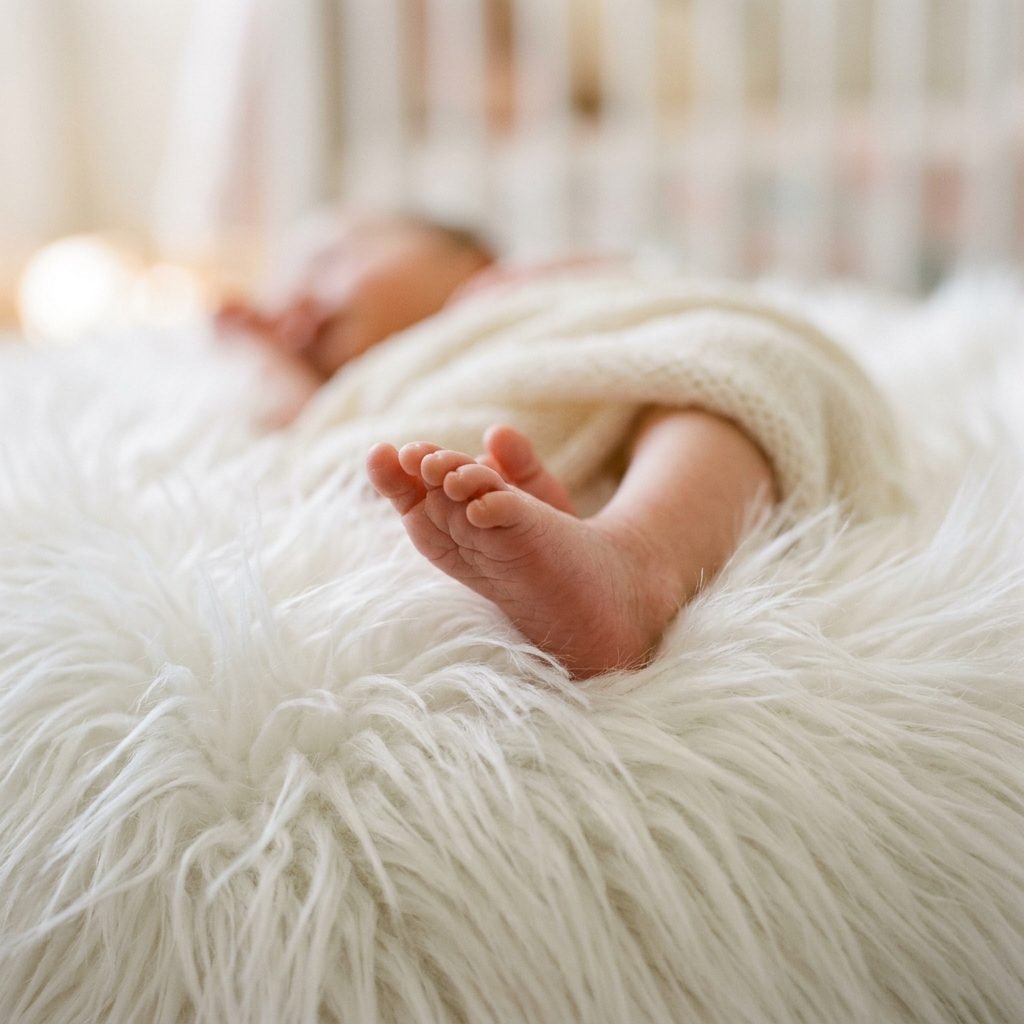
Don’t just take photos of the whole baby. Use the texture of the faux fur to contrast with the tiny details of your newborn. These are often the most cherished photos:
- The Toes: Zoom in on those tiny feet peeking out from the long fur fibers.
- The Lips: Capture the ‘milk pout’ while they sleep.
- The Eyelashes: Get a side profile shot showing the length of their lashes against the soft rug.
Photography Tip: Try to get down on the baby’s level. Lay on your stomach on the floor and shoot across the rug. This perspective makes the viewer feel like they are in the baby’s world, and the long fur in the foreground will naturally blur, creating a beautiful ‘bokeh’ effect that looks very professional.
Conclusion
You’ve Created Something Beautiful, Mama
There you have it—your very own home photo studio! By using a simple faux fur rug, some rolled towels, and the beautiful light from your own windows, you’ve captured images that you will treasure for decades. These photos will be the ones you look back on when they are graduating high school, marveling at how they once fit into the palm of your hand. But beyond the photos, I hope this process gave you a moment of quiet connection with your little one. You are their world, and these images are a testament to the love and care you pour into them every single day. Don’t worry about the laundry pile in the next room or the fact that you’re likely running on three hours of sleep. You are creating a legacy. Wear that ‘photographer’ hat with pride, mama—you’ve earned it!