How to Capture Magical Golden Hour Window Light Maternity Photos with Your iPhone
Embracing the Glow: Why Your Home is the Perfect Studio
Mama, there is a specific, fleeting magic in the way your body changes to carry life. I know that between the backaches, the nursery planning, and the endless ‘to-do’ lists, you might not always feel like a glowing goddess. But I want to tell you something from the heart of a doula: your body is doing the most incredible work it will ever do, and that deserves to be documented. You don’t need a thousand-dollar camera or a professional studio to capture this season. Your home, your iPhone, and the sun are all the tools you need to create something breathtaking.
In this guide, we aren’t just talking about taking ‘pictures.’ We are talking about capturing a feeling. We are going to harness the ‘Golden Hour’—that delicious, honey-soaked light that happens right before sunset—and bring it inside. Whether you are in your third trimester or just starting to show, these techniques will help you create heirloom-quality images that celebrate your strength and the quiet anticipation of motherhood.
“Your body is the first home your baby will ever know. Documenting this space is an act of love for both of you.”
Understanding the Magic: The Science of Indoor Golden Hour
The Perfect Timing for Your Shoot
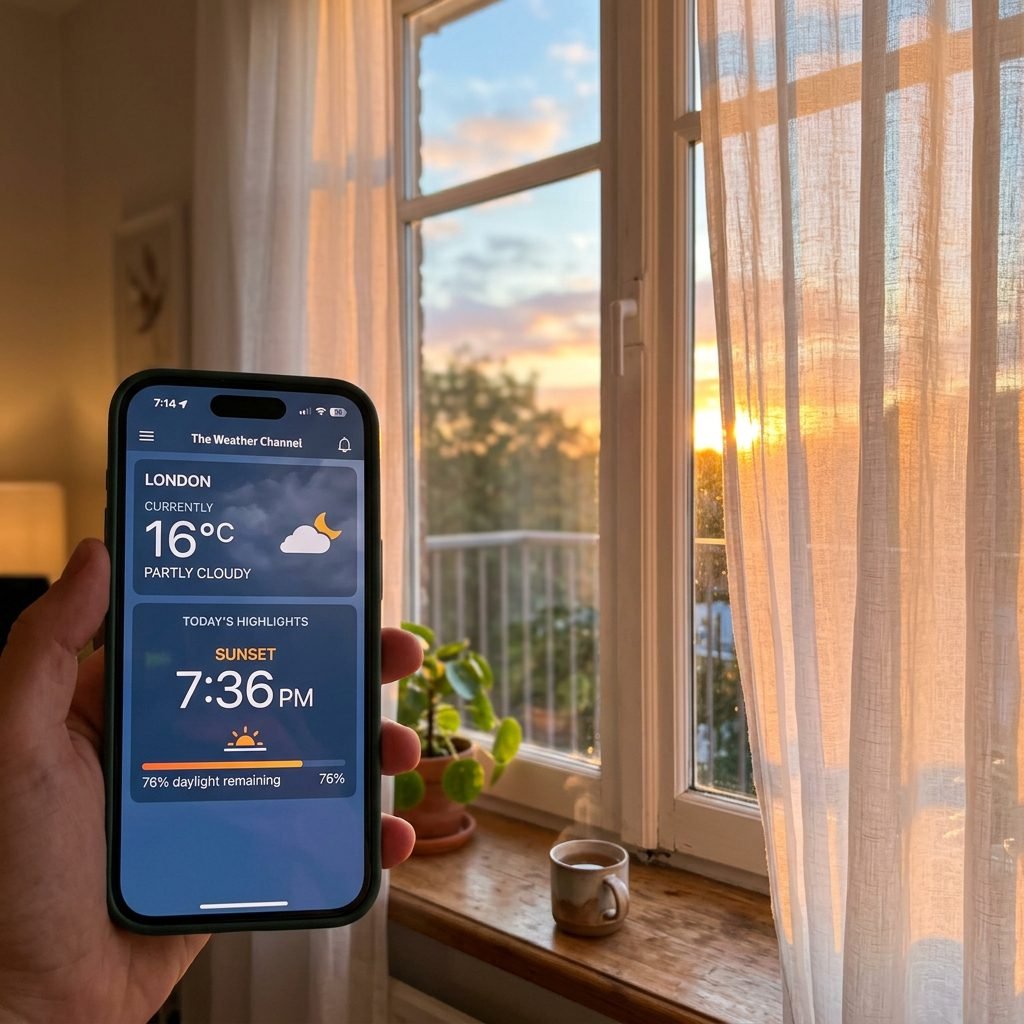
The ‘Golden Hour’ isn’t just a catchy phrase for influencers; it is a specific window of time when the sun is low on the horizon, creating a soft, diffused light that eliminates harsh shadows. For an indoor shoot, timing is everything. You want to identify which way your windows face. West-facing windows are your best friend for afternoon/evening golden hour, while East-facing windows provide a soft, blue-toned ‘Blue Hour’ light in the morning.
- Check the Weather: A slightly hazy or partly cloudy day actually acts as a giant natural softbox, making the light even more flattering.
- The 60-Minute Rule: Start your setup about 45 to 60 minutes before the official sunset time listed on your weather app. This gives you time to adjust as the light shifts from bright yellow to deep orange.
- Turn Off Overhead Lights: This is vital! Artificial indoor lighting (yellow or blue bulbs) will clash with the natural sun, creating ‘muddy’ skin tones. Trust the sun alone.
As a doula, I always suggest doing this shoot between 28 and 34 weeks. You’ll have a beautiful, prominent bump, but you likely won’t be in that ‘everything hurts and I’m ready for this baby to be out’ phase of the final month. We want you to feel comfortable and mobile!
Setting the Stage: Minimalist Home Studio Prep

Clearing the Clutter for Visual Peace
You don’t need a designer living room to take great photos. In fact, the most ‘magical’ photos often come from the simplest setups. We want the focus to be on you and your bump, not the laundry basket in the corner or the stack of baby shower thank-you notes. Look for a window with at least a few feet of clear floor space in front of it.
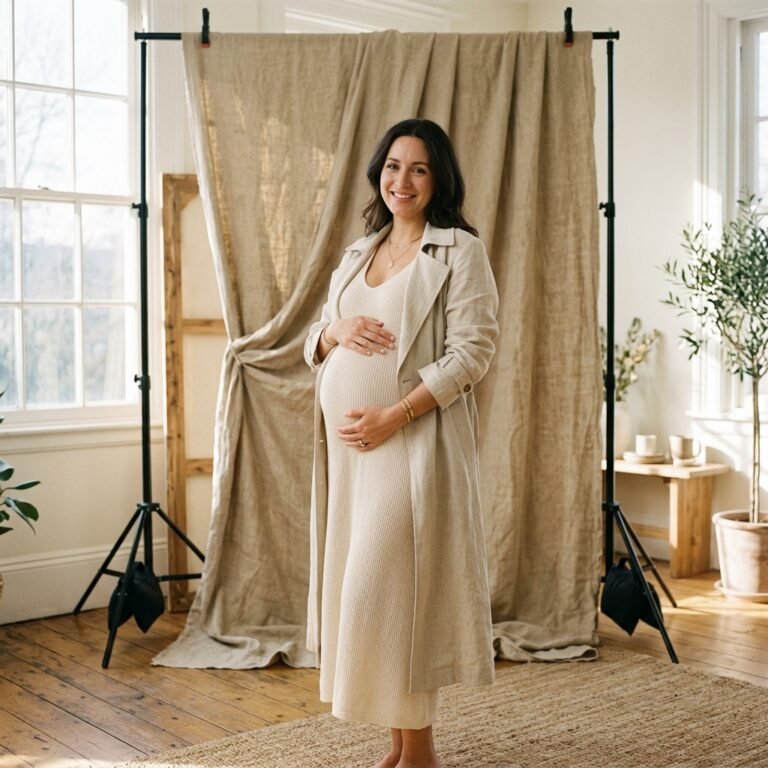
If you have heavy curtains, pull them back completely. If you have sheer white curtains, keep them closed! Sheers are a maternity photographer’s secret weapon; they catch the light and turn your window into a giant, glowing light panel. If you don’t have sheers, a plain white bedsheet taped to the top of the window frame works just as well.
| Material | Purpose | Budget Friendly Tip |
|---|---|---|
| Sheer Curtains | Diffuses harsh sunlight into a soft glow. | Use a white flat bedsheet. |
| Full-Length Mirror | Helps you see your angles while posing. | Prop it against a chair opposite the window. |
| iPhone Tripod | Ensures sharp, non-blurry images. | Stack books on a table if you don’t have one. |
| Bluetooth Remote | Allows you to take photos from a distance. | Use the ‘Timer’ function on your iPhone. |
Temperature and Comfort
Mama, make sure the room is warm. If you are doing silhouette shots or wearing light fabrics, you don’t want to be shivering. Put on some soothing music—perhaps your ‘Labor & Delivery’ playlist—to get into a headspace of connection with your baby. This isn’t a chore; it’s a date with your little one.
Wardrobe & Styling: The ‘Doula-Expert’ Fashion Formula
Choosing Fabrics That Celebrate Your Shape
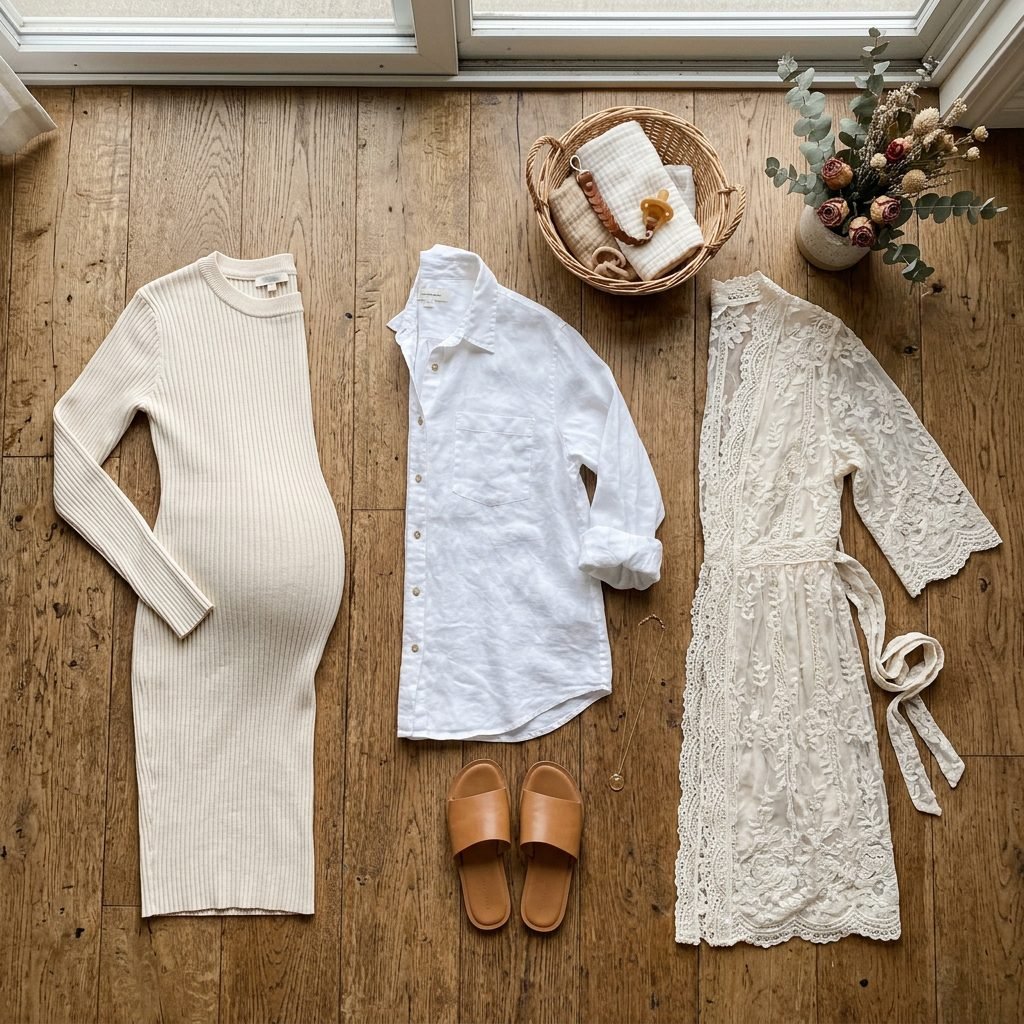
When it comes to maternity photography, the goal is to highlight the curve of the belly. Baggy clothes, while comfortable for lounging, often hide the very thing we are trying to celebrate. I recommend a ‘Comfort-First, Style-Second’ approach. Look for fabrics that have texture—think lace, ribbed knit, or silk. These catch the golden light beautifully.
- The Bodycon Dress: A simple, stretchy midi dress in a neutral tone (cream, tan, sage, or terracotta) is the gold standard. It hugs your curves and creates a clean silhouette.
- The Open Button-Down: Borrow one of your partner’s white linen shirts. Wear it open over your bump with some pretty maternity intimates. It’s classic, intimate, and timeless.
- The Ethereal Robe: A sheer or lace robe allows the light to pass through the fabric, creating a ‘halo’ effect around your body.
- Go Barefoot: Avoid shoes. Bare feet look more natural and grounded in a home setting, and let’s be honest, your feet might be a little swollen anyway, Mama!
Pro-Tip: Avoid large, busy patterns like tiny florals or stripes. They can ‘strobe’ on camera sensors and distract from your face and belly. Stick to solid, earthy tones that mimic the colors of the sunset.
iPhone Technical Mastery: Settings for the ‘Pro’ Look
Unlocking Your Phone’s Potential
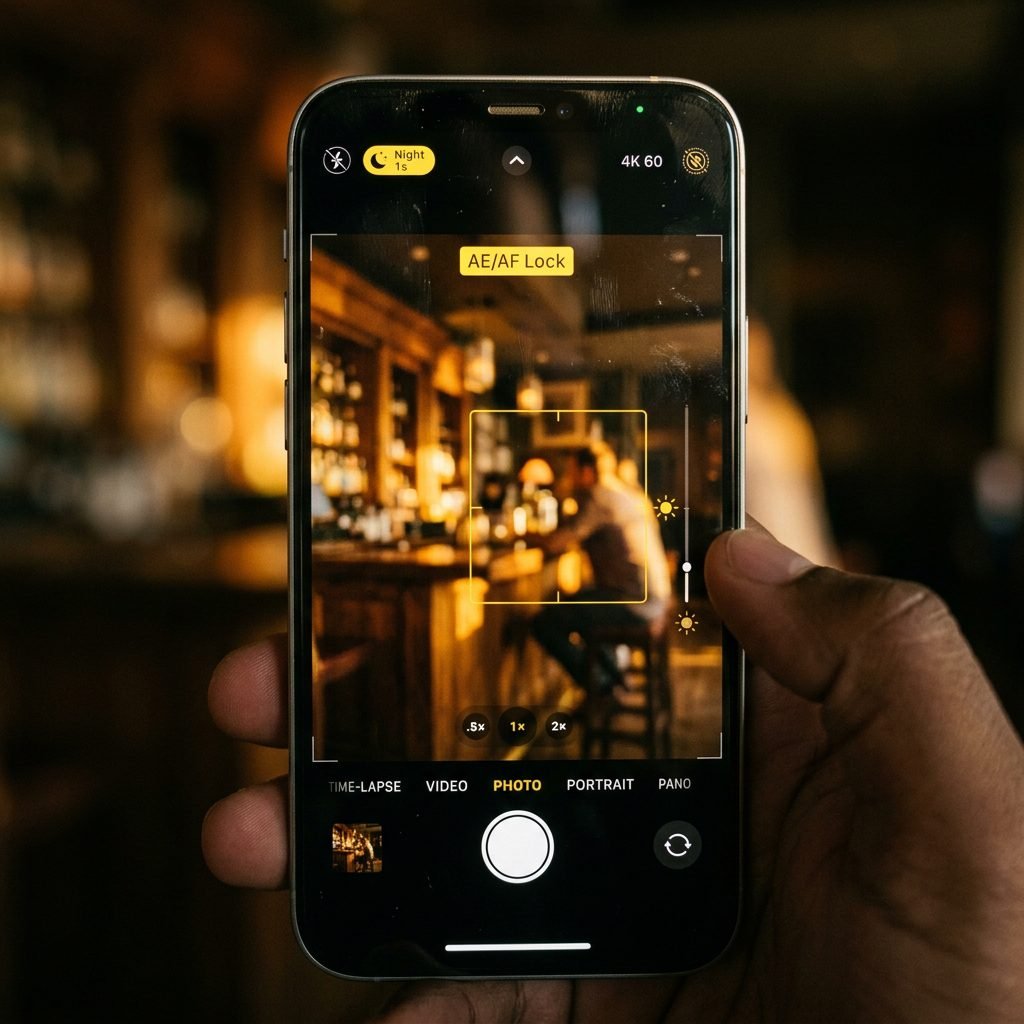
Your iPhone is a powerhouse, but the ‘Auto’ settings often try to brighten the image too much, which kills the ‘Golden Hour’ mood. We want to take manual control. Follow these steps to set up your phone before you start posing:
- Clean Your Lens: It sounds simple, but a thumbprint on the lens will make your photos look hazy and cheap. Wipe it with a microfiber cloth.
- Turn Off the Flash: We are using the sun. The flash will create a flat, harsh look that ruins the golden aesthetic.
- Use Portrait Mode: If you have a newer iPhone, use Portrait Mode and set the ‘f-stop’ (the little ‘f’ icon) to a lower number like f/2.8 or f/4.5. This creates that beautiful blurred background (bokeh).
- The AE/AF Lock Secret: This is the most important tip. Tap on the screen where your belly is, then hold your finger down until you see ‘AE/AF LOCK’ in a yellow box. Then, slide the little sun icon down to lower the exposure. This makes the light look rich and moody rather than blown out.
“Don’t be afraid of the shadows. Shadows are what give your bump depth and dimension. They tell the story of the space your baby is occupying.”
If you are shooting alone, set your timer for 10 seconds. This gives you enough time to walk to your spot, settle into a pose, and take a deep, relaxing breath so your shoulders don’t look tense.
Posing Your Bump: Flattering, Doula-Approved Angles
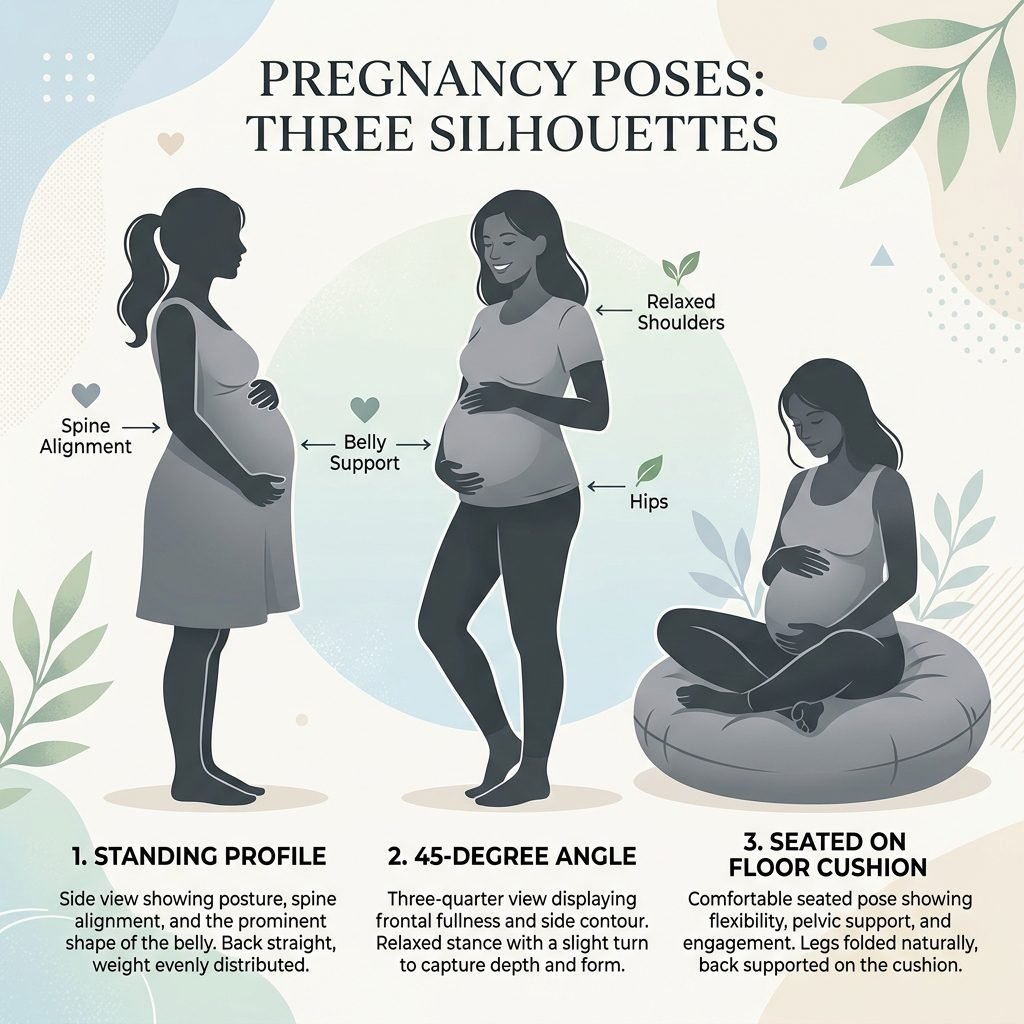
Connection Over Perfection
The best poses are the ones where you are interacting with your baby. As a doula, I encourage you to think of these poses as ‘movement’ rather than static positions. Here are four essential poses that work for every body type:
1. The Classic ‘Heart Hands’ Silhouette
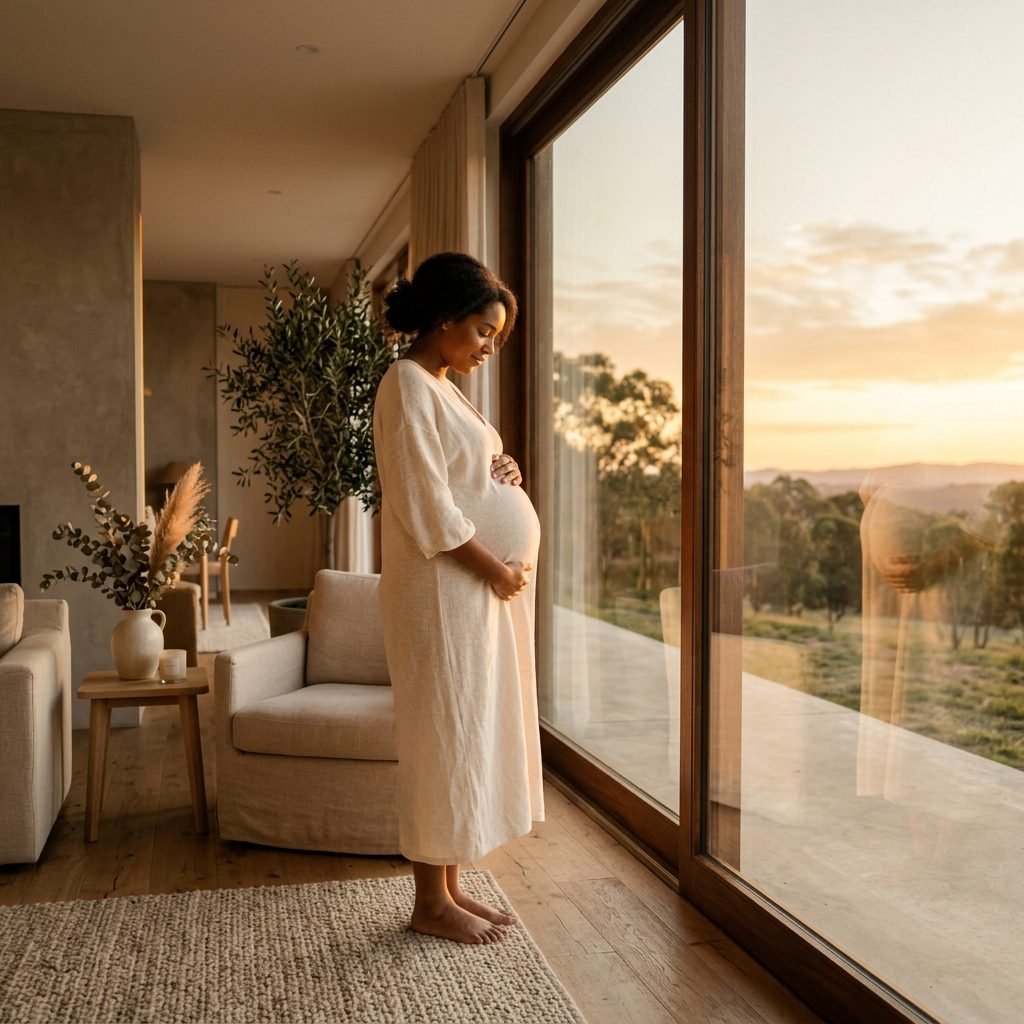
Stand sideways to the window. Place your hands in a heart shape at the bottom of your bump. Look down at your belly. This creates a perfect profile of your pregnancy. Doula Tip: Bend the knee closest to the camera slightly to create a more flattering ‘S’ curve in your frame.
2. The ‘Window Gaze’
Stand facing the window at a 45-degree angle. Place one hand on top of your bump and one on the bottom. Look out the window as if you are dreaming about the day you meet your little one. The light will wrap around your face and belly beautifully.
3. The Seated ‘Goddess’
Sit on a chair or the floor (use a pillow for support!) perpendicular to the window. Cross your legs or tuck them to the side. This is a very grounded, earthy pose. Ensure your back is straight—imagine a string pulling the crown of your head toward the ceiling.
4. The ‘Partner Connection’ (If applicable)
If your partner is joining, have them stand behind you, wrapping their arms around the top of your bump while you hold the bottom. Have them nuzzle into your neck. These candid-style shots often become the favorites because they capture the support system surrounding the baby.
| Pose Name | Focus Point | Best For… |
|---|---|---|
| The Silhouette | Belly Profile | Dramatic, artistic vibes. |
| The Overhead | Top of Bump | Showing the ‘Mama’s view’. |
| The Belly Cup | Hands/Touch | Emphasizing the connection. |
| The Gentle Walk | Movement | Candid, natural looks. |
Post-Shoot Magic: Editing for That Dreamy Finish
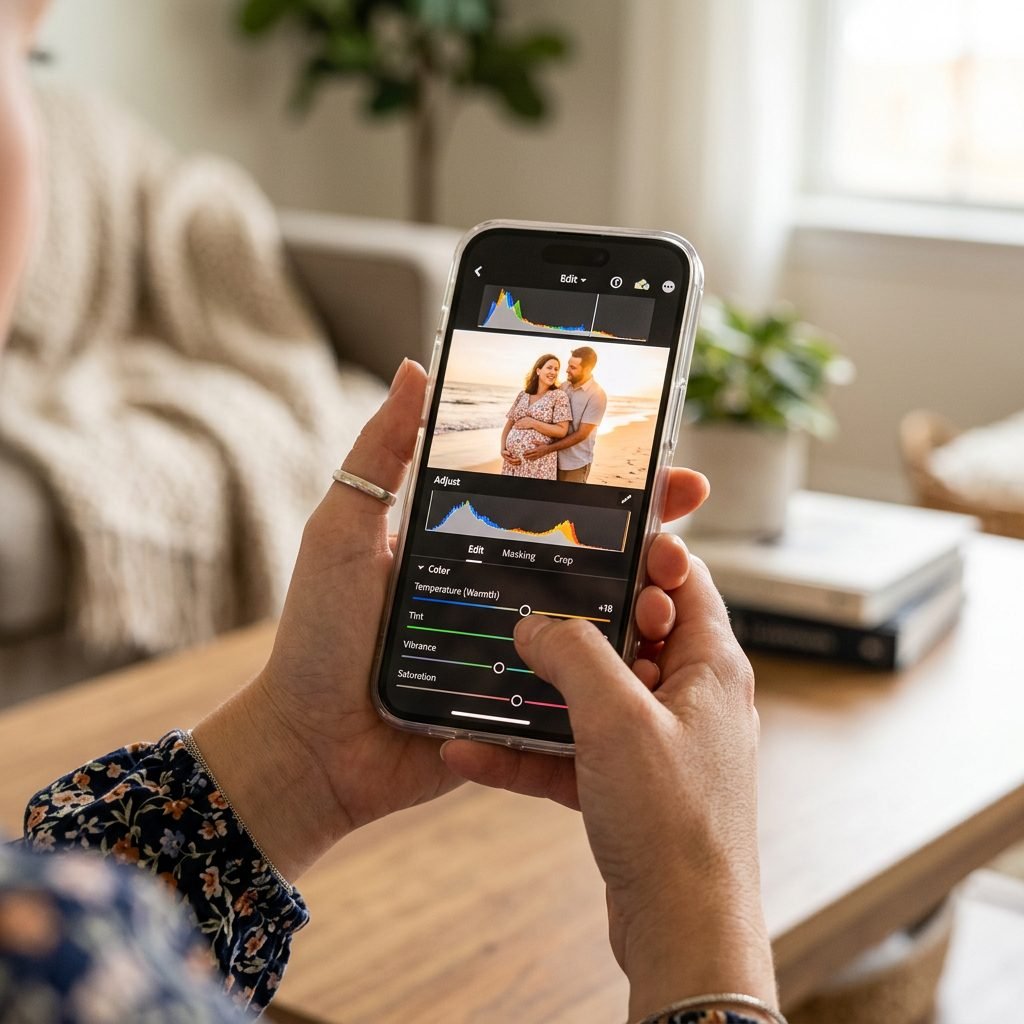
Enhancing the Glow Without Overdoing It
Once you’ve finished your shoot, you’ll likely have 50-100 photos. Don’t feel overwhelmed! Scroll through and ‘Favorite’ (tap the heart) the ones that make you smile. When it comes to editing, less is more. We want to enhance the natural light, not mask it with heavy filters.
- Warmth & Tint: Increase the ‘Warmth’ (or Temperature) slightly to lean into those golden tones. If your skin looks too red, nudging the ‘Tint’ toward green can balance it out.
- Brilliance: In the iPhone ‘Edit’ menu, the ‘Brilliance’ slider is magic. It brightens shadows and tames highlights simultaneously.
- Black Point: If you want a more ‘moody’ or ‘filmic’ look, increase the ‘Black Point’ slightly. This makes the dark areas of the photo richer.
- Recommended Apps: If you want to go beyond the iPhone’s native tools, Lightroom Mobile (the ‘Presets’ are life-changing) or Tezza are fantastic for achieving a warm, vintage maternal aesthetic.
Remember, Mama, your skin has texture, your body has stripes of strength (stretch marks), and your home has character. Don’t edit out the reality of this journey. Those ‘imperfections’ are the map of how you became a mother.
Conclusion
You Created Something Beautiful Today
Mama, I hope you take a moment to look at these photos and see what I see: a woman who is powerful, soft, and deeply connected to the life within her. These iPhone photos aren’t just files on a phone; they are the first pages of your baby’s story. By taking the time to capture this golden hour, you’ve honored yourself and the transition you are making into motherhood.
Keep these photos safe—print them out! There is something so special about holding a physical copy of yourself during this time. Whether you share them with the world or keep them as a private treasure, know that you’ve done something wonderful. You’ve captured the magic. You’ve got this, Mama.