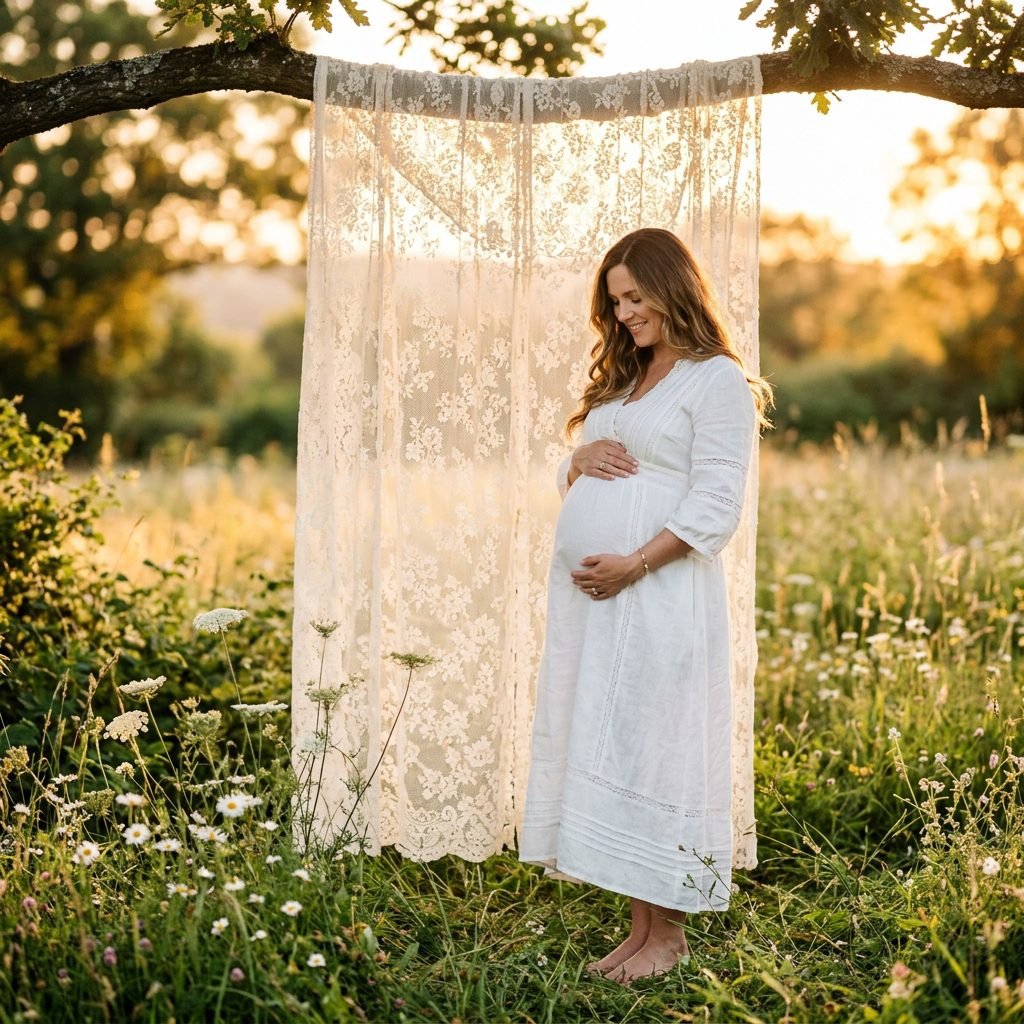
DIY Lace Sheet Backdrop: Elegant Outdoor Maternity Photos on an iPhone
Embracing the Glow: Why You Don’t Need a Studio to Feel Like a Goddess
Mama, there is a specific kind of magic that happens during these nine months. Your body is doing the most incredible work it will ever do, and while I know you might feel more ‘swollen’ than ‘statuesque’ some days, I want you to see what I see: a masterpiece. As a doula, I often tell my clients that capturing this fleeting season isn’t about vanity; it’s about honoring the transition into motherhood. But let’s be real—professional maternity sessions can cost a small fortune, and sometimes the pressure of a formal studio feels anything but ‘you.’
That is where the DIY Lace Sheet Backdrop comes in. It is soft, romantic, timeless, and—best of all—incredibly easy to execute with just your iPhone and a bit of golden hour sun. We are going to walk through how to create a high-end, editorial look in your own backyard or a local park. You don’t need a fancy DSLR or a lighting crew. You just need your beautiful bump, a vintage sheet, and a little bit of sisterly guidance. Let’s get you ready for your close-up, mama!
The Supply List: Creating Elegance on a Budget
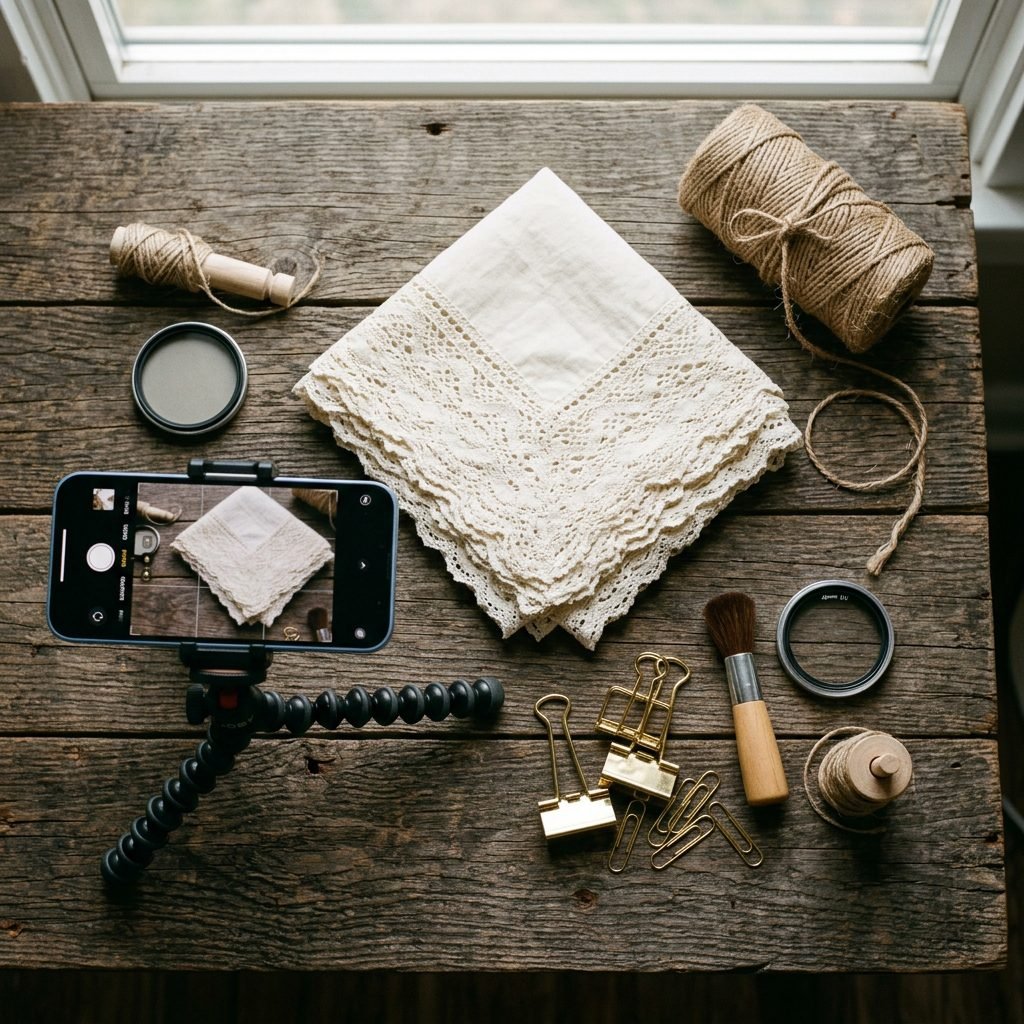
Creating a professional-looking set doesn’t require a trip to a specialty photography store. In fact, most of what you need might already be in your linen closet or at the local thrift shop. The key to this look is the texture of the lace. You want something with ‘weight’ so it drapes beautifully, but enough transparency to let the sunlight dance through the patterns.
Essential Materials for Your DIY Set
Before we head outdoors, let’s gather our supplies. I’ve broken down the costs so you can see just how much you’re saving by taking the DIY route.
| Item | Purpose | Estimated Cost |
|---|---|---|
| Vintage Lace Sheet or Curtains | The main backdrop element for texture and light diffusion. | $5 – $25 (Thrifted) |
| Natural Twine or Heavy-Duty String | To hang the lace between trees or posts. | $3 – $5 |
| Spring Clamps or Large Binder Clips | To secure the lace and create beautiful ‘drapes.’ | $4 – $10 |
| Portable Steamer (Optional) | To remove harsh fold lines from the lace. | $0 (Already owned) |
| iPhone Tripod with Bluetooth Remote | Ensures sharp photos and allows you to pose solo. | $15 – $30 |
Pro-Tip: Look for ‘Cotton Crochet’ or ‘Brussels Lace’ patterns. They have a heavier feel that looks much more expensive on camera than thin, shiny polyester lace. If you can’t find a single large sheet, two lace curtain panels clipped together work perfectly!
Finding Your ‘Studio’: Location and the Magic of Golden Hour

The Secret Sauce: Lighting is Everything
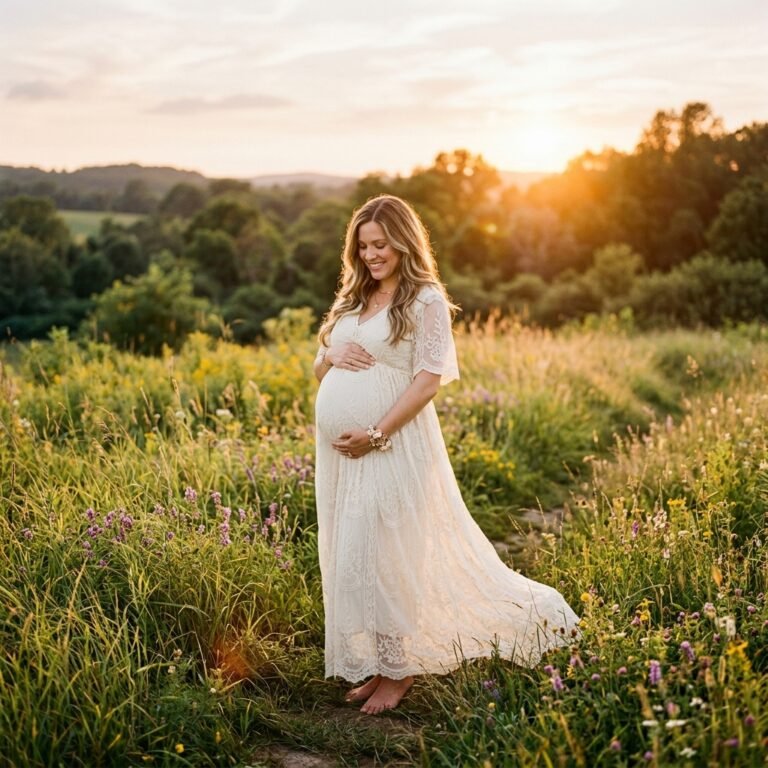
As a doula and a stylist, I can tell you that the most expensive camera in the world can’t fix bad lighting. For an outdoor maternity shoot, we are looking for ‘Golden Hour’—that sweet spot about 60 to 90 minutes before sunset. This light is soft, warm, and incredibly forgiving on the skin, minimizing shadows and giving you that ethereal pregnancy glow.
Choosing Your Location
- Backyard Bliss: If you have a tree with low-hanging branches, this is your winner. It’s private, and you have easy access to outfit changes.
- Local Park or Meadow: Look for tall grass and a clear view of the horizon where the sun sets. Ensure you have permission to be there!
- The ‘North-Facing’ Rule: If you aren’t shooting at sunset, try to find a spot that is in ‘open shade’—like the shadow of a large building or a dense cluster of trees. This prevents harsh ‘raccoon eyes’ from overhead sun.
“The best light isn’t found in a bulb; it’s found in the moments when the sun kisses the earth. Trust the natural glow of the evening to highlight the life you’re carrying.”
Step-by-Step: Setting Up Your Lace Backdrop
Engineering the Perfect Drape
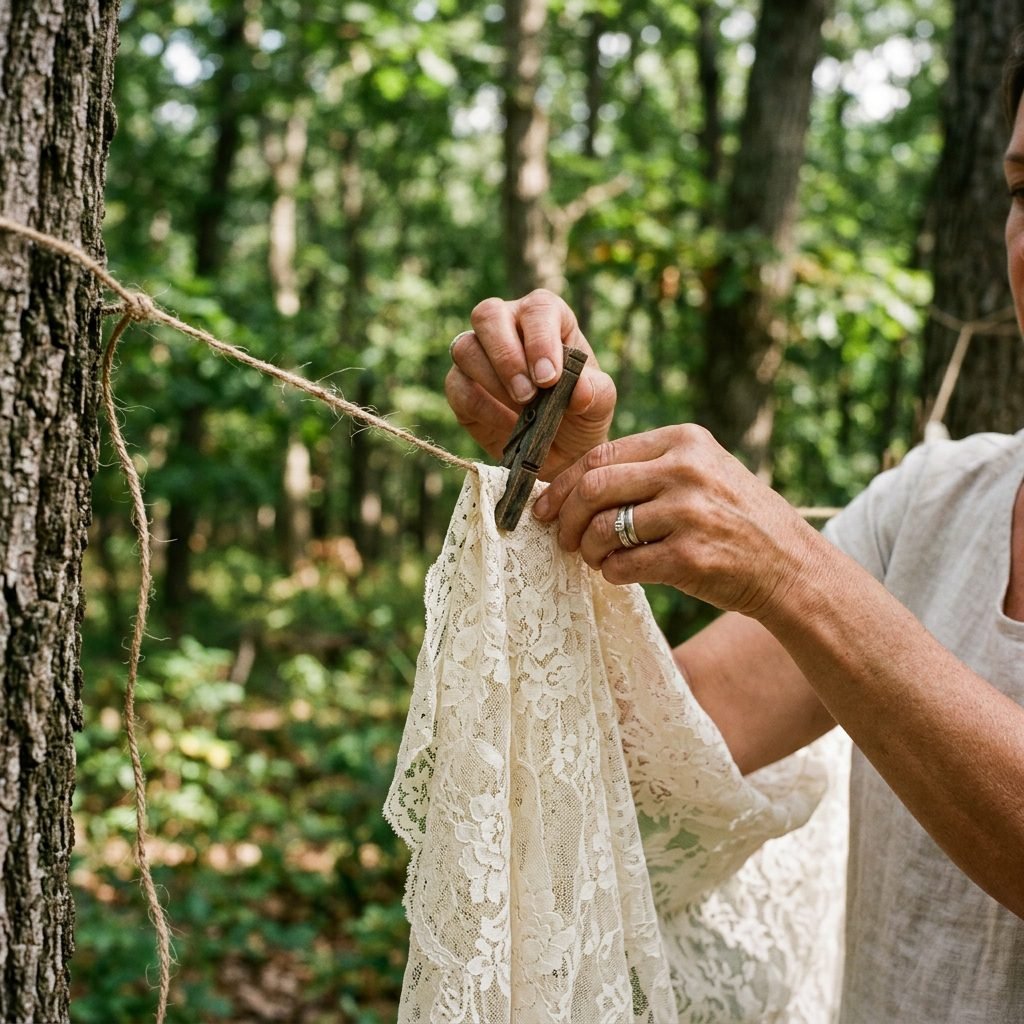
Now, let’s get that lace hung. We want it to look like a dream, not a laundry line. Follow these steps to ensure a sturdy and stylish setup:
- Identify Your Anchors: Find two trees approximately 6 to 8 feet apart. If you only have one tree, you can use a tall fence post or even a high-quality light stand as your second anchor.
- The Clothesline Method: Tie your twine tightly between the two anchors at a height of about 7 feet. You want it high enough that the top of the backdrop isn’t in your shot, but low enough that you can reach it.
- Draping the Lace: Fold the top 2 inches of your lace sheet over the twine. Use your binder clips to secure it every 12 inches. Don’t pull it tight! Allow the lace to have some ‘swag’ or natural dip in the middle for a more romantic, relaxed feel.
- Grounding the Look: Let the bottom of the sheet pool on the grass. This creates a seamless transition from the ground to the backdrop, which looks incredibly high-end.
- The Sun Test: Stand behind the lace (between the lace and the sun). Does the light filter through the pattern? If it’s too dark, move your setup slightly so the sun is hitting the back of the lace directly. This is called backlighting, and it will make the lace (and your silhouette) pop.
iPhone Masterclass: Settings for Professional Results
Turning Your Phone into a Professional Tool
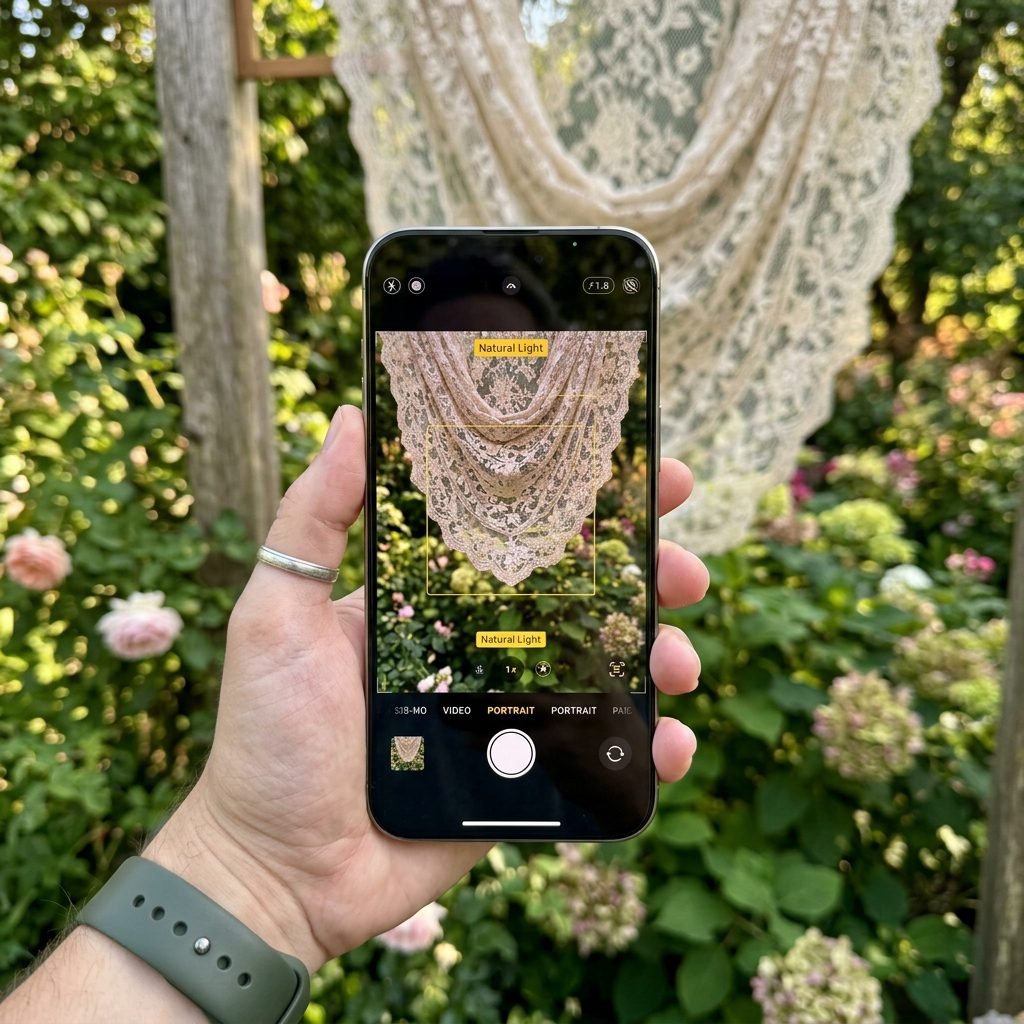
Your iPhone is a powerhouse, but for professional-looking maternity photos, we need to move beyond ‘point and shoot.’ We want to create depth of field (that blurry background look) and ensure your skin tones are warm and true.
The Settings Checklist
- Portrait Mode is Your Best Friend: Use Portrait Mode to create a shallow depth of field. If you have a newer iPhone, you can actually adjust the ‘f-stop’ (the blurriness) after you take the photo. Aim for f/2.8 or f/4.5 for a soft, dreamy look.
- Turn Off the Flash: Never use the built-in flash for these photos. It creates harsh lines and flattens your beautiful bump.
- Exposure Compensation: When you tap your face on the screen to focus, a yellow box with a sun icon will appear. Slide that sun down slightly. iPhone cameras tend to over-brighten outdoor shots; underexposing slightly will keep the details in the lace and your dress from ‘blowing out.’
- The Grid Feature: Go to Settings > Camera > Grid and turn it ON. Use the lines to keep your horizon straight and follow the Rule of Thirds (place yourself on one of the vertical lines rather than dead center for a more professional composition).
| Feature | Recommended Setting | Why? |
|---|---|---|
| Mode | Portrait Mode | Creates the ‘bokeh’ (blurred background) effect. |
| Lens | 2x or 3x Telephoto | Flattens features and is more flattering for portraits. |
| Live Photo | ON | Allows you to pick the perfect frame if you move or blink. |
| HDR | Smart HDR ON | Balances the bright sky and the shadows of the trees. |
Posing the Bump: Comfort, Confidence, and Curves
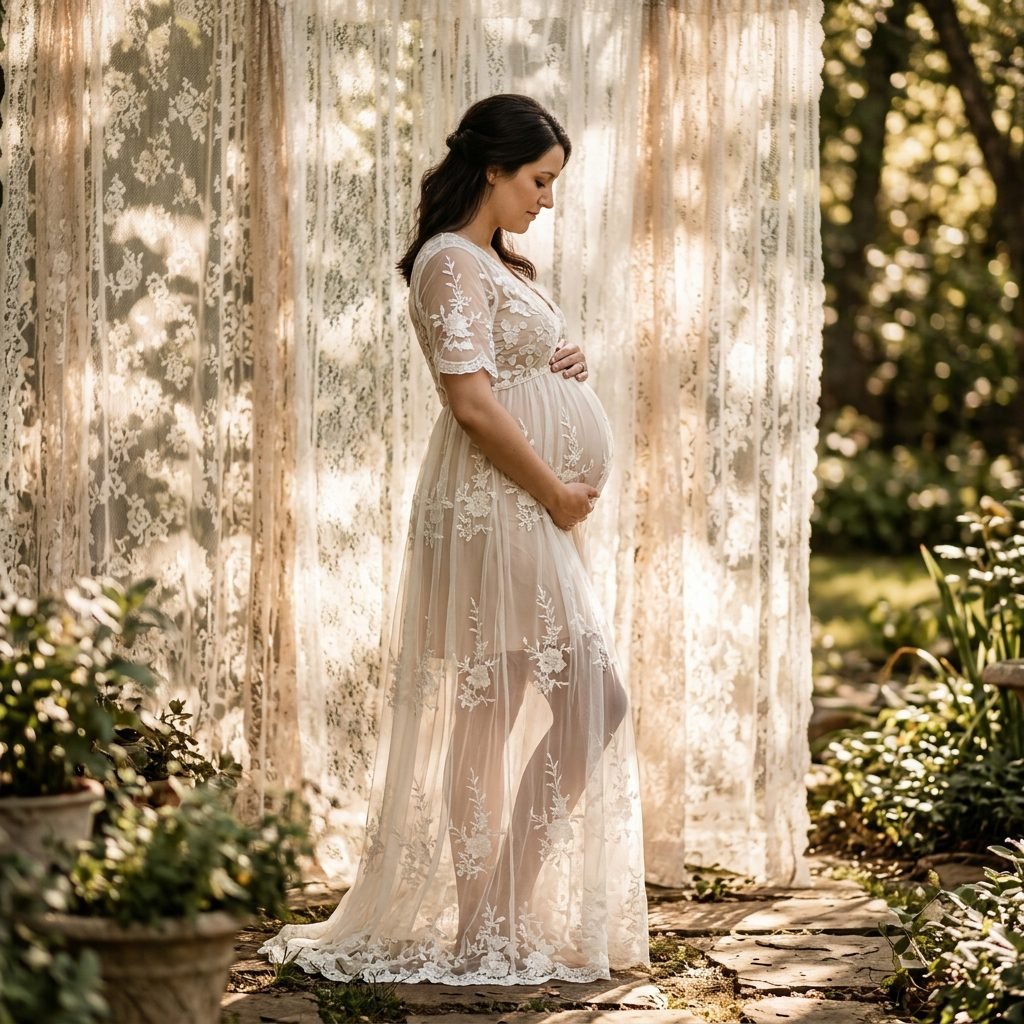
Honoring Your Changing Body
Mama, I know you might feel a bit awkward in front of the camera. That’s okay! My goal is to get you into positions that feel stable and comfortable while highlighting that gorgeous curve. The lace backdrop provides a soft, textural contrast to the smooth shape of your belly.
The ‘Doula-Approved’ Poses
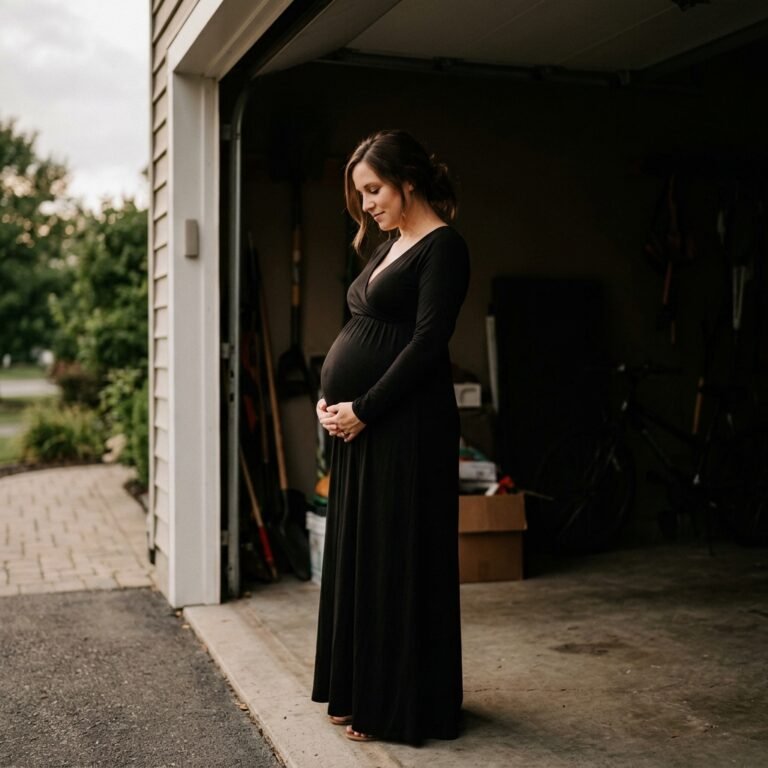
- The ‘C’ Curve: Stand sideways to the camera. Bend the knee closest to the lens slightly and place your hands—one above and one below—your bump. This creates a beautiful ‘C’ shape that defines the baby’s home.
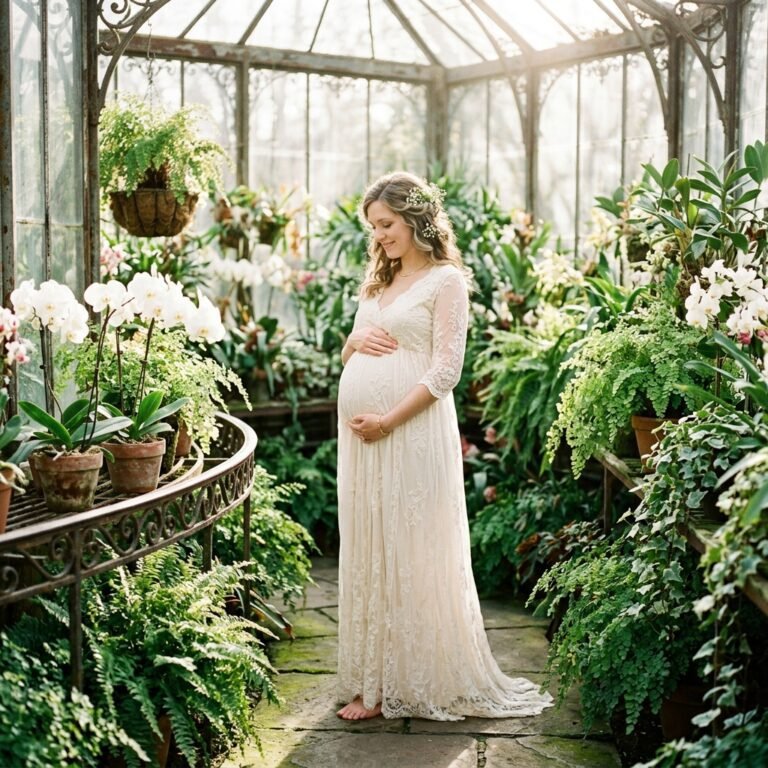
- The Lace Peek-a-Boo: Stand slightly behind the edge of the lace sheet, letting a bit of the lace frame your face. Look down at your bump with a soft smile. This creates an intimate, ‘quiet’ moment.
- The Seated Goddess: If your feet are tired (and they probably are!), bring out a wooden stool or sit directly on the lace pooling on the ground. Spread your skirt around you and rest your back against the tree.
- The Movement Shot: Gently sway or walk toward the camera. The lace will flutter behind you, and the iPhone’s ‘Live Photo’ feature will capture the perfect moment of motion.
“You are not just taking a photo; you are documenting the first home your child ever knew. Breathe deep, relax your shoulders, and just be present with your baby.”
The Final Touch: Editing for an Editorial Finish

Bringing the Dream to Life
Once you’ve finished your shoot, the final magic happens in editing. You don’t need Photoshop; a few free apps will do the trick. My favorites are Lightroom Mobile and Snapseed.
Simple Editing Steps
- Warmth (White Balance): Bump up the warmth (temperature) slider just a tiny bit. This enhances the golden hour feel and makes your skin look radiant.
- Softening the Highlights: Lace can sometimes look too bright. Bring the ‘Highlights’ slider down to reveal the intricate patterns in the fabric.
- Adding a Touch of Grain: For a vintage, film-like quality that matches the lace aesthetic, add a small amount of ‘Grain’ (around 10-15%). This hides any digital noise from the iPhone sensor.
- The ‘Healing’ Tool: Use the healing brush in Snapseed to remove any distracting elements, like a stray twig on the ground or a clip showing at the top of the lace.
A Note on Self-Love: In the world of high-definition cameras, it’s easy to zoom in and find ‘flaws.’ I am asking you, sister-to-sister, don’t edit out your story. The stretch marks, the fullness in your face—that is the mark of a life-giver. Keep the editing focused on the light and the mood, rather than ‘fixing’ a body that isn’t broken.
Conclusion
You Created Something Beautiful
There you have it, mama. With a simple lace sheet, a bit of twine, and the phone in your pocket, you’ve captured a moment in time that you will cherish for decades. These photos aren’t just for your Instagram feed; they are for the child growing inside you, who will one day look at these images and see how deeply they were loved before they even arrived.
Remember, the most important element of any photo isn’t the backdrop or the lighting—it’s the connection you have with yourself and your baby. I hope this DIY project gave you a moment of peace, a boost of confidence, and a beautiful memory. You are doing an incredible job, and you look absolutely stunning doing it.