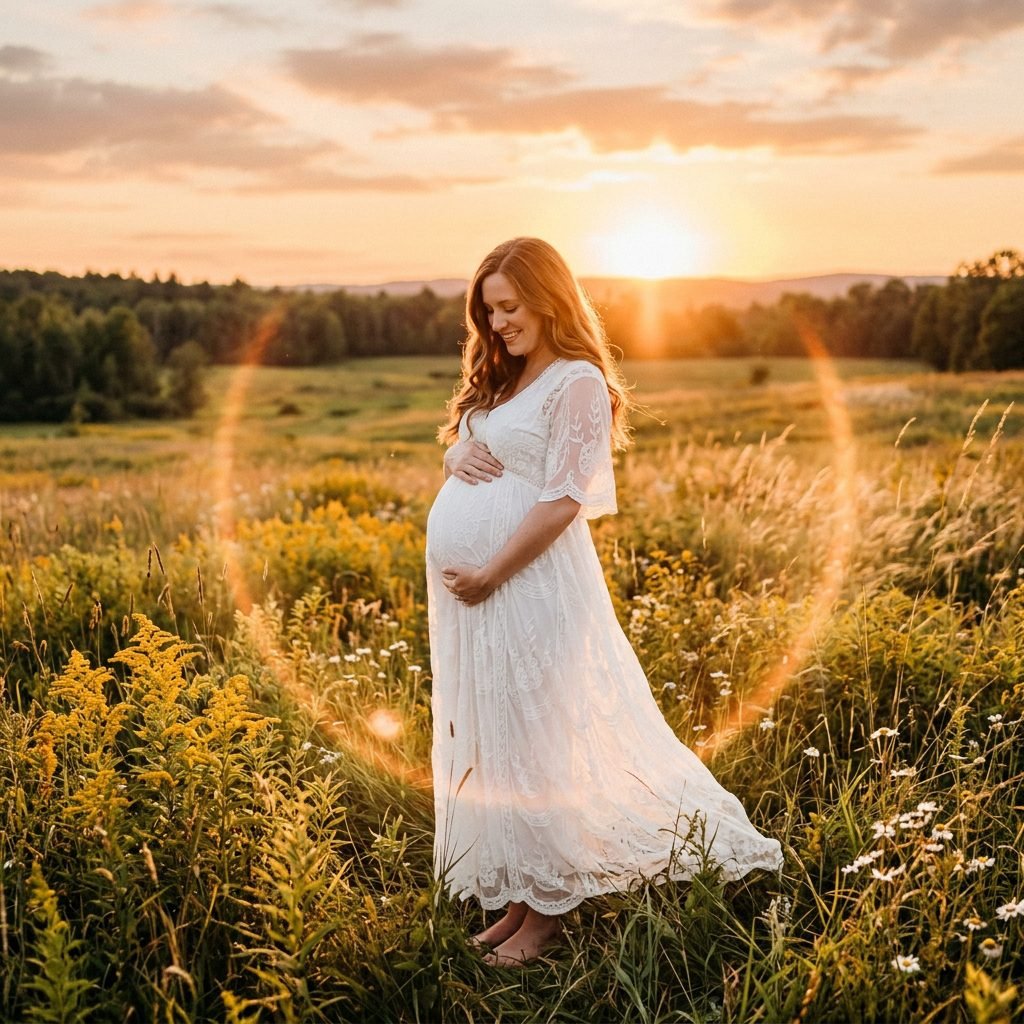
7 Secret Hacks for Capturing Dreamy Sun Flare Maternity Photos with Your iPhone
Welcome, mama! There is something truly magical about the way light dances around a mother-to-be. As a doula and a lover of all things aesthetic, I know that your pregnancy journey is a fleeting, sacred time that deserves to be documented with all the beauty it holds. You don’t need a thousand-dollar DSLR camera or a professional photography crew to capture those ethereal, sun-soaked images you see on Pinterest. Your iPhone is a powerful tool capable of creating breathtaking ‘sun flare’ effects that highlight your glow and the life growing within you.
Sun flare—that soft, hazy, and romantic light leak—can transform a simple backyard photo into a piece of art. However, it can be tricky to master without the right techniques. If you’ve ever tried to take a photo against the sun only to end up with a dark, grainy silhouette or a washed-out mess, this guide is for you. We are going to dive deep into the 7 secret hacks that will turn your phone into a magic wand, ensuring you have stunning memories to look back on during those late-night postpartum snuggles.
“Your body is a masterpiece in progress; let the light reflect the miracle you are creating.”
Timing the Magic: The Science and Soul of the Golden Hour
The Secret of the ‘Golden Hour’
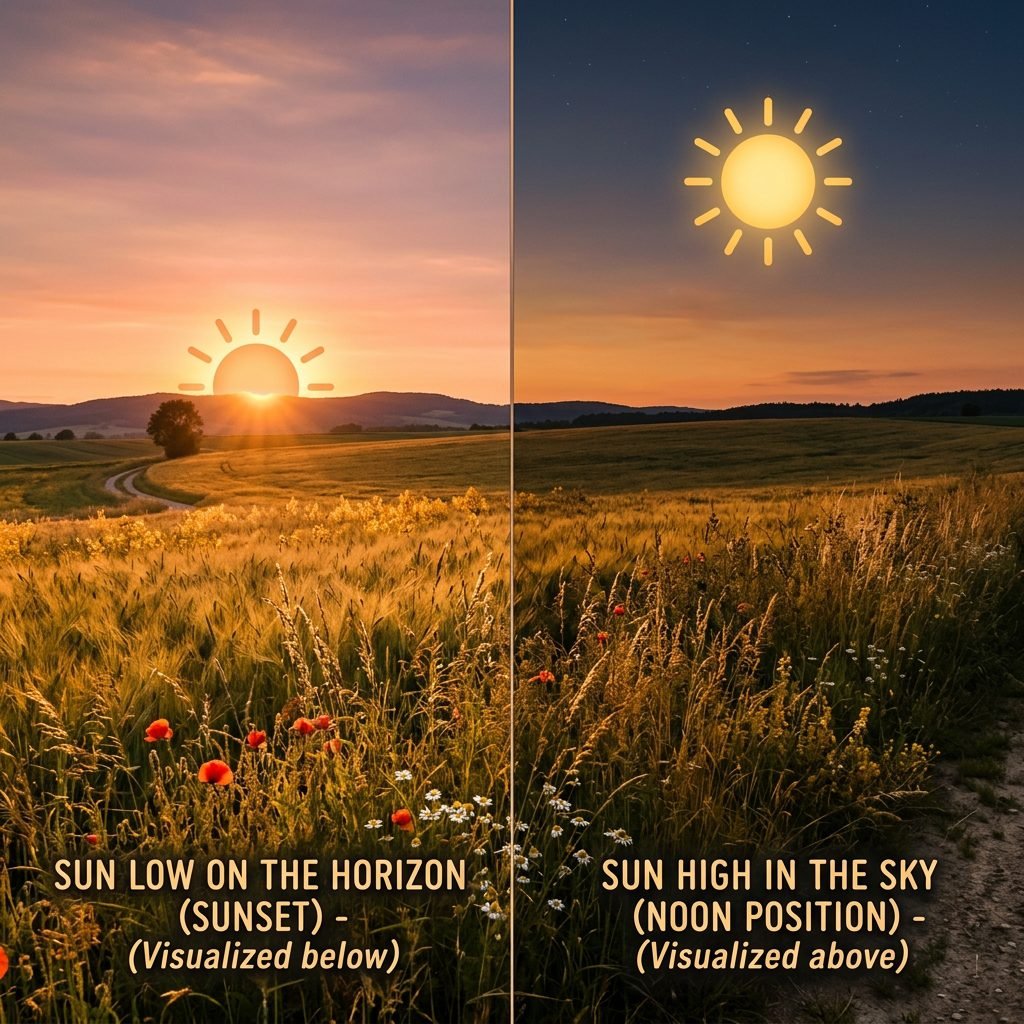
The first and most crucial hack isn’t a setting on your phone; it’s the timing of the universe. Professional photographers live and die by the ‘Golden Hour’—the period shortly after sunrise or before sunset. For maternity photos, the 30 to 45 minutes before the sun fully disappears is your sweet spot. During this time, the sun is low on the horizon, meaning the light travels through more of the atmosphere, creating that warm, soft, orange-pink glow that is incredibly flattering for skin tones and baby bumps.
Why Midday Light is Your Enemy
Avoid shooting between 10:00 AM and 3:00 PM. High-noon sun creates harsh shadows under the eyes and nose (often called ‘raccoon eyes’) and can make your bump look flat. If you must shoot during the day, find ‘dappled light’ under a tree, but for that dreamy sun flare, evening is non-negotiable.
| Time of Day | Light Quality | Maternity Photo Result |
|---|---|---|
| High Noon | Harsh, Blue, Direct | Hard shadows, squinting eyes, flat bump. |
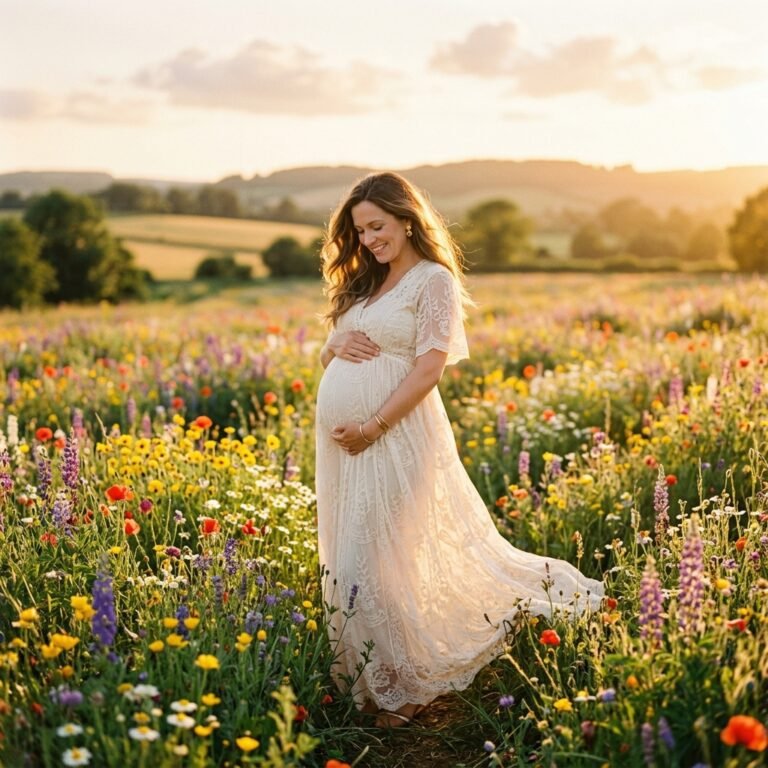
| Golden Hour | Soft, Warm, Angled | Ethereal glow, natural lens flare, soft skin. |
| Blue Hour (Post-Sunset) | Cool, Moody, Dim | Peaceful, silhouette-focused, no flare. |
The ‘AE/AF Lock’ Mastery: Taking Control of Your iPhone’s Brain
Stop the Auto-Adjust Struggle
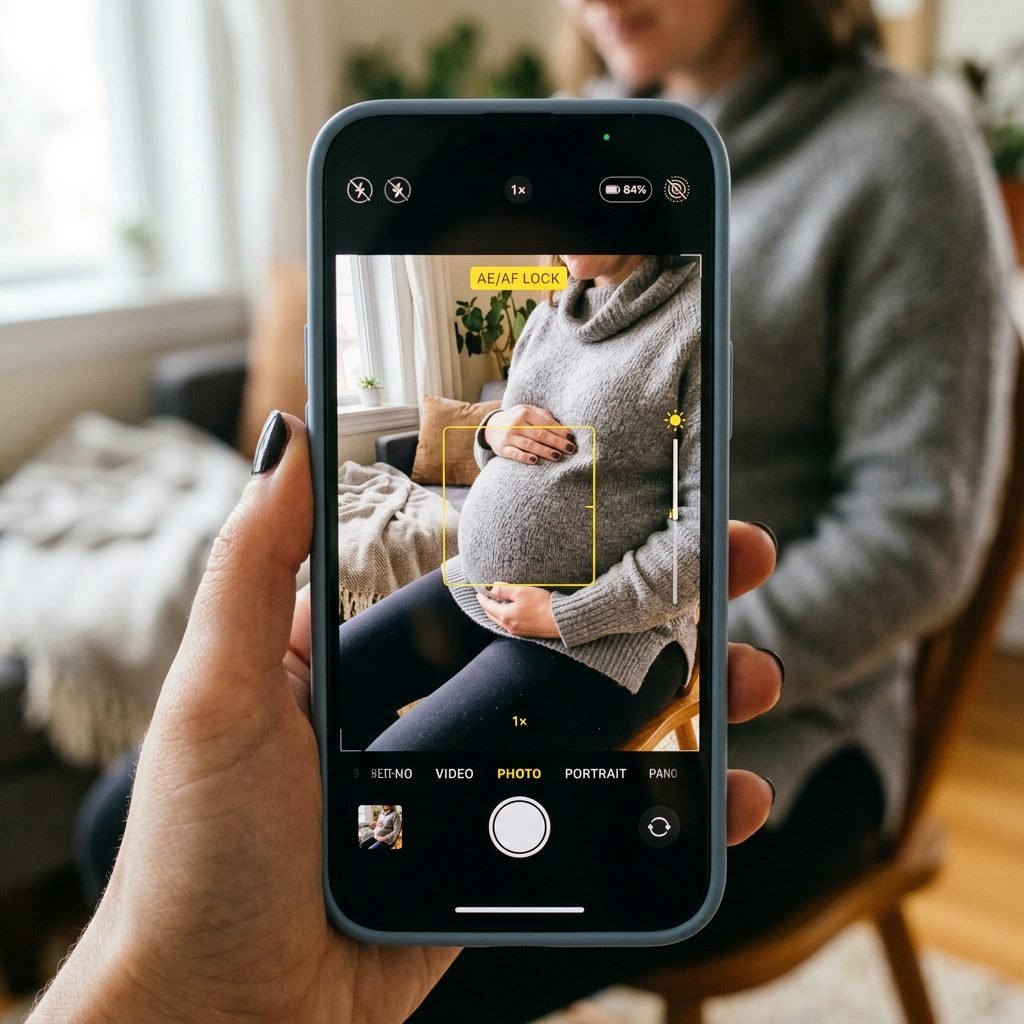
Your iPhone is designed to make photos look ‘correct’ by balancing light, but for sun flares, we want to break the rules. When you point your camera toward the sun, the phone often tries to darken the image to compensate for the brightness. This leaves your face and bump in total darkness.
How to Lock Your Exposure
- Open your Camera app and frame your shot.
- Tap and hold on the screen where you want the focus to be (usually your face or the top of your bump).
- Wait for the yellow box to pulse and the words ‘AE/AF LOCK’ to appear in yellow at the top.
- Once locked, slide the little sun icon next to the box downward or upward to manually adjust the brightness until the flare looks hazy but your features are still visible.
Pro Tip: Slightly ‘overexposing’ (sliding the sun up) can create that blown-out, angelic look that works so well for maternity portraits.
The Finger-Flare Secret: How to Manually Manipulate Light Rays
The ‘Edge of the Lens’ Trick
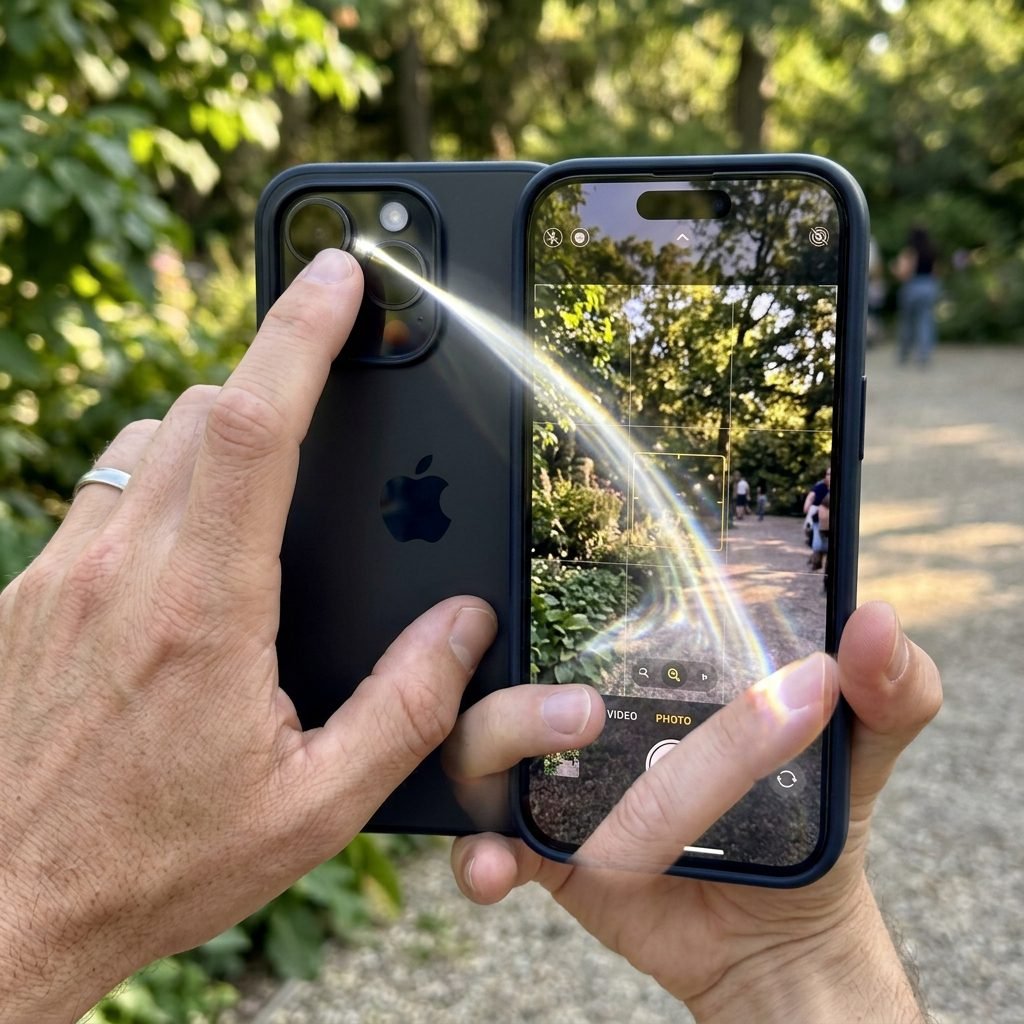
Sometimes the sun is too high or too direct, and the flare covers your entire face. Here is the ultimate secret hack used by mobile creators: use your finger to ‘catch’ the light. By placing your finger (or a strand of hair) just at the very edge of the camera lens—without actually covering the view—you can ‘bend’ the incoming sun rays.
Step-by-Step Light Bending
- Position yourself so the sun is behind you, slightly to the left or right.
- Look at your screen; if the light is too overwhelming, slowly move your hand toward the top corner of your phone.
- As your finger nears the lens, you will see the light ‘streak’ across the screen.
- Rotate the phone slightly until that streak frames your bump rather than cutting across your face.
This adds a tangible, artistic element to the photo that feels intentional and professional.
Positioning Your Bump: The ‘Back-Angle’ Technique for Ethereal Silhouettes
Where to Stand for the Best Flare
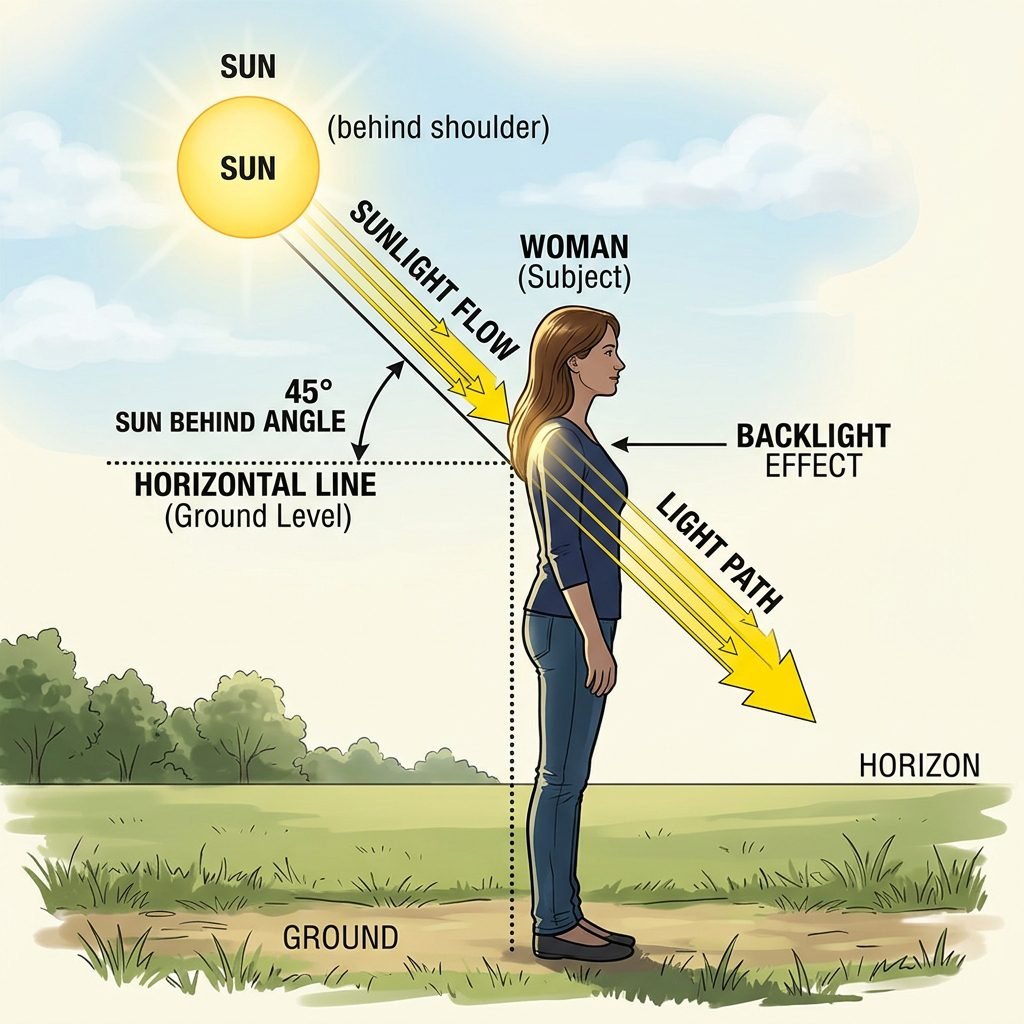
To get a sun flare, the sun must be behind you or slightly to the side. However, if you stand directly in front of the sun, you will just be a dark shadow. The trick is the ‘Peek-a-Boo’ method.
The Peek-a-Boo Method
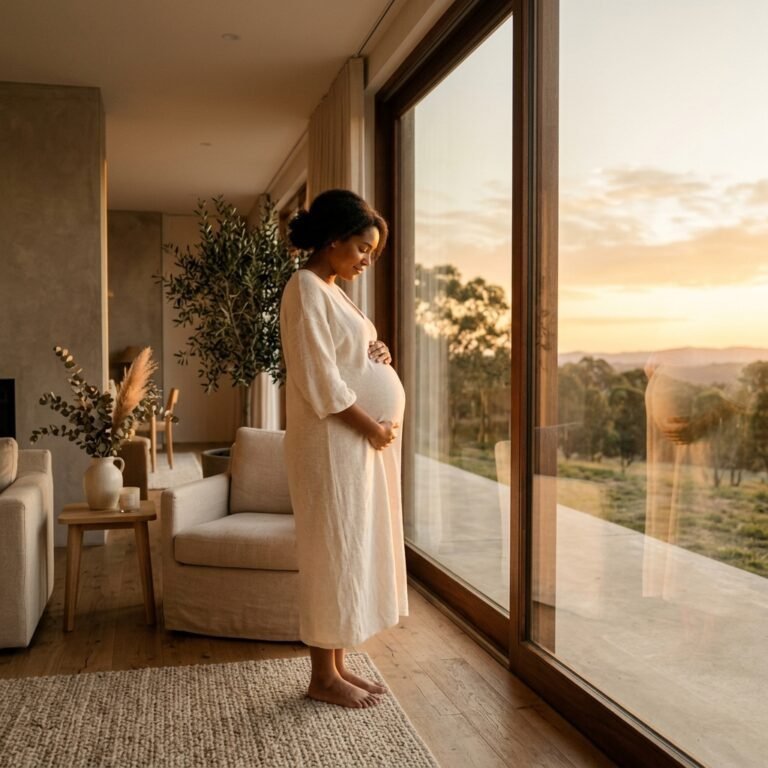
Position your body so that your torso or head is partially blocking the sun. Let just a tiny sliver of the sun ‘peek’ out from behind your shoulder or the curve of your belly. This creates a ‘rim light’ effect—a glowing halo around your hair and clothes—while triggering the lens flare without washing out the entire image. Stand at a 45-degree angle to the camera to ensure your bump profile is clearly defined against the light.
“Let the sun crown you; you are the queen of this journey.”
Wardrobe Alchemy: Choosing Fabrics that Dance with the Sun
Texture and Transparency
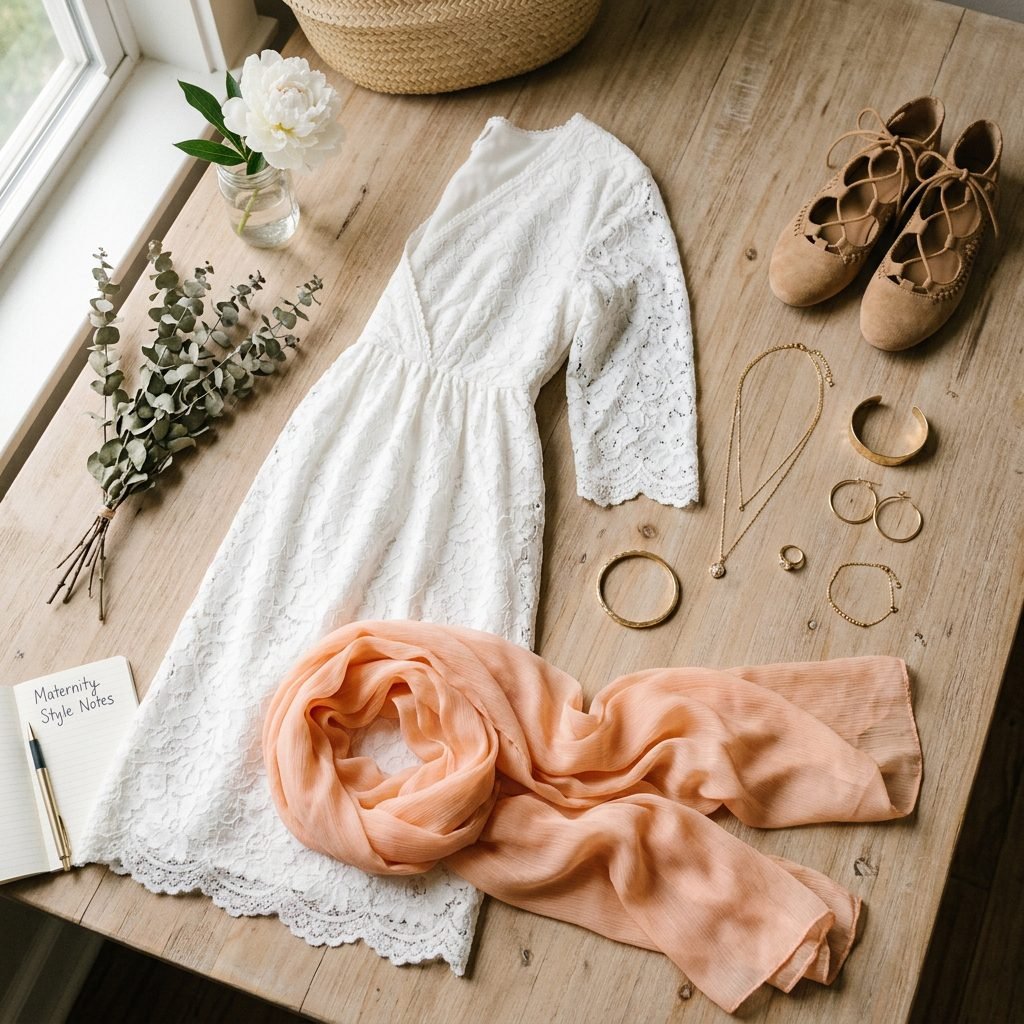
The clothes you wear act as a diffuser for the sun. For the dreamiest results, avoid heavy, dark fabrics like denim or thick wool. Instead, opt for materials that allow light to pass through them. This creates a ‘glow from within’ effect.
Best Fabrics for Sun Flare Photos
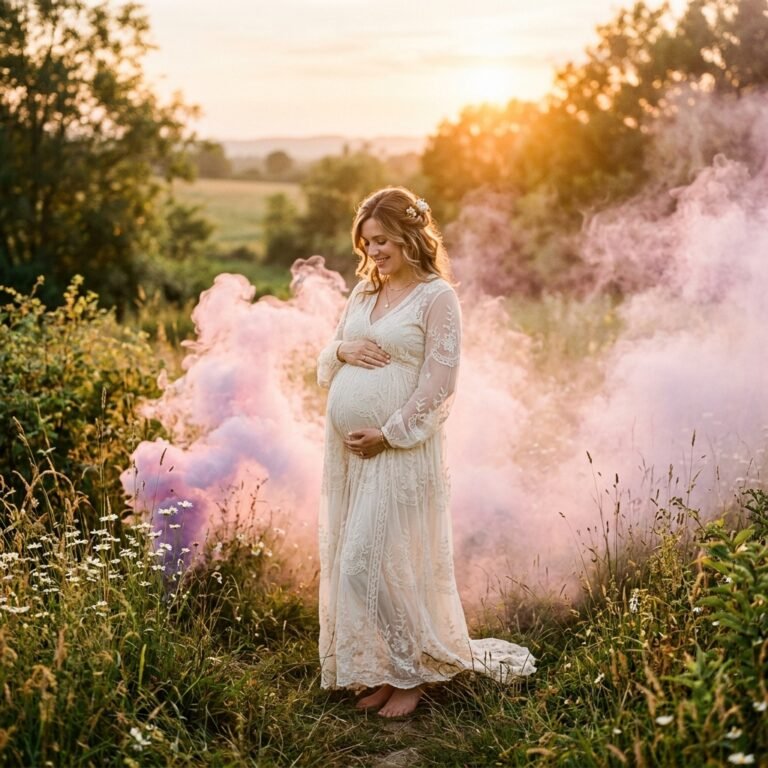
- Lace: The holes in the lace allow tiny points of light to sparkle through.
- Chiffon or Tulle: These sheer fabrics catch the golden light and create a soft, hazy aura around your legs and bump.
- Silk or Satin: These reflect the light, giving your skin a luminous quality.
| Fabric Type | Effect in Sunlight | Style Vibe |
|---|---|---|
| White Lace | Light filtration, high detail | Boho-Chic / Classic |
| Sheer Chiffon | Maximum haze, ethereal glow | Ethereal / Fairy-tale |
| Light Linen | Organic, soft shadows | Minimalist / Earthy |
The Crystal & Glass Hack: Adding Rainbows and Softness
Using Household Objects as Filters
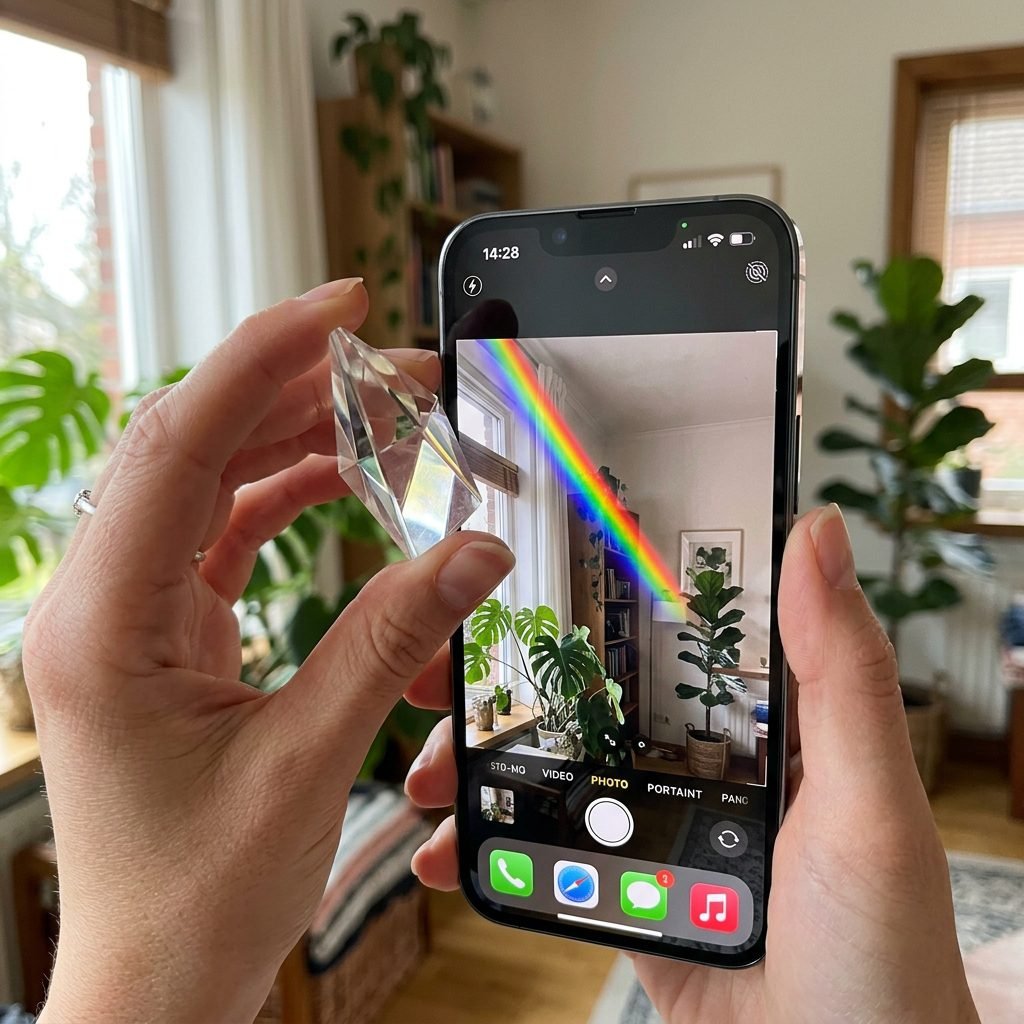
If the natural sun flare isn’t ‘dreamy’ enough, you can create your own using a simple household item. Grab a small prism, a piece of jewelry, or even a glass of water. Hold the object directly in front of your iPhone lens (about an inch away) while the sun is hitting it.
Creating Artificial Flares
By tilting a crystal or the edge of a wine glass in front of the lens, you can create rainbow refractions or soft, blurry ‘blooms’ of light in the corners of your photo. This mimics the look of expensive vintage lenses. This is a favorite hack for doulas who want to capture ‘soulful’ shots of their clients during labor prep or blessing ways.
Post-Processing Perfection: Elevating Your Glow with Native iPhone Tools
No Third-Party Apps Needed
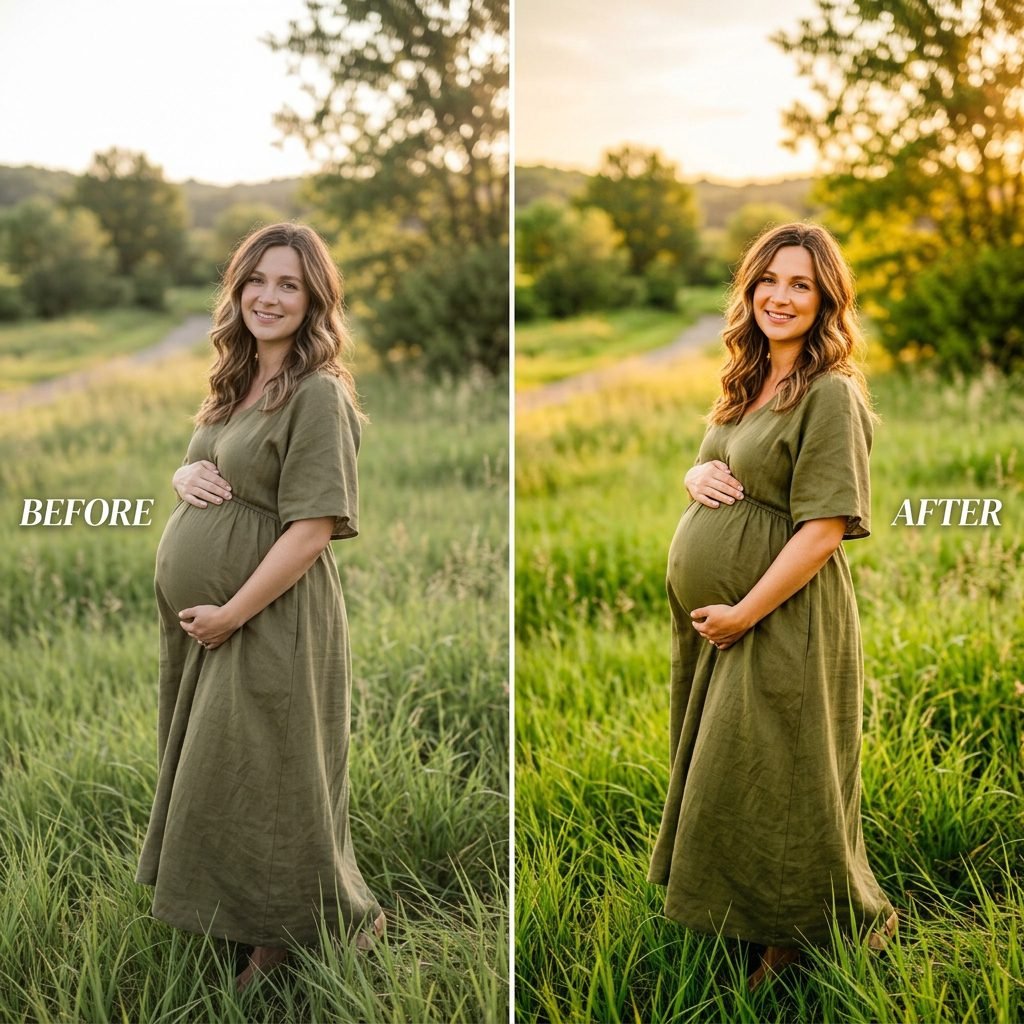
Once you’ve captured the shot, a few quick taps in the standard Photos app can take it from ‘good’ to ‘breathtaking.’ You don’t need Photoshop to enhance the sun’s natural beauty.
The ‘Glow Up’ Edit Formula
- Brilliance: Increase this to around +20. It brightens the shadows and softens the highlights simultaneously.
- Warmth: Since we want that golden feel, slide the warmth to +15.
- Tint: Add a touch of pink (+5 to +10) to give the sun flare a ‘sunset’ romantic feel.
- Highlights: If the sun is too bright, lower the highlights to bring back the detail in your dress.
Warning: Don’t over-saturate! Keep the colors natural to ensure the focus remains on the emotion of the moment.
Conclusion
Mama, your pregnancy is a season of incredible transformation. Capturing these moments with sun-drenched, dreamy photography is a gift to your future self. By using these 7 secret iPhone hacks—from mastering the AE/AF lock to the clever finger-flare trick—you are taking the power of professional storytelling into your own hands. Remember, the most important element of any photo isn’t the light or the lens; it’s the love and anticipation shining through your eyes. So, head out into that golden field, breathe in the fresh air, and let the sun celebrate you.
You are doing an amazing job, and these photos will forever be a testament to the magic of this time. Happy shooting!