How to Style and Shoot Gorgeous DIY Beach Maternity Photos with Your Partner
Embracing the Coastal Glow: Your DIY Journey
There is something inherently sacred about the intersection of the ocean’s rhythm and the journey of pregnancy. As a doula and a stylist, I have seen firsthand how capturing these moments can serve as a powerful anchor for expectant parents. You don’t need a $1,000 professional photographer to document the incredible way your body is changing. With the right timing, a bit of styling magic, and your partner by your side, you can create a gallery of memories that feel both editorial and deeply personal. This guide is designed to take the stress out of the process, providing you with the practical tools and emotional encouragement to step behind the lens (or in front of it!) with confidence. We are going to dive deep into the logistics of beach lighting, the ‘formulas’ for a stylish maternity wardrobe, and the exact poses that celebrate your connection. Grab a glass of sparkling water, put your feet up, and let’s plan your dream coastal session.
Remember, mama: your body is a masterpiece in progress, and these photos are a celebration of the strength and love that brought this new life into being.
Timing and Location: Mastering the Golden Hour
The Secret to Professional Lighting
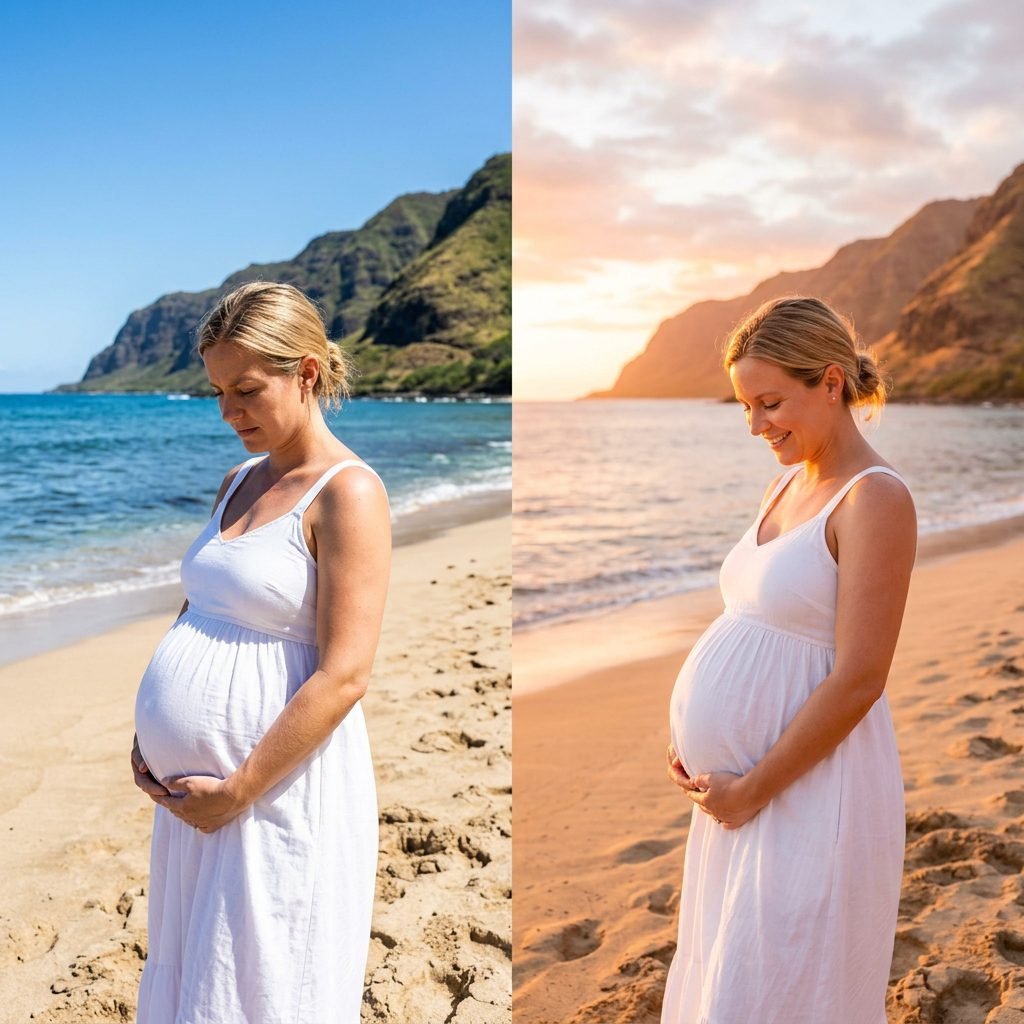
The difference between a ‘snapshot’ and a ‘photograph’ is almost always the light. For a beach setting, you must work with the sun, not against it. We aim for what photographers call the Golden Hour—the period approximately 60 minutes before sunset. During this time, the sun is low on the horizon, creating a soft, warm, and diffused light that hides skin imperfections and makes your ‘pregnancy glow’ truly pop.
Why Midday is Your Enemy
Avoid shooting between 11:00 AM and 3:00 PM. The overhead sun creates ‘raccoon eyes’ (harsh shadows under the brow) and highlights every bit of swelling or heat-induced redness. If you must shoot earlier, find a spot with ‘open shade,’ such as under a pier or near large coastal rocks.
Tide and Weather Checks
Before you head out, check a local tide chart. A ‘low tide’ often reveals beautiful tide pools and more expansive stretches of wet sand that act as a natural mirror, reflecting the sky and your silhouette. Always have a ‘Plan B’ for wind; a gentle breeze is lovely for moving your dress, but a 20mph gust will make posing nearly impossible and can irritate your eyes.
Curating the Coastal Look: Styling Your Bump
Choosing Fabrics and Colors
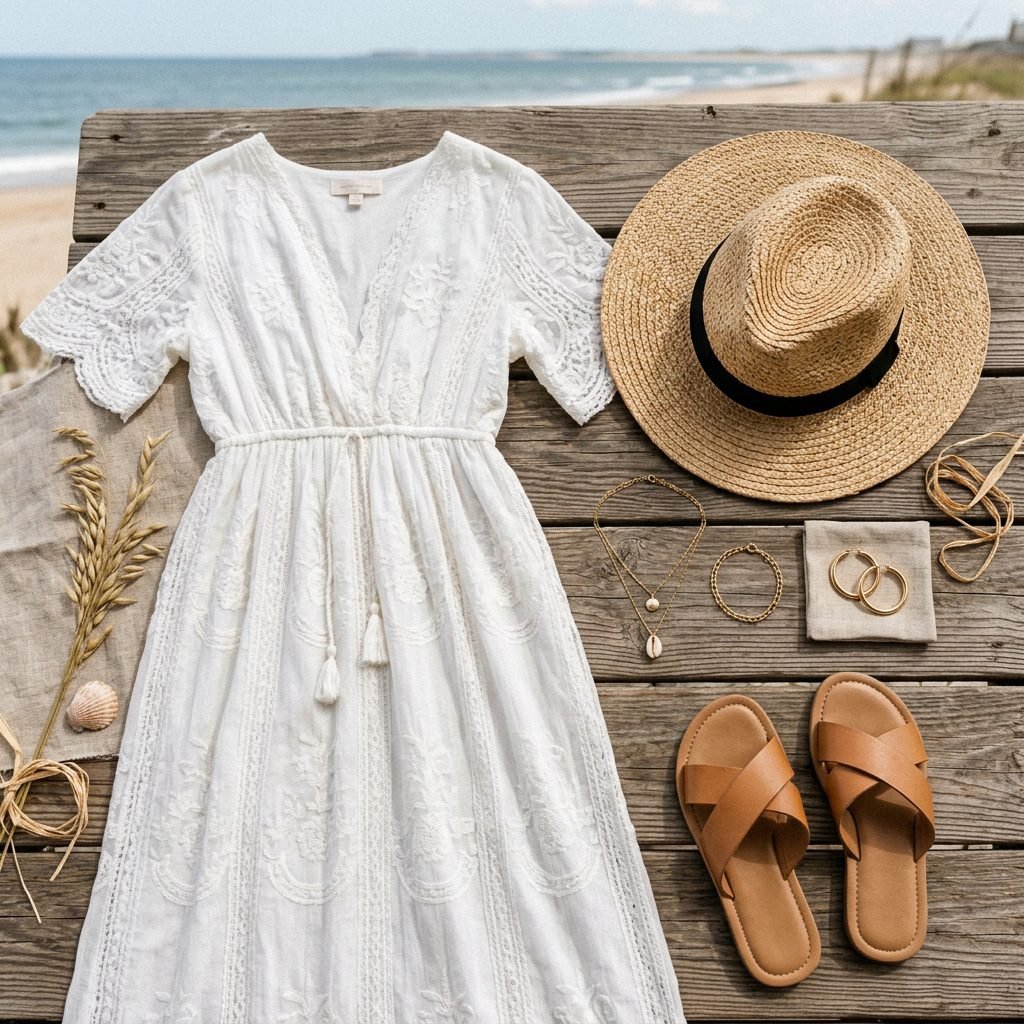
When styling for the beach, think about movement and texture. You want pieces that respond to the ocean breeze. As a stylist, I recommend a ‘Comfort-First’ approach that doesn’t sacrifice elegance. Fabrics like chiffon, lace, and lightweight linen are your best friends. They are breathable and dry quickly if you decide to get your feet wet.
The Color Palette
Stick to tones that complement the environment. Neutrals are timeless, but soft pastels can add a touch of whimsy. Avoid neon colors or busy, small patterns (like tiny polka dots), as they can ‘vibrate’ on camera and distract from your face and bump.
| Style Archetype | Outfit Suggestion | Vibe |
|---|---|---|
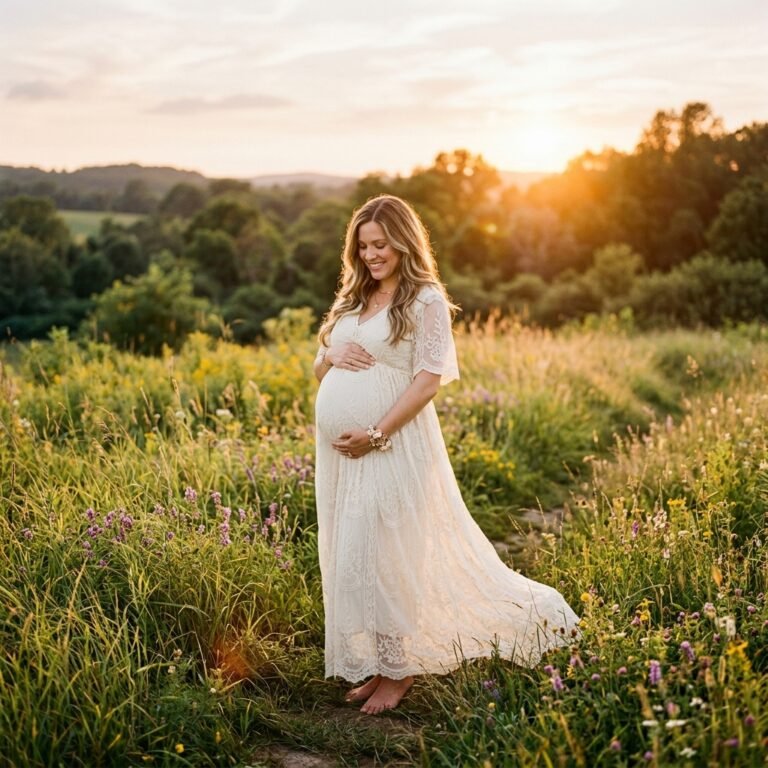
| The Ethereal Goddess | Off-the-shoulder white lace maxi dress | Romantic & Timeless |
| The Modern Minimalist | Form-fitting ribbed midi dress in sand or sage | Sleek & Chic |
| The Boho Dreamer | Floral kimono over a maternity bralette and skirt | Artistic & Relaxed |
Accessorizing the Bump
Keep jewelry minimal. A long, delicate necklace that rests just above the bump can draw the eye to your belly. Consider a wide-brimmed straw hat for a few shots—it adds a structural element to the composition and provides a great prop for your hands if you feel awkward posing.
The DIY Photography Kit: Gear and Budget Breakdown
You Already Own the Best Camera
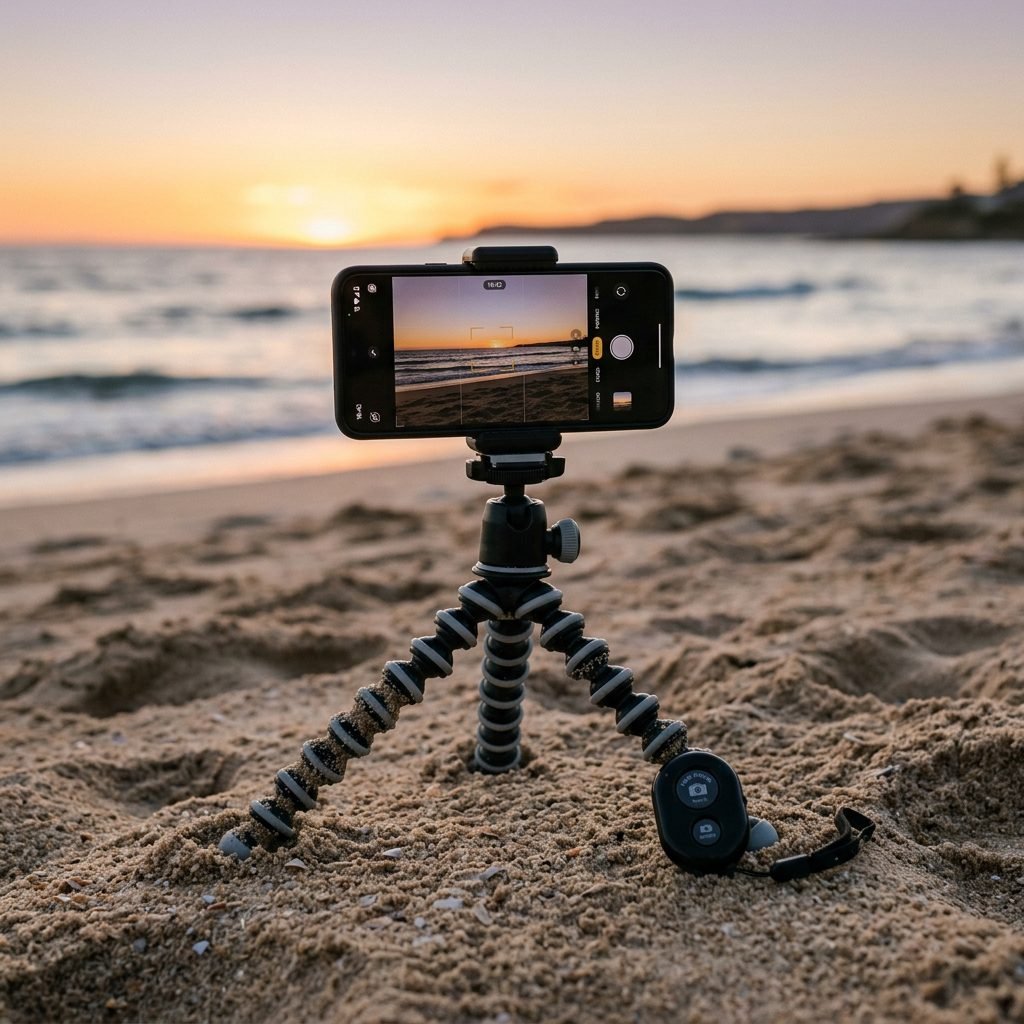
Modern smartphones, especially those with Portrait Mode, are more than capable of producing high-resolution images for printing. The key is stability. You cannot rely on your partner to hold the phone for every shot if you want to be in the photos together. You will need a few inexpensive tools to bridge the gap between amateur and pro.
Essential Gear List
- Tripod with Phone Mount: Look for one with flexible legs (like a GorillaPod) that can grip onto driftwood or rocks.
- Bluetooth Remote Shutter: This is a game-changer. It’s a tiny button you hide in your hand that allows you to trigger the camera without running back and forth on a 10-second timer.
- Lens Cloth: Salt spray and sand will smudge your lens instantly. Wipe it every 5 minutes.
| Item | Estimated Cost | Why You Need It |
|---|---|---|
| Smartphone Tripod | $15 – $25 | Eliminates blur and allows for partner shots. |
| Bluetooth Remote | $8 – $12 | Saves energy and allows for candid moments. |
| Portable Power Bank | $20 | Camera apps drain battery fast in high brightness. |
| Total DIY Cost | $43 – $57 | A fraction of a professional session fee. |
Posing with Purpose: Capturing Connection
Flattering Your Changing Body
Posing while pregnant can feel a bit like learning to move in a new body. The goal is to create ‘shape’ and ‘negative space.’ Instead of standing flat toward the camera, which can make you look wider, turn 45 degrees to the side. This emphasizes the beautiful curve of the bump.
Step-by-Step Partner Poses
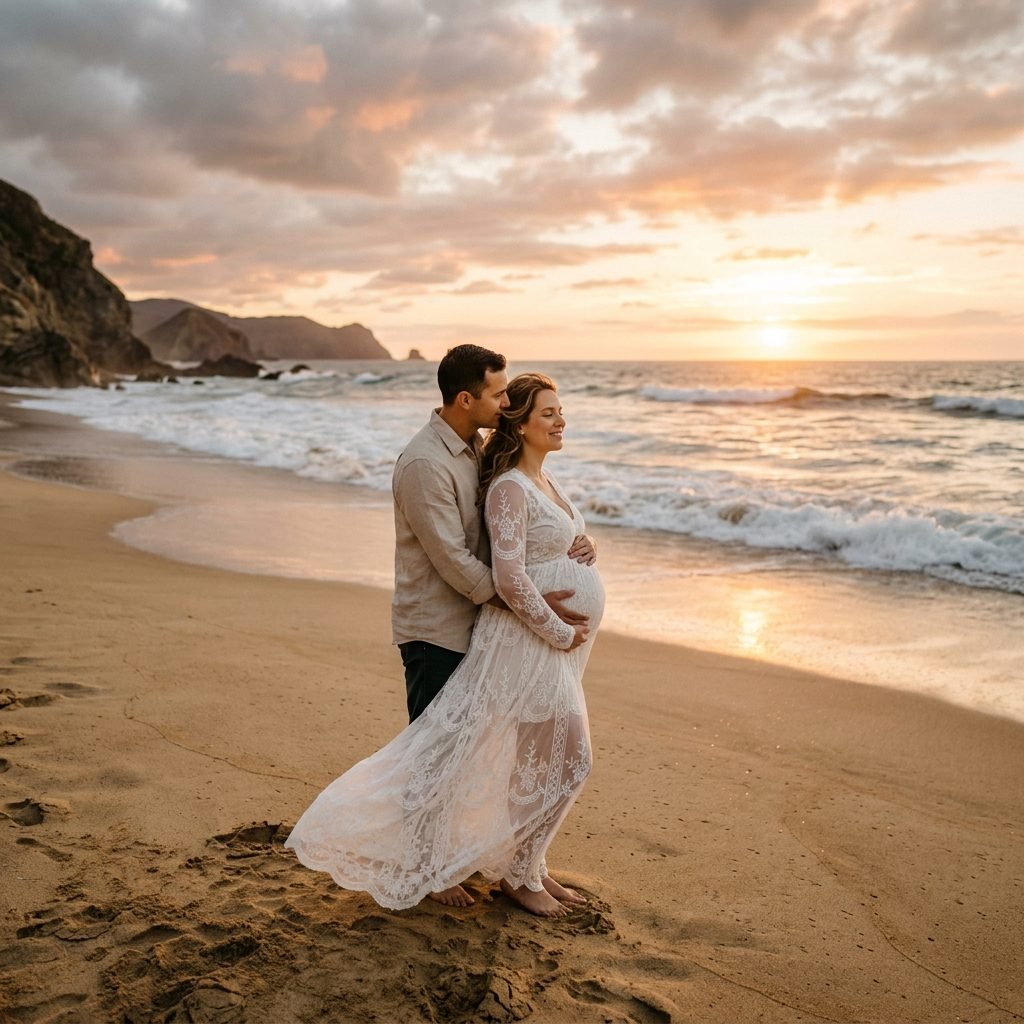
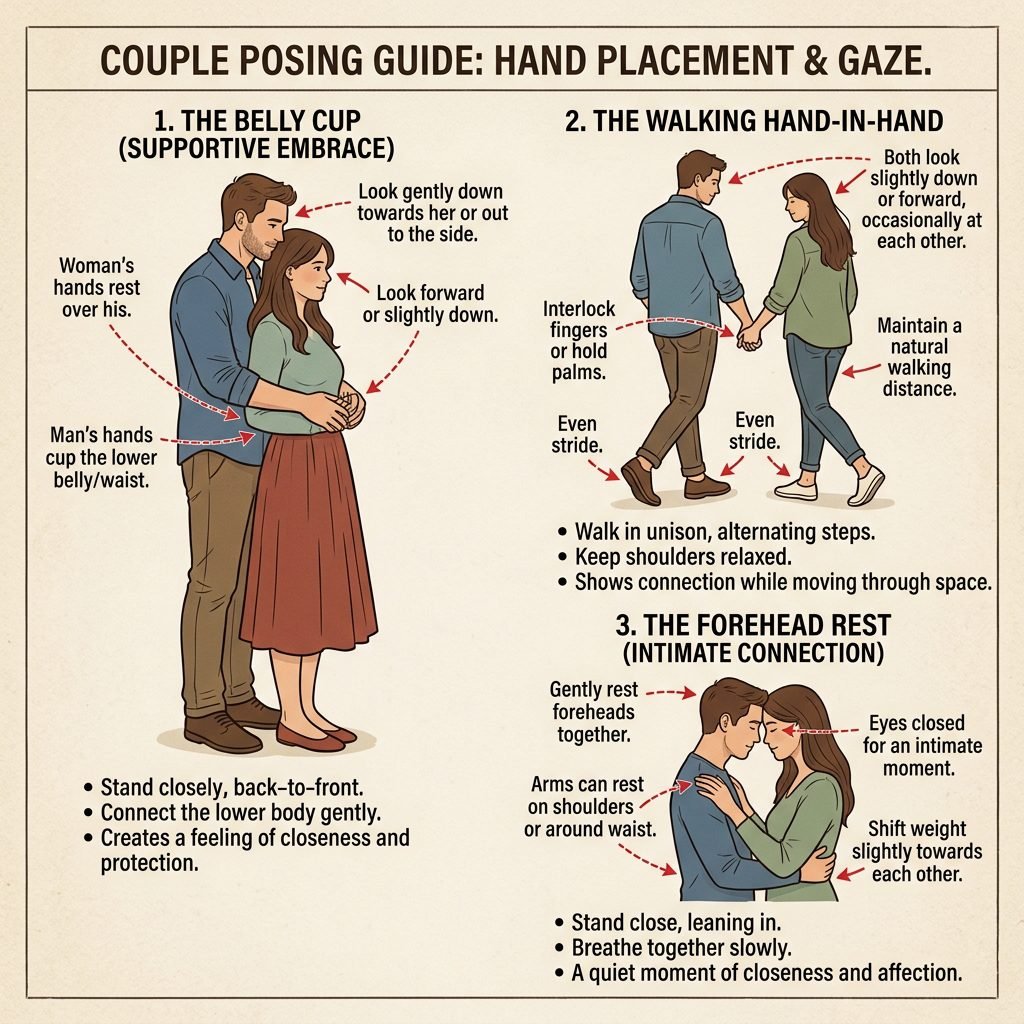
- The Belly Cup: Have your partner stand behind you, wrapping their arms around to ‘cup’ the bump. You place your hands over theirs. Both of you look down at the belly, not the camera.
- The Walking Hand-in-Hand: Walk slowly along the shoreline. Partner, look at her with a smile; Mama, look toward the horizon. This creates a sense of ‘moving toward the future’ together.
- The Forehead Rest: Stand chest-to-chest (or chest-to-bump). Close your eyes and rest your foreheads together. This is a high-emotion shot that captures the intimacy of the transition into parenthood.
Affirmation: We are a team. This baby is a product of our love, and today we celebrate our foundation.
Hand Placement Tips
Avoid ‘flat palms.’ Instead, use ‘soft hands.’ Gently rest your fingertips on the top and bottom of the bump. This looks more natural and less forced in the final images.
The Partner’s Playbook: Being the Ultimate Support
More Than Just a Subject
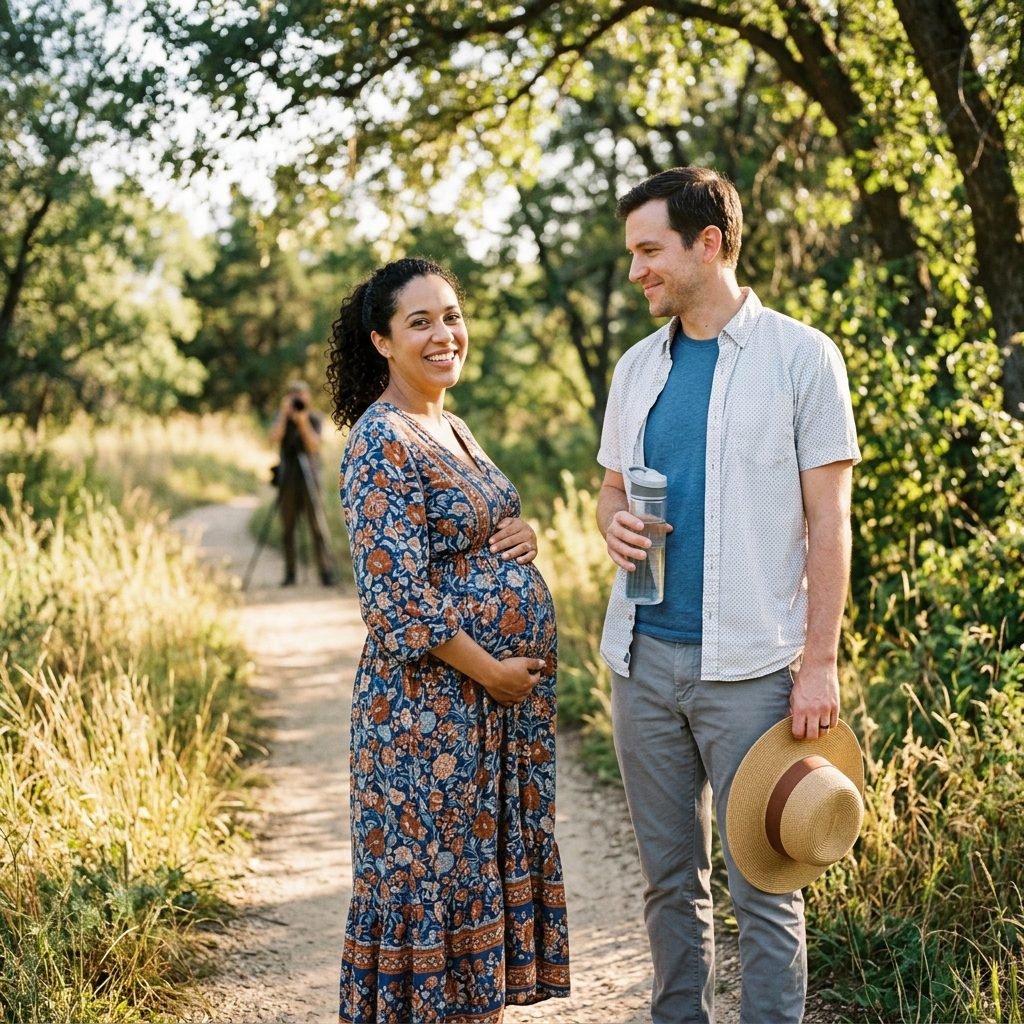
Partner, your role is twofold: you are a co-star and a production assistant. Pregnancy can be physically taxing, and a beach shoot involves sand, wind, and walking. Your primary job is to keep Mama comfortable so her joy feels genuine.
The ‘Instagram Husband’ (or Partner) Checklist
- Hydration Station: Bring a cooler with cold water and a straw (so she doesn’t ruin her lipstick).
- The Wardrobe Check: Look out for stray hairs, bra straps showing, or the dress getting bunched up in an unflattering way.
- The Hype Person: Tell her she looks beautiful. Often. A confident mama takes better photos.
Partner Styling
Coordinates, don’t match. If she is in white lace, don’t both wear white. Instead, wear a light blue linen shirt or a tan polo. Avoid logos or graphic tees at all costs—they date the photos and distract from the emotional core of the shoot.
Post-Shoot Care: Editing and Preserving the Glow
Bringing the Magic to Life
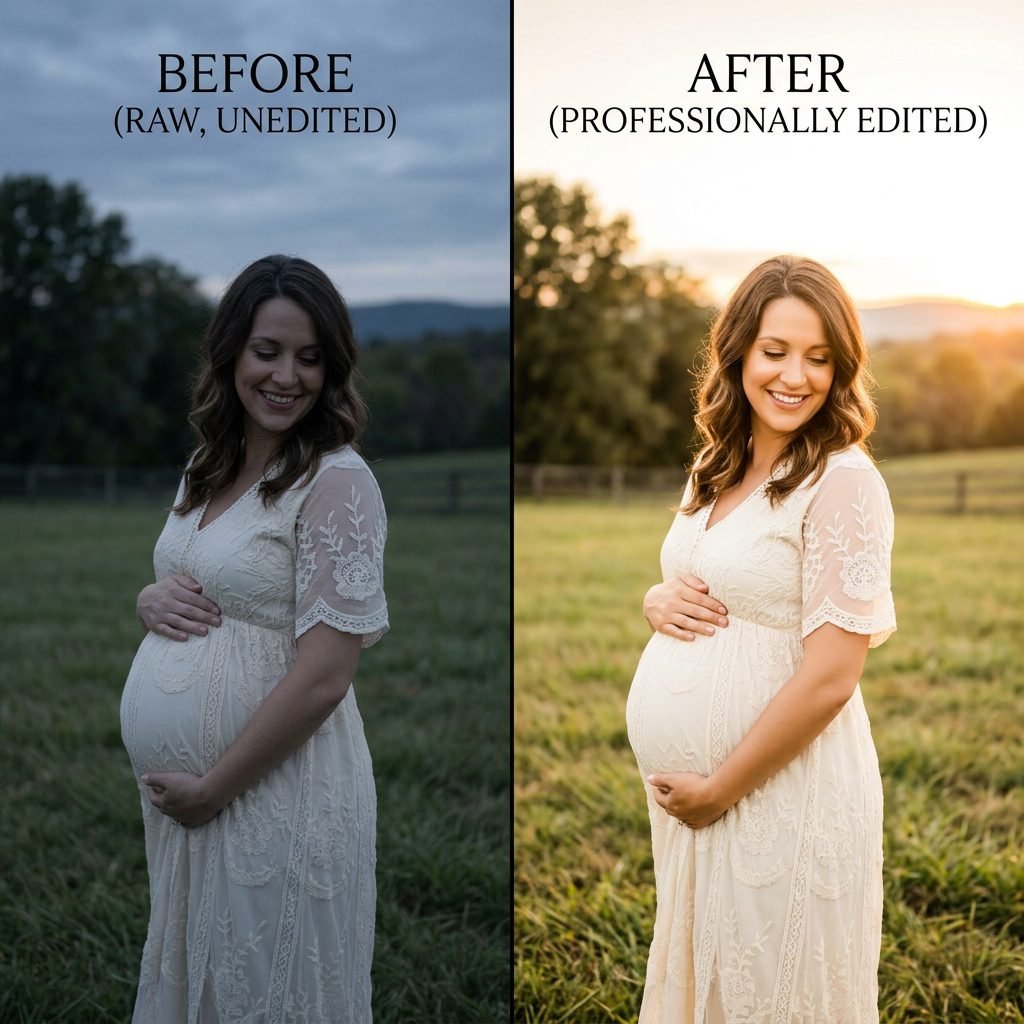
Once you’ve captured the shots, the work isn’t quite done. A little bit of ‘digital polish’ can elevate your DIY photos to professional standards. You don’t need Photoshop; free apps like Lightroom Mobile or Snapseed are incredible tools.
The 3-Step Editing Formula
- Warmth and Tint: Increase the warmth (yellow slider) slightly to enhance the sunset glow. Add a touch of pink/magenta to the tint to make skin tones look healthy.
- Shadows and Highlights: Bring the ‘Highlights’ down to see more detail in the clouds/waves. Bring the ‘Shadows’ up to see the details in your hair and clothes.
- Crop for Impact: Use the ‘Rule of Thirds.’ Place your eyes or the bump along the grid lines rather than perfectly centered for a more artistic feel.
Printing Your Memories
Don’t let these photos live only on your phone! I recommend printing at least three favorites on high-quality matte paper or canvas. Seeing these images daily in your nursery can help with prenatal bonding and serve as a reminder of your strength during labor.
Conclusion
You’ve Captured the Magic
Congratulations, mama! You’ve successfully navigated the tides, the light, and the logistics to create something truly beautiful. These photos are more than just images; they are a visual love letter to your child and a testament to the incredible journey your body has undertaken. Whether you choose to share them with the world or keep them in a private album, know that the effort you put in today will be a treasure for decades to come. As you transition into the final weeks of pregnancy, carry that coastal calm with you. You are strong, you are beautiful, and you are ready for the waves of motherhood. Keep glowing!