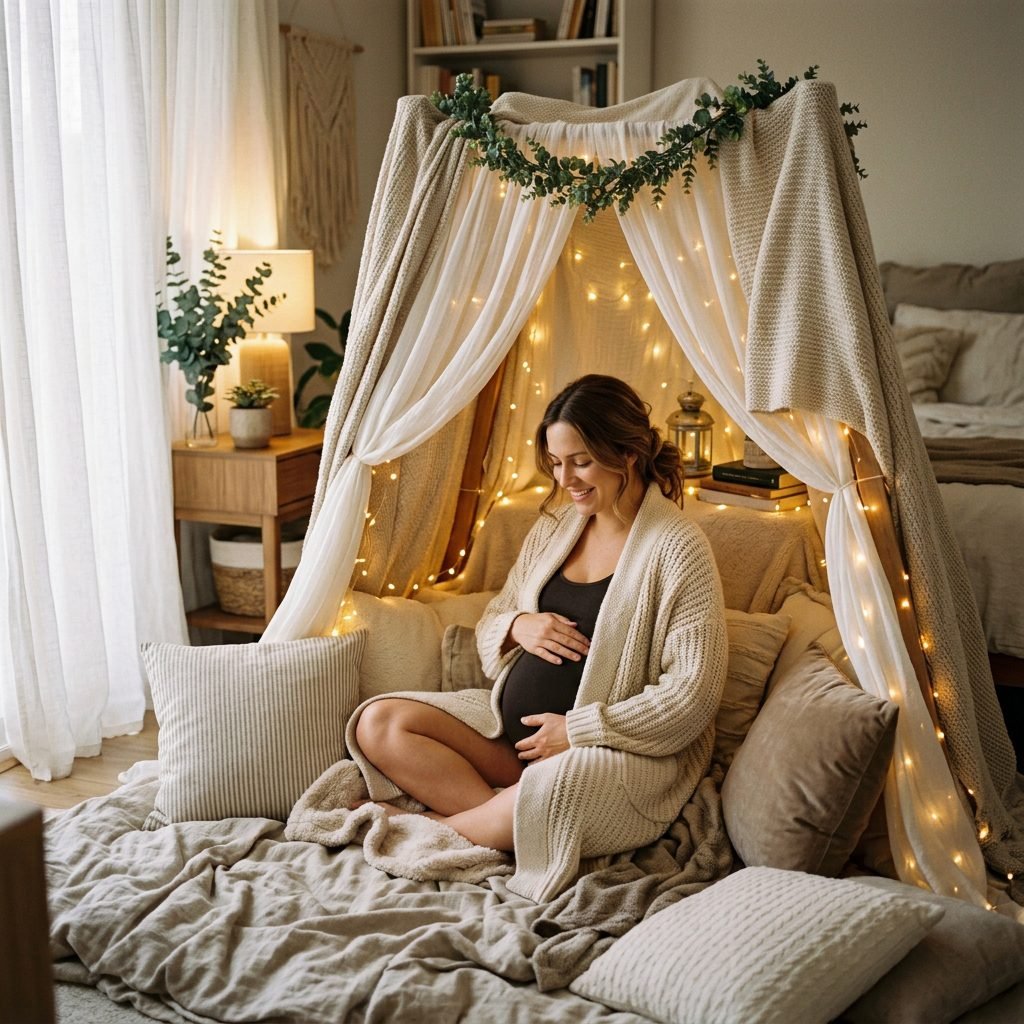
Cozy at Home: How to Style an Aesthetic Bedroom Pillow Fort Maternity Shoot
Hello, beautiful mama. If you are currently in your third trimester, I know exactly how you are feeling. Your body is working overtime, your lower back is demanding a permanent heating pad, and the mere thought of getting dressed up, driving to a remote location, and posing for two hours in the elements might sound completely exhausting. Yet, at the same time, your nesting instincts are kicking into high gear. You want to remember this bump. You want to capture the profound, quiet magic of the life growing inside of you before they earth-side. What if I told you that you do not need an expensive studio, a professional styling team, or even to put on hard pants to get breathtaking, Pinterest-worthy maternity photos?
Welcome to the magic of the aesthetic bedroom pillow fort maternity shoot. As a doula and maternal stylist, I am constantly reminding mothers that the most beautiful moments of pregnancy are often the most intimate ones. There is something incredibly symbolic about building a soft, warm, glowing nest right in your own bedroom. It honors your need for comfort while delivering stunning, ethereal visuals that perfectly encapsulate the dreamy, introspective phase of late pregnancy.
Creating a pillow fort for your maternity shoot is not just about taking photos; it is a sensory experience. It is an act of self-love, a playful afternoon of nesting, and a beautiful way to bond with your partner or older children. In this comprehensive guide, we are going to walk through everything you need to know to style, light, and shoot an aesthetic pillow fort maternity session right in your own home. We will cover the foundation of fort-building, the secrets to flattering natural light, comfort-first wardrobe choices, and poses that honor your changing body. Grab a cup of red raspberry leaf tea, prop up those swollen feet, and let us dive into creating your perfect, cozy maternity memory.
Gathering Your Nesting Materials: The Fort Foundation
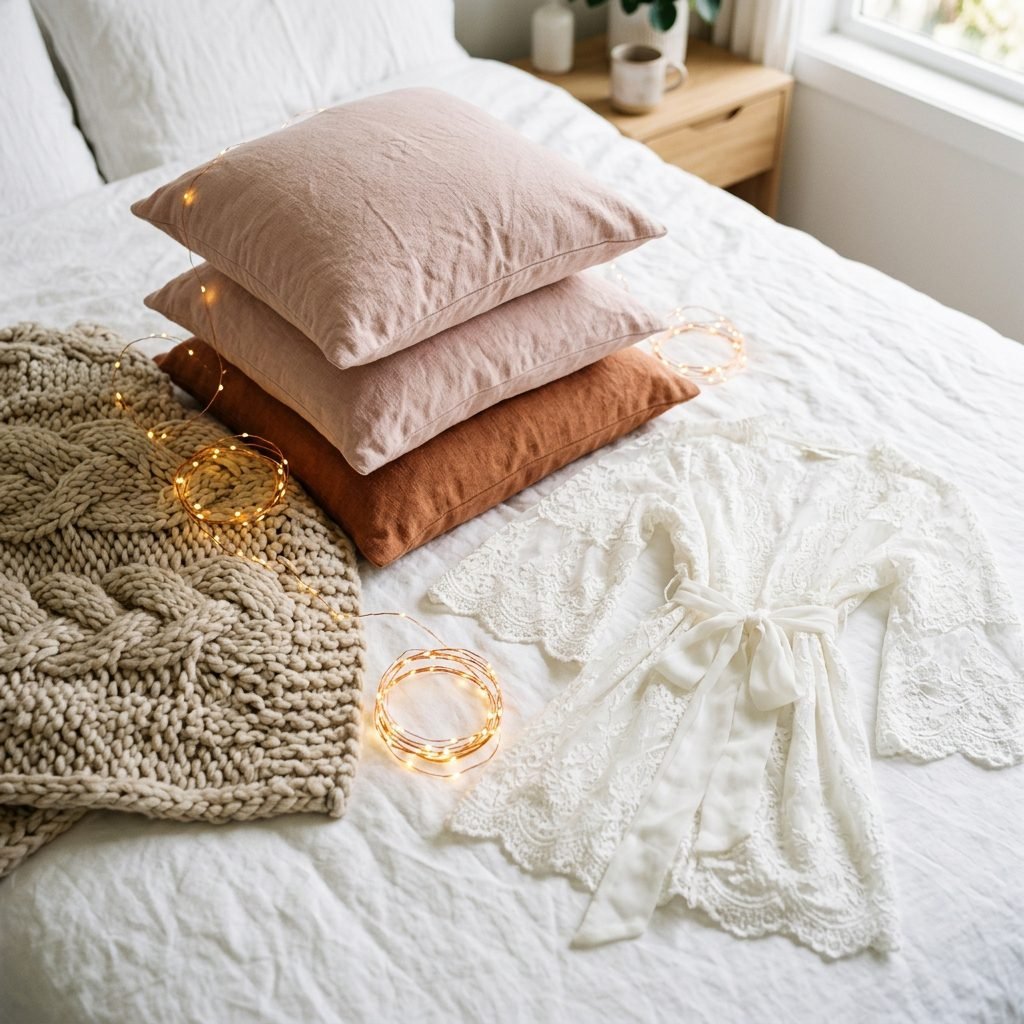
Before we start building, we need to gather our materials. The secret to an aesthetic pillow fort—one that looks like a dreamy, bohemian sanctuary rather than a child’s messy playroom—lies entirely in the textures and color palette. We want to create a space that feels soft, romantic, and visually cohesive. Stick to a monochromatic or neutral color palette. Think creamy whites, soft oatmeal, warm terracotta, sage greens, or muted blush pinks. Mixing too many bright, contrasting colors will distract from the main subject: you and your beautiful bump.
The Texture Rule of Three
When selecting your bedding and props, aim for at least three different textures to give your photos depth and richness. A flat cotton sheet will look one-dimensional on camera, but combining a chunky knit blanket, a linen duvet, and velvet throw pillows creates a luxurious, tactile environment that practically begs the viewer to reach out and touch it.
| Material Category | Aesthetic Recommendations | What to Avoid |
|---|---|---|
| Base Blankets & Sheets | Linen duvet covers, muslin swaddles, waffle-knit blankets, faux fur rugs. | Busy geometric patterns, neon colors, stiff scratchy fabrics. |
| Pillows & Cushions | Euro shams, oversized velvet cushions, body pillows, macrame accent pillows. | Pillows with large text/logos, flat or lumpy sleeping pillows. |
| Lighting & Ambiance | Warm-toned copper wire fairy lights, flameless LED pillar candles, paper lanterns. | Cool-toned/blue LED lights, actual fire candles (safety first!). |
| Structural Support | Broomsticks (hidden), bedposts, Command hooks, sheer curtains for draping. | Heavy books or unstable objects that could fall on you. |
Pro Tip: Do not feel the need to buy everything new! Borrow chunky knit blankets from your living room, use the muslin swaddles you have already purchased for the baby, and repurpose your pregnancy body pillow as a sturdy foundation for the back of the fort. This is all about getting creative with the cozy items you already own.
Step-by-Step: Architecting Your Dreamy Pillow Fort
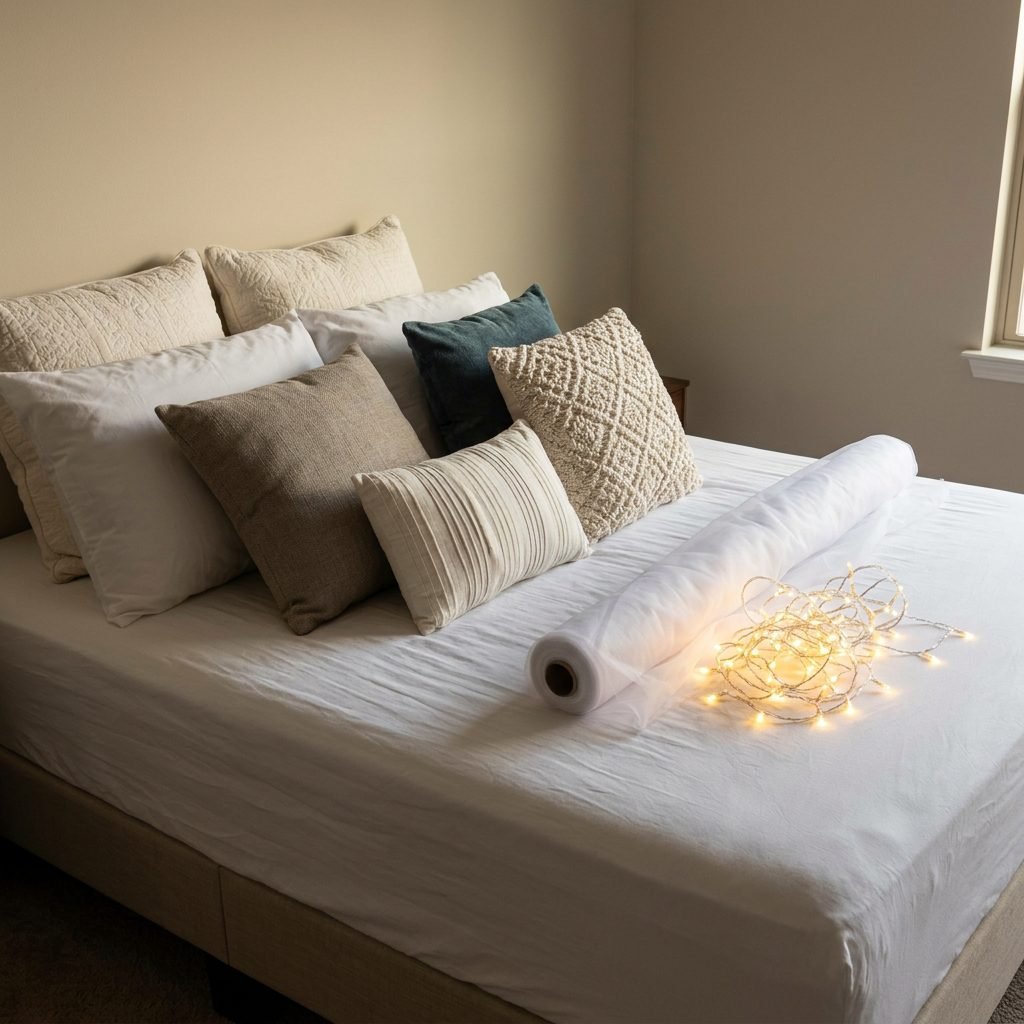
Now that we have our materials, it is time to build. As an expectant mama, please remember to let your partner, a friend, or a family member do the heavy lifting, reaching, and tying. Your job is to be the creative director, pointing and guiding while protecting your physical energy and your bump.
Step 1: Choose the Right Location
The location of your fort is dictated entirely by your light source. You want to build your fort facing a large window so that the natural light pours directly into the opening of the fort, illuminating your face and belly. Avoid building the fort with the window behind you, as this will heavily backlight you and turn you into a silhouette (unless that is the specific moody look you are going for!).
Step 2: Construct the Canopy
- Anchor the Corners: If you have a four-poster bed, you are in luck! Simply drape a sheer white sheet or lace curtain over the top posts. If you have a standard bed, you can use temporary Command hooks on the ceiling or wall above the bed. Tie fishing line or strong twine between the hooks to create a clothesline effect.
- Drape the Fabric: Gently drape your lightest, sheerest fabrics over your structural line. Muslin, sheer curtains, or lightweight linen work beautifully. You want the fabric to swoop down slightly in the center to create a tent-like, intimate feeling.
- Secure the Sides: Let the fabric pool softly on the bed or floor. You can secure the edges by tucking them under the mattress or weighing them down gently with large, aesthetic pillows.
Step 3: Build the Cozy Interior
Start from the back and work your way forward. Place your largest, firmest pillows (like euro shams or your pregnancy pillow) against the headboard or wall to create a supportive backrest. Layer medium-sized textured pillows in front of those, and finally, toss a few small accent pillows near the front. Drape a chunky knit or waffle blanket over the pillows to seamlessly blend them together.
Step 4: Add the Magic (Lighting)
Take your warm-toned fairy lights and weave them through the sheer canopy overhead. Let a few strands cascade down the sides of the fort, and pool a small cluster of lights in the foreground of the bed, near where the camera will be. This creates a stunning bokeh effect (those beautiful, blurry orbs of light) in the foreground of your photos.
Mastering the Vibe: Lighting and Camera Settings
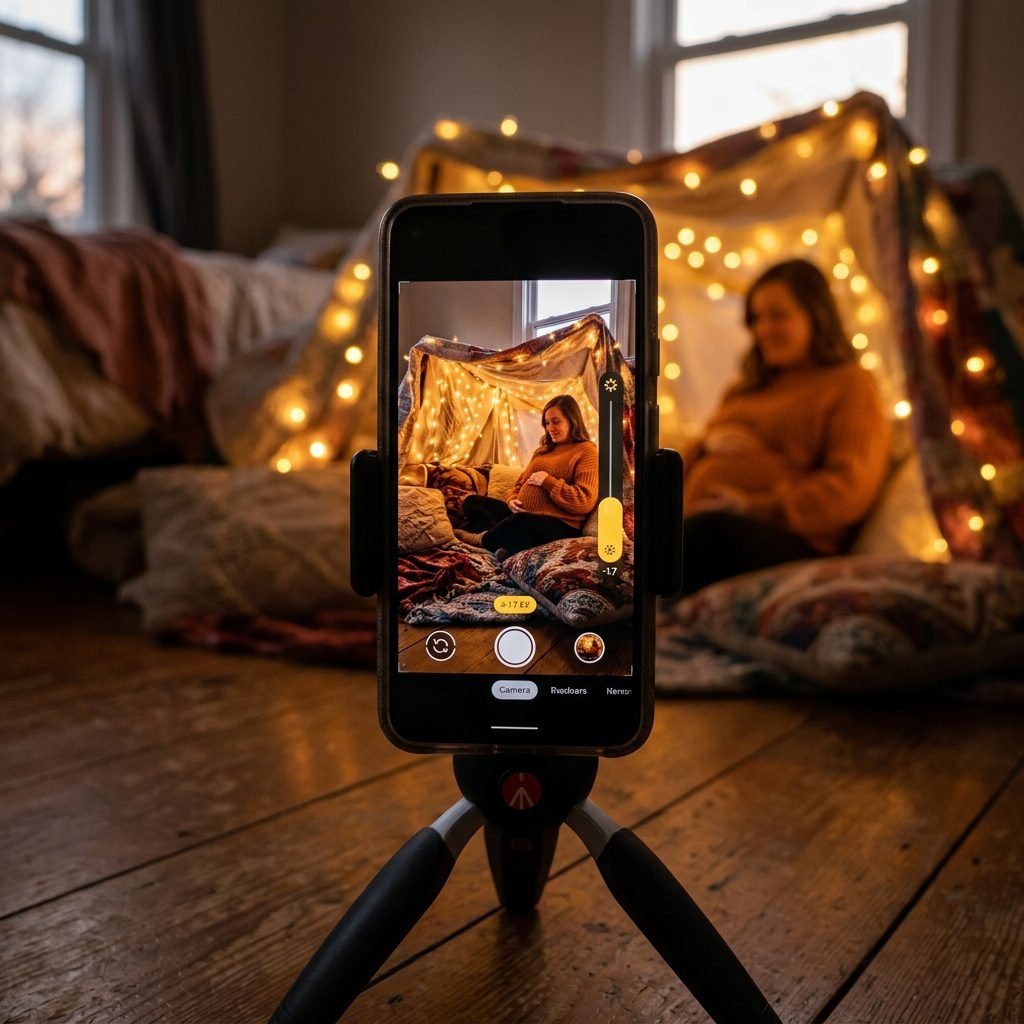
You do not need a $3,000 DSLR camera to capture breathtaking maternity photos. Today’s smartphones are incredibly powerful, provided you understand how to harness light. The ethereal, dreamy vibe of a pillow fort shoot relies heavily on soft, diffused lighting.
Understanding Natural Light
Turn off all the overhead lights and lamps in your bedroom. Artificial room lights often cast a yellow or green hue that can make skin tones look sickly and clash with the natural light from your window. You want the soft, cool light from the window to mix only with the warm, intentional glow of your fairy lights.
| Time of Day | Lighting Quality | Best Vibe For… |
|---|---|---|
| Early Morning (Sunrise to 9 AM) | Soft, cool, and diffused. Very gentle on the skin. | Ethereal, bright, and airy “waking up” shots. |
| Mid-Day (10 AM to 2 PM) | Bright and direct. Can cause harsh shadows if not diffused. | High-contrast, artistic shadow play (use sheer curtains to soften). |
| Golden Hour (1 Hour Before Sunset) | Warm, golden, and highly flattering. | Romantic, glowing, deeply emotional silhouettes. |
| Blue Hour (Just After Sunset) | Dim, moody, relying heavily on fairy lights. | Intimate, cozy, sleepy nighttime aesthetics. |
Smartphone Photography Hacks
- Lock Focus and Exposure: When you are inside the fort, the camera might get confused by the bright fairy lights and the darker shadows. Tap and hold on your face on your smartphone screen until you see “AE/AF Lock” appear. Then, gently drag the little sun icon down slightly to lower the exposure. This prevents the fairy lights from looking totally blown out and adds a moody richness to the photo.
- Use Portrait Mode: If your phone has a Portrait mode, use it! It will artificially blur the background (and the fairy lights in the foreground), giving your photos that professional, expensive camera look.
- Set a Timer or Use a Bluetooth Remote: A cheap tripod and a $10 Bluetooth remote are your best friends. This allows you to take your time, breathe, and pose without running back and forth to beat a 10-second timer.
Styling the Bump: Comfort-First Wardrobe Choices

When styling a cozy home shoot, the wardrobe should reflect the environment. A formal, sequined maternity gown might look stunning on a mountaintop, but inside a pillow fort, it will feel out of place. We want to aim for “elevated loungewear”—pieces that are supremely comfortable, allow you to move freely, and highlight the gorgeous curves of your changing body.
The Best Fabrics for Camera
Just like your fort materials, texture is everything in your wardrobe. Look for ribbed knits, pointelle cotton, delicate lace, silk, or lightweight linen. These fabrics catch the light beautifully and add dimension to your silhouette.
Outfit Formulas for the Pillow Fort
- The Earth Mother: A flowy, sheer lace or chiffon robe worn over a simple, seamless matching underwear set (in nude, blush, or white). The robe can drape off one shoulder, and you can part it in the front to fully expose your bare bump. This is a classic, deeply feminine look.
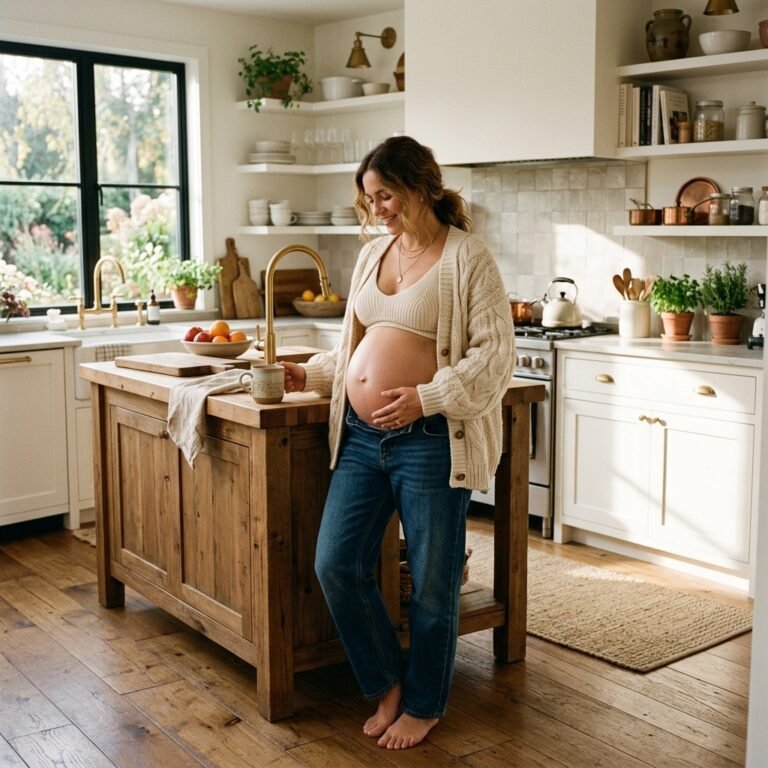
- The Cozy Minimalist: An oversized, chunky knit cardigan unbuttoned over a fitted ribbed maternity tank top and soft, wide-leg lounge pants. This look screams “Sunday morning comfort” and feels incredibly authentic.
- The Romantic Classic: A simple, form-fitting maxi dress in a soft, stretchy jersey fabric. Choose a dress with a scoop or square neckline to highlight your collarbones, and let the tight fabric show off the exact roundness of your belly.
- The Bare & Beautiful: If you are feeling empowered and comfortable, simply wearing a beautiful, unrestrictive bralette and flowing linen pants or an unbuttoned oversized men’s dress shirt can be breathtaking. It highlights the raw, natural beauty of pregnancy.
“Remember, mama: your body is currently performing a daily miracle. Whatever you choose to wear, ensure it makes you feel safe, beautiful, and completely at ease. If something pinches, pulls, or makes you feel self-conscious, take it off. Comfort translates directly into confidence on camera.”
Posing Guide: Flattering Angles for the Third Trimester
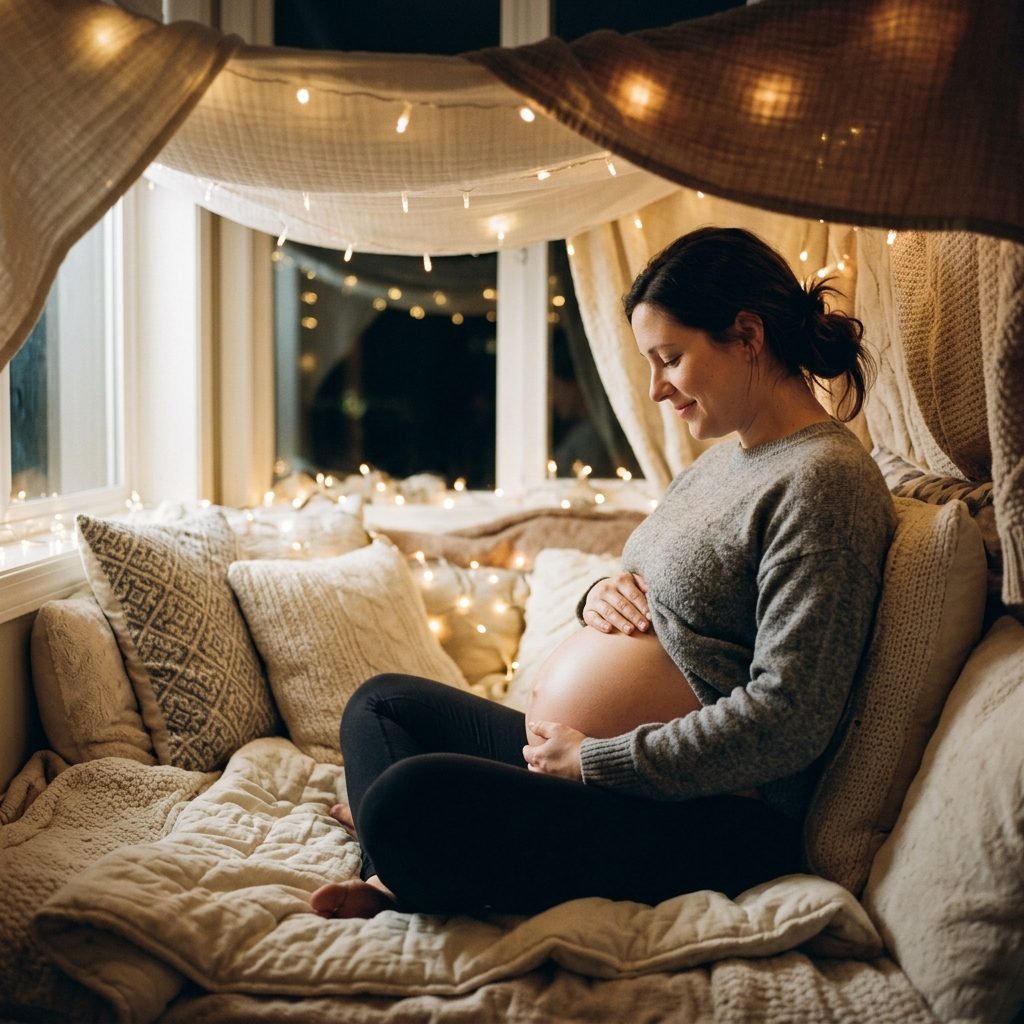
Posing in the third trimester can feel tricky. You might feel heavy, your center of gravity has shifted, and sitting in certain positions can literally take your breath away as the baby presses against your diaphragm. The beauty of the pillow fort is that it is designed to support you. Use those pillows!
Posing Prompts for Natural Emotion
Instead of staring directly at the camera with a stiff smile, try these movement-based prompts to capture genuine emotion:
- The Belly Connection: Sit cross-legged (if comfortable) or with your legs draped to one side. Place one hand underneath your bump to support it, and the other hand resting gently on top. Look down at your hands and take a deep, slow breath in. Imagine what your baby’s face will look like. That soft, inward smile is exactly what you want to capture.
- The Cozy Wrap: Pull a textured blanket around your shoulders, holding it closed just under your chin, but leaving your bump exposed. Lean your head back against the pillows, close your eyes, and just rest. This captures the profound, beautiful exhaustion of creating life.
- The Profile Silhouette: Turn your body 90 degrees away from the window, so the light hits the side of your bump. Arch your lower back very slightly to emphasize the curve of the belly, drop your shoulders down and back, and look out the window. This is the most classic, flattering angle to show the true size and shape of your belly.
Including Partners and Siblings
The pillow fort is a magical space for family integration. If you have a partner, have them sit behind you, wrapping their arms around your bump and resting their chin on your shoulder. The physical support will feel wonderful for your back, and the intimacy translates beautifully on camera.
If you have a toddler or older child, the pillow fort is practically an invitation for joy. Do not force them to sit still and smile. Give them a book to “read” to the baby, let them play peek-a-boo with the sheer canopy curtains, or have them gently kiss your belly. Candid, messy, joyful moments are always better than forced perfection.
Conclusion
Creating an aesthetic bedroom pillow fort maternity shoot is so much more than a DIY photography hack. It is an intentional pause in the chaotic rush of pregnancy preparations. It is a moment to honor your body, to lean into the primal nesting instinct, and to celebrate the quiet, cozy sanctuary you have built for your growing family. When you look back at these photos years from now, you will not just see a beautiful setup; you will remember exactly how safe, warm, and deeply connected you felt in that exact moment.
Do not stress about perfection. If the fairy lights tangle, if the canopy sags a little, or if your toddler decides the fort is actually a pirate ship—embrace it. The magic is in the memory. You are doing an incredible job, mama. Now go build your nest, turn on some soft music, and capture this fleeting, beautiful chapter of your life.