How to Smoothly Transition Baby From Bassinet to Crib Without Sleep Training
Oh, mama. I see you looking at that beautiful, carefully curated nursery, and then looking back at the tiny bassinet squeezed next to your side of the bed. We all know the feeling. The day you realize your sweet baby is getting just a little too long, rolling a little too much, or hitting that 4 to 6 month mark where the bassinet manufacturer guidelines say it is time to move on. It is a massive milestone, but let us be incredibly honest: it is also terrifying.
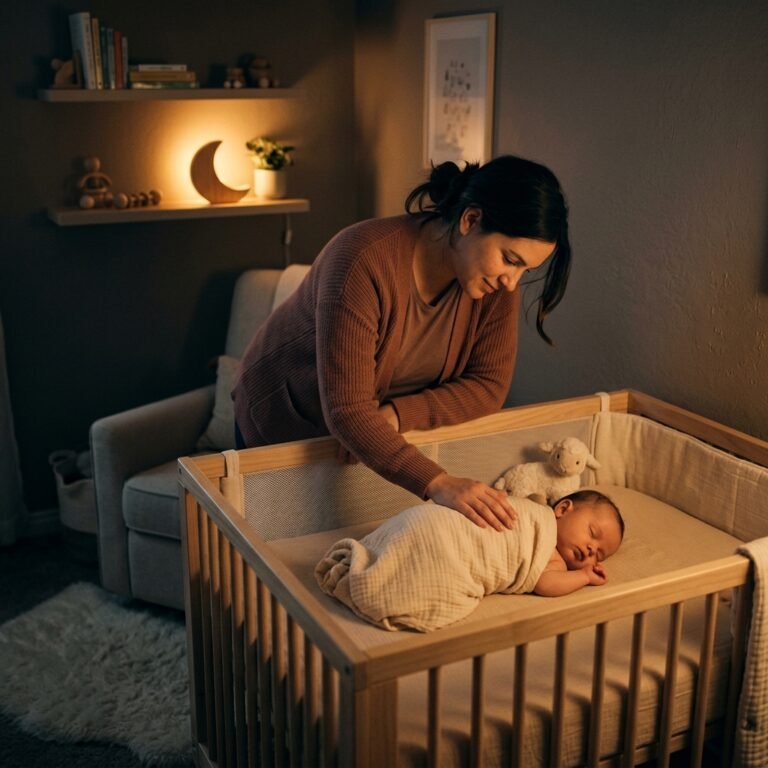
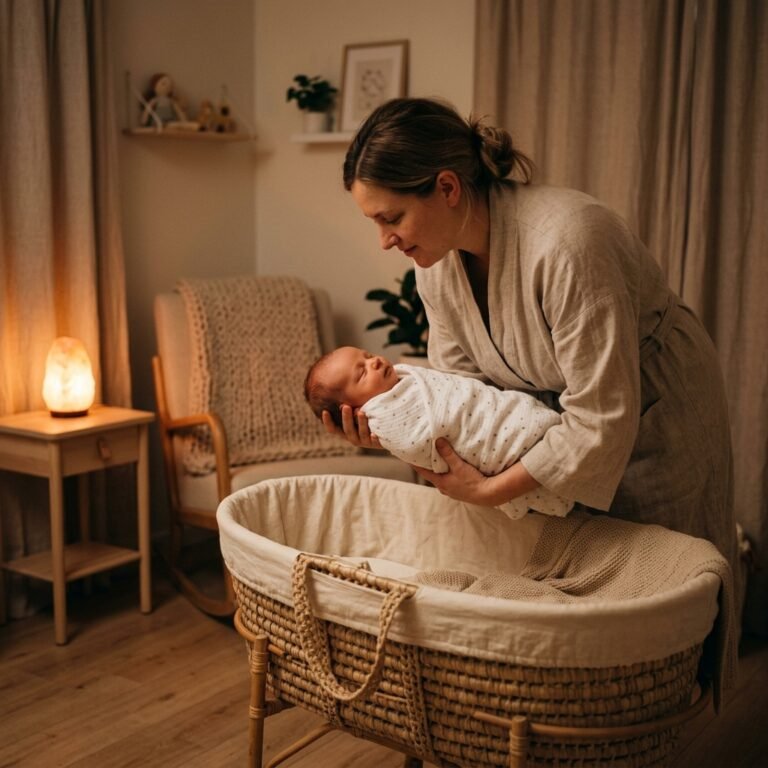
For months, that bassinet has been your safe haven. You could reach out in the dark, place a reassuring hand on their little chest, and instantly know they were okay. The thought of moving them to a massive, cavernous crib—especially if it is in another room—can send your maternal anxiety into overdrive. And if you have been scrolling through social media, you have likely been bombarded with messages telling you that you must sleep train, that there will be tears, and that you just have to let them cry it out to get used to the crib.
As your virtual doula and pediatric sleep specialist, I am here to wrap a warm arm around your shoulders and tell you a beautiful truth: You do not have to sleep train to transition your baby to a crib.
You can absolutely make this transition smoothly, gently, and with an abundance of comfort for both you and your baby. Babies thrive on connection, familiarity, and gradual shifts. By understanding how your baby experiences their sleep environment and using a gentle, habit-stacking approach, we can bridge the gap between the cozy bassinet and the big kid crib. Grab a cup of warm tea, take a deep breath, and let us walk through exactly how to make this milestone a peaceful, tear-free transition.
Understanding the Sensory Shift: Why the Crib Feels So Big
Before we dive into the ‘how-to’, we need to look at this transition through your baby’s eyes. To us, a crib is a beautiful, safe piece of furniture. To a baby, it is a vast, unfamiliar landscape. Understanding the sensory changes your baby is experiencing is the secret to a gentle transition.
The Spatial Awareness Factor
For their entire existence, your baby has known boundaries. First, the tight, warm embrace of the womb. Then, the snug, high walls of their bassinet. When they stretch out their little arms in a bassinet, their hands immediately touch the mesh sides, sending a neurological signal to their brain that says, ‘I am contained, I am safe.’
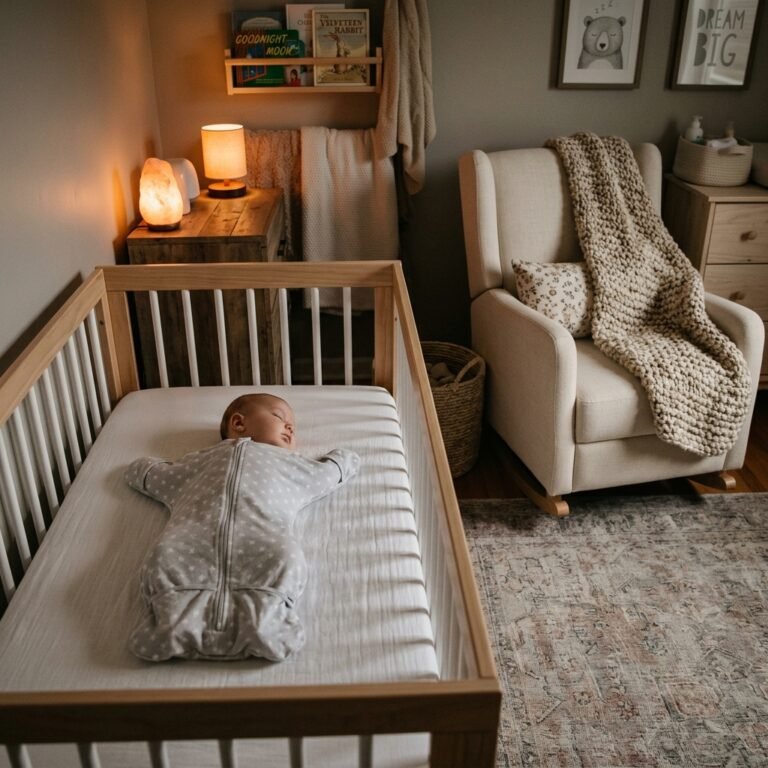
When you place them in a standard crib, those boundaries disappear. They can stretch their arms wide and feel nothing but empty space. For a baby with an active Moro (startle) reflex, this sudden lack of spatial boundaries can trigger a feeling of free-falling, causing them to wake up in a panic.
The Temperature and Texture Difference
Bassinets are small, which means they trap your baby’s body heat much more efficiently than a large crib mattress. Additionally, bassinet pads are often thinner, while crib mattresses are thick, firm, and heavily waterproofed, which can sometimes feel cooler to the touch. The sheets might smell different, the air flow is different, and the acoustics of the room change.
“Remember, your baby is not fighting sleep; they are simply adjusting to a new sensory environment. You are their safe space, and together, you will make this new space feel just as familiar and secure.”
When we understand that the crib is a sensory shock, our goal becomes clear: we must recreate the sensory familiarity of the bassinet inside the crib.
Setting the Stage: Making the Big Crib Feel Like a Cozy Womb

If we want to avoid sleep training and crying, our first actionable step is bridging the sensory gap. We need to trick your baby’s senses into believing that the crib is just an extension of you and their beloved bassinet. Here are the most effective, evidence-based tricks to make the crib irresistible.
The Scent Trick (The ‘Worn Sheet’ Hack)
Your baby’s sense of smell is their strongest sense. They can smell your breastmilk, your skin, and your unique pheromones from across the room. A brand new crib sheet smells like laundry detergent and sterile fabric. To fix this, take the clean crib sheet and sleep with it in your own bed for 2 to 3 nights. Stuff it under your shirt, use it as a pillowcase, or wrap it around yourself while you nurse or feed the baby. When you finally put it tightly on the crib mattress, the entire crib will smell exactly like mama.
The Warmth Hack
Because the crib mattress can feel cold and shocking to a sleepy baby, we want to pre-warm the space. About 10 to 15 minutes before you plan to transfer your baby, place a safe heating pad or a warm water bottle on the exact spot where your baby will lay.
- Crucial Safety Step: You MUST remove the heating pad completely before placing the baby in the crib. The goal is just to take the chill off the mattress so the transition from your warm arms to the bed is seamless.
Familiarity in Sound and Light
If your baby is used to sleeping with a white noise machine next to the bassinet, move that exact same machine next to the crib. Do not change the sound track or the volume. Keep the room temperature consistent—pediatric guidelines suggest a safe sleep environment is between 68-72 degrees Fahrenheit. If you are moving the baby to a new room, try to replicate the exact lighting conditions they had in your room.
The ‘Habit Stacking’ Method: A Step-by-Step Gentle Transition Plan
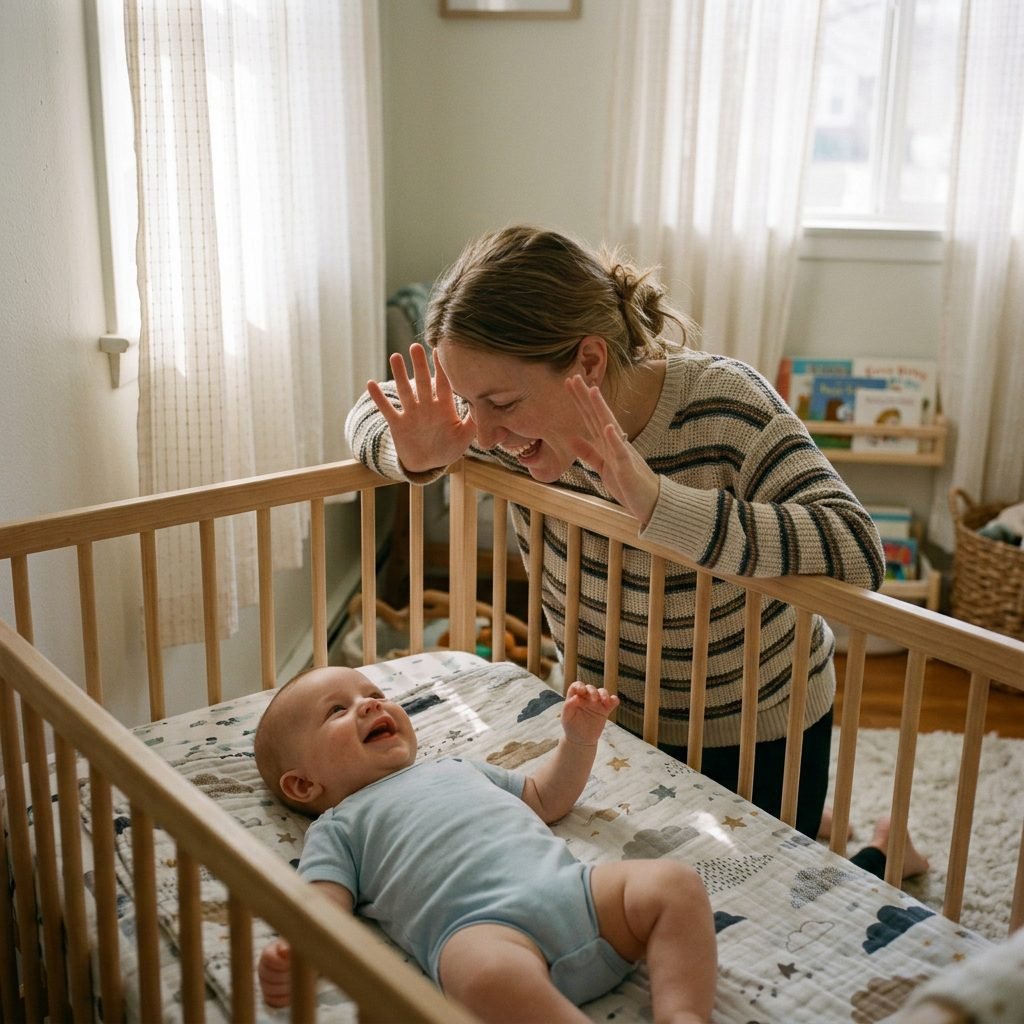
Now that the crib is sensory-optimized, we are going to introduce it gradually. The ‘Habit Stacking’ method relies on building positive associations with the crib over time, rather than forcing a sudden, traumatic change in the middle of the night.
- Step 1: Daytime Crib Playtime (Days 1-3)
Start by putting your baby in the crib when they are wide awake, fully fed, and in a fantastic mood. Drop some of their favorite high-contrast toys or soft safe teethers in with them. Stand right there, play peek-a-boo through the slats, sing songs, and rub their tummy. We want their very first memories of the crib to be filled with joy, laughter, and your immediate presence. Do this for 5 to 10 minutes, two or three times a day. - Step 2: The First Nap (Days 4-7)
Once your baby is happily playing in the crib, it is time for the easiest nap of the day. For most babies, the morning nap (the first nap after waking up for the day) is the one with the highest sleep pressure. Do your normal soothing routine, and gently transfer them to the crib. If they wake up and fuss, soothe them in the crib by patting their chest or shushing. If they become highly distressed, pick them up, finish the nap in your arms or the bassinet, and try again tomorrow. Zero pressure. - Step 3: All Naps in the Crib (Days 8-10)
Once that morning nap is conquered, begin transitioning the midday and afternoon naps. By now, the crib smells like you, feels familiar, and holds positive daytime associations. Keep the room dark and the white noise on. - Step 4: Bedtime Routine in the Nursery (Days 11-14)
Start doing your entire evening routine (bath, massage, feeding, books) in the room where the crib is located. Even if they are still sleeping in the bassinet in your room for a few more days, doing the routine in the nursery builds environmental familiarity. - Step 5: The First Nighttime Stretch (Day 15+)
It is time! Put them down in the crib for the first stretch of the night. This is usually their deepest sleep phase. If they wake up at 1 AM and you are too exhausted to soothe them in the crib, it is 100% okay to bring them back to the bassinet in your room for the rest of the night. You are not failing; you are transitioning gently.
The Gentle Transition Timeline & Strategy Guide
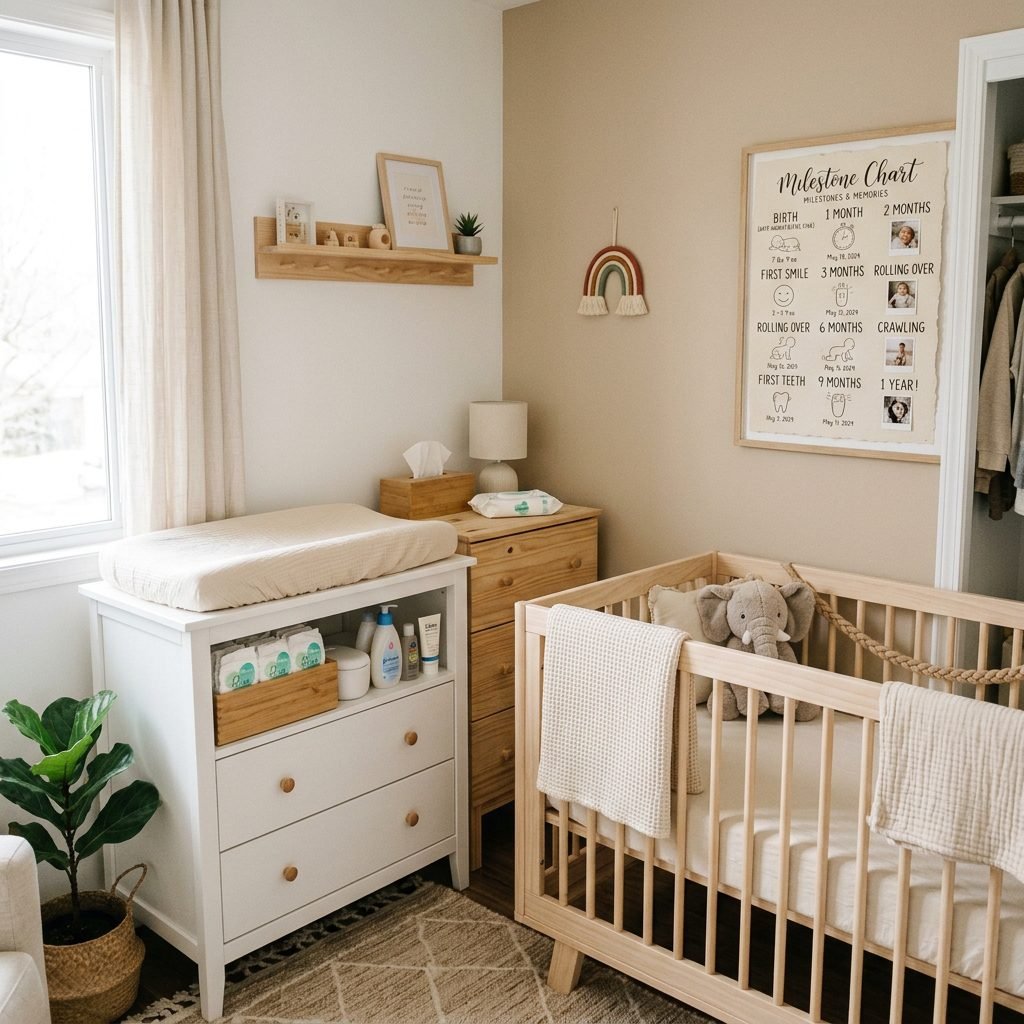
To help you visualize this gradual process, I have created a clear, practical timeline. Remember, this is a guide, not a strict rulebook. If your baby needs more time in a specific phase, follow their lead. Gentle parenting is all about flexibility and reading your baby’s cues.
| Transition Phase | Action Steps & Focus | Expected Duration | Success Marker |
|---|---|---|---|
| Phase 1: Familiarity | Playtime in the crib while awake. Scenting the crib sheet. Doing diaper changes in the nursery. | Days 1-3 | Baby smiles or remains calm when placed in the crib awake. |
| Phase 2: First Sleep | Attempting only the morning nap in the crib. Using the warm mattress hack. | Days 4-7 | Baby successfully sleeps for at least one sleep cycle (30-45 mins) in the crib. |
| Phase 3: Routine Shift | Moving all naps to the crib. Shifting the evening bedtime routine to the nursery. | Days 8-10 | Baby associates the nursery environment with winding down and sleepiness. |
| Phase 4: The Night Shift | Placing baby in the crib for bedtime. Soothing in the crib for night wakings. | Days 11-14+ | Baby completes the first deep stretch of night sleep (3-5 hours) in the crib. |
Keep this chart handy, perhaps take a screenshot, and remind yourself that progress is not always linear. Some days will feel like massive victories, and other days you might need to take a step back. That is completely normal.
Navigating Night Wakings and Setbacks Without ‘Crying It Out’
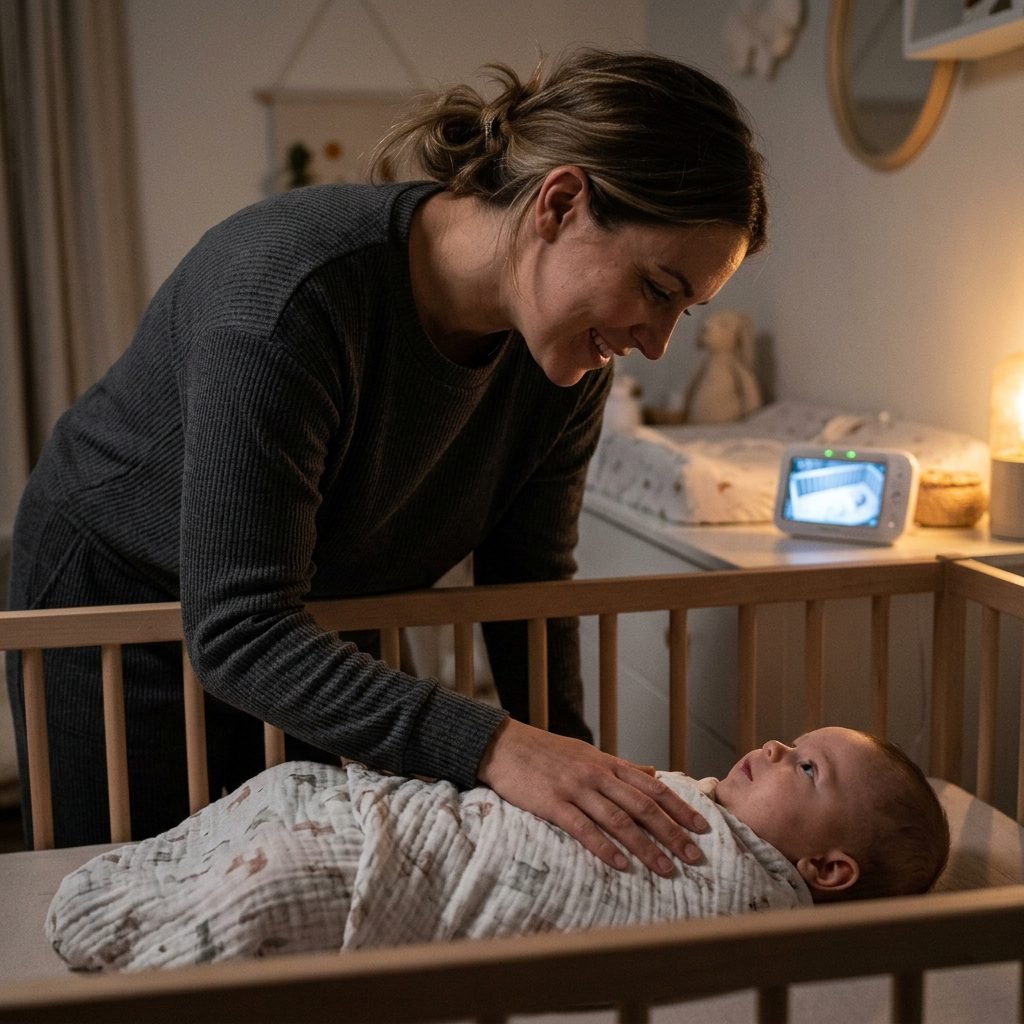
Let us talk about the elephant in the room: the middle-of-the-night wake up. When you are transitioning your baby to the crib, they will wake up. They will realize they are in a new space, and they might call out for you. Since we are strictly avoiding sleep training and cry-it-out methods, how do we handle this?
The ‘Pause and Assess’ Method
When you hear your baby stir or cry out on the monitor, give it a gentle pause of 1 to 2 minutes. We are not letting them cry it out, but we are giving them a moment to see if they are actually awake, or just vocalizing between active sleep cycles. Babies are incredibly noisy sleepers! If they are truly awake and escalating, go to them immediately.
Layering Sleep Associations (The Soothing Ladder)
When you go in to soothe them, try to comfort them while they are still in the crib before immediately picking them up. This teaches them that the crib is a safe place where comfort happens. Try this gentle soothing ladder:
- Step 1: Stand by the crib, use your voice to shush gently, and let them see your face.
- Step 2: Place a firm, warm hand on their chest and gently rock their body side to side.
- Step 3: Offer a pacifier if they use one, while gently stroking their forehead or the bridge of their nose.
- Step 4: If they are still upset after a few minutes, pick them up, rock them until they are calm and drowsy, and try the transfer again.
“Script for the anxious mama at 2 AM: ‘I am here. You are safe. We are learning this new bed together, and I will not leave you to figure it out alone.'”
When to Bring Them Back to the Bassinet
If it is 3 AM, you have tried soothing, you have tried rocking, and your baby is absolutely hysterical, pick them up and bring them back to the bassinet. You are not ruining the transition. You are preserving your sanity and your baby’s sense of security. Tomorrow is a new day, and you can try again. Gentle transitions are built on trust, not endurance tests.
The Double Whammy: Moving to the Crib AND a New Room
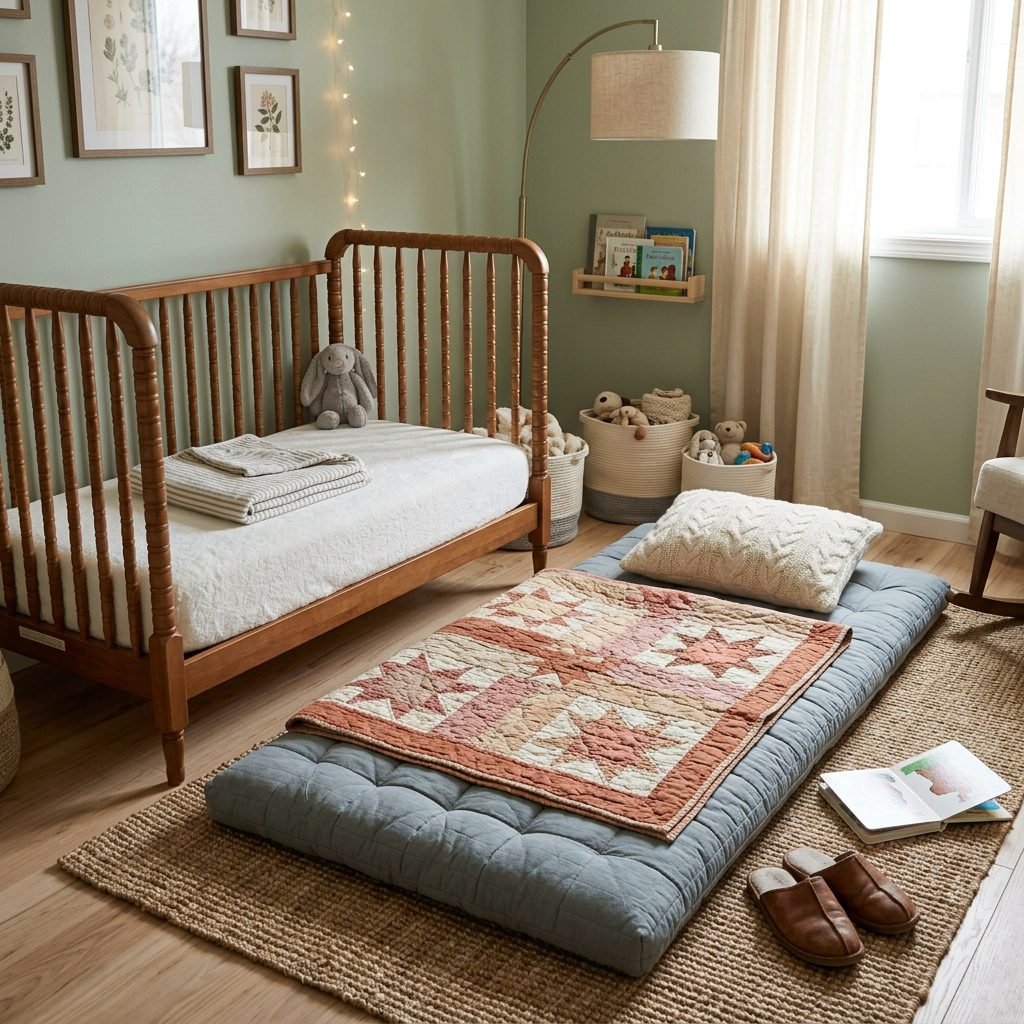
For many families, the transition from bassinet to crib also means the transition from the parents’ bedroom to the baby’s own nursery. This is a double transition—a new bed and a new environment. If you are doing both at once, you need to be extra gentle with the process.
The Campout Method
If your baby is highly sensitive to you leaving the room, consider ‘camping out’ in their nursery for the first few nights. Bring an air mattress, a comfortable floor cushion, or sleep in the nursery glider. When your baby wakes up in the big crib, they will immediately hear your breathing, smell your scent, and know they are not alone in this strange new room.
Over the course of a week, you can gradually move your sleeping spot closer to the door, and eventually back to your own bedroom. This provides a beautiful, gradual weaning of your physical presence while they get used to the acoustics and feel of the nursery.
A Note on Room-Sharing Guidelines
Remember that the American Academy of Pediatrics (AAP) recommends room-sharing (but not bed-sharing) for at least the first 6 months of life to reduce the risk of SIDS. If your baby is outgrowing the bassinet at 3 or 4 months, consider setting up a mini-crib or a pack-n-play in your bedroom to bridge the gap until they reach the 6-month mark, at which point you can confidently move them to their own room.
Conclusion
Transitioning from the bassinet to the crib is a profound milestone. It marks the end of those tiny newborn days and the beginning of a new chapter of growth for your baby. It is completely normal for this change to bring up a lot of emotions for you, mama. The bassinet represents keeping them close, keeping them safe, and holding onto their fleeting newborn phase.
By choosing a gentle, habit-stacking approach, you are respecting your baby’s neurological development and their deep need for connection. You are teaching them that sleep is a safe, peaceful state, and that even when the boundaries of their bed change, your love and responsiveness remain exactly the same.
Take it one nap at a time, trust your maternal instincts, and remember that there is no rush. Whether it takes three days or three weeks, your baby will eventually love their crib. You are doing a beautiful job, and I am cheering you on every step of the way.