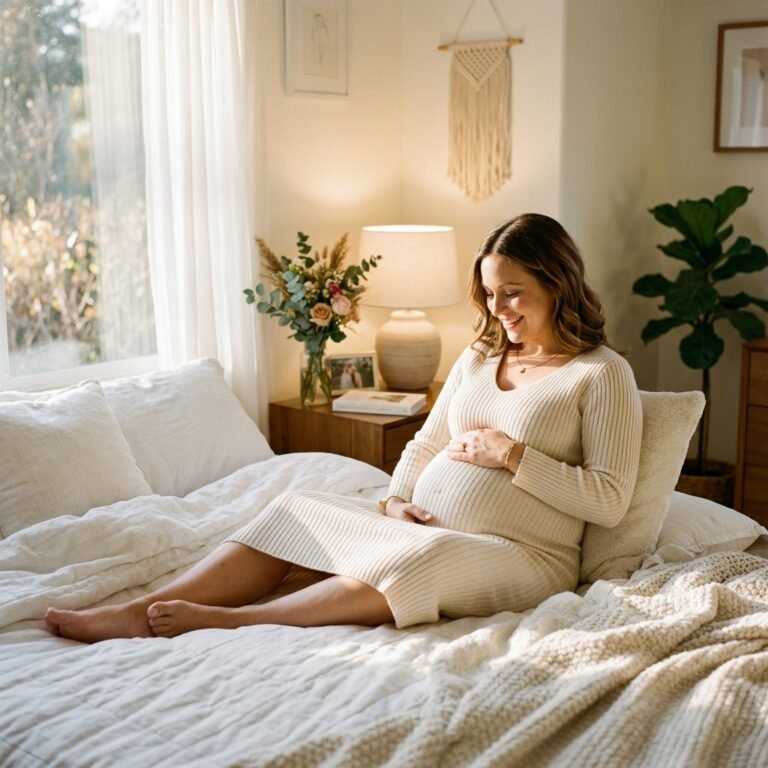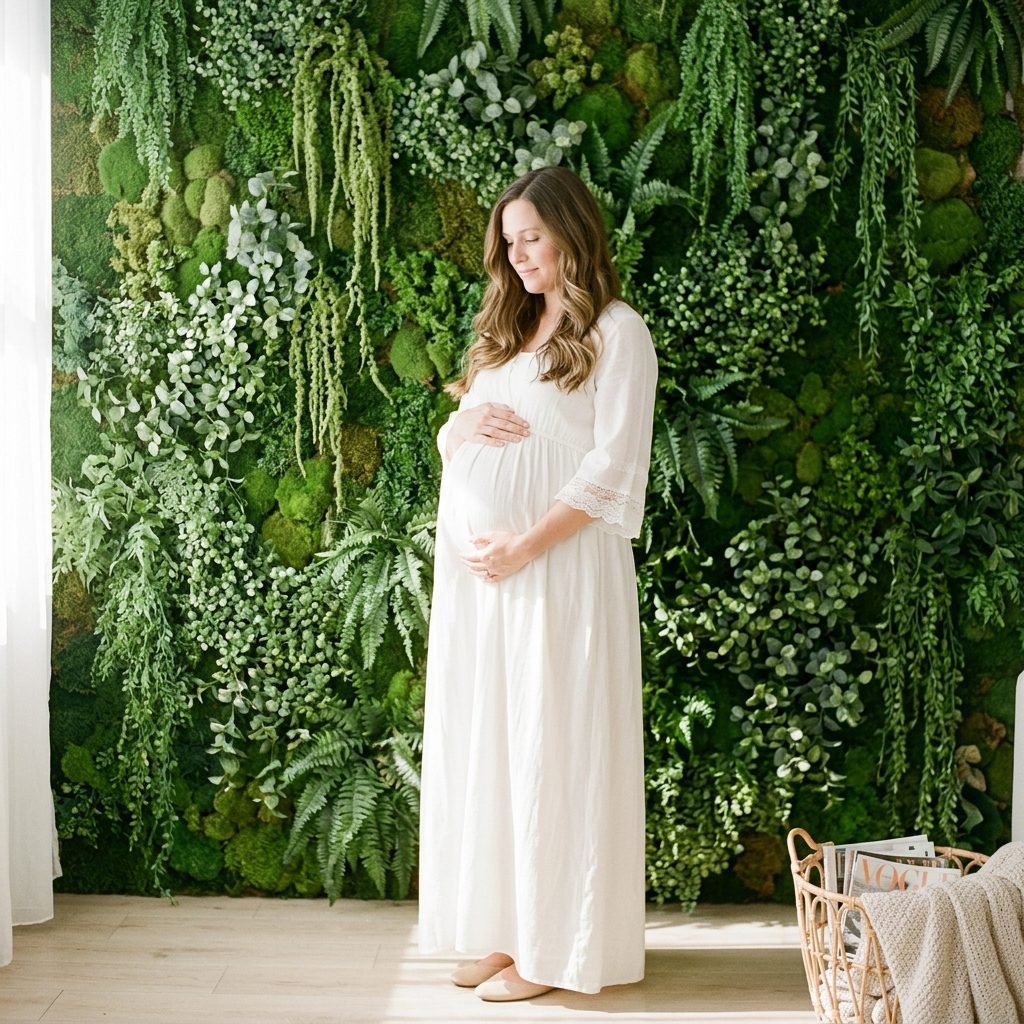
How to Create a Stunning Greenery Wall for DIY Maternity Photos at Home
Oh, mama, I see you. You are in that beautiful, transformative season where your body is literally growing a miracle. Your skin is glowing, your heart is full, and you want to capture this fleeting moment forever. But let’s be honest—booking a professional photographer, coordinating schedules, and trekking to a remote location can feel overwhelming when you’re 32 weeks along and your feet are starting to swell. That is why I am so excited to share this secret with you: you can create a high-end, editorial-style maternity shoot right in your own living room.
As a doula and a stylist, I’ve seen how much confidence a beautiful environment can give an expectant mother. A greenery wall isn’t just a backdrop; it’s a symbol of the new life blooming within you. It provides a timeless, organic texture that makes any maternity gown pop. In this guide, we are going to walk through every single step of creating your own botanical sanctuary. We’ll cover the materials that won’t break the bank, the assembly techniques that are safe for your nesting energy levels, and the styling tips that will make you feel like the goddess you truly are. Let’s get creative, sister!
Setting the Stage: Choosing Your Perfect Indoor Sanctuary
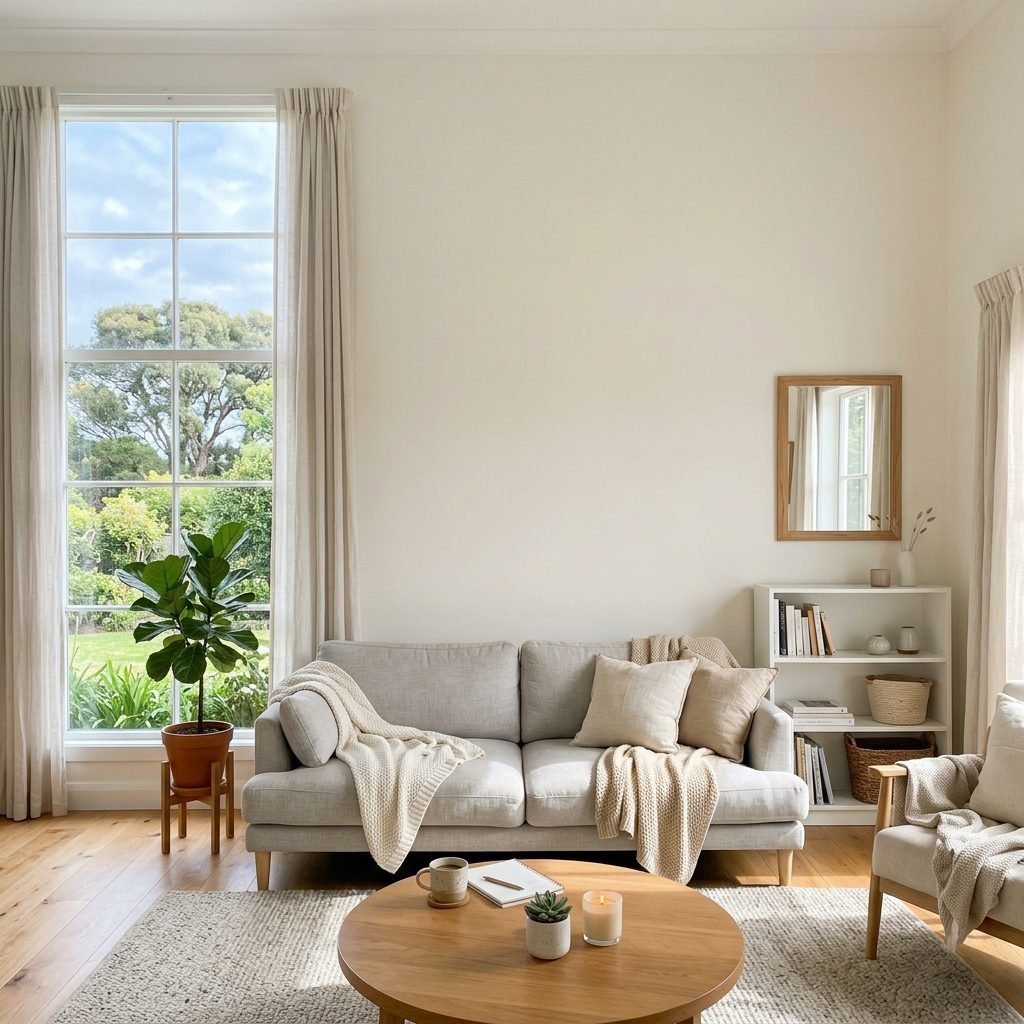
Before we even touch a single leaf, we need to find the right location in your home. The “vibe” of your greenery wall depends heavily on the light it receives. As your maternal wellness companion, I always recommend natural, indirect light. This is the kind of light that fills a room without creating harsh shadows on your beautiful bump.
Finding Your Light
Look for a north or south-facing window. These windows provide consistent, soft light throughout the day. Avoid direct sunlight hitting the wall directly, as it can cause the artificial leaves to look shiny or “plastic” in photos. If you only have bright, direct light, a simple sheer white curtain can act as a giant softbox, diffusing the sun into a dreamy glow.
Space Considerations
You don’t need a massive ballroom. A wall space that is at least 6 feet wide and 7 feet tall is usually sufficient to cover the frame of a full-length photo. Ensure you have about 5 to 8 feet of space in front of the wall so you can stand comfortably and your photographer (or your partner with a tripod) has room to frame the shot. Remember, we want to create depth, so being able to step a few inches away from the wall will help the greenery look more lush and three-dimensional.
The Mama’s Toolkit: Materials and Budget Breakdown
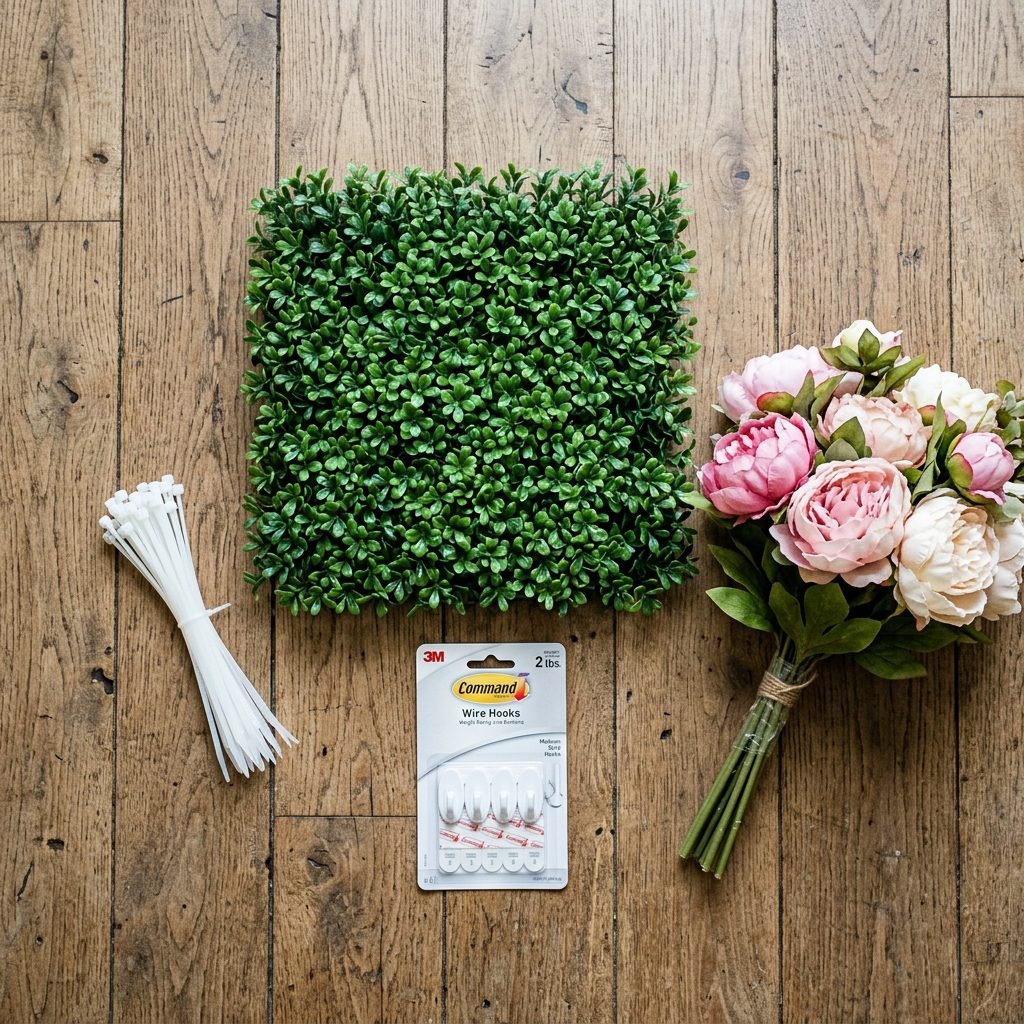
Creating a stunning backdrop shouldn’t cause financial stress. We want to balance quality with affordability. When choosing your greenery, look for “UV-protected” or “high-density” panels—they tend to look much more realistic than the thin, flat versions found in discount bins.
| Material Item | Estimated Cost | Why You Need It |
|---|---|---|
| Artificial Boxwood or Eucalyptus Panels (12-pack) | $80 – $120 | The base of your wall; provides full coverage and texture. |
| Heavy-Duty Command Hooks (Large) | $15 – $20 | To hang the panels without damaging your home’s paint. |
| Zip Ties (Green or Black) | $5 – $10 | To connect the panels together seamlessly. |
| Silk Floral Accents (Roses, Peonies) | $20 – $40 | To add pops of color and a feminine touch. |
| Steamer (Optional) | Handheld | To fluff the leaves after they arrive in the mail. |
When ordering your panels, I recommend a mix of textures. A base of boxwood with a few sprigs of hanging ivy or eucalyptus tucked in can make the wall look much more expensive and “organic.” Don’t forget to check the square footage of your chosen wall against the panel dimensions (usually 20″x20″) to ensure you order enough!
Building Your Botanical Backdrop: A Step-by-Step Guide
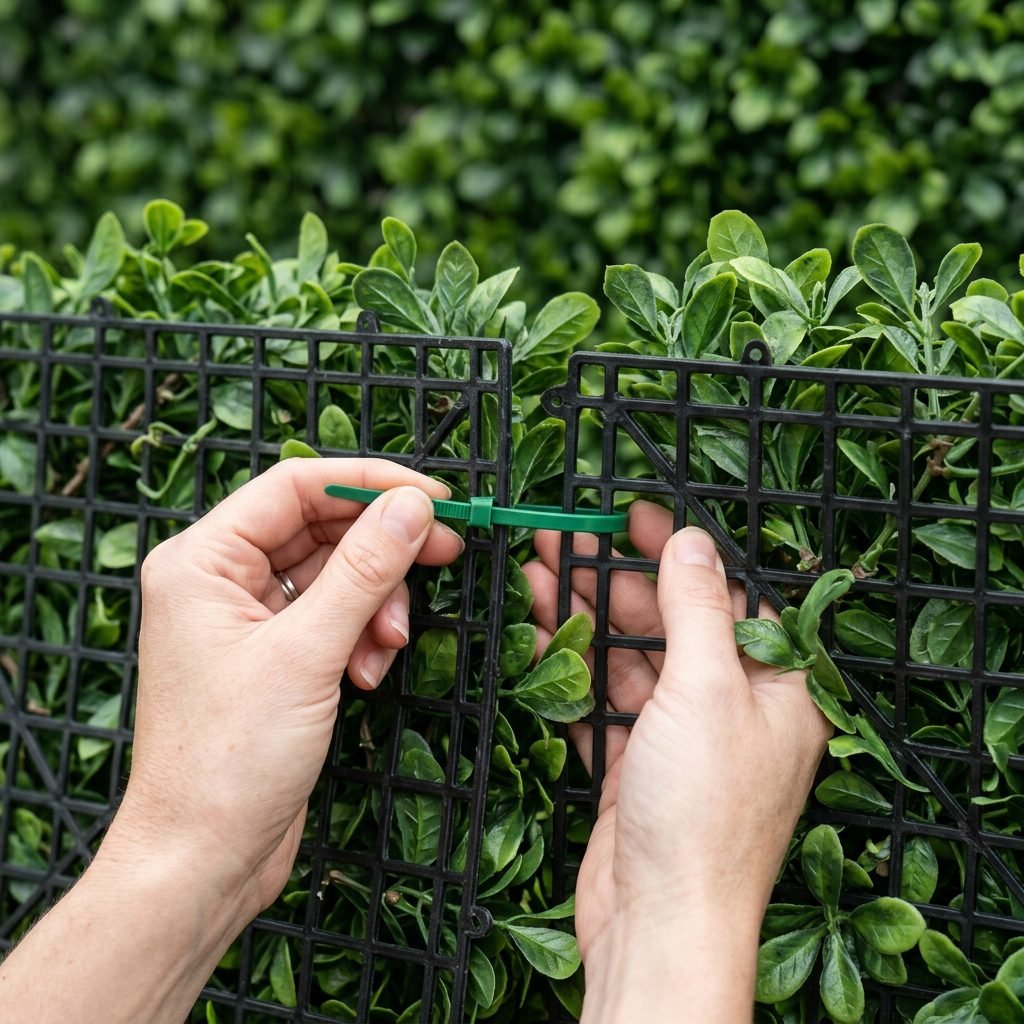
Now, let’s get to the fun part! This is a wonderful project to do with a partner or a friend. Since you are pregnant, please remember to stay off ladders and let someone else do the high reaching while you act as the creative director.
- Prep the Wall: Wipe down the wall surface with rubbing alcohol where the Command hooks will go. This ensures they stick firmly and won’t fall mid-shoot.
- Assemble the Grid: Lay your greenery panels out on the floor. Use the zip ties to connect them into one large “blanket.” I recommend doing this in sections (e.g., three rows of two) to make it easier to lift.
- Place the Hooks: Measure the width of your panel grid. Place your Command hooks along the top of the wall, spaced about 10 inches apart. Let the hooks set for at least an hour before hanging the weight.
- The Big Hang: Lift the greenery grid and hook the top mesh edge onto the hooks. Let it drape down naturally.
- Secure the Bottom: If the wall feels a bit loose, you can add a few more hooks at the midway point or the bottom to keep the panels flush against the wall.
- The Fluff Factor: Use your hands (or a gentle steamer) to pull the leaves forward, hiding the seams where the panels meet.
Mama, take breaks! Building a wall is a workout. Sit down, hydrate with some lemon water, and admire your progress. You’re building something beautiful, just like you’re building that baby.
Styling the Bump: Fashion and Floral Accents
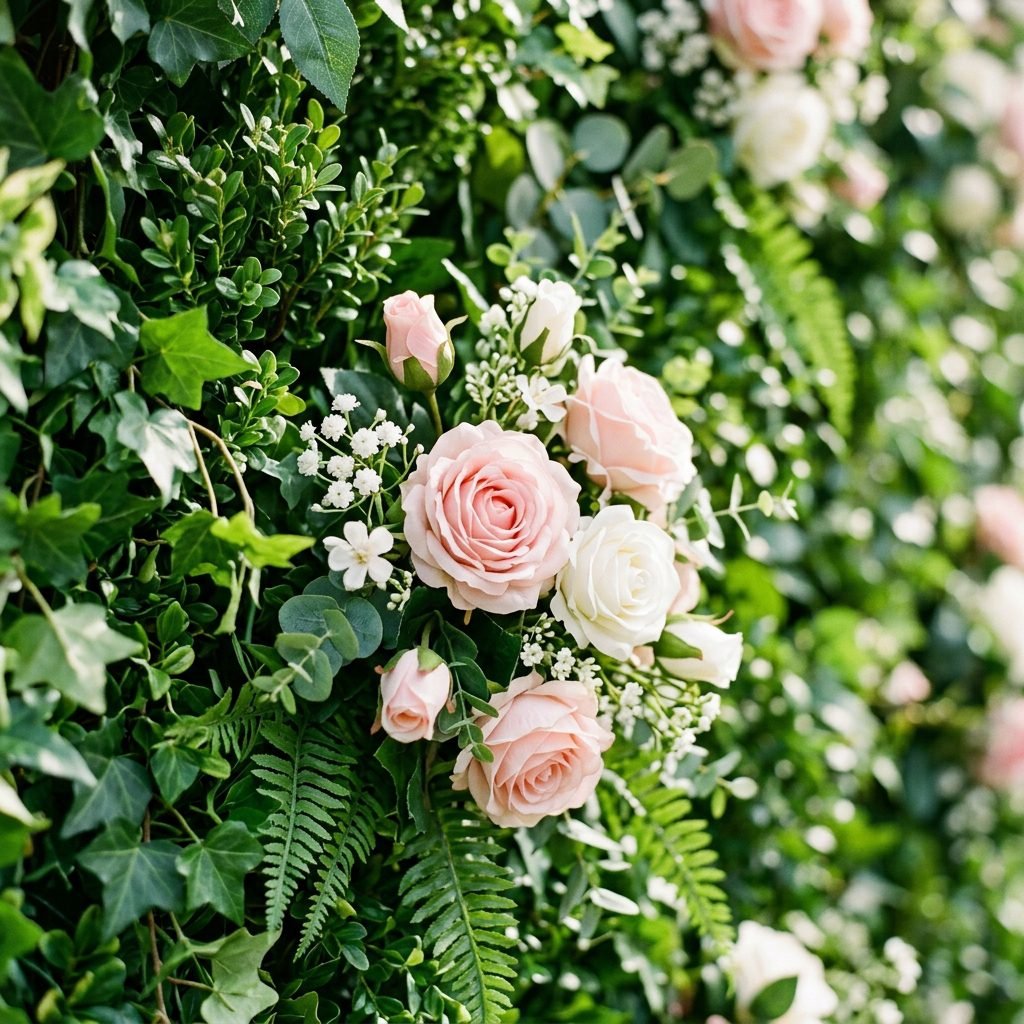
Your greenery wall is the stage, but you are the star. To make the photos truly “stunning,” we need to think about contrast and color theory. Because the wall is a deep, rich green, certain colors will sing against it while others might get lost.
Color Palette Recommendations
- Classic White or Cream: This creates a timeless, angelic look that highlights your silhouette perfectly.
- Blush Pink or Dusty Blue: Soft pastels pop beautifully against the green and are perfect for gender-reveal style photos.
- Deep Burgundy or Mustard: For a moody, autumnal vibe that feels very high-fashion.
- Avoid Green: Unless you want to look like a floating head (which we don’t!), avoid wearing the same shade of green as your wall.
Adding Floral Embellishments
To take your wall from “standard” to “bespoke,” tuck silk flowers into the mesh of the panels. I love a diagonal cascade of flowers—starting at the top left and flowing down toward the bottom right. This creates a natural movement in the photo that draws the eye directly to your belly. If you’re feeling extra, a neon sign with the baby’s name or a simple “Oh Baby” can be the perfect modern centerpiece.
Capturing the Glow: Lighting and Posing for DIY Success
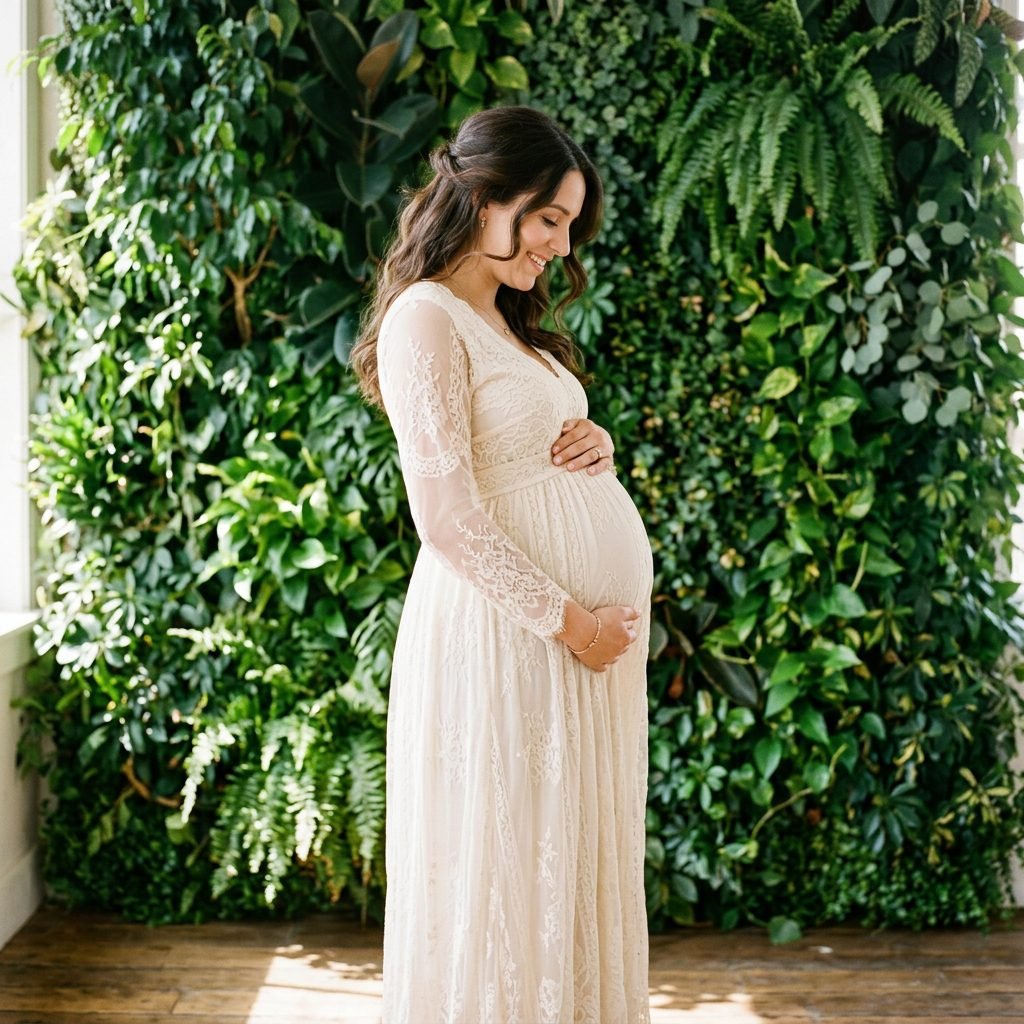
You don’t need a $2,000 camera to get professional results. Most modern smartphones have a “Portrait Mode” that mimics the depth of field of a professional lens. The key is in the angles and the height.
The Photographer’s Positioning
Whether it’s your partner or a tripod, the camera should be at belly height or slightly higher. Shooting from too low can feel imposing, while shooting from too high can minimize your beautiful bump. Ensure the camera is level and not tilted, which keeps the vertical lines of your greenery wall straight.
Posing for Comfort and Beauty
- The Classic Profile: Stand sideways to the camera, place your hands on the top and bottom of your bump, and look down at your belly with a soft smile.
- The 45-Degree Turn: Turn slightly toward the camera. This is incredibly flattering as it shows both the bump and your beautiful face.
- The Connection: If you have a partner or older children, have them interact with the bump. A hand on the belly or a kiss for the “new roommate” creates pure emotional magic.
| Pose Name | Hand Placement | Focus Point |
|---|---|---|
| The Cradle | Both hands under the bump | Looking at the lens |
| The Whisper | One hand on belly, one on chest | Eyes closed, peaceful expression |
| The Walk-By | Holding gown fabric | Looking over the shoulder |
Affirmation: My body is a garden. I am blooming, I am strong, and I am the perfect home for my baby.
Beyond the Shoot: Repurposing Your Wall for the Nursery
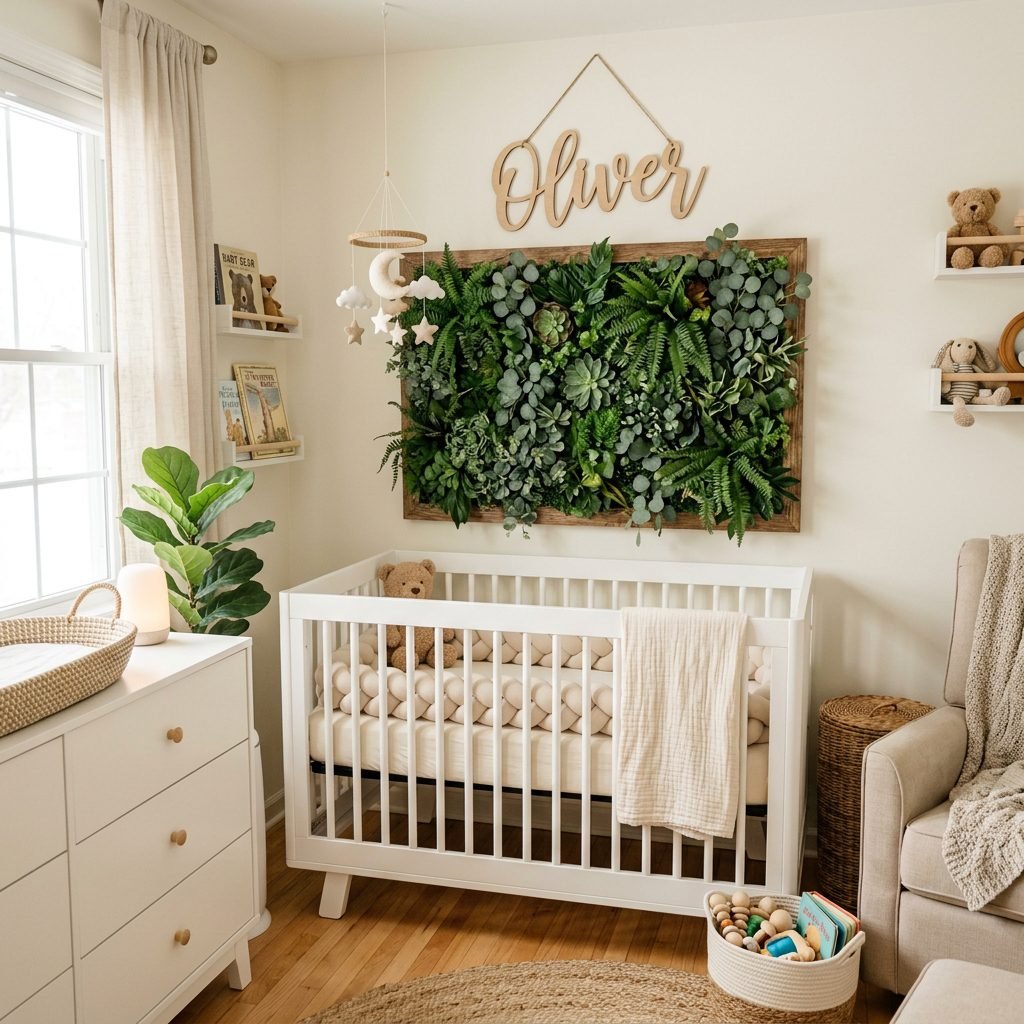
One of the best things about this DIY project is that it doesn’t have to be temporary. Once your maternity photos are safely stored in your heart (and your cloud storage), you can repurpose those panels to create a sensory-rich nursery feature wall.
Greenery has a calming effect on the nervous system, making it a lovely addition to a baby’s room. You can take the panels down and re-mount them behind the crib (ensure they are securely fastened and out of baby’s reach) or use them to create a small “reading nook” corner. It serves as a beautiful reminder of the time you spent waiting for them. Just be sure to give the panels a quick dust every few weeks with a microfiber cloth to keep the air in the nursery fresh and clean!
Conclusion
Mama, I hope you feel empowered to create this beautiful space for yourself. You are doing the hard work of growing a human, and taking the time to celebrate that through art is a form of self-care. This greenery wall is more than just plastic leaves and zip ties; it is a backdrop for the memories you will show your child years from now. Whether you go for a full floral explosion or a simple, chic boxwood look, the most important element is the love and anticipation you bring to the frame. You are stunning, your journey is unique, and you deserve to be documented in all your glory. Happy snapping!