How to Sew a DIY Canvas Fabric Sling Bookshelf for a Cozy Nursery Library
Embracing the Nesting Instinct Through Creativity
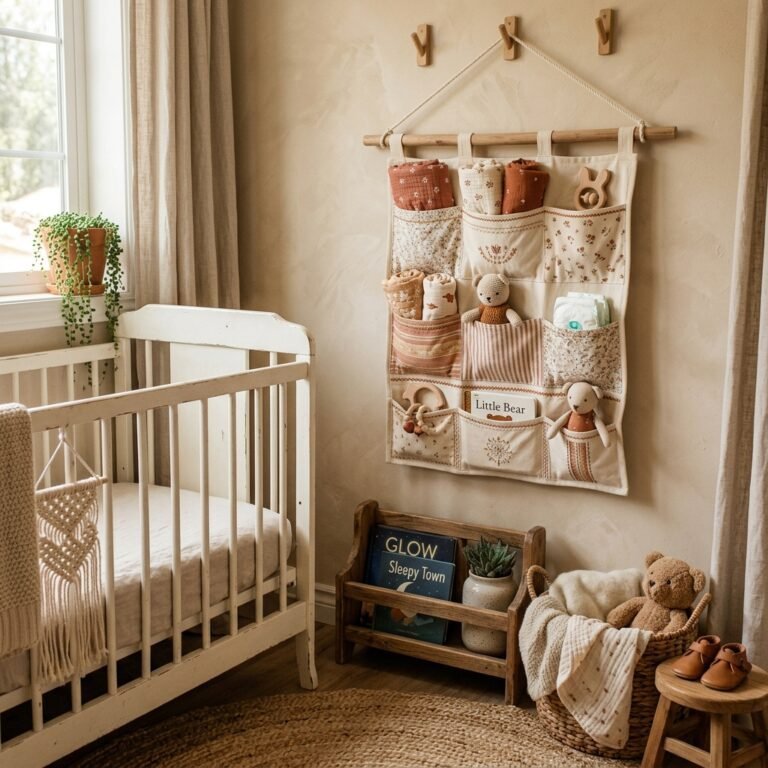
Hello, sweet mama. If you are reading this, you are likely in that beautiful, whirlwind phase of nesting—that biological urge to scrub every baseboard and curate the perfect, safe haven for your little soul to land. As a doula, I see this energy as a sacred preparation for labor. It is your heart expanding into your physical space. One of the most gentle ways to channel this energy is by creating a cozy nursery library. A sling bookshelf isn’t just about storage; it’s about accessibility. Unlike traditional bookshelves where only the spines are visible, a fabric sling displays the beautiful covers of children’s books, inviting your baby to reach out, touch, and eventually, choose their own bedtime stories.
In this guide, we aren’t just sewing fabric; we are weaving a foundation for literacy and wonder. Whether you are a seasoned seamstress or a crafty mom-to-be picking up a needle for the first time, this project is designed to be low-stress and high-reward. We will walk through the materials, the measurements, and the mounting process together, sister to sister. Let’s create something beautiful for your nursery that will hold years of whispered stories and morning snuggles.
Why the Canvas Sling Design is Best for Your Baby

When we design for infants, we have to think about safety, sensory development, and independence. Traditional wooden bookshelves can have sharp corners, and heavy books can easily tumble onto little toes if pulled. The canvas sling is the ultimate solution for a Montessori-inspired room.
- Front-Facing Recognition: Babies and toddlers identify books by their illustrations, not the titles on the spine. Seeing the ‘face’ of the book encourages them to engage with literature earlier.
- Soft Textures: Using heavy-duty canvas provides a tactile, soft experience that fits the ‘soft-landing’ philosophy of a nursery.
- Space-Saving Magic: These shelves sit flush against the wall, making them ideal for small nurseries, closet nooks, or even behind a door.
Your nursery is the first gallery your child will ever visit. Make it a space where they feel empowered to explore.
The Supply List & Budget Breakdown
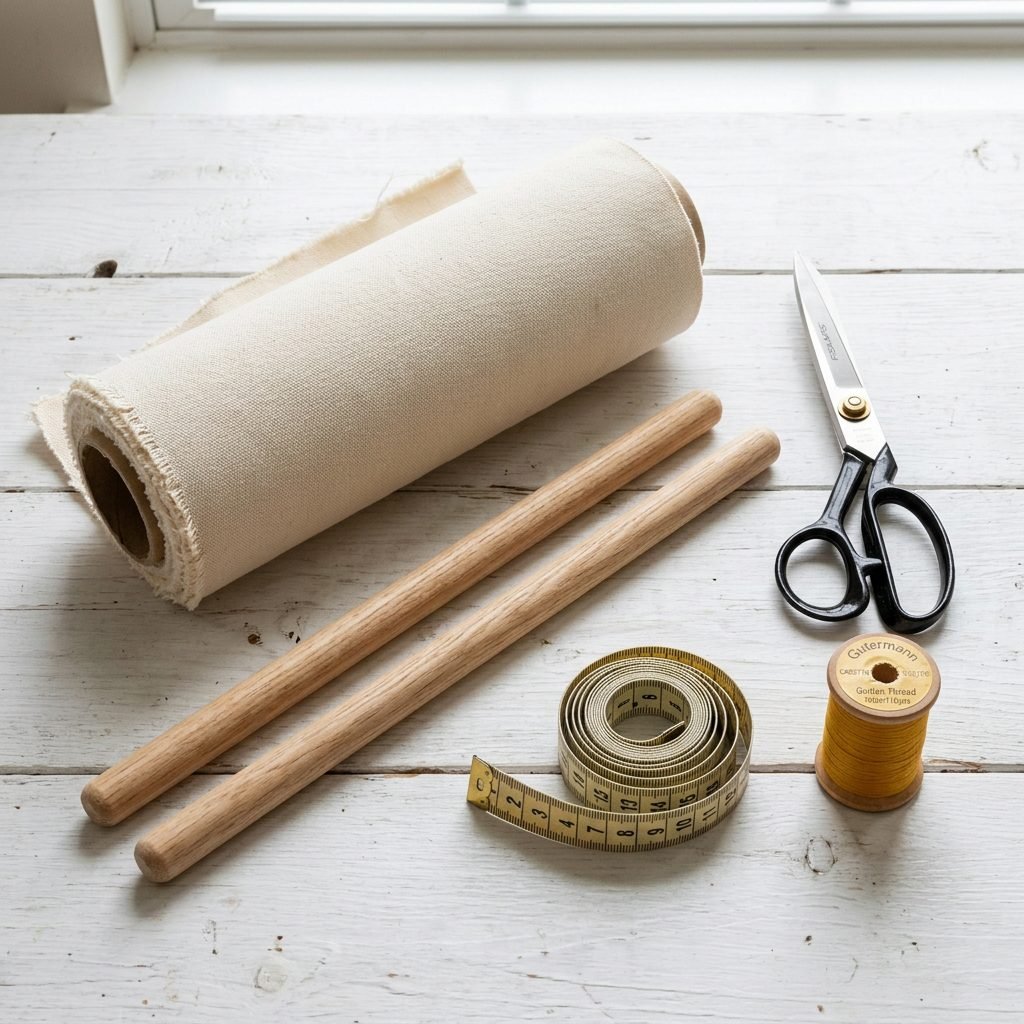
Before we start the hum of the sewing machine, let’s gather our ‘ingredients.’ I always recommend choosing natural fibers like 100% cotton canvas. It is breathable, durable, and free from the off-gassing of synthetic plastics. You’ll want a ‘duck’ canvas or a heavy upholstery weight to ensure the slings don’t sag too much under the weight of heavy board books.
| Material Item | Quantity/Size | Estimated Cost |
|---|---|---|
| Heavyweight Cotton Canvas | 1.5 to 2 Yards | $15 – $25 |
| Wooden Dowels (1-inch diameter) | 2 to 4 (depending on tiers) | $10 – $15 |
| Double Curtain Rod Brackets | 1 Set per 2 tiers | $12 – $20 |
| All-Purpose Thread | 1 Spool (Coordinating color) | $3 – $5 |
| Wall Anchors & Screws | 1 Pack | $5 |
| Total Estimated Investment | – | $45 – $65 |
Pro-Tip from your Doula: If you are in your third trimester, set up your sewing station at a height where you don’t have to hunch. Your lower back will thank you! Use a comfortable chair with a lumbar pillow while you pin your fabric.
Measuring and Cutting Your Fabric with Confidence
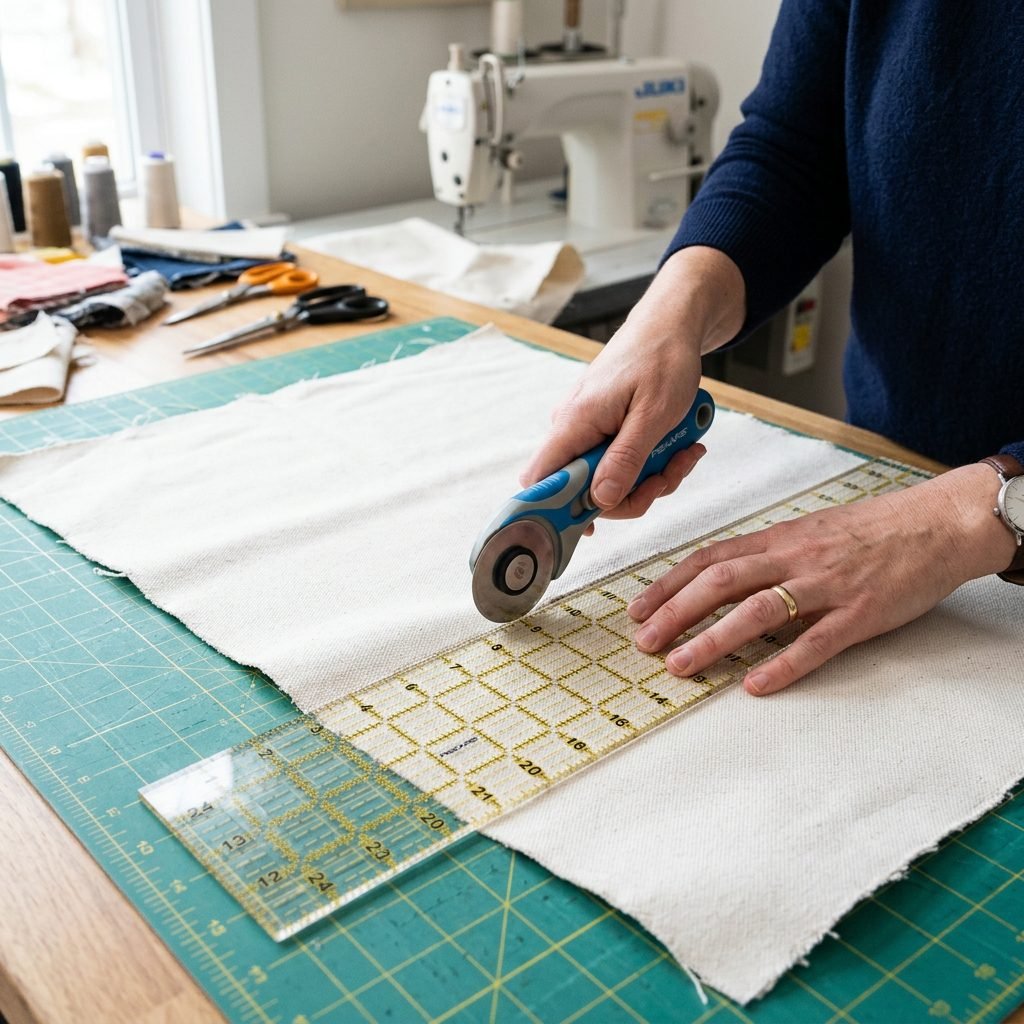
Precision here makes the sewing much easier later. For a standard two-tier bookshelf that is approximately 24 inches wide, we want to cut our fabric to allow for ‘slouch’—that’s what creates the pocket for the books.
Standard Dimensions for a Single Sling:
- Width: 28 inches (This allows for 24 inches of shelf plus 2 inches on each side for hems).
- Length: 45 inches (This creates a deep pocket that can hold taller picture books without them flipping forward).
Lay your fabric flat on a clean floor or a large cutting table. Use a fabric marker or tailor’s chalk to mark your rectangles. Measure twice, cut once! If you are making a double-tier shelf, you will need two of these fabric panels. If you want one long continuous sling, you can adjust the length to 90 inches, but separate panels usually hang more neatly.
Step-by-Step Sewing: Creating the Rod Pockets
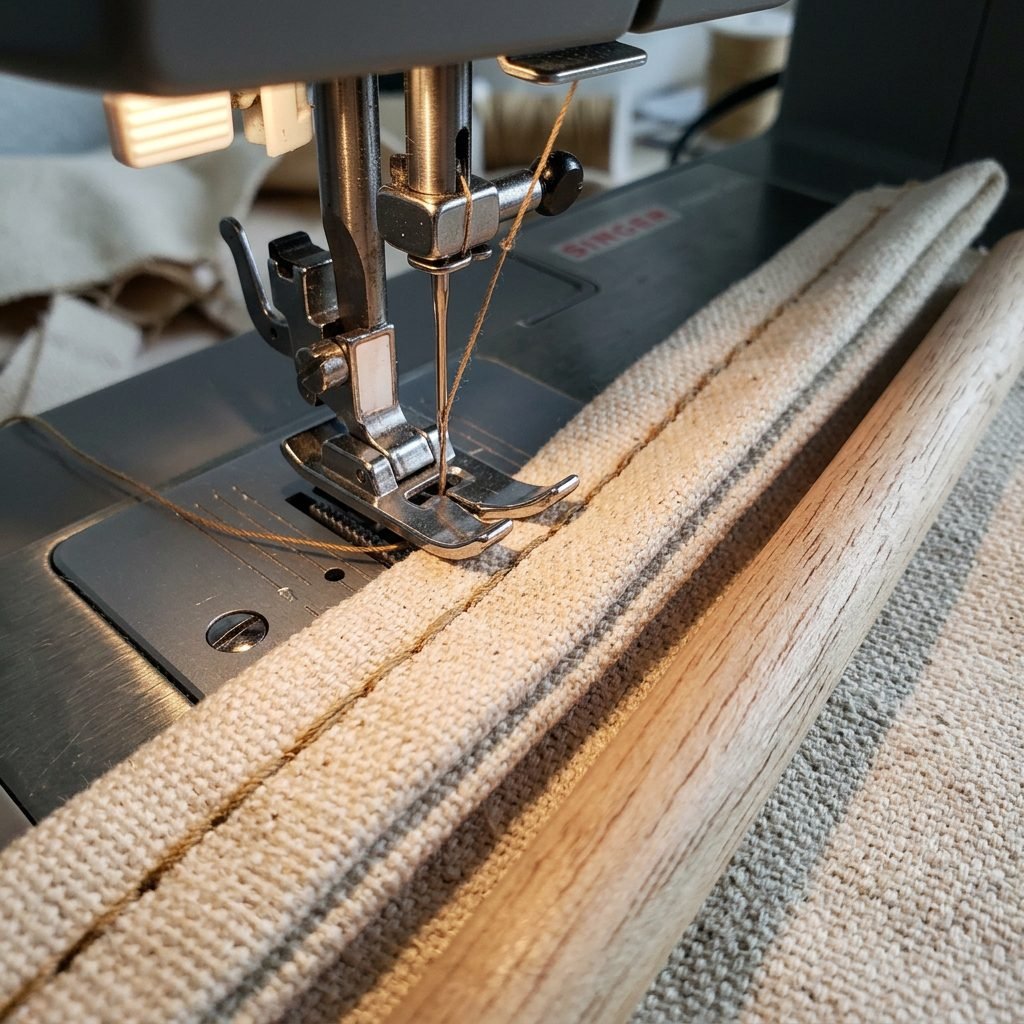
Now, let’s get that machine moving. We are going to use a simple straight stitch. Don’t worry if your lines aren’t perfectly straight; the books will cover the seams!
- Hem the Sides: Fold the long edges (the 45-inch sides) in by 1/2 inch, press with an iron, fold another 1/2 inch, and sew. This prevents fraying.
- Create the Top Rod Pocket: Fold the top short edge (the 28-inch side) down by 4 inches. This creates a large enough channel for your 1-inch dowel to slide through easily. Pin it in place.
- Sew the Channel: Sew a straight line across the width, about 1/4 inch from the raw edge of the fold. Backstitch at the beginning and end to ensure the weight of the books doesn’t rip the seam.
- Repeat for the Bottom: Do the exact same thing for the bottom edge. You now have a fabric rectangle with a ‘tunnel’ at the top and the bottom.
- Pressing: Give the whole piece a good steam with your iron. This sets the stitches and makes the canvas look professional and crisp.
Doula Note: Sewing can be a form of meditation. Focus on the rhythm of the machine and the feel of the fabric. It’s a wonderful way to bond with the idea of your baby while staying grounded.
Installation: Mounting the Library Safely
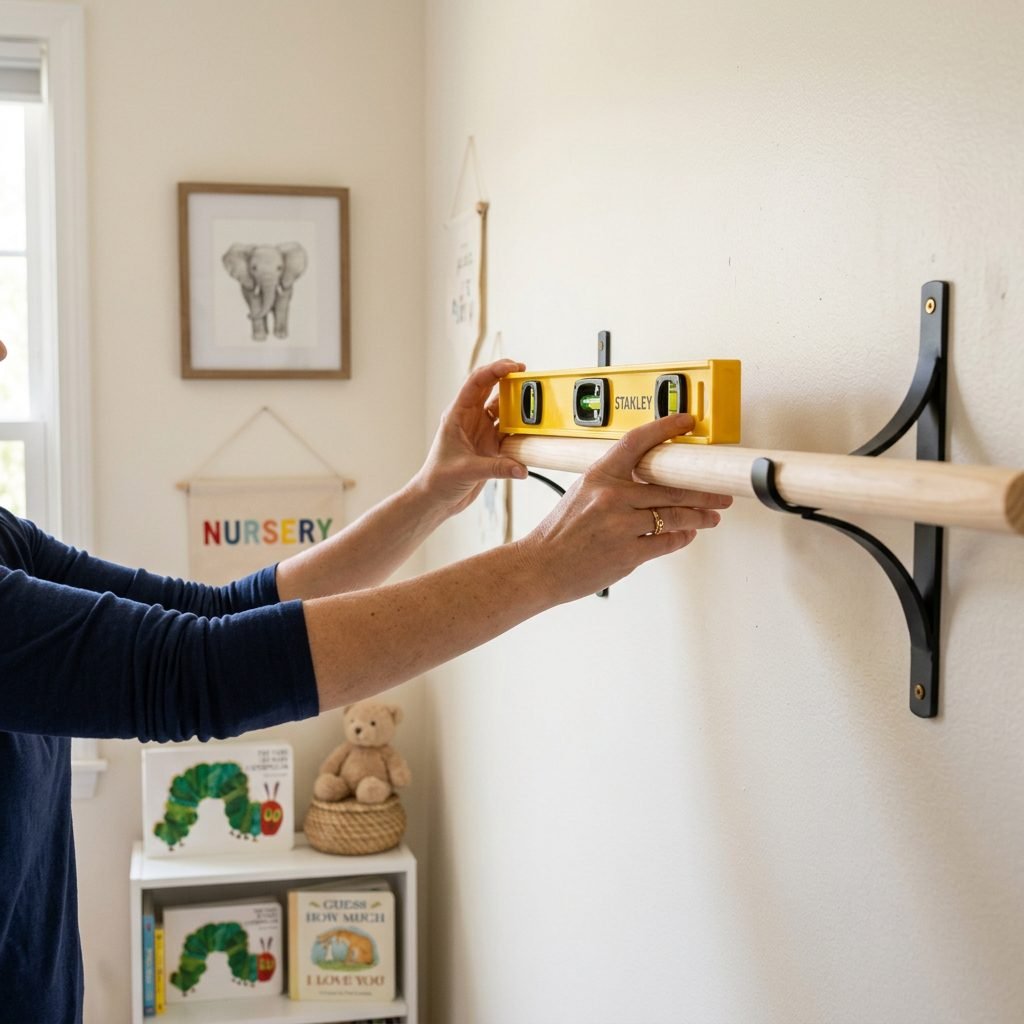
This is the part where we ensure our hard work stays on the wall! Since books are surprisingly heavy, safety is our top priority. You must mount the brackets into wall studs if possible.
Installation Steps:
- Find the Studs: Use a stud finder to locate the vertical wood beams in your wall. If the studs don’t align with where you want your shelf, you must use heavy-duty drywall anchors (toggle bolts are best).
- Leveling: Use a level tool to mark your bracket holes. A crooked shelf is the last thing a tired mama wants to look at!
- Attach Brackets: Screw your double curtain rod brackets into the wall.
- Insert Dowels: Slide your wooden dowels through the fabric pockets you sewed.
- Secure the Rods: Place the dowels into the brackets. Most brackets have a small set-screw—tighten this so the dowels cannot be pulled out by a curious toddler.
Safety Reminder: Periodically check the brackets to ensure they haven’t loosened over time. As your baby grows into a climber, this becomes even more vital!
Styling Your Cozy Library Nook
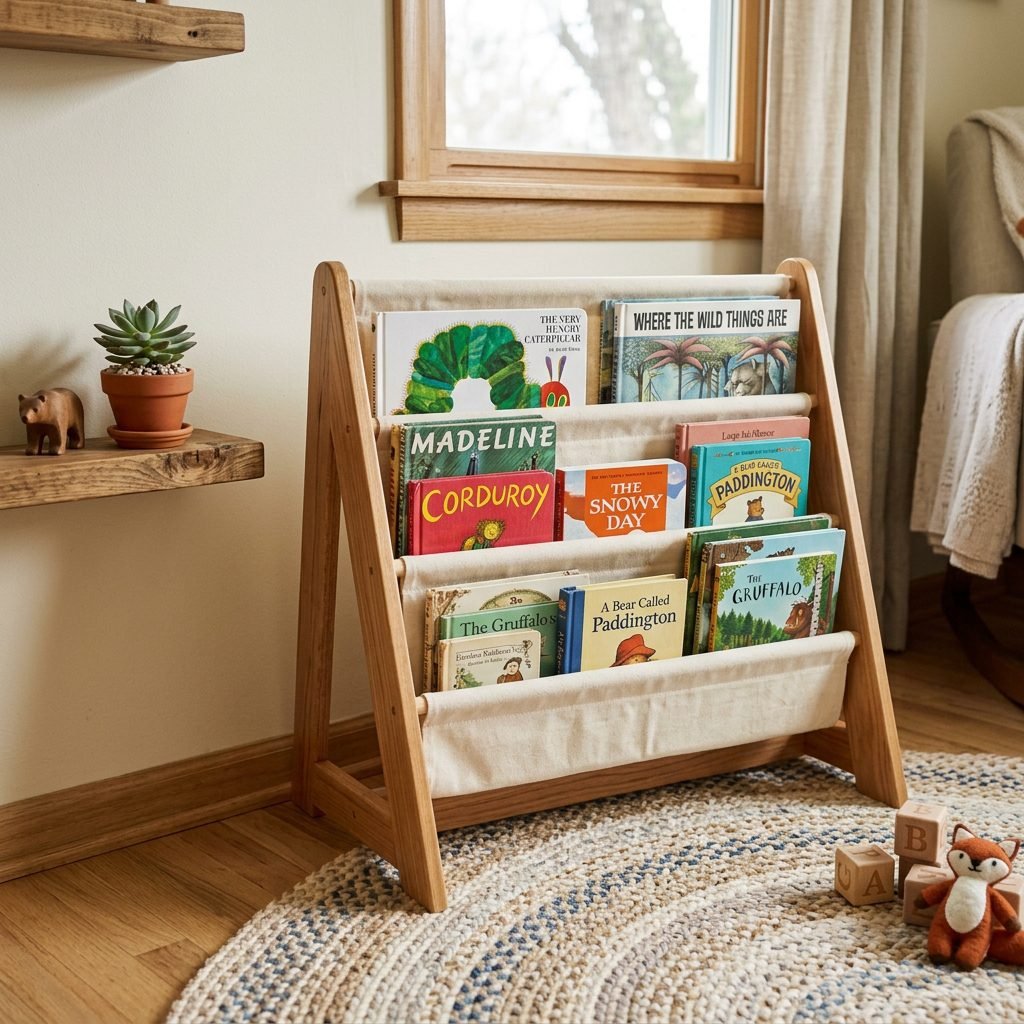
The construction is done—now for the soul-filling part! Styling your library nook makes the space feel finished and inviting. Here is how to create a sensory-rich environment:
- Layer by Size: Place larger, heavier picture books in the back of the sling and smaller board books in the front.
- Color Coding: If you’re feeling extra ‘Pinterest-mom,’ arrange the books by the colors of the rainbow. It’s visually soothing for both you and the baby.
- Add a Glow: Place a small, warm-toned lamp or a string of battery-operated fairy lights (out of baby’s reach) nearby to signal that this is a ‘quiet zone.’
- Texture: Place a sheepskin rug or a thick quilted mat underneath the shelf so your little one has a soft place to sit while they ‘read.’
Remember, this library will grow with your child. Today it holds high-contrast black and white cards; in a few years, it will hold tales of dinosaurs and far-off lands.
Conclusion
A Legacy of Stories
Congratulations, mama! You have created a functional piece of art that serves your child’s development and your home’s aesthetic. There is something so deeply rewarding about seeing your baby reach for a book from a shelf you made with your own hands. As you sit in your nursery, perhaps nursing or rocking your little one to sleep, let this bookshelf be a reminder of your capability and your love. You are providing the tools for their imagination to soar. Enjoy every story, every page turn, and every quiet moment in your new cozy library nook. You’ve got this!