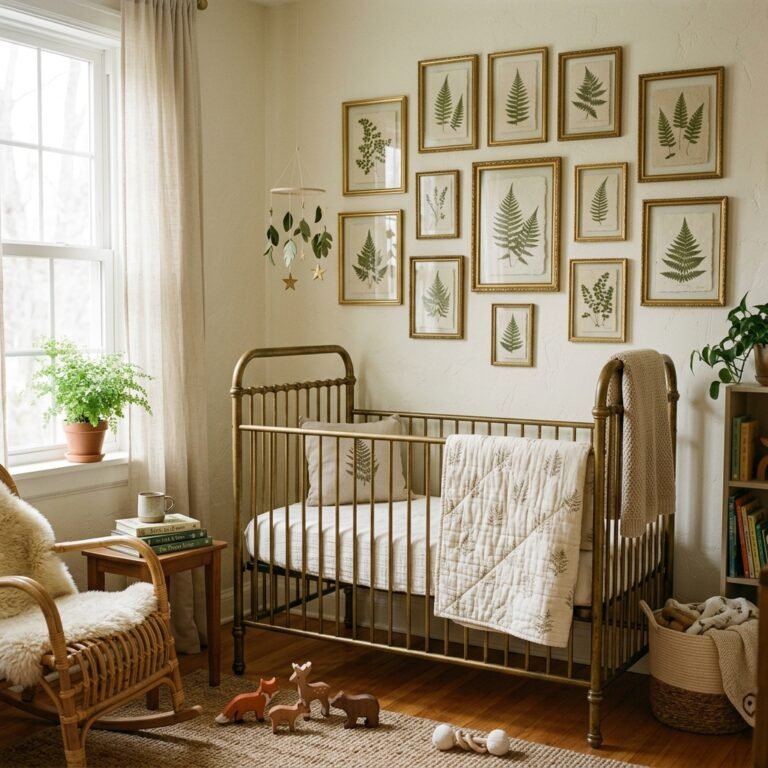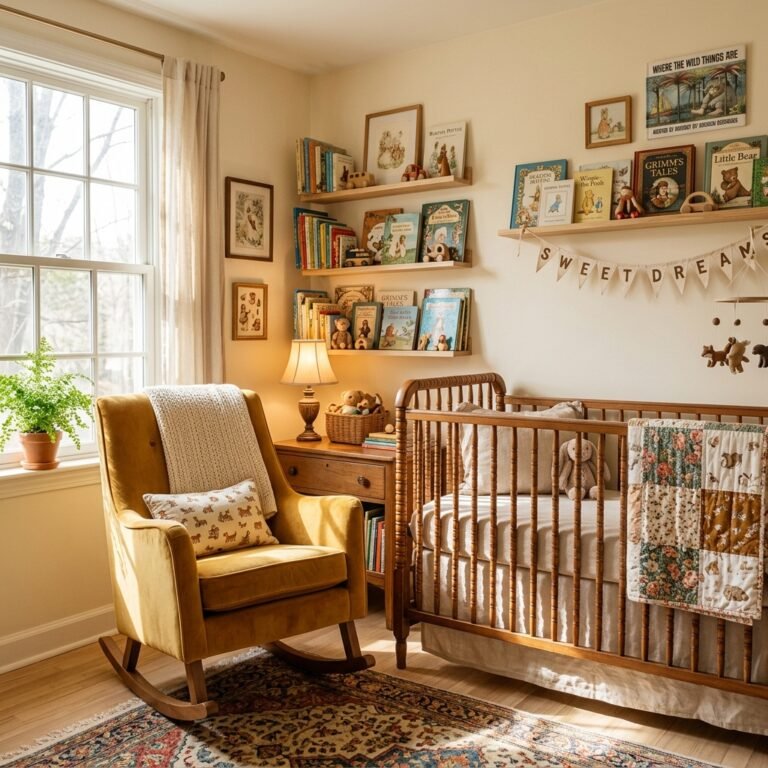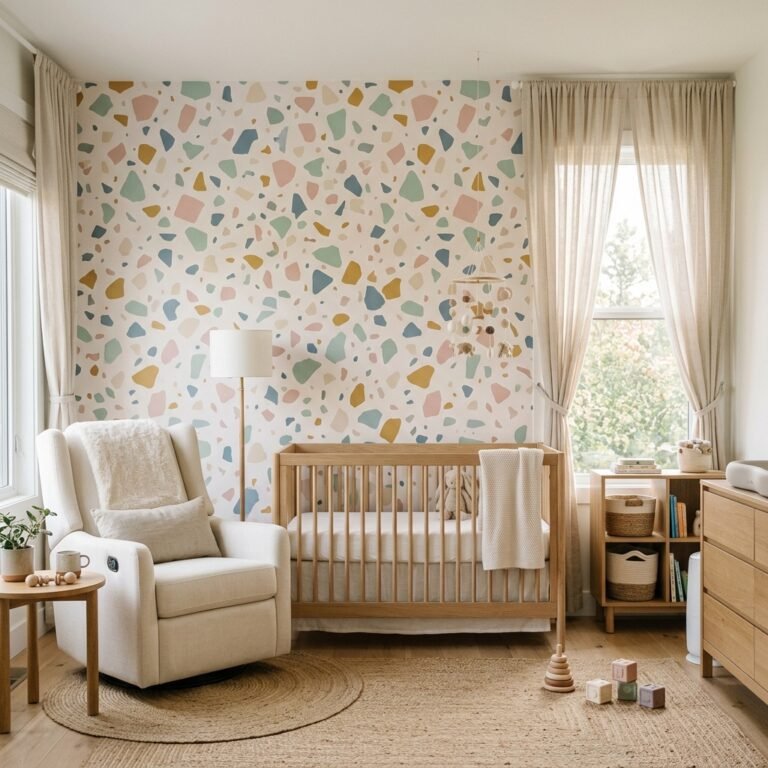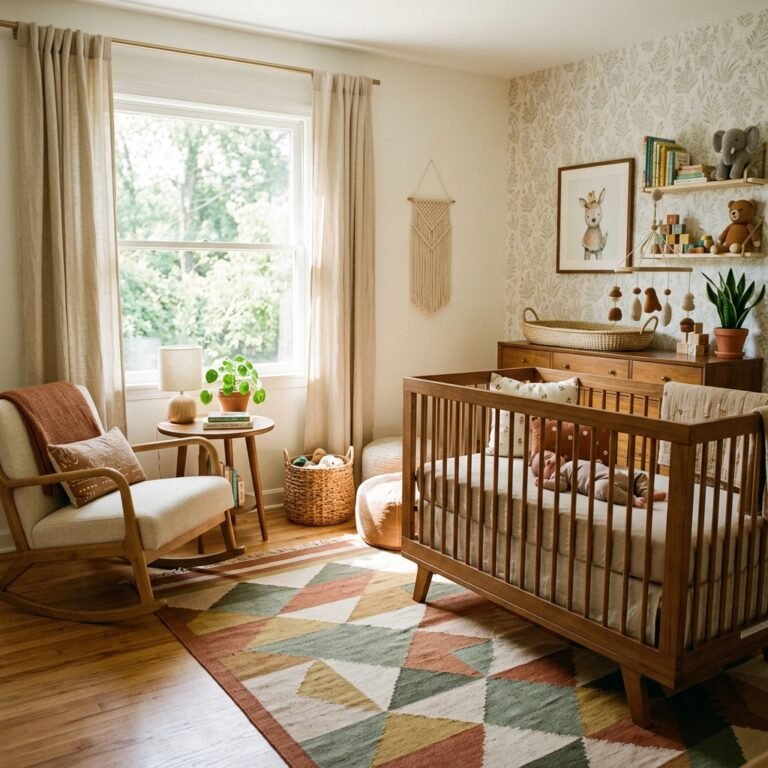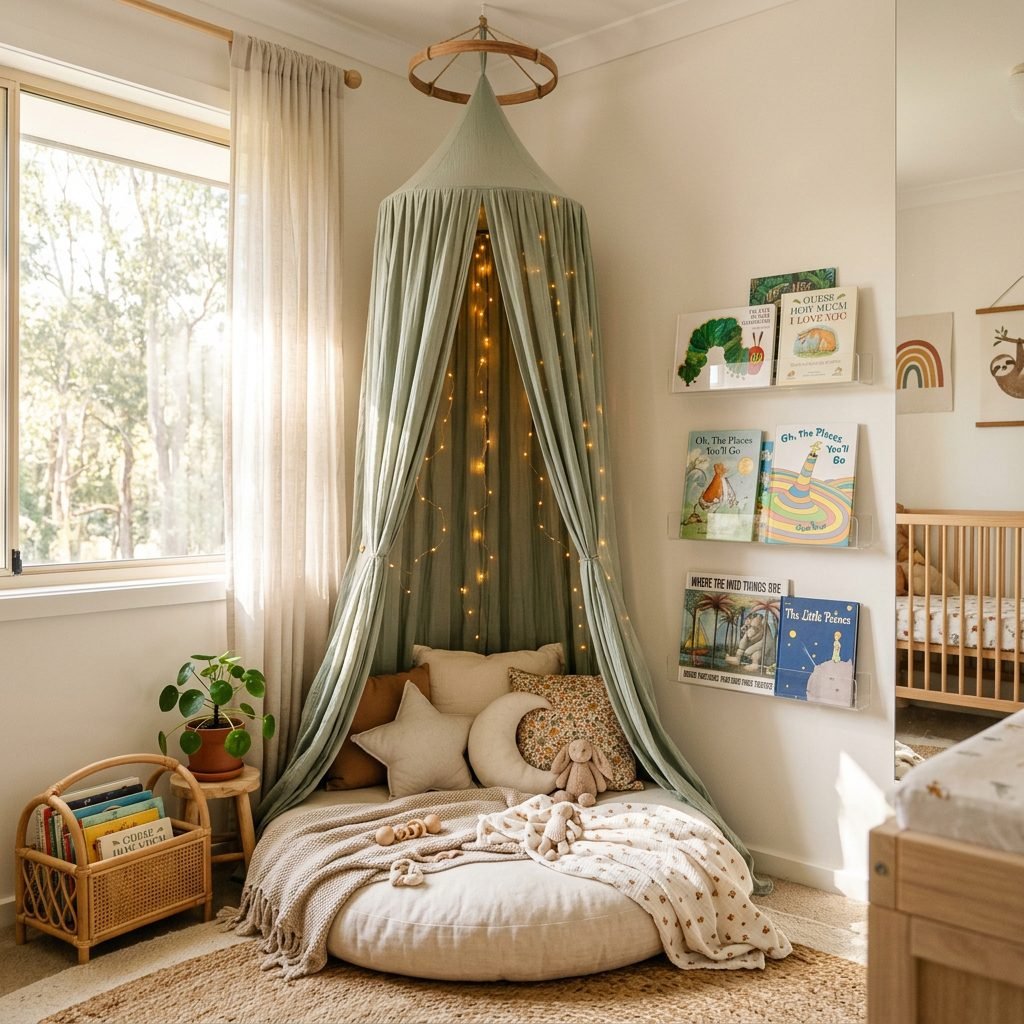
Create a Dreamy DIY Canopy Reading Nook in Your Baby’s Nursery
Hello, beautiful mama. If you are reading this, chances are you are in the thick of that magical, sometimes overwhelming, and deeply instinctual phase we call nesting. Whether you are currently thirty-five weeks pregnant and organizing tiny onesies at two in the morning, or you are a postpartum mother looking to carve out a quiet, grounding space in your home for you and your growing baby, you are exactly where you need to be.
As a doula and a mama who has spent countless hours in nurseries, I can tell you a little secret: the nursery isn’t just for the baby. It is for you. It is the sanctuary where you will rock, sway, cry, laugh, and gaze in absolute wonder at the tiny life you have brought into this world. And one of the most beautiful, functional, and enchanting additions you can make to this space is a dedicated reading nook.
“Your baby’s nursery is the backdrop for a thousand quiet, unseen moments of motherhood. Make it a space that holds you both in a gentle, comforting embrace.”
Creating a dreamy DIY canopy reading nook doesn’t require a massive budget or a degree in interior design. It requires a little bit of creativity, a weekend afternoon, and a desire to build a cozy corner that will grow with your child from the fourth trimester all the way into their toddler years. In this comprehensive guide, we are going to walk through everything you need to know—from gathering the right materials and step-by-step construction, to maximizing small spaces, organizing your baby’s first library, and ensuring the space is perfectly safe for your little one.
So, grab a cup of red raspberry leaf tea (or a massive tumbler of ice water!), get comfortable, and let’s start dreaming up the perfect canopy reading nook for your baby’s sanctuary.
The Magic of a Dedicated Reading Space: Why Your Nursery Needs a Nook
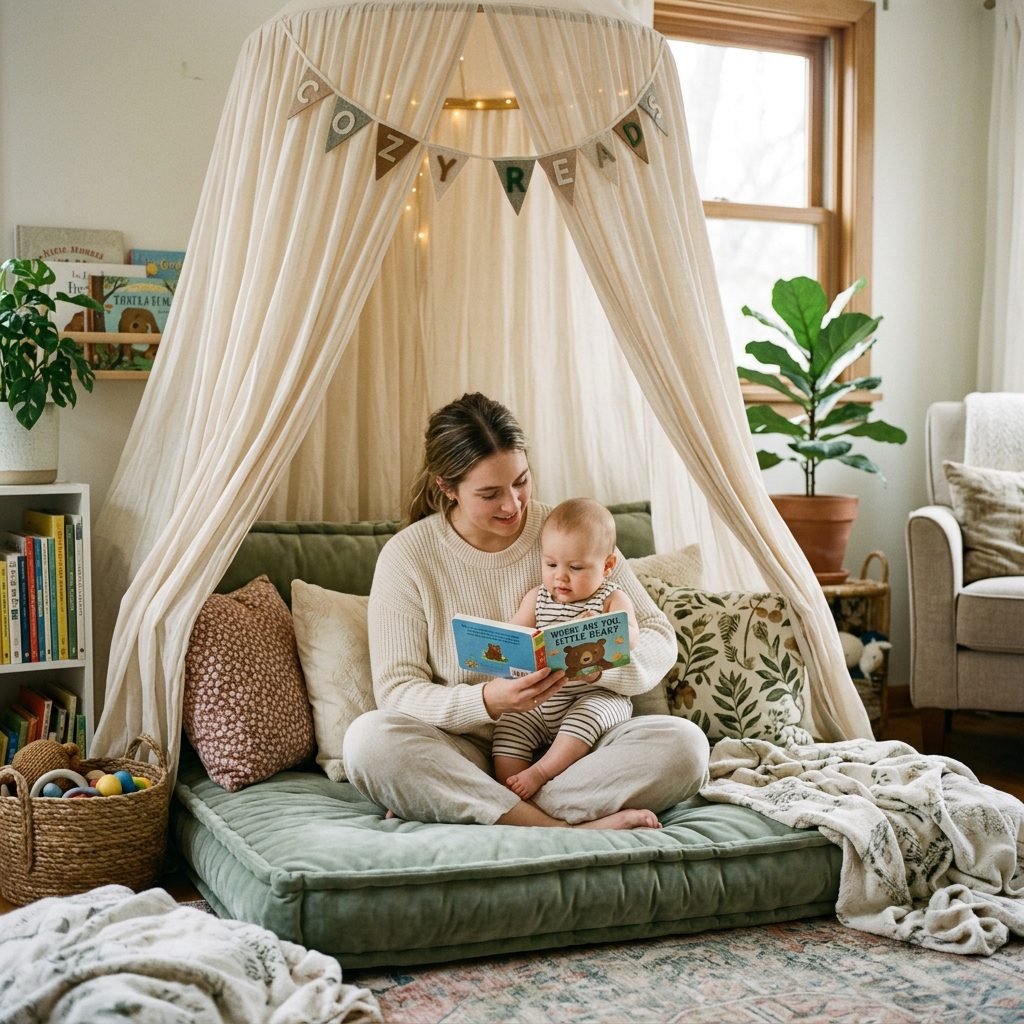
Before we dive into the hammers, hooks, and fabrics, let’s talk about the why. Why dedicate precious nursery real estate to a reading nook? As a pediatric sleep consultant and doula, I always encourage parents to create distinct “zones” within the nursery. A zone for sleeping (the crib), a zone for changing and dressing, and a zone for connection and winding down.
Benefits for Baby’s Brain Development
Reading to your baby from day one—yes, even when they are just a sleepy newborn—is profoundly beneficial for their cognitive development. Hearing the rhythm, cadence, and tone of your voice helps build the foundation for language. A dedicated nook provides a visual cue for your baby. As they grow into older infants and toddlers, they will begin to associate this specific, cozy corner with quiet time, stories, and safety.
A Sanctuary for Postpartum Mothers
Let’s be brutally honest: the postpartum period is beautiful, but it is also exhausting. There will be cluster-feeding marathons, sleep regressions, and moments where you just need to sit down and breathe. A well-designed reading nook, complete with a supportive floor cushion or a small nursing chair tucked beneath a canopy, becomes a safe haven for you. The soft enclosure of a canopy mimics a womb-like environment, which is incredibly soothing for an overstimulated baby, and surprisingly grounding for an overstimulated mother.
- Sensory Regulation: The draped fabric of a canopy softens the acoustics in the room, absorbing echoes and creating a hushed, calming environment.
- Routine Building: Establishing a “books before bed” routine in this specific nook signals to your baby’s brain that sleep is approaching.
- Bonding: It forces you to slow down, disconnect from your phone, and be entirely present in a beautiful, tactile environment with your little one.
Gathering Your Materials & Budget Breakdown
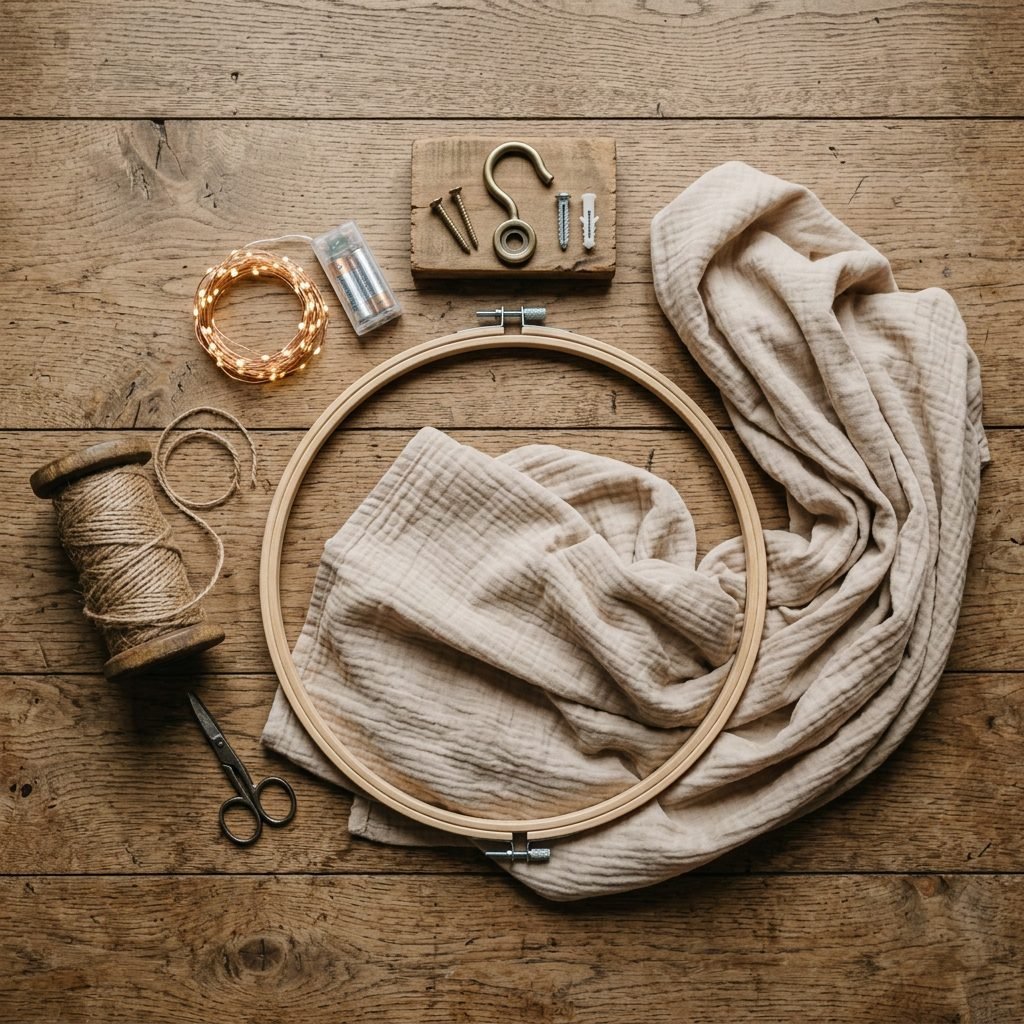
One of the best things about this DIY project is that it is highly customizable to your space and your budget. You don’t need to spend hundreds of dollars on a pre-made boutique canopy. By sourcing your own materials, you can ensure the fabric matches your nursery’s aesthetic perfectly while keeping costs manageable.
Choosing the Right Fabric
When selecting fabric for your canopy, breathability is non-negotiable. You want a fabric that flows beautifully but allows air to circulate freely. My top recommendations are 100% cotton gauze (muslin), lightweight linen, or soft tulle. Avoid heavy velvets or thick polyesters, as they can trap heat and become a suffocation hazard if they ever fall.
The DIY Canopy Shopping List
Here is exactly what you need to create a stunning, safe, and sturdy canopy. I recommend visiting your local craft store or shopping online for these components.
| Material / Item | Purpose & Description | Estimated Cost |
|---|---|---|
| Embroidery Hoop (Large) | Provides the structure at the top. Look for a wooden hoop that is 14 to 23 inches in diameter. | $8 – $15 |
| Fabric (Muslin or Linen) | You will need approximately 4 to 6 yards of fabric, depending on your ceiling height. | $20 – $40 |
| Heavy-Duty Ceiling Hook | Crucial for safety. Must be anchored into a ceiling stud or used with a heavy-duty toggle bolt. | $5 – $10 |
| Sturdy Ribbon or Twine | Used to hang the hoop from the ceiling hook. Needs to support at least 10 pounds. | $3 – $5 |
| Needle & Thread (or Fabric Glue) | For attaching the fabric to the hoop. (No-sew options are available!). | $0 – $5 |
| Fairy Lights (Optional) | Battery-operated, LED string lights. Must be cool to the touch and safely secured out of baby’s reach. | $10 – $15 |
“Doula Tip: If you are dealing with pregnancy aches or a healing postpartum body, skip the sewing machine! You can easily drape and knot the fabric over the hoop, or use a high-quality fabric glue for a beautiful no-sew alternative.”
Step-by-Step: Assembling Your DIY Canopy
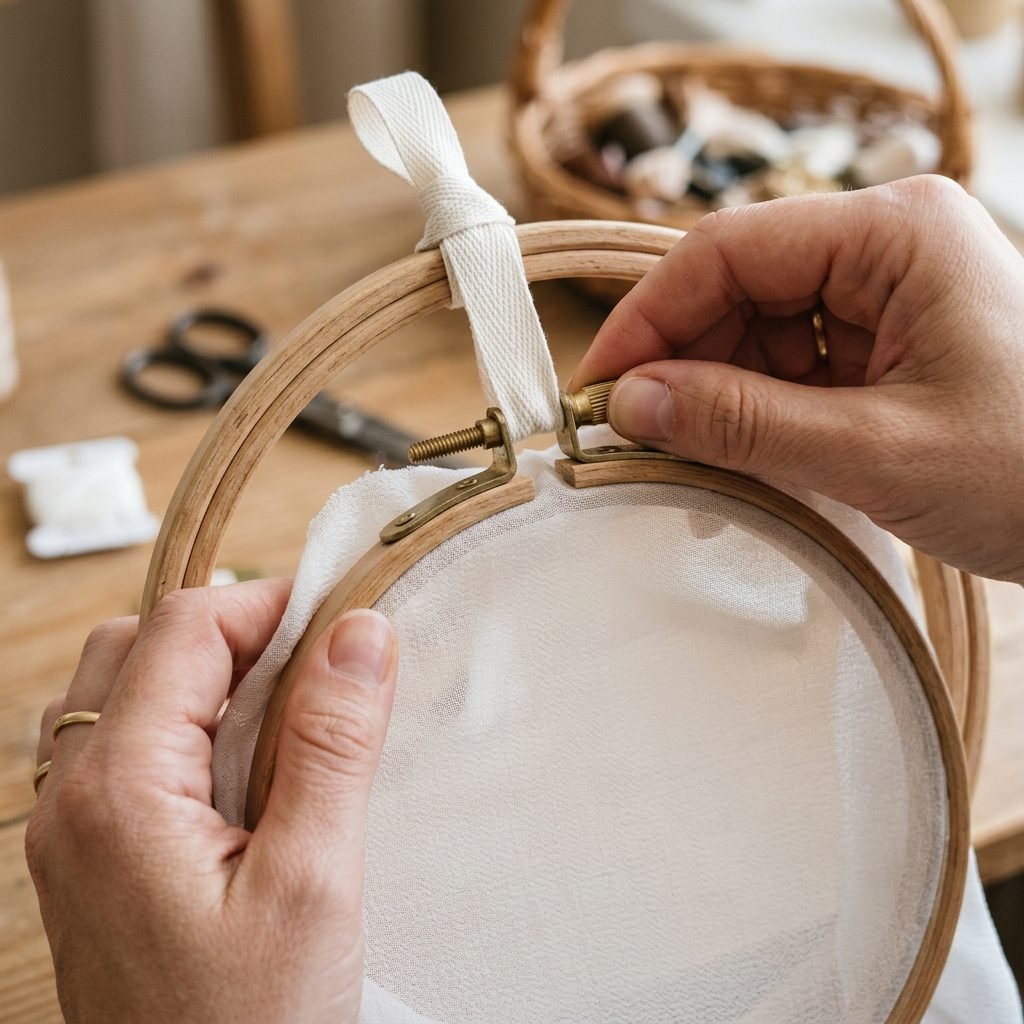
Alright, mama, let’s put this beautiful vision together. This project should take you about an hour or two. If you are heavily pregnant, please enlist your partner, a friend, or a family member to handle the ladder and the ceiling hook installation! Your safety and your baby’s safety come first.
Step 1: Prepare the Fabric
- Measure your space: Measure the distance from your ceiling to the floor. Add an extra 24 inches to this measurement if you want the fabric to pool beautifully on the floor.
- Cut the fabric: Cut your fabric into two equal lengths based on your measurement. These two panels will form the sides of your canopy, leaving an opening at the front.
- Hem the edges (Optional): If you are using a fabric that frays easily, use a sewing machine or iron-on hemming tape to finish the raw edges. If you are using cotton gauze, a raw, fringed edge can actually look beautifully bohemian!
Step 2: Attach the Fabric to the Hoop
- Take your large wooden embroidery hoop and separate the inner and outer rings by loosening the top screw.
- Drape the top edge of your first fabric panel over the inner hoop, folding about 2 to 3 inches of fabric inward.
- Do the same with the second panel, ensuring the two panels meet at the back of the hoop and leave a gap at the front.
- Carefully place the outer hoop over the inner hoop, sandwiching the fabric tightly between them. Tighten the screw as securely as possible.
Step 3: Create the Hanging Mechanism
- Cut two long pieces of sturdy ribbon or twine (about 36 inches each).
- Tie the ribbons in a crisscross “X” pattern across the top of the embroidery hoop, securing them tightly to the wood.
- Gather the ribbons at the center of the “X” and tie them into a strong, reinforced loop. This loop is what will hang on the ceiling hook.
Step 4: Install the Ceiling Hook Safely
- Locate a stud: Using a stud finder, locate a ceiling joist in the corner where you want the nook. This is the safest way to ensure the canopy will not fall if your future toddler gives it a tug.
- Drill and secure: Drill a pilot hole and screw in your heavy-duty ceiling hook. If you absolutely cannot find a stud, you must use a high-weight-capacity toggle bolt anchor designed for ceilings.
- Hang the canopy: Lift the canopy by the ribbon loop and place it securely on the hook. Adjust the fabric so it drapes beautifully around your floor cushion.
Maximizing Small Spaces: Storage Hacks & Book Displays
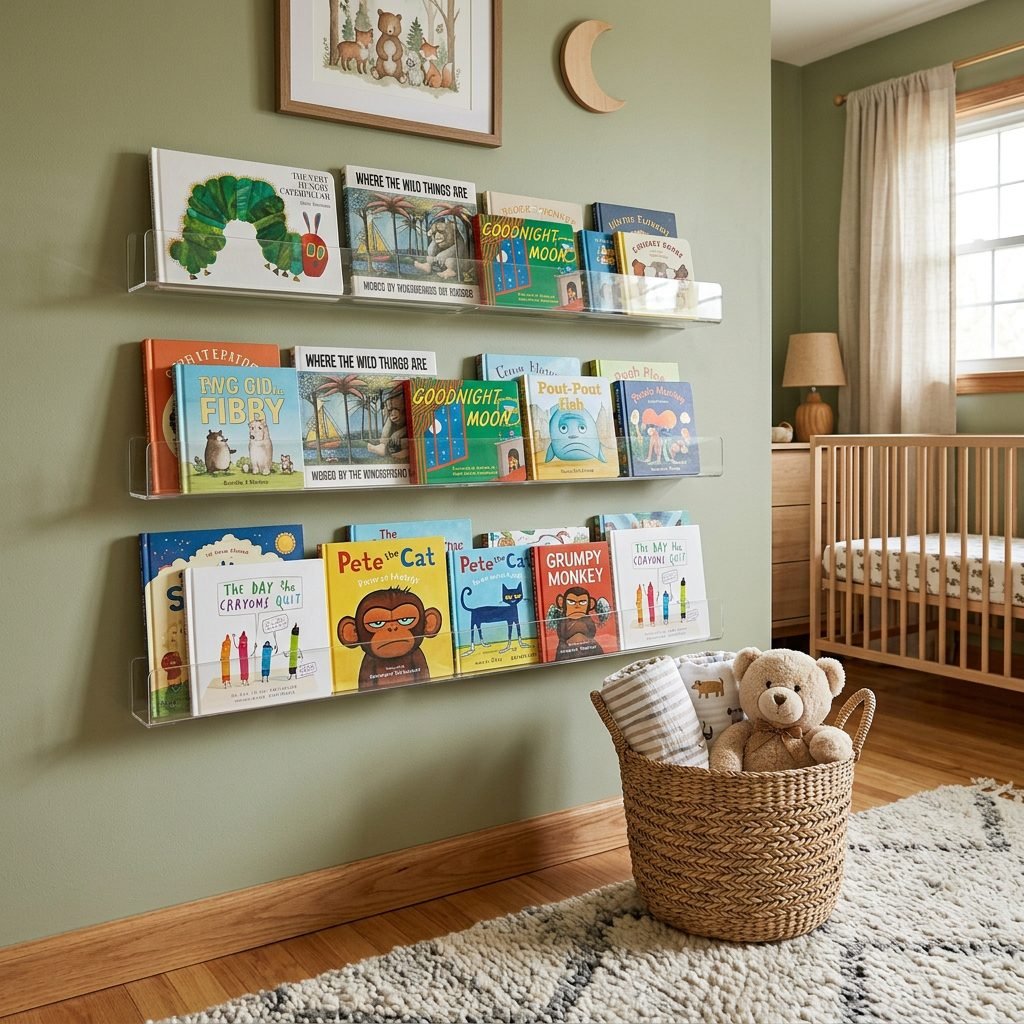
Not every nursery is a sprawling, oversized room, and that is perfectly okay! Some of the most charming nurseries I have seen as a doula and organizer are tiny, cozy closet-conversions or small apartment rooms. A reading nook can actually help make a small room feel intentional and organized.
The Magic of Floating Acrylic Shelves
When floor space is at a premium, you must utilize your vertical wall space. Traditional bulky bookcases can make a small nursery feel cramped. Instead, opt for clear acrylic floating ledges. These are a nursery design game-changer.
- Forward-Facing Books: Acrylic ledges allow you to display books facing forward. For babies and toddlers, seeing the colorful covers (rather than just the spines) is highly engaging and encourages them to reach for books independently—a core principle of Montessori design.
- Visual Lightness: Because the shelves are transparent, they don’t add visual weight to the room, making the space feel larger and airier.
- Safety First: Ensure these shelves are mounted securely into wall studs, and never place them directly over the crib. In the reading nook, mount them low enough that a seated adult can reach them easily, but high enough that a crawling infant cannot pull up on them.
Smart Storage Solutions for the Nook
To keep your reading nook from becoming a cluttered corner, implement these small-space storage hacks:
| Storage Hack | How to Implement | Best For |
|---|---|---|
| Woven Belly Baskets | Place a soft, flexible woven basket next to the floor cushion. Toss in extra blankets, soft toys, or oversized board books. | Quick clean-ups and adding natural texture to the room. |
| Rolling Storage Carts | Use a 3-tier rolling cart (like the IKEA Raskog) tucked just outside the canopy. Fill it with books, burp cloths, and a water bottle for mom. | Moms who need a mobile feeding/reading station that can move around the room. |
| Wall-Mounted Baskets | Hang flat-backed wire or wicker baskets on the wall beneath the floating shelves to hold smaller board books and sensory toys. | Maximizing vertical space without taking up any floor footprint. |
“Organization Hack: Rotate your baby’s books! Keep only 10-15 books on display in the nook at a time, and store the rest in a closet bin. Rotating them every few weeks keeps your baby engaged and prevents the nook from overflowing.”
Styling & Sensory Details for a Calming Vibe
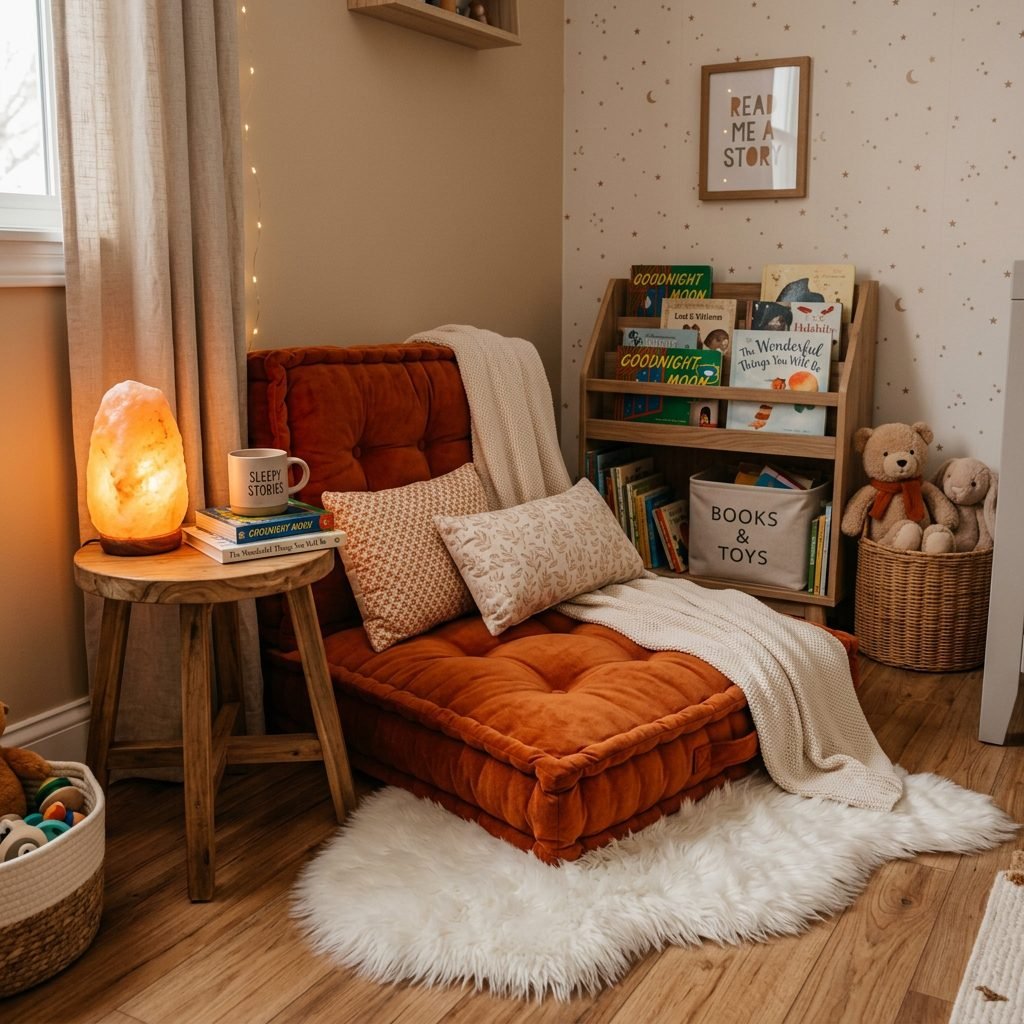
Now that the structure is up and the books are organized, it is time for the fun part: styling! The goal here is to create a sensory-rich environment that is calming, not overstimulating. As a pediatric sleep consultant, I cannot stress enough how much the environment impacts your baby’s nervous system, especially right before a nap or bedtime.
Grounding the Space with Cushions and Rugs
The foundation of your reading nook needs to be comfortable for both you and your baby. A plush, oversized floor cushion (like a French mattress cushion or a large circular play mat) is ideal.
- Washability is Key: Babies spit up. Diapers leak. Ensure that whatever cushion you choose has a removable, machine-washable cover.
- Layering Textures: Layer a faux sheepskin rug or a soft, washable cotton rug under the cushion. This provides tactile stimulation for your baby during tummy time and adds a rich, cozy aesthetic to the room.
Lighting: The Secret to Sleepy Time Reading
Lighting is arguably the most critical element of your reading nook. Bright, overhead white lighting suppresses melatonin production, which is the exact opposite of what you want when reading a bedtime story.
If you are adding fairy lights to your canopy or a small lamp to the nook, always opt for warm, amber-toned bulbs. Amber and red-toned lights do not interfere with your baby’s circadian rhythm.
| Lighting Type | Impact on Baby’s Sleep | Recommendation |
|---|---|---|
| Blue/Cool White Light (LEDs, Screens) | Suppresses melatonin, signals the brain to wake up. | Avoid in the nursery, especially in the evening. |
| Warm White (Standard Bulbs) | Neutral, but can still be too bright for nighttime feeds. | Use on a dimmer switch for daytime reading. |
| Amber/Red Light (Salt Lamps, Warm Fairy Lights) | Promotes natural melatonin production, keeps baby sleepy. | Highly Recommended for the reading nook and night wakings. |
Sensory Additions for the First Year
To make the nook engaging for a young baby, consider hanging high-contrast black-and-white art cards on the wall at their eye level when they are doing tummy time on the cushion. You can also hang a small, soft mobile inside the top of the canopy (safely out of reach) for them to gaze at while you read aloud.
Nursery Safety: Crucial Guidelines for Your Canopy Nook
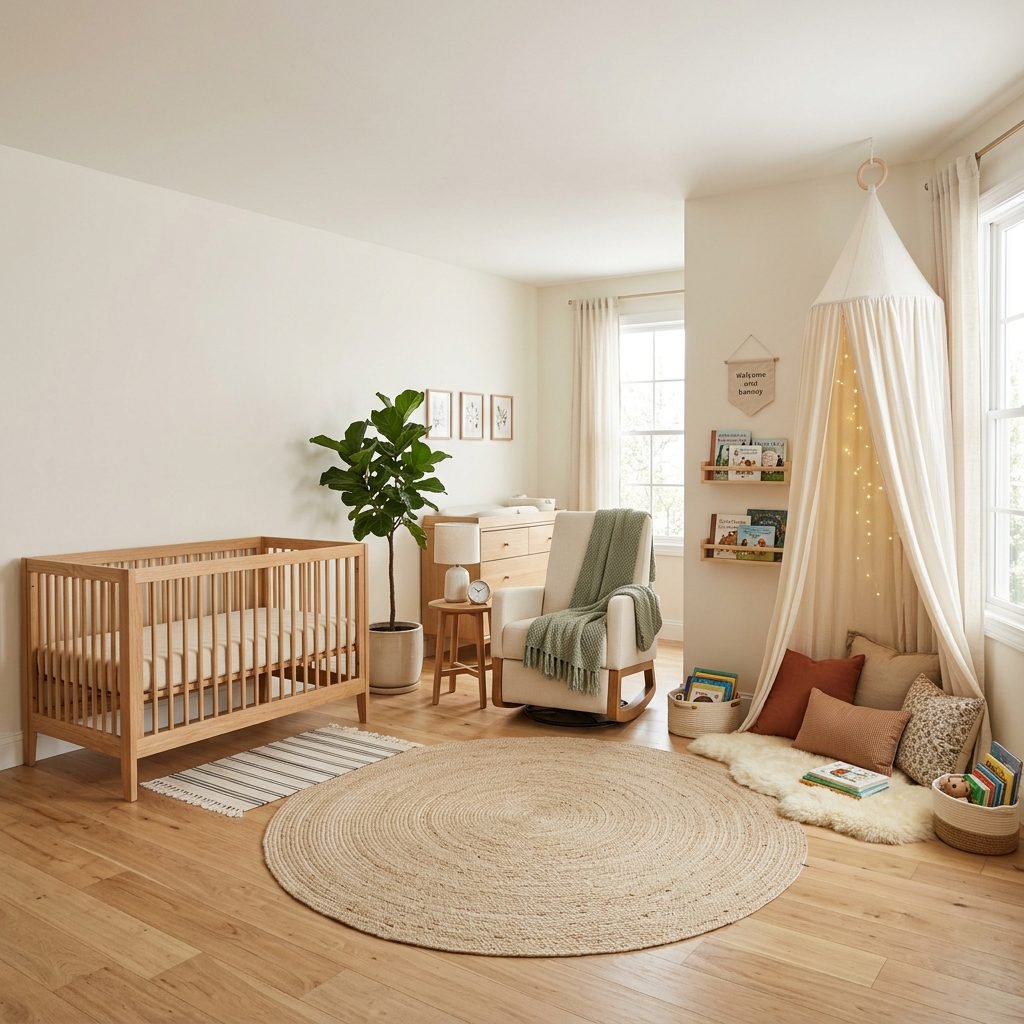
As a doula and maternal care expert, I want to wrap you in a big, warm hug, but I also need to put on my safety hat. Creating a beautiful space is wonderful, but creating a safe space is paramount. Canopies and long fabrics introduce potential hazards into a baby’s room if not managed correctly.
The Golden Rules of Canopy Safety
- Never Place the Canopy Over the Crib: This is a strict safety guideline. Long fabrics, strings, and ribbons pose a severe strangulation and suffocation hazard if they fall into a baby’s crib. The reading nook must be entirely separate from the sleep space.
- Secure Everything to a Stud: As mentioned in the assembly steps, the ceiling hook must be anchored into a wood stud. Toddlers are notorious for pulling on hanging fabrics; a hook secured only in drywall will easily pull out and fall on your child.
- Cord Safety: If you are using fairy lights, ensure the battery pack is screwed shut and hidden away. Never use plug-in lights with long cords that trail across the floor, as these are strangulation hazards.
- Transitioning as Baby Grows: When your baby becomes a mobile, pulling-up toddler (around 9-12 months), you may need to temporarily tie the canopy fabric back or raise it higher so they cannot wrap themselves in it while unsupervised.
“Safety Reminder: Your baby’s nursery should evolve with them. What is safe for a non-mobile newborn may need adjusting for a curious toddler. Always view the room from their eye level to spot potential hazards.”
Conclusion
Creating a dreamy DIY canopy reading nook is so much more than just a home decor project. It is an act of love. It is carving out a physical space in your home dedicated to connection, learning, and quiet comfort. As you sit in this cozy corner, nursing your baby, reading Goodnight Moon for the hundredth time, or simply resting your eyes while they sleep safely in their crib across the room, you will be so grateful for the effort you put into this space.
Remember, mama, perfection is not the goal here. If the fabric is a little crooked, or if the books aren’t perfectly color-coordinated, your baby will not care. What they will remember—what their nervous system will absorb—is the warmth of your voice, the safety of your arms, and the gentle, loving environment you have created for them.
Take a deep breath, trust your nesting instincts, and enjoy building this magical little sanctuary. You are doing an incredible job, and your baby is so lucky to have you.