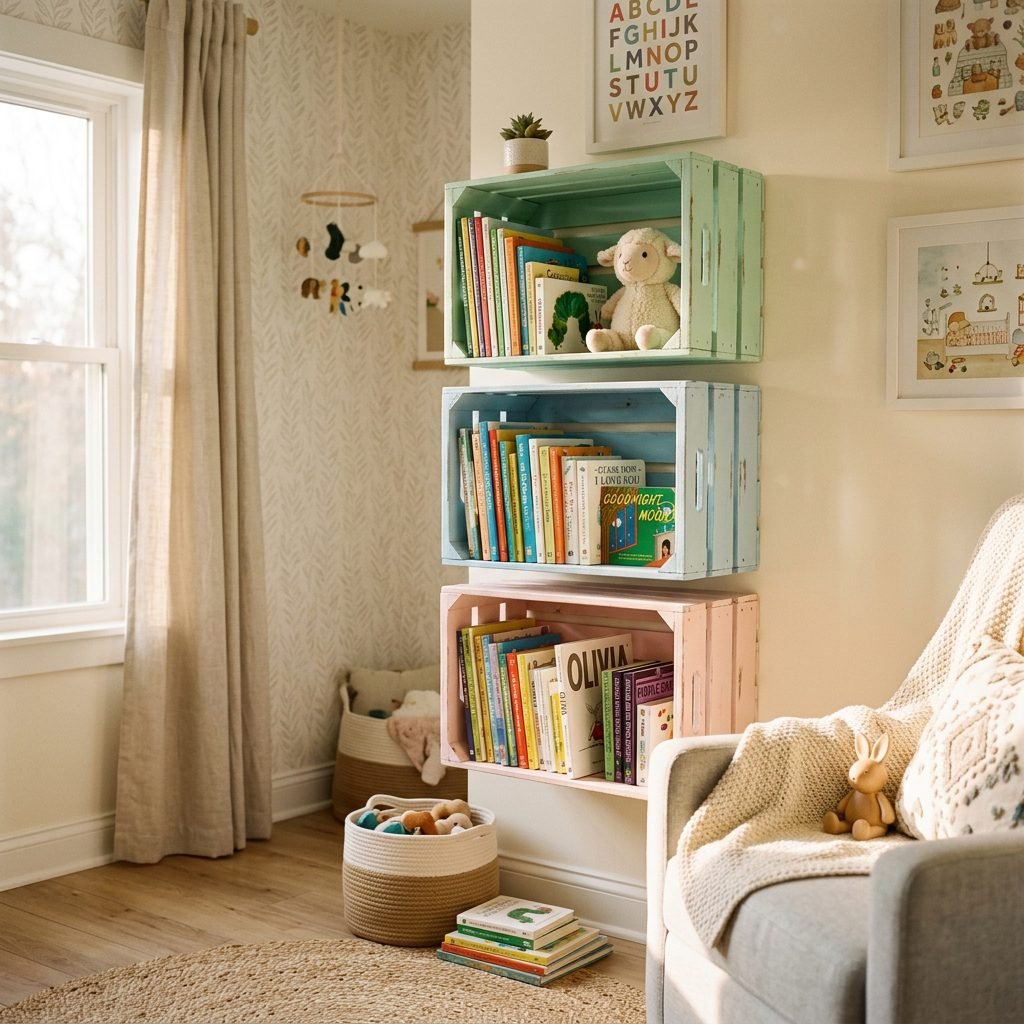
How to Turn Cheap Wooden Crates Into Whimsical Nursery Wall Bookshelves
Hello there, sweet mama! There is something truly magical about the nesting phase, isn’t there? That sudden, overwhelming urge to scrub every baseboard and curate the perfect, cozy corner for your little one to grow. As a doula and a fellow mom, I know that creating a beautiful nursery doesn’t have to mean spending a fortune at high-end boutiques. In fact, some of the most soul-stirring spaces are those we build with our own two hands, filled with love and a bit of creative elbow grease.
Today, we are going to talk about one of my favorite nursery hacks: turning humble, cheap wooden crates into whimsical wall bookshelves. Not only do these provide much-needed storage for all those precious board books, but they also add a rustic, three-dimensional charm that flat shelves simply can’t match. Whether you are prepping for your first baby or reorganizing for a toddler, this project is a beautiful way to channel that nesting energy into something functional and stunning. Let’s roll up our sleeves and create a reading nook that will spark your child’s imagination for years to come.
Gathering Your Supplies: The Budget-Friendly Toolkit
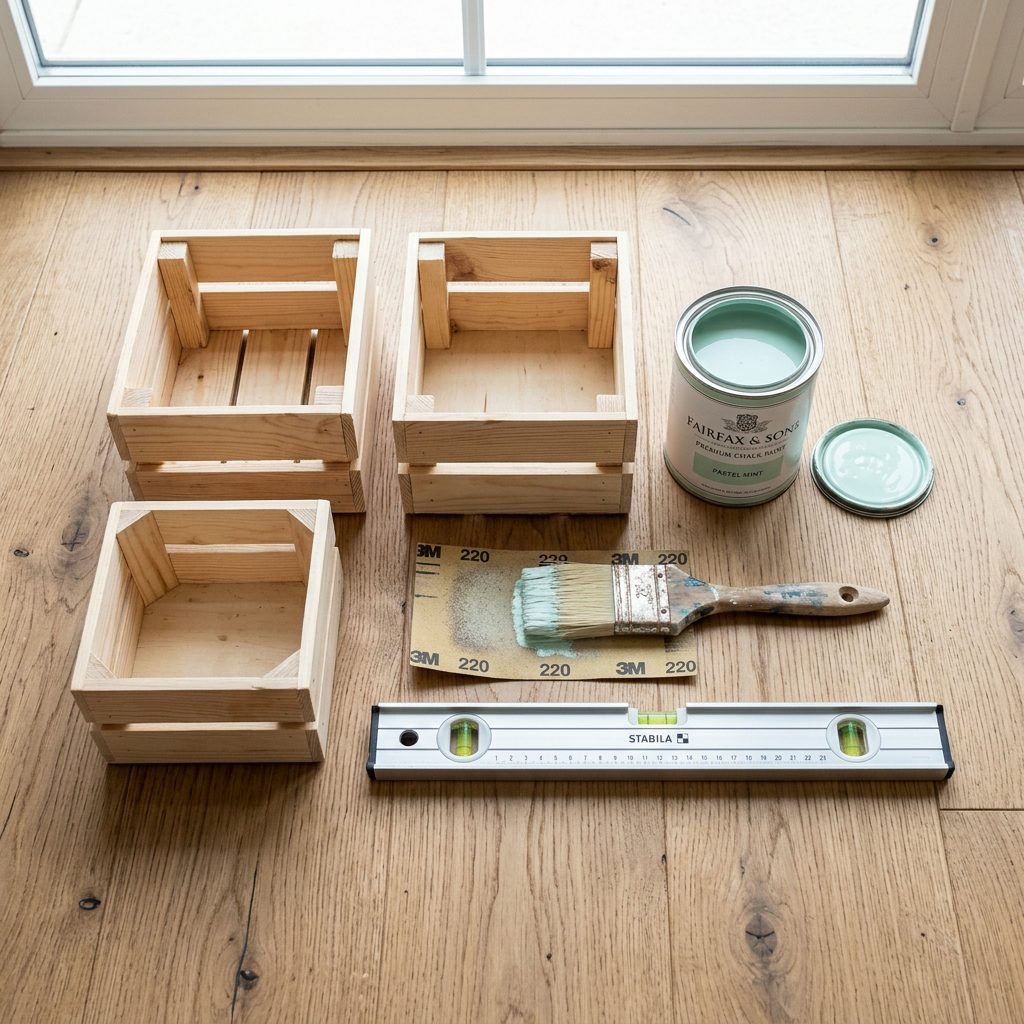
Before we dive into the sawdust and paint, let’s make sure your workstation is ready. One of the best things about this project is that it is incredibly affordable. You can often find these crates at big-box craft stores or even local apple orchards if you’re looking for a more authentic, weathered vibe. However, for a nursery, I always recommend new, unfinished pine crates to ensure there are no hidden pests or chemical residues from old shipping materials.
Here is exactly what you will need to get started on your whimsical bookshelf journey:
| Item | Purpose | Estimated Cost |
|---|---|---|
| Unfinished Wooden Crates | The base of your shelves (set of 3) | $30.00 – $45.00 |
| Fine-Grit Sandpaper (220 grit) | Smoothing out splinters for tiny hands | $5.00 |
| Non-Toxic, Zero-VOC Paint | Adding whimsical color safely | $15.00 – $25.00 |
| Wall Anchors & Screws | Securing shelves to the wall safely | $8.00 |
| Level & Power Drill | Ensuring straight, sturdy installation | (Owned or Borrowed) |
Pro Tip: When choosing your paint, look for labels that specify ‘Zero-VOC’ or ‘Baby-Safe.’ Since your little one will eventually be reaching for books and potentially even gumming the edges of these shelves once they start pulling themselves up, safety is our top priority!
Step 1: The Safety Sanding Session
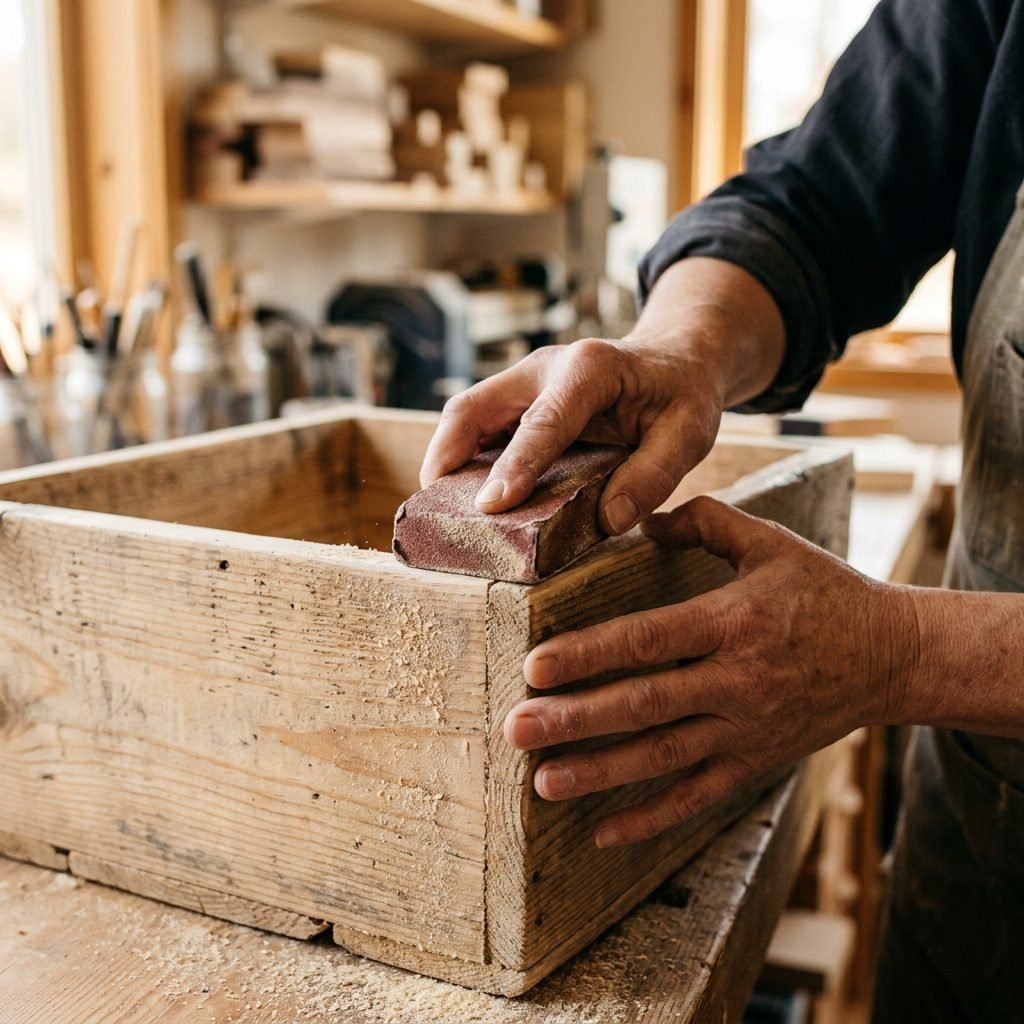
I know, I know—sanding isn’t the most ‘whimsical’ part of the process, but as your doula-friend, I have to insist on this step! Raw wooden crates are notorious for having rough edges and dangerous splinters. We want this nursery to be a soft landing for your baby, so we must ensure every surface is smooth to the touch.
- Inspect the Crate: Run your hand (carefully!) over the slats. Identify any large staples or knots that might be protruding.
- Sand the Exterior: Using your 220-grit sandpaper, sand along the grain of the wood. Focus heavily on the corners and the edges of the slats where little fingers are most likely to grip.
- Don’t Forget the Inside: Since books will be sliding in and out, the interior needs to be just as smooth as the exterior to prevent scratching the book covers or your hands.
- Wipe it Down: Use a slightly damp ‘tack cloth’ or a microfiber rag to remove every last bit of sawdust. If you paint over dust, the finish will be gritty and prone to peeling.
Remember, Mama: The time you spend sanding now is a direct investment in your baby’s future safety. Take it slow, put on a soothing podcast, and enjoy the rhythm of the work.
Step 2: Infusing Whimsy with Color and Pattern

This is where your personality—and the ‘soul’ of the nursery—comes to life! When we talk about whimsical design, we are looking for colors that evoke a sense of wonder. Think dusty roses, sage greens, buttery yellows, or even a classic ‘cloud white’ with a pop of color on the inside back panel.
Creative Painting Techniques
- The Two-Tone Look: Paint the outside of the crate a neutral white and the inside back panel a soft pastel. This creates a ‘shadow box’ effect that makes the books pop.
- Distressed Chic: If you love the farmhouse look, apply a thin coat of paint and lightly sand the edges once dry to give it a lived-in, heirloom feel.
- Stencil Magic: Use a small stencil to add tiny stars, hearts, or woodland creatures to the side panels. It’s those little details that make it feel custom-made for your babe.
A Note on Drying: Patience is a virtue, especially in the third trimester! Ensure the paint is fully cured (usually 24 to 48 hours) before you even think about mounting them. You don’t want the paint to stick to your walls or your beautiful books.
Step 3: Secure Installation (The ‘No-Wobble’ Guarantee)
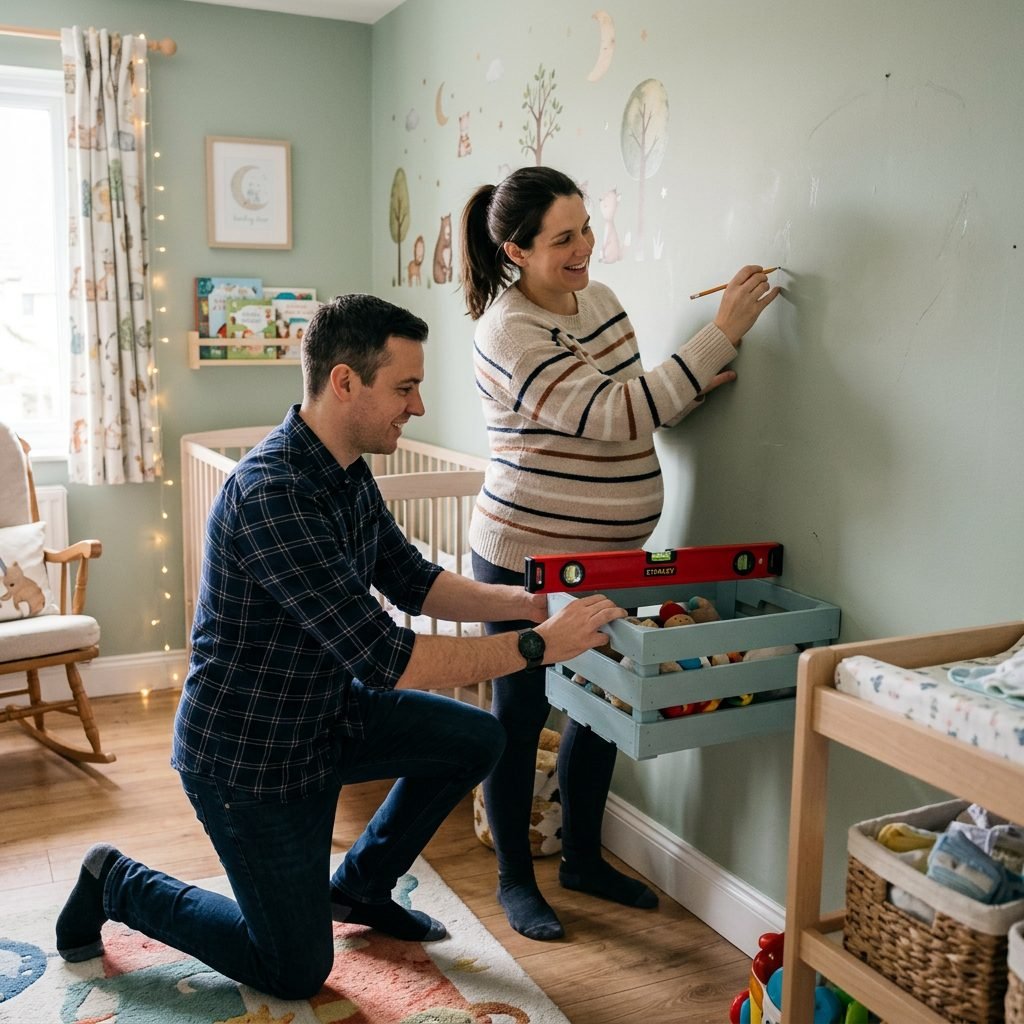
Safety is the cornerstone of nursery design. As your baby grows into a curious toddler, they will try to pull themselves up using these shelves. Therefore, we cannot simply hang these on a nail like a picture frame. They must be anchored to the wall studs or secured with heavy-duty drywall anchors.
How to Mount Your Crate Shelves:
- Find the Studs: Use a stud finder to locate the wooden beams behind your drywall. If you can’t align your crates with studs, you must use toggle bolts or heavy-duty anchors rated for at least 50 lbs.
- Leveling: Hold the crate against the wall at your desired height. Place your level on the top slat. Mark your screw holes through the back slats of the crate.
- Drilling: Drill pilot holes into the wall and the crate. This prevents the wood from splitting.
- Securing: Drive your screws through the thickest part of the crate’s back frame into the wall. Give it a firm ‘tug test.’ If it wiggles, it isn’t safe yet!
Spacing Tip: Stagger the crates at different heights to create a visual ‘staircase’ effect. This makes the wall look more dynamic and allows you to place taller books in the crates with more clearance above them.
Step 4: Curating and Styling Your Whimsical Library
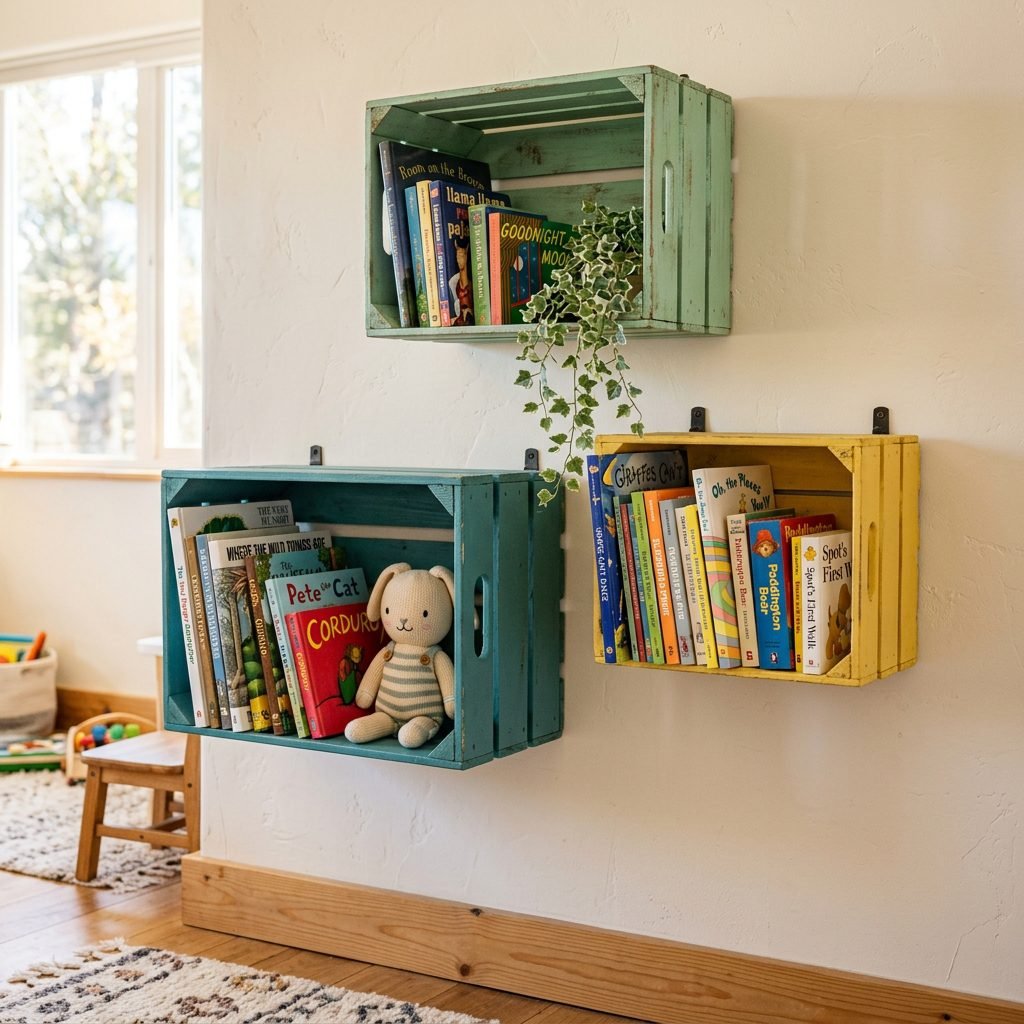
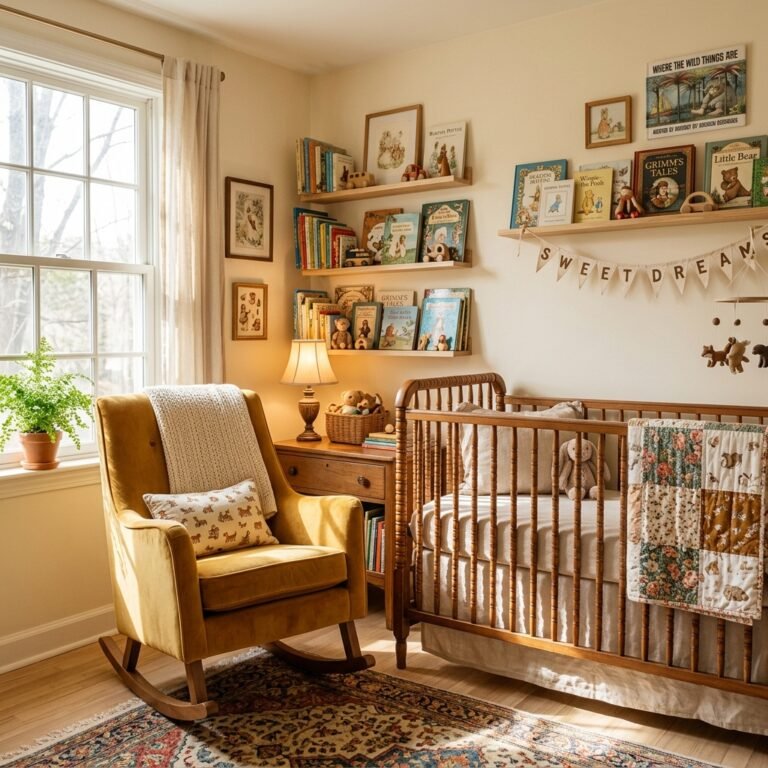
Now for the best part—filling those shelves! A nursery library is more than just storage; it’s a sensory experience for your baby. By turning the crates sideways (opening facing out), you create deep shelves that can hold a surprising number of treasures.
| Styling Element | Why It Works |
|---|---|
| Front-Facing Books | Visual stimulation; babies recognize covers before titles. |
| Small Plushies | Adds texture and breaks up the ‘heaviness’ of books. |
| Trailing Greenery | (Faux) plants add a touch of nature and ‘whimsy.’ |
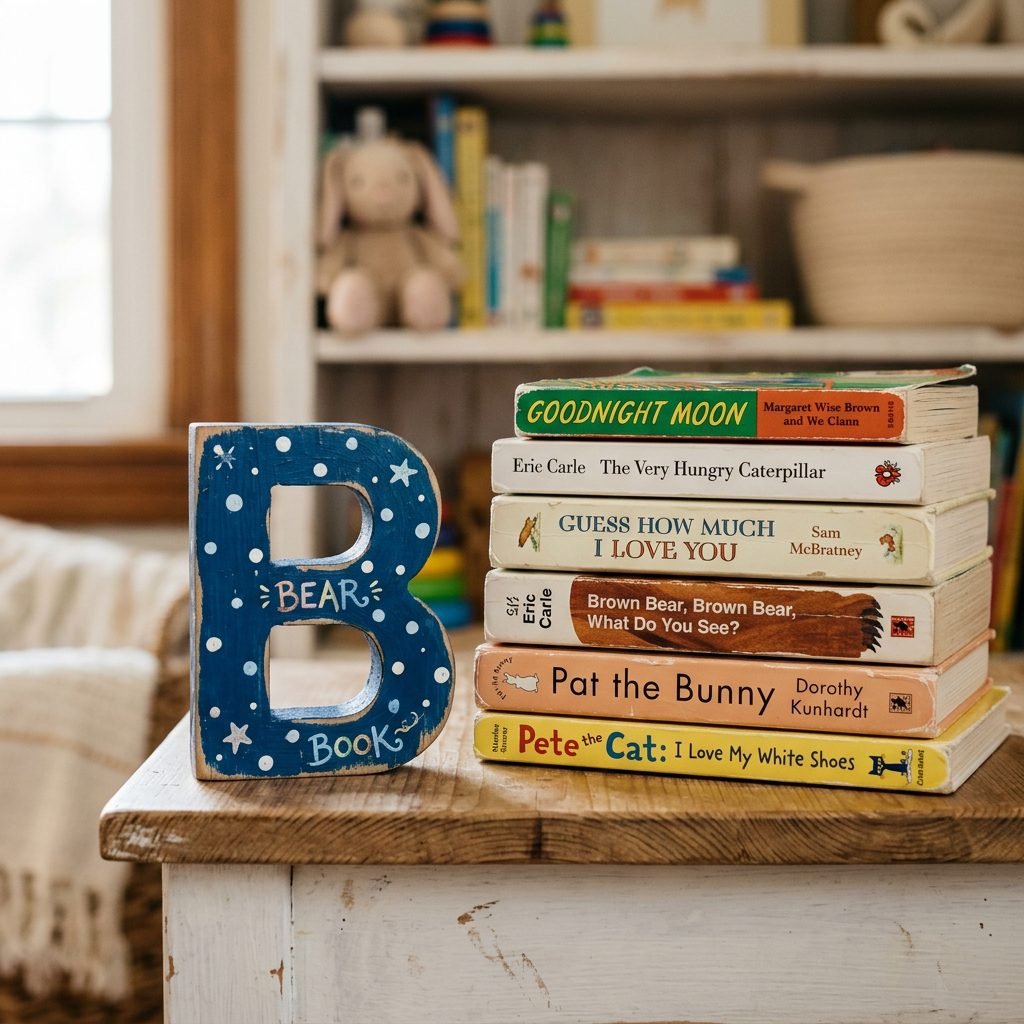
| Wooden Blocks | Displays your child’s name or birth date for a personal touch. |
Don’t overstuff the crates. Leave a little ‘breathing room’ so you can easily grab a book during those late-night nursing sessions or bedtime routines. Arrange the books by color for a rainbow effect, or by size for a more structured look. Whatever you choose, make sure the most durable board books are on the bottom shelves where your little one will eventually be able to reach them safely.
Nesting Checklist & Maintenance
Once your shelves are up, you might feel that rush of accomplishment! But as a doula, I want to make sure you stay comfortable. Don’t do all the heavy lifting or climbing yourself—delegate the actual mounting to a partner or friend while you act as the ‘Creative Director.’
Ongoing Care:
- Dusting: Use a soft cloth once a week to keep the shelves clean. Nursery air can get surprisingly dusty!
- Safety Checks: Every few months, give the crates a quick ‘tug’ to ensure the wall anchors haven’t loosened over time.
- Rotation: Every season, rotate the books. Keep the ‘winter’ stories higher up during summer to keep the reachable selection fresh and exciting for your child.
Conclusion
There you have it, Mama! You’ve turned simple, budget-friendly crates into a whimsical sanctuary for stories and snuggles. This project is such a beautiful reflection of motherhood: taking something raw and unfinished, and with a little patience, care, and love, turning it into something beautiful and supportive. Every time you pull a book from these shelves to read to your little one, you’ll be reminded of the love you poured into their room before they even arrived. Enjoy these quiet moments of preparation—you are doing a wonderful job building a home for your baby’s heart and mind. Happy nesting!