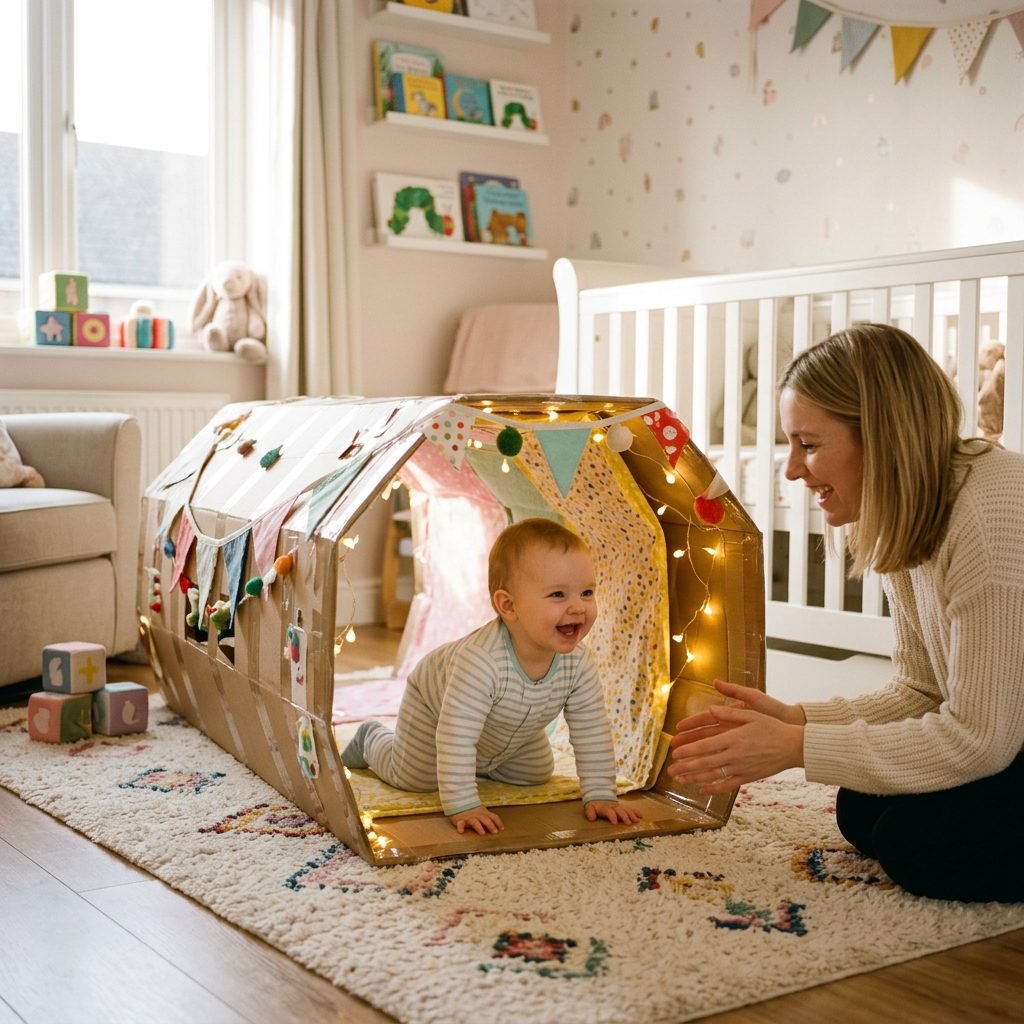
How to Make a DIY Cardboard Box Crawling Tunnel to Encourage Motor Skills
Welcome to the Magic of Movement, Mama!
There is nothing quite like the moment your little one discovers they have the power to move. Whether it is a determined army crawl, a rhythmic rocking on hands and knees, or that first full-speed dash across the living room rug, these movements are the building blocks of their physical and cognitive world. As a doula and a mama myself, I know that we are always looking for ways to support our babies’ growth without cluttering our homes with expensive plastic gadgets. That is where the humble cardboard box comes in! It is the ultimate open-ended toy, a blank canvas for imagination, and a surprisingly effective tool for gross motor development.
Building a DIY cardboard crawling tunnel is more than just a craft project; it is an act of love that invites your baby to explore their spatial awareness, strengthen their core, and practice the cross-lateral movements that are so vital for brain development. In this guide, we are going to walk through how to create a safe, sensory-rich, and stylish tunnel that will keep your explorer engaged for hours. We will look at why crawling is such a milestone, what materials you actually need (hint: you probably have them in your recycling bin), and how to make it a beautiful addition to your nursery or playroom. Let’s roll up our sleeves and create some magic!
The Science of the Scurry: Why Crawling and Tunnels Matter
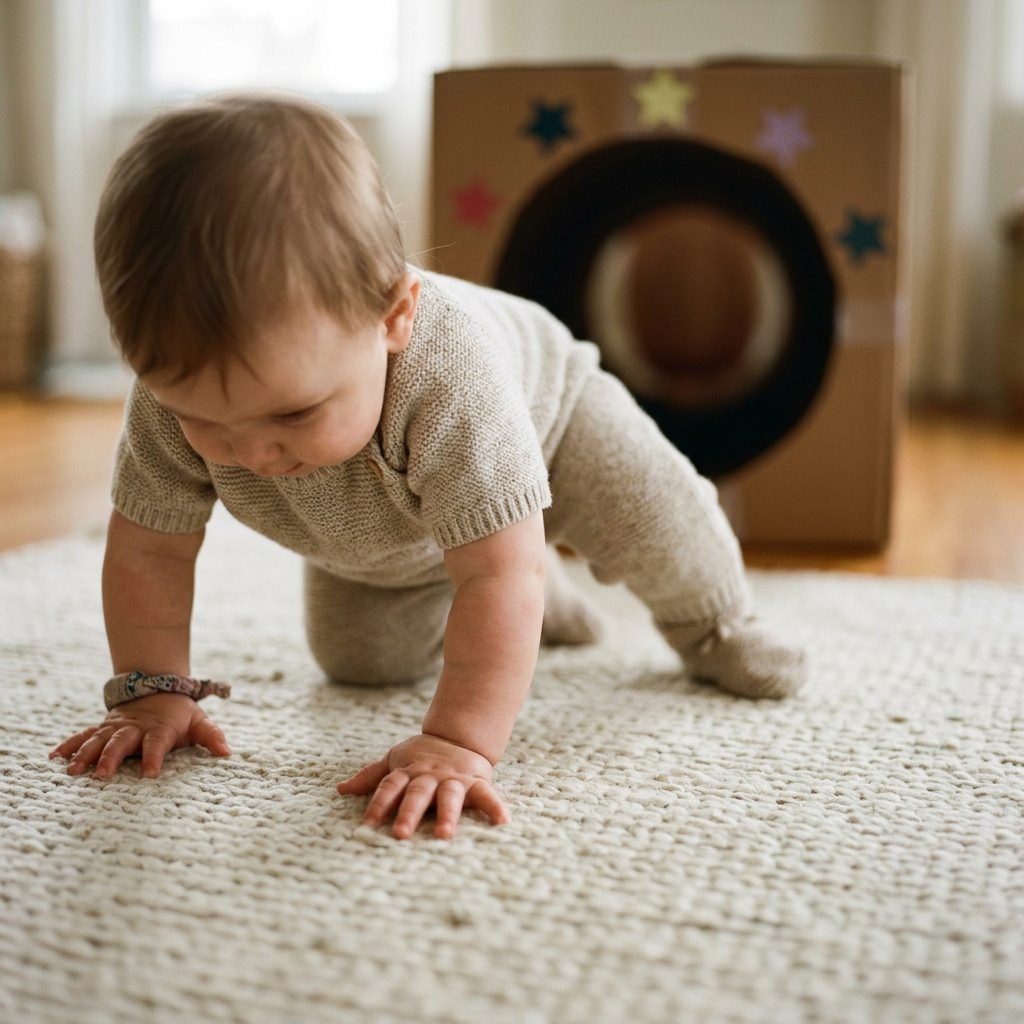
Building Brains and Bodies Through Play
Before we get into the ‘how-to,’ let’s talk about the ‘why.’ Crawling is one of the most significant milestones in the first year of life. It isn’t just about getting from point A to point B; it is about bilateral coordination. This means using both sides of the brain and body together. When your baby moves their right arm and left leg simultaneously, they are strengthening the corpus callosum—the bridge between the two hemispheres of the brain. This foundation is essential for later skills like reading, writing, and even tying shoelaces!
The Physical Benefits of Tunnel Play
- Spatial Awareness: Navigating a confined space helps babies understand where their body is in relation to objects.
- Proprioception: The weight-bearing nature of crawling provides deep pressure input to the joints, which is calming and organizing for the nervous system.
- Visual Tracking: Looking through the tunnel toward a toy or a parent’s face helps develop the ability to focus and track movement.
- Core Strength: Staying on all fours and navigating turns builds the abdominal and back muscles needed for eventual walking.
| Developmental Skill | How the Tunnel Helps |
|---|---|
| Cross-Lateral Movement | Encourages the rhythmic use of opposite limbs. |
| Depth Perception | Helps baby judge the distance from one end to the other. |
| Problem Solving | Baby learns how to navigate around turns or obstacles inside. |
| Confidence | Successfully reaching the end provides a massive sense of achievement. |
Mama, remember that every baby moves at their own pace. Some crawl at 6 months, others at 10 months. This tunnel is a low-pressure way to make movement feel like a fun adventure rather than a chore!
Gathering Your Supplies: The Eco-Friendly & Budget-Friendly Kit
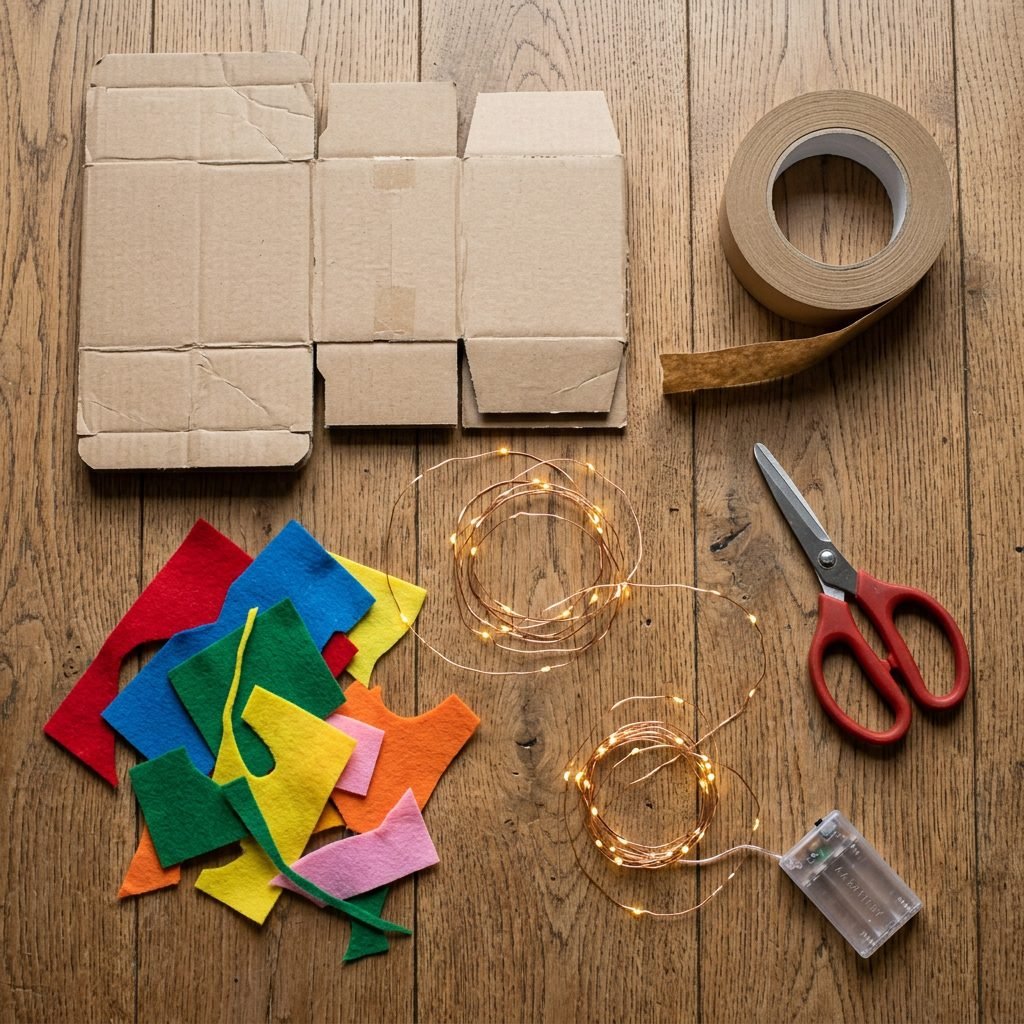
Everything You Need for Your DIY Masterpiece
One of the best things about this project is that it is incredibly sustainable. Instead of buying a nylon tunnel that might rip or end up in a landfill, we are upcycling materials you likely already have from your latest nursery furniture delivery or diaper subscription. We want to ensure everything is non-toxic and baby-safe, especially since we know those little mouths love to explore textures.
The Essential Materials List
| Material | Purpose | Estimated Cost |
|---|---|---|
| 3-4 Large Cardboard Boxes | The main structure of the tunnel. | $0 (Upcycled) |
| Heavy-Duty Packing Tape | To secure the boxes together firmly. | $5.00 |
| Box Cutter or Utility Knife | For cutting out the ends and windows. | $8.00 |
| Non-Toxic Glue/Tape | For attaching decorations. | $4.00 |
| Old Blankets or Yoga Mats | To line the bottom for comfort. | $0 (Household item) |
| Sensory Add-ons (Felt, Ribbons) | To create tactile interest inside. | $10.00 |
Pro-Tip: Try to find boxes that are roughly the same size to make the transitions smoother. If you have boxes of different sizes, use the largest one as the ‘hub’ in the middle! Always ensure the boxes are clean and free of any staples or sharp plastic shipping straps.
Step-by-Step Construction: Building the Ultimate Tunnel
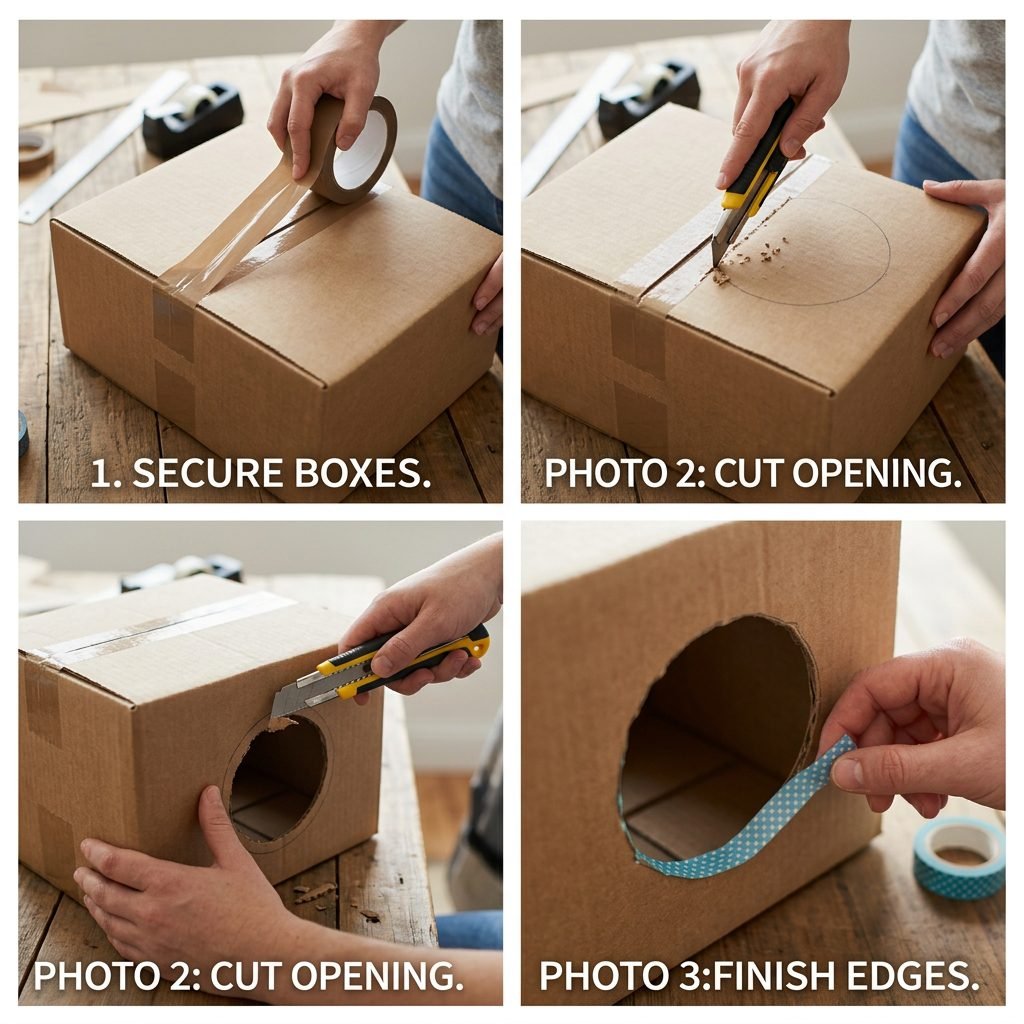
Let’s Get Building!
Now that you have your supplies, it is time to assemble. Follow these steps to ensure a sturdy and safe structure for your little explorer. We want to make sure the tunnel doesn’t collapse or shift while they are mid-scurry!
- Prepare the Boxes: Open the top and bottom flaps of all your boxes. If you want a straight tunnel, you will be removing these flaps or taping them back. For a longer tunnel, leave the flaps on and overlap them with the next box for extra stability.
- Cut the Openings: Use your box cutter to remove the ends of each box. Make sure the edges are smooth. Safety Warning: Always do the cutting away from your baby and check for any cardboard splinters.
- Connect the Sections: Line up your boxes. Slide the end of one box slightly into the next if possible, or butt them up against each other. Use your heavy-duty packing tape to go around the entire seam at least three times. You want this connection to be very secure.
- Reinforce the Base: Tape the bottom seams on the inside and outside. If the cardboard feels thin, you can tape an extra layer of flat cardboard to the floor of the tunnel to prevent it from sagging.
- Create Windows: Cut out small ‘portholes’ or windows on the sides. This prevents the tunnel from feeling too dark or scary and allows you to play peek-a-boo with your baby while they are inside.
- Smooth the Edges: Run a strip of tape over every cut edge of cardboard. This prevents paper cuts on delicate baby skin and makes the tunnel look much more finished and professional.
Affirmation: I am creating a space where my child feels safe to take risks and explore their strength. I am their first and best teacher.
Sensory Upgrades: Turning a Box into a Discovery Zone
Engaging All the Senses
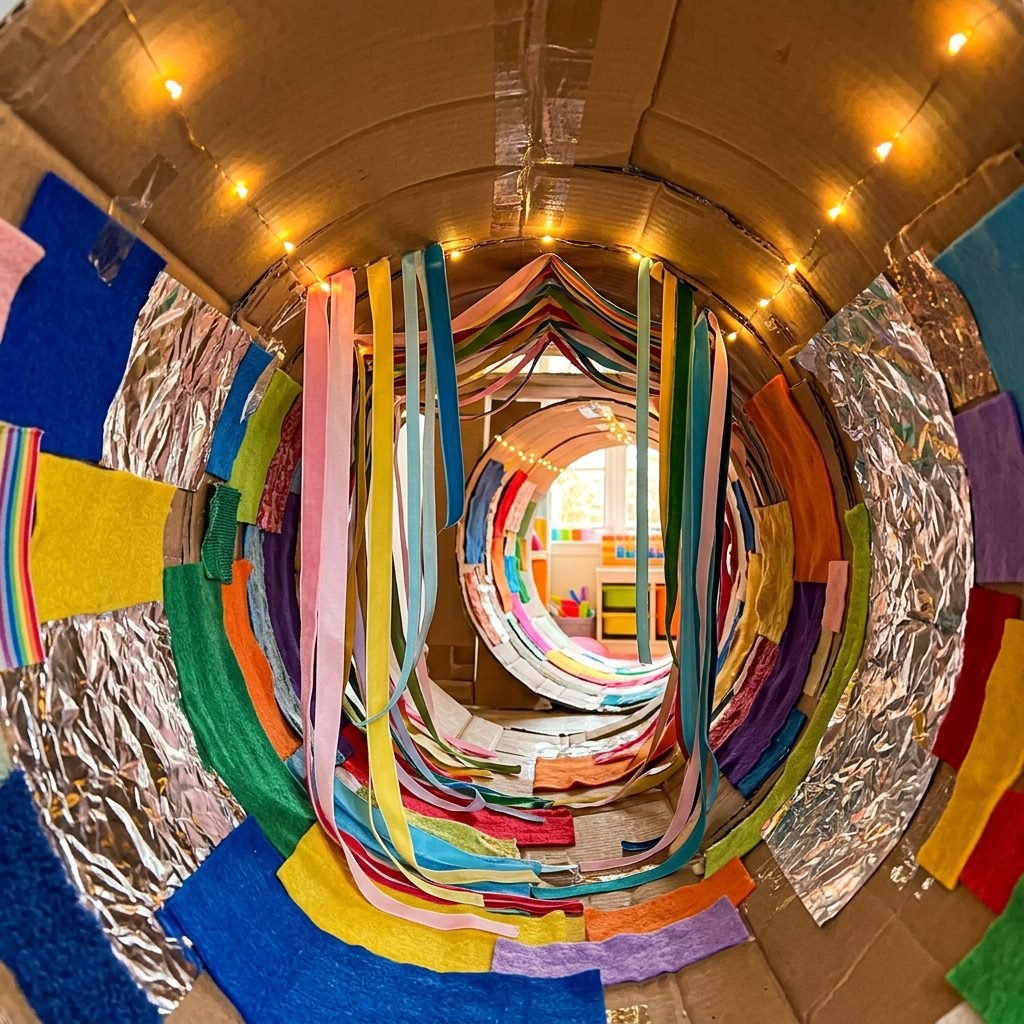
A plain box is fun, but a sensory tunnel is a magical world! As a doula, I love incorporating sensory play because it helps with ‘sensory integration’—the way the brain processes information from the world. Let’s make the inside of the tunnel as interesting as the outside.
Tactile Textures
Line the walls of the tunnel with different fabrics. You can use strong non-toxic adhesive to attach:
- Bumpy bubble wrap (securely covered so it can’t be chewed).
- Soft faux fur or fleece.
- Scratchy burlap or felt.
- Silky ribbons hanging from the ‘ceiling’ of the tunnel for the baby to crawl through.
Visual Stimulation
Since the inside can be a bit dark, let’s brighten it up! You can tape high-contrast (black and white) cards to the walls for younger babies, or string battery-operated fairy lights along the top. Important: Ensure the battery pack is taped securely to the outside of the box where the baby cannot reach it, and ensure no wires are hanging low enough to become a tangle hazard.
Auditory Fun
Tape some crinkly paper or parchment paper to one section of the floor. When your baby crawls over it, they will be rewarded with a delightful ‘crunch’ sound, teaching them cause and effect. You can also hang a few plastic measuring spoons from the top that clink together as they pass.
Safety First: A Doula’s Guide to Playtime Security
Keeping the Adventure Safe
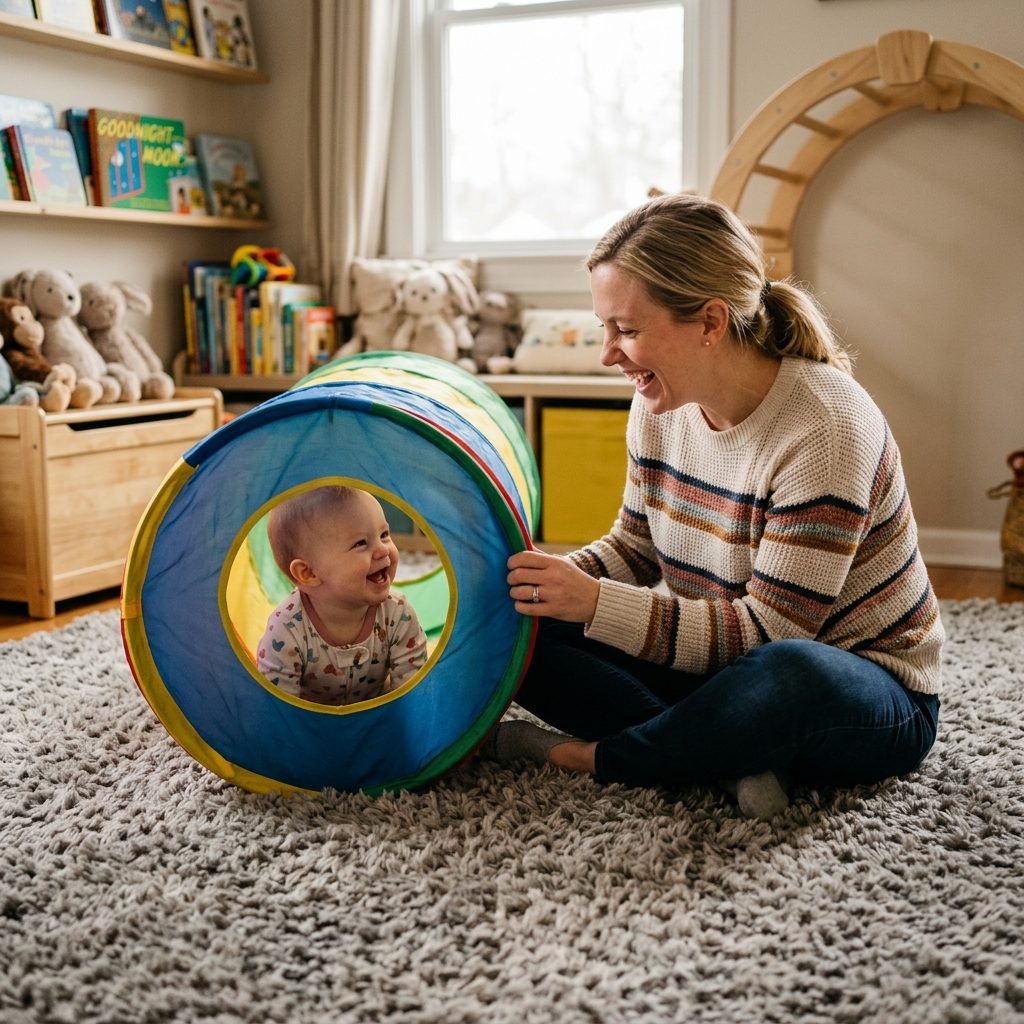
As much as we love DIY projects, safety is our number one priority. Because cardboard is lightweight, there are a few things we need to keep in mind to ensure the tunnel remains a safe haven for your little one. Always supervise play and follow these guidelines.
| Potential Hazard | Safety Solution |
|---|---|
| Tunnel Shifting | Place the tunnel on a rug or use non-slip pads on the bottom. |
| Sharp Edges | Double-tape all cut edges with duct tape or washi tape. |
| Lack of Airflow | Ensure you have cut at least 2-3 windows in the sides. |
| Small Parts | Ensure all sensory items (buttons, ribbons) are glued and taped down firmly. |
| Collapse | Check the structural integrity daily, especially if the baby leans on the walls. |
Supervision is Key: Never leave your baby unattended in the tunnel. While it is a great tool for independent play, you want to be right there to cheer them on and ensure they don’t get stuck or frustrated. If your baby seems hesitant, don’t force it! Start by just placing a favorite toy at the very entrance and let them go in at their own pace.
Games to Play: Encouraging Your Little Explorer
Making the Most of Your New Toy
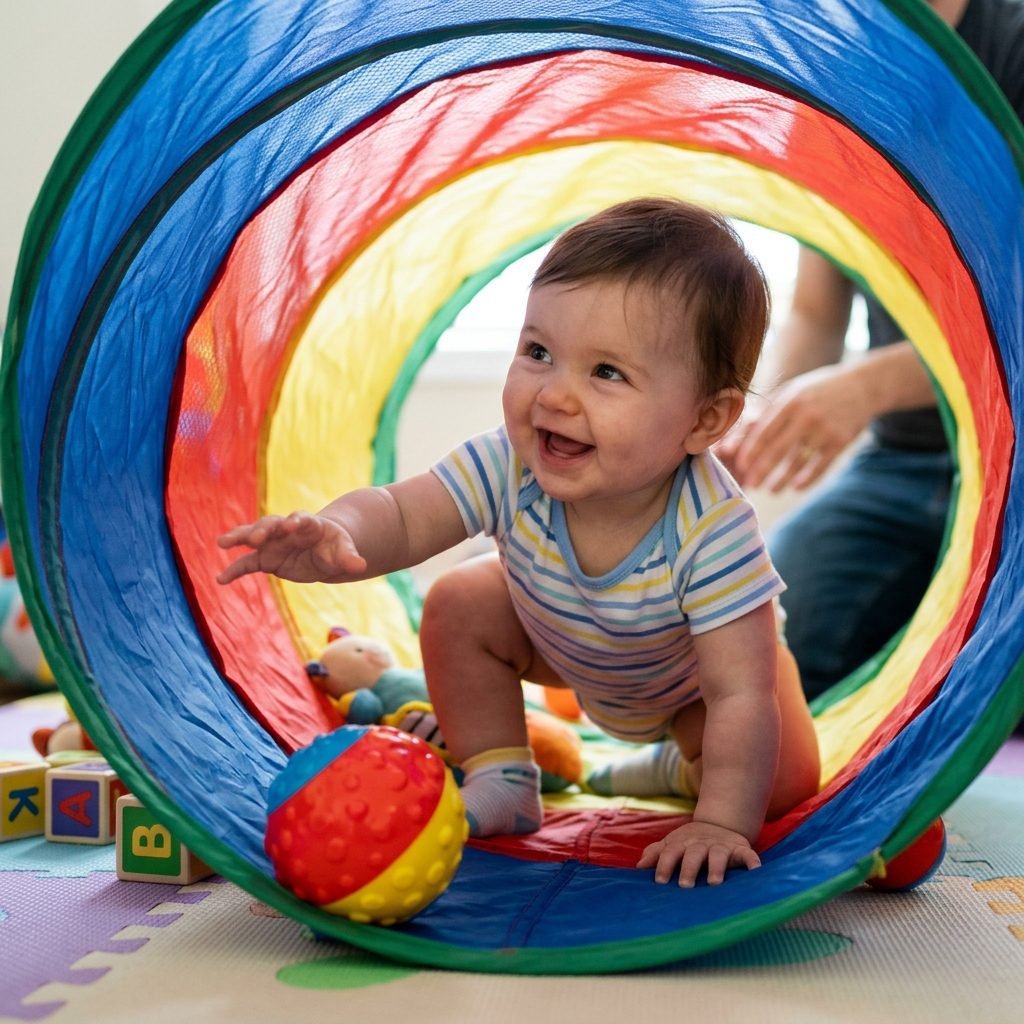
Once the tunnel is built, the real fun begins! Here are some doula-approved games to encourage your baby to use their new motor skills. These games help build confidence and persistence.
1. The Toy Trail
Place a trail of your baby’s favorite toys leading into and through the tunnel. Start with one just inside the entrance, another in the middle, and a ‘grand prize’ (like a musical toy or a favorite book) at the very end. This encourages them to keep moving forward.
2. Peek-a-Boo Windows
Use those windows you cut out! Pop your face into a window and say “Peek-a-boo!” This helps with object permanence—the understanding that you still exist even when they can’t see your whole body. It also makes the tunnel feel like a social space rather than just a tube.
3. The Ball Roll
Sit at one end of the tunnel and have a partner (or use a wall) at the other. Roll a soft ball through the tunnel. Your baby will love watching it zoom past them, and eventually, they will try to catch it or push it themselves, which is great for hand-eye coordination.
4. Flashlight Follow
If the room is slightly dimmed, shine a flashlight through the tunnel. Move the light slowly along the floor and walls. Many babies are fascinated by the ‘light bug’ and will crawl to try and ‘catch’ the beam of light.
Conclusion
You Did It, Mama!
Congratulations on creating a wonderful, developmental play space for your little one. By building this DIY cardboard crawling tunnel, you have provided your baby with more than just a toy—you have given them a gym, a laboratory, and a sanctuary for growth. You have saved money, reduced waste, and most importantly, you have shown your baby that the world is a place meant to be explored with curiosity and joy.
Remember, the goal isn’t a perfect-looking tunnel (it’s cardboard, after all!). The goal is the smiles, the giggles, and the incredible brain connections happening every time they shimmy through. Take plenty of photos, join them on the floor, and celebrate every inch they crawl. You are doing an amazing job supporting your baby’s journey, one box at a time. Happy crawling!