Smart Tricks for Capturing Tiny Newborn Details (Toes & Eyelashes) on Your Phone
The Fleeting Magic of the First Forty Days
Oh, mama, I see you. You are in that beautiful, hazy, milk-scented bubble where time seems to both stand still and move at warp speed. One moment you are counting fingers and toes in the delivery room, and the next, you realize those tiny ‘froggy’ legs are starting to stretch out. As a doula, I always tell my clients: the big milestones like sitting up and crawling are wonderful, but it is the micro-details—the translucent curve of a fingernail, the soft lanugo on a shoulder, or the way those impossibly long eyelashes cast shadows on a chubby cheek—that you will ache to remember years from now.
You don’t need a five-thousand-dollar DSLR camera to preserve these memories. Your smartphone, that little device currently sitting on your nightstand next to the nipple cream and the half-drunk water bottle, is a powerful tool for capturing professional-grade macro photography. In this guide, I’m going to walk you through the smart, sisterly tricks for documenting your baby’s smallest features with the heart of a mother and the eye of a pro. We will cover everything from lighting secrets to the ‘Macro’ settings you didn’t know your phone had, ensuring you never miss a single detail of this miraculous new life.
“You will never look back and wish you had taken fewer photos of those tiny toes.”
Harnessing the Magic of Natural Light

The Secret Ingredient: Soft, Directional Light
Before we even touch the camera app, we have to talk about light. In newborn photography, light is everything. To capture the fine texture of skin and the delicate curve of eyelashes, you need soft, diffused natural light. Harsh overhead lights or—heaven forbid—your phone’s built-in flash will flatten the features and create yellow, clinical-looking skin tones. We want that ethereal, ‘lit from within’ glow.
Finding the ‘Sweet Spot’ in Your Home
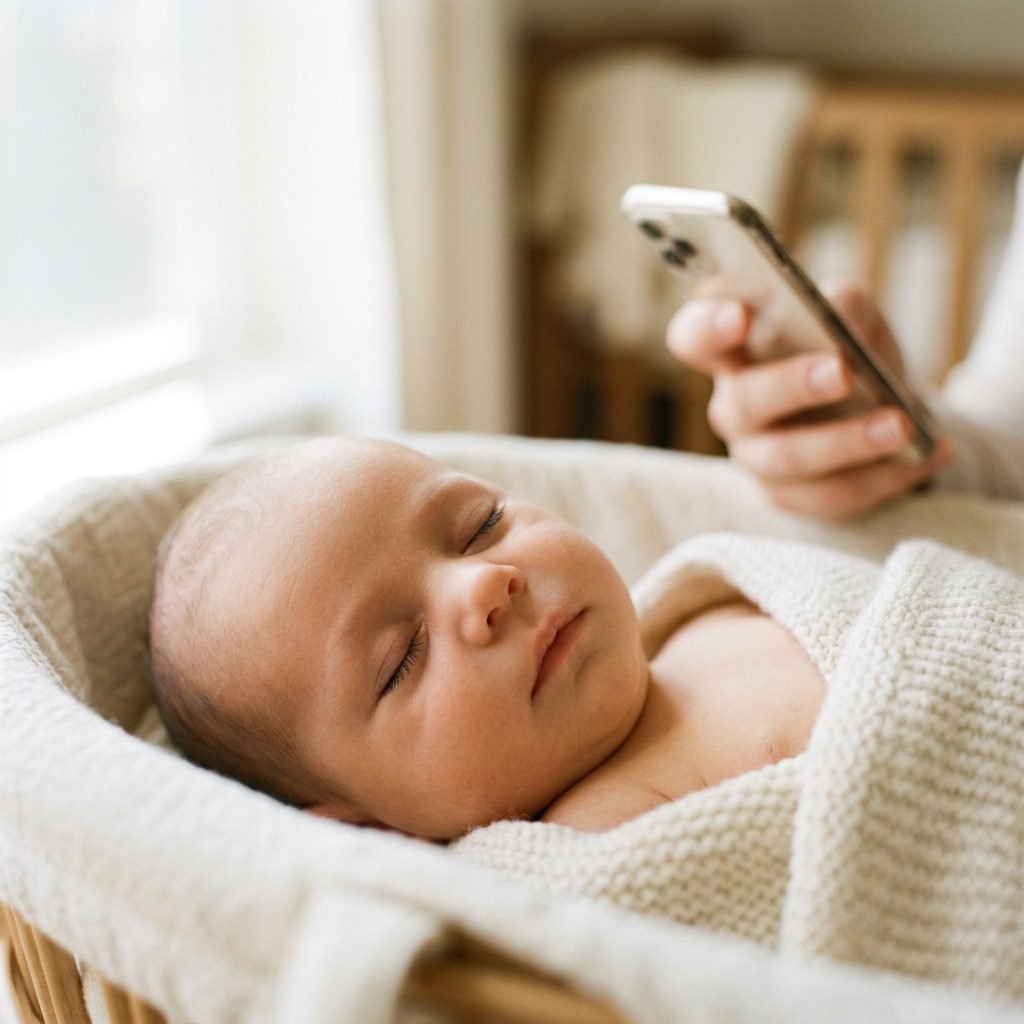
Look for a large window or a glass sliding door. The best time is usually mid-morning or late afternoon when the sun isn’t directly hitting the glass. If the light is too bright, a thin white sheer curtain acts as the perfect professional-grade diffuser. Place your baby on a soft surface (like a nursing pillow covered in a neutral muslin swaddle) perpendicular to the window. This creates ‘side-lighting,’ which is the secret to making those tiny details pop. The shadows created by side-light are what define the shape of a tiny nose or the wrinkles on a foot.
| Lighting Type | Effect on Newborn Skin | Best Use For |
|---|---|---|
| Direct Sunlight | Harsh shadows, squinting, washed-out details | Avoid for close-ups |
| Overhead Interior Light | Yellow/Orange tint, flat features | Avoid if possible |
| Diffused Window Light | Soft, creamy skin tones, beautiful highlights | Eyelashes, lips, and toes |
| Phone Flash | Red-eye, harsh glare, startles baby | Never use for newborns |
Mastering Your Phone’s Secret Macro Settings
Unlocking the Power of Your Smartphone Camera
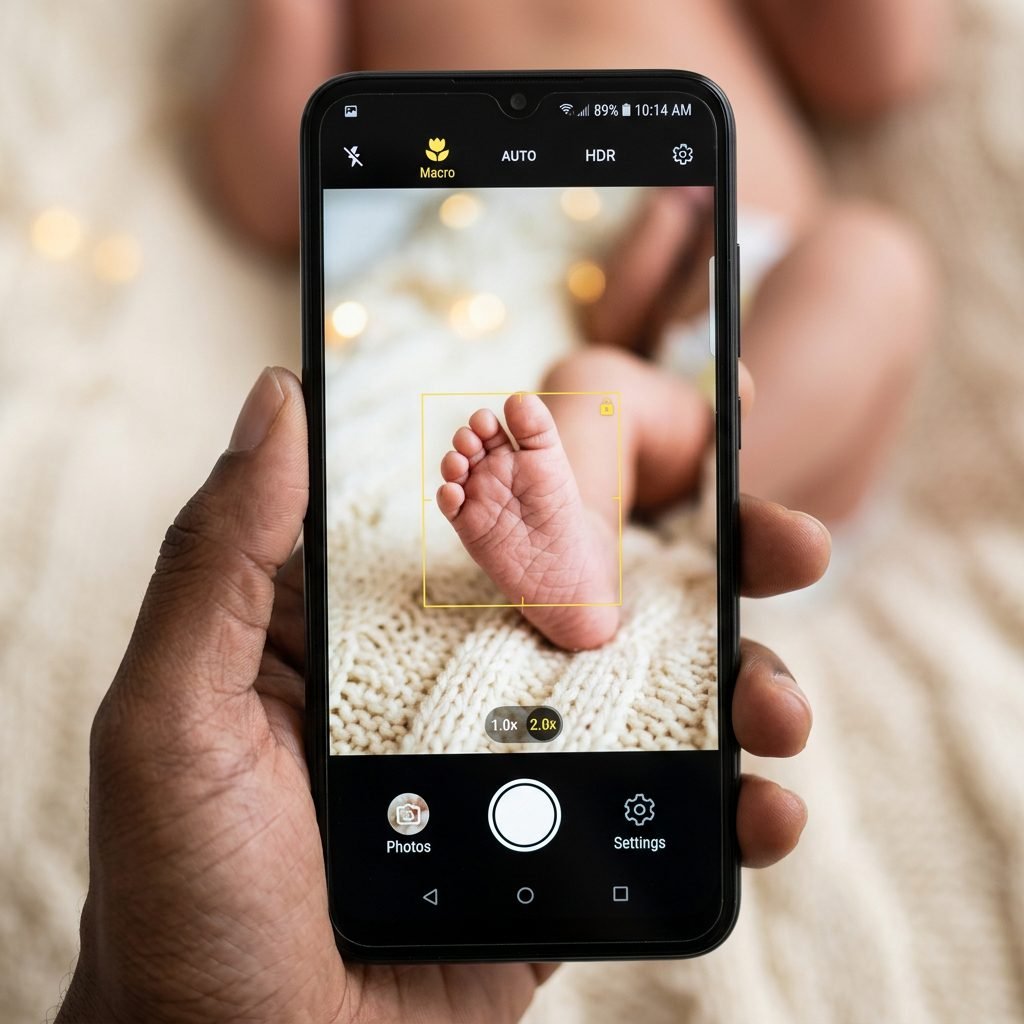
Most modern smartphones (iPhone 13 Pro and later, or recent Samsung Galaxy models) have a dedicated Macro Mode. This allows the lens to focus on objects just centimeters away. If you see a little yellow flower icon appear on your screen when you get close to your baby’s toes, that’s your phone’s way of saying, ‘I’ve got this!’
How to Focus Like a Pro
When you are shooting something as small as an eyelash, your phone’s auto-focus can get confused. Here is the doula-pro trick: Tap and Hold the screen on the exact spot you want to focus on (the eye, the toe, the dimple). This will ‘AE/AF Lock’ the focus. Once locked, you can slide your finger up or down on the screen to adjust the exposure. I usually recommend sliding it down slightly to make the photo look ‘moody’ and rich, or up for that bright, ‘airy’ look.
- Use the 2x or 3x Zoom: Instead of physically moving the phone closer (which can cast a shadow), stay 6-10 inches away and use the optical zoom. This provides a more flattering perspective.
- Portrait Mode for Toes: Use Portrait Mode for shots of the feet or hands to blur the background, making those tiny toes the undisputed star of the show.
- Burst Mode for Squirmy Babies: If your little one is in an active sleep cycle, hold down the shutter button to take a ‘Burst.’ You can then go back and pick the one frame where the foot was perfectly still.
The Art of the ‘Macro’ Angle: Eyelashes, Lips, and Toes

Capturing the ‘Big Three’ Details
Every mama wants the same three shots: the lashes, the lips, and the toes. But getting the angle right is what separates a ‘snapshot’ from a ‘portrait.’
1. The Eyelash Shot
Wait until your baby is in a deep sleep (usually 20 minutes after they fall asleep). Their face should be relaxed. Angle your phone so you are shooting from slightly above the forehead, looking down toward the cheeks. This highlights the length of the lashes against the skin. Keep the phone parallel to the plane of the face to ensure both eyes (if visible) are in focus.
2. The Pouty Lip Shot
Newborns often have those sweet ‘milk blisters’ or a perfect Cupid’s bow. Get down at eye level with your baby. Shooting from a low angle makes the features look prominent and heroic. Focus on the center of the bottom lip.
3. The Wrinkled Toes
There is nothing quite like the bottom of a newborn’s foot. To get this shot, gently hold the foot in your hand (this adds a sense of scale!) or lay the baby on their back and shoot straight on. Look for the ‘peeling’ skin—it’s a beautiful sign of their newness that disappears so quickly.
“These tiny parts are the blueprint of the person they will become. Capture the blueprint while it’s still small enough to fit in your palm.”
Creating a Cozy ‘Studio’ at Home: Textures and Posing
Setting the Stage for Success
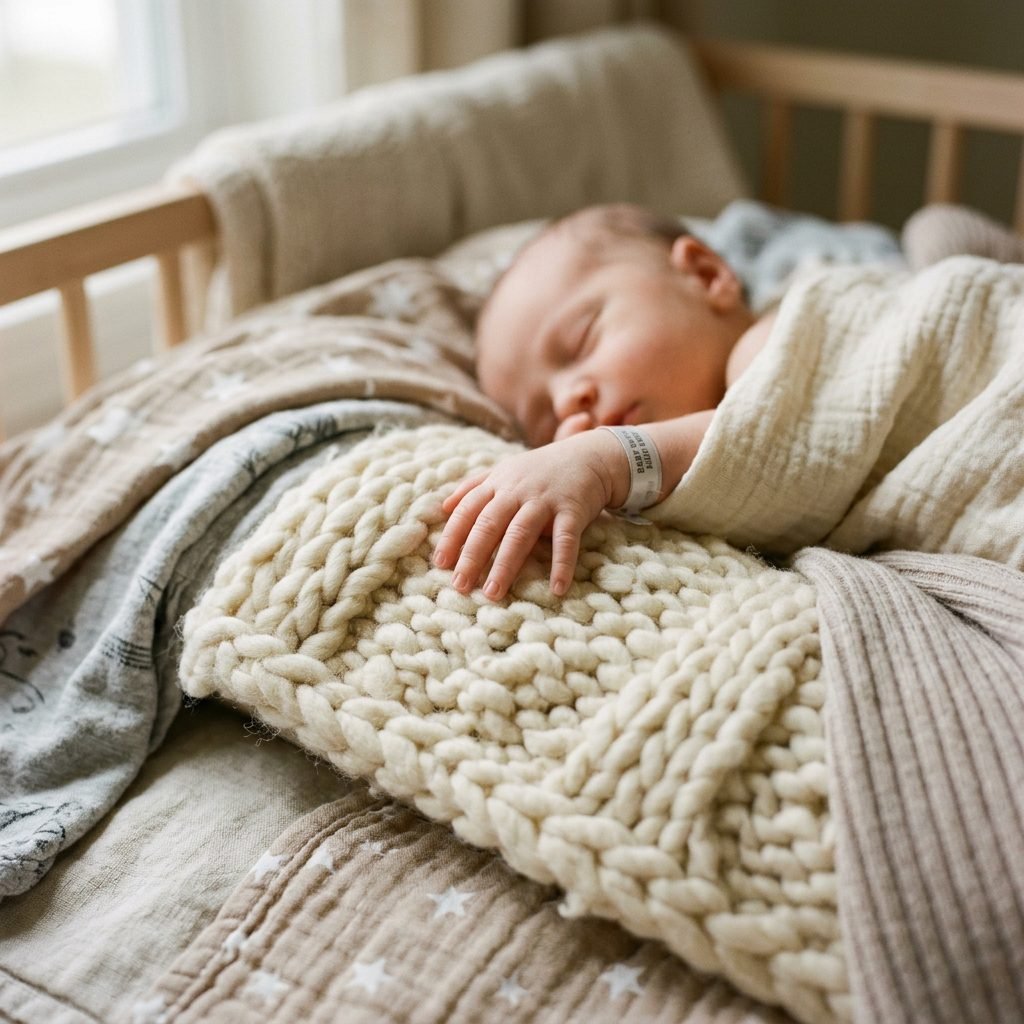
As a doula, I know that a comfortable baby is a photogenic baby. You don’t need a professional studio; you just need a few key ‘props’ from around your house. The goal is to use texture to contrast with the baby’s smooth skin.
The Texture Checklist
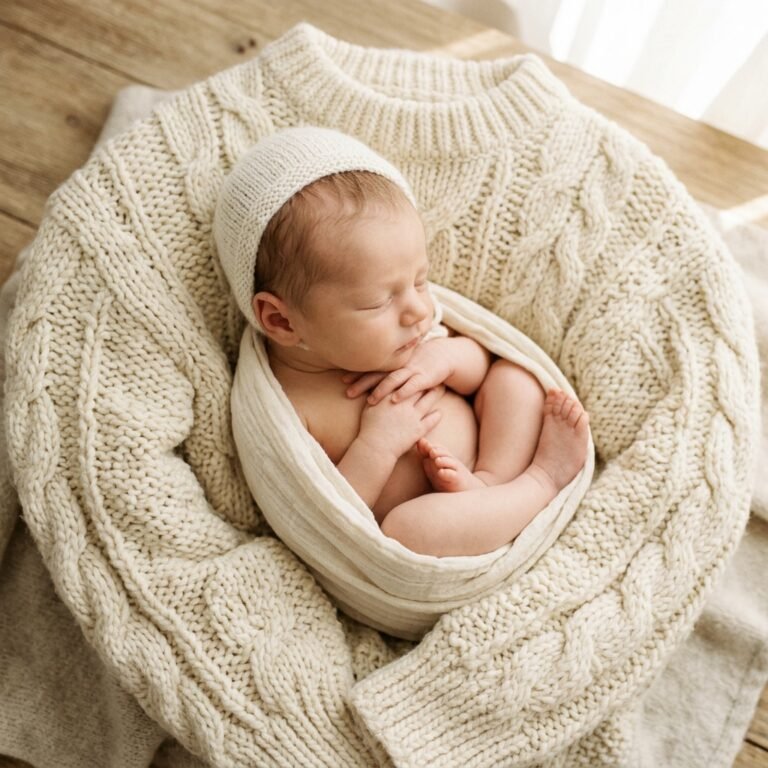
Gather items with different tactile feels. A chunky knit blanket, a silk pillowcase, or a waffle-weave swaddle all provide beautiful backgrounds that make the baby’s skin look even softer. Neutral colors like cream, oatmeal, sage, or dusty rose work best because they don’t reflect weird colors onto the baby’s face.
| Prop/Texture | Why It Works | Cost |
|---|---|---|
| Chunky Knit Throw | Provides depth and contrast to tiny toes | $0 (Check your couch!) |
| Muslin Swaddle | Lightweight, breathable, organic look | $15 – $25 |
| Your Own Hands | Shows scale and the bond of touch | Priceless |
| Sheepskin Rug | Adds a luxury, soft ‘cloud’ feel | $30 – $50 |
Safety First: The Doula’s Reminder
Never pose a baby on a high surface like a table or a bed without a spotter within arm’s reach. For detail shots, the safest place is on a firm mattress or a rug on the floor. If you are doing ‘hand-in-hand’ shots, ensure your movements are slow and soothing so you don’t startle the baby out of their slumber.
Editing for That Soft, Dreamy Newborn Glow
Post-Processing Without Losing the Realness
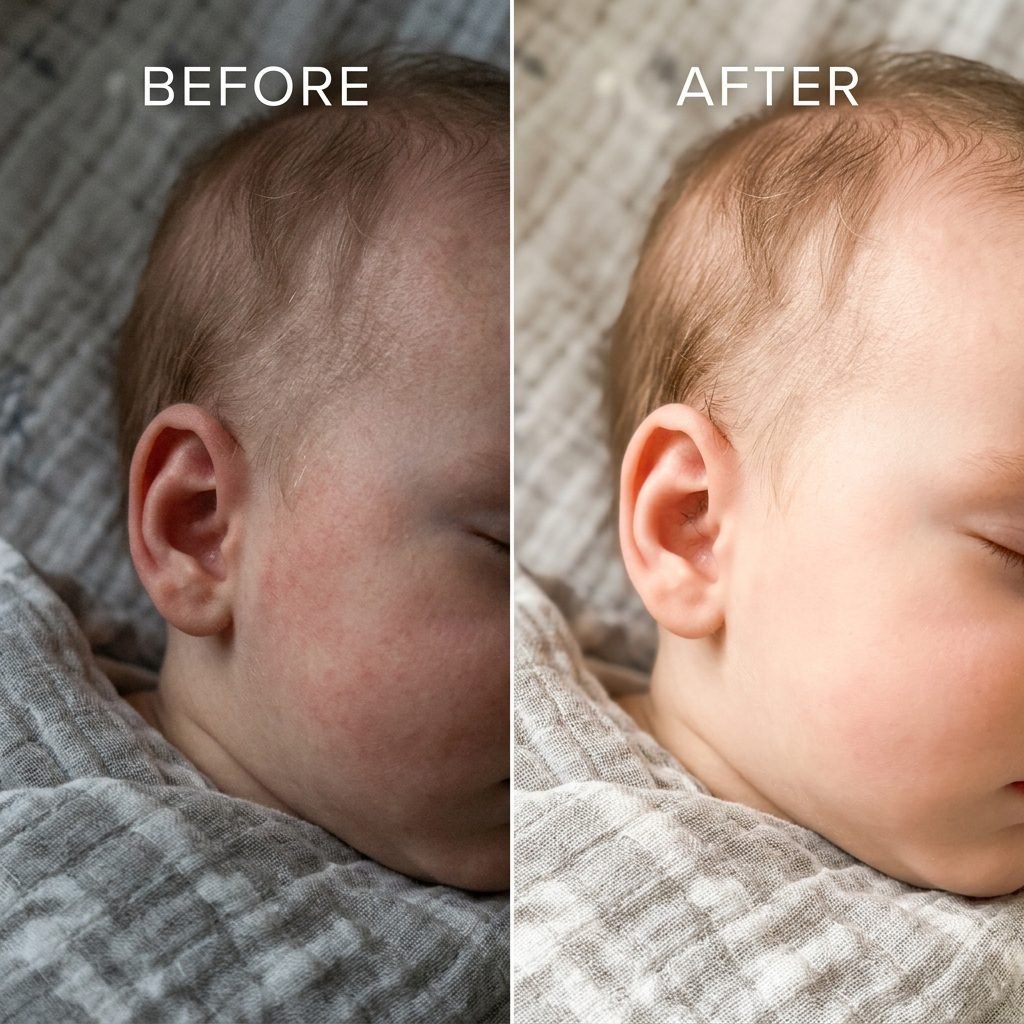
Once you’ve captured that perfect shot of a tiny ear or a swirl of hair, a little bit of editing can take it to the next level. The goal isn’t to make the baby look ‘fake’ or plastic, but to enhance the natural beauty you already captured.
Recommended Apps and Tweaks
I love Lightroom Mobile or Snapseed (both are free!). Avoid the heavy filters found on Instagram. Instead, focus on these manual adjustments:
- Increase the ‘Shadows’: This softens the photo and reveals details in the darker areas.
- Decrease ‘Clarity’: While we want the photo sharp, sometimes decreasing clarity by just 5-10 points gives the skin a ‘dreamy’ look.
- Adjust ‘Saturation’ vs ‘Vibrance’: If your baby looks a little red (common in newborns!), don’t lower the saturation. Instead, go to the ‘Color Mix’ tool and slightly lower the saturation of the Oranges and Reds specifically. This balances the skin tone without making the whole photo grey.
- Crop for Impact: Don’t be afraid to crop in tight! If you took a photo of the whole foot, crop it so only the toes are visible. This creates a powerful, artistic macro shot.
Preserving Your Art: From Digital Gallery to Heirloom
Don’t Let the Memories Die on Your Hard Drive
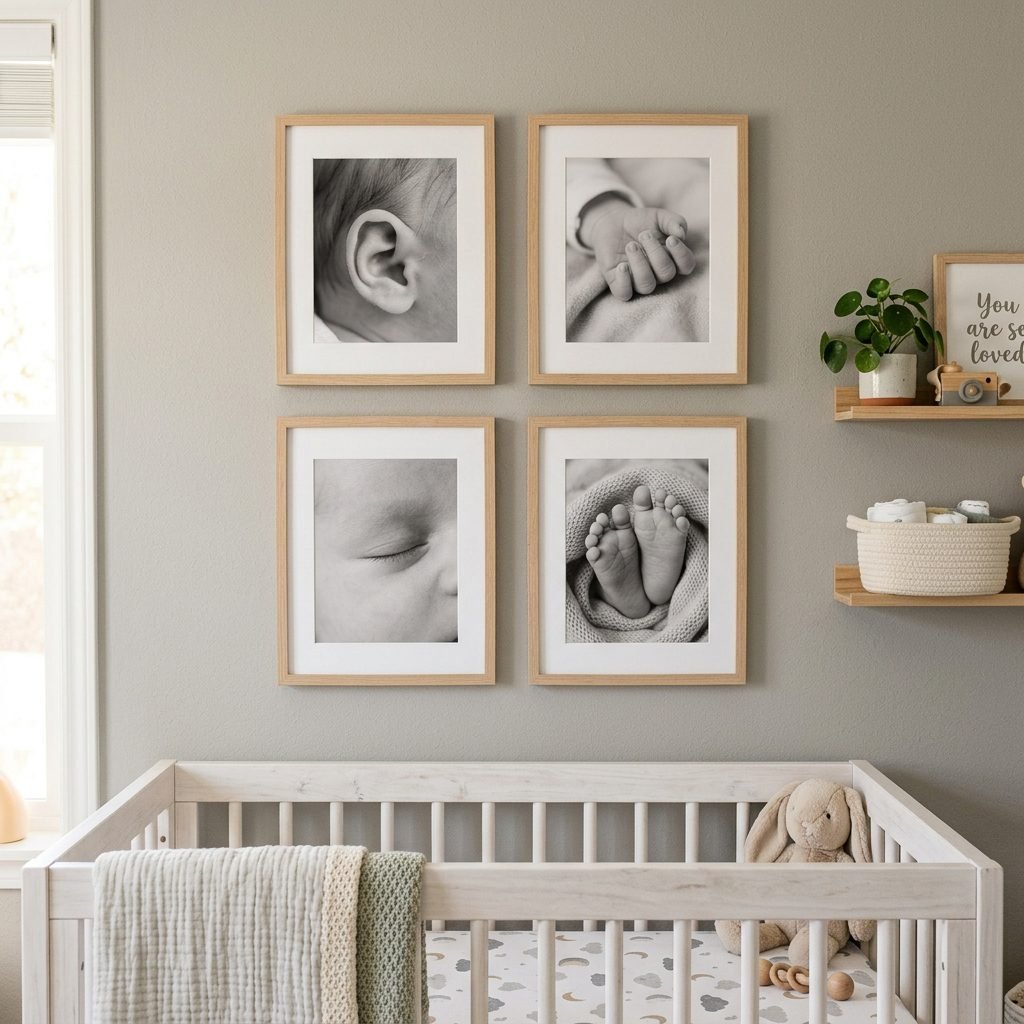
We take thousands of photos, but how many do we actually look at? As your maternal wellness companion, I want to encourage you to bring these photos into your physical world. Those tiny details deserve to be seen daily.
Creative Ways to Display Macro Shots
- The ‘Detail Grid’ Frame: Print nine macro shots (one of an eye, one of a foot, one of a hand, etc.) and frame them in a 3×3 grid. It looks like a high-end gallery piece.
- The Monthly Milestone Book: Dedicate a page in your baby book specifically to ‘The Little Things’ each month. It’s incredible to see how the shape of their fingernails or the color of their eyes changes.
- Custom Ornaments: A close-up of a tiny hand makes for a heart-melting Christmas ornament or a gift for grandparents.
Remember, mama, these photos are for you. They are your return ticket to a moment that passes all too quickly. When you are tired and the days feel long, looking at that perfect shot of a sleeping eyelash can remind you of the miracle you’ve created.
Conclusion
You Are the Best Historian of Your Baby’s Life
Capturing the tiny details of your newborn isn’t about having the best gear or being a professional photographer. It’s about noticing. It’s about the way you look at your baby with such fierce love that you want to memorize every square millimeter of their being. By using these simple tricks—finding the right light, locking your focus, and embracing the macro lens—you are creating a visual legacy for your child.
So, the next time your little one falls into that deep, milk-drunk sleep in a patch of morning sunlight, grab your phone. Move slowly, breathe in that sweet baby scent, and click. You are doing an amazing job, mama, and these photos will be some of your most cherished possessions. Happy snapping!