How to Print Beautiful Handmade Deckled-Edge Paper Birth Announcements
Welcome to the Slow Art of Celebrating New Life
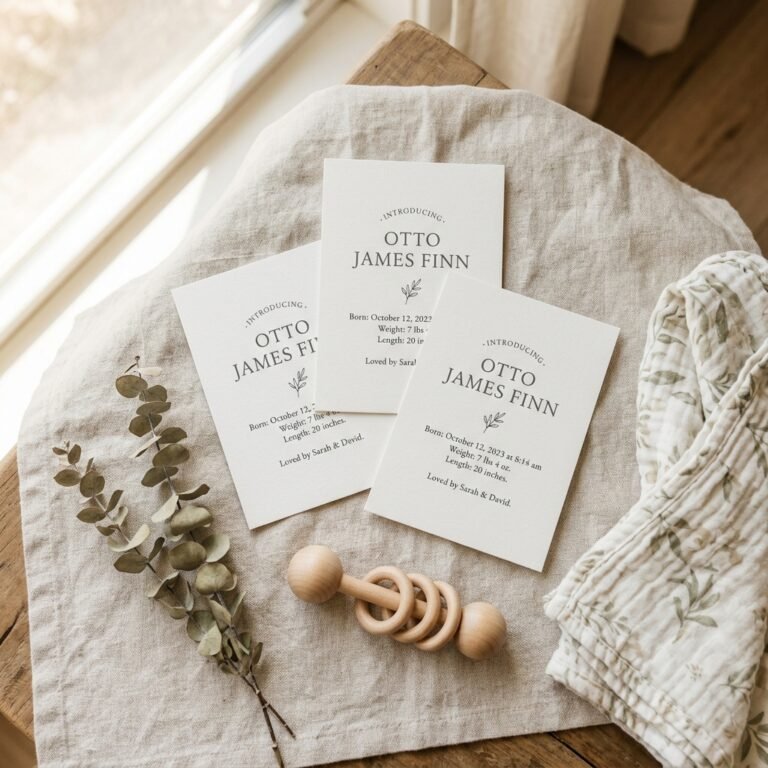
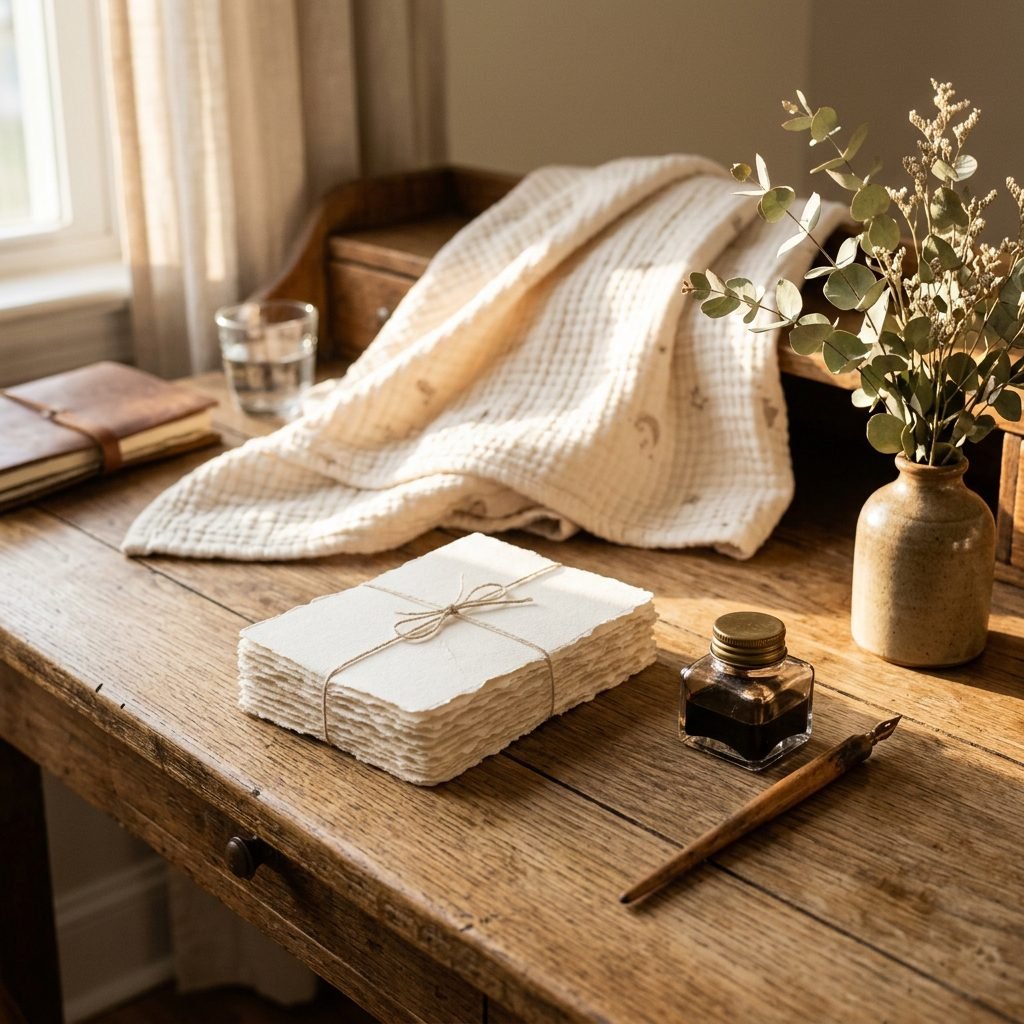
Congratulations, sweet mama. Whether you are currently nesting and preparing for your little one’s arrival or you are cradling a newborn in the quiet, hazy hours of the fourth trimester, there is something profoundly beautiful about the desire to announce your baby’s birth with something tangible. In a world of instant digital notifications and fleeting social media posts, a handmade birth announcement on deckled-edge paper is a pause—a physical heirloom that invites your loved ones to slow down and feel the weight of this new life. As a doula and a fellow lover of all things tactile and beautiful, I know that your time is precious and your energy is a sacred resource. That is why this guide isn’t just about ‘printing’; it is about a soulful creative process that honors your journey. Deckled-edge paper, with its feathered, uneven borders, mirrors the beautiful imperfections of motherhood itself. It feels organic, soft, and timeless. In the following sections, we will walk through every step of this process together, from selecting the right cotton rag paper to troubleshooting your home printer, ensuring that the final result is as breathtaking as the little soul you are introducing.
The Soulful Beauty of Deckled Edges: Why Texture Matters for Your Baby’s First Introduction
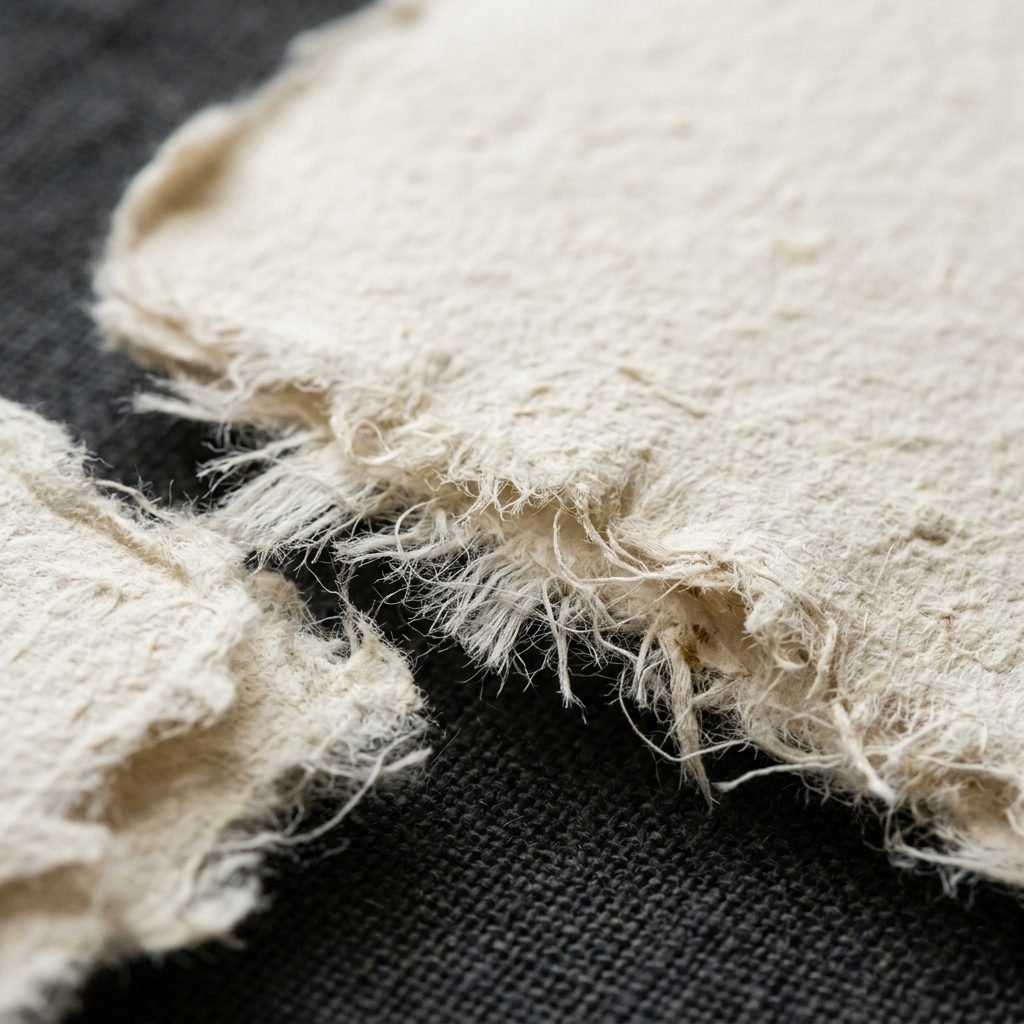
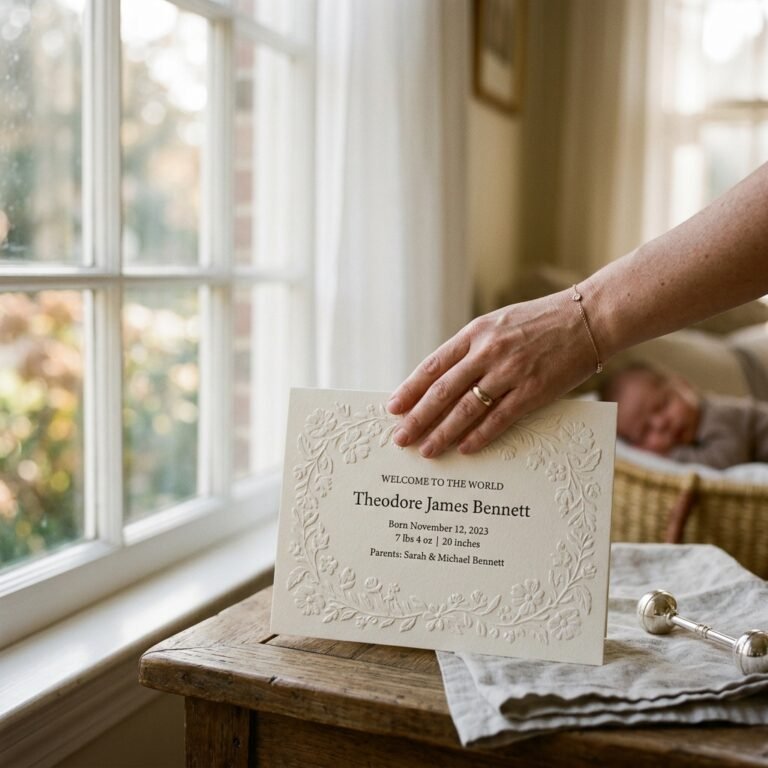
When we talk about ‘deckled edges,’ we are referring to the rough, feathered edges that occur naturally during the papermaking process when the pulp thins out at the borders of the mold and deckle. Unlike the sharp, clinical cut of modern cardstock, deckled paper feels alive. For a birth announcement, this texture communicates a sense of history and permanence. It says, ‘This moment matters.’
The Sensory Experience of Stationery
As mothers, we are in a season of intense sensory input—the smell of a newborn’s head, the softness of a swaddle, the warmth of skin-to-skin contact. Extending this sensory experience to your stationery creates a cohesive narrative of your baby’s entry into the world. Handmade paper made from 100% cotton rag is not only acid-free and archival (meaning it won’t yellow over decades), but it also has a pillowy softness that absorbs ink in a way that looks more like a painting than a printout.
Creating something with your hands during the postpartum period can be a form of moving meditation, helping you process the transition into motherhood one beautiful sheet at a time.
Choosing this path means you are opting for quality over quantity. Even if you only send out twenty announcements to your closest circle, the impact of those twenty pieces of mail will far outweigh a hundred generic gloss-finish cards. You are creating a keepsake that will live in baby books and on refrigerators for years to come.
Setting Your Creative Sanctuary: Essential Materials and Budgeting
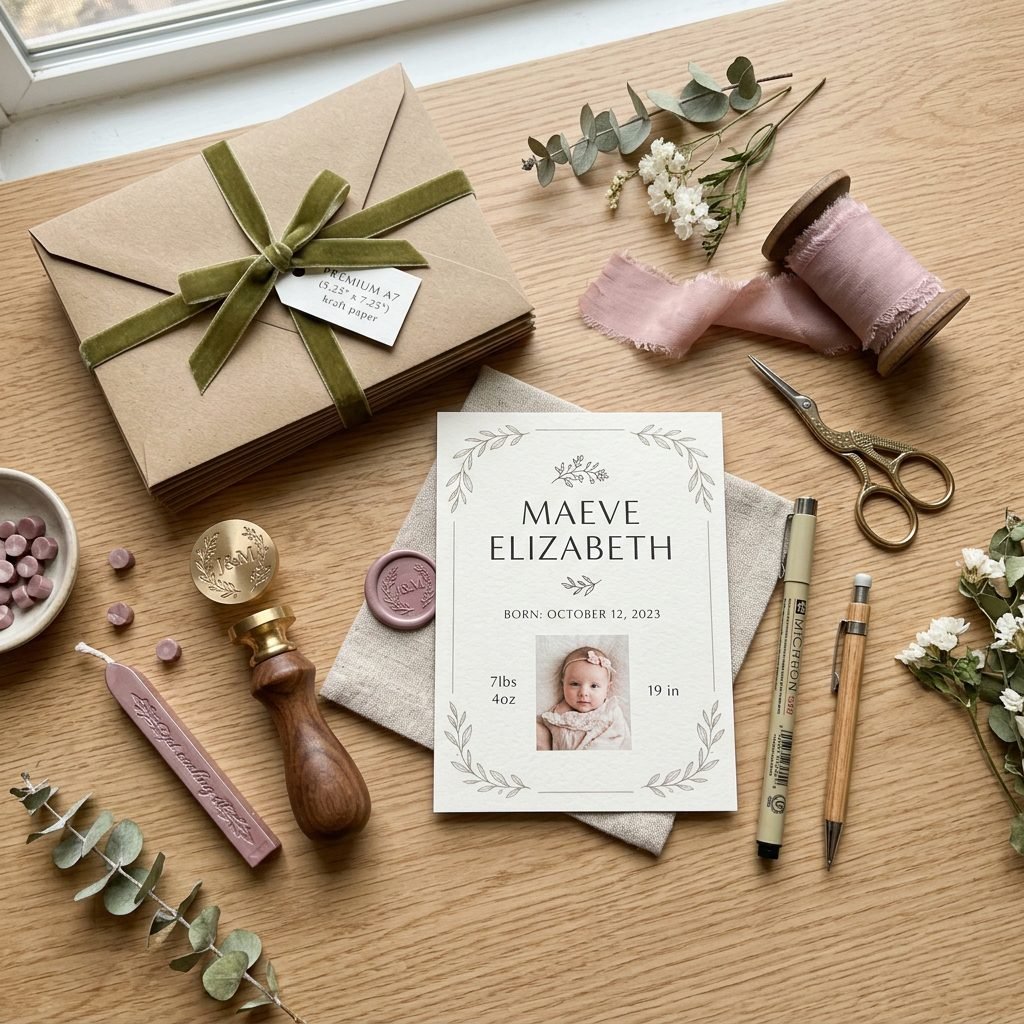
Before we dive into the ‘how-to,’ let’s gather our supplies. I want you to view this as an act of self-care. Clear a small space on your dining table, light a non-toxic candle, and gather these essentials. Printing on handmade paper requires a bit more intentionality than standard paper because of its thickness and irregular edges.
What You Will Need
- Handmade Deckled-Edge Paper: Look for 250-300 GSM weight. Brands like Indian Cotton Rag or Italian Amalfi paper are stunning.
- Inkjet Printer: A printer with a rear-feed tray is non-negotiable. This prevents the thick paper from having to bend around a roller, which causes jams.
- Pigment-Based Inks: If possible, use a printer with pigment inks (like the Epson SureColor or Canon PIXMA Pro series) for archival longevity and water resistance.
- Design Software: Canva, Adobe Illustrator, or even a simple Word document will work.
- Envelopes: Ensure your envelopes are slightly larger than your paper (e.g., 5×7 cards need A7 envelopes).
| Material Item | Estimated Cost (50 Units) | Why It’s Worth It |
|---|---|---|
| Handmade Paper (5×7) | $45 – $65 | Provides the heirloom texture and ‘wow’ factor. |
| A7 Cotton Envelopes | $20 – $30 | Matches the paper quality for a cohesive look. |
| Ink Cartridges | $30 (Partial use) | Pigment ink ensures the text stays crisp for 50+ years. |
| Wax Seal Kit (Optional) | $25 | Adds a vintage, high-end finishing touch. |
Pro-Tip: Always order 10-15% more paper than you think you need. Handmade paper varies in thickness, and your printer might need a few ‘test runs’ to get the alignment perfect.
Designing with Intention: Minimalist Layouts that Let the Paper Shine
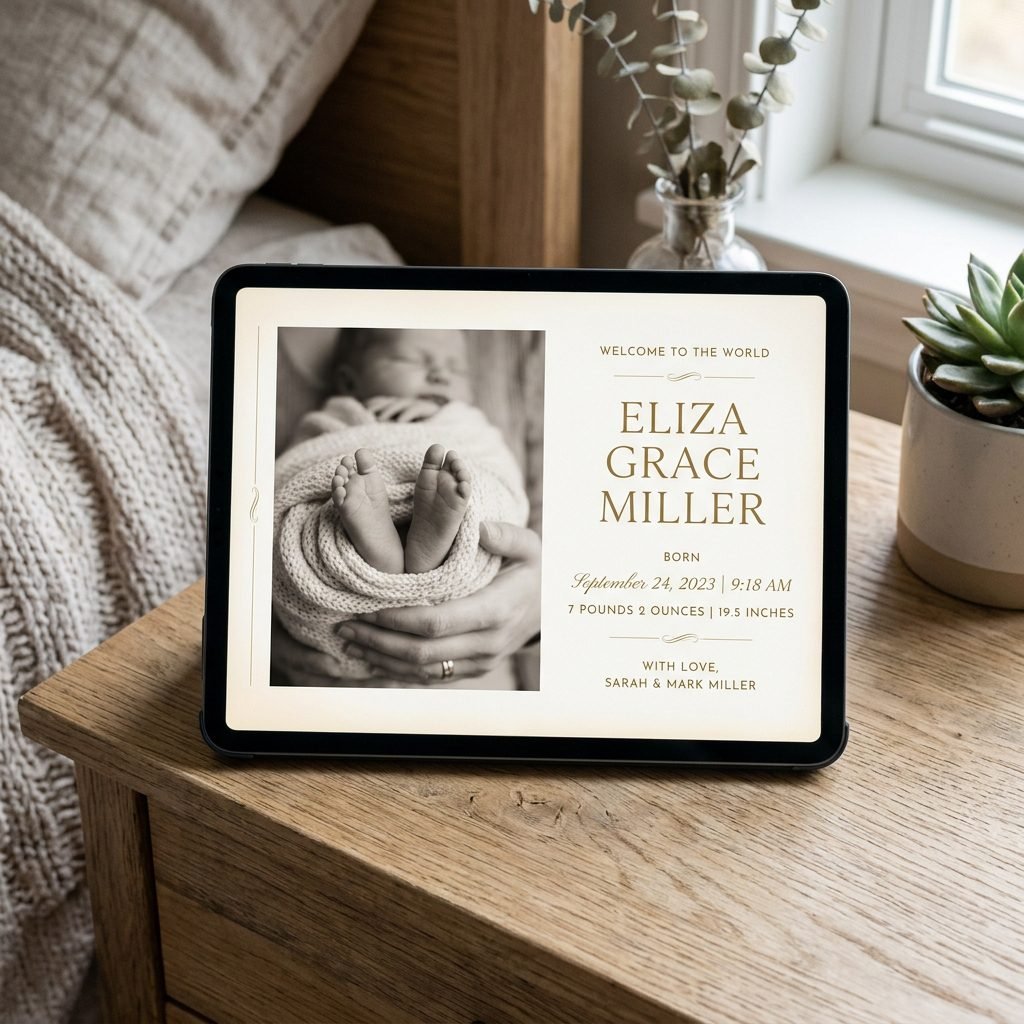
The secret to a stunning handmade announcement is restraint. Because the paper itself is a work of art, you don’t want to clutter it with heavy graphics or dark, solid backgrounds. Minimalist designs work best because they allow the texture of the cotton fibers to remain visible.
Typography and White Space
Choose one or two fonts at most. A timeless serif font (like Garamond or Baskerville) paired with a simple, clean sans-serif (like Montserrat) creates a sophisticated balance. Use ample white space. Leave at least a 0.75-inch margin on all sides to ensure the text doesn’t feel crowded near the deckled edges.
What to Include:
- The Full Name: Often centered and in the largest font size.
- Birth Date and Time: ‘Born on the twelfth of October at four in the morning.’
- Weight and Length: ‘Seven pounds, six ounces. Twenty inches long.’
- Parental Names: ‘Welcomed with love by…’
- A Short Sentiment: ‘Our hearts are full.’ or ‘The greatest adventure begins.’
When designing, remember that handmade paper is rarely a perfect 5×7. It might be 4.9×7.1. Set your digital canvas to the standard size, but keep your text centered so that slight variations in paper size don’t result in lopsided printing.
The Printing Process: A Step-by-Step Guide to Success
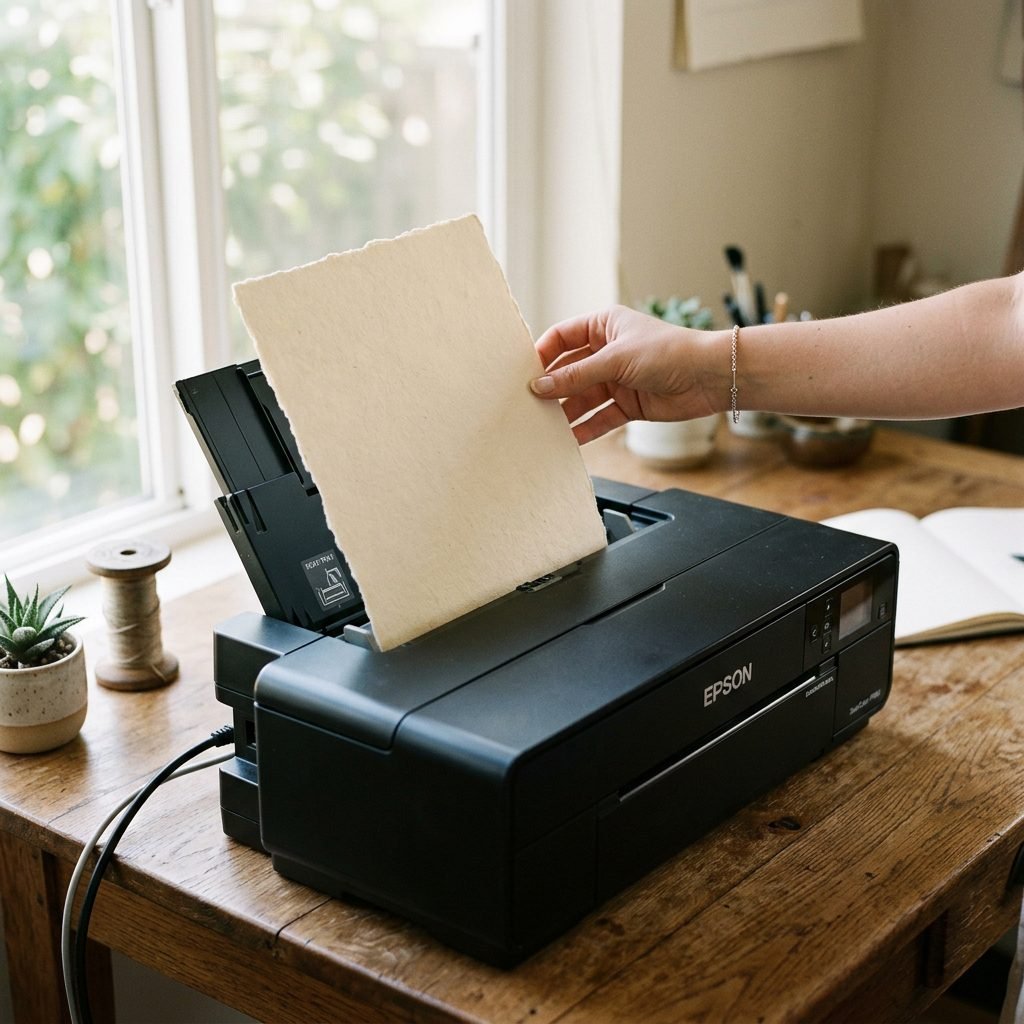
Now for the technical part. Printing on handmade paper can be intimidating, but with these steps, you will master it. The key is to treat each sheet as an individual piece of art rather than a batch job.
- Dry Run: Print your design on a piece of standard printer paper cut to the exact size of your handmade paper. Hold it up to the light against the handmade sheet to check your margins.
- Printer Settings: Open your print dialog box and select ‘Thick Paper’ or ‘Cardstock’ in the media type settings. Set the quality to ‘Best’ or ‘High Quality.’
- The Rear Feed: Only use the rear manual feed tray. Do not put handmade paper in the bottom cassette. The internal rollers are too tight for the fibers.
- Single Sheet Loading: Feed the paper one sheet at a time. The deckled edges can sometimes trick the printer’s sensors, so manual feeding ensures the printer ‘grabs’ the paper correctly.
- The ‘Flat Edge’ Trick: If your paper has one edge that is flatter than the others (sometimes caused by the way it was dried), feed that flat edge into the printer first.
- Ink Drying: Handmade paper is very absorbent. Once the card comes out of the printer, do not touch the ink. Lay it flat on a clean surface for at least 30 minutes to dry completely.
Don’t panic if the first sheet jams. Simply clear the path, gently wipe the rollers with a lint-free cloth if any fibers came off, and try again. Motherhood is all about trial and error, and so is crafting!
The Finishing Touches: Wax Seals, Ribbons, and Vellum
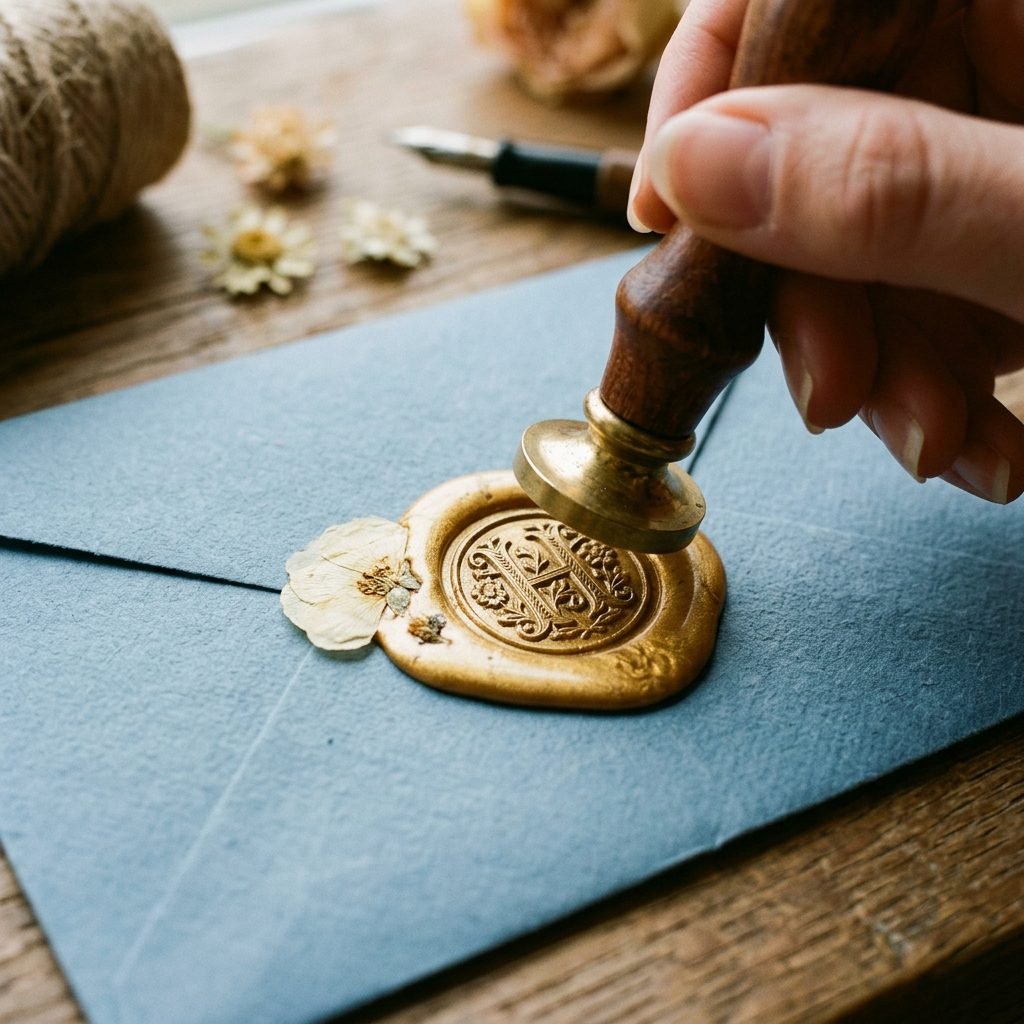
Once your announcements are printed and dry, it’s time for the ‘styling’ phase. This is where you can truly personalize the look to match your nursery or your baby’s personality.
Vellum Overlays
If you want to include a photo of your baby but don’t want to print it directly onto the textured paper (which can sometimes soften the photo details), consider a vellum overlay. Print the photo on a translucent sheet of vellum and lay it over the printed announcement. Secure it at the top with a tiny gold paperclip or a silk ribbon.
Wax Seals and Botanical Accents
A wax seal on the back of the envelope—or even on the announcement itself—adds an undeniable touch of luxury. You can find seals with designs like a sprig of lavender, a tiny honeybee, or even your baby’s initial. For a botanical touch, tuck a small piece of dried baby’s breath or a pressed leaf under the wax before it hardens.
| Finishing Element | Visual Effect | Effort Level |
|---|---|---|
| Silk Ribbon | Soft, romantic, tactile | Medium (requires tying) |
| Wax Seal | Vintage, secure, formal | High (requires melting wax) |
| Vellum Wrap | Modern, ethereal, layered | Low (simple folding) |
| Hand-stamped Date | Rustic, artisanal | Low (quick stamping) |
Important Note: If you use a wax seal on the outside of the envelope, ask your local post office about ‘hand cancelling.’ This prevents the envelope from going through the automated sorting machines, which could pop the seal off or tear the delicate paper.
Troubleshooting the Tangles: Pro-Tips for Smudge-Free Success
Even with the best preparation, handmade paper can be temperamental. Here is how to handle the most common issues without losing your peace of mind.
Dealing with ‘Fuzzies’
Because handmade paper is made of loose fibers, sometimes those fibers can catch on the print head, causing a small smudge. To prevent this, use a soft-bristled brush (like a clean makeup brush) to gently whisk away any loose lint from the surface of the paper before you feed it into the printer.
Ink Bleeding
If you notice the ink ‘feathering’ or spreading into the fibers, it usually means the paper is too damp or the ink flow is too high. Try changing your printer settings to ‘Plain Paper’ but keep the quality at ‘High.’ This tells the printer to use slightly less ink, which prevents saturation.
Curled Edges
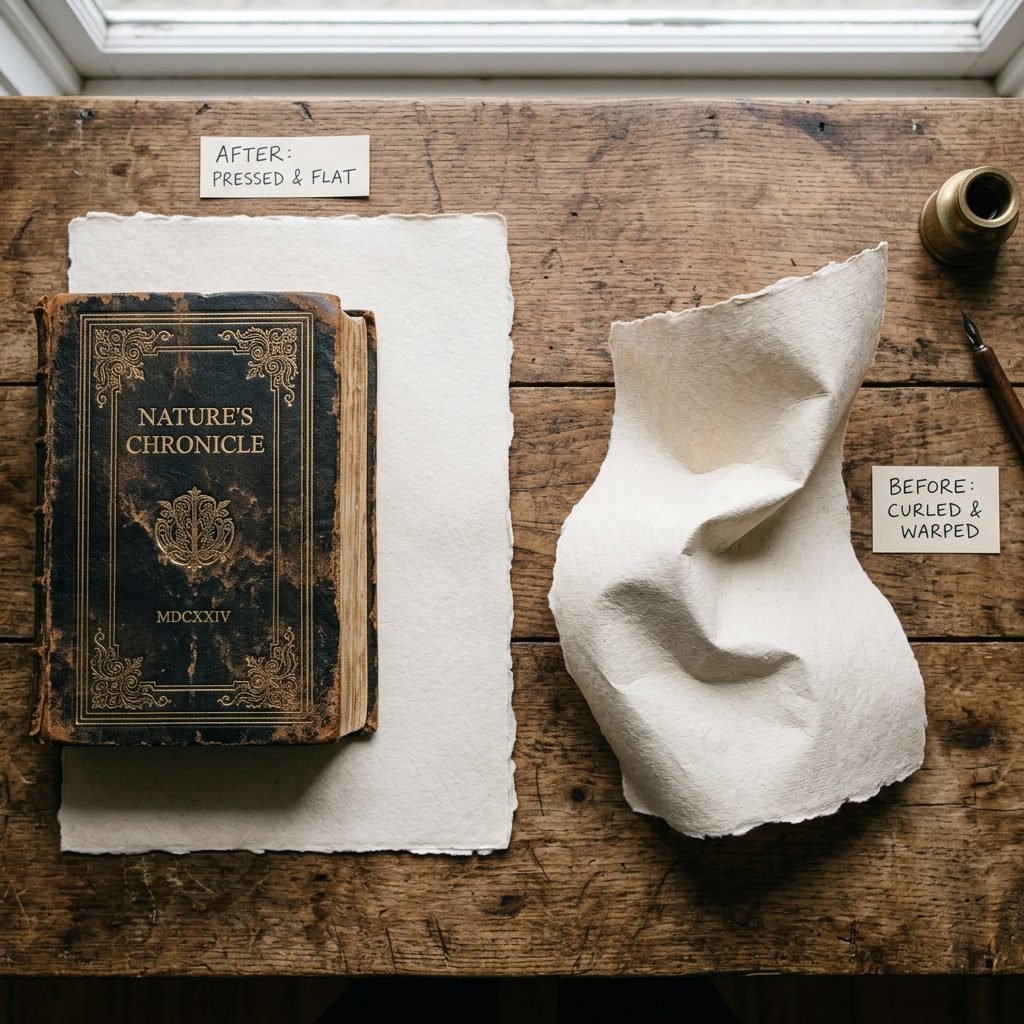
Handmade paper sometimes has a slight curl from the drying process. If your paper won’t lay flat enough to feed, place it under a heavy stack of books for 24 hours before printing. This ‘presses’ the fibers and makes the printing process much smoother.
Remember, mama: the tiny imperfections are what make these announcements special. A slightly crooked line or a faint ink speck just proves that these were made by a human heart, not a factory machine.
Conclusion
A Keepsake for the Ages
You did it, mama. You have created something truly beautiful in a season of life that is often chaotic and exhausting. These announcements are more than just a way to share news; they are a reflection of the love and intention you are already pouring into your child’s life. As you slide each card into its envelope and apply the stamp, take a moment to breathe in the accomplishment. You are teaching your child, from their very first days, that there is value in the slow, the handmade, and the tactile. Whether these cards end up framed on a grandparent’s mantle or tucked away in a memory box, they carry the story of your baby’s beginning. Enjoy this creative spark, and may it be just the first of many beautiful things you make together. You are doing an incredible job.