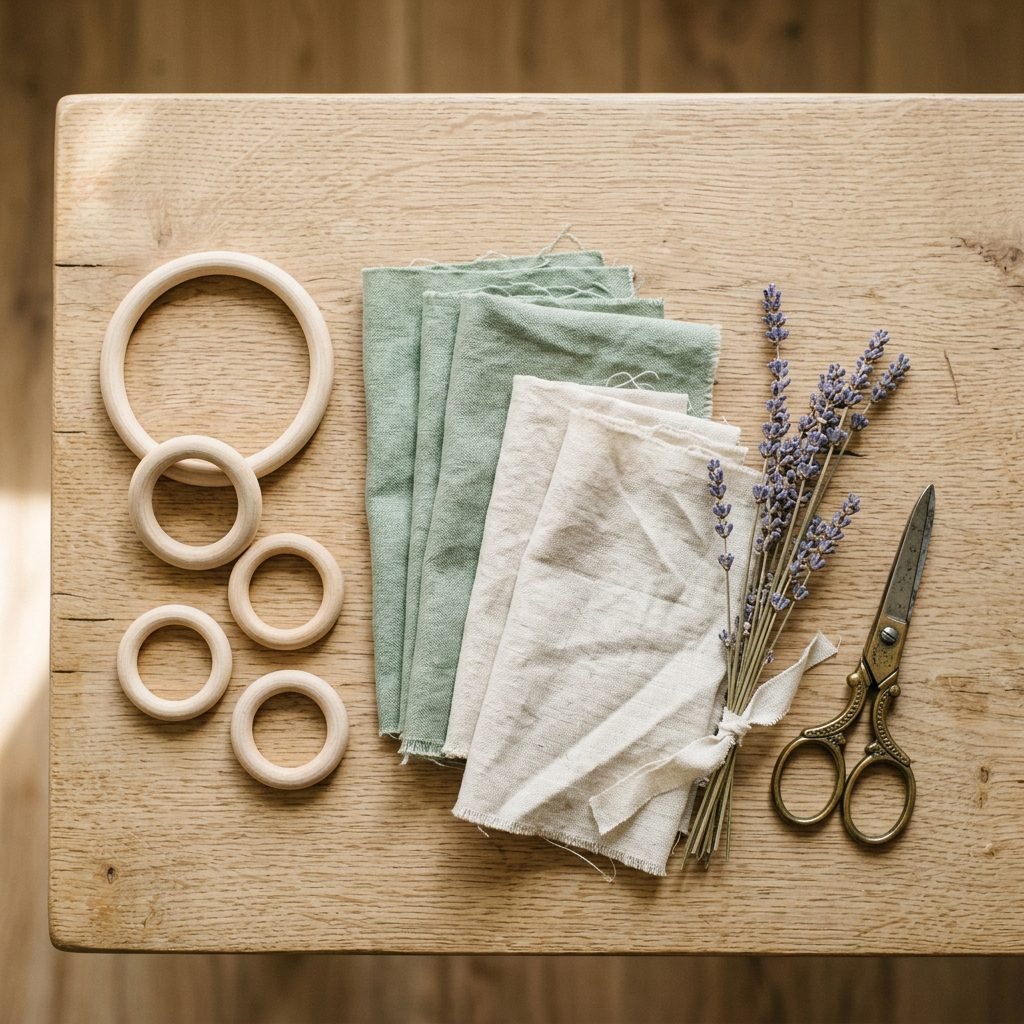
How to Make Safe and Stylish Organic Wooden Teething Rings for Babies
Embracing Nature’s Remedy for Teething Woes
Oh, mama, I see you. There is a specific kind of heartbeat-skip that happens when your little one starts that tell-tale drooling, the frantic fist-chewing, and those restless nights that signal the arrival of first teeth. As a doula, I’ve sat with so many of you in those quiet, tear-filled hours, and I know you want nothing more than to provide safe, gentle, and effective relief. In a world full of plastic and synthetic materials, there is something deeply grounding and reassuring about returning to the earth. Organic wooden teething rings aren’t just a Pinterest-worthy nursery accessory; they are a time-tested, non-toxic, and antibacterial solution for those aching gums.
In this guide, we are going to blend the wisdom of natural development with the joy of crafting. We aren’t just making a toy; we are creating a sensory experience for your baby that is free from BPA, phthalates, and heavy metals. Whether you are nesting during your third trimester or looking for a mindful project during naptime, I’m here to walk you through every splinter-free step. Let’s create something beautiful, functional, and perfectly safe for those precious little mouths.
The Foundation of Safety: Choosing the Right Wood and Fabric
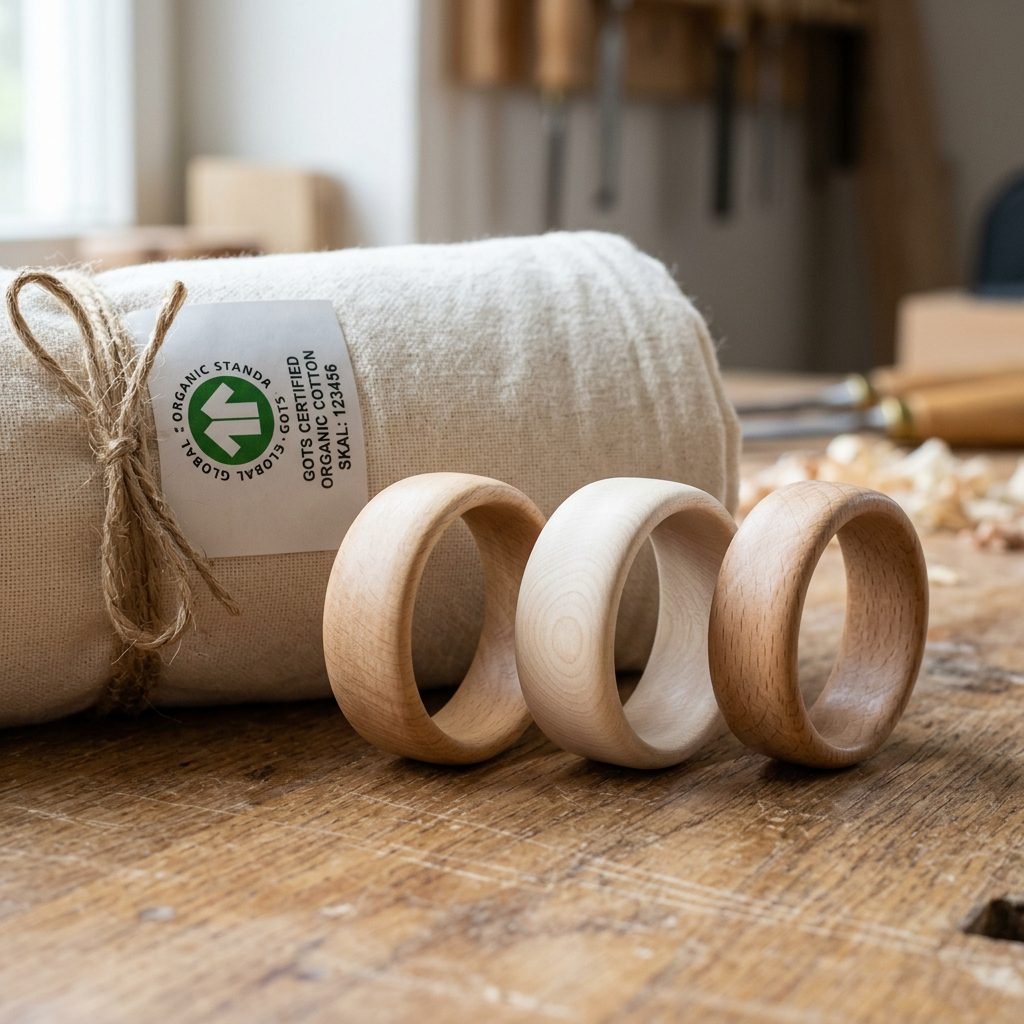
When it comes to something your baby will be gnawing on for hours, the quality of your raw materials is non-negotiable. Not all wood is created equal, and as a maternal wellness expert, I always advocate for hardwoods that are naturally splinter-resistant and possess antimicrobial properties.
Top Wood Choices for Teething
- Hard Maple: The gold standard. It is dense, durable, and non-toxic.
- Beechwood: Often used in high-end European toys, it is splinter-free and has a beautiful, light grain.
- Neem Wood: Known for its medicinal and antibacterial properties, though it has a slightly more distinct scent.
Organic Fabric and Thread
If you are adding ‘bunny ears’ or fabric ties for sensory play, stick to GOTS-certified organic cotton, hemp, or linen. These materials are breathable and haven’t been treated with harsh pesticides or flame retardants. Remember, your baby’s skin and gums are highly absorbent; what goes on the toy goes into their system.
Safety Reminder: Avoid softwoods like pine or cedar, as they can splinter easily and may contain resins that are irritating to a baby’s digestive tract.
Essential Supplies and Budget Breakdown
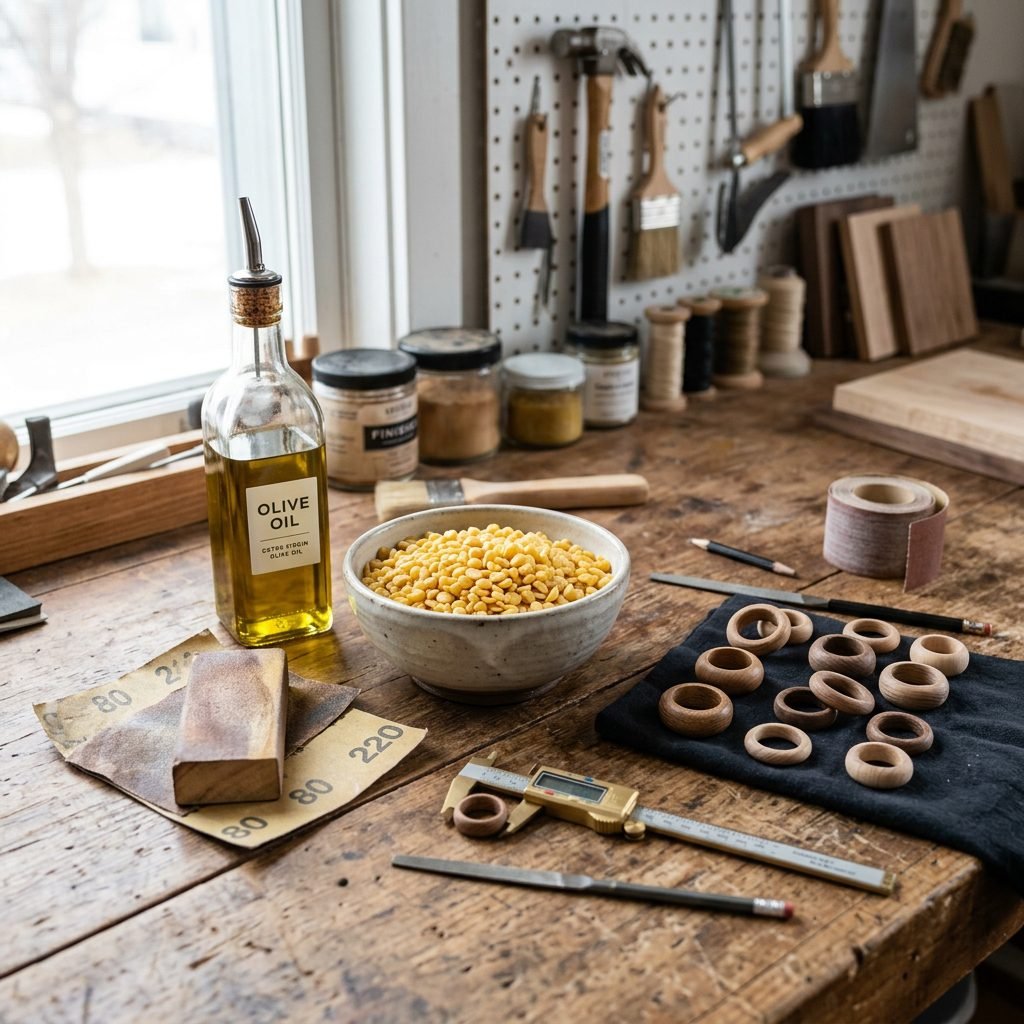
Creating your own teething rings is not only safer but significantly more cost-effective than buying luxury boutique versions. You can often make a batch of five for the price of one retail ring! Below is the breakdown of what you’ll need to get started on your crafting journey.
| Item | Purpose | Estimated Cost |
|---|---|---|
| Unfinished Maple Rings (3-inch) | The base of the teether | $10.00 (Pack of 10) |
| Organic Cotton Fabric Scraps | Sensory ‘bunny ears’ | $5.00 – $8.00 |
| Organic Beeswax & Olive Oil | Natural wood sealant | $12.00 (Bulk) |
| High-Grit Sandpaper (400+) | Ensuring a buttery-smooth finish | $4.00 |
| Cotton Embroidery Thread | Securing fabric elements | $2.00 |
Total Estimated Investment: Approximately $33.00 for a batch of 10 high-quality, organic teethers. That breaks down to just $3.30 per ring, making these perfect for baby shower favors or stacking in your nursery baskets!
Step-by-Step: Crafting the Perfect Organic Teether
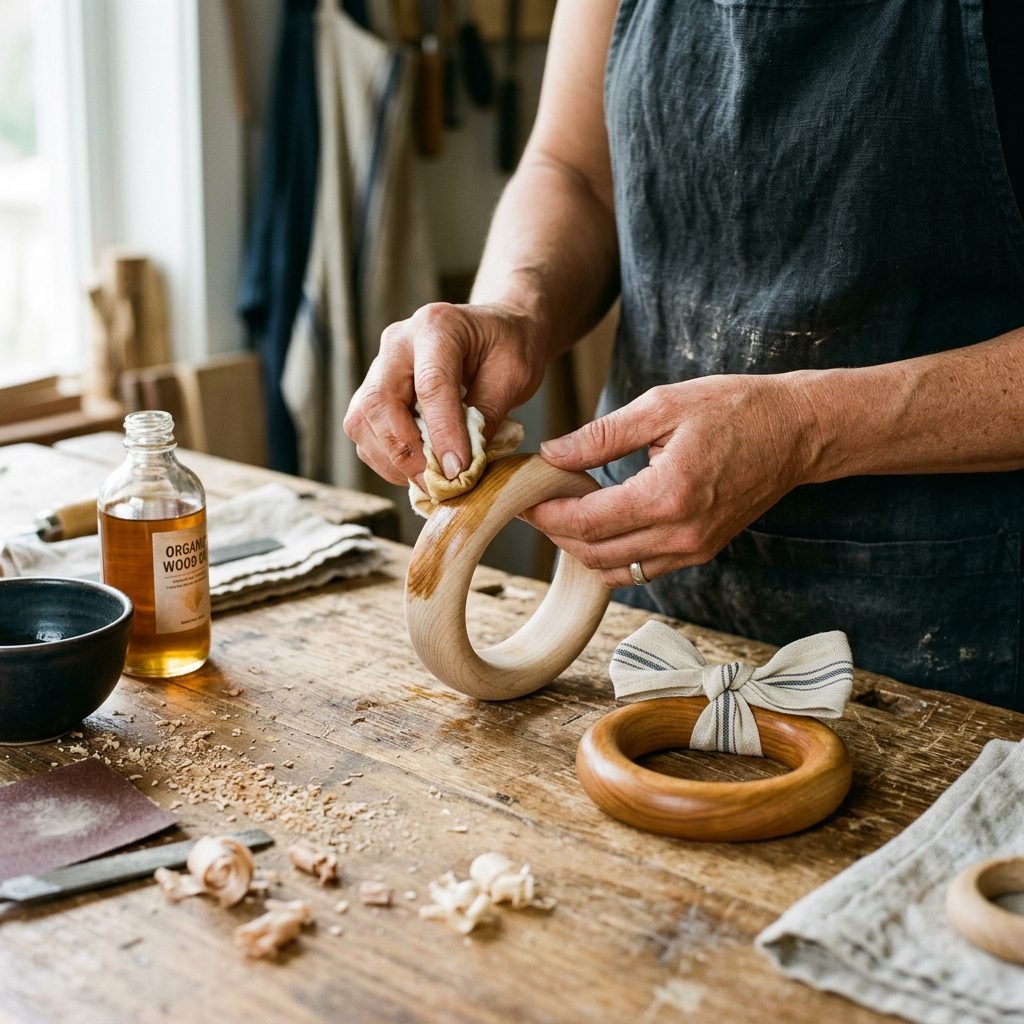
Let’s get our hands busy, mama. This process is meditative and rewarding. Follow these steps to ensure a professional, safe finish.
- Inspect and Sand: Even if the rings arrive ‘pre-sanded,’ take your 400-grit sandpaper and go over every millimeter. You want the wood to feel like silk against your skin. Wipe away all dust with a damp, lint-free organic cloth.
- Condition the Wood: In a small glass bowl, melt 1 part beeswax with 3 parts organic olive oil (or coconut oil). Once liquid, use a clean cloth to rub the mixture into the wood. Let it sit for 24 hours, then buff off the excess. This seals the wood and prevents it from drying out or cracking when wet with drool.
- Prepare the Fabric: Cut two ‘bunny ear’ shapes out of your organic fabric (approx 10 inches long). Place right sides together, sew around the edges leaving a small gap, flip right-side out, and top-stitch the opening closed.
- The Girth Hitch Knot: Fold your fabric ears in half, tuck the loop through the center of the wooden ring, and pull the ‘ears’ through the loop. Pull tight to secure.
Pro-Tip: I love adding a layer of crinkle paper (safety-rated) inside the fabric ears. The sound provides wonderful auditory stimulation for developing brains!
The Sensory Connection: Why Texture and Weight Matter
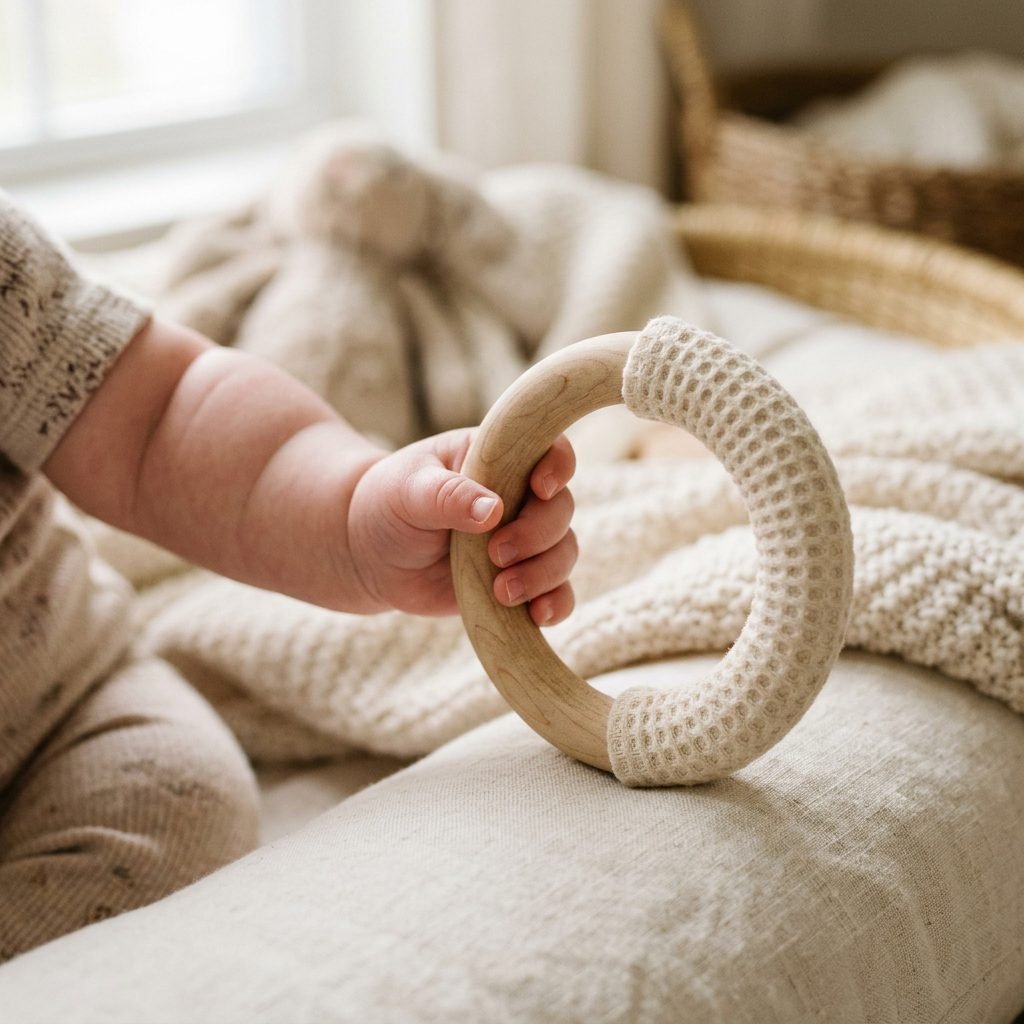
As a pediatric sleep and development consultant, I look at toys through the lens of sensory integration. Teething isn’t just about pain; it’s a phase of intense oral exploration. Wooden rings provide a firm counter-pressure that silicone often lacks, which can be more effective for those stubborn molars trying to break through.
Benefits of the Wood-Fabric Combo
- Variable Resistance: The hard wood helps the teeth cut through, while the soft fabric soothes the inflamed gums.
- Temperature Regulation: Unlike plastic, wood stays at a neutral, comforting temperature, though you can dampen the fabric ears and chill them for extra relief.
- Weight and Grasp: A 3-inch ring is the perfect size for the palmar grasp, helping your baby develop the fine motor skills needed for later milestones.
By choosing different fabric textures—like a nubby organic waffle knit on one side and a smooth linen on the other—you are providing a rich ‘sensory buffet’ for your baby’s mouth and hands.
Maintenance, Cleaning, and Safety Longevity
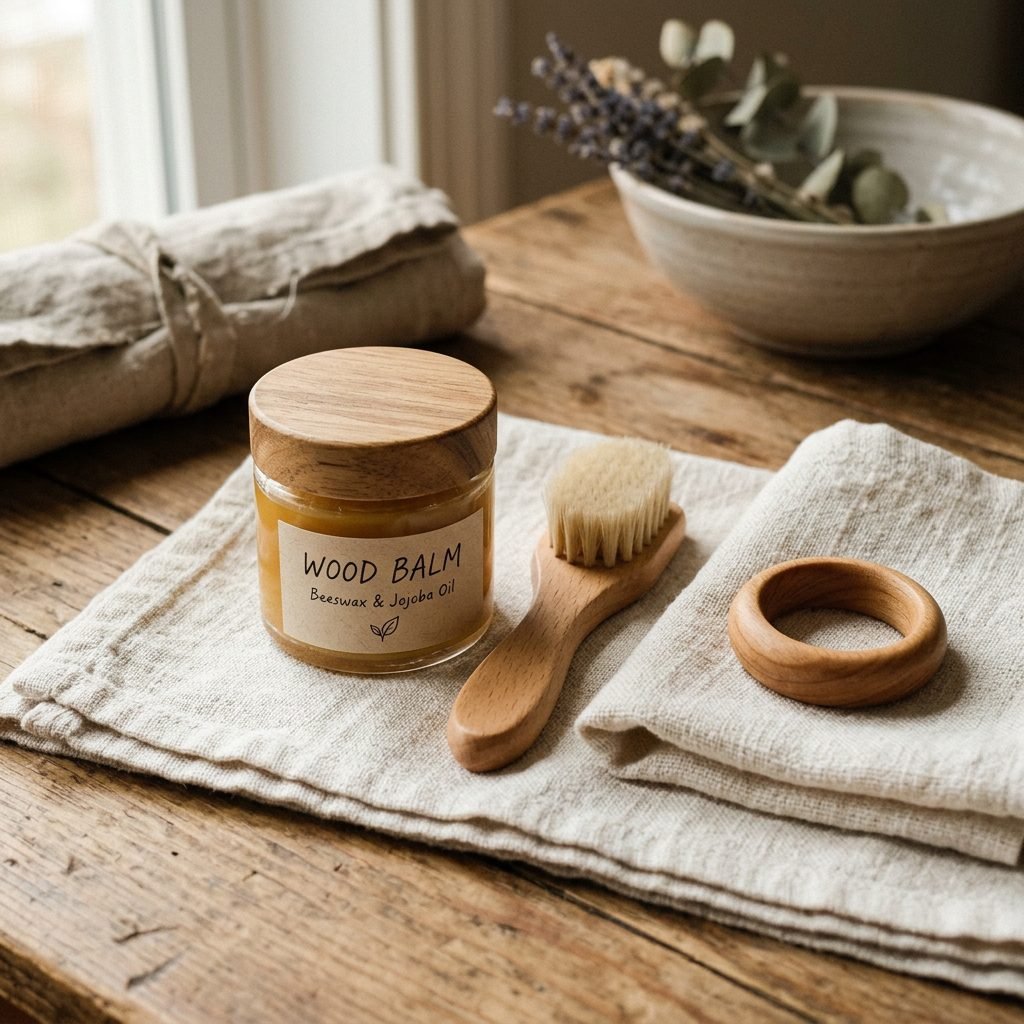
Because wood is a natural, porous material, it requires a little more love than plastic. But don’t worry—it’s simple! Keeping these rings clean ensures they remain a safe haven for your baby.
The Golden Rules of Wood Care
- Never Submerge: Do not soak wooden rings in water or put them in the dishwasher. This causes the wood fibers to swell and eventually crack or ‘fur,’ creating a choking hazard.
- Spot Clean Only: Use a mild, baby-safe soap and a damp cloth to wipe the wood. The fabric ears can be untied and tossed into the delicates bag for a regular machine wash.
- Re-Oil Regularly: Every month, or whenever the wood looks ‘thirsty’ or dull, re-apply your beeswax and oil mixture to maintain the protective barrier.
- The ‘Snap’ Test: Before every use, give the ring a firm tug and a visual inspection. If you see any cracks, splintering, or signs of mold, it is time to retire the ring and make a new one.
| Action | Frequency | Method |
|---|---|---|
| Surface Wipe | Daily / After Use | Damp cloth, air dry |
| Fabric Wash | Weekly | Machine wash (delicates) |
| Wood Conditioning | Monthly | Beeswax/Oil rub |
| Safety Inspection | Every Use | Visual and physical check |
Styling Your Teethers for the Modern Nursery
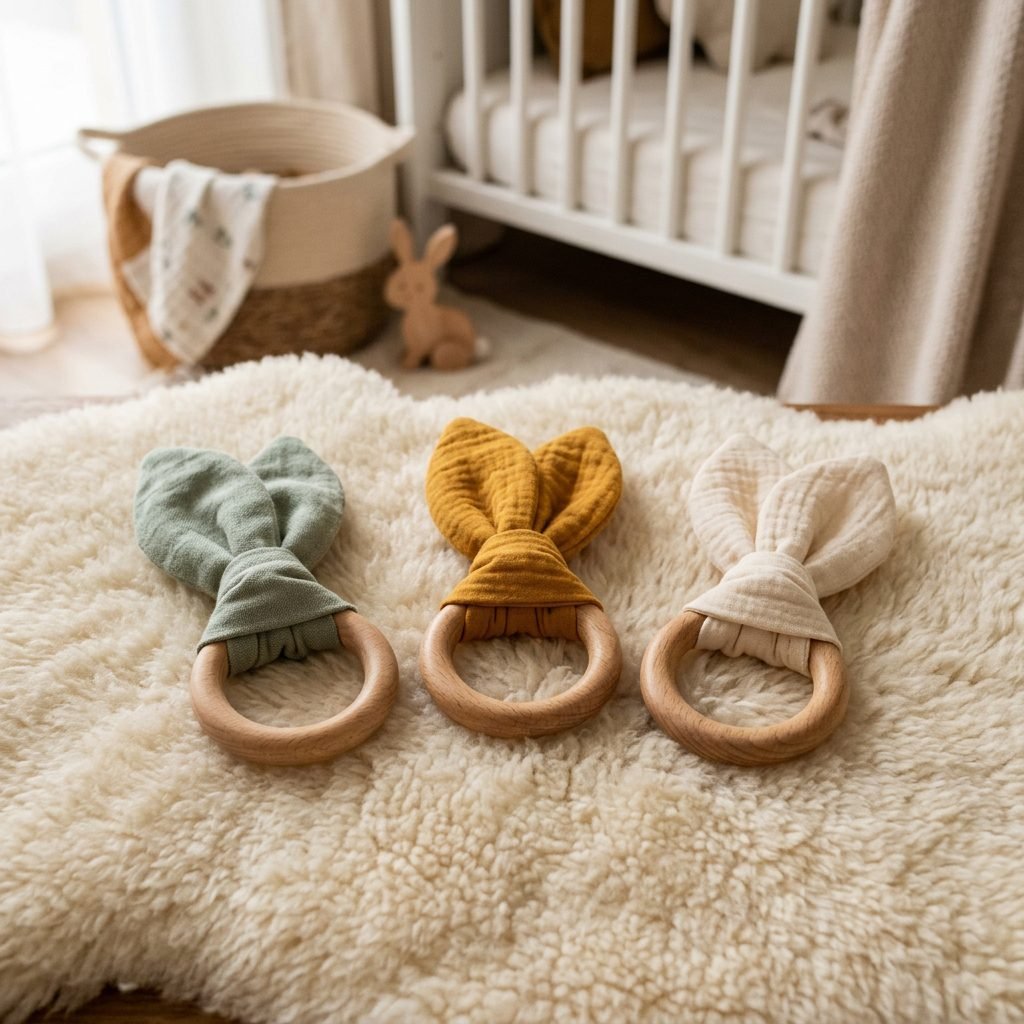
Let’s talk aesthetics, because who says baby gear can’t be beautiful? These organic rings fit perfectly into the Scandi-minimalist, Boho, or Earth-Tone nursery trends. When choosing your fabrics, consider a cohesive color palette that complements your nursery decor.
Style Inspiration
- The Minimalist: Unbleached organic cotton with a simple maple ring.
- The Botanical: Sage green linen ears with a dark walnut-stained (food-safe) ring.
- The Modern Vintage: Dusty rose muslin with a honey-toned beechwood ring.
These also make incredible heirloom-quality gifts. Tie a set of three together with a piece of cotton twine and a sprig of dried eucalyptus for a baby shower gift that looks like it came from a high-end boutique, but carries the warmth of your handmade touch.
Conclusion
A Labor of Love for Your Little One
Mama, creating these organic wooden teething rings is a beautiful way to channel your nesting energy into something that provides tangible comfort to your baby. In a world of mass-produced plastic, your choice to use natural, sustainable, and non-toxic materials is a powerful act of care. You are not just soothing their gums; you are surrounding them with the safety and warmth of nature.
As you watch your little one grasp their ring, exploring the textures and finding relief, take a moment to be proud of yourself. You are doing an incredible job navigating these early milestones. Keep this guide handy for whenever you need a quick gift or a fresh set of rings, and remember: the best things for our babies are often the simplest ones, made with love and a little bit of beeswax. Happy crafting, and may those new teeth arrive with as little fuss as possible!