How to Make a Safe Edible Sand Sensory Bin for Babies Using Graham Crackers
Welcome to the Magic of Sensory Play, Mama
There is something truly soul-stirring about watching your baby discover the world for the first time. As a doula and a fellow mama, I know that those early months are a whirlwind of milestones, sleepless nights, and the constant, instinctual urge to keep our little ones safe. Around the six-month mark, when your baby starts sitting up and exploring with their hands, a new world of play opens up. However, this is also the ‘everything-goes-in-the-mouth’ phase. That is why I am so passionate about taste-safe sensory play. Today, we are diving into one of my absolute favorite DIY projects: the Graham Cracker Sensory Bin. It looks like sand, feels like sand, but is entirely edible and safe for those curious little taste buds. This activity is more than just a way to pass the time; it is a developmentally rich experience that supports fine motor skills, cognitive growth, and sensory integration. So, grab a cup of tea, find a comfortable spot, and let’s walk through how to create this golden, crumbly wonderland for your sweet babe.
‘In the eyes of a child, there are no seven wonders of the world. There are seven million.’ — Let’s give them a safe place to start exploring those wonders.
The Developmental Science Behind the Sand
Why Sensory Play is a Brain-Building Powerhouse
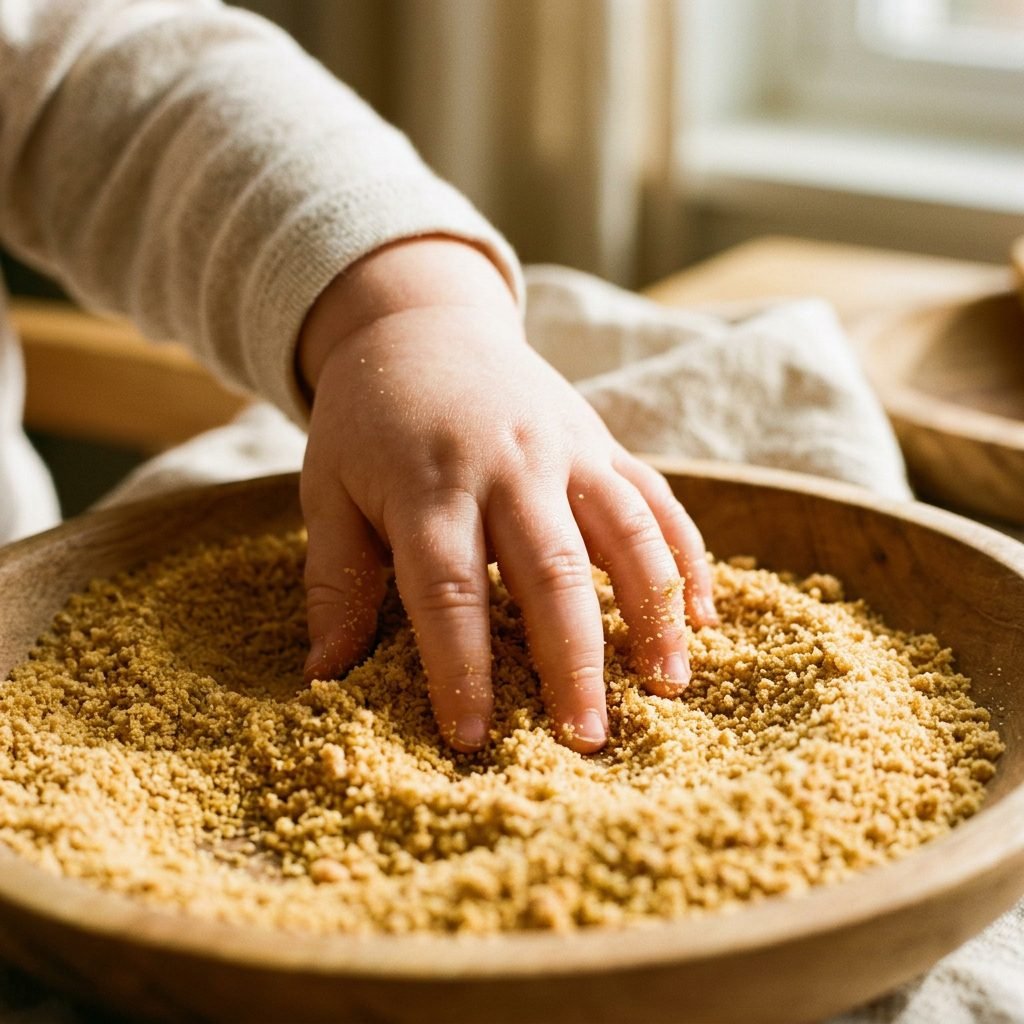
As a maternal wellness expert, I often talk about the ‘windows of opportunity’ in a baby’s brain development. Sensory play is the key that unlocks these windows. When your baby plunges their hands into a bin of ground graham crackers, they aren’t just making a mess—they are conducting a complex scientific experiment. They are learning about tactile discrimination (the difference between smooth and grainy), proprioception (how much force to use when squeezing the sand), and cause and effect (what happens when I drop this?).
The Five Systems at Work
- Tactile (Touch): The grainy texture of the graham crackers stimulates the nerve endings in the fingertips, which is essential for developing the pincer grasp.
- Visual (Sight): Discerning the small particles and the way they move helps with visual tracking and depth perception.
- Olfactory (Smell): The sweet, toasted aroma of the crackers provides a pleasant olfactory stimulus that can be calming.
- Gustatory (Taste): Because this sand is edible, the ‘mouthing’ reflex becomes a safe part of the learning process rather than a source of stress for you.
- Auditory (Hearing): Listen to the ‘crunch’ and the sound of sand hitting the plastic bin—it’s music to a developing ear!
By providing a safe, edible environment, you allow your baby to explore without the constant ‘no, don’t put that in your mouth!’ This fosters a sense of autonomy and confidence in their environment from a very young age.
Gathering Your Supplies: A Budget-Friendly Breakdown
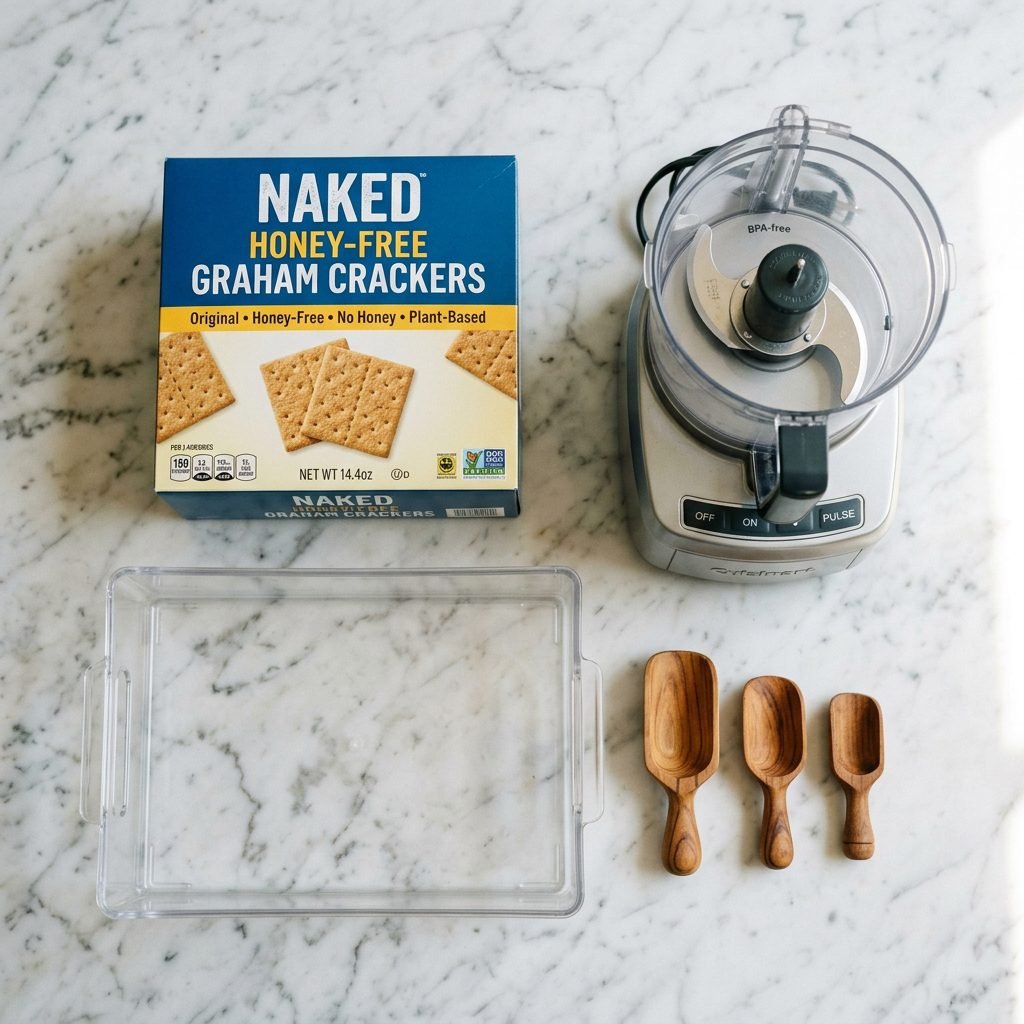
Everything You Need for a Stylish & Safe Setup
One of the best parts about this DIY is that you likely have most of the items in your pantry already. However, as a doula-expert, I have a few specific recommendations to ensure the highest safety standards, especially regarding ingredients. CRITICAL NOTE: Most standard graham crackers contain honey. Because of the risk of infant botulism, babies under 12 months should never consume honey. For this age group, please look for specific ‘honey-free’ graham cracker brands or use toasted oat flour as an alternative.
| Item | Purpose | Estimated Cost |
|---|---|---|
| Honey-Free Graham Crackers | The ‘Sand’ Base | $4.00 – $6.00 |
| Large Shallow Bin | The Play Space | $8.00 – $12.00 |
| Food Processor or Blender | Creating the Texture | $0.00 (Household item) |
| Wooden Scoops & Bowls | Fine Motor Tools | $5.00 – $10.00 |
| Splat Mat or Old Sheet | Cleanup Control | $0.00 (Reuse what you have) |
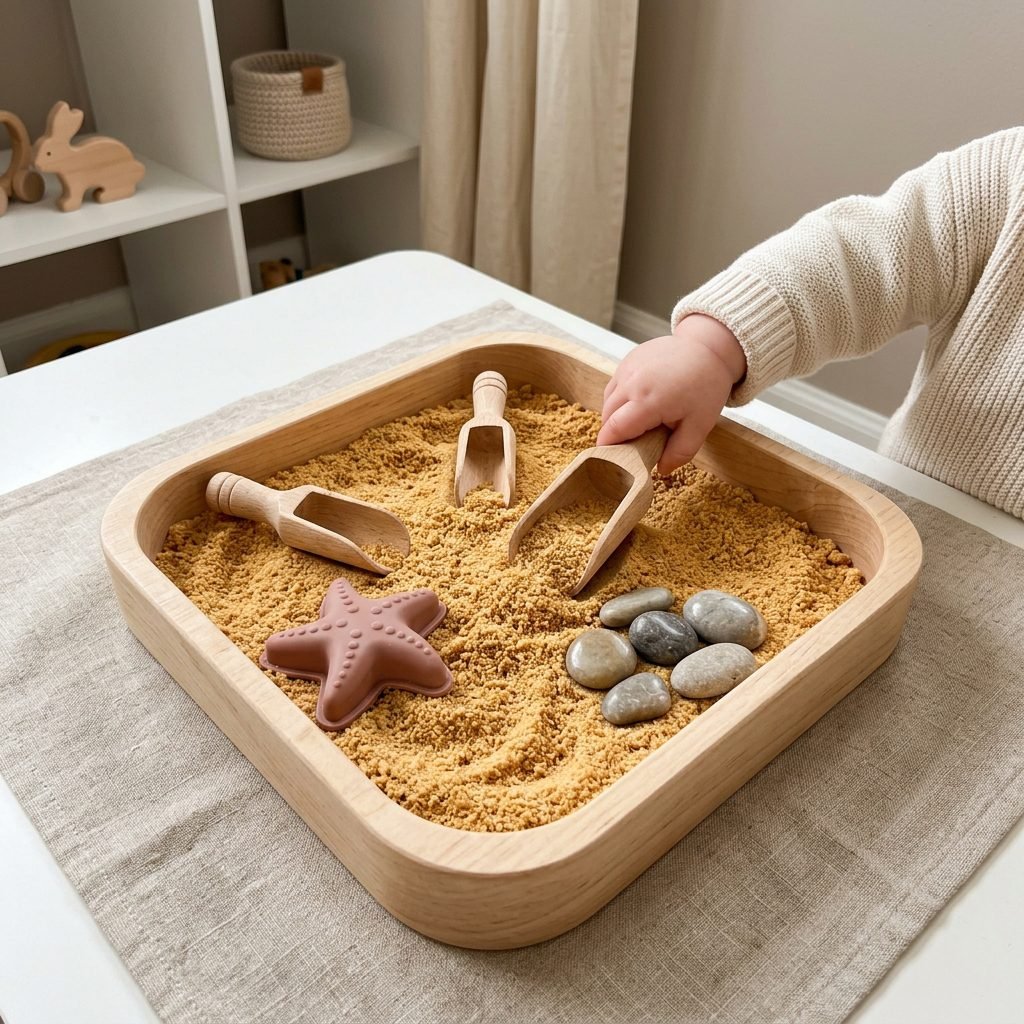
When choosing your bin, I recommend a clear, shallow plastic container. A height of about 3 to 5 inches is perfect—it keeps the sand contained while remaining low enough for a sitting baby to reach inside comfortably. For tools, steer clear of cheap, flimsy plastics. Instead, opt for sustainable wooden scoops or food-grade silicone molds. Not only are they safer for teething, but they also look beautiful in your nursery or playroom!
Step-by-Step: Creating the Perfect Edible Sand
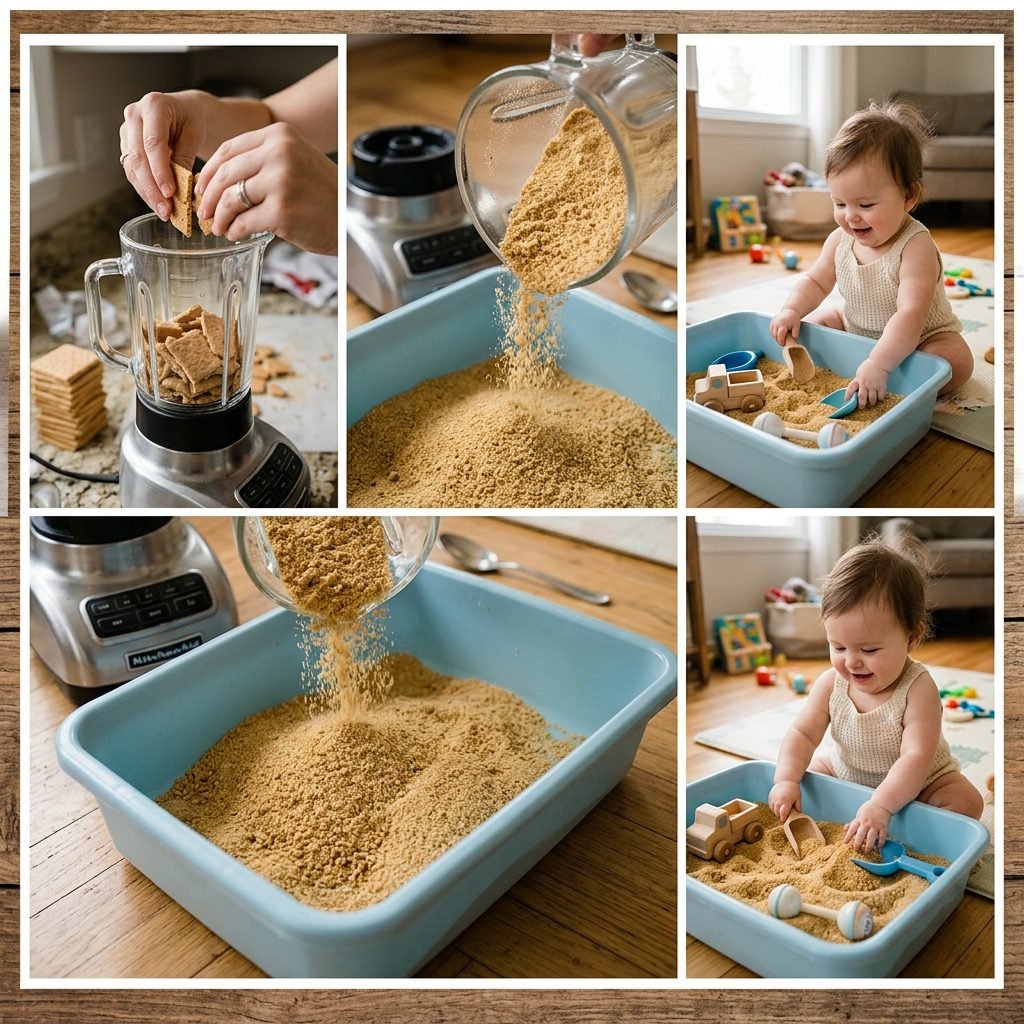
The Simple Method for Golden Sand
Creating your edible sand is incredibly quick, making it the perfect activity to prep during a nap time. Follow these steps to get the consistency just right.
- Select Your Base: Ensure your graham crackers are fresh. If you are using an alternative like toasted oats or Cheerios, ensure they are finely milled.
- The Grinding Process: Break the crackers into smaller chunks and place them in your food processor. Pulse until you reach a fine, sandy consistency. Pro-Tip: Don’t over-process into a flour; a little bit of grit makes for a better sensory experience!
- The Safety Check: Sift through the ‘sand’ with your own hands to ensure no large, sharp chunks of cracker remain. These can be a choking hazard or just uncomfortable for little hands.
- Set the Stage: Lay down your splat mat or a large towel in a high-traffic-friendly area. Place the bin in the center.
- Introduce the Tools: Add your scoops, bowls, or even some large, clean ‘ocean’ toys like a silicone whale or a large seashell.
‘Mama, remember: the goal isn’t a perfectly clean floor; the goal is a perfectly engaged baby. The crumbs will vacuum up, but the neurons being fired stay forever.’
If you want to get extra creative, you can add a ‘scent’ by mixing in a tiny pinch of cinnamon (ensure your baby has tried cinnamon before to rule out any skin sensitivity).
Styling Your Sensory Space & Cleanup Hacks
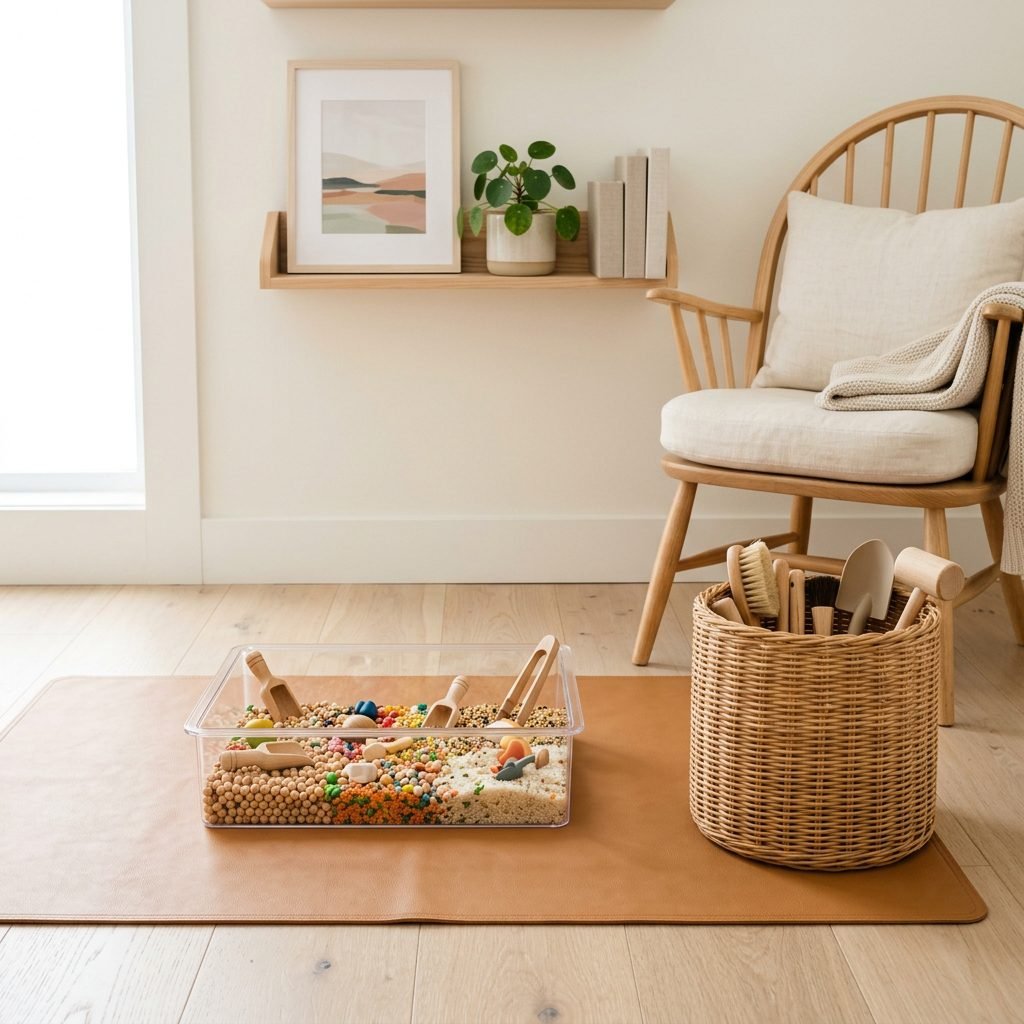
Keeping it Chic and Stress-Free
I know what you’re thinking: ‘Graham crackers everywhere? My rug!’ I hear you, sister. But with a little bit of ‘Interior Organizer’ magic, we can make this a clean process. First, let’s talk about the Splat Mat. A high-quality, wipeable vegan leather mat is a game-changer for modern moms. It catches the crumbs and looks like a piece of decor. If you don’t have one, a simple fitted sheet with the corners tucked under the bin works wonders to keep the ‘sand’ contained.
The ‘After-Play’ Routine
- The Quick Sweep: Use a small handheld vacuum or a ‘crumb brusher’ to quickly clear the mat.
- The Storage Hack: If the sand hasn’t been overly ‘drooled’ on, you can store it in an airtight glass jar or a large Ziploc bag in the pantry for up to one week. Label it ‘Baby Sand’ so no one tries to make a pie crust out of it!
- The Baby Cleanup: Keep a pack of water-based wipes nearby. Graham cracker sand can get a little sticky when mixed with baby drool, so a quick hand-and-face wipe immediately after play is key.
By having a designated ‘sensory zone,’ you create a predictable routine for your baby. They will start to recognize the mat and the bin, which helps with their sense of order and security.
Creative Themes to Enhance the Experience
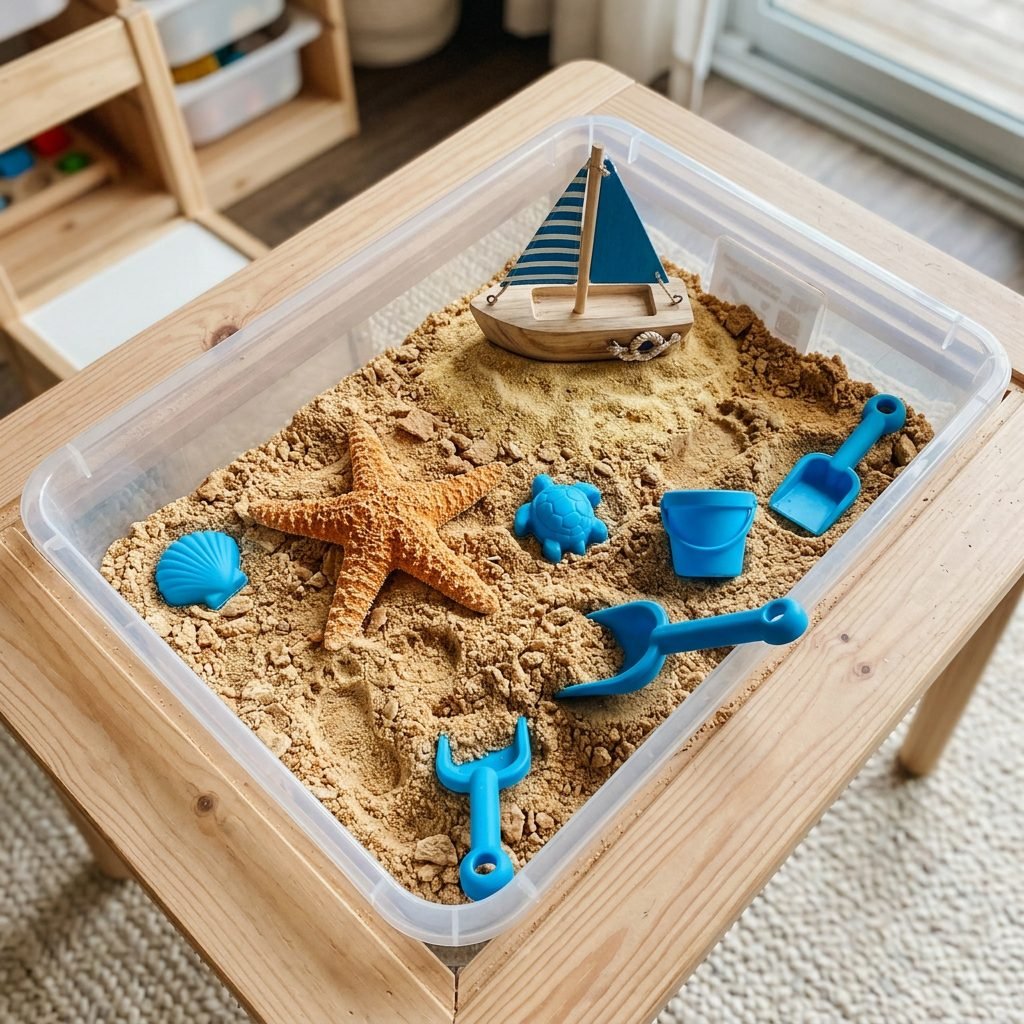
Taking the Play to the Next Level
Once your baby has mastered the basic bin, you can start introducing themes! This keeps the activity fresh and exciting as they grow. Here are three doula-approved themes to try:
1. The ‘Under the Sea’ Bin
Add some blue silicone cupcake liners and large, smooth blue stones. Hide ‘treasures’ like large plastic gold coins or chunky fish figurines under the sand for your baby to find. This encourages object permanence—the understanding that things still exist even when they can’t be seen.
2. The ‘Construction Site’
If you have a little one who loves movement, add a small wooden bulldozer or a dump truck. Let them practice filling the truck bed with ‘sand’ and dumping it out. This is excellent for hand-eye coordination.
3. The ‘Garden Dig’
Add some sturdy, non-toxic silk flowers and a small watering can (without water). Let your baby ‘plant’ the flowers in the graham cracker sand. This introduces the concept of nature and growth in a tactile way.
Note on Color: If you want to change the color of the sand, you can add a few drops of natural, plant-based food coloring to the crackers while they are in the food processor. A light green or a soft pink can transform the bin into a whole new world!
Safety First: What Every Mama Needs to Know
Prioritizing Your Little One’s Well-being
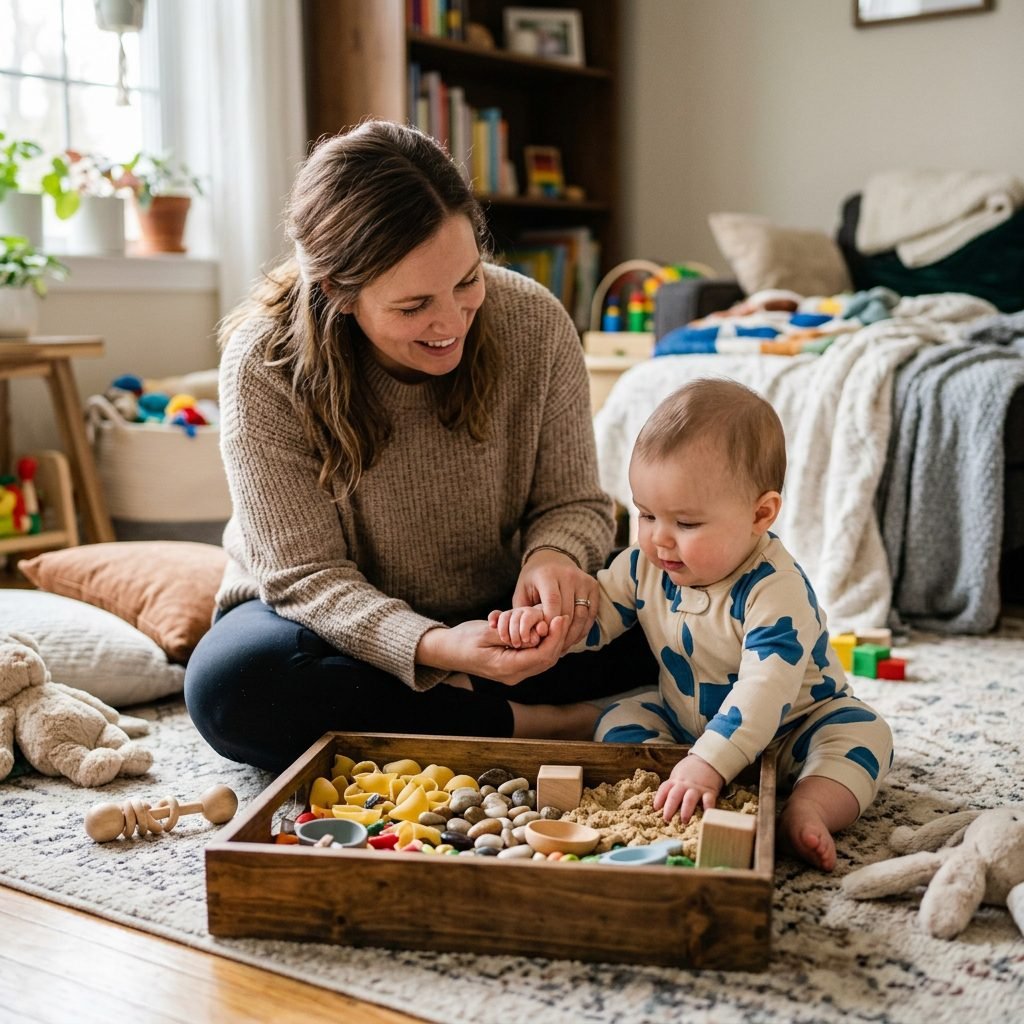
As much as we love the fun, safety is our top priority. When engaging in sensory play, always keep these guidelines in mind. First and foremost, active supervision is non-negotiable. Even though the sand is edible, your baby should never be left alone with the bin. They are still learning how to swallow different textures, and a large mouthful of dry crumbs could cause a cough or gag reflex.
Allergy Awareness & Ingredients
- Gluten Sensitivity: If your family has a history of celiac disease or gluten intolerance, swap the graham crackers for certified gluten-free crackers or ground gluten-free oats.
- The Honey Rule: I will say it again because it is so important—No honey for babies under 12 months. Check the ingredient label of your graham crackers carefully, as ‘Honey Maid’ and similar brands are the industry standard but are unsafe for infants.
- Choking Hazards: Any toys added to the bin must be larger than a toilet paper roll. Small stones, tiny plastic animals, or marbles should never be included.
If your baby starts to get frustrated or overwhelmed, it is okay to end the session. Sensory play should be a joyful experience. Sometimes, 5 to 10 minutes is all a young baby needs before they reach sensory saturation.
Conclusion
Embrace the Mess and the Memories
Mama, you are doing an incredible job. By taking the time to create this safe, edible sand sensory bin, you are providing your baby with a rich, foundational experience that honors their natural curiosity. It is these small moments of intentional play that build a strong bond between you and your little one. Don’t worry about the crumbs on the floor or the sticky fingers—focus on the sparkle in your baby’s eyes as they discover the crunch of a graham cracker or the joy of pouring ‘sand’ from one cup to another. You are creating a home filled with wonder, safety, and love. Enjoy this beautiful phase of exploration!