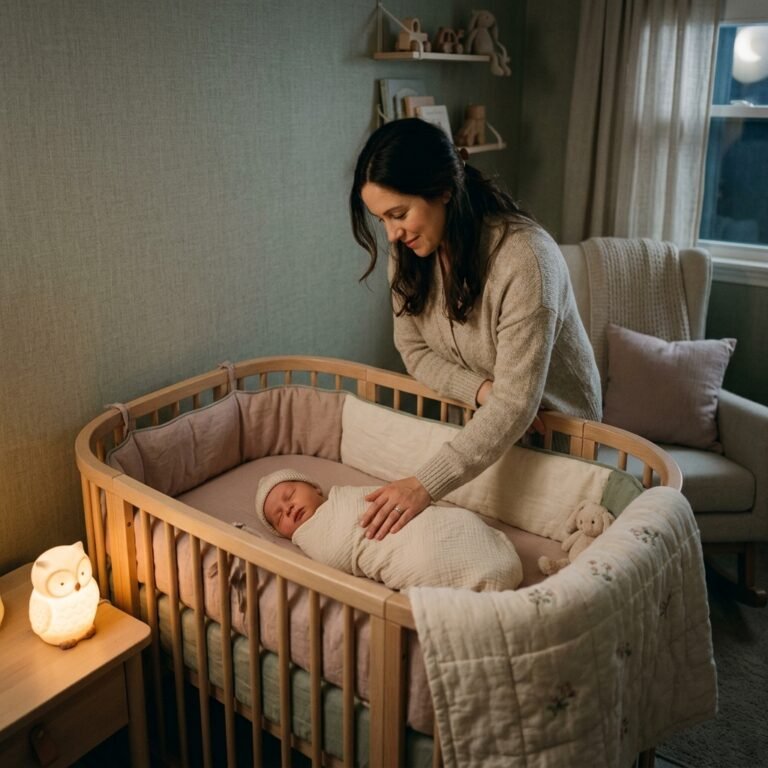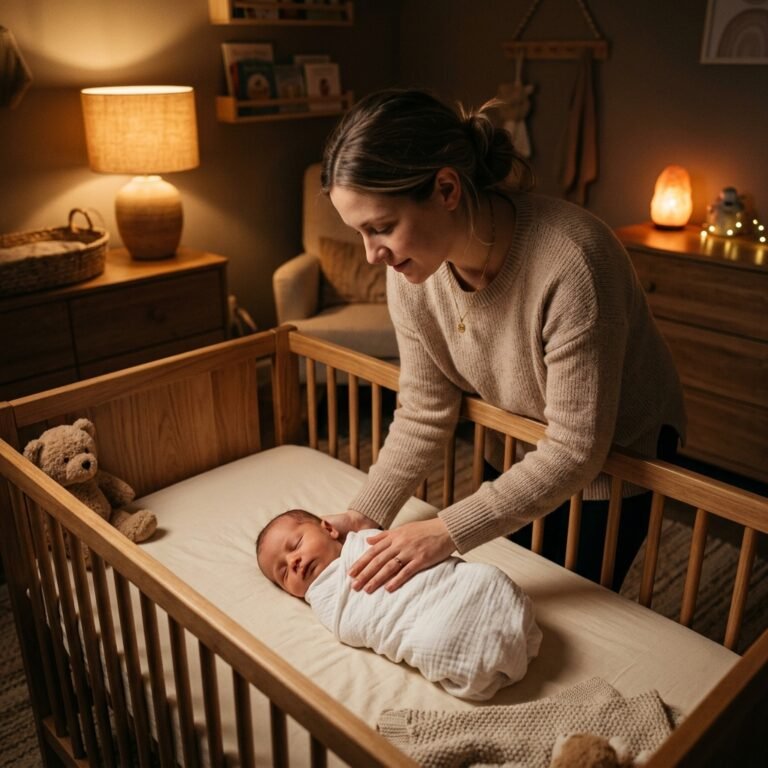
Ditch the Swaddle: The Gentle One-Arm-Out Transition Method for Newborn Sleep
Oh, mama. I see you. You have finally—finally—gotten your sweet baby to sleep for more than two consecutive hours. You have mastered the art of the perfect, burrito-tight swaddle, and it feels like you’ve unlocked the ultimate newborn survival secret. But now, your little one is getting older, stronger, and perhaps a bit more wiggly. The pediatrician mentioned it at your last visit, or maybe you’ve noticed your baby practicing their baby gymnastics in the crib. It is time to ditch the swaddle.
Take a deep breath. I know that just reading those words might send a shiver of panic down your spine. For so many expectant parents and postpartum mothers, the swaddle is the magic off-switch for the Moro (startle) reflex. The thought of taking away the very thing that brings your baby comfort and brings you precious sleep is daunting. But as a certified pediatric sleep consultant and your virtual doula, I am here to hold your hand through this milestone. We are not going to go cold turkey. We are not going to sacrifice your sanity. Instead, we are going to use the gentle, evidence-based One-Arm-Out Method.
This transition is a beautiful sign that your baby is growing, developing vital motor skills, and getting ready to explore the world. In this comprehensive guide, we will walk through exactly when to start, how to execute the step-by-step physical transition, and how to set up your nursery environment to support this big change. Grab a warm cup of tea, cozy up, and let’s navigate this sleep transition together with grace, comfort, and confidence.
Recognizing the Signs: When Is It Time to Ditch the Swaddle?

Before we dive into the how, we must understand the why and the when. As a postpartum recovery nurse, I always remind moms that safety is our absolute north star. The swaddle is incredibly comforting for a newborn, mimicking the tight, cozy environment of the womb. However, once a baby becomes physically capable of rolling over, a swaddle becomes a significant safety hazard. If a baby rolls onto their tummy while their arms are restrained, they cannot push themselves up to clear their airway.
The Golden Rules of Timing
- The 8-Week Mark: The American Academy of Pediatrics (AAP) recommends stopping swaddling when your baby shows signs of attempting to roll, which can happen as early as 8 weeks (or 2 months) of age. Even if they haven’t rolled yet, 8 weeks is the widely accepted safety benchmark to begin the transition.
- Escaping the Swaddle: If you are waking up to find your little Houdini has busted an arm out, or the blanket is loose around their face, it is time to transition. Loose blankets in the crib are a strict no-go.
- Increased Leg and Hip Movement: If your baby is constantly lifting their legs and slamming them down (the classic “whale tail”), they are building the core strength required to roll.
It is completely normal to feel anxious about this timeline, especially if your baby is still experiencing a strong Moro reflex. The Moro reflex is that involuntary startle response where your baby throws their arms out and gasps. It usually integrates (fades away) between 4 to 6 months of age. Because we often have to drop the swaddle before the startle reflex is completely gone, the One-Arm-Out method is the perfect bridge to help your baby adjust gradually.
“You are not taking away your baby’s comfort; you are safely guiding them into their next phase of development. Trust their resilience, and trust your instincts, mama.”
The Gentle One-Arm-Out Technique: A Step-by-Step Guide
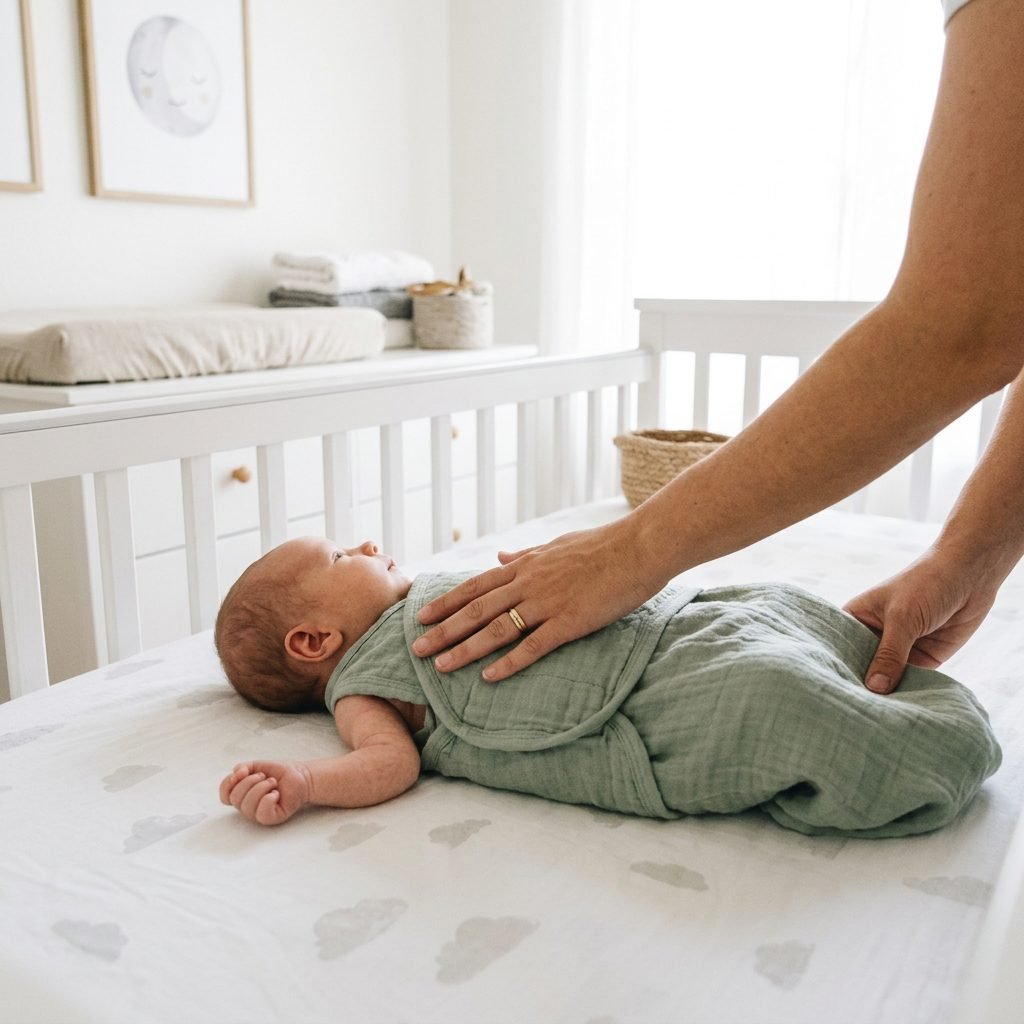
The beauty of the One-Arm-Out method is in its gradual nature. By releasing just one arm first, your baby still feels the reassuring, gentle pressure around their torso and their other arm, which helps ground them while they get used to having a free limb. Here is the step-by-step physical guide to mastering this technique.
Step 1: Choose the Right Starting Point
Do not start this transition at bedtime when everyone is exhausted. Start with the first nap of the day. This is typically when sleep pressure is highest, and your baby is most likely to go down easily. If the nap is a disaster, you have the rest of the day to recover.
Step 2: Select the Dominant Arm
Observe your baby. Which hand do they tend to bring to their mouth more often? Which arm seems more active? Start by leaving this “dominant” arm out of the swaddle. Having their preferred hand free allows them to discover self-soothing techniques, like sucking on their fingers or knuckles.
Step 3: The Wrap Technique
- Lay your baby down on their back on top of your open swaddle blanket or unzipped transition swaddle.
- If using a traditional blanket, secure the left arm (or non-dominant arm) down by their side as you normally would, wrapping the fabric snugly across their chest.
- Leave the right arm completely free, resting outside the blanket.
- Tuck the remaining fabric securely under their body so it cannot unravel and cover their face. (If using a Velcro or zip swaddle with armholes, simply snap or zip it with one arm threaded through the hole).
Step 4: Implement Soothing Interventions
When you lay them down with one arm out, they will likely startle. Place your warm, heavy hand firmly but gently on their chest. You can also gently hold their free arm against their chest for a few moments until their breathing slows. Use a continuous “shhh” sound right by their ear to calm their nervous system.
Your Step-by-Step Swaddle Transition Timeline
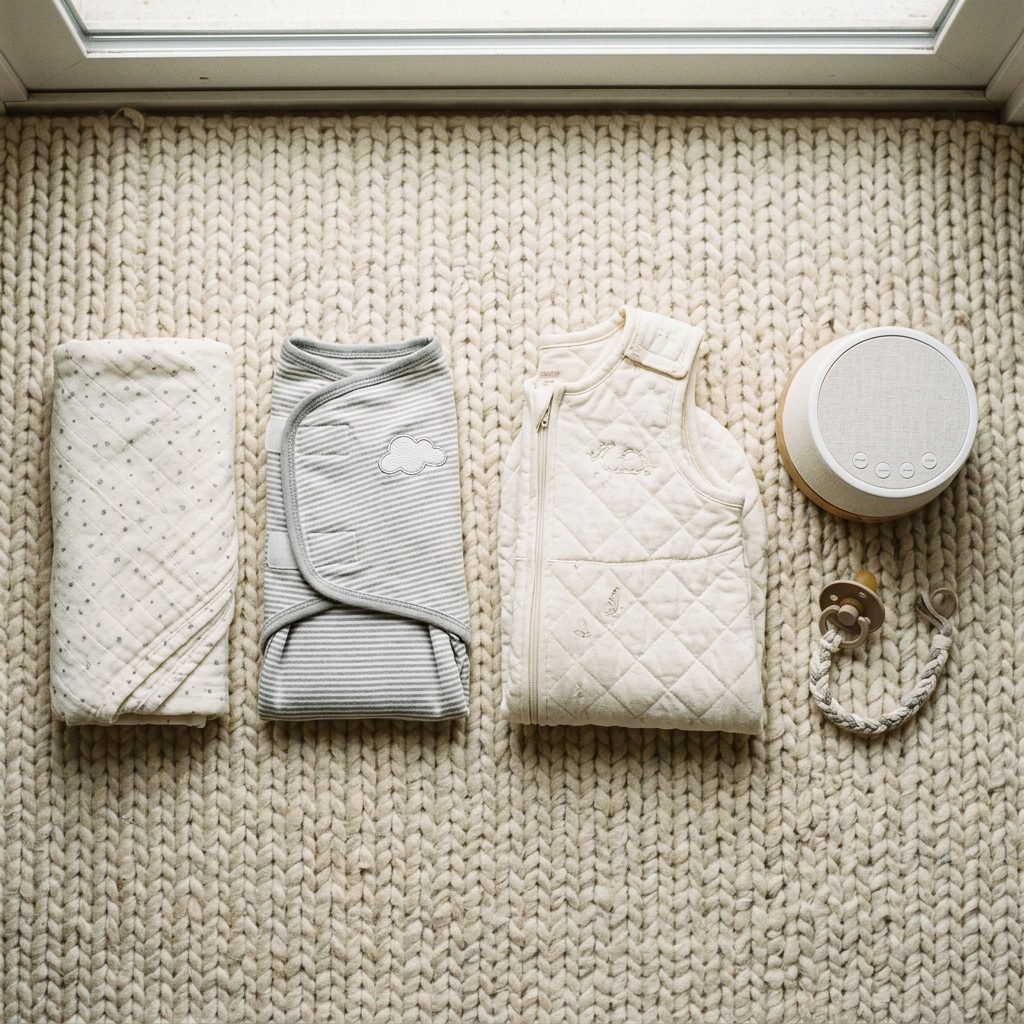
Consistency and patience are your best friends during this transition. Expect a few bumps in the road, but remember that babies are incredibly adaptable. Below is a highly practical, 10-day scheduling matrix to help you pace the transition. Adjust this based on your baby’s temperament—some babies breeze through this in 3 days, while others need a full two weeks.
| Day / Phase | Nap Strategy | Nighttime Strategy | Goal / Focus |
|---|---|---|---|
| Days 1-3 | One arm out for the 1st nap only. Swaddle normally for other naps. | Fully swaddled (both arms in). | Introduce the sensation of a free arm when sleep pressure is highest. |
| Days 4-5 | One arm out for ALL daytime naps. | Fully swaddled (both arms in). | Build consistency and practice self-soothing during the day. |
| Days 6-7 | Both arms out for the 1st nap. One arm out for remaining naps. | One arm out for nighttime sleep. | Tackle nighttime sleep with the safety of one arm still snug. |
| Days 8-9 | Both arms out for ALL daytime naps. | One arm out for nighttime sleep. | Master daytime independence. |
| Day 10+ | Both arms out (Transition to Sleep Sack). | Both arms out (Transition to Sleep Sack). | Complete transition. Celebrate your baby’s new milestone! |
Important Note: If your baby rolls over while fully swaddled before you have completed this timeline, you must drop the swaddle immediately for safety. In that case, switch directly to a sleep sack and rely heavily on your nursery environment and soothing techniques to help them adjust.
Soothing the Startle: Troubleshooting Common Sleep Hiccups
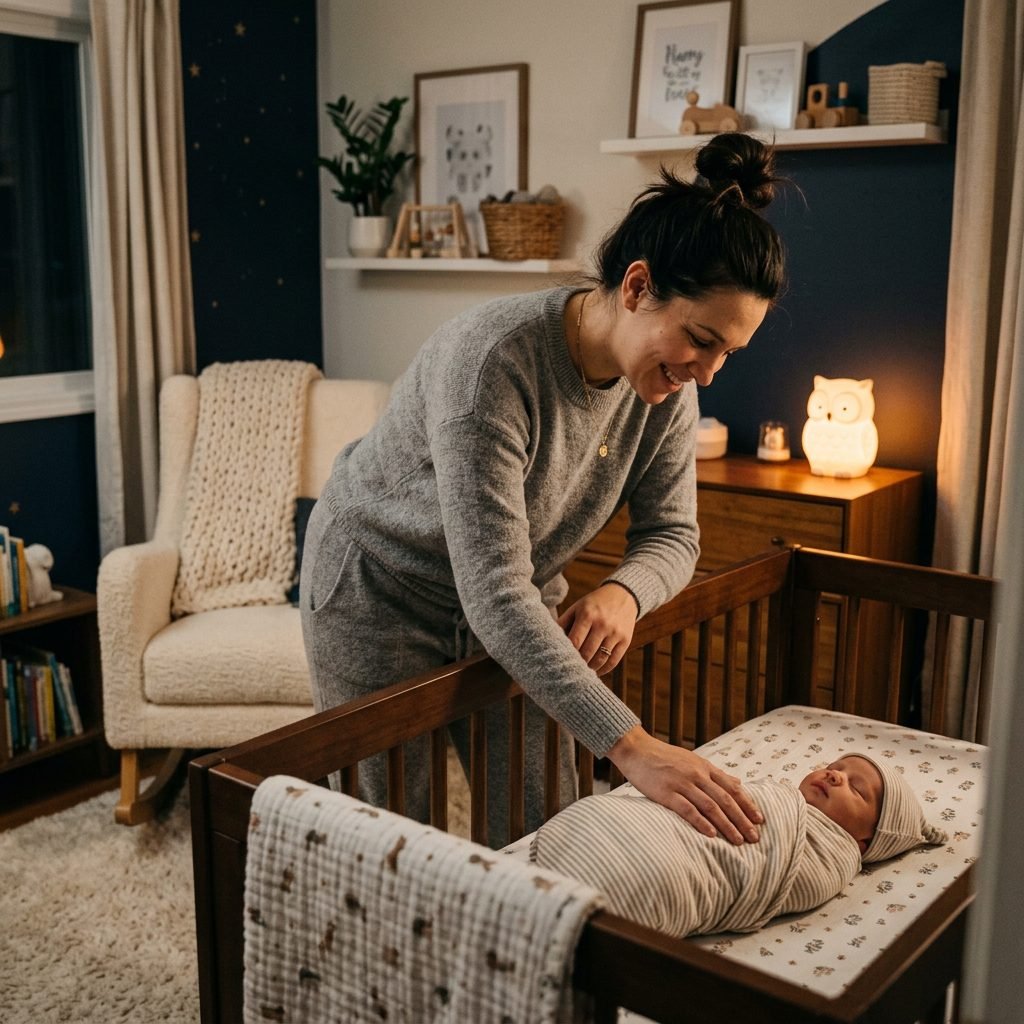
Let’s have a brutally honest but deeply comforting sisterly chat. The first few nights of this transition might be messy. You might see more frequent night wakings. Your baby might smack themselves in the face with their newfound free hand. This is normal. You are not doing anything wrong, and you have not ruined their sleep forever. It takes time for their neurological system to map this new spatial awareness. Here is how to troubleshoot the most common issues.
Issue 1: The Face Scratching and Smacking
Because their motor control is still jerky, babies often startle and hit their own faces, waking themselves up. To mitigate this, ensure their nails are filed short and smooth. You can also use pajamas with fold-over mitten cuffs on the free arm. The fabric softens the blow if they bump their face and prevents sharp fingernail scratches.
Issue 2: The 45-Minute Intruder (Short Naps)
If your baby starts waking up precisely 30 to 45 minutes into a nap, they are struggling to link their sleep cycles without the swaddle’s pressure. When they stir, try the Pause Method. Wait 3 to 5 minutes before rushing in. Often, the free arm will find its way to their mouth, and they will suck on their fingers to self-soothe back to sleep. If they escalate to a cry, go in, place a heavy hand on their chest, and gently rock their body side to side while they remain in the crib.
Issue 3: Complete Refusal to Settle
If your baby is absolutely hysterical and fighting the one-arm-out method, check their overall comfort. Are they too hot or too cold? Without the thick layers of a swaddle blanket, their body temperature might drop slightly. Ensure the room is at a comfortable 68-72 degrees Fahrenheit (20-22 degrees Celsius). If they are still struggling, take a break. Pick them up, reset their nervous system with some skin-to-skin time in the rocking chair, and try again for the next sleep cycle.
“Sleep is not a linear journey. A bad night does not mean you failed; it just means your baby is learning a new skill. Give yourself and your little one tremendous grace.”
Setting the Sleep Environment for Success: Sacks, Sounds, and Setup

When we remove the physical boundary of the swaddle, we need to rely on the sensory boundaries of the nursery environment to signal to your baby’s brain that it is time to sleep. As an interior organizer and maternal stylist, I love helping moms curate a space that is both highly functional and aesthetically calming.
The Magic of the Sleep Sack
Once your baby has graduated from the swaddle, they need a wearable blanket—often called a sleep sack. Sleep sacks provide the comforting weight and warmth of a blanket without the suffocation hazard. When shopping for sleep sacks, pay close attention to the TOG rating (Thermal Overall Grade), which measures the thermal insulation of the garment.
| Nursery Temperature | Recommended TOG Rating | What Baby Should Wear Underneath |
|---|---|---|
| 75-77°F (24-25°C) | 0.5 TOG (Lightweight cotton/bamboo) | Short-sleeve bodysuit or just a diaper |
| 70-74°F (21-23°C) | 1.0 TOG (Mid-weight cotton) | Long-sleeve bodysuit or light cotton pajamas |
| 65-69°F (18-20°C) | 2.5 TOG (Quilted or fleece) | Cozy footie pajamas or long-sleeve bodysuit |
Sensory Sleep Cues
- Continuous White Noise: Without the swaddle, the startle reflex is more easily triggered by sudden household noises (a dog barking, a door shutting). Use a high-quality sound machine playing deep, rumbly white noise or pink noise. Place it across the room from the crib, keeping the volume around 50-60 decibels (similar to the sound of a running shower).
- Pitch Black Darkness: Install blackout curtains. Even a sliver of daylight can stimulate a baby’s wakeful hormones. If you need light for night feedings, use a dim, red-toned nightlight, as red light does not interfere with melatonin production.
- The Pre-Sleep Routine: Establish a predictable 15-minute wind-down routine. A warm wipe down, fresh diaper, cozy pajamas, a feeding, and zipping them into their new sleep sack. Zipping the sack will soon become the new “magic switch” that tells their brain it is time to rest.
Conclusion
Transitioning out of the swaddle is one of the first major milestones in your baby’s sleep journey, and it is entirely normal to feel a mix of pride and apprehension. By using the gentle One-Arm-Out method, respecting your baby’s unique pace, and leaning on consistent environmental cues, you are setting the foundation for healthy, independent sleep habits that will last well into toddlerhood.
Remember, mama, you are doing an incredible job. The nights can feel long, but this phase is so fleeting. Trust your intuition, lean on your support system, and know that every time you lovingly guide your baby through a new challenge, you are strengthening the beautiful bond between you. Sweet dreams to you and your growing little one!