How to Build a DIY Rustic Tree Branch Book Display Wall Rack for Your Nursery
The Magic of the Nesting Phase
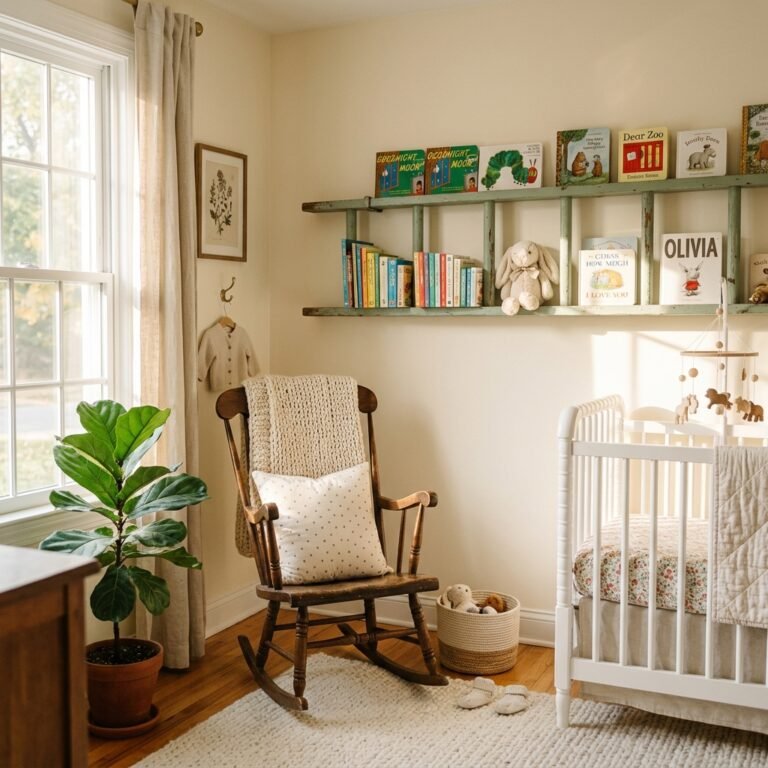
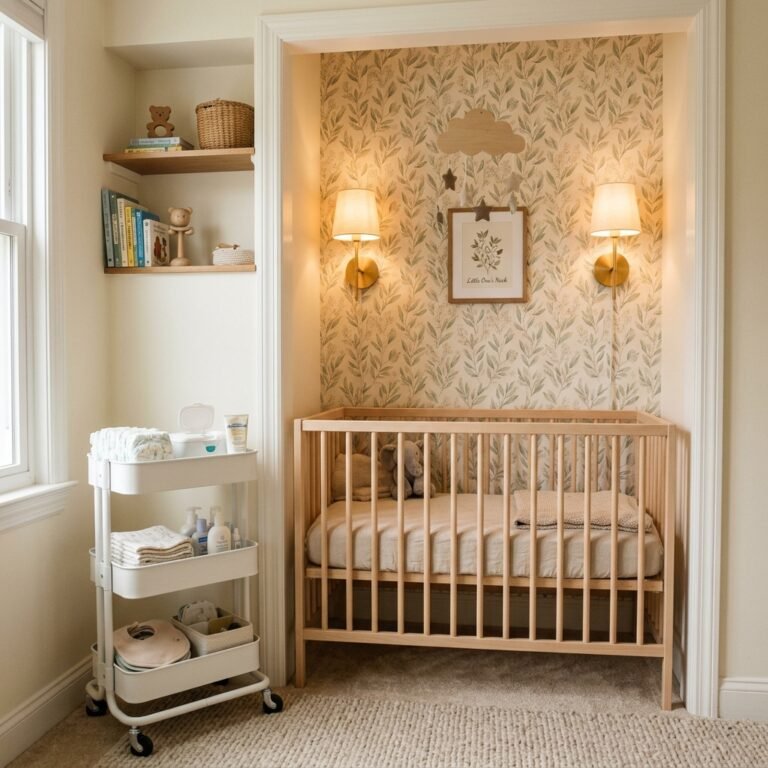
Hello, sweet mama. If you are reading this, you are likely in that beautiful, whirlwind stage of pregnancy known as nesting. As a doula, I’ve seen this surge of energy many times—it’s that deep, biological urge to prepare a safe, beautiful, and nurturing space for your little one to land. There is something truly sacred about creating something with your own hands for your baby. Today, we are going to channel that creative energy into a project that brings the calming beauty of nature indoors: a DIY Rustic Tree Branch Book Display Wall Rack.
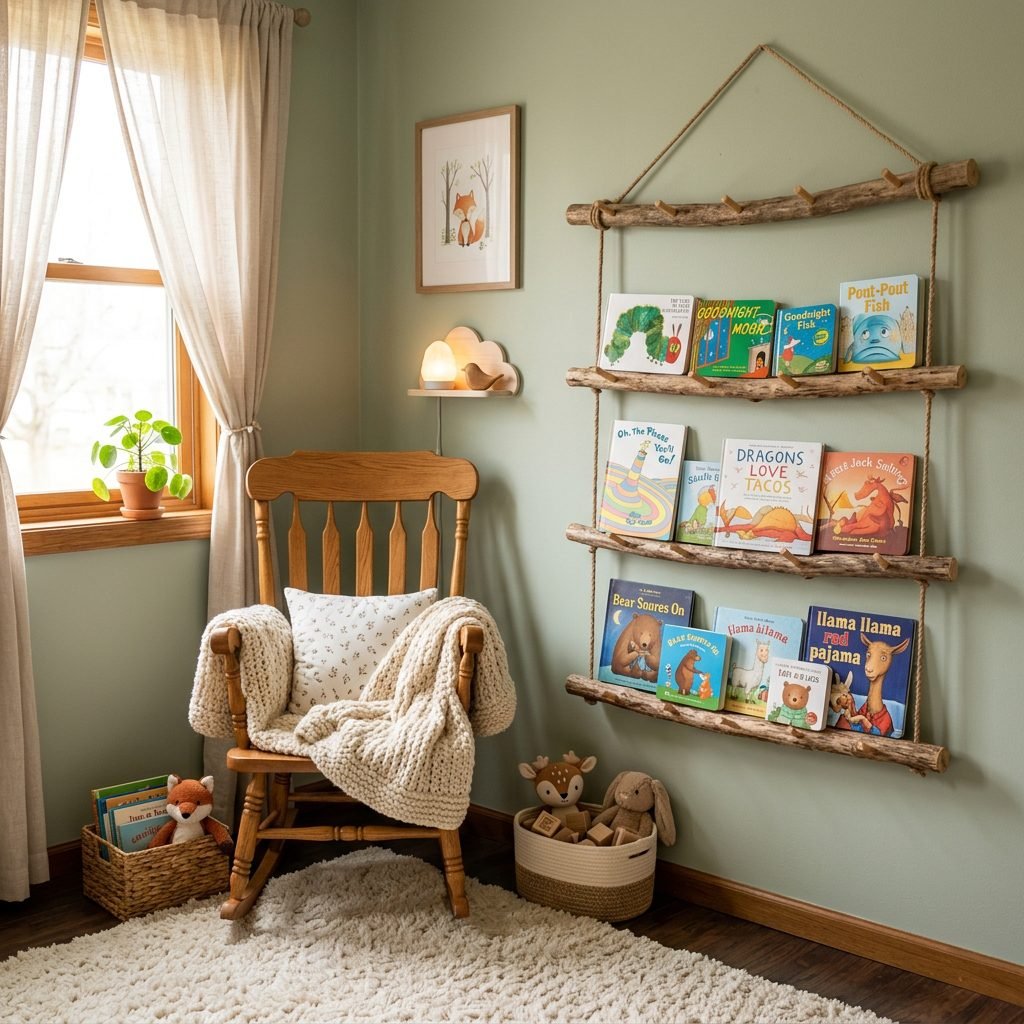
This isn’t just a shelf; it’s a statement piece that grows with your child. From those first high-contrast black-and-white books to the colorful fairy tales of toddlerhood, this rack will hold the stories that shape their imagination. Bringing natural elements into a nursery—a concept known as biophilic design—has been shown to reduce stress and create a more serene environment for both you and your baby. So, grab a cup of red raspberry leaf tea, and let’s walk through this journey together, step-by-step, sister-to-sister.
Finding Your Foundation: Selecting and Prepping the Perfect Branch
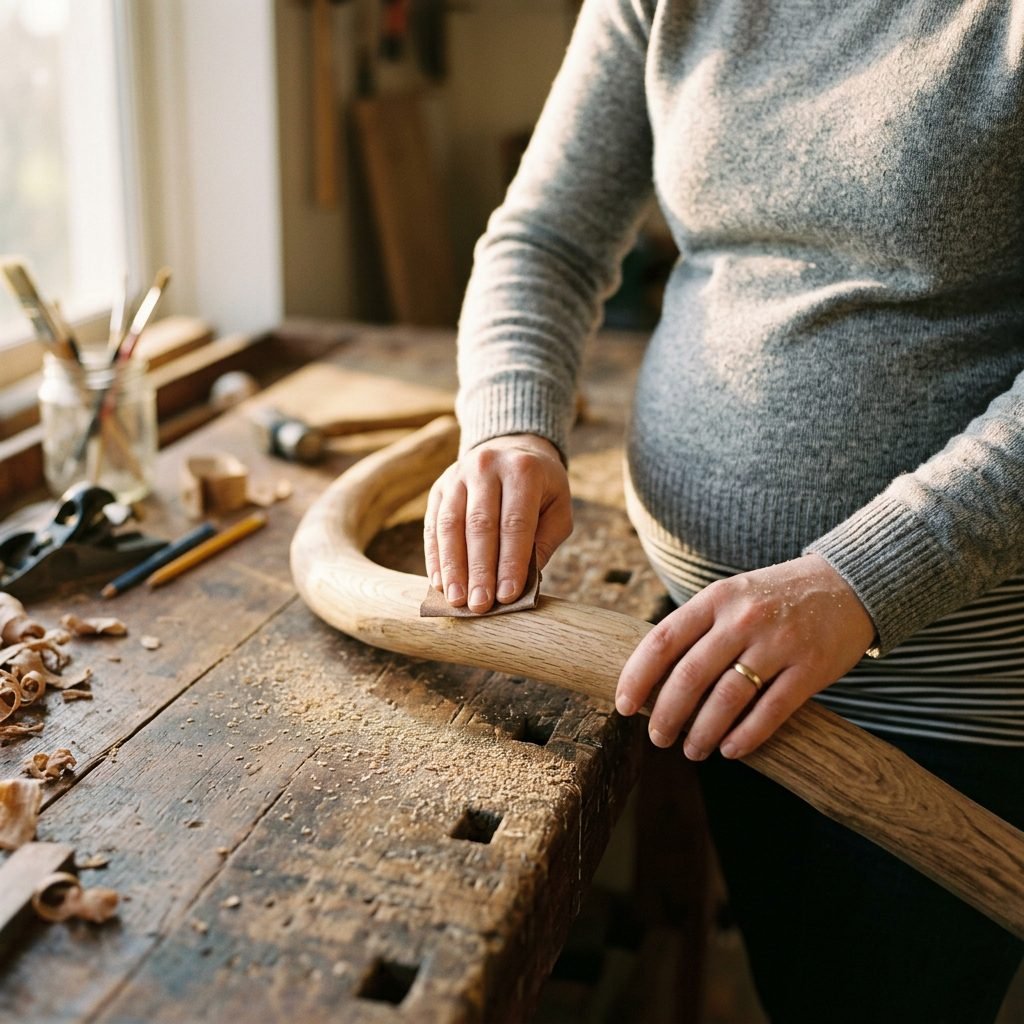
The heart of this project is, of course, the branch itself. This is a wonderful excuse to get some fresh air and gentle movement. If you’re in your third trimester, take a slow stroll through a local park or your backyard. We are looking for a branch that is both sturdy and aesthetically pleasing.
What to Look For in a Branch
- Strength: The branch must be solid. Avoid ‘punky’ wood (wood that is soft or crumbling) as it won’t hold the weight of books or the mounting hardware.
- Diameter: Aim for a branch that is at least 2 to 3 inches thick at its narrowest point to ensure it can be safely drilled.
- Shape: Look for a branch with a slight natural curve or interesting knots, but ensure it has at least two or three points that can sit relatively flush against the wall.
- Species: Hardwoods like oak, maple, or birch are excellent for durability. If you want a smoother look, driftwood is a stunning, salt-cleansed option.
Preparing the Wood for Your Baby’s Room
Since this is going into a nursery, we must ensure it is clean and safe. Safety is our top priority. You don’t want any hitchhiking pests or loose bark falling into the crib area.
- Debarking: Use a drawknife or a simple flat-head screwdriver to strip away loose bark. This prevents future shedding and reveals the beautiful grain underneath.
- Sanding: This is the most important step for tiny hands. Start with a coarse 80-grit sandpaper to remove rough spots, then move to a 120-grit, and finish with a 220-grit for a buttery-smooth texture.
- Cleaning: Wipe the branch down with a mixture of water and white vinegar to kill any lingering bacteria or fungi.
- Drying: Ensure the wood is completely ‘seasoned’ (dry). If you found a fallen branch after rain, let it sit in a dry garage for at least 7 to 10 days before sealing.
The Budget and Materials List
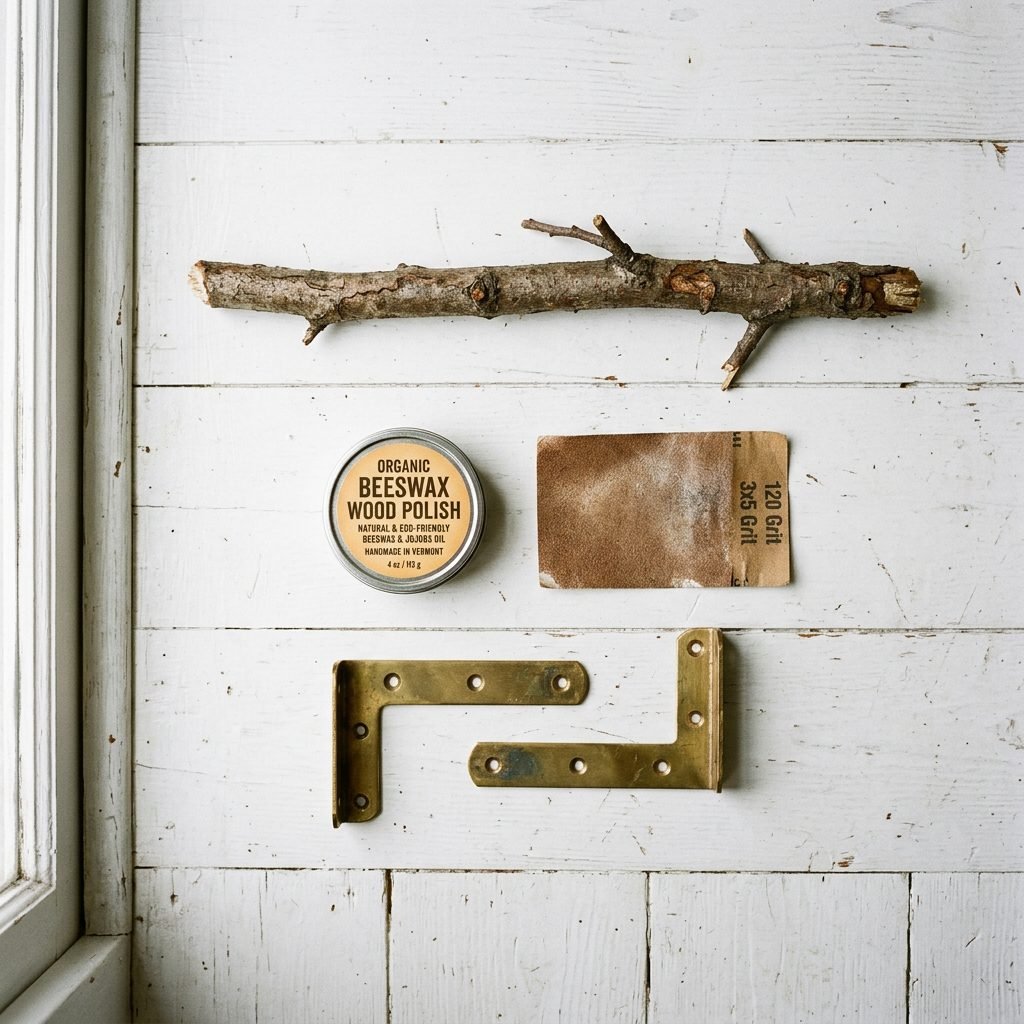
One of the best things about this DIY project is how budget-friendly it is. Most of your ‘lumber’ is free, courtesy of Mother Nature! Here is a breakdown of what you’ll need to gather before we begin the assembly.
| Item | Purpose | Estimated Cost |
|---|---|---|
| Found Branch | The main structure of the rack | $0.00 |
| L-Brackets (Small) | To secure the branch to the wall | $5.00 – $10.00 |
| Heavy-Duty Wall Anchors | Safety first! For drywall mounting | $6.00 |
| Wood Sealer (Non-Toxic) | To protect the wood and prevent splinters | $15.00 |
| Sandpaper Variety Pack | Smoothing the surface | $8.00 |
| Total Estimated Cost | A unique, heirloom piece | ~$34.00 |
Pro-Tip: When choosing a sealer, look for ‘Zero-VOC’ or ‘Food-Safe’ finishes like beeswax or hemp oil. Your baby’s respiratory health is vital, and avoiding harsh chemical fumes in the nursery is a must.
Construction: Turning a Branch into a Bookshelf
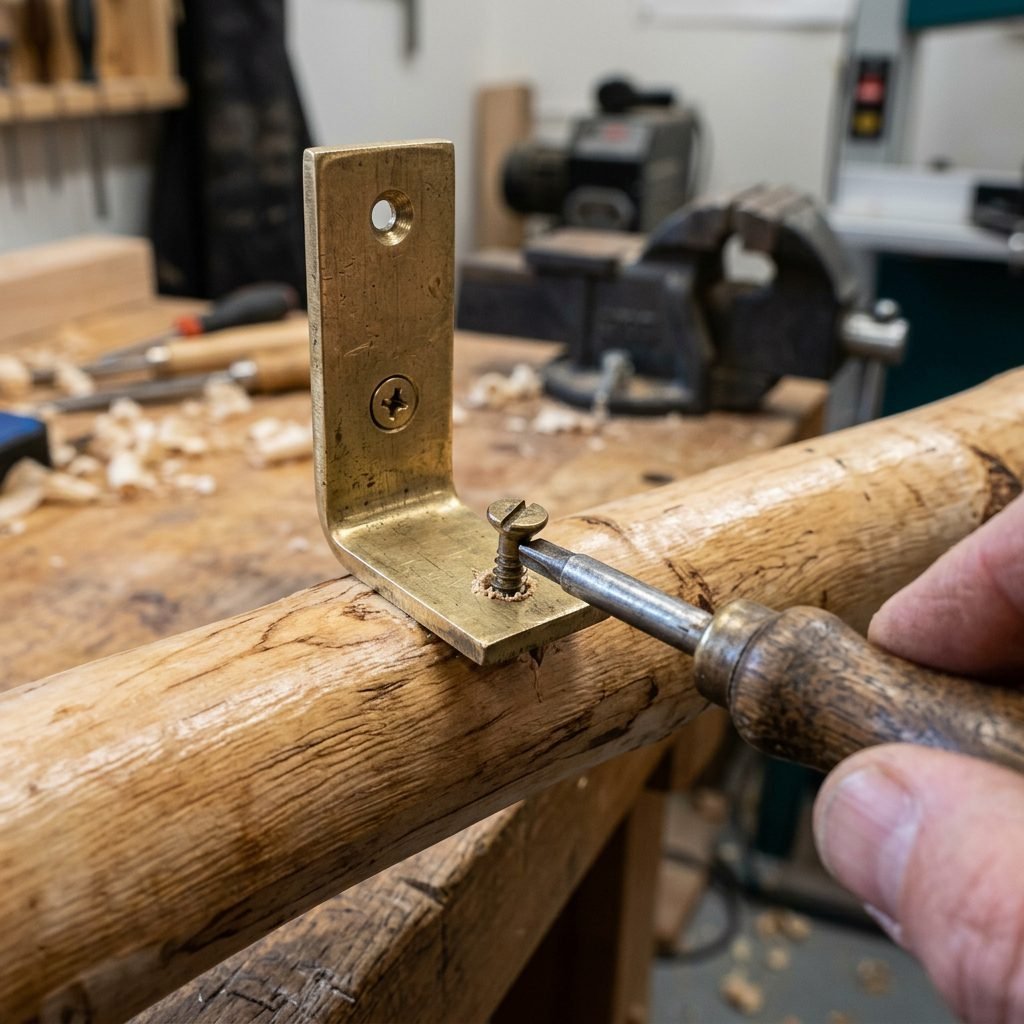
Now that your branch is prepped and smooth, it’s time to turn it into a functional display. We want the books to lean against the wall, resting securely on the branch ‘ledge’.
Step 1: Leveling the Contact Points
Identify the side of the branch that will face the wall. Using a hand saw or a power sander, slightly flatten the areas where the L-brackets will be attached. This creates a stable ‘seat’ for the hardware.
Step 2: Applying the Finish
Apply your chosen non-toxic finish. If using beeswax, rub it in with a soft cloth in circular motions. This will deepen the color of the wood and provide a soft, tactile sheen that is safe for when your little one eventually decides to use the shelf as a teething rail (it happens!).
Step 3: Attaching the Brackets
Pre-drill small pilot holes into your branch to prevent splitting. Attach at least two L-brackets to the underside of the branch. For longer branches (over 3 feet), use three brackets for extra security. Ensure the brackets are positioned so they can be screwed directly into wall studs whenever possible.
Step 4: Mounting to the Wall
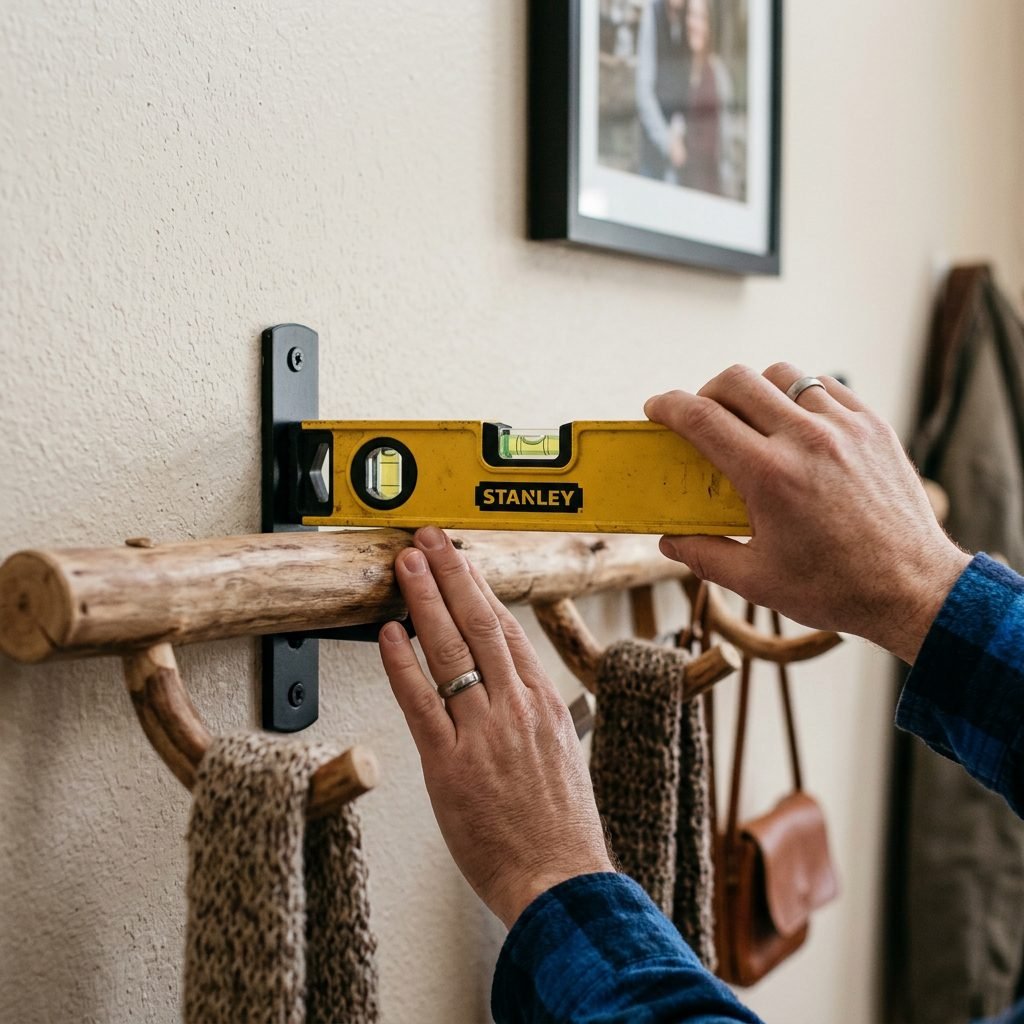
This is where a partner or a friend comes in handy. Hold the branch against the wall at your desired height. Use a level to ensure it isn’t slanted. Mark the holes, insert your heavy-duty anchors, and screw the brackets into the wall. Give it a firm tug—it should feel rock solid.
Styling Your Literary Tree: Creating a Sensory Reading Nook
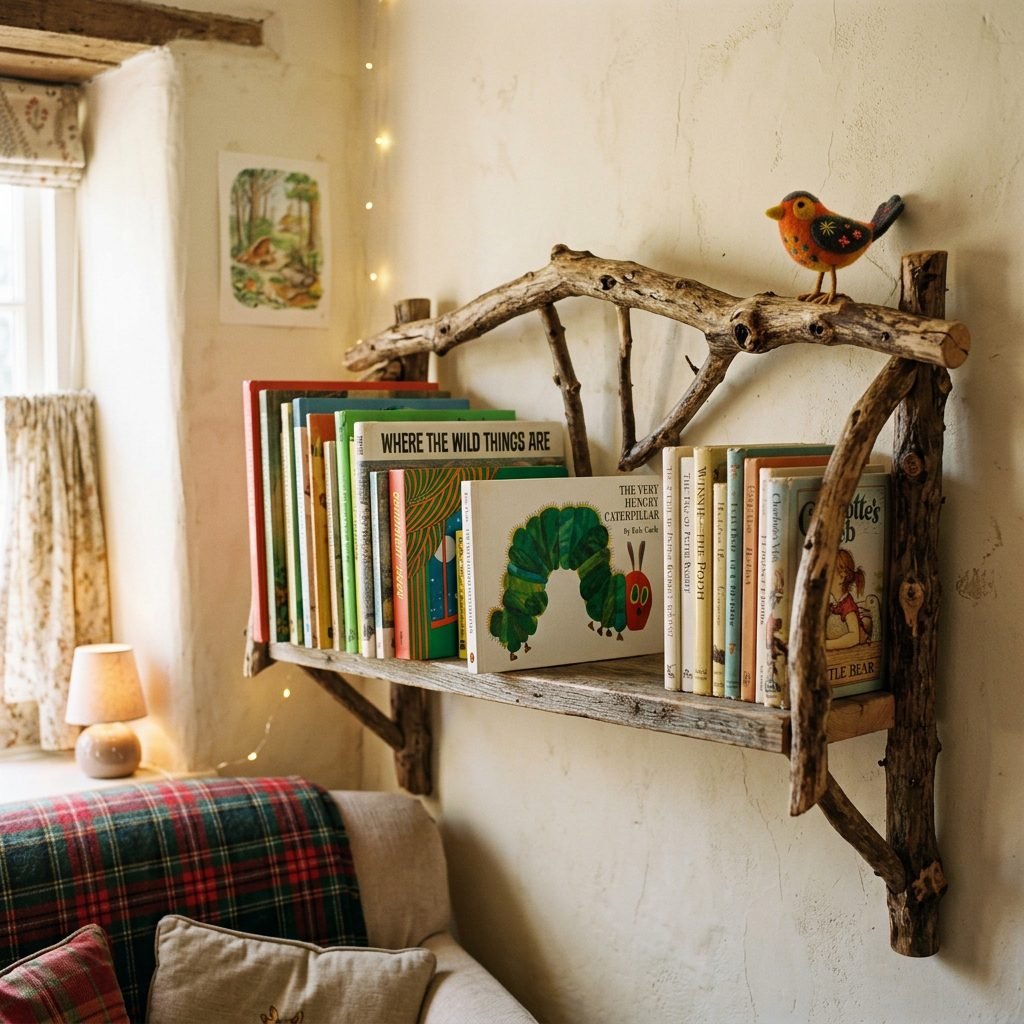
The rack is up! Now comes the styling. Because this is a rustic, natural piece, it looks best when paired with soft textures and intentional book choices.
Curating the Collection
- Face-Out Display: The beauty of this rack is that it displays the covers of the books. This is developmentally wonderful for babies and toddlers who recognize images long before they can read titles on a spine.
- Color Coding: For a Pinterest-worthy look, arrange your books in a rainbow pattern or stick to a specific palette (like all pastels or all earth tones).
- Varying Heights: Place taller picture books in the center and smaller board books toward the ends of the branch.
Adding Whimsical Touches
To truly embrace the woodland theme, consider draped elements. You can wrap a battery-operated LED fairy light string (ensure the battery pack is tucked far out of reach) around the branch for a soft nightlight glow. Alternatively, hang a few felt leaves or a small macramé tassel from a sturdy knot to add a touch of softness and visual interest.
Remember, Mama: This nook is where you will spend countless hours rocking, nursing, and bonding. Make it a space that brings YOU peace as much as it delights the baby.
Safety Standards: The Doula’s Safety Checklist
As a doula, I am always thinking about the ‘what ifs’ to keep your home a sanctuary. While this project is beautiful, we must ensure it remains safe as your baby transitions from a stationary newborn to a curious crawler.
The Safety Matrix
| Safety Feature | Why It Matters |
|---|---|
| Stud Mounting | Prevents the shelf from pulling out of the drywall if a toddler tries to pull themselves up. |
| Height Placement | Mount high enough to be out of reach of a standing baby, or low enough that it isn’t a ‘falling hazard’ for heavy books. |
| Weight Limit | Limit the display to 5-7 lightweight books to avoid overstressing the brackets. |
| Smooth Edges | Eliminates the risk of scratches or splinters during sensory exploration. |
Maintenance Tips
- Dusting: Natural wood with knots can trap dust. Use a soft brush attachment on your vacuum once a week to keep the air in the nursery clean and allergen-free.
- Check the Screws: Every few months, give the branch a gentle wiggle to ensure the wall anchors haven’t loosened due to house settling or temperature changes.
- Non-Toxic Environment: If you ever decide to paint the branch, ensure you use Milk Paint or Chalk Paint that is labeled Lead-Free and Non-Toxic.
Conclusion
A Labor of Love
You did it, Mama! You’ve taken a simple piece of the earth and transformed it into a beautiful, functional home for your baby’s first library. This DIY rustic tree branch book rack is more than just furniture; it’s a reflection of the care and intention you are pouring into your new role. Every time you reach for a book to read to your little one, you’ll be reminded of this time of preparation and the strength of your own two hands.
As you move closer to your due date, remember to breathe, trust your instincts, and enjoy these quiet moments of creation. Your nursery is now a little bit more magical, and your baby is so lucky to have a mother who values the beauty of nature and the power of a good story. Happy nesting!