DIY Newborn Photo Session: How to Prep a Warm, Cozy Setup on Your Living Room Floor
Welcome to Your Living Room Studio, Sweet Mama
Oh, mama, I see you. You are in that beautiful, hazy, exhausting fourth trimester where the days are long but the years—and these tiny newborn features—are so incredibly short. You want those Pinterest-perfect photos of your little love, but the thought of packing up a diaper bag, a fussy infant, and your own healing body to trek to a professional studio feels like climbing Everest. I want you to take a deep breath and look down at your living room floor. Yes, right there next to the coffee table. That is your new studio.
As a doula and a mama who has been in those mesh undies just like you, I know that the best photos happen when you and the baby are comfortable, warm, and relaxed. You don’t need a $3,000 camera or a studio lighting kit. All you need is a patch of sunlight, a few soft blankets, and the sisterly secrets I’m about to share with you. We are going to create a space that feels like a warm hug, ensuring your baby stays in that deep, ‘sleepy potato’ state while you capture the curve of those eyelashes and those tiny, peeling toes. Let’s get your home ready for some magic.
The Golden Rules of Warmth and Atmosphere
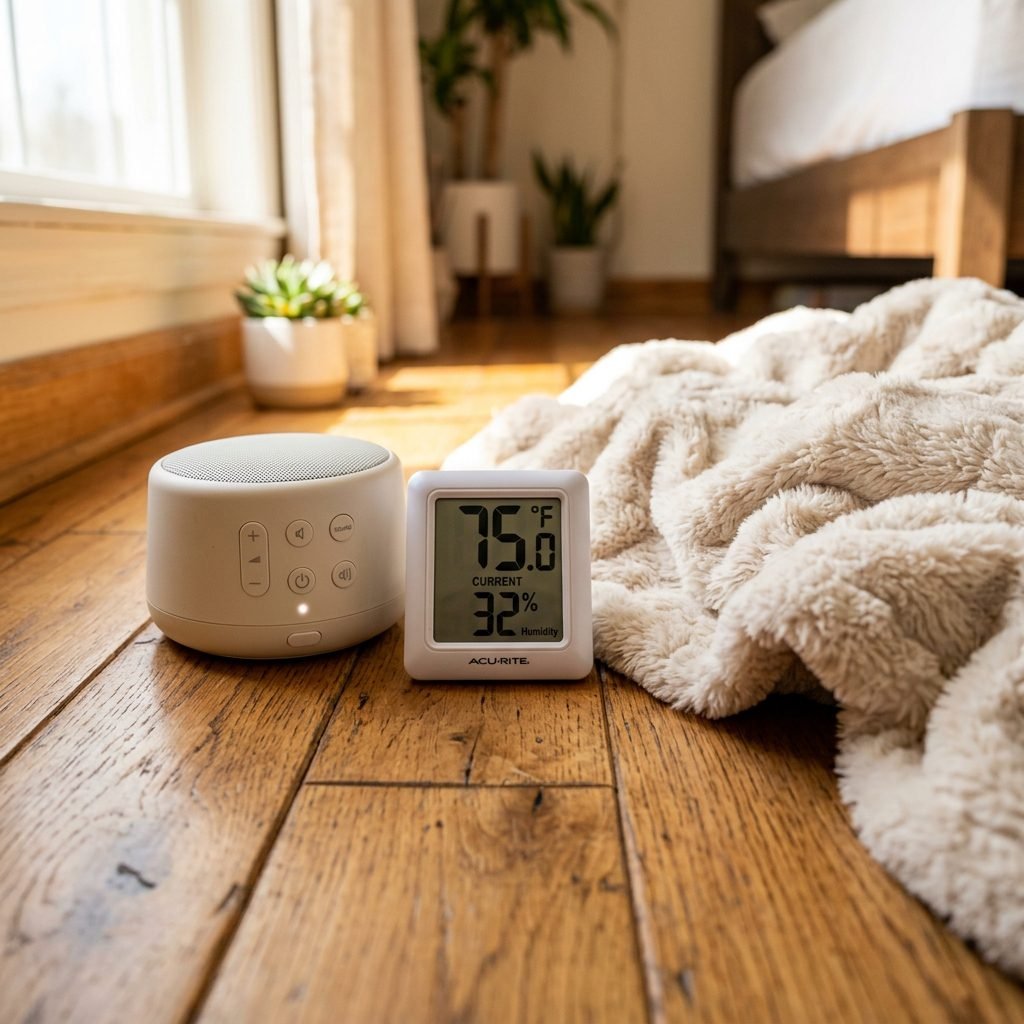
Before we even touch a camera, we have to talk about the ‘vibe.’ A newborn’s internal thermostat isn’t quite like ours yet, and if you want those naked-baby-in-a-blanket shots, the room needs to be much warmer than you think. Think ‘tropical vacation’ warm. I recommend setting your thermostat to at least 75°F (24°C) about an hour before you start. If you have a space heater, use it to pre-warm the area, but always keep it at least 5-6 feet away from the baby and never leave it unattended.
Creating the Womb-Like Environment
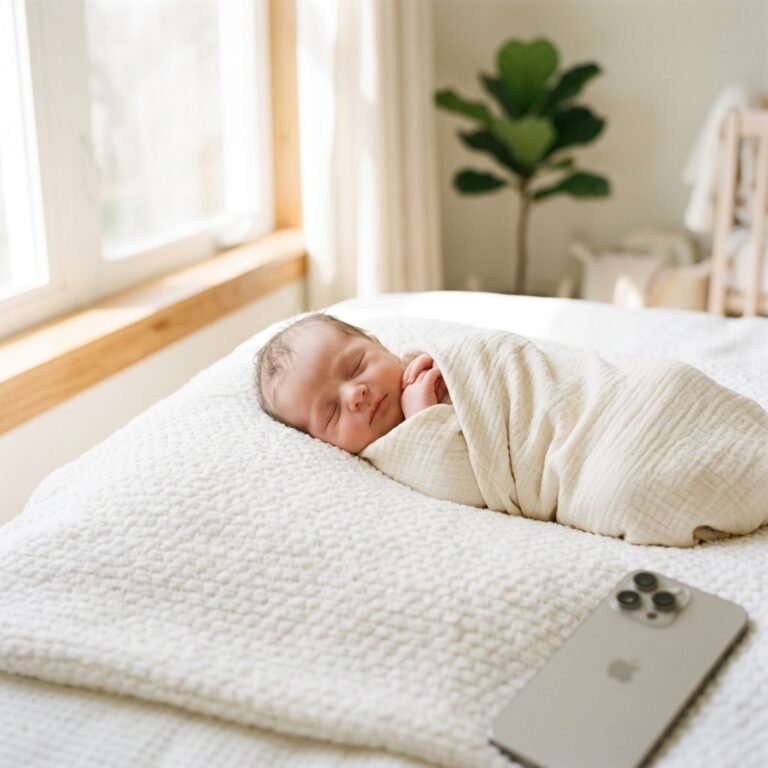
- White Noise is Your Best Friend: Use a white noise machine or an app on your phone. Set it to a ‘deep brown noise’ or ‘womb sounds’ and place it near the setup to drown out the clicking of the camera or the dog barking.
- The Full Tummy Factor: A ‘milk drunk’ baby is a photogenic baby. Plan to feed your little one right before the session starts. If they fall asleep during the burping process, that is your cue to lay them down.
- Soft Lighting: Turn off all overhead lights. They create harsh yellow shadows. We want the soft, directional light from a window.
Remember, mama: A warm baby is a sleepy baby. If they start to fuss, check their hands and feet. If they feel chilly, the session is over until we get them cozy again.
Essential Materials and Your Budget Breakdown
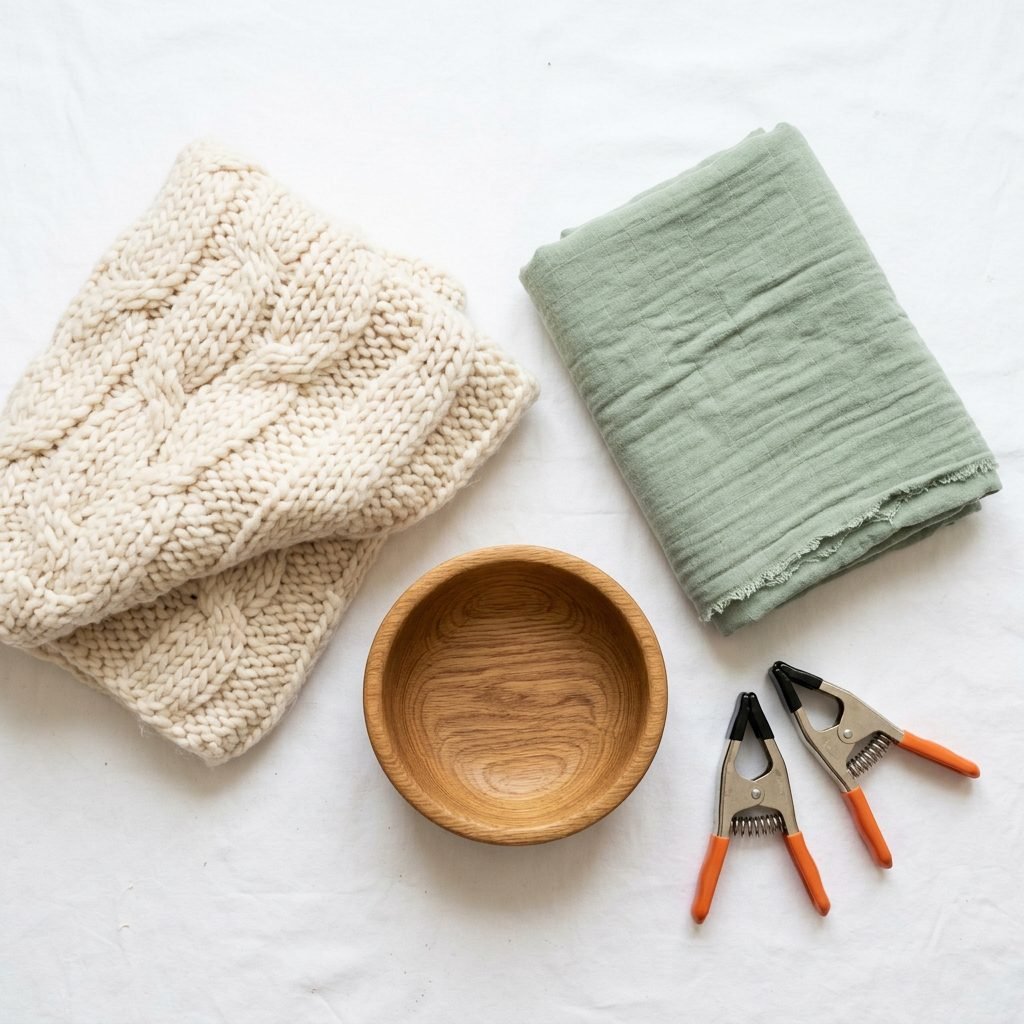
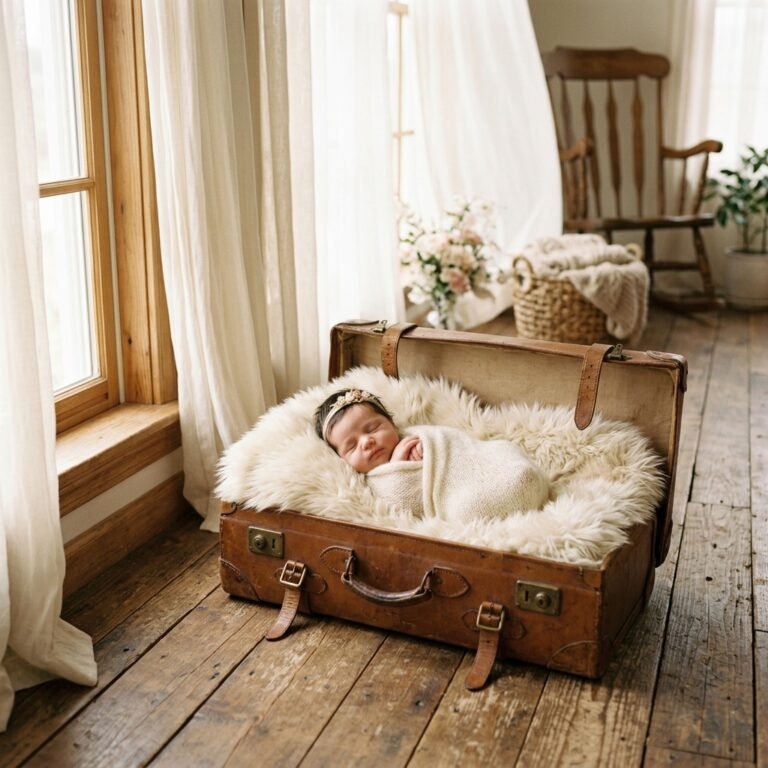
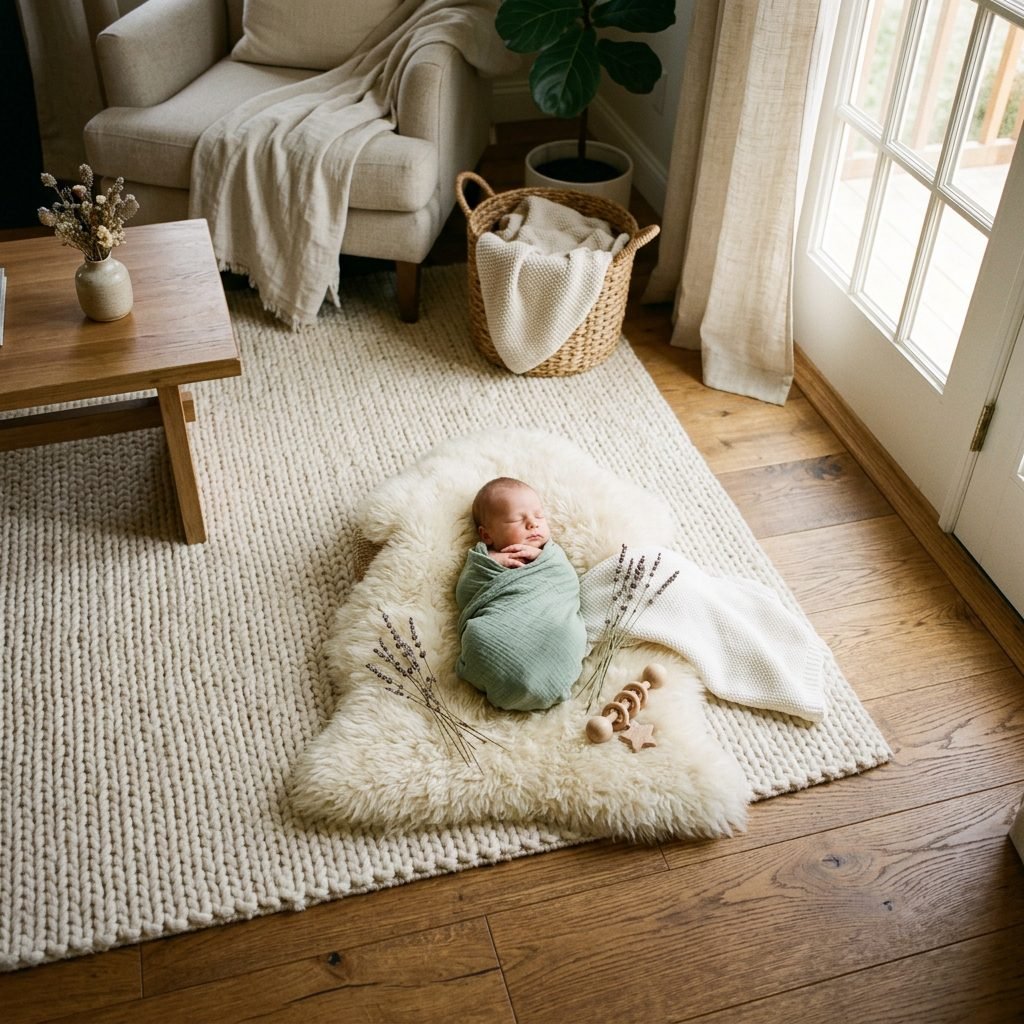
You likely have 90% of what you need already in your nursery or linen closet. The key to a DIY session looking professional is texture. We want layers that look rich on camera—think knits, faux fur, and muslin. Avoid busy patterns like bright cartoons or heavy stripes, as they distract from the baby’s delicate features.
Your DIY Photo Kit Checklist
| Item | Why You Need It | Estimated Cost |
|---|---|---|
| Large Neutral Rug | Provides the base foundation and cushioning. | $0 (Use what you have!) |
| Boppy or Nursing Pillow | To create a safe ‘nest’ under the blankets. | $0 (Existing registry item) |
| Sheepskin or Faux Fur | Adds high-end texture and softness. | $15 – $30 |
| Muslin Swaddles | Solid colors work best for a timeless look. | $10 – $20 |
| Clamps or Heavy Books | To hold backdrops in place against furniture. | $0 – $5 |
When choosing colors, stick to earth tones or pastels. Creams, tans, sage greens, and dusty roses photograph beautifully and keep the focus on the baby’s skin tones. If you are feeling crafty, you can even DIY a simple floral crown using silk flowers from a craft store for less than $10.
Building the ‘Nest’: A Step-by-Step Floor Setup
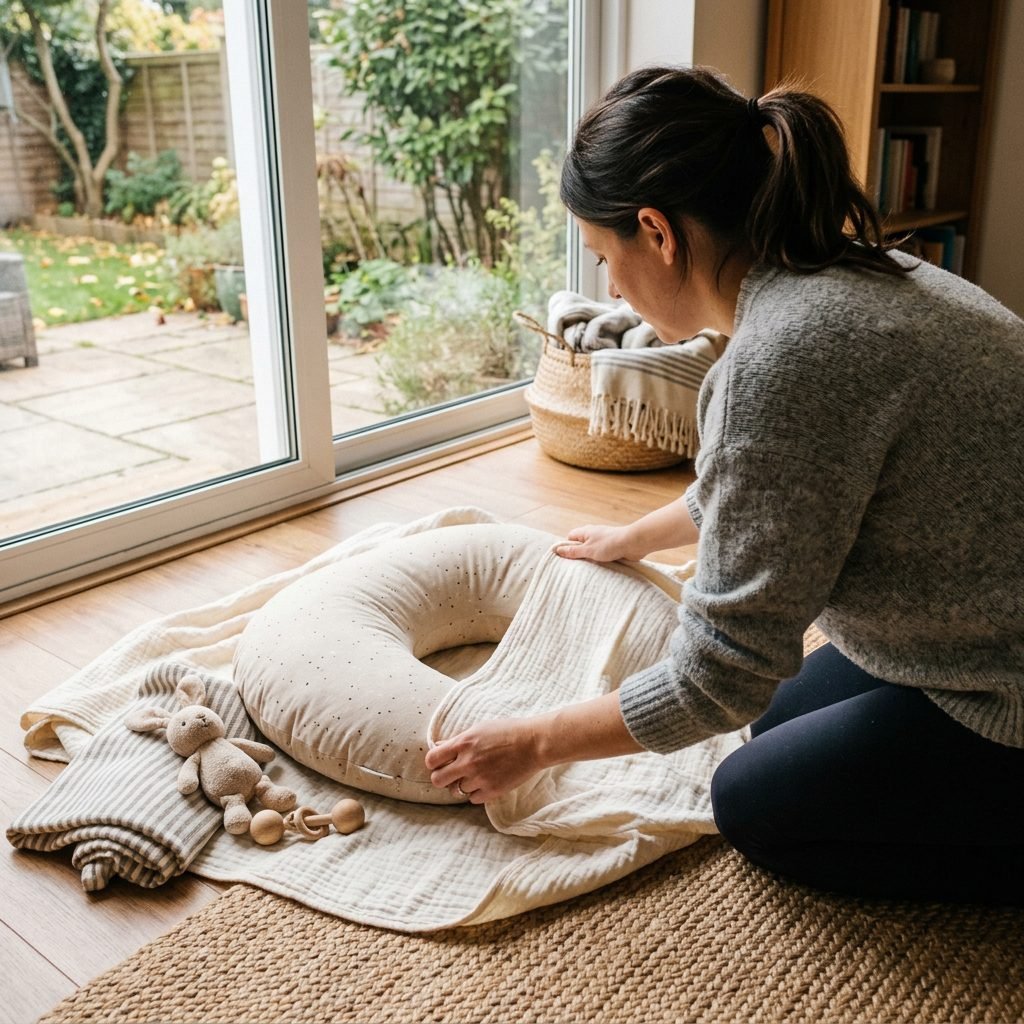
Safety is our absolute priority. We are working on the floor because there is zero risk of a baby rolling off a high surface. Here is how you build a professional-looking ‘nest’ that supports the baby’s head and neck perfectly.
- Clear the Space: Move your coffee table and any clutter away from your best window. You need about a 5×5 foot area.
- The Base Layer: Lay down a thick yoga mat or a heavy quilt. This protects your knees and provides extra padding for the baby.
- The ‘Poser’ Pillow: Place your nursing pillow (like a Boppy) in the center. This creates a natural divot for the baby to snuggle into.
- The Smooth Over: Drape your main ‘backdrop’ blanket over the pillow. Tuck the edges under the pillow or use heavy books to pull the fabric taut. You want to eliminate as many wrinkles as possible.
- The Texture Pop: Lay your faux fur or knit layer directly where the baby’s torso will be.
Doula Tip for Safety
Never place a baby in a position that compromises their airway. Their chin should always be off their chest (about two fingers’ width). If you are using a bowl or basket as a prop, always weigh the bottom down with 5-10 lbs of hand weights or bags of rice so it cannot tip over.
Mastering the Light: No Studio Required
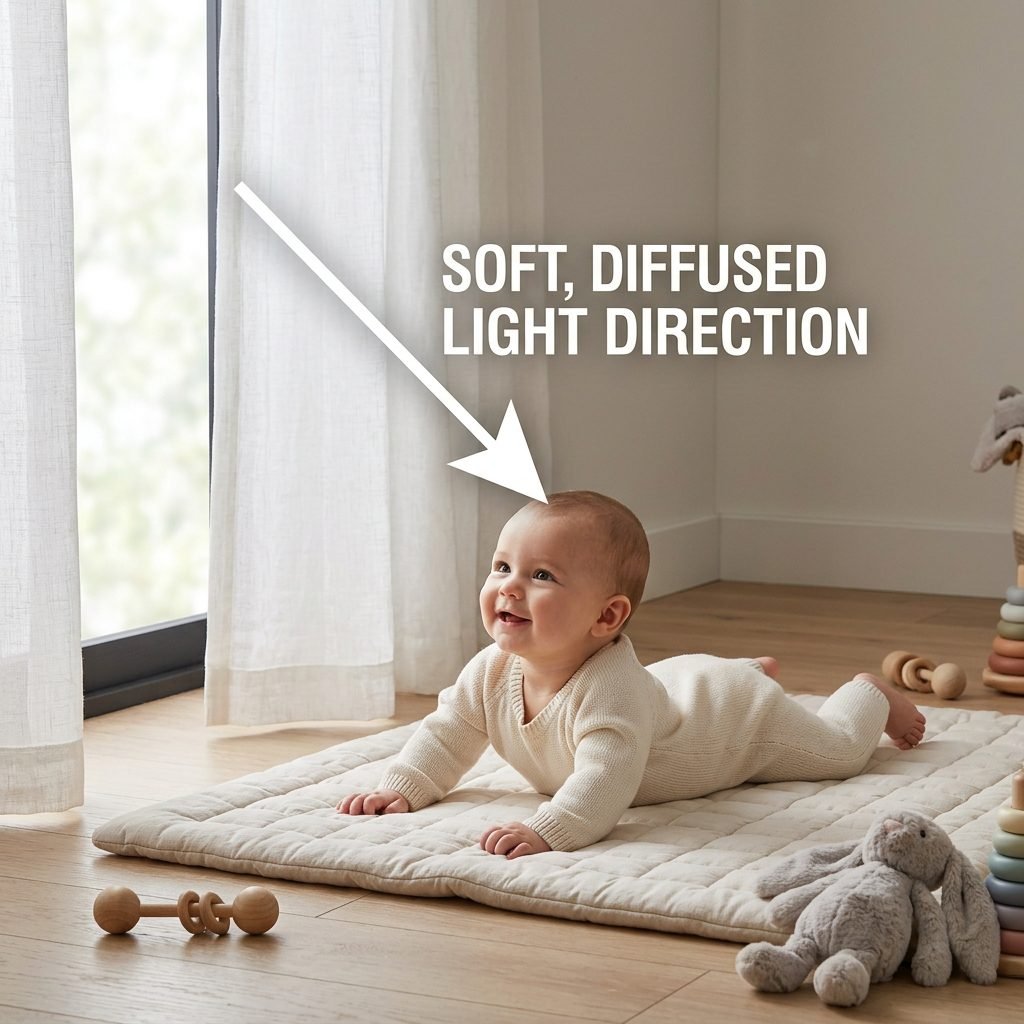
Lighting is the difference between a ‘snapshot’ and a ‘portrait.’ In professional photography, we love ‘Short Lighting.’ This is when the light hits the top of the baby’s head and rolls down their body, creating soft shadows under the nose and chin that give the photo depth.
Positioning for the Best Glow
- Parallel to the Window: Place your floor setup so the baby’s head is closest to the window and their feet are pointing away. This allows the light to ‘flow’ down the body.
- The 45-Degree Rule: If the light is too bright and ‘flat,’ turn the baby’s head slightly toward the window at a 45-degree angle.
- Diffusing the Sun: If the sun is hitting the floor directly, it will be too harsh. Hang a thin, white bedsheet over the window to act as a giant softbox. This creates that ‘angelic’ glow we all love.
Avoid: Never use your camera’s flash. It flattens the baby’s features and can startle a sleeping infant. If it’s a dark, rainy day, wait. Natural light is worth the patience.
The Shot List: Capturing the Details
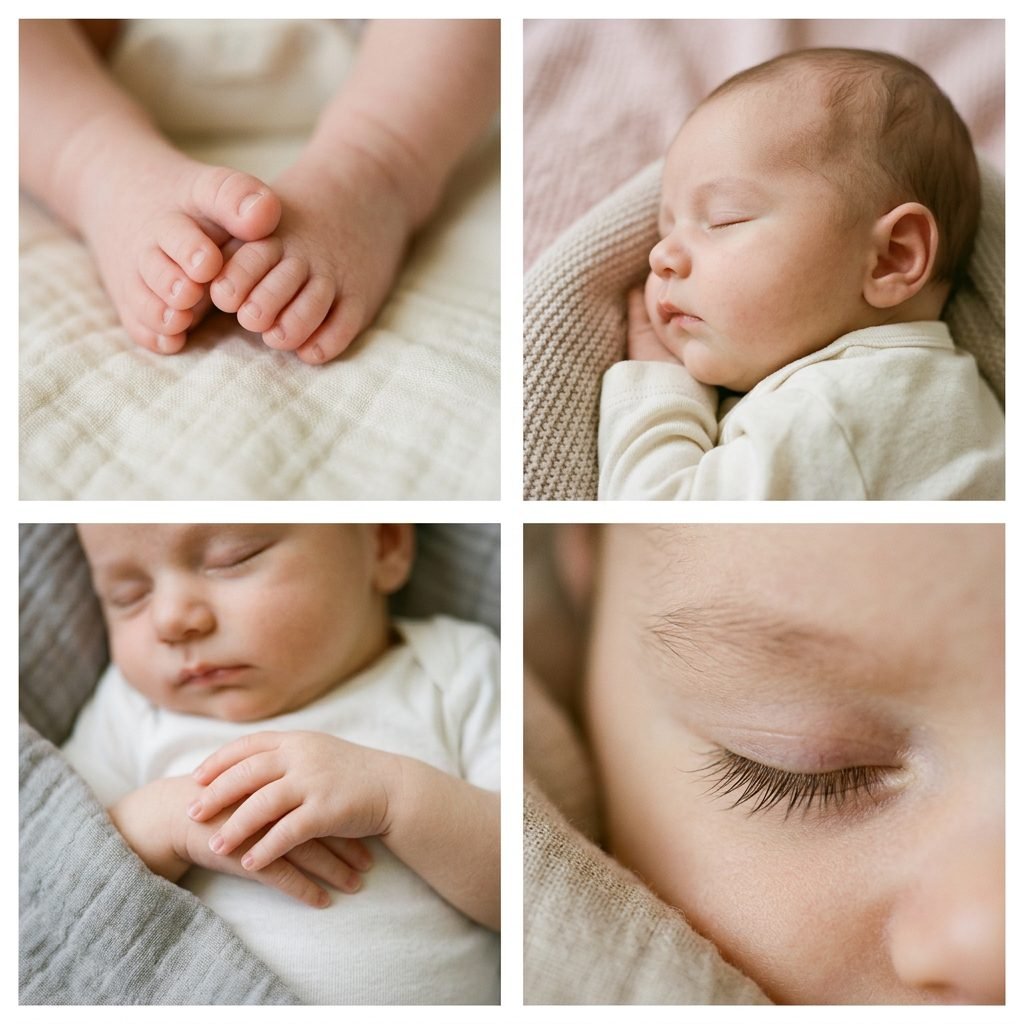
Don’t just take one photo and call it a day! You want a variety of angles. Since the baby is safely on the floor, you can move around them easily. Start with the ‘safe’ shots while they are deeply asleep, then move to the detail shots.
Must-Have Angles
- The Full Body: Stand directly over the baby (use your camera strap!) and shoot straight down. This is the classic ‘flat lay’ look.
- The Profile: Get down on your belly so you are at eye level with the baby. Focus on their profile—the tiny nose and the ‘pouty’ lips.
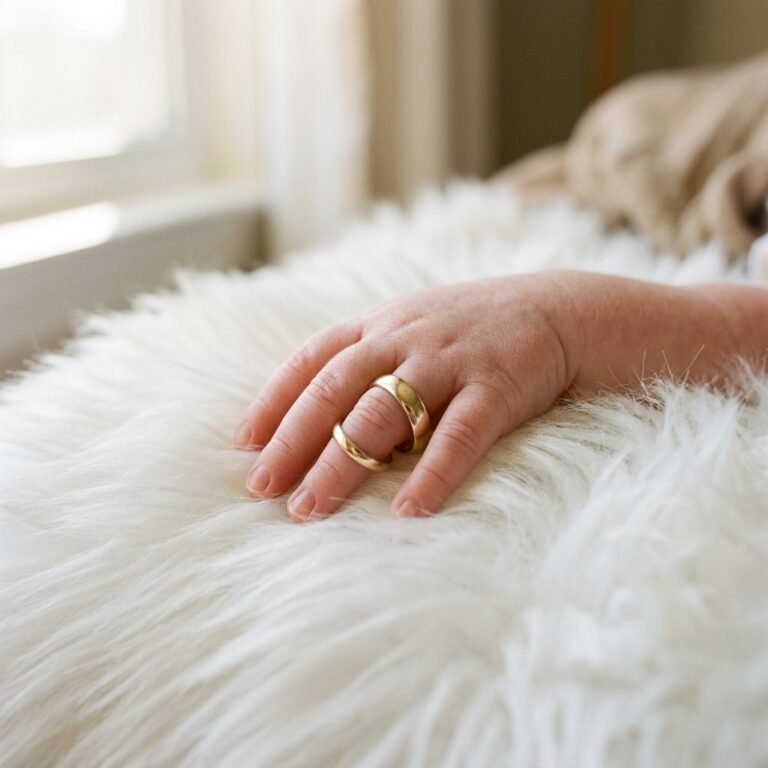
- The Macro Details: Zoom in or move closer to capture the ‘newborn bits.’
| Detail to Capture | Pro Styling Tip |
|---|---|
| Tiny Toes | Peeling skin is beautiful; don’t hide it! |
| Back of the Neck | Capture those soft ‘lanugo’ hairs. |
| Clasped Hands | Gently tuck their hands under their chin. |
| The Eyelashes | Shoot from slightly above the forehead. |
Affirmation for the Session: I am capturing a moment in time that will never happen again. It doesn’t have to be perfect; it just has to be us.
Managing the ‘Meltdown’ and Postpartum Realities
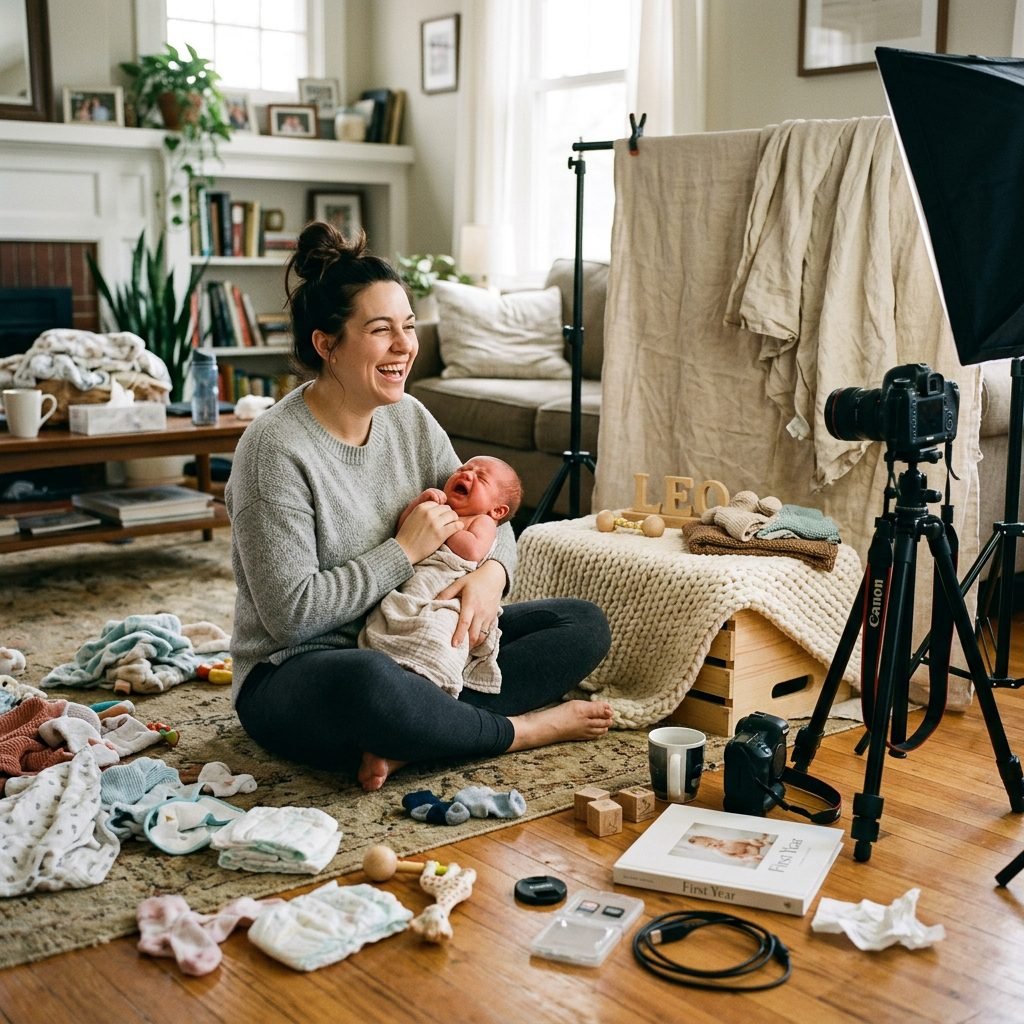
Let’s be real, sister. Sometimes, despite the warmth, the white noise, and the full tummy, the baby just isn’t having it. And you know what? That is okay. If you find yourself getting frustrated or sweaty, or if your incision/stitches are starting to ache, stop. Your baby can sense your cortisol levels.
When to Call It a Day
If the baby is crying for more than 10 minutes, or if you feel your own patience thinning, transition to ‘Lifestyle’ shots. Pick the baby up, sit in your favorite glider, and have your partner or a friend take a photo of you just holding them. These ‘imperfect’ moments often become the most cherished ones because they capture the reality of your bond.
Keep a ‘patience kit’ nearby for yourself: a huge bottle of water, a snack, and a burp cloth. You are recovering from a major medical event, mama. Don’t push yourself to have a 3-hour session. 20 minutes of good light is all you really need.
Conclusion
You’ve Got This, Mama
Creating a DIY newborn photo session on your living room floor isn’t just about the pictures; it’s about the quiet, intentional time you spend admiring the miracle you created. By focusing on warmth, safety, and soft light, you are setting yourself up for success. Remember to keep the room toasty, use those layers of texture, and most importantly, be kind to yourself. These photos will be a treasure for decades, but the memory of this cozy afternoon in your own home is just as precious. Now, go grab those blankets and start nesting—your little model is ready for their close-up!