Easy Newborn Portrait Tricks Using a Textured Waffle Blanket and Natural Light
Embracing the Beauty of the Now
Mama, I see you. You are navigating those early, hazy, milk-scented days where time feels both infinite and incredibly fleeting. Between the middle-of-the-night feedings and the gentle rocking, there is a deep desire to freeze these moments—the way those tiny toes curl, the soft fuzz on their shoulders, and that perfect, button nose. But let’s be honest: the thought of packing up a diaper bag, timing a nap perfectly, and heading to a cold photography studio feels overwhelming when you’re still healing and finding your rhythm.
What if I told you that you already have the most important tools for a stunning newborn gallery right in your nursery? As a doula and a stylist, I’ve seen how the simplest elements—a textured waffle blanket and the soft glow of natural light—can create images that look like they belong in a high-end boutique magazine. You don’t need a fancy DSLR or expensive studio lights. You just need a little bit of patience, a cozy blanket, and your intuition as a mother. This guide is designed to help you capture those professional-level portraits from the comfort of your own sanctuary, at your own pace, with all the grace and ease you deserve.
The Secret Power of the Waffle Weave
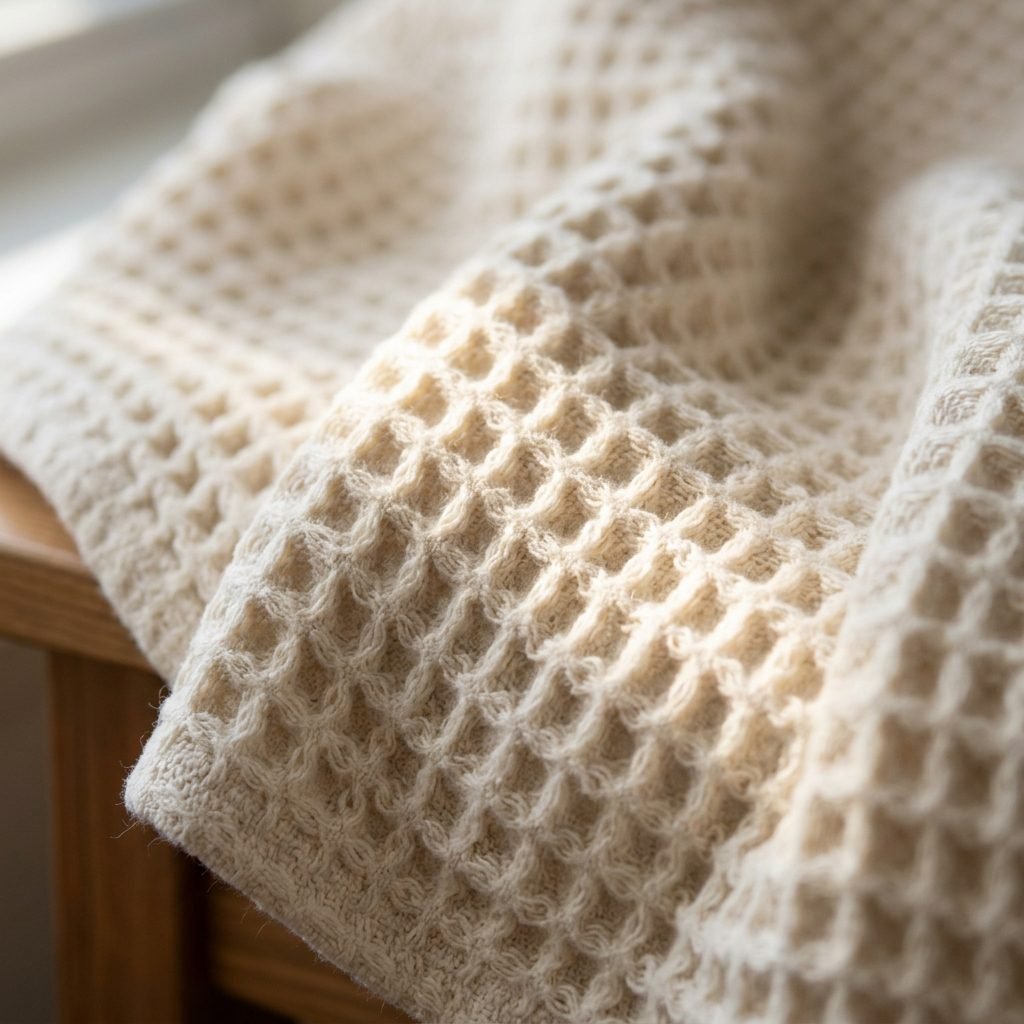
Why Texture Matters in Minimalist Photography
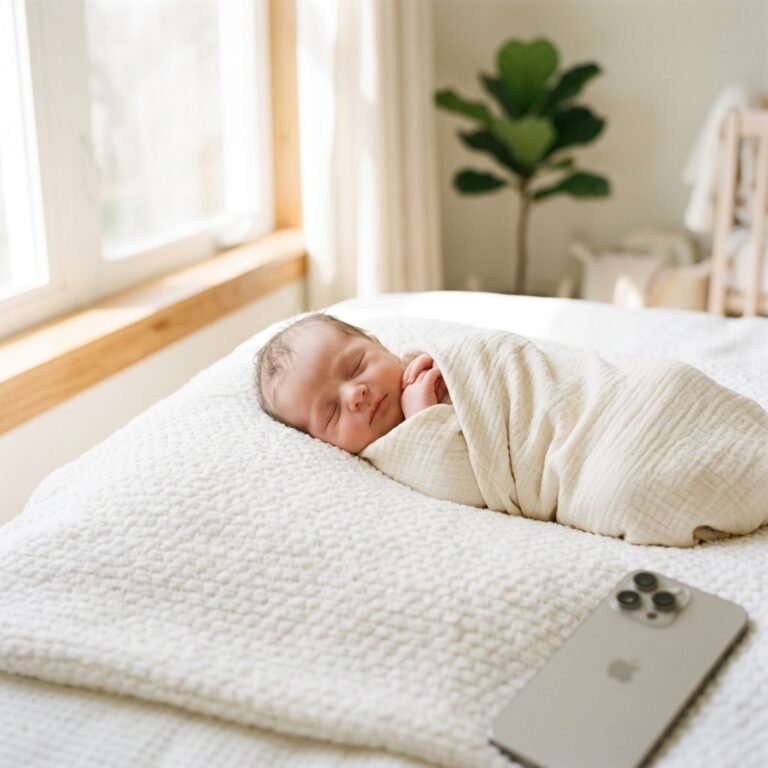
When it comes to newborn photography, ‘less is more’ is your golden rule. A waffle-knit blanket is a secret weapon for DIY portraits because the honeycomb texture adds visual depth without the need for distracting props or busy patterns. The ridges and valleys of the fabric catch the light beautifully, creating micro-shadows that make the image feel tactile and high-end.
- Hides Wrinkles: Unlike smooth cotton sheets, waffle blankets are forgiving. You don’t need to steam them; the natural texture is the whole point!
- Breathability: From a doula’s perspective, cotton waffle blankets are excellent for temperature regulation, keeping your little one cozy but not overheated during the session.
- Neutral Palette: Choosing a soft cream, oatmeal, or muted sage allows the focus to remain entirely on your baby’s delicate features.
Grace over perfection, Mama. The goal isn’t a flawless photo; it’s a captured memory of your baby’s first home.
Setting the Stage: Your DIY Home Studio
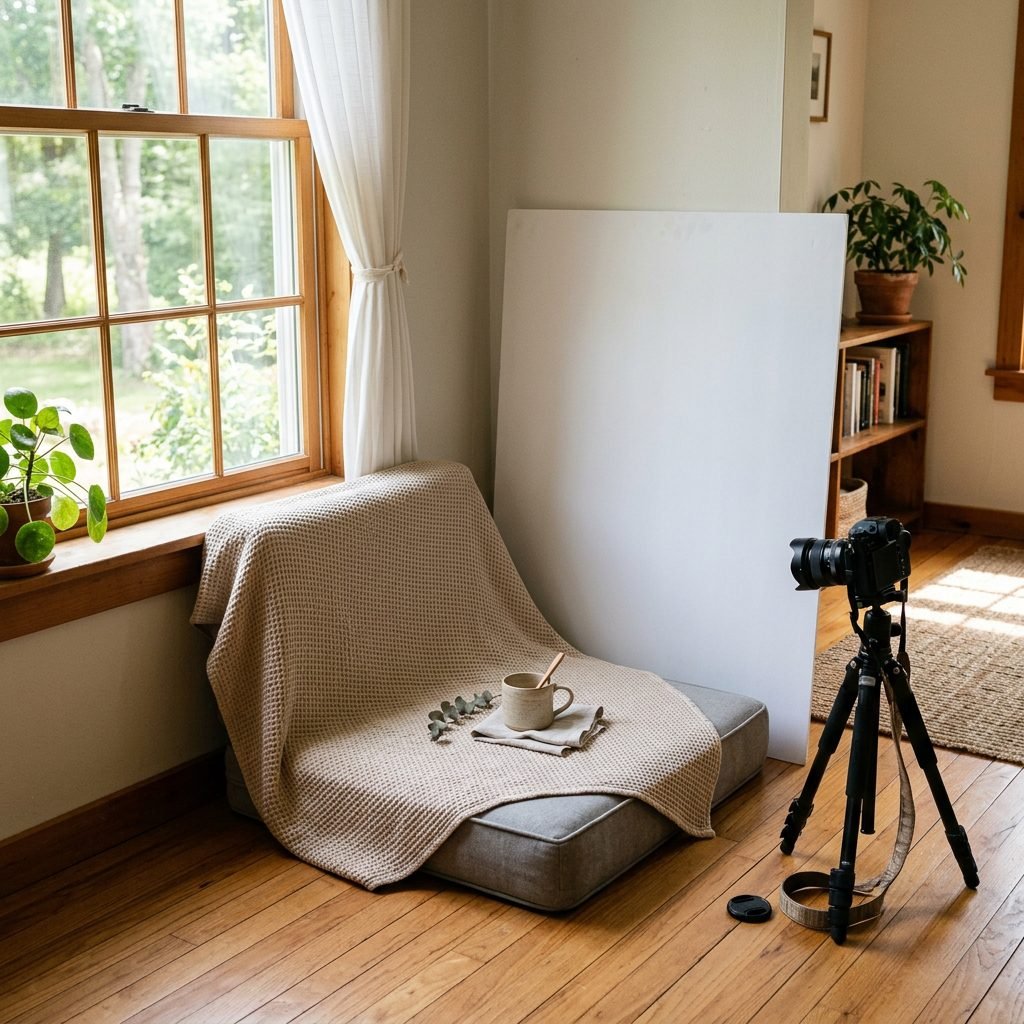
Finding the Perfect Window
You don’t need a bright sunroom to get great shots. In fact, direct sunlight is often too harsh and creates ‘hot spots’ on baby’s sensitive skin. Look for a north or south-facing window, or a window shaded by a tree. This provides ‘diffused light,’ which acts like a giant, natural softbox.
Creating the ‘Nest’
Safety is our top priority. We want to create a soft, flat surface. You can use your firm nursery rug, a yoga mat, or even the floor (covered with a thick quilt first). Avoid using soft beds or couches where a baby could sink in or roll unexpectedly.
| Material Needed | Purpose | Estimated Cost |
|---|---|---|
| Cotton Waffle Blanket | Main backdrop and wrap | $20 – $45 |
| White Foam Board | Reflector to bounce light | $5 |
| Painter’s Tape | Securing the backdrop | $4 |
| Sheer White Curtain | Diffusing harsh sunlight | $10 |
By using a simple white foam board from a craft store, you can bounce light back onto the ‘shadow side’ of your baby’s face, creating that professional, even glow that photographers strive for.
Posing with a Doula’s Heart: Safety and Comfort

The ‘Tuck and Fold’ Method
We want baby to feel secure, much like they did in the womb. Instead of a tight swaddle, try a ‘loose nest’ approach. Lay the waffle blanket down, and create a small ‘donut’ shape underneath using a rolled-up receiving towel. This gives the baby a place to rest their head slightly elevated, which is both safer and more photogenic.
- The Side-Lying Pose: Gently place baby on their side, tucked into the ‘nest.’ Ensure their hands are near their face—this is a natural, soothing position for newborns.
- The Back-Sleeping Beauty: Lay baby flat on their back. Use the texture of the blanket to frame their face by gently bunching the fabric around them.
- The ‘Tummy Time’ Peek: If baby has good neck stability or is sleepy, a very gentle tummy pose with hands under the chin can be precious, but never leave baby unattended in this position.
Watch for ‘sleepy cues.’ If baby is fussing, take a break. A nursing session or a diaper change is more important than the photo. The best shots happen when baby is in that deep, ‘milk-drunk’ sleep phase, usually about 20 to 30 minutes after a full feed.
Mastering the Angles: How to Shoot Like a Pro
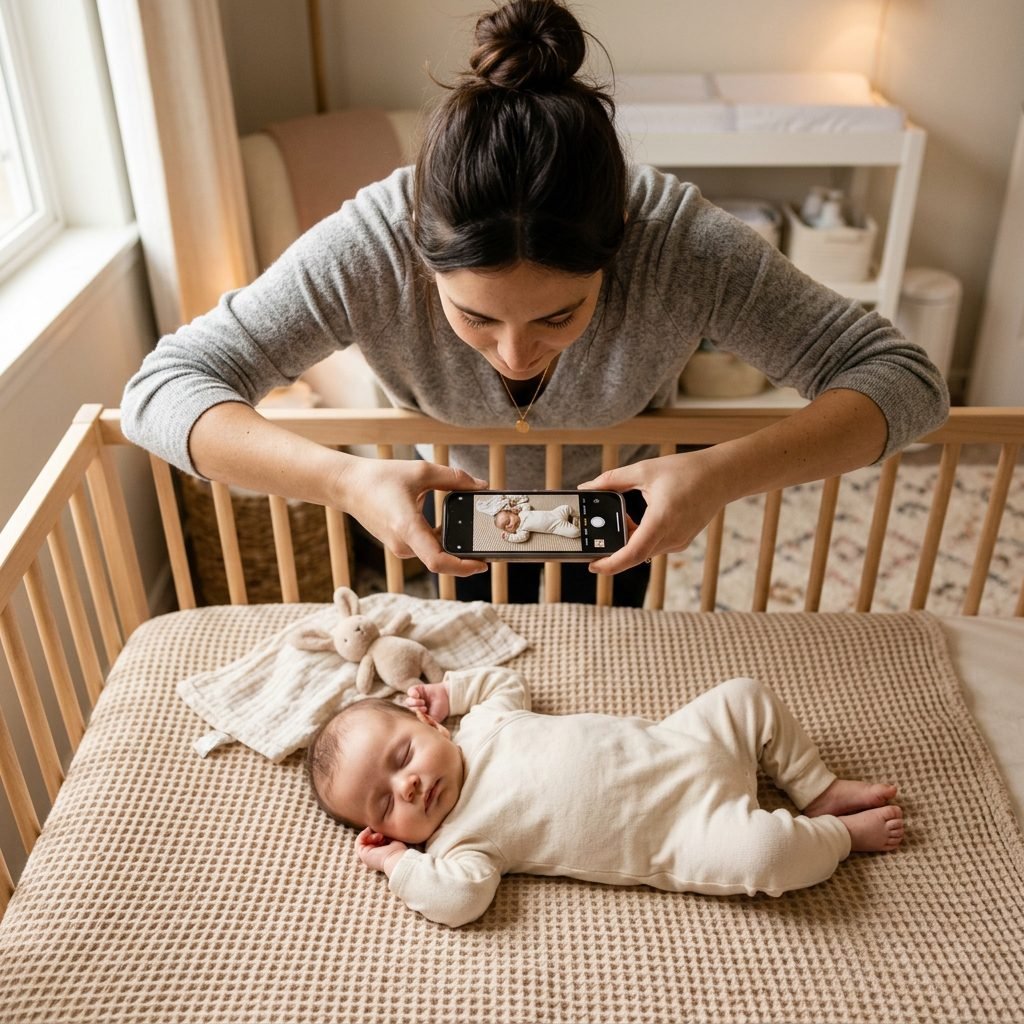
Avoiding the ‘Nostril Shot’
One of the most common mistakes in DIY newborn photography is shooting ‘up the nose.’ To avoid this, always position yourself so you are shooting down from the top of baby’s head or from the side. Imagine the light is a waterfall—you want the light to travel from the top of baby’s head down toward their toes.
- The 45-Degree Angle: Stand slightly to the side of the window and aim your camera down at a 45-degree angle. This creates beautiful ‘Rembrandt lighting’ on the face.
- The Macro Detail: Don’t forget the details! Zoom in on the eyelashes, the flaky newborn skin on the ankles, and those tiny fingernails. The waffle blanket’s texture provides a stunning contrast to the smoothness of baby’s skin.
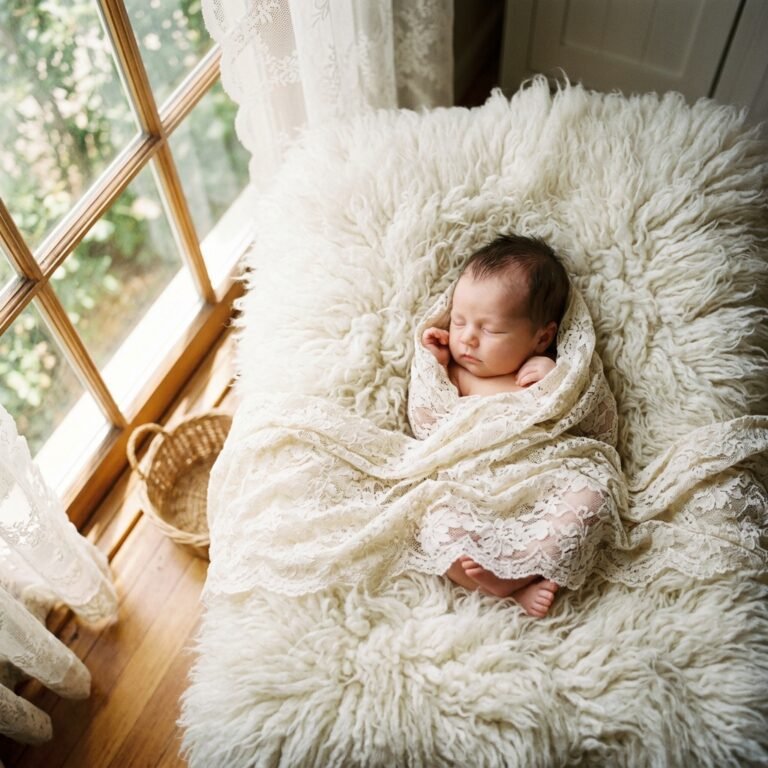
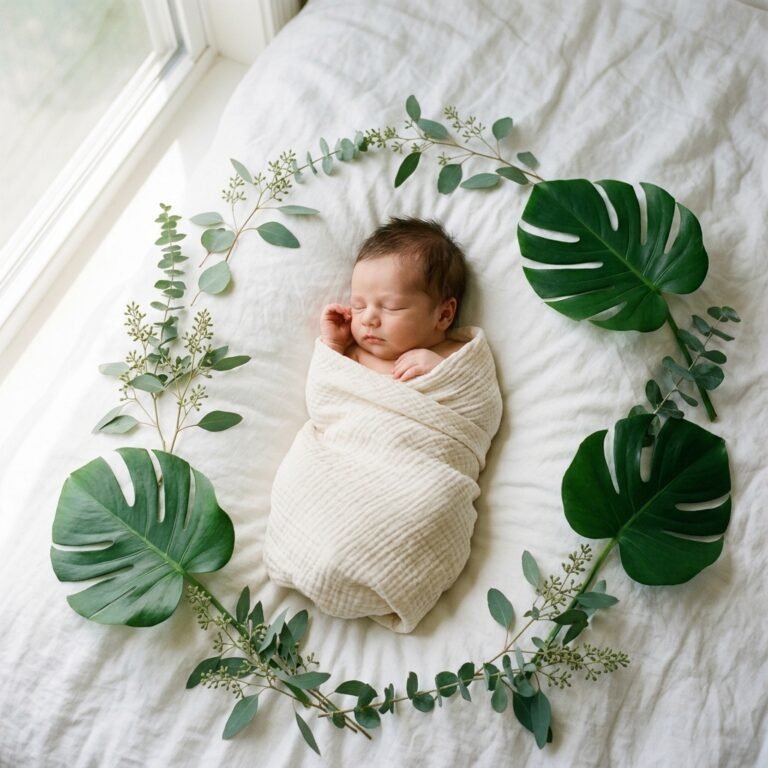
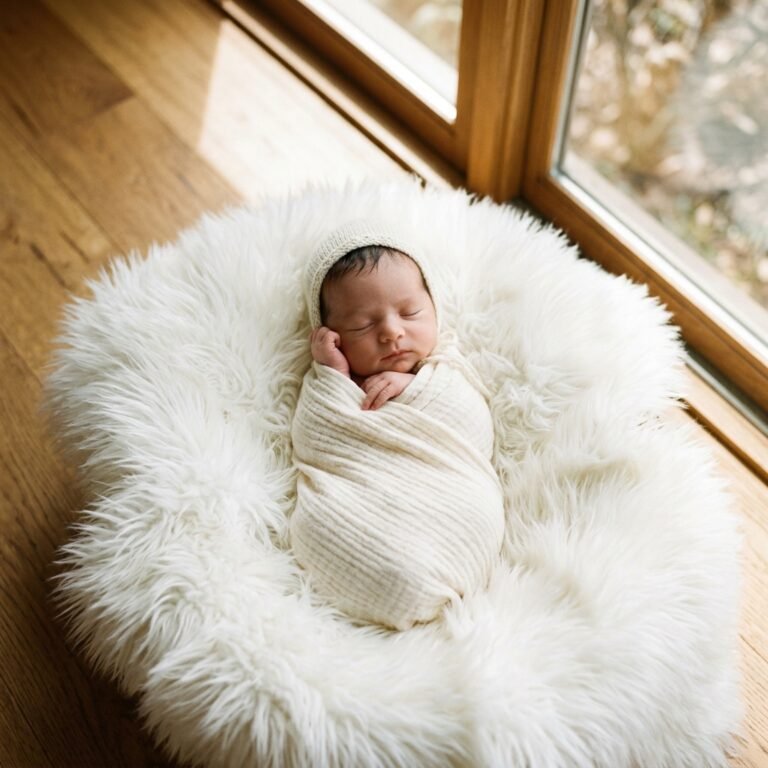
- The ‘Bird’s Eye’ View: Stand directly over the baby (use your neck strap!) for a classic, symmetrical flat-lay.
Remember: Your baby is the masterpiece. The blanket and the light are just the frame.
Post-Processing: Enhancing the Natural Glow
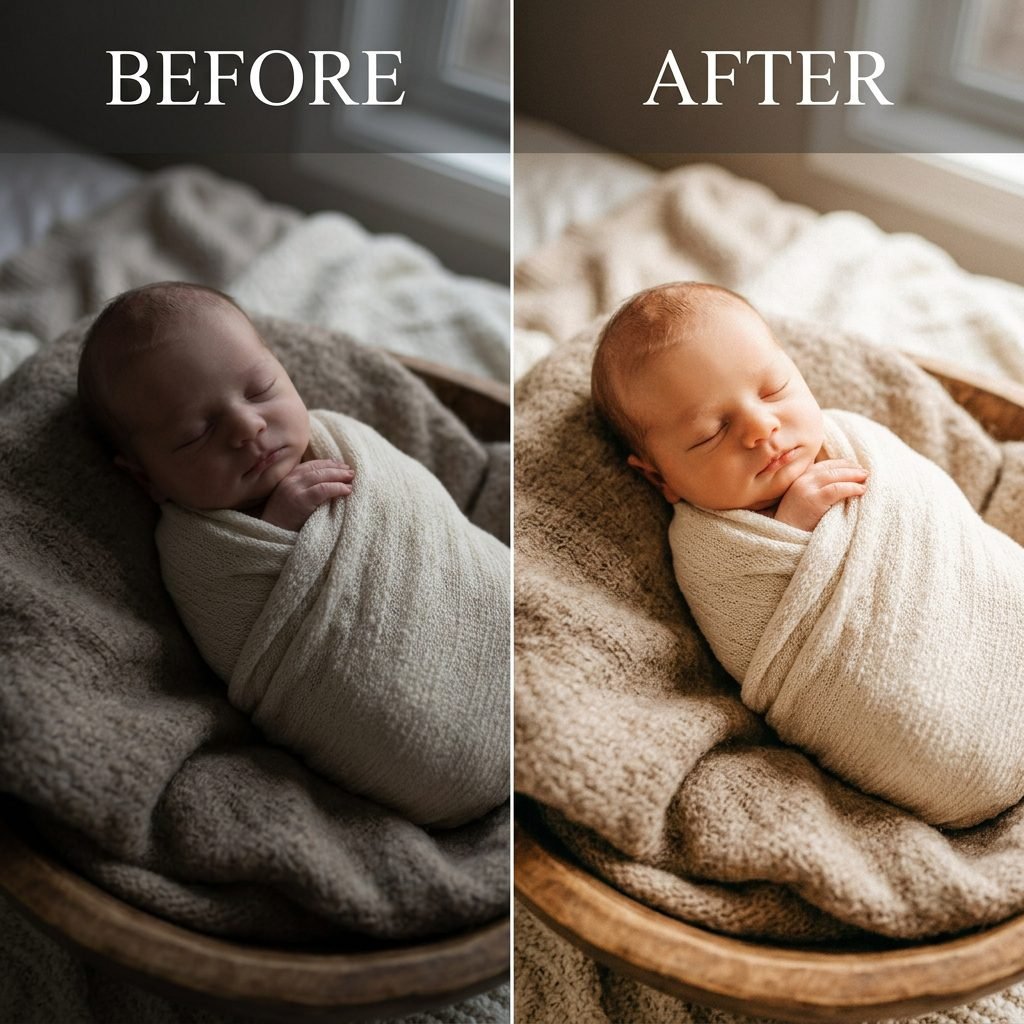
Simple Edits for a Timeless Look
You don’t need Photoshop to make your photos pop. Most smartphones have incredible built-in editing tools, or you can use free apps like Lightroom Mobile. The goal is to keep the photo looking natural and airy.
The ‘Waffle-Friendly’ Edit Checklist
- Exposure: Bump this up slightly if the photo looks a bit dim. We want it to feel bright and hopeful.
- Contrast: Increase contrast just a touch to make the waffle texture stand out against the soft shadows.
- Warmth/White Balance: If the light looks too blue (common on cloudy days), slide the warmth bar toward the yellow side to give the skin a healthy, sun-kissed glow.
- Highlights: If the white blanket looks ‘blown out’ or too bright, pull the highlights down to recover that beautiful honeycomb detail.
Avoid heavy filters that change the color of your baby’s skin. You want to remember their exact skin tone, even the little bits of newborn jaundice or ‘stork bites’—they are part of the story of these first few weeks.
Conclusion
You Are Doing an Amazing Job
Mama, these photos are a gift to your future self. Years from now, you won’t remember the laundry piling up or the sleep deprivation; you will look at these images and remember the weight of your baby in your arms and the quiet magic of your home. By using these simple tricks—the texture of a waffle blanket and the honesty of natural light—you’ve captured more than just a picture; you’ve captured a feeling.
Take a deep breath and give yourself credit for creating something beautiful amidst the chaos of the fourth trimester. You are your baby’s favorite person, and your perspective is the most beautiful lens of all. Happy snapping, and may these memories stay etched in your heart forever.