How to Build a Cheap DIY Fabric Backdrop Stand for Baby Photos
Capturing the Magic on a Budget
Oh, sweet mama, I know exactly how you feel. You’re looking at that precious, tiny face and realizing that every day they change just a little bit more. You want to freeze time, don’t you? You want to capture the curve of those newborn cheeks, the tiny dimples on their knuckles, and the way their hair wisps against their forehead. But when you start looking at professional photography equipment, the prices can feel absolutely overwhelming—especially when you’re already balancing the costs of diapers, gear, and nursery decor.
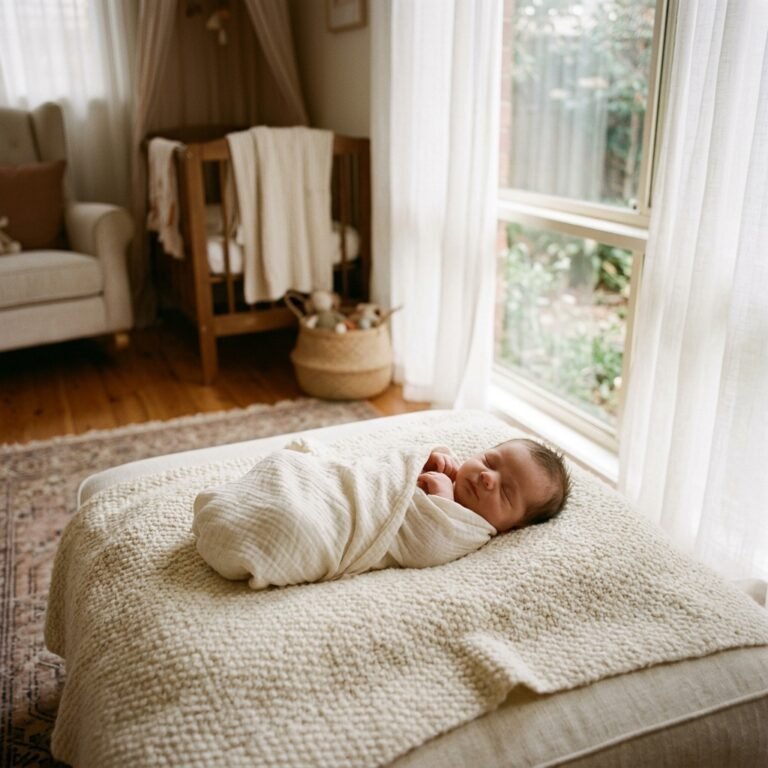
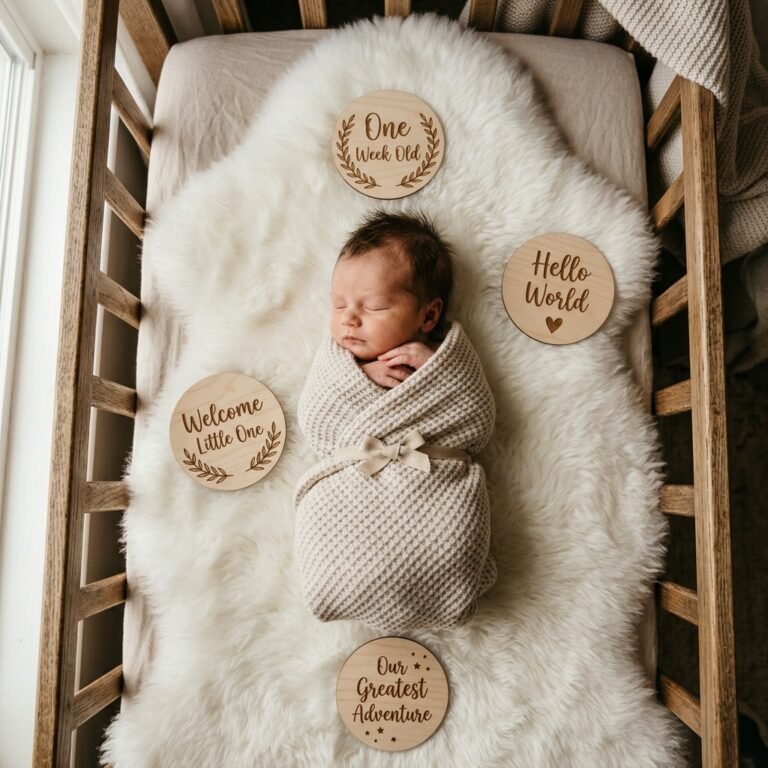
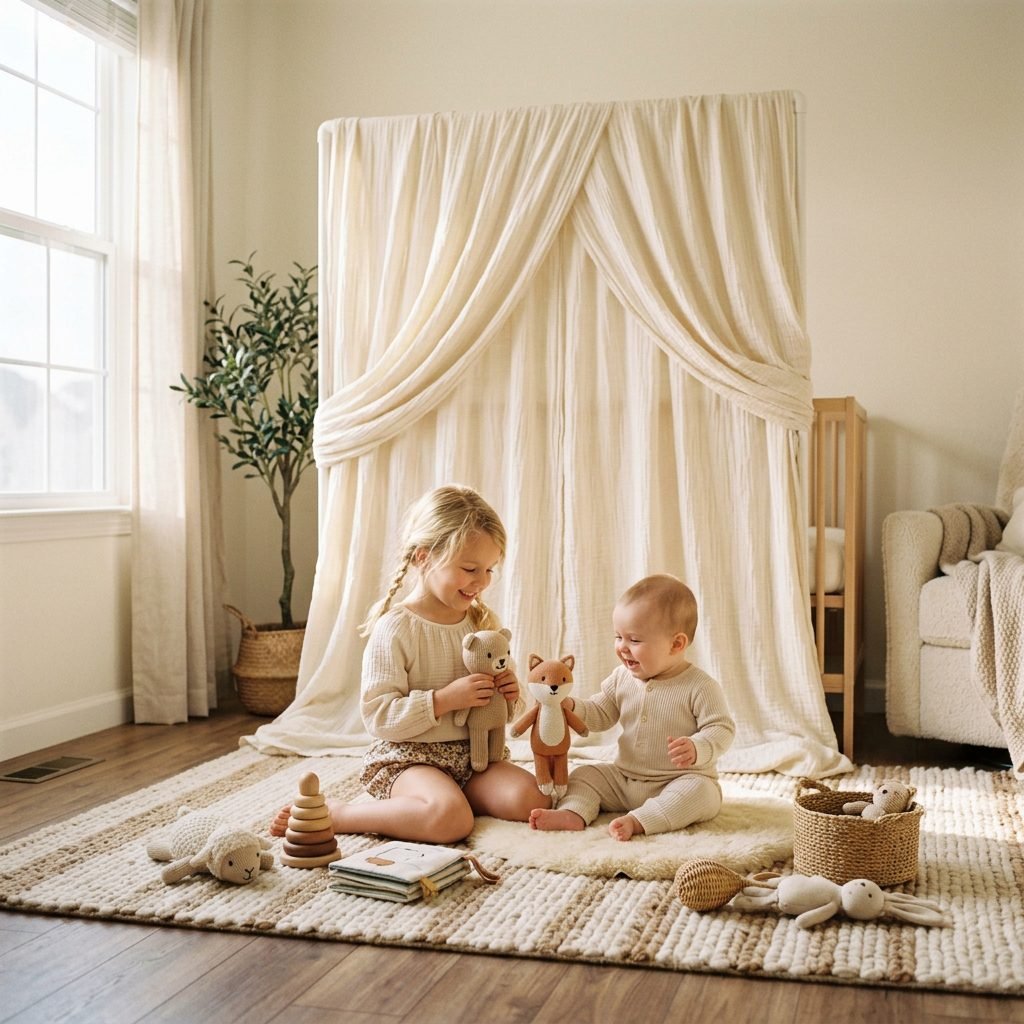
As a doula and a fellow mom, I’m here to tell you that you don’t need a thousand-dollar studio setup to create breathtaking, professional-looking photos of your little one. In fact, some of my favorite milestone photos were taken right in the living room using natural light and a little bit of DIY magic. Today, we are going to build a sturdy, lightweight, and incredibly cheap fabric backdrop stand together. It’s a project that is as practical as it is rewarding, and it will serve as the canvas for your baby’s first year of memories.
Whether you’re a first-time expectant mother nesting and preparing for those first ‘welcome home’ shots, or a postpartum mama looking to document those monthly milestones, this guide is for you. We’re going to focus on safety, simplicity, and style, ensuring your baby is comfortable and secure while you play the role of the ultimate family historian.
The Blueprint: Gathering Your Budget-Friendly Materials
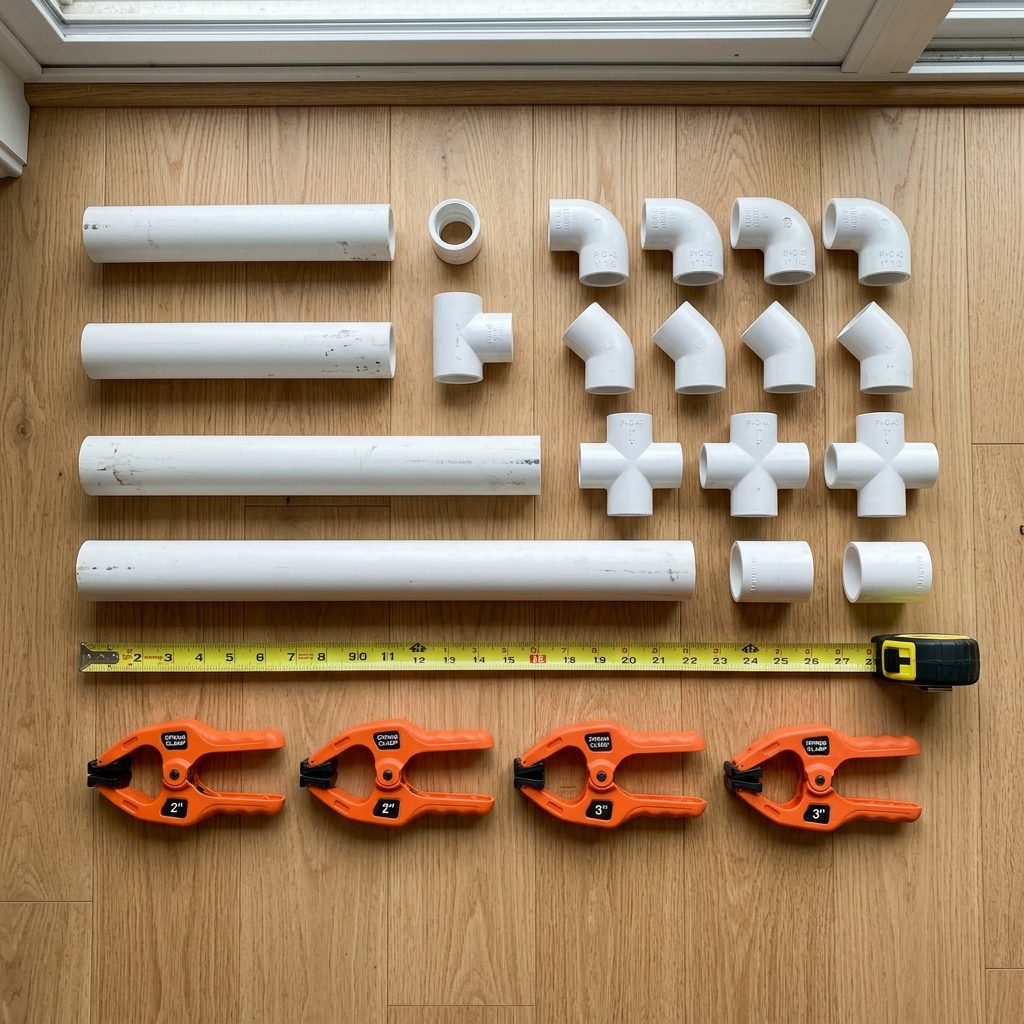
Before we pick up a single piece of PVC, let’s talk about the ‘why.’ We use PVC (polyvinyl chloride) because it is non-toxic, lightweight, and incredibly affordable. It’s like building with giant LEGO bricks for adults! For this project, we are aiming for a stand that is roughly 4 feet wide and 4 feet tall—the perfect size for a seated baby or a lounging newborn.
Your Shopping List & Budget Breakdown
I’ve curated this list to keep your total cost under $25. You can find these items at any local hardware store like Home Depot or Lowe’s. Look for the plumbing aisle—that’s where the magic happens!
| Item | Quantity | Estimated Cost |
|---|---|---|
| 1/2-inch PVC Pipe (10ft lengths) | 2 | $10.00 |
| 1/2-inch PVC 90-Degree Elbows | 2 | $2.00 |
| 1/2-inch PVC T-Joints | 4 | $4.00 |
| 1/2-inch PVC End Caps | 4 | $3.00 |
| Spring Clamps (to hold fabric) | 4 | $5.00 |
| Total Estimated Cost | – | $24.00 |
When selecting your pipes, look for ‘Schedule 40’ PVC. It’s the standard thickness that provides enough rigidity to hold heavy fabrics like velvet or faux fur without bowing in the middle. Pro Tip: Most hardware stores will actually cut the pipes for you if you bring in your measurements, saving you the trouble of using a saw at home!
Step-by-Step Construction: Assembling Your Sturdy PVC Stand
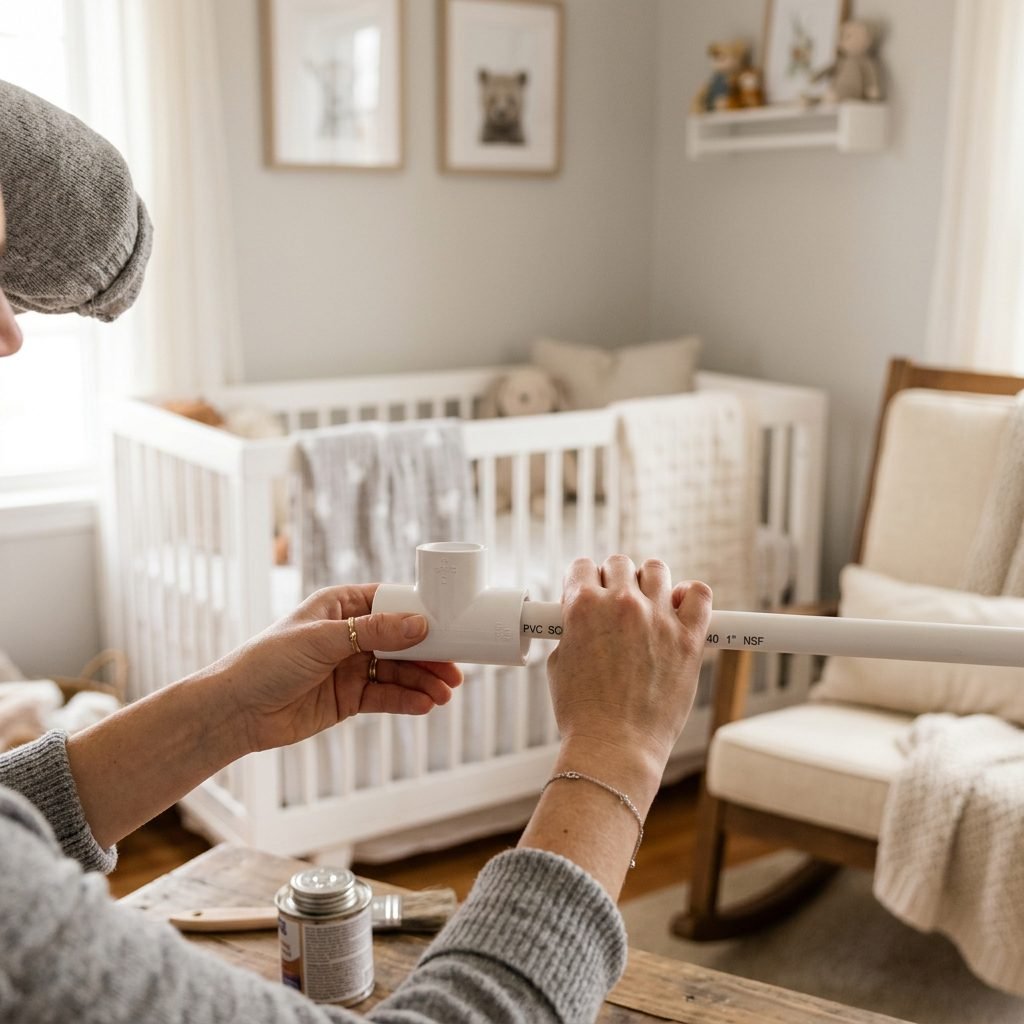
Alright, mama, grab your tea and let’s get building. This process is very intuitive. We aren’t going to use any glue (PVC cement) because we want to be able to disassemble the stand for easy storage under a crib or in a closet. The friction of the joints will be plenty strong for photography purposes.
Measurement Guide
First, ensure your pipes are cut to the following lengths:
- 2 pieces at 48 inches (The top crossbar and the back support bar).
- 2 pieces at 48 inches (The vertical side supports).
- 4 pieces at 12 inches (The feet/base stabilizers).
Assembly Instructions
- Build the Feet: Take two of the 12-inch pieces and insert them into the sides of a T-joint. Repeat this for the second set. Place end caps on all four open ends. These are your stabilizers.
- Create the Vertical Frame: Insert your two 48-inch vertical pipes into the top (center) opening of the T-joints you just prepared. You now have two ‘legs’ standing up.
- Add the Elbows: Place a 90-degree elbow on the top of each vertical pipe, facing inward toward each other.
- Connect the Top: Slide the remaining 48-inch pipe into the two elbows. This completes the ‘U’ shape of your frame.
- Test for Stability: Give the frame a gentle wiggle. It should feel firm. If it feels a bit loose, simply push the pipes deeper into the joints.
“Building this stand is an act of love. Every joint you connect is a step toward a beautiful memory you’ll cherish forever. Take your time, breathe, and enjoy the process of creating for your little one.”
The Fabric Edit: Choosing Textures That Are Safe and Stylish
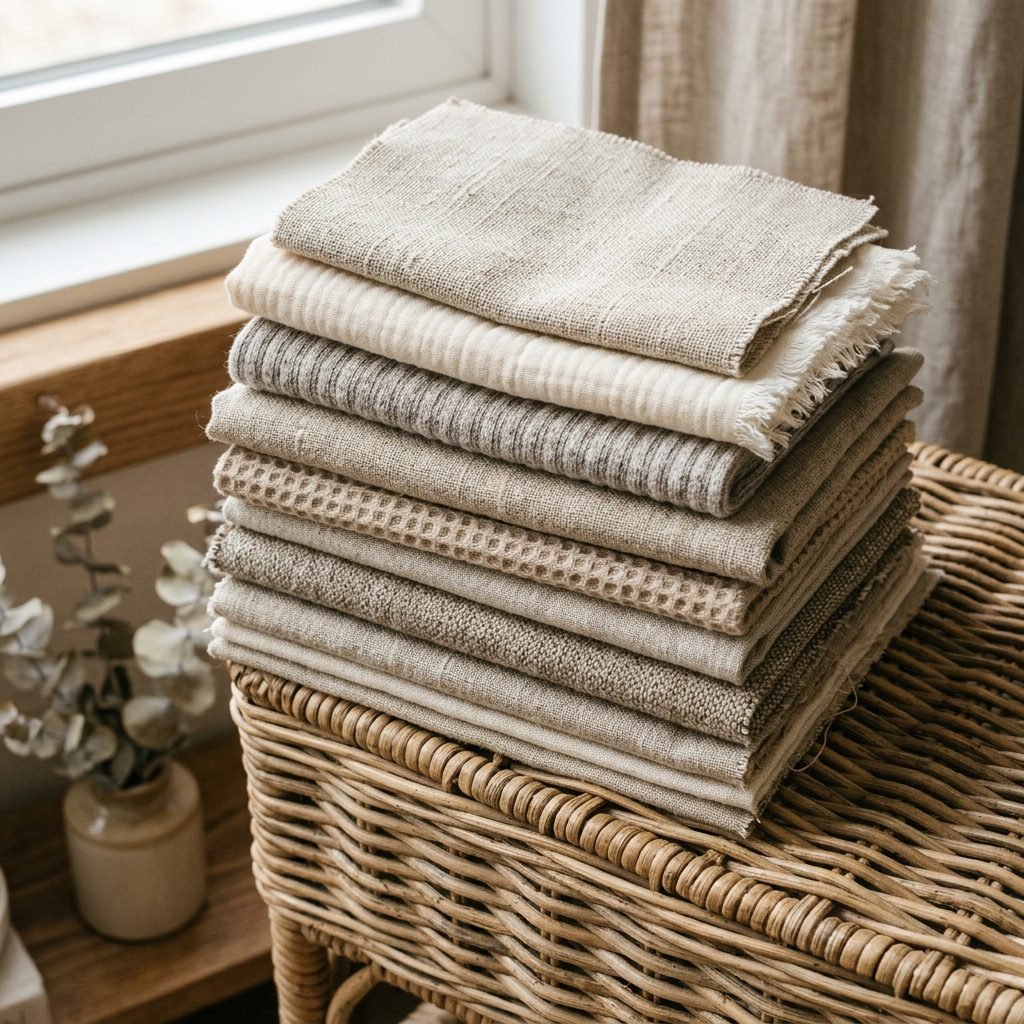
Now for the fun part—the styling! The backdrop is what sets the mood for your photos. As a stylist, I always recommend choosing fabrics that complement your baby’s skin tone and the overall aesthetic of your home. However, as a doula, my first priority is safety and comfort.
Top Fabric Choices for Baby Photos
- Organic Muslin: This is my absolute favorite. It’s breathable, has a beautiful natural crinkle, and comes in gorgeous earthy tones like terracotta, sage, and oatmeal.
- Stretch Jersey: If you want a smooth, wrinkle-free look, jersey is your best friend. It’s the material most swaddles are made of, so it feels familiar to the baby.
- Faux Fur: Perfect for that ‘luxe’ look. Place this on the floor portion of your backdrop for a soft, cloud-like texture. Just ensure the ‘pile’ isn’t so long that it poses a breathing risk for a face-down newborn.
- Heavyweight Linen: This provides a sophisticated, timeless look. It’s more structured and looks beautiful in black-and-white photography.
Safety Warning: Always wash your fabric with a fragrance-free, baby-safe detergent before use. Babies have incredibly sensitive skin, and new fabrics often contain sizing chemicals or dust from the warehouse that can cause irritation or rashes.
Doula-Approved Tips for a Calm and Cozy Photoshoot
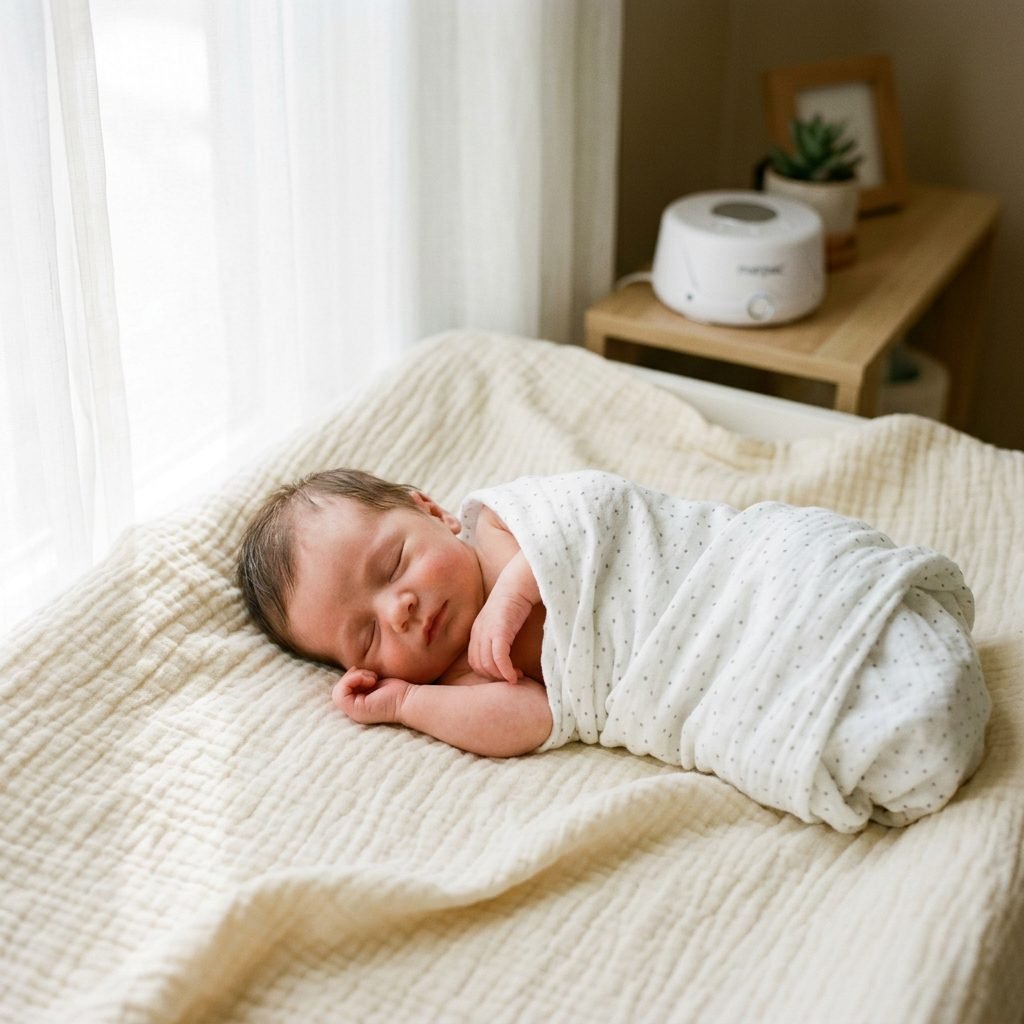
You have the stand, you have the fabric, but how do we get the perfect shot without a fussy baby? This is where my doula and sleep consultant expertise comes in. A successful photoshoot is 90% preparation and 10% actually clicking the shutter.
The ‘Happy Baby’ Checklist
- The Full Belly Rule: Schedule your shoot about 30 minutes after a full feeding. A ‘milk-drunk’ baby is the most cooperative model!
- Temperature Control: If you are doing ‘nappy-only’ or swaddled shots, the room needs to be warmer than usual. Aim for 75-78°F. A cold baby is a crying baby.
- White Noise: Keep a sound machine running nearby. It mimics the sounds of the womb and helps the baby stay in a calm, rhythmic state even if the camera clicks or you move around.
- Lighting is Everything: Position your DIY stand at a 45-degree angle to a large window. Natural, indirect light is the most flattering and won’t startle the baby like a harsh flash.
Remember, mama, if the baby isn’t feeling it, it is okay to stop. These photos should be a joyful experience, not a stressful one. If they are overstimulated, put the camera down, have a snuggle, and try again tomorrow. The stand isn’t going anywhere!
Safety First: Securing Your Backdrop for Peace of Mind
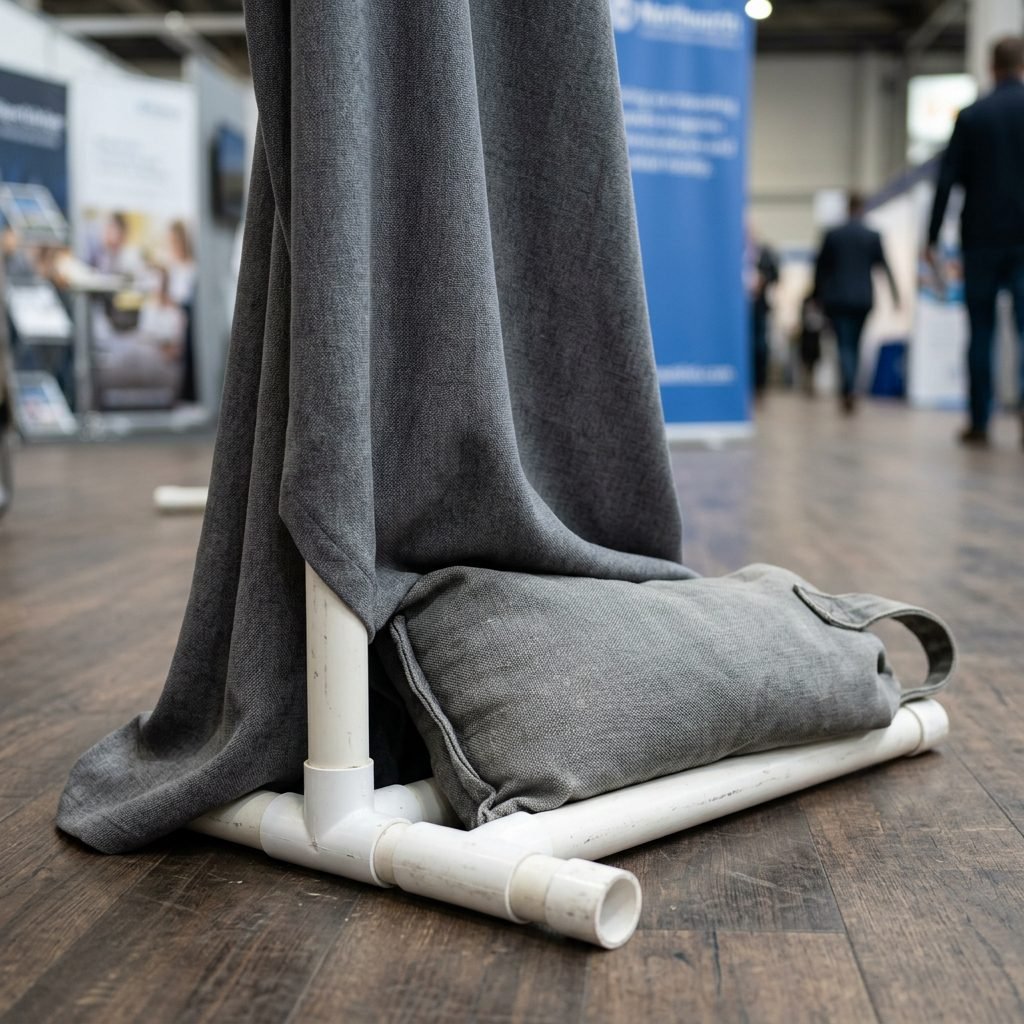
Even though our PVC stand is lightweight, we must ensure it is 100% secure. We never want a ‘timber!’ moment during a photoshoot. Here is how to keep your DIY setup as safe as a professional studio.
Stability Upgrades
Because the PVC is light, the weight of a heavy fabric can sometimes make it top-heavy. I recommend using sandbags or ‘ankle weights’ over the feet of the stand. If you don’t want to buy those, two large bags of rice or heavy books placed on the base stabilizers work perfectly! Just cover them with a bit of the backdrop fabric so they stay hidden.
Safe Positioning
| Dos | Don’ts |
|---|---|
| Use spring clamps to tightly secure fabric. | Never leave baby unattended on the backdrop. |
| Place the stand on a flat, hard surface. | Don’t hang heavy props (like wreaths) from the top bar. |
| Keep a ‘spotter’ (partner or friend) nearby. | Don’t use pins or needles to hold fabric. |
Always ensure the fabric is pulled taut. Loose folds can be a trip hazard for you or a suffocation hazard for a baby who is starting to roll. Check your clamps every few minutes to make sure they haven’t slipped.
Storage Secrets: Tucking Away Your Stand in Small Spaces
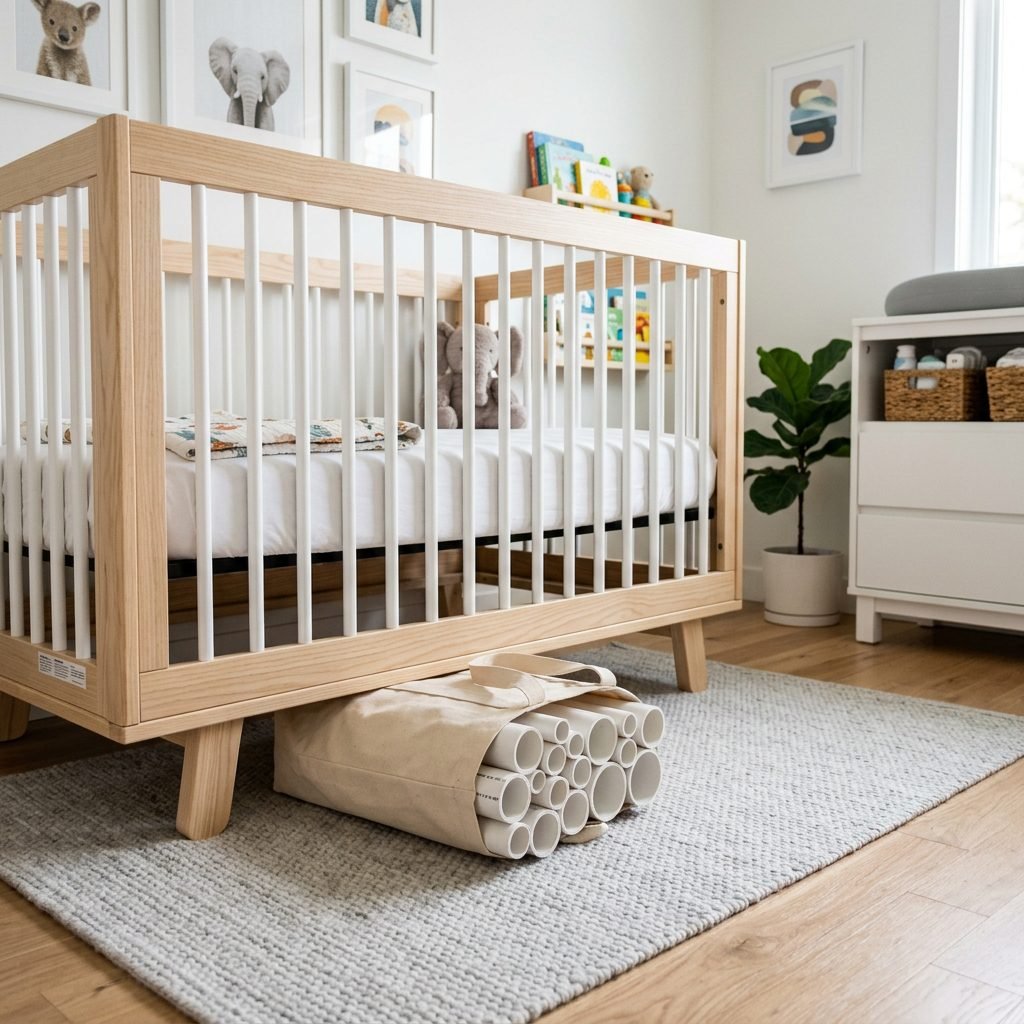
One of the biggest challenges of motherhood is the ‘stuff.’ It feels like baby gear is taking over every square inch of your home! That is why I love this DIY stand—it’s the ultimate small-space hack.
Because we didn’t glue the joints, you can break this entire 4×4 foot frame down in less than two minutes. I recommend getting a simple drawstring laundry bag or a long canvas tote to keep all the pipes and joints together. You can slide the bag:
- Under the crib.
- Behind a dresser.
- In the back of a closet.
- Inside a large rolling suitcase.
When the next milestone rolls around—whether it’s the 6-month ‘sitter’ session or the 1-year ‘cake smash’—you can have your professional studio back up and running in no time. It’s efficient, organized, and keeps your nursery feeling like a sanctuary rather than a storage unit.
Conclusion
You’ve Got This, Mama!
Building your own fabric backdrop stand is about so much more than just saving money. It’s about taking the reins of your family’s story. It’s about creating a space where you feel empowered to capture the raw, beautiful reality of your baby’s growth. Every time you set up this stand, I want you to feel a sense of pride—not just in the money you saved, but in the love and effort you are pouring into these memories.
These photos will eventually move from your camera roll to frames on the wall, and one day, into an album that your child will look through with their own children. They won’t see a $20 PVC pipe; they will see the warmth of the light, the softness of the fabric you chose, and the incredible mother who made it all happen. You are doing an amazing job, and I can’t wait to see the beautiful images you create. Happy snapping!