The Living Room Setup: How to Get Soft, Professional Baby Photo Lighting on a Budget
Welcome to Your Home Studio, Mama
Oh, sweet mama, I know exactly how you feel. You are in that hazy, beautiful, and utterly exhausting newborn bubble. You look at those tiny toes, the way their eyelashes cast long shadows on their cheeks, and the way they curl their fingers around yours, and you want to freeze time. But then you look at the price tags for professional newborn photography sessions—often ranging from $500 to $1,500—and your heart sinks just a little. Between the diapers, the nursery gear, and the college fund you’re already thinking about, a high-end photo shoot might feel out of reach.
As a doula and a fellow mom, I’m here to tell you a secret: You don’t need a thousand-dollar camera or a studio rental to capture professional-quality memories. Your living room, a few household items, and the beautiful sun streaming through your window are all you need to create a gallery-worthy portrait. In this guide, we are going to walk through the art of ‘The Living Room Setup.’ We’ll talk about the physics of light (in a very non-boring way!), how to keep your little one safe and cozy, and how to use simple items like white bedsheets to create that soft, ethereal glow that professional photographers charge a premium for. Grab a cup of tea (or your third coffee of the day), and let’s turn your home into a sanctuary of memories.
The Science of Softness: Finding Your Best Light
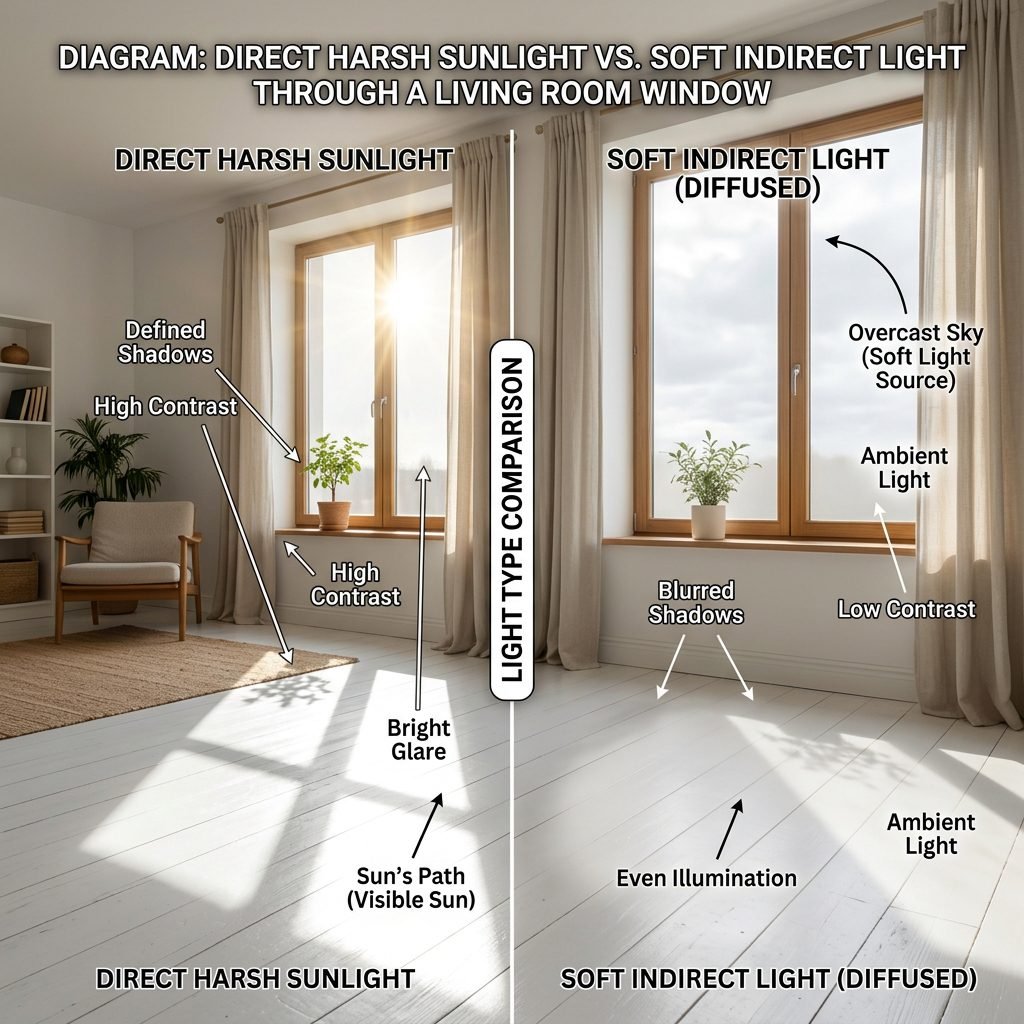
The biggest difference between a ‘snapshot’ and a ‘professional portrait’ is the quality of light. Professional photographers crave soft, diffused light. This is light that wraps around the baby’s face, softening features and eliminating harsh, dark shadows. In your home, your best friend is a large window, but not all windows are created equal.
Understanding Window Direction
The direction your window faces determines the ‘temperature’ and intensity of the light throughout the day. For newborn photography, we want to avoid direct sunlight, which creates ‘hot spots’ (very bright white patches) and ‘hard shadows.’ Instead, we want the gentle, indirect light found in specific parts of your home.
| Window Facing | Light Quality | Best Time for Photos |
|---|---|---|
| North-Facing | Consistent, cool, and soft all day. | Anytime between 10 AM and 3 PM. |
| South-Facing | Very bright and can be harsh. | Early morning or late afternoon. |
| East-Facing | Bright and warm in the morning. | 8 AM to 10 AM. |
| West-Facing | Golden and warm in the evening. | 3 PM to sunset. |
Pro Tip: Look for the window where the sun isn’t shining directly onto the floor in a bright square. You want the area near the window to be bright, but the light itself should be ‘even.’ If you only have a very sunny window, don’t worry—we will learn how to ‘diffuse’ it in the next section!
The DIY Studio Kit: Professional Results on a Shoestring
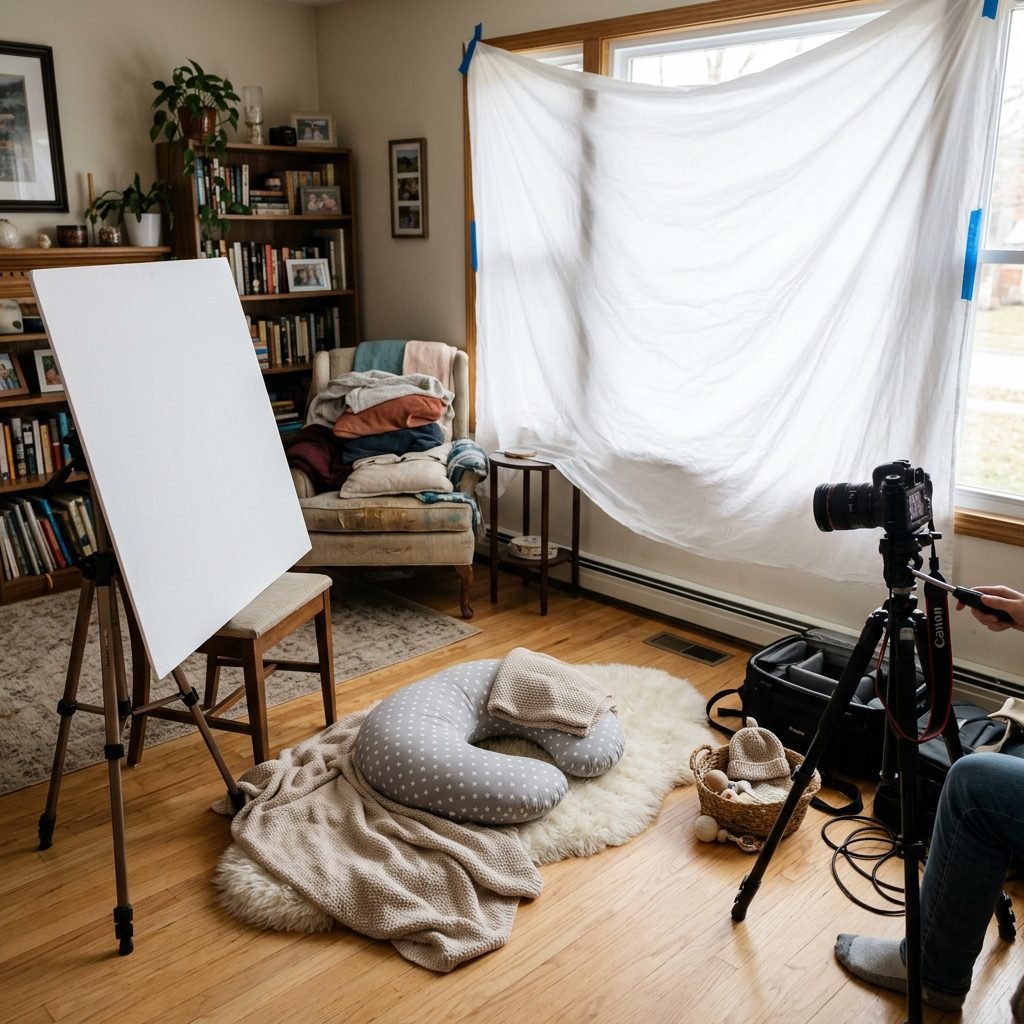
You don’t need to head to a camera store to buy expensive softboxes or reflectors. In fact, most of the best light-manipulating tools are already in your linen closet or at the local craft store for under $10. The goal is to control the light: we want to diffuse it (make it softer) and reflect it (bounce it back into the shadows).
Your Budget Material Checklist
| Item | Purpose | Approximate Cost |
|---|---|---|
| White Flat Bed Sheet | The ultimate diffuser for windows. | $0 (Found in closet) |
| White Foam Core Board | A ‘reflector’ to fill in shadows. | $3 – $5 |
| Clamping Clips or Tape | To secure sheets and boards. | $2 |
| Neutral Throw Blanket | The ‘backdrop’ for the baby. | $0 (Found in living room) |
How to Set Up Your ‘Light Box’
- Hang the Sheet: If the light coming through your window is too bright or creates harsh shadows, tape or clip a thin white bedsheet over the window. This acts as a giant ‘softbox,’ scattering the light rays.
- The 45-Degree Rule: Place your baby’s posing area (a firm cushion or rug) at a 45-degree angle to the window. This allows the light to flow across the baby’s face from the forehead down toward the chin, which is the most flattering angle.
- The Bounce: On the side of the baby opposite the window, prop up your white foam core board. This will catch the window light and ‘bounce’ it back onto the side of the baby’s face that is in shadow.
“Remember, mama: Light is like water. You want it to flow gently over your baby, not splash harshly against them.”
The ‘Posing & Safety’ Masterclass: Keeping Your Little One Secure
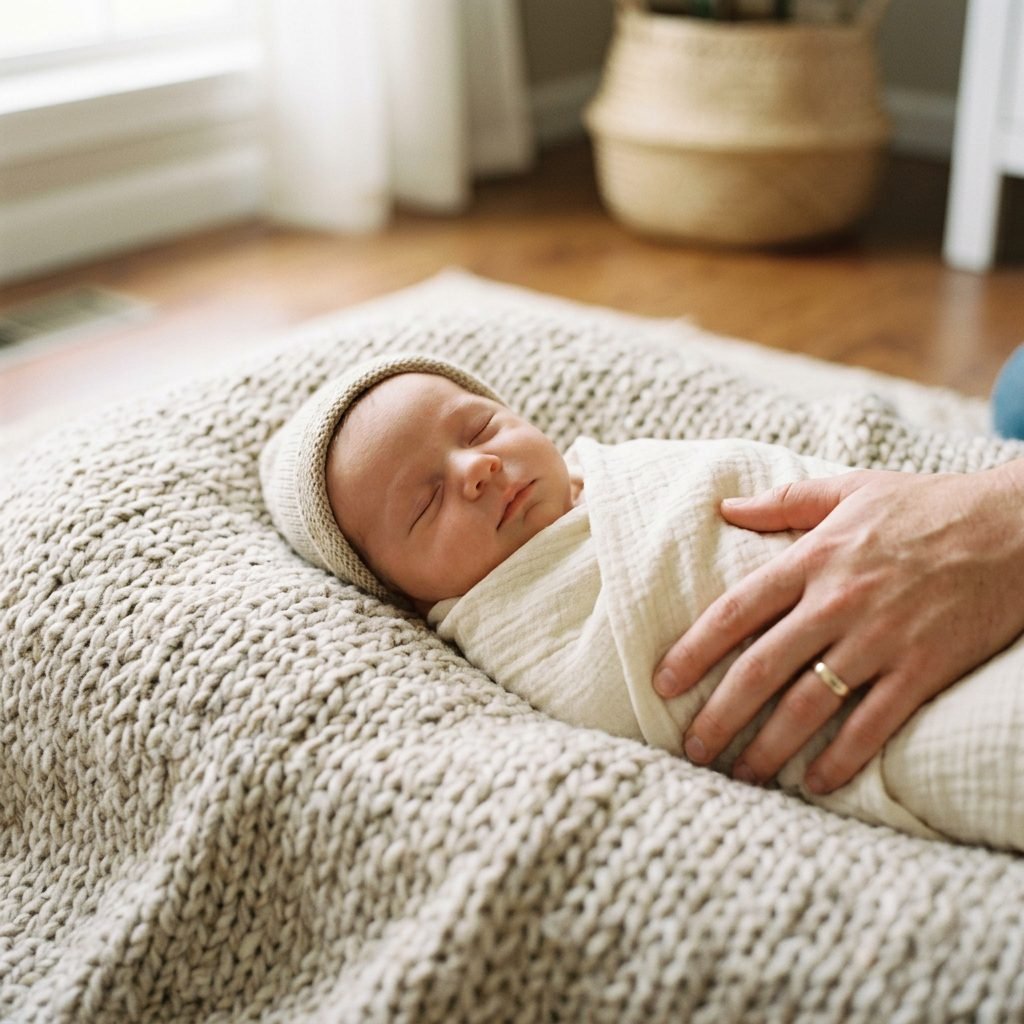
As a doula, safety is my absolute priority. Those adorable ‘propped up’ photos you see on Pinterest are often composites (two photos edited together) where a hand was holding the baby the entire time. When you are doing this at home, we focus on natural, flat-lay posing which is both safer and more comfortable for your newborn.
The Golden Rules of Baby Safety
- Never Leave the ‘Spotter’ Role: If you are taking the photo, have a partner or friend stand right next to the baby. Their only job is to watch the baby, not the camera.
- Temperature Control: Since babies are often photographed in just a diaper or a thin swaddle, keep the room at a cozy 72-85°F. If you are sweating, the baby is likely comfortable.
- Firm Surfaces Only: Use a firm nursing pillow (like a Boppy) or a folded quilt under your decorative blanket. Never place a baby on a soft, squishy surface where they could sink in.
Comfort-First Posing Techniques
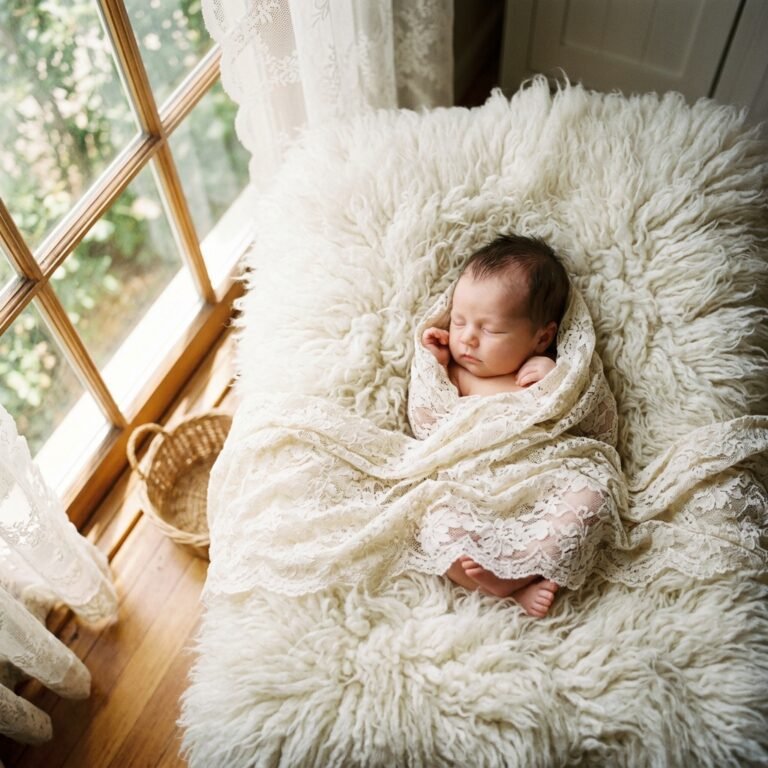
To get those peaceful, sleepy shots, you want to mimic the womb. Try the ‘Tucked In’ pose: gently tuck the baby’s feet toward their tummy and their hands near their chin. This is their natural fetal position and helps them feel secure. If they are fussy, a snug swaddle in a neutral color is your best friend—it eliminates ‘startle reflexes’ that can wake them up mid-shot.
| Do This | Avoid This |
|---|---|
| Place baby on their back or side. | Never place baby face-down on soft bedding. |
| Use a ‘spotter’ within arm’s reach. | Never leave baby alone on a raised surface. |
| Keep the room warm and use white noise. | Avoid loud noises or cold drafts. |
Timing the ‘Sleepy Window’: Coordinating Light and Naps
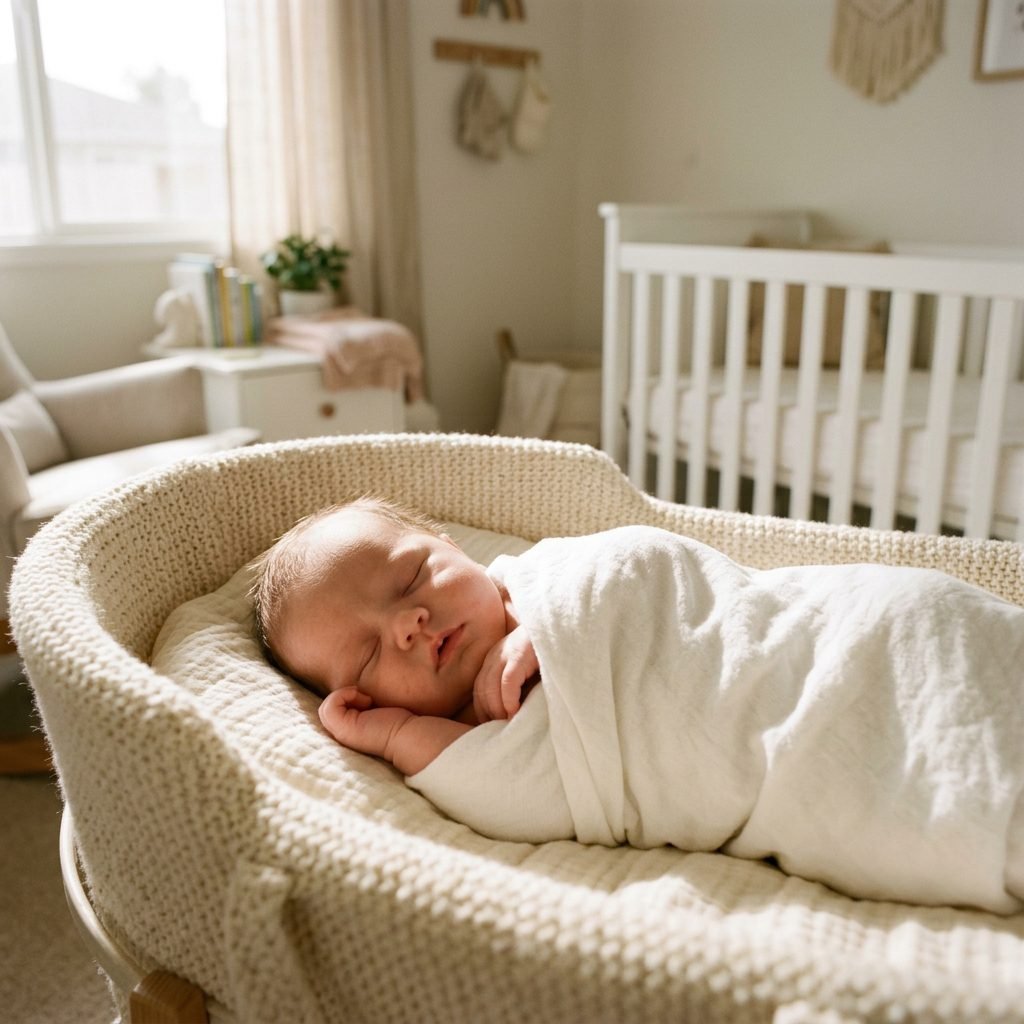
The best lighting in the world won’t help if your baby is hungry or overstimulated. Professional newborn photographers usually schedule sessions when the baby is between 5 and 14 days old, as this is when they are the most ‘curly’ and sleepy. However, you can get great shots at any age if you time it right.
The ‘Full Tummy’ Strategy
Plan your photo session immediately following a full feeding. A ‘milk drunk’ baby is a cooperative baby. Follow this timeline for the best results:
- Turn on the Heat: Warm up the living room 30 minutes before the feed.
- The Big Feed: Feed the baby in the room where you’ll be shooting.
- The Burp & Change: Gently burp and change the baby into their ‘photo outfit’ (or just a clean diaper) while they are still drowsy.
- The Deep Sleep: Wait for the baby to enter a deep sleep (look for limp limbs and steady breathing) before moving them into your lighting setup.
“Patience is your best tool. If the baby wakes up, stop, cuddle, and try again. The best photos happen in the quiet moments between the cries.”
Styling the Scene: Textures, Tones, and Minimalist Magic

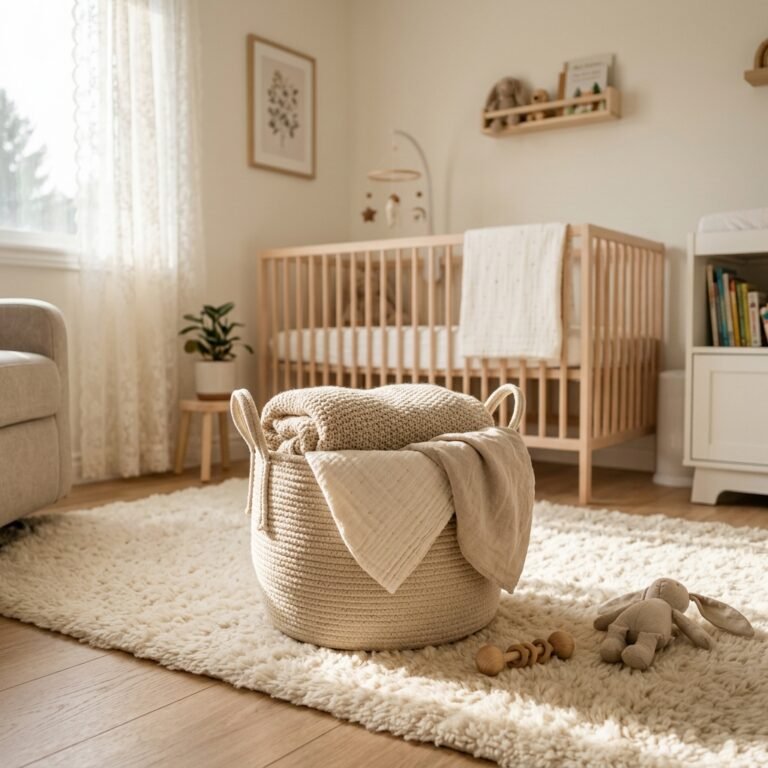
You don’t need a closet full of ‘photo props.’ In fact, a minimalist approach often looks more professional and timeless. We want the focus to be on the baby’s features, not a busy background. Choose textures over patterns to add depth to your photos.
Choosing Your Color Palette
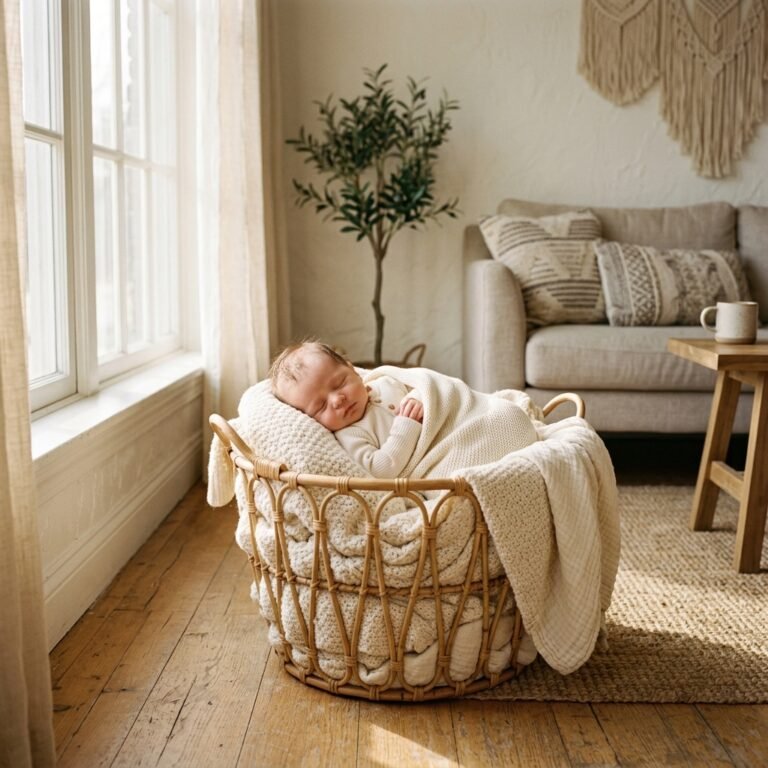
Stick to ‘organic’ or ‘earthy’ tones. Think creams, soft greys, sage greens, or muted sands. These colors reflect light beautifully onto the baby’s skin, whereas bright colors (like hot pink or neon blue) can actually cast ‘color spills’ onto the baby’s skin, making them look jaundiced or bruised in photos.
Texture Ideas from Around the House
- Chunky Knit Blankets: Great for adding visual interest under the baby.
- Linen Sheets: Provide a clean, high-end ‘lifestyle’ look.
- Faux Fur Rugs: Create a soft, cloud-like nest for the baby to rest on.
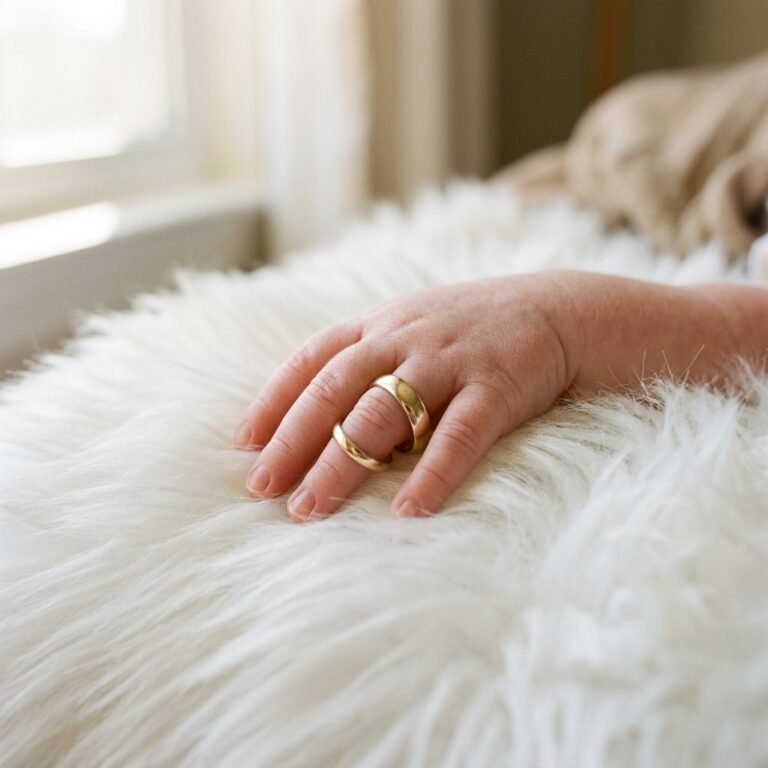
- Your Own Hands: Some of the most powerful photos are simply the baby’s tiny hand holding your finger. This costs nothing and tells a beautiful story of connection.
| Style Element | Why It Works | |
|---|---|---|
| Monochrome Tones | Keeps the focus entirely on the baby’s face. | |
| Natural Wood Floors | Adds warmth and a ‘homey’ feel to the shot. | |
| Simple Muslin Swaddle | Classic, timeless, and easy to drape. |
The Editing Suite: Polishing Your Memories on Your Phone
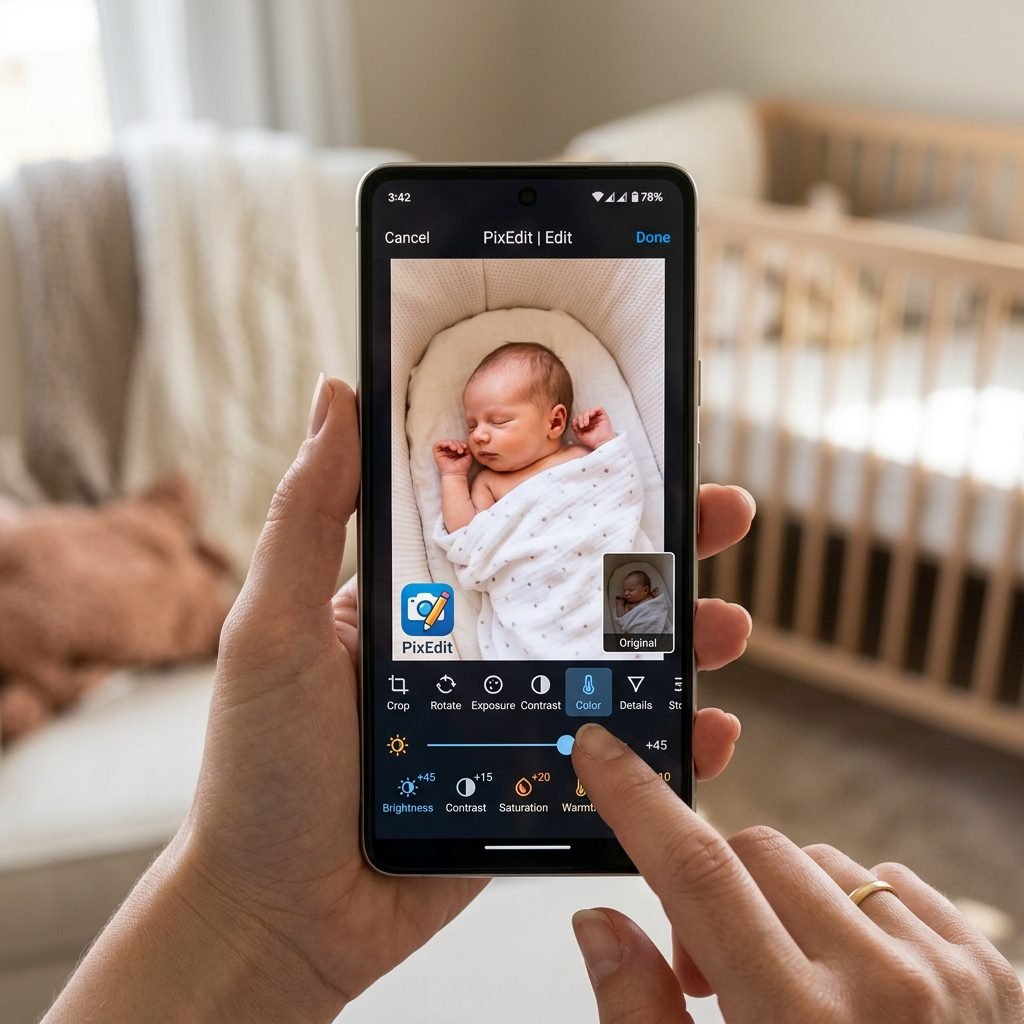
Once you’ve captured the photos, the final ‘pro’ touch happens in editing. You don’t need Photoshop! There are several free or low-cost apps that can help you brighten the eyes and soften the skin tones. My favorites are Adobe Lightroom Mobile and Snapseed.
Simple Editing Steps for a Professional Look
- Increase Exposure: Most indoor photos come out a little dark. Gently bump up the exposure until the skin looks bright but not ‘blown out.’
- Lower the Highlights: If the window light is too bright on the forehead, lowering the highlights can bring back the detail.
- Adjust the ‘Temperature’: If the photo looks too blue (cold) or too orange (warm), use the ‘Temp’ slider to find a natural, creamy skin tone.
- Crop for Impact: Don’t be afraid to crop in close! A photo of just the baby’s toes or the swirl of hair on their head can be incredibly powerful.
A Note on Skin: Newborns often have ‘baby acne’ or peeling skin. This is normal and beautiful. You can use a ‘healing’ tool in apps to remove a temporary scratch, but try to keep the essence of your baby exactly as they are. These little ‘imperfections’ are part of their story.
Conclusion
Your Legacy, Captured with Love
Mama, I want you to take a deep breath and look at that beautiful baby of yours. Whether you use a professional camera or your smartphone, whether your ‘reflector’ is a fancy piece of equipment or a $3 piece of foam board from the grocery store, the love in these photos will shine through. Professional photography is a luxury, but capturing your baby’s history is a necessity. By using these simple lighting hacks, you aren’t just saving money; you are creating a comfortable, safe environment where your baby feels most at home—in your arms and in your living room.
Don’t worry about perfection. If the sheet falls down, if the baby spits up on the ‘backdrop,’ or if you only get one good shot before everyone needs a nap—that is okay. That one shot will be a treasure for decades to come. You are doing an amazing job, and these photos will be the proof of this sacred, fleeting time. Happy snapping!